Articles / Guidesupdated for DaVinci Resolve 21.0 (August 2026)
How to Add Room Tone in DaVinci Resolve 21
Quick answer
To learn how to add room tone in DaVinci Resolve, record or import clean ambience, place it on a separate Fairlight track under dialogue, trim or loop matching sections, and add short fades or crossfades. Lower it until the background feels continuous, then check every cut at normal listening level.
Room tone is the quiet background that makes a cut feel like it happened in one continuous place.
We built and run a 100,000+ member video-editing community, and this is one of the recurring Fairlight questions we see. After 7+ years of professional, commercial editing, our reliable answer is simple: use the real location sound first, then make the joins boring.
This guide is current as of August 2026 and follows the Fairlight workflow in DaVinci Resolve 21, whose final release was listed by Blackmagic Design in June 2026. Blackmagic's support center lists DaVinci Resolve 21 for macOS, Windows, Linux, and Windows ARM.
What is room tone, and why do you need it?
Room tone is the natural sound of a location with the dialogue, footsteps, and other action removed. It carries the hum, air, reflections, and character of the place, so it can fill a gap without sounding like a new sound effect. iZotope describes it as the natural noise of the recording environment and recommends capturing 30 to 60 seconds of ambience.
Room tone is the natural sound of a location with the dialogue removed.
John Purcell, author of Dialogue Editing for Motion Pictures, puts the editorial value plainly: “Room tone is the single most important tool of dialogue editing.” The quote appears in his publicly available dialogue-editing guide.
The source matters. A same-shot clip usually beats generic ambience. Purcell says level, tone color, pitch, and action should match the shot, because ventilation, traffic, movement, or microphone position can make recordings differ.
How do I record room tone in DaVinci Resolve?
To record room tone in DaVinci Resolve, open the Fairlight page, select a track input, patch your microphone, arm the track, and record a quiet take. Blackmagic documents this sequence as input selection, patching, arming the track with the R button, recording from the toolbar, and stopping with the spacebar on the Fairlight page.
- Go to the Fairlight page and create or select an audio track for room tone. Rename it
ROOMso it stays separate from dialogue. - Ask everyone nearby to stop talking and moving. Turn off anything that won't be present during the scene, but don't remove a constant sound that belongs to the location.
- Click the track's input control in the mixer, choose the microphone or interface input, and click
Patch. - Arm the track with
R, press the Fairlight record button, and let the room settle before stopping with the spacebar. - Keep the take with the same microphone position and camera setup as the dialogue. If you captured room tone on set, import that file instead.
If you record more than one take, Resolve places additional recordings in layers on the same track. Use View > Show Audio Track Layers to see them, as Blackmagic's Fairlight documentation describes.
How do I add room tone under dialogue in DaVinci Resolve?
To add room tone under dialogue in DaVinci Resolve, place the ambience on its own track beneath the spoken clips and cover only the gaps or thin sections that need help. A separate track lets you trim, fade, mute, and level the ambience without disturbing the dialogue edit.
Start by finding a clean section in the same shot. Avoid words, breaths, chair noise, footsteps, and sudden background events. Put the playhead around the dialogue gap, select a section long enough to cover it, and copy that section to the ROOM track.
You have two useful patching methods:
| Situation | Fairlight action | What to listen for |
|---|---|---|
| One short gap | Copy a clean section, paste it under the gap, and trim its edges | A click, a breath, or a sudden change in background level |
| Several connected gaps | Stack short pieces on audio track layers, then overlap and crossfade them | A repeated hum cycle or a new event entering at every join |
| A long continuous range | Copy one good source clip, mark the range, then use Fill | The source becoming recognizable through repetition |
| A loop that sounds obvious | Use Back/Front Fill or alternate different source sections | Repeating waveform shapes and rhythmic background noise |
Blackmagic's Fairlight guide documents Fill and Back/Front Fill as tools that use the clipboard audio to fill a marked range and create a new bounced clip. The guide also describes Back/Front Fill as reversing every second copy, which changes the repeated waveform direction. In practice, that can make a long patch less predictable than identical copies placed end to end. See the Fairlight Audio Guide for the documented room-tone exercise.
Fairlight's Fill and Back/Front Fill can build a marked range from a clipboard clip.
The manual method gives you control over which part of the room you repeat and whether a passing sound stays out of the repaired gap. Use track layers while you audition options, then leave them intact or flatten them after saving a safe project version.
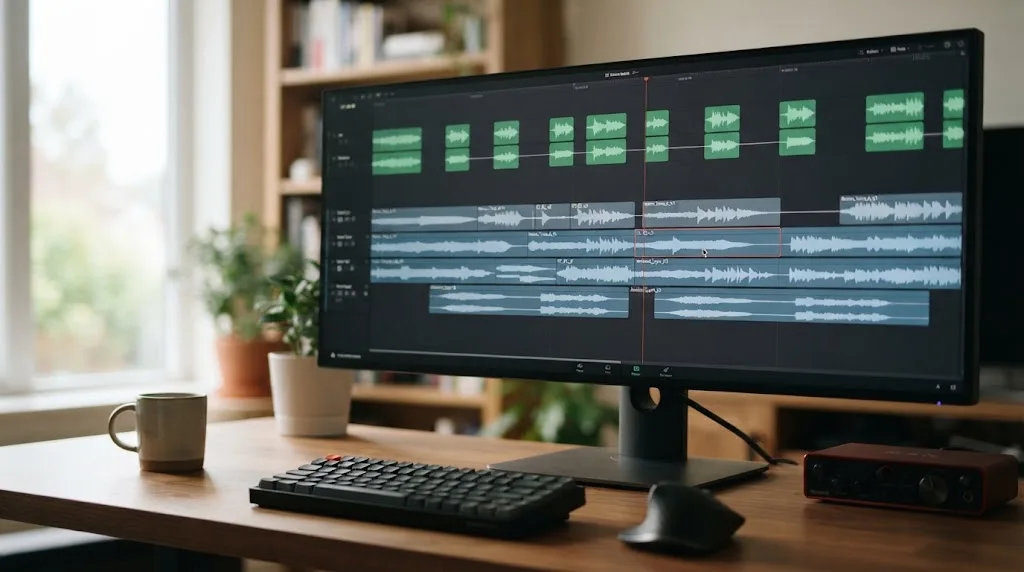
Why does my room tone sound like a loop?
Room tone sounds like a loop when the same noise pattern, level, or background event repeats often enough for the listener to notice. The fix is to use a longer or more varied source, change the edit points, reverse alternate copies with Back/Front Fill, and fade the joins instead of relying on hard cuts.
Listen for repetition at normal playback speed, not only while zoomed in. A waveform that looks different can still sound identical if a steady fan or air conditioner dominates it.
If you have only a short recording, don't stretch it until the pitch or texture becomes strange. Build shorter patches around each cut and leave the production track running when it already carries believable ambience. Purcell's guide makes the same point: extra tone is most useful when the production track has a hole.
The best room tone usually comes from the same shot, not a generic ambience library.
Resolve 21 also changes one channel detail worth checking. Blackmagic's Resolve 21 New Features Guide says that a mono audio clip added to a stereo timeline now plays on both left and right channels, whereas earlier behavior put it on the left channel only. If a mono room-tone file sounds different from an older project, check the clip's channel assignment before changing the level.
How do I fade and blend room tone in DaVinci Resolve?
To fade and blend room tone in DaVinci Resolve, drag the fade handles on each patch and adjust the clip level until the ambience supports the dialogue without drawing attention to itself. Blackmagic documents fade handles on audio clips, clip gain lines, Inspector level controls, and Option-click keyframes for changing volume over time.
Use this order:
- Trim the patch so it begins and ends in genuinely clean audio.
- Add a short fade-in at the first join and a short fade-out at the last join.
- If two room-tone clips meet, overlap them and use a crossfade. Listen for a dip, a bump, or a doubled mechanical hum.
- Lower the
ROOMclip with its gain line or the Inspector. Start quieter than you think, then bring it up until the gap stops sounding empty. - Add volume keyframes only when the location changes during the shot. For example, a door opening or a person moving closer may need a gentle level change rather than one constant bed.
- Solo the dialogue briefly to inspect the cut, then listen with all tracks enabled. The blend has to work in context.
Room tone should disappear into the scene, not announce itself as a sound effect.
For a detailed Fairlight mixing pass, use our guide to mix audio in DaVinci Resolve with Fairlight. If the recording contains a constant hum or noise, repair the source before you make many copies. Our guide to removing background noise from audio in DaVinci Resolve covers that separate cleanup decision.

What if I don't have usable room tone?
If you don't have usable room tone, first search the original production audio for a clean section from the same shot or location. If that fails, use a carefully chosen replacement ambience and treat it as a new sound-design element, not as proof that the original space has been perfectly restored.
The most natural fallback is often a nearby take. Open the full production clip, search beyond the handles around the edit, and listen for a stretch without words or movement. Keep its microphone perspective and background character in mind. A generic “quiet room” can make a cut worse when the real scene had strong air, traffic, or reverberation.
Disclosure: this is an affiliate link. If you subscribe through it, we may earn compensation, at no extra cost to you. That relationship doesn't change the recommendation: production audio from the same location remains the first choice.
If you need a licensed replacement, Epidemic Sound's room-tone catalog is one option alongside free libraries, your own recordings, and other sound-effects services. It lists room-tone and ambience effects, but the clip still needs to be chosen and blended for your scene. The service's licensing terms depend on the plan and use case.
Use a library when speed or a missing production recording matters more than a precise match. Search for the type of space, then shape it with level and fades so it sits behind the dialogue.
How do I know the room-tone edit is finished?
The room-tone edit is finished when the dialogue cuts stop calling attention to themselves, the ambience doesn't repeat obviously, and the repaired gaps hold up at normal listening level. Check the scene from start to finish instead of judging only the isolated patch.
Use this final pass:
- Listen once with headphones for clicks, breaths, and loop points.
- Listen once on your normal speakers for level changes and space changes.
- Toggle the
ROOMtrack off and on to confirm it is solving a real gap. - Check every patch after a dialogue trim. A new edit can expose a previously hidden tone clip.
- Keep the original recording and layered version until the final mix is approved.
A good room-tone edit is heard as continuity, not as an added effect.
The best next step is small: find one dialogue gap, make a ROOM track, patch it with sound from the same shot, and listen before you repair the rest of the scene. Once that first cut disappears, repeat the method.
Frequently asked questions
- How do I add room tone in DaVinci Resolve?
- Import or record matching ambience, put it on a separate Fairlight track under the dialogue, trim it across the gaps, and use fades or crossfades to hide the joins.
- How do I record room tone in DaVinci Resolve?
- On the Fairlight page, choose the track input, select and patch your microphone, arm the track with R, press record, and press the spacebar to stop.
- Why does my room tone sound like a loop?
- The repeated waveform, level, or background event is too obvious, so use a longer source, alternate sections, reverse every second fill with Back/Front Fill, and soften the joins with fades.
- How do I fill a dialogue gap with room tone in DaVinci Resolve?
- Copy a clean section from the same shot, mark the gap, paste or use Fairlight Audio Editor Fill, then trim and fade the patch until the cut sounds continuous.
- Can I use room tone from a sound library in DaVinci Resolve?
- Yes, but library ambience is a fallback rather than a perfect match for production audio, so choose a sound with the same kind of space and blend it quietly under the dialogue.
Sources
- DaVinci Resolve 21 final release and support
- DaVinci Resolve Fairlight audio workflow
- The Fairlight Audio Guide to DaVinci Resolve 18
- DaVinci Resolve 21 New Features Guide
- Dialogue Editing for Motion Pictures by John Purcell
- The Basics of Room Tone in Audio Editing
- Epidemic Sound room tone catalog
- TryUncle help and FAQ
Put this guide to work with TryUncle.
Ask about the step you’re on. TryUncle sees your screen and points at the control you need, so you can keep learning in your own project.
Get TryUncle for Mac or WindowsKeep reading
Guides · Jul 11, 2026 · 31 min
How to Mix Audio in DaVinci Resolve Using Fairlight
Mix audio in DaVinci Resolve's Fairlight page: build a dialogue/music/effects bus structure, gain-stage your clips, EQ and compress dialogue, then duck music under it.
Fixes · Jul 10, 2026 · 29 min
How to Remove Background Noise from Audio in DaVinci Resolve
Remove background noise from audio in DaVinci Resolve with the Fairlight Noise Reduction plugin, De-Hummer, Gate, or Voice Isolation. Exact settings, in order.
Guides · Aug 24, 2026 · 8 min
Best Sound Effects Library for YouTube Videos in 2026
Find the best sound effects library for YouTube videos, with honest picks for free, specialist, and recurring DaVinci Resolve workflows.