Articles / Guidesupdated for DaVinci Resolve 21.0.2 (July 2026)
How to Do a Split Screen in DaVinci Resolve (Step by Step)
Quick answer
Stack your clips on separate video tracks, select each one, and use the Inspector's Transform (Zoom, Position) and Crop tools to shrink and place it into its section of the frame. For a fast grid, use the Video Collage OpenFX filter instead. For animated or custom-shaped panels, build it in Fusion with Merge nodes.
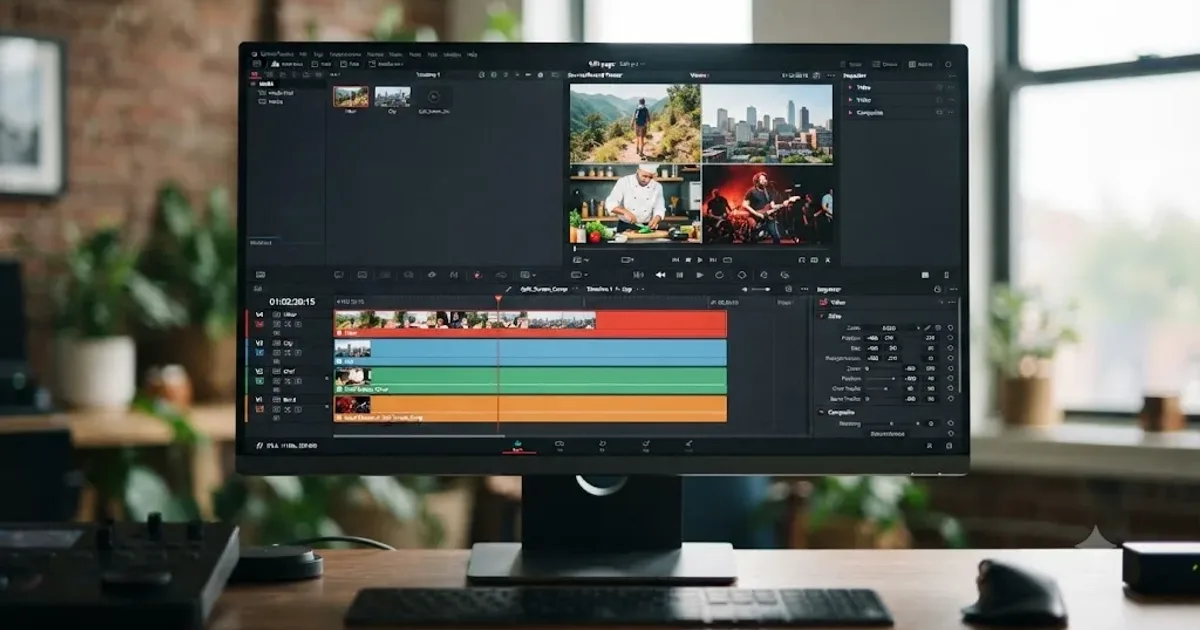
Four people on one screen, each in their own frame, all talking over each other on purpose. Or two dash cam angles of the same near miss, playing side by side so nobody has to argue about who had the light. That's a split screen, and DaVinci Resolve doesn't have a single button for it. It has three separate tools that get you there, and picking the right one saves you an hour you don't have.
I'll walk through all three: the manual method with stacked tracks and the Transform and Crop tools, the Video Collage filter for a fast grid, and Fusion for anything that needs to move, bend, or take a shape a rectangle can't. Then the parts nobody warns you about: clips that scale wrong, timelines that choke on four stacked 4K tracks, and audio that turns into mush the moment two people talk at once.
What is a split screen, and when do editors actually use one?
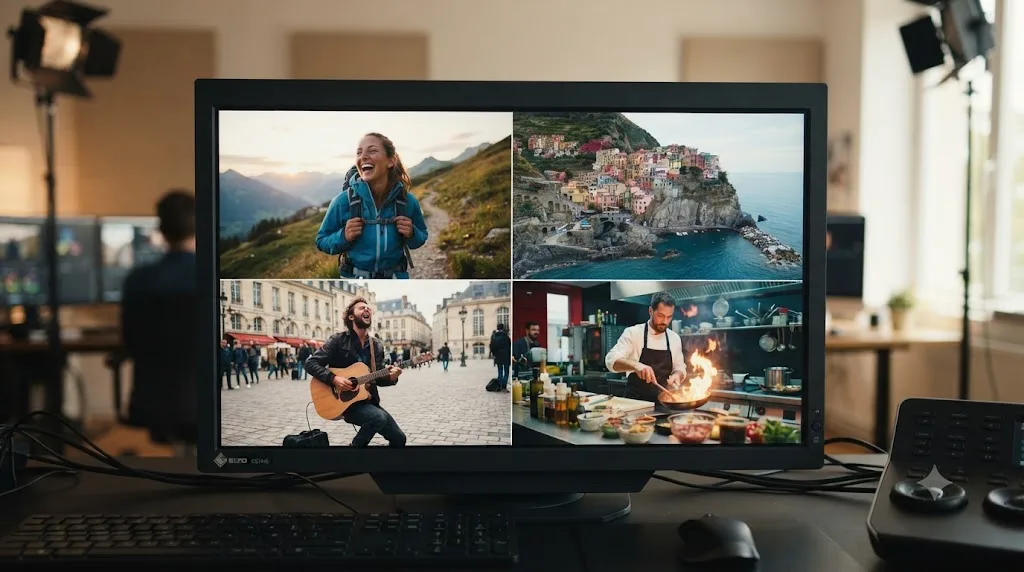
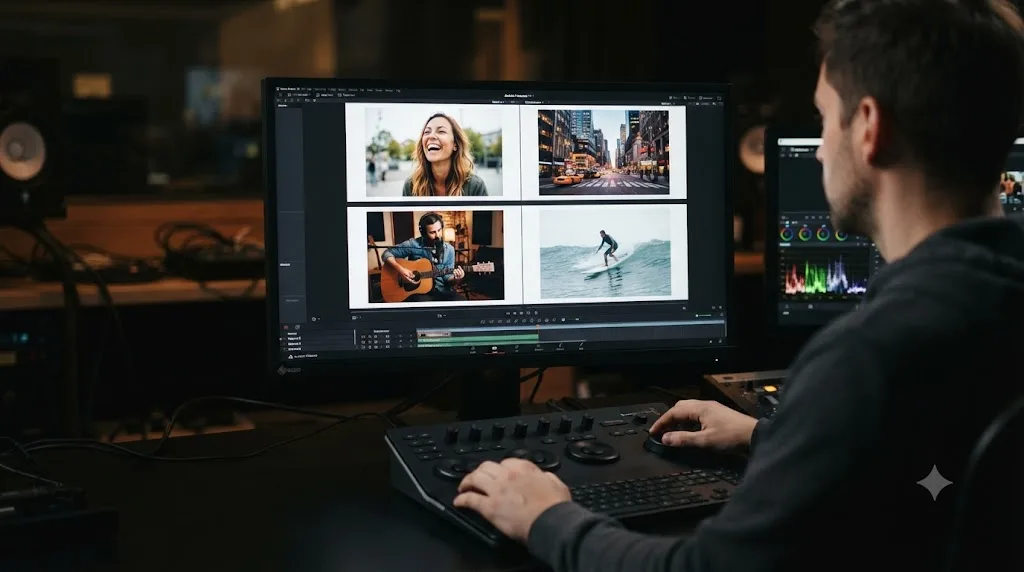
A split screen shows two or more video feeds in the same frame at the same time, each one occupying its own region instead of taking full-screen turns through cuts. That's the whole definition, but the reasons editors reach for it vary more than the technique does.
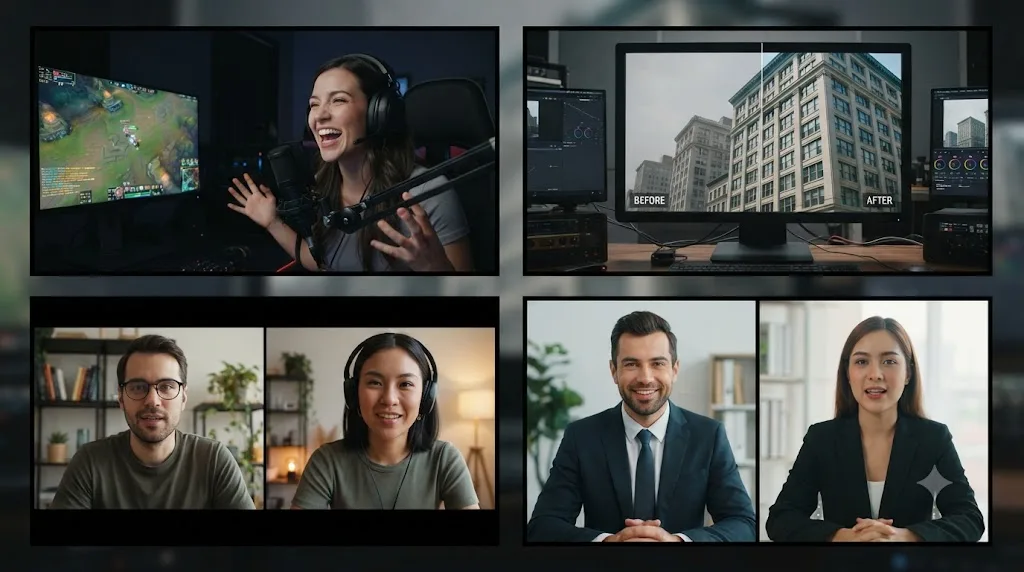
Reaction footage is the most common case on YouTube and social platforms: a streamer's face in one corner, gameplay filling the rest. Comparison work is the second big use, and it's a genuinely practical one, not just a stylistic choice. Motion Array's own walkthrough of the technique points out that split screens are valuable for comparing multiple shots side by side, making it easier to check consistency in color grading and framing, or to show different angles of the same scene at once, which is exactly why colorists build them before-and-after style when a client asks to see the difference a grade made.
Then there's narrative split screen, the kind you've seen in phone-call scenes since the 1960s and in prestige dramas today: two characters in two places, sharing a frame because the story needs the audience to hold both moments at once. And there's the practical, less glamorous case: a two-camera interview or podcast where you want both people visible throughout, without cutting back and forth every time someone talks.
A split screen is a compositing decision, not an editing decision, which is why DaVinci Resolve treats it as a layout problem rather than a single preset. Once that clicks, the three methods below stop looking like three unrelated workflows and start looking like three ways of solving the same layout math.
What are the three ways to build a split screen in DaVinci Resolve?
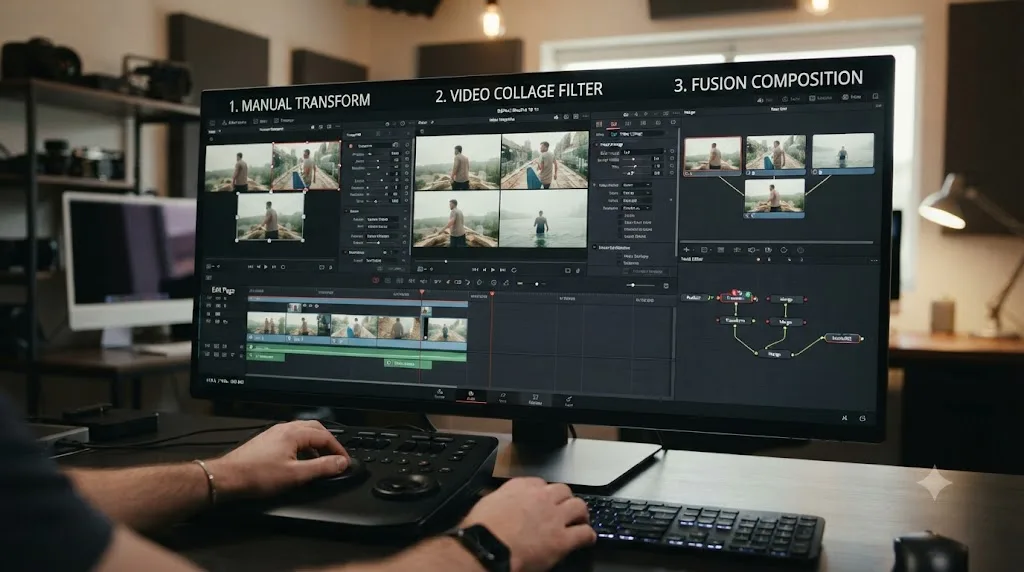
Resolve gives you three genuinely different paths to the same result, and each one trades control for speed differently.
| Method | Where it lives | Best for | Trade-off |
|---|---|---|---|
| Manual Transform and Crop | Edit page, Inspector | Precise, custom layouts with full control over every panel | Slowest to set up, most repetitive for grids larger than 2x2 |
| Video Collage filter | Effects Library > Open FX > Resolve FX Transform | Fast, even grids of 2 to 9 clips | Less flexible for uneven or overlapping layouts |
| Fusion (Merge nodes) | Fusion page, or a New Fusion Clip from Edit | Animated panels, non-rectangular shapes, synchronized moves | Steepest learning curve of the three |
The manual method is the one every version of Resolve has always supported, and it's the one you'll fall back on when a layout doesn't match a preset. The Video Collage filter, which Blackmagic added around Resolve 17, is the shortcut for the most common request: an even grid of clips, four quadrants or a 3x3 wall, built in minutes instead of manually positioning each one. Fusion is the deep end, and it's worth learning specifically when a panel needs to move, resize, or change shape over the course of the shot, something neither of the other two methods handles gracefully.
Most editors end up using all three across different projects, sometimes in the same one: Video Collage for a quick four-way comparison grid, manual Transform for a two-way interview layout with an asymmetric split, Fusion for the one shot where a panel needs to slide in from off-screen. Pick based on the shape of the layout you actually need, not the tool you're most comfortable in.
How do you build a basic two-way split screen on the Edit page?
Start here even if your final layout has more than two panels, because the two-way split teaches you the exact mechanic you'll repeat for every additional panel.
- Add a second video track. Right-click in the track header area on the left of the timeline and choose Add Track > Video, or use the keyboard shortcut if you've set one. You now have V1 and V2, stacked, with V2 sitting on top in the composite.
- Place your two clips. Drop your first clip on V1, and your second clip directly above it on V2, aligned so both start at the same point on the timeline.
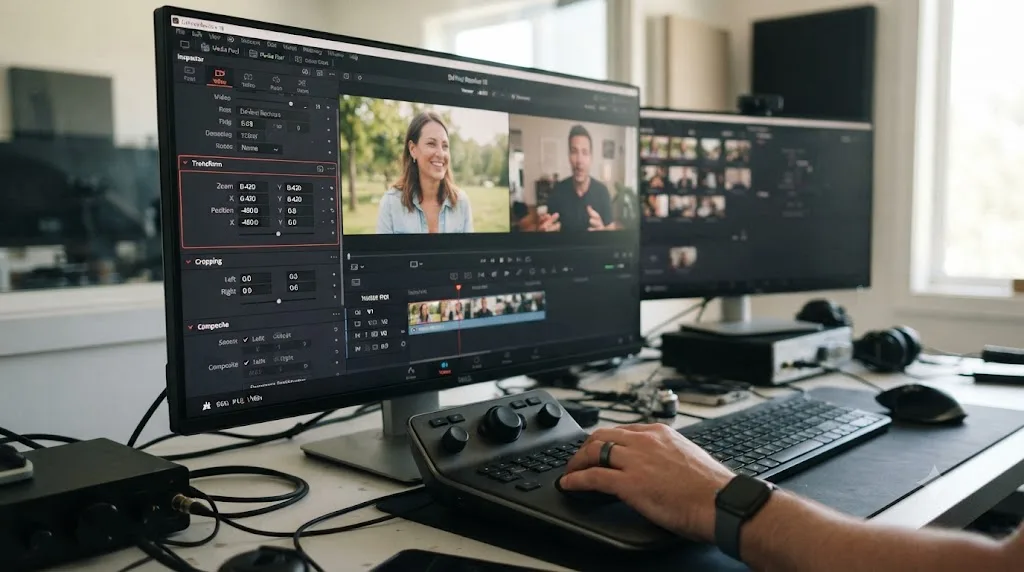
- Select the top clip and open the Inspector. Click the clip on V2, then open the Inspector panel (the button in the top right of the interface, or its keyboard shortcut). You'll land on the Video tab, where Transform and Crop both live in the same scrollable panel.
- Scale it down with Transform. Find the Zoom control. Break the link between the X and Y fields if you want independent horizontal and vertical scaling, or leave them linked for a uniform shrink. For a clean left-right split, scale the clip down to roughly 50% and use Position X to slide it to one side of the frame.
- Nudge the Position fields until the edges meet. Position X and Y in the Inspector move the clip's center point. For a left-right split, you're aiming for the scaled clip's edge to sit exactly on the frame's vertical center line, with no gap and no overlap against the layer below.
- Repeat steps 3 through 5 on the V1 clip, scaling and positioning it into the other half of the frame.
Motion Array's guide to the technique describes the same core move for the first clip: select it, open Transform, and scale and place it to a quarter (or half, for a two-way split) of the screen's size, using the Position X and Y fields to lock it into its region. That's the entire mechanic. Everything past a two-way split is this same sequence, repeated with smaller fractions.
One habit worth building immediately: label your tracks. Double-click the track name in the header and rename V1 and V2 to something like "Left" and "Right," or "Cam A" and "Cam B." It sounds trivial on a two-way split. It stops being trivial the moment you're six tracks deep into a grid and can't remember which one is drifting a pixel out of alignment.
How do you build a three-way or four-way split screen?
The math changes, the mechanic doesn't. Every additional panel is another track, another clip, another pass through Transform and Crop, sized to fit its fraction of the frame.
For a four-way grid (2x2, one clip per quadrant), you're working in quarters instead of halves:
| Panel | Zoom | Position X | Position Y |
|---|---|---|---|
| Top left | 50% | Negative quarter-width offset | Positive quarter-height offset |
| Top right | 50% | Positive quarter-width offset | Positive quarter-height offset |
| Bottom left | 50% | Negative quarter-width offset | Negative quarter-height offset |
| Bottom right | 50% | Positive quarter-width offset | Negative quarter-height offset |
The exact pixel values depend on your timeline resolution, but the pattern holds: scale every clip to 50%, then use Position to push each one into its own quadrant. Resolve's Position fields default to a value that represents distance from center, so a 1920x1080 timeline needs roughly 480 pixels of horizontal offset and 270 of vertical offset to center each quarter-sized clip in its quadrant, adjust from there by eye against the frame guides.
A three-way split is where the math gets less tidy, because thirds don't divide a 16:9 frame as cleanly as halves or quarters. The two common layouts: three equal vertical columns (each clip scaled to roughly 33% width, full height), or one large panel with two smaller ones stacked beside it, an asymmetric layout that reads better for an interview with one host and two guests. For the equal-thirds layout, scale each clip's width to about a third and nudge Position X until the three edges meet with no gap. For the asymmetric layout, the hero panel keeps close to full height at maybe 60-65% width, and the two secondary panels stack in the remaining strip, each scaled to fit half that strip's height.
Whichever layout you're building, do the math on paper or in a note first, not by eye in the Inspector. Three or four panels is enough that eyeballing edges leads to hairline gaps that only show up once you zoom into a screenshot or export a still, and by then you've moved on to five other clips and forgotten which panel needs a two-pixel nudge.
Should you use Crop or Transform to size each panel?
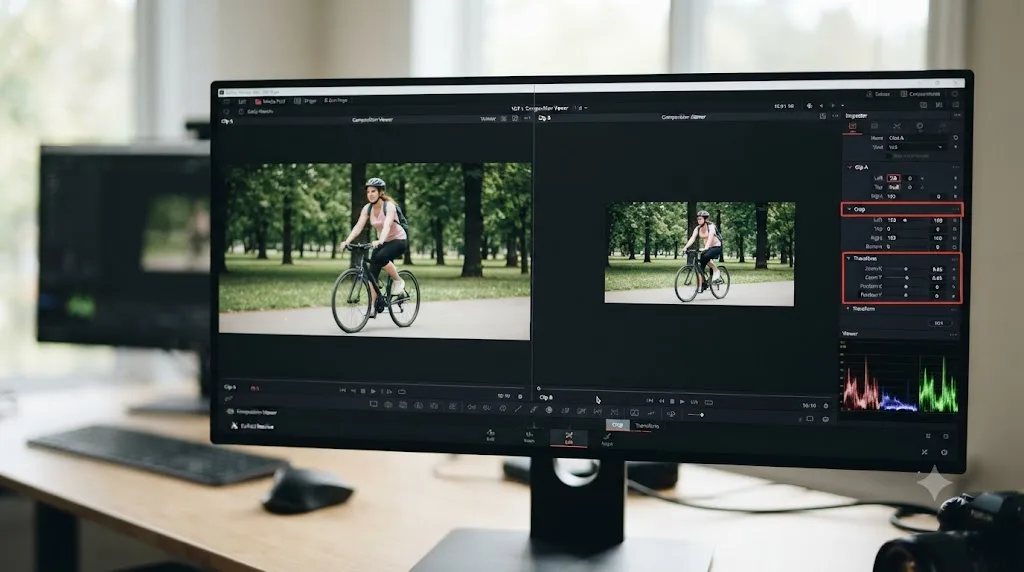
Both, usually, and they solve different problems. Transform's Zoom and Position move and resize the entire clip as a rectangle. Crop trims the edges of that rectangle away without resizing what's left inside it.
Use Transform alone when your source footage already has roughly the right composition and you just need it smaller and moved into position. This is the common case for a talking-head reaction shot: the subject is centered, there's headroom, and shrinking the whole frame down to a quarter of its size doesn't cut anything important off.
Reach for Crop when the source composition doesn't match the panel shape you need. A 16:9 clip forced into a tall, narrow panel through Transform alone will either look squeezed (if you scale X and Y independently, which distorts the image) or leave empty space around a correctly-proportioned but too-small image. Crop lets you trim the sides of a 16:9 frame down to something closer to the panel's actual aspect ratio before Transform scales what's left, so the subject fills the panel without distortion or dead space.
A specific technique worth knowing, confirmed by multiple editors discussing exactly this workaround on the Blackmagic forum: cropping the top track reveals whatever sits on the track below it, at the cropped edge. For a simple two-way split, you can put your full-frame clips on two tracks and crop the top one from, say, the right edge inward to the halfway point. The left half of the top clip covers the frame as normal, and the right half, now cropped away, lets the bottom clip's footage show through underneath. It's a faster path to a clean two-way split than scaling and positioning both clips independently, because you're only touching one control on one clip.
The two tools stack. A common real sequence: crop a clip to change its effective aspect ratio, then Transform the cropped result to fit its panel size and position. Do the crop first, always. Cropping after you've already scaled a clip trims a different, distorted region than you'd expect, because the crop percentages apply to the post-Transform frame, not the source.
How do you use the Video Collage filter for a fast grid split screen?
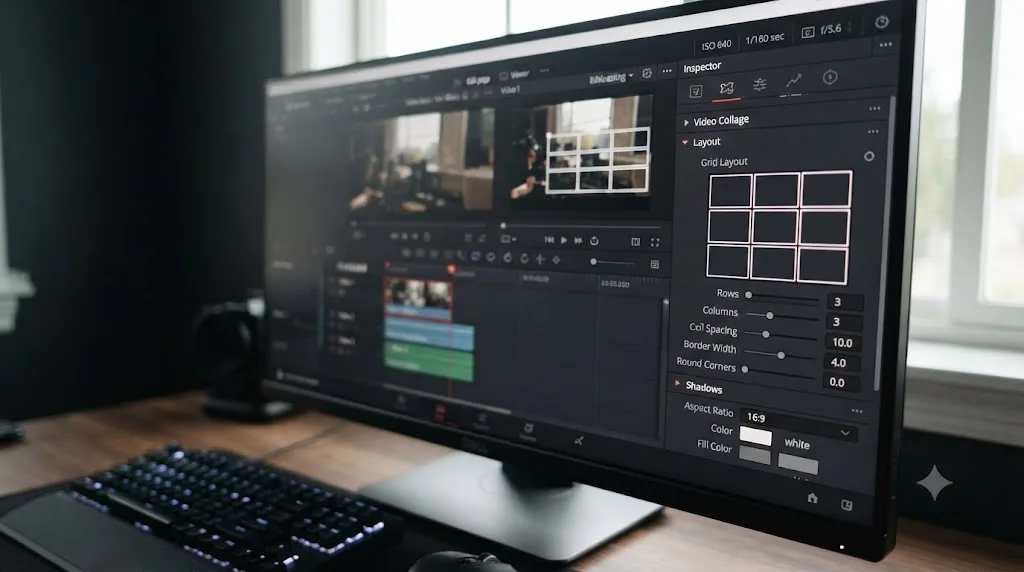
If your layout is an even grid, two, four, six, or nine equal tiles, skip the manual Transform work entirely. DaVinci Resolve's Video Collage filter, added to the Resolve FX Transform category around version 17, builds the grid for you and lets you assign clips to tiles instead of positioning each one by hand.
Here's the workflow, based on Edits101's step-by-step walkthrough of the effect:
- Stack your clips on separate video tracks, one per panel, the same setup as the manual method.
- Solo the bottom track by hiding the visibility of every track above it, so you're only looking at the first clip while you set up the effect.
- Search the Effects Library for "Video Collage" under Open FX > Filters > Resolve FX Transform, and drag it onto the first clip.
- Set your grid in the Inspector. The filter defaults to a 2x2 grid, four tiles. Adjust Columns and Rows under Layout to match however many clips you actually have.
- Copy the effect's attributes with Edit > Copy (or right-click > Copy Attributes), making sure the Filters/plugins checkbox is included in what you're copying.
- Paste those attributes onto every other clip in the stack, then use the "Manage Tiles" or per-clip tile assignment control to tell Resolve which clip fills which position in the grid.
- Add a background layer on the lowest track, either an imported image or one of Resolve's built-in generator textures, and apply Video Collage to it as well, selecting "Create Background" instead of "Create Tile" so it fills the space behind and between your panels rather than becoming another tile itself.
Motion Array's own description of the effect lists the same effects-panel path, Effects Library > Open FX > Filters > Resolve FX Transform > Video Collage, dragged directly onto the first clip, with Columns and Rows under Layout controlling how many tiles appear.
A grid split screen you'd spend twenty minutes building by hand with Transform and Position takes closer to five minutes with Video Collage, because the filter does the placement math for you. What you give up is asymmetry. Video Collage wants even rows and columns; the moment you need one hero panel and two smaller ones, you're back to manual Transform or Fusion.
Two extra controls worth knowing once the grid is up: each tile has its own Mute checkbox in the Inspector if you want to temporarily hide one panel without deleting the clip, and a Drop Shadow option per tile adds a soft edge that helps separate panels visually without a hard border line. There's also Tile Animation, which lets individual tiles keyframe in and out over time rather than all appearing at once, useful for a reveal where panels build up one at a time instead of all snapping into place on frame one.
Keep the tile count reasonable. Edits101's guide recommends staying between 2 and 9 clips for the cleanest result, past that point each panel gets small enough that detail and readability suffer regardless of your source resolution.
Should you use Composite Modes for a split screen, and what do they actually do?
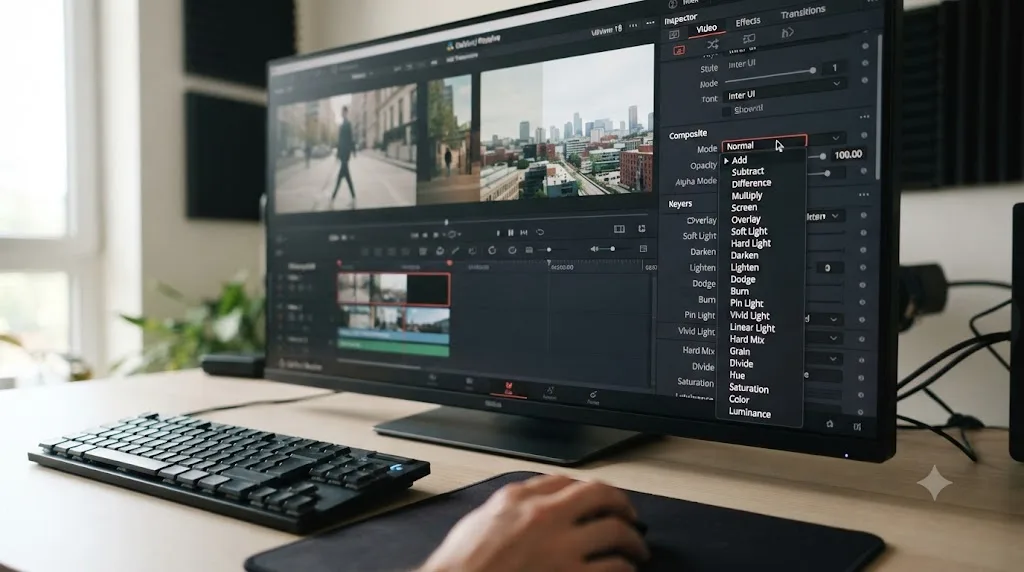
Composite Modes are Resolve's name for blend modes, the settings that control how a track's pixels mathematically combine with whatever's underneath. For a straightforward split screen, you mostly won't touch them, because the default, Normal, already does the right thing: the top layer simply covers the layer below wherever it isn't transparent or cropped away.
Per Blackmagic's own manual, composite modes are used specifically on clips that are superimposed over other clips in the Timeline, and you apply one by selecting the upper clip, opening the Video Inspector, and choosing an option from the Composite Mode dropdown. PremiumBeat's walkthrough of the feature describes the same access path: place your overlay on the track above your footage, select the Video tab in the Inspector, and change the Composite Mode with the dropdown menu, with opacity adjustable in the same panel.
Where Composite Modes become genuinely useful for split screen work is borders and mattes, not the panels themselves. If you build a black-and-white shape, a rectangle, a diagonal line, an irregular mask, and put it on its own track above your panel clips, switching that shape's Composite Mode to Alpha or Luma lets its brightness or transparency values control what shows through from below, rather than simply covering it. That's the mechanism behind hard-edged borders and non-rectangular splits without leaving the Edit page for Fusion.
Composite Modes don't build the split itself, Transform and Crop do that, but they're the tool that turns a plain edge between two panels into a deliberate border or an irregular shape. Treat Normal as your default for the panel clips themselves, and reach for a different mode only when a matte or overlay needs to interact with the layers below it in a specific way.
How do you build a split screen in Fusion for animated or custom-shaped panels?
Fusion is the right tool the moment your split screen needs to do something the Edit page's Transform and Crop can't: panels that move during the shot, edges that aren't straight lines, or several panels that need to animate in perfect sync with each other rather than being keyframed one at a time.
To get into Fusion with your clips already loaded, select them on the Edit page timeline and right-click, choosing New Fusion Clip. That bundles the selected clips into a single Fusion composition you can build inside, rather than starting from an empty Fusion timeline and importing footage manually.
The core building block is the Merge node, Fusion's equivalent of stacking two layers. A Merge node takes a background input and a foreground input and combines them according to its Operation setting: Over is the default and most common, foreground sits on top of background wherever it isn't transparent. JayAreTV's breakdown of the node lists the other operation modes, In, Held Out, Atop, and XOr, each changing how the two inputs interact at their overlapping edges, and flags the single most common mistake beginners make with it: mixing up the yellow (background) and green (foreground) inputs, which flips which layer sits on top and inverts the whole composite.
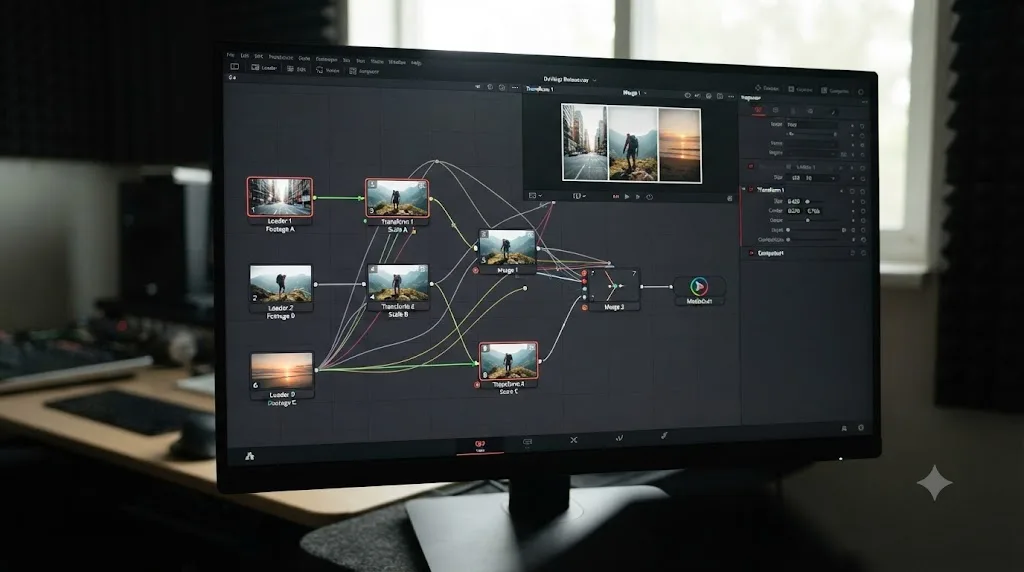
For each panel, the pattern is: a Loader (or the clip already in your Fusion composition), a Transform node to scale and position it, feeding into a Merge node that combines it with everything already built. Chain Merge nodes together, one per additional panel, and you build up the full split screen the same way you stacked tracks on the Edit page, just as a node graph instead of a timeline.
Custom shapes come from masks. Draw a Polygon or Rectangle shape over the region you want a panel to occupy, connect it into the Merge node's mask input, and only the masked region of that panel's footage shows through. This is how you'd build a diagonal split, a circular panel, or an irregular shape that a simple crop rectangle can't produce.
Where Fusion earns the extra learning curve is synchronized animation. A forum user on Creative COW asked specifically how to keep zoom and reposition moves synchronized across a dual split screen, and another user, Glenn Sakatch, gave a direct answer: "This is what fusion is meant for. Once you learn the basics (loader, transform, animate and saver) it should take you about 5 mins." That's the honest pitch for Fusion here: once the four-node vocabulary clicks, animated split screens stop being a special case and become an ordinary keyframing task, animating the Transform node's Center or Size parameters the same way you'd animate any other Fusion property.
Marc Wielage, a working colorist and re-recording mixer who answers regularly on Creative COW, made the case for going a level further on a genuinely complex split screen. Responding to an editor asking how to handle multiple split-screen shots in the same project, he said plainly: "I think this is a VFX issue, and you do need for that to be rendered before you get it." His recommendation for anything beyond a simple two-way or four-way grid: build and render the composite in a dedicated compositing tool, then bring the flattened result back into Resolve as a single clip, rather than trying to manage a dozen tracks of live Transform and Crop math inside the edit timeline itself.
How do you add borders and gaps between split-screen panels?
A hard edge where two panels meet reads as accidental. A visible border, even a thin one, reads as designed. Neither the manual Transform method nor Video Collage has a single-click border toggle, so this is a small extra step regardless of which method built your split.
The simplest approach: leave a gap when you crop or position each panel, and let a solid color show through underneath. Instead of cropping panel edges to meet exactly at the frame's center line, crop each one to leave a few pixels of space, then drop a solid color generator (Effects Library > Generators > Solid Color) on the lowest track in your stack. Whatever color you choose fills every gap between panels automatically, because it's the last thing the composite falls back to wherever nothing above it is opaque.
For the Video Collage filter, the same idea has a dedicated control: Tile Styling in the Inspector includes border color and width settings per tile, so you can add a consistent border across every panel in the grid without building a background layer manually.
For non-rectangular borders, thin diagonal lines, rounded panel corners, curved dividers, that's Fusion territory again. Build the border as its own shape, either a Rectangle or Polygon tool traced along the seam between panels, filled with your border color, and merged on top of the panel composite as its own layer. It's more setup than a straight-line gap, but it's the only reliable way to get a border that follows a shape a crop rectangle can't describe.
A border between split-screen panels is rarely one setting, it's whatever's visible in the gap you deliberately left, which means the border color lives on the layer underneath your panels, not on the panels themselves. Once that clicks, adding, removing, or changing a border is a one-layer edit instead of touching every panel clip individually.
How do you keep audio in sync when multiple people talk at once in a split screen?
Building the visual layout is only half the job on an interview or podcast split screen. The audio underneath it has its own set of decisions, and getting them wrong is more noticeable to a viewer than a slightly misaligned panel edge.
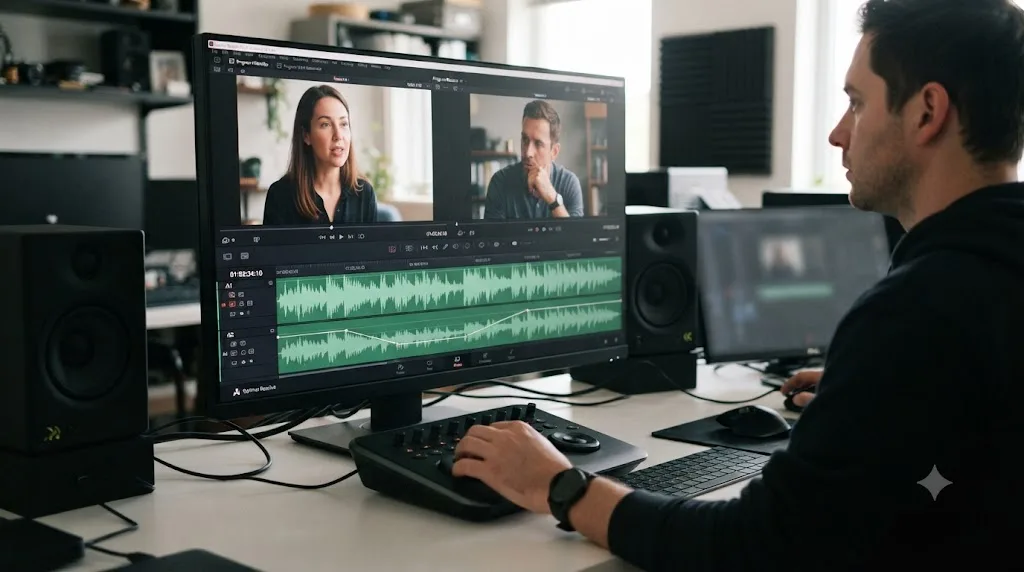
Start with sync itself. Every panel's audio needs to originate from the same point in time as its video, which means the same waveform-or-timecode sync discipline that applies to multicam clips applies here too. If your split screen sources came from separate cameras that weren't jam-synced, sync them the same way you'd sync a multicam clip, timecode if available, waveform matching on a shared sound if not, before you build the split screen layout on top of them. Our multicam sync guide covers the exact fixes if an angle drifts after you've already built the composite; the same nudge and Audio Offset techniques apply whether the clips end up in a multicam clip or side by side in a manual split.
Once sync is solid, the creative question is what the audience actually hears. Two common approaches:
| Approach | What it sounds like | When it works |
|---|---|---|
| Full mix, all sources audible | Every panel's audio plays at a level near its neighbors | Casual reaction content, ambient multi-camera scenes where overlap is the point |
| Ducked or isolated, one dominant source | One panel's audio sits clearly on top, others are lowered or muted | Interviews, podcasts, anywhere clarity of one speaker matters more than atmosphere |
For the ducked approach, keyframe each track's volume, or use Fairlight's automation, so the currently-relevant speaker's audio sits highest and the others drop, even if their video stays visible. A common technique on interview splits: keep both speakers' audio roughly balanced during natural back-and-forth conversation, but duck the non-speaking party's track slightly whenever one person talks for an extended stretch, so overlapping room tone or breathing doesn't compete with the primary voice.
Watch for one specific trap: if your split screen sources share a room, like two cameras on the same podcast setup, each camera's on-board mic is also picking up bleed from the other person, delayed by however far the cameras sit apart. Playing both tracks at full volume stacks two versions of the same room audio with a slight delay between them, producing a smeared, phasey sound even when the sync is technically correct. The fix is usually to mute the on-camera mics entirely and cut to isolated lav or boom audio for each speaker, keeping the camera audio muted and used for video only.
Why does your split screen look misaligned, stretched, or scaled wrong?
This is the single most common complaint editors post about split screens in Resolve, and it almost never traces back to Transform or Crop themselves. It traces back to a mismatch upstream of them.
The number one cause is a resolution mismatch between your source clips and your timeline. A clip shot at a resolution different from your project's timeline resolution, say a 3200x1800 ProRes file dropped into a 1920x1080 project, doesn't scale the way you'd expect once you apply Transform on top of the automatic conform Resolve already performed on import. One editor on the Blackmagic forum described exactly this: split-screen clips at a non-matching resolution appeared zoomed and cropped incorrectly compared to how they looked before Transform was applied.
The fix is to check every source clip's actual native resolution, right-click it in the Media Pool, choose Clip Attributes, and compare it against your Project Settings resolution before you build anything. If they don't match, either conform the clip's resolution in Clip Attributes to genuinely match your timeline, or account for the mismatch in your Zoom percentages rather than assuming 50% always means exactly half the visible frame.
The second cause, and a genuinely well-documented one, is importing an already-built split screen sequence via XML or AAF from another editing system. Marko Milovanovic described this failure on Creative COW in blunt terms: after importing a project with split screens from another NLE, "it messes up shots, moving them closer to each other or even putting them one above other." Marc Wielage's response in the same thread doesn't sugarcoat the underlying reality: "Complex visual effects like split screens are not going to import well into any editing system, Resolve included." His recommended workaround is worth taking seriously if you're bringing in a project built elsewhere: import each split-screen shot as its own full-frame clip, color correct it separately if needed, then rebuild the composite in Resolve directly (or in a dedicated compositing tool and bring back a flattened file) rather than trusting a cross-application XML translation to preserve exact Transform values.
Joseph Owens, replying in the same thread, traced the mechanism behind that specific failure: it comes down to "a mismatch between how the NLE creates the PTRZ factors and how Resolve interprets them," PTRZ referring to the position, rotation, and zoom values every editing app stores slightly differently under the hood. A percentage-based scale value in one NLE doesn't always translate to the same percentage in Resolve's own Transform math, especially across clips with non-square pixels or mismatched aspect ratios.
| Symptom | Likely cause | Fix |
|---|---|---|
| One panel is zoomed in or out compared to how it looked before Transform | Clip resolution doesn't match timeline resolution | Check Clip Attributes, conform or adjust Zoom percentages accordingly |
| Panels shifted, overlapping, or stacked wrong after an XML/AAF import | Cross-application Transform value translation error | Rebuild the split directly in Resolve rather than trusting the import |
| A vertical phone clip looks squeezed or distorted in its panel | Aspect ratio mismatch, Zoom X and Y linked when they shouldn't be | Break the Zoom link, Crop before Transform instead of after |
| Edges of adjacent panels don't quite meet, hairline gap visible | Position values calculated by eye instead of by the math | Recalculate Position offsets from your actual timeline resolution |
A split screen that looked correct before you touched Transform and looks wrong after almost always means the underlying clip's actual resolution doesn't match what you assumed it was, not that Transform is broken. Check Clip Attributes first, every time, before you start adjusting numbers to compensate for a problem that lives one step earlier in the pipeline.
Why does DaVinci Resolve stutter or lag with a stacked split-screen timeline?
Every visible track in a split screen adds to what your GPU has to composite for a single frame of playback, and that cost is additive, not free. A four-way 4K split screen isn't four times the pixels of a single 4K clip on your monitor, but it is genuinely close to four times the decode and composite work your graphics card does for every frame, and that adds up fast on a system that was already close to its limit with a single track.
If you're seeing dropped frames, red or yellow render bars, or outright stutter once you've stacked three or more tracks, work through these in order:
- Drop the Timeline Proxy Resolution. Playback > Timeline Proxy Resolution > Half or Quarter reduces the pixel count Resolve processes for on-screen playback without touching your actual grade or export quality. For a multi-track split screen preview, this is usually the single biggest win available in one click.
- Turn on Smart render cache. Playback > Render Cache > Smart pre-renders the taxing parts of your timeline in the background and plays the cached result instead of recalculating the composite live every time you scrub past it.
- Use proxy media for your source clips, not just timeline proxy resolution. If your split screen sources are heavy codecs like camera-original H.265 or high-bitrate ProRes, generating and switching to Optimized Media or lower-resolution proxies cuts decode cost on every one of the stacked tracks, not just the composite math on top of them.
- Check your actual VRAM headroom. Puget Systems' hardware guidance for Resolve recommends at least 12GB of VRAM for a single 4K timeline, and a multi-track composited split screen pushes well past what a single-layer timeline needs. If you're regularly hitting a GPU memory ceiling while building split screens, our GPU memory guide covers the fixes in more depth, including how much VRAM different resolutions realistically need.
Blackmagic's own published minimum spec calls for an integrated or discrete GPU with at least 2GB of VRAM to run Resolve at all, a figure that was never meant to describe comfortable multi-track compositing, only the floor for the software to launch and edit a simple timeline. A stacked split screen with several 4K sources and Fusion-built masks is exactly the kind of workload that minimum spec doesn't anticipate.
A split screen timeline that plays smoothly at half proxy resolution but stutters at full resolution isn't a broken project, it's a GPU doing exactly the amount of extra work you asked it to do by stacking that many layers. Judge fine detail, like grain or a subtle border, at full resolution before you commit to an export, but do the actual building and trimming work at a lower proxy resolution to keep your session responsive.
Do you need DaVinci Resolve Studio for a split screen, or does the free version work?
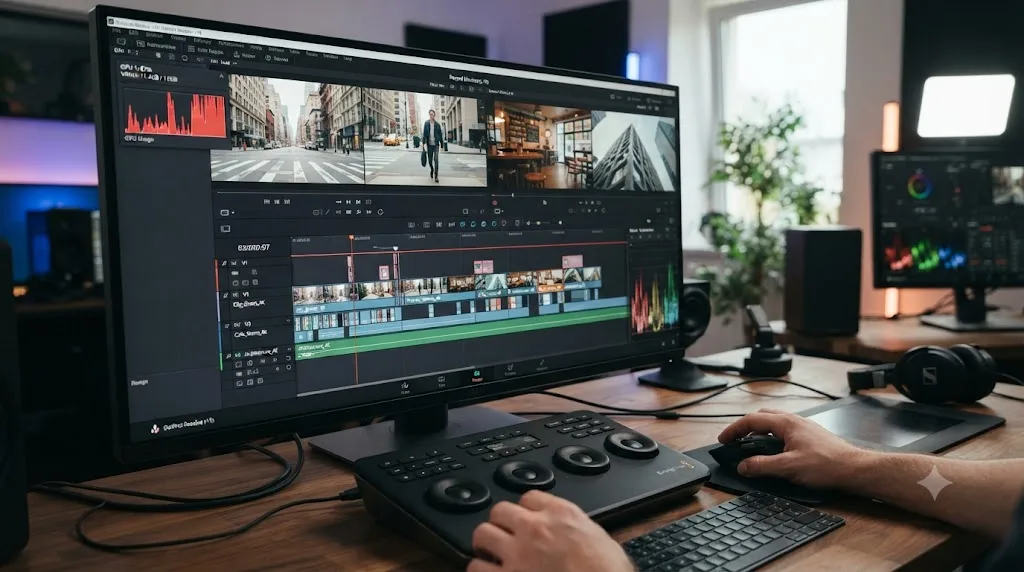
The free version. Every technique covered in this guide, stacked video tracks, Transform, Crop, Composite Modes, and the core Fusion node tools, works in the free edition of DaVinci Resolve.
Blackmagic Design's own free-versus-Studio comparison page lists what Studio's $295 one-time purchase actually adds: the DaVinci Neural Engine's AI tools like automatic region tracking, stereoscopic 3D tools, additional Resolve FX filters, more Fairlight audio plugins, advanced HDR grading, 10-bit support past 4K and 60fps, text-based editing, Magic Mask, Film Grain, Optical Blur, and temporal or AI-assisted noise reduction. Split screen, Video Collage, and the Resolve FX Transform category the filter lives in aren't listed among those Studio-exclusive items.
What the free version does cap, per that same comparison page, is resolution and bit depth broadly: "The free version works with virtually all 8-bit video formats at up to 60fps in resolutions as high as Ultra HD 3840 x 2160." That ceiling applies to your whole project, not specifically to split screen work, so it only becomes relevant if your split screen sources or delivery target push past 4K or need 10-bit color, not because of anything about the split screen technique itself.
| Feature used in this guide | Free version | Studio |
|---|---|---|
| Stacked video tracks | Yes | Yes |
| Transform (Zoom, Position) | Yes | Yes |
| Crop | Yes | Yes |
| Composite Modes | Yes | Yes |
| Video Collage OpenFX filter | Yes | Yes |
| Fusion page, Merge and Transform nodes | Yes | Yes |
| Resolution above 3840x2160 | No | Yes |
| 10-bit color, frame rates above 60fps | No | Yes |
If you're weighing the Studio upgrade for reasons beyond split screen work, our beginner's guide to DaVinci Resolve breaks down the full free-versus-Studio decision, including which of Studio's AI tools are actually worth the money for a given kind of project.
Are there free or paid split-screen templates worth using?
A few, and it's worth knowing what they actually give you before downloading one expecting it to save all the setup work above.
Mixkit offers a set of free DaVinci Resolve templates under its own free license, including Vertical Split Frame and Horizontal Split Frame layouts. Worth a caveat before you grab one: these lean toward split-transition and graphic-overlay effects rather than true multi-feed split screens where two live video sources play simultaneously. They're a faster starting point for a stylized split-reveal transition than for a reaction-cam or comparison layout.
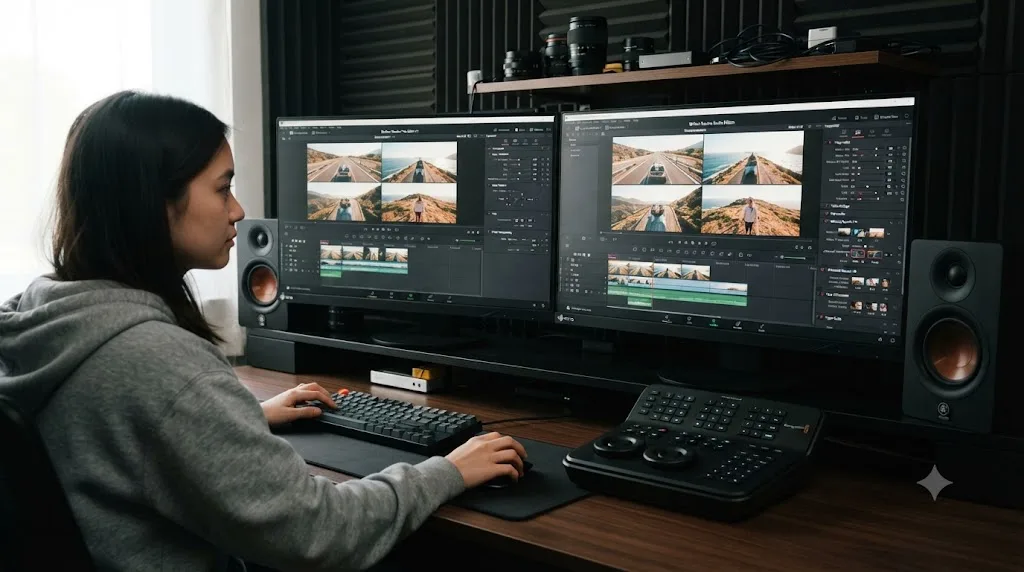
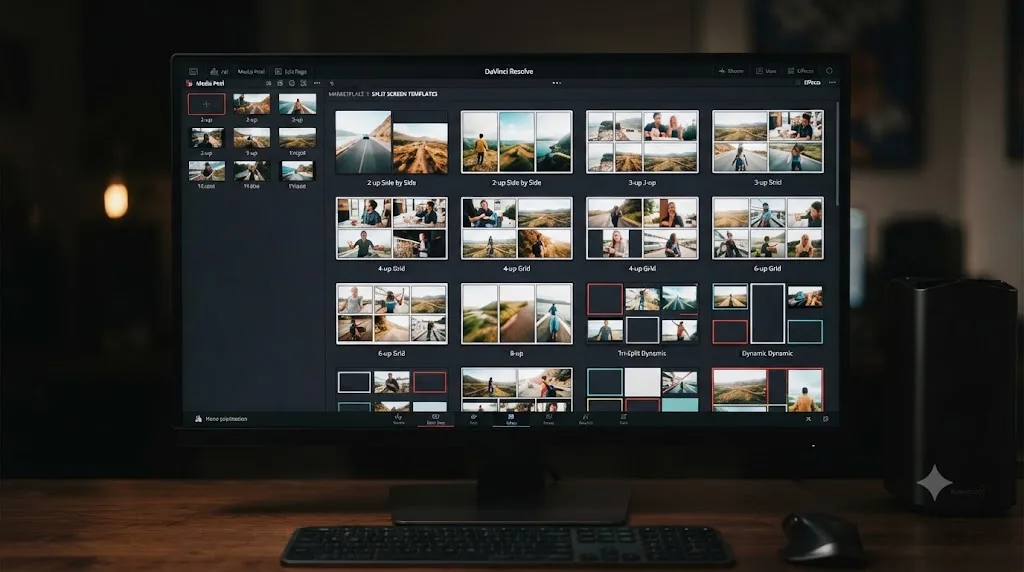
For genuine multi-panel layouts, Motion Array's "Split Screens Kit" by Vesna is a paid template product built specifically for DaVinci Resolve, offering pre-built halves, thirds, quarters, and ninths layouts you drop your own footage into rather than building Transform and Position values from scratch. It's the closest thing to a true template shortcut for the grid layouts this guide covers manually.
FxFactory sells a dedicated "Splitscreen and PiP" plugin aimed at editors who build these layouts often enough that a purpose-made tool with saved presets beats reassembling Transform and Crop values on every new project.
The honest trade-off with any of these: a template saves you the repetitive Transform math for a standard layout, but it doesn't teach you the underlying mechanic, and the moment your project needs a layout the template didn't anticipate, an odd aspect ratio, an animated reveal, a border shape a preset doesn't support, you're back to the manual method or Fusion regardless. Learn the manual technique first, even if you plan to buy a template for production work later. You'll know exactly what to adjust when the template doesn't quite fit.
How do professional editors use split screen creatively, beyond side-by-side comparisons?
Split screen has a longer history in narrative film than most editors realize, and knowing a few of its non-obvious uses expands what you reach for it in your own work.
One director's name comes up specifically and repeatedly among editors discussing the technique on forums like Creative COW. Arnie Schlissel, responding in a thread about handling split screen shots, noted that director David Fincher has become "notorious for doing this when he has multiple characters in a shot," using split screen not as a gimmick but as a way to hold two performances in frame simultaneously without cutting away from either one, letting the audience watch both reactions at once instead of choosing one over the other through editing.
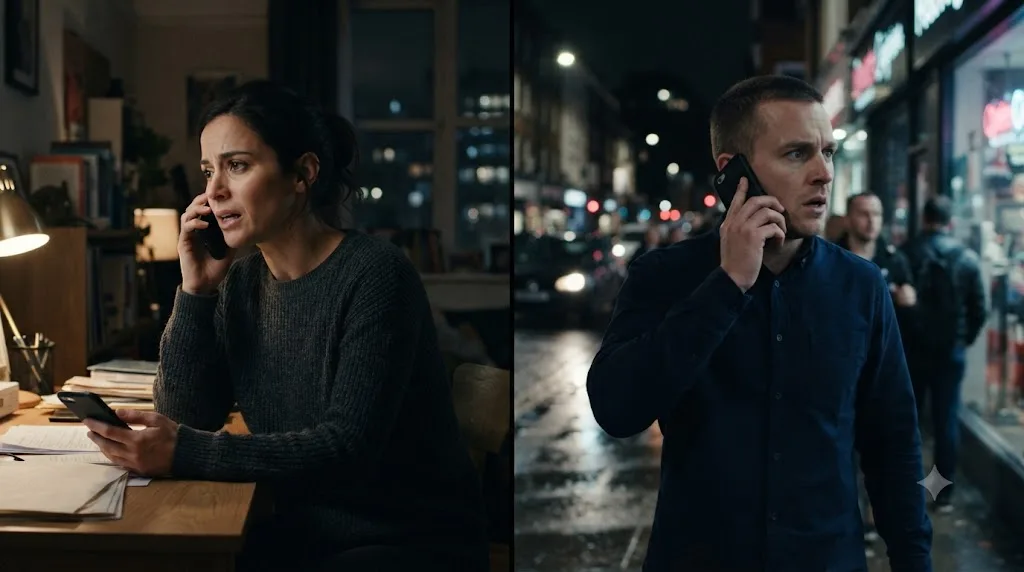
That's the pattern worth internalizing: the strongest creative uses of split screen aren't really about fitting more footage into one frame, they're about the specific thing a cut would cost you if you used one instead. A phone call scene loses something if you cut back and forth between the two callers, the audience has to hold the other person's reaction in memory rather than watching it happen. A side-by-side comparison of a before-and-after color grade loses its persuasive power if you show one, then the other, then ask the viewer to remember what the first one looked like. A multi-character confrontation loses tension if the camera has to leave one person's face to show another's.
Joseph Owens, in the same Creative COW discussion, described working on a series where split screen appears regularly, and noted a detail worth remembering for anyone shooting toward a planned split composite rather than just building one from unrelated footage after the fact: the cinematographer on his project was "religious to the point of fanatical with his lighting," matching light and exposure carefully across the separately-shot elements specifically because they were destined to sit side by side in the same frame. A split screen composited from two clips lit and exposed inconsistently reads as fake the instant a viewer's eye crosses the seam, no matter how clean the Transform and Crop math is. If you have any control over the shoot, matching light and white balance across your split screen sources buys you more visual credibility than any amount of post-production polish.
Worked example: building a synced two-camera podcast split screen
Theory clicks faster against a real case, so here's the full sequence applied to a common project: a two-person podcast shot on two static cameras, one per speaker, that needs to play as a permanent side-by-side split for the entire episode.
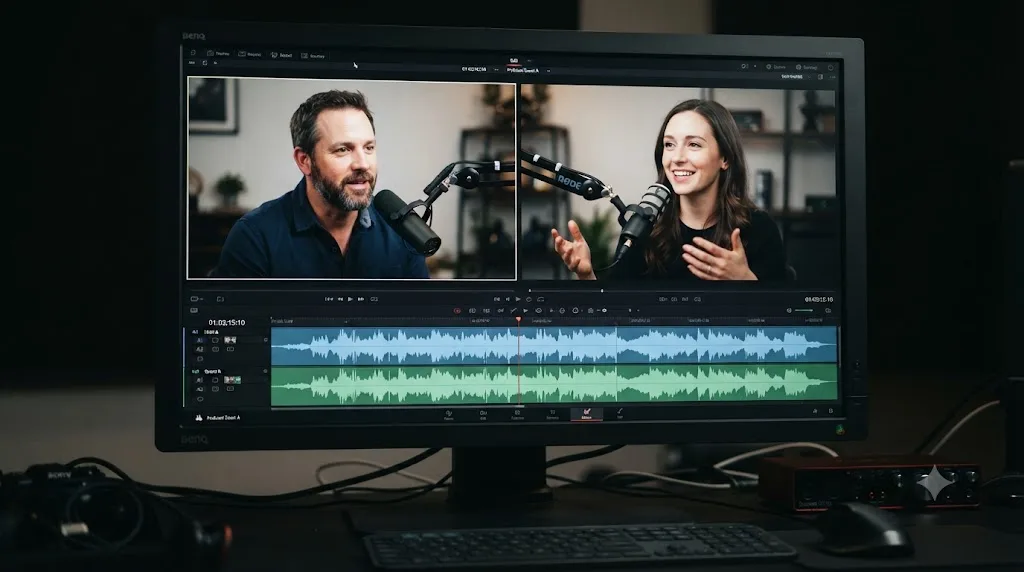
Step one, sync before anything else. Both cameras started recording independently, no jam-synced timecode, so before touching Transform you sync them the same way you'd sync a multicam clip: select both clips, sync on audio using each camera's on-board mic capturing the shared room sound, and confirm the sync held by checking a shared moment, a clap, a door closing before the episode starts, at both the beginning and several minutes in. No drift means it's a clean waveform sync; drift would mean a frame rate mismatch, the same diagnosis covered in our multicam sync guide.
Step two, build the layout. Both cameras shot 4K, 16:9, so the layout is a straightforward vertical two-way split, each speaker taking the left or right half of the frame. Two tracks: V1 holds the left speaker's camera, V2 holds the right speaker's camera. Select the V2 clip, open the Inspector, and check the clip's actual resolution in Clip Attributes against the project's timeline resolution first, both cameras shot true 4K UHD matching the timeline, so no conform adjustment is needed before Transform.
Step three, Transform each half. On the V2 clip (right speaker), set Zoom to 50% with X and Y linked, since both cameras framed each speaker with similar headroom and no aspect distortion is needed. Position X gets pushed right until the clip's left edge lands on the frame's vertical center. Repeat on V1, positioned left instead of right.
Step four, check the seam. Zoom into the viewer at the exact center line where the two panels meet. A one or two pixel gap or overlap is common at this stage from rounding in the Position values, correct it by nudging Position X in small increments on whichever panel needs it until the seam reads as one continuous line with no visible sliver of the track below.
Step five, add a border. A thin, one-percent-of-frame-width vertical border between the two speakers reads cleaner than a hard seam and helps viewers register the split immediately rather than momentarily reading it as one wide, oddly-composed shot. Drop a solid color generator on a new track below V1 and V2, set to a neutral dark gray, and adjust each panel's Crop by a few extra pixels inward so the generator shows through as a visible strip between them.
Step six, handle the audio. Both speakers wore lav mics recorded to each camera's audio track, so the fix from the audio sync section applies directly: keep each camera's own lav track for that speaker, mute the other camera's on-board mic bleed if it's picking up meaningful room sound from the other side, and apply light ducking automation so whichever speaker is currently talking sits a few dB above the other track rather than both playing at identical, competing levels throughout.
Step seven, save it as a reusable setup. A podcast almost never has one episode. Once the layout, crop values, and border are dialed in on this episode, select all the relevant clips and their Transform, Crop, and Composite settings, then use Edit > Copy and Paste Attributes (with Filters and Transform checked) onto next episode's clips once they're synced, or save the whole track layout as a timeline template you duplicate for every new episode, changing only which raw clips sit on V1 and V2.
That's the complete build, from raw unsynced footage to a finished, bordered, audio-balanced two-way split, using nothing beyond the free version's Transform, Crop, Composite Modes, and standard audio tools.
What's the fastest way to build a split screen, step by step?
A condensed checklist for when you already understand the mechanics above and just need the sequence.
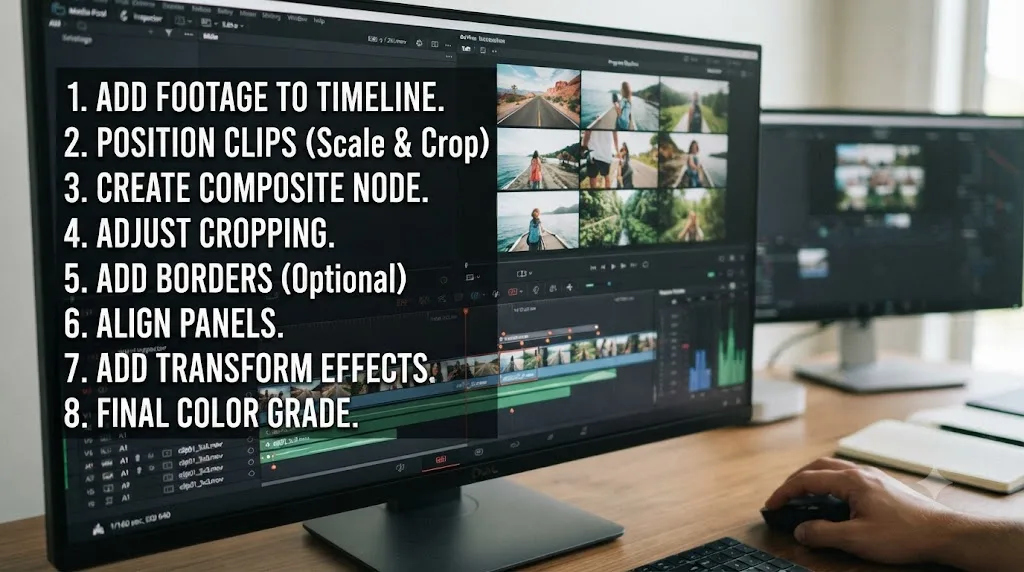
- Decide your layout first, on paper if it helps: how many panels, even grid or asymmetric, borders or no borders. This decision determines which of the three methods to use.
- Even grid of 2 to 9 clips? Use Video Collage. Effects Library > Open FX > Filters > Resolve FX Transform, drag it onto your first stacked clip, set Columns and Rows, copy attributes to the rest, assign tiles.
- Custom or asymmetric layout? Use manual Transform and Crop. Stack your tracks, select each clip in turn, scale with Zoom, position with Position X and Y, crop away any overlap.
- Panels need to move, resize, or take a non-rectangular shape? Build it in Fusion instead. New Fusion Clip from your selected timeline clips, then Loader, Transform, and Merge nodes per panel.
- Check every source clip's native resolution in Clip Attributes against your timeline resolution before you trust any Zoom or Position value you calculate.
- Add a border if your seams read as accidental. Solid color generator underneath a small crop gap, or Tile Styling if you're using Video Collage.
- Sync and balance the audio. Confirm sync the same way you would for multicam, then decide whether every source plays at equal volume or one gets ducked for clarity.
- Drop proxy resolution and turn on render cache if playback stutters once several tracks are stacked and composited together.
- Zoom into the viewer and check every seam at 100% before you export, hairline gaps and one-pixel overlaps are far easier to spot and fix now than after delivery.
If jumping between Transform, Crop, and Composite Mode settings across a multi-panel build is the part that eats your afternoon, that's exactly the kind of question TryUncle is built to answer. It looks at your actual Resolve window and points at the specific control you're asking about, instead of sending you back to a forum thread to guess which field does what.
Which method should you actually use?
For a quick even grid, Video Collage, five minutes and done. For a custom two-way or asymmetric layout, manual Transform and Crop, more setup but full control over every panel. For anything that moves, bends, or needs a shape a rectangle can't describe, Fusion, and don't be afraid of the four-node vocabulary it takes to get there.
None of the three methods live behind a paywall. Every technique in this guide runs in the free version of DaVinci Resolve, which means the only real cost of a split screen is the time you spend on layout math and the seams between panels, not a license upgrade.
Pick the method that matches the layout you actually need, not the one you already know. Build the two-way split from this guide on your own footage before you tackle a four-way grid, and once the seams meet cleanly and the audio sits right, the rest is repetition. When your split screen is locked and you're ready to render the final file, our export settings guide covers the delivery presets that keep a multi-track composite looking as clean out of Resolve as it did in the viewer.
Frequently asked questions
- What's the easiest way to build a split screen in DaVinci Resolve?
- Stack your clips on separate video tracks, select the top one, and use the Inspector's Transform (Zoom and Position) and Crop sliders to shrink it into its section of the frame. Repeat for each track below it. It's manual, but it works in every edition of Resolve and gives you exact control over every panel.
- Do you need DaVinci Resolve Studio to build a split screen?
- No. The manual Transform and Crop method, stacked video tracks, and Composite Modes are all available in the free version. Blackmagic's own free-versus-Studio comparison page doesn't list split screen, Video Collage, or Resolve FX Transform filters among the features it reserves for Studio, so there's no paywall blocking this specific technique.
- Why does my split screen look stretched, offset, or scaled wrong?
- Almost always a resolution or aspect ratio mismatch between your source clips and your timeline. A 3200x1800 clip in a 1920x1080 project, or a vertical phone clip mixed with 16:9 footage, scales differently than you expect once Transform and Crop are applied on top of it. Check each clip's native resolution in Clip Attributes before you touch Transform.
- Can you animate a split screen so panels move or resize during playback?
- Yes. Right-click the Zoom or Position field in the Inspector and add a keyframe, then move the playhead and change the value to add a second keyframe. Resolve animates smoothly between them. For more complex, synchronized animation across several panels at once, Fusion's Merge and Transform nodes give you more direct control.
- How do you add a border between split-screen panels?
- Drop a solid color generator on the track below all your panel clips so it shows through any gap you leave when cropping, or build a matte in Fusion with the Rectangle or Polygon tool and set its composite mode to reveal the border color. There's no single-click border toggle on the Edit page's manual method.
- Does a split screen slow down playback in DaVinci Resolve?
- It can, especially with three or more 4K tracks stacked and composited at once, because every visible track adds to what your GPU has to process for a single frame. Drop the Timeline Proxy Resolution to Half, turn on Smart render cache, and use proxy media for your source clips if playback stutters.
- How many clips can you fit in one split screen?
- The manual Transform and Crop method has no hard limit beyond your GPU's ability to composite that many layers smoothly. The Video Collage filter is built around 2 to 9 tiles for the cleanest, least-cramped results, according to Motion Array's walkthrough of the effect, though its Columns and Rows controls will go higher if you need them.
Sources
- DaVinci Resolve Split Screens Explained (Motion Array)
- Quick Tip: How to Use Composite Modes in DaVinci Resolve (PremiumBeat)
- DaVinci Resolve Manual: More About Composite Modes (Blackmagic Design)
- Creating A Video Collage In DaVinci Resolve 18: A Step-by-Step Guide (Edits101)
- Easy SPLIT SCREEN Effect Added in DaVinci Resolve 17: Video Collage FX Tutorial (Jason Yadlovski)
- DaVinci Resolve: A Method to Synchronize Zooming and Reposition in Dual Split Screen? (Creative COW Forum)
- Resolve Problem With Messed Split Screen (Creative COW Forum)
- How to Handle Split Screen Shots? (Creative COW Forum)
- DaVinci Resolve Free and Studio Comparison (Blackmagic Design)
- DaVinci Resolve 18's System Requirements (PremiumBeat)
- Free DaVinci Resolve Split Template Downloads (Mixkit)
- Split Screens Kit by Vesna (Motion Array)
- Merge Node in Fusion (JayAreTV)
- Splitscreen and PiP Plugin (FxFactory)
- Hardware Recommendations for DaVinci Resolve (Puget Systems)
Put this guide to work with TryUncle.
Ask about the step you’re on. TryUncle sees your screen and points at the control you need, so you can keep learning in your own project.
Get TryUncle for Mac or WindowsKeep reading
Guides · Jul 7, 2026 · 32 min
DaVinci Resolve for Beginners: The Complete Starter Guide
Learn DaVinci Resolve from zero: what it costs, what it needs to run, the seven pages you'll actually use, and the steps to cut your first project.
Fixes · Jul 7, 2026 · 25 min
DaVinci Resolve GPU Memory Is Full: Every Real Fix
Why DaVinci Resolve throws 'GPU memory is full,' and which fixes actually work: timeline resolution, drivers, effects, and how much VRAM you need.
Fixes · Jul 8, 2026 · 26 min
DaVinci Resolve Multicam Sync Off by Frames: Every Fix
Multicam clip off by frames or drifting worse over time? Fix DaVinci Resolve's waveform mis-sync, frame rate drift, and timecode gaps, angle by angle.