Articles / Guidesupdated for DaVinci Resolve 21.1 (September 2026)
How to Layer Ambience Under Dialogue in DaVinci Resolve
Quick answer
To learn how to layer ambience under dialogue in DaVinci Resolve 21, place a room-tone or environmental clip on its own track beneath dialogue, trim it to the scene, fade its edges, and lower its gain until speech stays clear. Use Fairlight automation or the Ducker when ambience must react to changing dialogue.
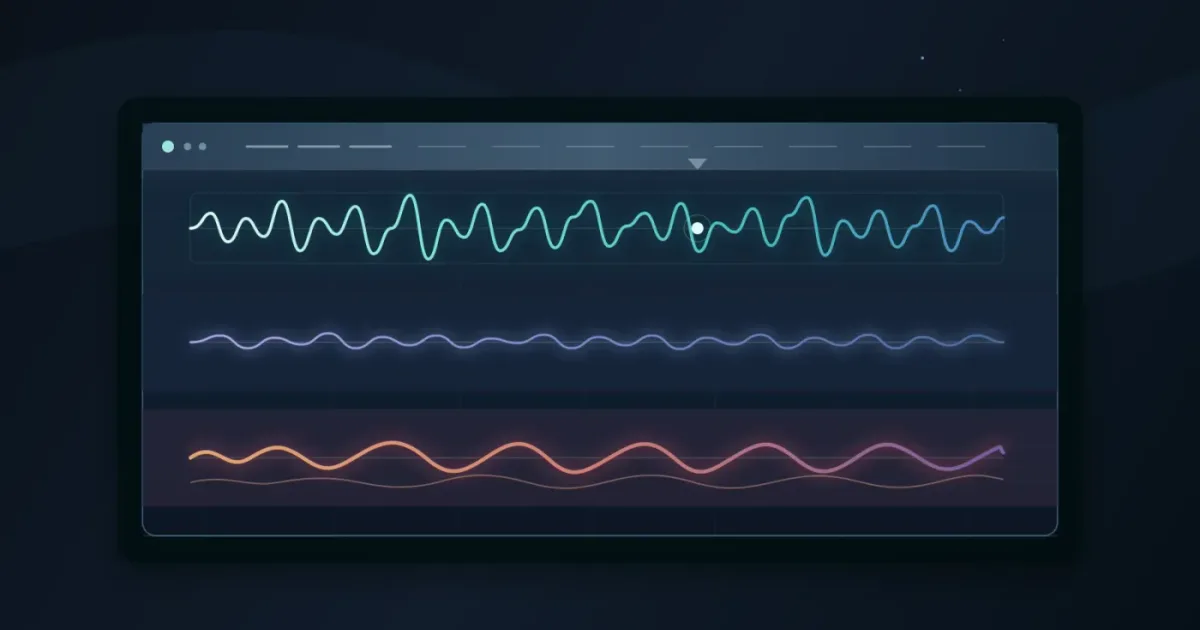
Dialogue can sound surgically clean and still feel wrong. The missing piece is often a quiet, continuous bed that tells the ear where the speaker is. This is one of the recurring questions in our 100,000+ member professional video-editing community, and after 7+ years of commercial editing, this is how we frame the Fairlight workflow. As of September 2026, the steps below target DaVinci Resolve 21.1.
Blackmagic Design built Fairlight into DaVinci Resolve as a complete audio workspace. When Blackmagic acquired Fairlight in 2016, CEO Grant Petty said: “Fairlight creates the world’s most powerful digital audio software and hardware for video production.” Read the original Blackmagic Design release. That is a company claim, but you can finish this mix inside the same timeline as the picture.
What does ambience do under dialogue?
Ambience is a continuous sound bed that supports the location and connects separate dialogue clips. Room tone is the quiet sound of the space itself. Environmental ambience adds identifiable activity, such as distant traffic, air conditioning, birds, wind, or a crowd.
Think of ambience as glue, not wallpaper. If the audience notices the bed before the dialogue, the bed is probably too loud, too bright, too busy, or badly looped.
Ambience should make dialogue edits disappear, not announce that a sound bed was added.
In an interview, a matching room tone clip can make several dialogue edits feel like one uninterrupted space. A second layer of distant movement can add life to a documentary location, but it should remain subordinate to the words.
Start with three tracks:
| Track | Material | Main job |
|---|---|---|
| A1 Dialogue | Production speech, interview, voiceover | Carries meaning and performance |
| A2 Room tone | A clean section from the same room or a closely matched recording | Hides edits and fills pauses |
| A3 Environment | Traffic, wind, insects, HVAC, crowd, or location bed | Adds place and scale |
How do I layer ambience under dialogue in DaVinci Resolve?
To layer ambience under dialogue in DaVinci Resolve 21, put the dialogue on one track, place ambience below it, trim the bed to the scene, fade the edges, and lower it until the words stay clear. The judgment happens in the edit and mix.
1. Put the dialogue on its own track
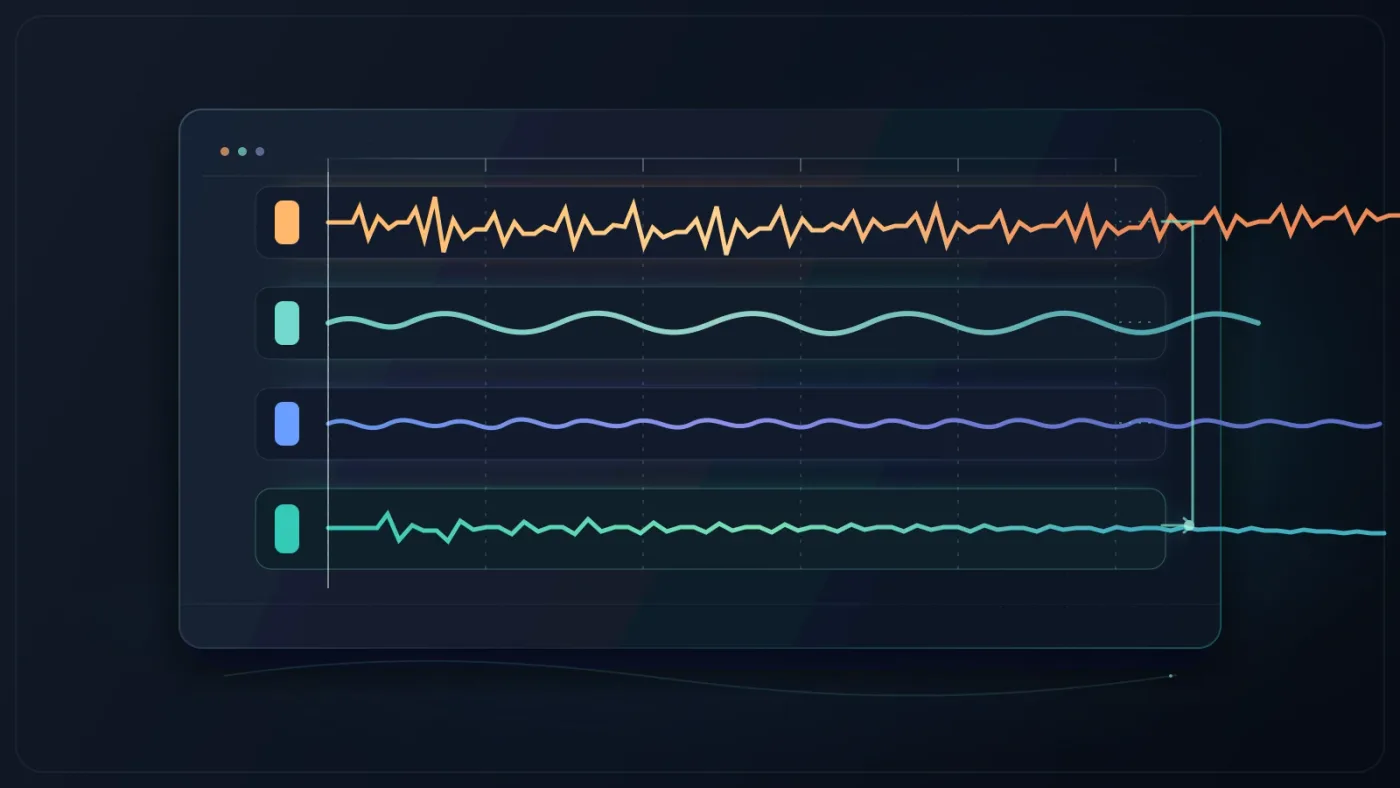
Open the Edit page or Fairlight page and give the dialogue a dedicated track. Rename it DX or Dialogue. Put room tone on RT and environmental beds on AMB or FX Ambience.
This keeps clip edits separate from track moves and gives you a clean place to apply processing. Fairlight's mixer includes faders, panners, effects slots, dynamics, and a 6-band parametric equalizer. Blackmagic documents these controls here.
In DaVinci Resolve 21, Fairlight folder tracks can combine a group of tracks into a composite view without changing the original tracks. The feature supports up to 3 levels of nesting. The Resolve 21 New Features Guide explains folder tracks. You can put the ambience layers in a folder if the timeline is crowded, but leave the folder open while you mix so you can still see individual meters and clips.
2. Import and place a matching bed
Bring the ambience file into the Media Pool, place it on the room-tone or ambience track, and let it run past the first and last lines. That gives you room to shape the entrance and exit.
Choose the recording by location first. A small interior, office, forest, and roadside location each have different reflections and noise patterns. A generic “room tone” label doesn't guarantee a match. Listen for the same air, distance, and movement as the production dialogue.
If you recorded a clean section on the same shoot, use that before searching a library. It usually matches the microphone, room, perspective, and noise floor more closely. Our related guide, How to Add Room Tone in DaVinci Resolve 21, covers the narrower continuity problem in more detail.
If you need a library bed, search for the place and behavior, not only the noun. Try combinations such as small office HVAC, quiet apartment interior, distant city traffic, or forest dawn insects. Avoid beds with obvious sirens, horns, birds, or voices unless those events belong in the shot. A single distinctive event can pull attention away from the speaker.
3. Trim the clip and make the joins quiet
Trim the ambience so it covers every speech edit that needs continuity. If the file is shorter than the scene, duplicate it or use another compatible section, then crossfade the join. Don't line up repeated peaks with visible cuts. That creates a rhythm the audience may feel even if they can't identify it.
Use short fades at the beginning and end. Fairlight provides fade handles on the sides of audio clips, and Blackmagic documents them as a quick way to add fade-ins and fade-outs. See the official clip adjustment guidance.
The fade length is a creative choice. A short fade can prevent a click, while a longer fade can introduce a location gradually. If the start still feels exposed, move the ambience earlier rather than making the fade unusually long.
4. Lower the bed before you process it
Start with the ambience lower than you think it needs to be. Play the scene at normal listening level. Then mute the bed and unmute it. The useful question is not “Can I hear the ambience?” It is “Does the scene feel less artificial when the ambience is present?”
Use the clip gain line for a local correction. Use the track fader when the whole ambience layer needs to move. Blackmagic says you can raise or lower the gain line in the middle of a clip, adjust the level in the Inspector, and add volume keyframes by holding Option and clicking. Those controls are described on the Fairlight page.
For a first pass, keep the bed steady through a continuous shot. Don't chase every syllable with keyframes. If it competes with the dialogue, fix the frequency overlap before drawing a complicated volume shape.
A quieter, well-matched ambience bed usually sounds more professional than a louder, more detailed recording.
Why is my ambience louder than the dialogue in DaVinci Resolve?
Ambience sounds louder than dialogue when its level, density, or frequency content masks the speech. Lowering the bed is the first fix, but a good mix also removes unnecessary low rumble, harsh high-frequency detail, and sudden foreground events.
Check the three causes in this order
First, solo the dialogue and ambience together. Pull the ambience down until every word is easy to follow. If the dialogue still struggles, mute the ambience. If the words immediately become clear, the bed is masking them.
Second, listen to the ambience by itself. A bed with a lot of traffic, birds, clatter, or voices may be too active even when its meter level looks modest. Swap it for a simpler recording before reaching for more processing.
Third, compare the tone. A bright hiss or close insect recording can occupy the same attention range as consonants. A low rumble can make the whole mix feel crowded. Use the Fairlight track EQ or clip EQ for a restrained correction. Each clip has volume, pan, pitch, and a 6-band parametric EQ in Fairlight. Blackmagic lists those per-clip controls.
Useful moves include cutting low rumble that doesn't belong to the location, reducing a narrow whistle instead of the whole bed, rolling off hiss that competes with consonants, and removing events that sound close to camera unless the image supports them.
Don't use EQ to rescue a bad recording. If the bed sounds like a different room, microphone, or distance, replace it. Processing can't create a convincing match from the wrong source.
How should I organize dialogue and ambience tracks in Fairlight?
Organize dialogue, room tone, and environmental ambience on separate named tracks, then route related layers to a bus when you need one overall control. Separate tracks make edits visible and let you automate one problem without disturbing the rest of the mix.
Our practical layout is:
| Name | Content | Processing decision | Automation decision |
|---|---|---|---|
| DX | Dialogue clips | Dialogue cleanup and dynamics | Small speech-level moves if needed |
| RT | Matching room tone | Light tonal shaping only | Usually steady, with scene-level fades |
| AMB | Environmental location beds | Remove distracting bands or rumble | Dip under key lines and recover between phrases |
| DX BUS | Dialogue group | Shared control for dialogue | Overall scene moves |
| AMB BUS | Room tone plus environment | Shared ambience balance | One broad move for the whole scene |
Keep room tone independent from the environmental bed. If the environment becomes too busy, you can lower it without losing the continuity layer.
Resolve 21's Fairlight folder tracks can collapse visual clutter while preserving the original track positions, with folder-level Solo and Mute controls. Blackmagic's 21 guide documents those behaviors. Use folders for organization, not as a reason to print ambience into one file before mixing.
Our sibling guide, How to Mix Audio in DaVinci Resolve Using Fairlight, is the better next read if you need a wider track, bus, and master mix workflow.
How do I duck ambience under dialogue in DaVinci Resolve?
Use Fairlight automation when you want precise, musical dips under selected lines. Use the Ducker when a dialogue track should repeatedly control the level of an ambience or effects track with less manual drawing.
Manual automation
Manual automation is the safer default for a short scene because you control when the ambience moves, how far it moves, and how quickly it returns:
- Open the Fairlight page and show the ambience track in the mixer.
- Enable automation for the track level or fader level parameter.
- Play the scene and make a gentle move down as an important line begins.
- Return the fader after the line, stop playback, and smooth abrupt corners in the written curve.
Fairlight can record changes to controls and effects over time, show parameter curves in the timeline, and preview automation before committing it. Read Blackmagic's current Fairlight automation description.
Don't draw a deep hole under every sentence. Dip only enough to restore the words, then let the bed return before the next thought.
Automatic ducking
Fairlight's Ducker plug-in uses one or more dialogue tracks to lower a target track during speech and recover it afterward. Blackmagic describes the target as a music or effects track, but the same control concept applies to an environmental ambience track. See the official Ducker explanation.
Open the Ducker on the ambience track. Choose the dialogue track as the source. Start with moderate reduction and a recovery time that doesn't snap the ambience back between words. Then listen to a full paragraph, not just one sentence.
The Ducker is helpful when the dialogue level changes often, but it may react to breaths, chair noise, or overlapping speakers. Clean or edit the trigger track first, or return to manual automation for the problem passage.
Automation should follow the story's emphasis, not the waveform's every movement.
What Fairlight settings should I use for ambience?
Use the fewest Fairlight settings that solve the problem: clip gain for level, fades for joins, EQ for obvious tonal conflict, and automation or Ducker for changes over time. There is no universal ambience number that works across every room, microphone, speaker, and delivery format.
A restrained starting chain
For room tone, start with no plug-ins. Set the level, add fades, listen across the dialogue edits, and only then consider EQ. For a busy environmental bed, use this order:
- Remove unwanted rumble or a constant narrow tone.
- Set the clip or track level.
- Add automation under key words.
- Use a Ducker only if repeated manual dips are slowing the mix.
- Recheck transitions after every change.
Fairlight includes dynamics processing with an expander or gate, compressor, and limiter, as well as a 6-band parametric EQ on the channel strip. Blackmagic lists these Fairlight processing options. Those tools are available, but availability doesn't mean every track needs them.
Avoid putting a gate on room tone just because the bed contains quiet sections. A gate can remove the floor you needed to hide dialogue edits. If noise needs reduction, use a cleaner bed or compare repair tools carefully with the unprocessed track.
Compression can make fluctuating ambience more even, but it can raise quiet details and make a distant bed feel close. If the mix feels smaller, bypass the plug-in and start again.
Should I use room tone, environmental ambience, or both?
Use room tone for continuity, environmental ambience for place, and both when the scene needs continuity plus a recognizable location. The best choice depends on the cut, not on the name of the sound file.
| Scene problem | Best first choice | Add the second layer when |
|---|---|---|
| Interview cuts have different background noise | Matching room tone | The location feels too empty after continuity is fixed |
| A quiet interior needs believable air | Room tone or HVAC bed | The picture shows outside activity or movement |
| Street interview feels disconnected from the street | Environmental traffic bed | Speech edits still expose a changing noise floor |
| Forest or outdoor scene feels dead | Low-detail environmental bed | Dialogue cuts need a matching floor beneath it |
| Two cameras have different sound perspective | Room tone matched to the dominant perspective | You need a wider location bed after the edit is stable |
Layering both doesn't mean making both equally audible. Room tone usually sits underneath as the stable floor. Environmental ambience moves more because it carries events and energy. If the environment contains a passing car or bird call, let that event support the image, then reduce it if it competes with a line.
Why does my ambience sound like a loop?
Ambience sounds looped when a repeated transient, stereo image, tonal cycle, or abrupt join returns at a predictable interval. Hide the repetition by choosing a longer source, varying the edit, crossfading compatible sections, and removing attention-grabbing events.
Listen for repeated transients, a stereo field that resets, a fan or hiss that jumps, or a bed that stops exactly at a picture cut.
If the bed is short, duplicate it on the timeline, overlap the copies, and choose different start points when possible. Crossfade at a calm point rather than over a transient. If it remains repetitive, use it only as low room tone and find a separate environment bed.
Don't solve a loop with random volume jumps. Those jumps may hide one repeat and create three new distractions. Continuity is usually easier to fix at the edit point.
Why does ambience disappear between dialogue clips?
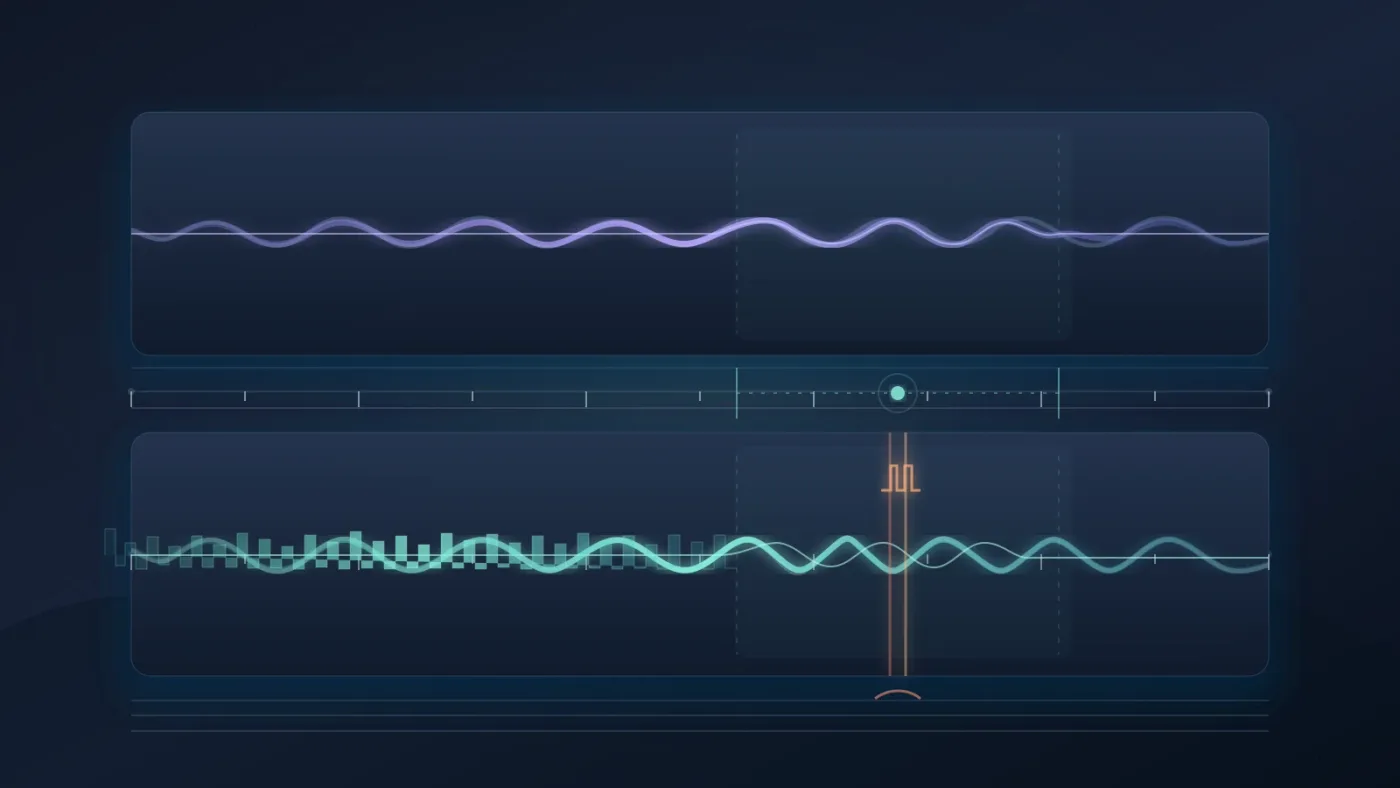
Ambience disappears between dialogue clips when the bed is cut with the speech, muted by clip boundaries, or routed differently from the dialogue. Keep the ambience continuous across pauses unless the story intentionally changes location or perspective.
Zoom out and inspect the whole scene. The room-tone clip should usually run through the gaps between lines. If you cut it into every dialogue clip, tiny gaps and different clip gains can create a noticeable rhythm. Leave the bed as a longer clip where possible, then automate the few moments that need movement.
Check the track header and mixer routing if the waveform is present but you can't hear it. Make sure the track isn't muted, the clip isn't disabled, and the bus isn't turned down. If the dialogue is audible but the ambience isn't, solo the ambience track briefly. If it plays when soloed, the problem is likely the balance or masking rather than the source file.
If you use a Fairlight folder, remember that the folder is a view and organization feature. Open it when checking individual track levels. Resolve 21's guide says the original tracks remain unchanged inside the folder, which means the room tone and environment should still be available for separate edits.
Is an ambience sound library worth buying for this workflow?
An ambience library is worth considering when you repeatedly need location beds and don't have matching production recordings. It isn't necessary for a one-off scene if you can record or edit a clean room tone that matches the footage.
If you buy, decide what you need:
| Need | Sensible choice | Why |
|---|---|---|
| Mostly room tone and environmental SFX | Audio-first library | Keeps the search focused on sound |
| Sound plus footage, templates, LUTs, and plugins | Broader creative-asset subscription | Useful when one project needs several asset types |
| A single track for a single project | Single-use licensing option | Avoids paying for a recurring catalog when the need is occasional |
| Matching production ambience | Your own recorded location sound | Usually gives the closest perspective and noise floor |
Disclosure: this section contains an affiliate link. If you subscribe through it, the publication may earn a commission at no extra cost to you.
For an audio-first option, check Epidemic Sound's current sound-effects library and licensing. I haven't tested its catalog or Resolve workflow, so treat it as a sourcing option, not a promise that it will solve every matching problem. Check the license for your channel or client work before publishing.
Artlist can make more sense when you need music, SFX, footage, templates, LUTs, and plugins in one stock-oriented service. Its own plan guide describes those broader Max options. Compare Artlist's current music and SFX plans. Soundstripe can be the better fit when a single-use license matters for an occasional project. See Soundstripe's current subscription and single-use options.
Buy a library for repeatable access, not because a subscription can replace careful listening. The right bed still has to match the scene.
What is the best way to learn DaVinci Resolve audio tools?
The best way to learn DaVinci Resolve audio tools is to follow one short Fairlight exercise, repeat it on your own footage, and solve the next problem at the timeline where it appears.
Blackmagic Design publishes free official training, including an Introduction to Audio lesson covering Fairlight navigation, importing media, clip selection, balancing levels, simple editing, and dialogue repair. Its training page also lists an Introduction to Sound Design lesson and the Fairlight Audio Guide. Use Blackmagic's official Fairlight training as the baseline.
YouTube can help when you need a visual demonstration. Casey Faris's 2026 beginner course is one current example, while Udemy or Coursera courses can add structure. Official training is the best reference for current controls and terminology. A creator tutorial may explain one workflow more plainly, but none of these options sees the exact state of your timeline.
We have taught 100,000+ students on Udemy, are an official Udemy Business Partner, and have taught and worked with Fortune 500 companies. That experience has made one pattern obvious: the fastest useful lesson is usually the one that answers the control you can't find in the project you are editing.
If a tutorial doesn't match your screen, an on-screen assistant can point to the Fairlight control in your current Resolve window. That is different from a course, and it doesn't replace learning why ambience should be quieter and more continuous than dialogue.
What should I do when the ambience still feels wrong?
When ambience still feels wrong, mute layers one at a time and identify whether the problem is source choice, edit continuity, level, tone, or routing. Fix the earliest wrong decision first, then rebuild the mix with fewer moves.
Use this final pass:
- Mute the environmental bed. If dialogue suddenly feels natural, replace or lower the environment.
- Mute the room tone. If edits pop or the background changes, restore matching room tone.
- Bypass EQ and dynamics. If the scene opens up, simplify the processing.
- Listen across every cut. Repair gaps, clicks, repeated transients, and sudden stereo changes.
- Remove automation moves you can't hear or explain, then check at low level on another playback system.
Bad ambience mixes usually need a better source, a quieter level, or a cleaner edit. Fairlight gives you clip gain, fades, EQ, dynamics, track faders, automation, and Ducker processing in the timeline. Review the official Fairlight toolset before adding complexity.
Start with dialogue, add matching room tone, then add only the environmental detail the picture earns. If the audience hears the place and follows the words, stop.
The best ambience mix is the one the audience feels before it notices.
Frequently asked questions
- How do I layer ambience under dialogue in DaVinci Resolve?
- Put the ambience on a separate audio track below the dialogue, trim it to the scene, add short fades, and lower the ambience until the dialogue remains intelligible. Automate the ambience track when its level needs to change under individual lines.
- Why is my ambience louder than the dialogue in DaVinci Resolve?
- The ambience track is probably too loud, too dense in the speech frequencies, or both. Lower its clip or track gain, use a gentle high-pass or low-pass filter when appropriate, and automate dips under important words instead of relying on one fixed level.
- How do I duck ambience under dialogue in DaVinci Resolve?
- Use Fairlight automation for the most transparent result, or place the Fairlight Ducker on the ambience or effects track and choose the dialogue track as its source. Set the reduction and recovery by ear, then check the whole scene.
- Should I use room tone or environmental ambience under dialogue?
- Use matching room tone to hide edits and preserve continuity. Add environmental ambience when the location needs identity, such as traffic, wind, insects, or a crowd. Many scenes need both, with room tone underneath and a quieter environmental layer above it.
- What is the best way to learn DaVinci Resolve audio tools?
- Start with Blackmagic Design’s free Fairlight training, then practice on a short scene. YouTube tutorials and paid courses can add context, while an on-screen assistant can help when a control is hard to find in the Resolve version on your screen.
Sources
- DaVinci Resolve Fairlight tools and audio workflow
- DaVinci Resolve 21 New Features Guide
- DaVinci Resolve 21 official product page
- Blackmagic Design Fairlight training
- Casey Faris: Introduction to DaVinci Resolve 2026
- Grant Petty quote in Blackmagic Design’s Fairlight acquisition release
- Epidemic Sound audio library and licensing
- Artlist music and SFX plans
- Soundstripe pricing and single-use licenses
Learn by doing, not watching
Learn Resolve inside Resolve.
TryUncle watches your screen and points at the exact control when you ask. No tabs, no timestamps, no rewatching tutorials.
Download for MacKeep reading
Guides · Aug 26, 2026 · 8 min
How to Add Room Tone in DaVinci Resolve 21
Learn how to add room tone in DaVinci Resolve 21 by recording, looping, patching, fading, and blending ambience under dialogue.
Guides · Jul 11, 2026 · 31 min
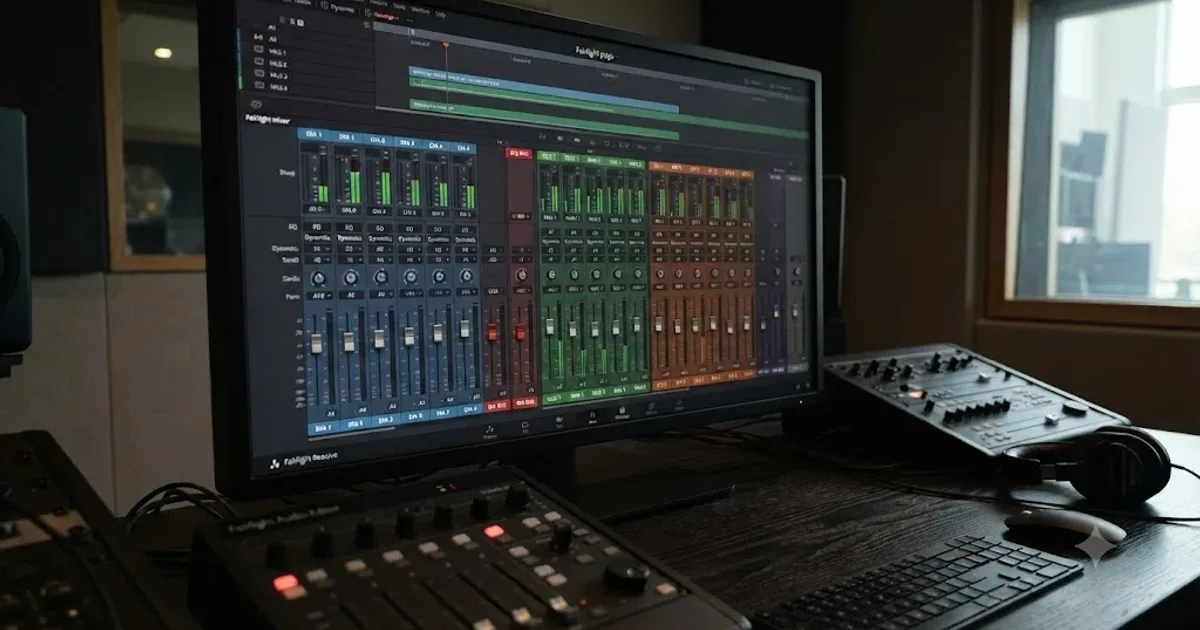
How to Mix Audio in DaVinci Resolve Using Fairlight
Mix audio in DaVinci Resolve's Fairlight page: build a dialogue/music/effects bus structure, gain-stage your clips, EQ and compress dialogue, then duck music under it.
Guides · Aug 26, 2026 · 8 min
Best Ambient Sound Effects for Video Editing in Resolve 21
Find the best ambient sound effects for video editing with a license-safe buying guide and a practical DaVinci Resolve 21 Fairlight workflow.