Articles / Guidesupdated for DaVinci Resolve 21.0 (September 2026)
How to Make Sound Effects Follow a Moving Object: DaVinci Resolve
Quick answer
In DaVinci Resolve 21, put the sound effect on its own Fairlight track, enable Pan in the automation toolbar, and record the pan while the playhead follows the picture. For a bent path, use Viewer tracker controls to write multiple pan points, then add level, EQ, and reverb changes for depth.
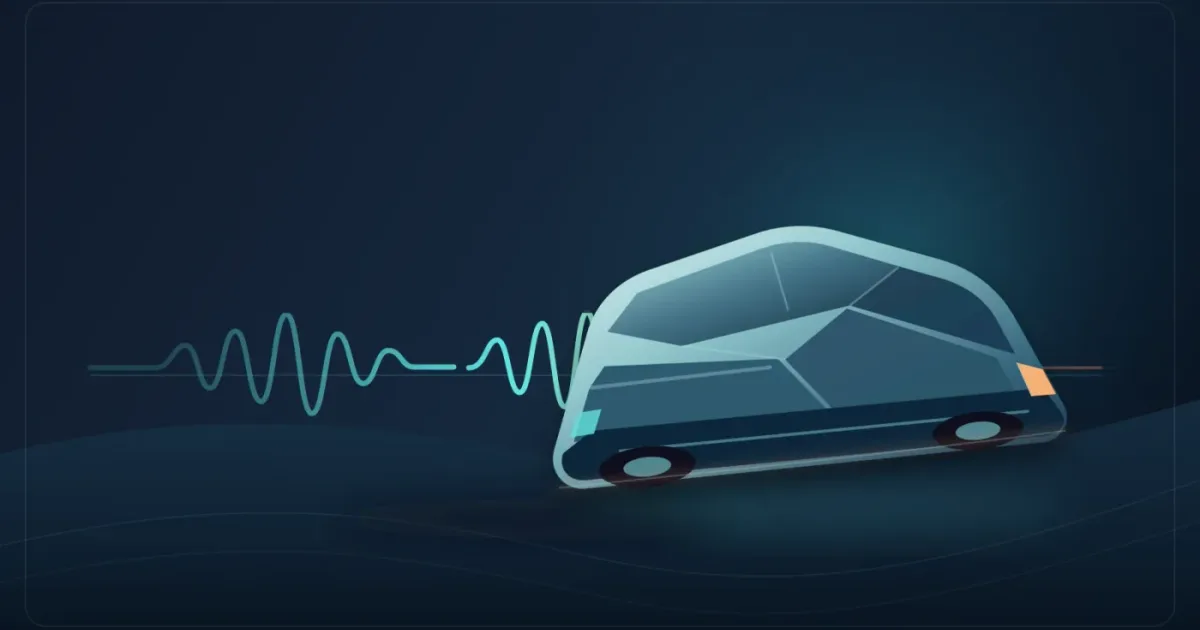
Make Sound Effects Follow a Moving Object in DaVinci Resolve
The effect sounds wrong when a car crosses the frame but its engine stays in the middle. The fix is to automate the Fairlight pan so the sound changes position with the picture. I treat this as a pan problem first, especially when an editor moves from cutting clips to shaping a scene.
As of September 2026, this workflow targets DaVinci Resolve 21. It uses the same basic Fairlight idea Blackmagic demonstrates with a mower moving across a stereo soundstage: place the sound, write a pan move, then refine the mix around it.
What is the best way to make sound effects follow a moving object in DaVinci Resolve?
The best general method is Fairlight pan automation on a dedicated audio track. Panning places the sound in the stereo field, while automation changes that position over time. Blackmagic describes Fairlight as supporting track panners and recording control changes over time, and its Fairlight training guide uses the same left-to-right moving-sound example for a stereo project (Blackmagic Design's Fairlight feature page, The Fairlight Audio Guide).
Panning tells the listener where the sound is, while automation tells the listener how it gets there.
For a clean stereo scene, you need a timed effect, a visible pan control, and enough points to describe its path.
Use this decision guide before you touch the mixer:
| Your situation | Start with | Why it fits | Watch for |
|---|---|---|---|
| A ball, car, person, or title moves once across a normal frame | Fairlight stereo pan automation | It gives you a continuous left-to-right or right-to-left move | The pan must be written on the track carrying the effect |
| The object changes direction several times | Viewer tracker controls | You can place automation points at visual waypoints | Too many points can make the movement nervous |
| The effect is made of footsteps, cloth, impacts, and a whoosh | Several dedicated tracks, optionally grouped in a Folder Track | Each layer can have its own timing, level, and pan | A folder organizes tracks but does not replace automation |
| The final mix is immersive rather than ordinary stereo | Resolve Studio's 3D panner | Blackmagic provides a spatial workflow for flying sound objects | You need an immersive project and an appropriate monitoring setup |
| You need one-off Foley sounds | Blackmagic's Fairlight Sound Library or a dedicated Foley library | You can choose sounds that match the action instead of forcing one generic effect | Check the license and the tone of each source |
“Moving” is not the same as “convincing.” A sound can travel perfectly from left to right and still feel pasted on if its volume, tone, or tail never changes. Start with pan, then add other cues only when the picture needs them.
What should I set up before I automate a moving sound effect?
Set up the picture, the sound, and the track before recording automation. Put the moving effect on a track by itself so its automation doesn't affect unrelated sounds.
- Put the video shot on the timeline and mark when the object enters, crosses, and leaves the frame.
- Add the effect to a new audio track, and name it something useful such as
CAR_PASSorWHOOSH_MOVE. - Trim the effect so its attack starts with the action, leaving room for a tail if needed.
- Open Fairlight and show the Mixer and automation controls. Listen once without automation before recording a pass.
DaVinci Resolve 21 changed how mono audio behaves when it is added to a stereo track. A mono clip now plays on both left and right channels, whereas the previous behavior sent it to the left channel only. Blackmagic documents the change in the Resolve 21 New Features Guide (DaVinci Resolve 21 New Features Guide, audio behavior). If a supposedly moving effect sounds centered, check the clip's channel format and the track panner before recording another pass.
This article assumes a normal stereo delivery. Blackmagic's 3D spatial panning feature is a Resolve Studio workflow, so don't switch to an immersive panner just because the object moves on screen (Blackmagic Design's Fairlight feature page). Stereo pan automation is the right first test for most web videos and social edits.
How do I make a sound effect move from left to right in DaVinci Resolve?
To make a sound effect move from left to right, record the Fairlight Pan control while the playhead follows the object's screen position. The procedure below gives you one controllable automation pass that you can inspect and edit after playback.
- Select the effect's track. In Fairlight, select the track that contains the moving sound. Solo it for the first pass if the mix is busy.
- Open the automation toolbar. Click the automation controls in the Fairlight toolbar. Choose
Writeif you want the recorded pan to replace the values you set during the pass. Choose a touch mode that lets you grab the control during playback. Blackmagic's Fairlight documentation describesWrite,Trim,Latch, andSnapas automation choices, with Latch continuing to record after you release a control (Fairlight Audio Guide). - Enable Pan. In the automation enables, turn on
Panand leave unrelated parameters off. Enabling Fader, EQ, or plug-ins at the same time makes it easy to overwrite changes you didn't intend to record. - Place the playhead at the start. Park it just before the effect begins. Set the pan to the object's starting side. If the object enters from the left, start left of center. Don't begin at the hard edge unless the picture clearly calls for an extreme position.
- Start playback. When the object crosses the center of the frame, move the pan through center. When it reaches the right side, move the pan to the corresponding right-hand position.
- Stop and turn automation off. Stop playback when the move is complete. Disable automation or return the mode to Off before you adjust another track. This prevents accidental writes.
- Show the Pan curve. Use the track's automation view to display Pan. Look for a smooth line that begins before the visual move, crosses at the same moment as the object, and finishes with the sound's tail in the right place.
- Replay with the full mix. If the sound moves correctly alone but disappears in context, solve masking with level or arrangement before making the pan more extreme.
For a left-to-right sound effect in DaVinci Resolve, write pan automation on a dedicated Fairlight track.
Treat the pass as a draft. Move late transitions earlier and remove abrupt points until the curve supports the cut.
Blackmagic's Fairlight Audio Guide uses a moving mower to demonstrate the same idea: place the sound at a beginning position, then place it at an ending position (The Fairlight Audio Guide to DaVinci Resolve 20).
How do I make a sound follow an object that changes direction?
Use multiple pan automation points for an object that changes direction, and place those points on visual waypoints rather than at regular time intervals. DaVinci Resolve can interpolate between the points, so you can describe a curve without drawing every frame by hand.
For a simple manual path in the Viewer:
- Enable the Fairlight automation toggle and select the track that carries the effect.
- Open the Viewer mini-menu and choose
Display Tracker Controls. - Turn on the tracker option and choose the pan parameters you want to automate.
- Set the track header's Automation View selector to the pan parameter you enabled.
- Move the playhead to the moment the object begins, place the tracker over the object, and Option-click to write the first pan point.
- Move to the next important position, place the tracker over the object again, and Option-click to write another point.
- Continue at turns, crossings, or moments when the object changes speed. Use Option-Shift-click when you want a bounding point that holds a position before the next move.
Blackmagic's Resolve 19 New Features Guide documents this workflow, including Resolve's interpolation between points, Option-click for a point, and Option-Shift-click for a bounding keyframe (DaVinci Resolve 19 New Features Guide). Use it when the object turns, pauses, or crosses the frame more than once.
Don't confuse a picture tracker with a finished audio mix. It gives you positions, not decisions about level, tone, or reverb. Make those choices in a separate pass.
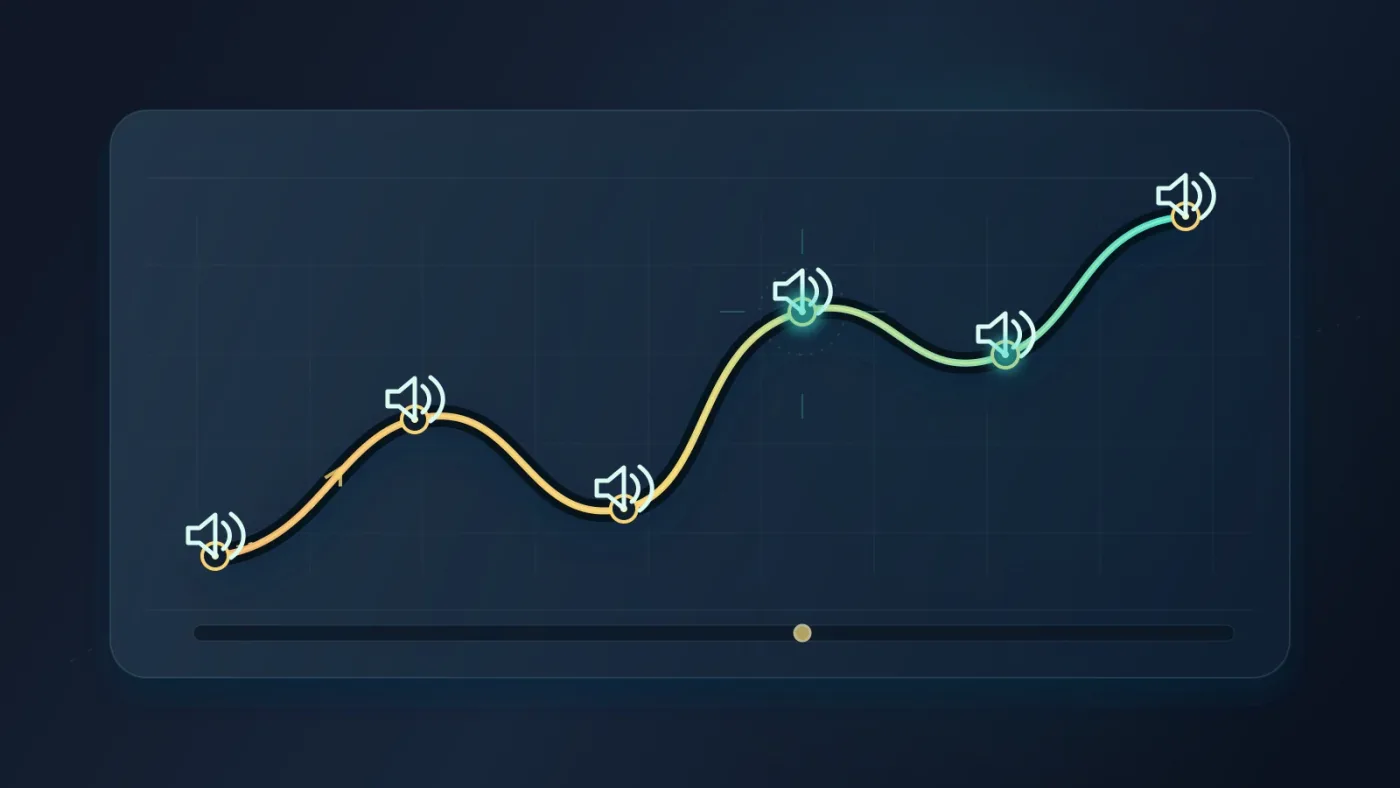
How do I make a moving sound effect feel close, far away, or fast?
Add level, EQ, reverb, and timing changes after the pan matches the picture. Panning supplies horizontal placement, but depth and speed come from several cues working together.
For distance, try this order:
- Pan: Put the effect where the object appears to be. Make the move readable before making it dramatic.
- Level: Raise or lower it only when the picture gives you a reason. A passing object may need emphasis at its closest point, followed by a controlled tail.
- EQ: Reduce some high-frequency presence as the object recedes, or brighten a close detail if the scene supports it. A telephone-like filter is a style choice, not a default distance setting.
- Reverb: Use a shorter, drier sound for a nearby event and more room information for a background sound. Match the reverb to the location established by dialogue and ambience.
- Timing: Align the attack, visual pass, and tail. An early pan can detach the sound from the picture.
Randy Thom, the sound designer and re-recording mixer interviewed by Designing Sound, explained the mixer's job in plain terms: “By mixing I mean adjusting relative levels of sounds, basic panning, reverb and eq.” That list is a useful order of operations. Make the movement legible first, then make it belong to the room (Randy Thom interview).
A moving sound effect feels convincing when its level, tone, and reverb change with its position.
A whoosh needs different treatment from a car or a thrown object. A car pass may need body, air, and tail layers. A thrown object may need a transient, flight movement, and landing sound. The pan can be similar, but the layers shouldn't all peak together.
For a deeper layer-by-layer approach, see our guide to layering sound effects in DaVinci Resolve. For a broader realism pass, see how to make sound effects realistic in DaVinci Resolve.
What does a good moving-sound example look like?
A good example starts with one visual action and gives each sound layer a clear job. Use the picture as the authority, not a fixed preset.
| Picture action | Sound layers | Pan plan | Extra treatment |
|---|---|---|---|
| A tennis ball travels from left to right | A short hit, a light air movement, and the bounce | Move the air layer across the frame; keep the hit where it happens | Let the bounce land in the correct screen position rather than dragging the whole effect past it |
| A car passes the camera | Engine or body tone, tire noise, and a pass-by layer | Move the body and tire layers together, then give the pass-by layer a slightly different curve | Shape level and room tone so the pass doesn't sound like a single stereo file sliding across speakers |
| A person runs across the shot | Footsteps, cloth, and one broader movement layer | Pan the broader layer with the person; place individual footsteps at each visible contact | Keep the footsteps tied to the feet, not to the person's center for the entire shot |
| A projectile crosses and exits frame | Launch, flight, pass, and impact | Use a short, readable flight curve and stop the pan at the exit point | Add the impact where it occurs, even if that means a different track position |
| A title or graphic sweeps across screen | Whoosh or tonal sweep | Match the start, center, and end positions to the graphic's motion | Avoid over-panning if the graphic is a design accent rather than a physical object |
If the shot is an action sequence with several simultaneous events, read our guide to DaVinci Resolve sound design for action scenes. It asks which sound should lead the audience's attention at each moment.
Why is my sound effect not following the moving object?
When a sound stays centered, jumps, or drifts away from its clip, check automation mode, track selection, channel format, and edit behavior in that order. Most failures come from writing the right gesture to the wrong parameter or from moving the clip after the automation was recorded.
| Symptom | Likely cause | Fix |
|---|---|---|
| The pan knob moves during playback but no curve appears | Pan was not enabled in the automation controls, or the wrong track was selected | Stop, select the effect's track, enable Pan, and make a short test pass |
| The sound records only while you hold the control | You chose a touch behavior that stops writing on release | Use Latch for a pass that should continue after release, or keep the control held for the intended span |
| The sound jumps from one side to the other | The pass has abrupt changes or too many close points | Delete unnecessary points and make the movement follow meaningful picture positions |
| The clip moved, but its pan stayed in the old timeline position | Track automation was not set to follow the edit | Enable Fairlight > Automation > Follows Edit before moving or trimming an automated effect |
| The effect sounds centered even though the pan curve changes | The source or clip channel format is not behaving as expected in the stereo track | Inspect Clip Attributes and the panner, then test with the effect soloed |
| The sound follows the object but disappears under music | The mix is masking the effect | Adjust arrangement and level before making the pan wider or louder |
| A folder makes the timeline tidy but the sound still feels static | Folder Tracks only organize tracks | Keep the pan automation on the child track or tracks that carry the moving layers |
Automation Follows Edit keeps automation attached to clips as they move. Blackmagic's Fairlight guide specifically describes it for a recurring sound effect that pans left to right. Turn it on before moving a mixed clip, and off when copied automation would be wrong (DaVinci Resolve 17 New Features Guide).
Make changes one at a time. First fix timing. Then fix pan. Then fix level and tone. If you change all four while listening to a crowded mix, you'll lose track of what solved the problem.
Should I use Fairlight automation, 3D panning, or a sound library?
Use Fairlight stereo automation for an ordinary left-to-right or right-to-left effect, Resolve Studio's 3D panner for an immersive mix, and a sound library only to solve the source-material problem. These tools answer different questions, so buying a library won't fix a badly timed pan.
Blackmagic's Fairlight page gives you the basic tools inside Resolve, including pan controls, automation, sound-library access, and immersive panning. The free Fairlight Sound Library described in Blackmagic's audio guide includes more than 500 professionally recorded Foley sounds, including footsteps, body falls, and door creaks. That is a useful starting point when you need a clean source before you automate it (The Fairlight Audio Guide).
If you publish often and need licensed music and sound effects, Epidemic Sound is one practical option to evaluate alongside dedicated Foley libraries. A dedicated Foley library can win for individual sounds without a recurring subscription, while an audio-first subscription can suit recurring online or client work. Check the current license before publishing.
Affiliate disclosure: We may earn a commission if you choose Epidemic Sound through the following link. That relationship doesn't change the workflow or the recommendation criteria.
Choose the source that matches your real problem:
- Choose the Fairlight Sound Library if you need a small, immediate Foley base and want to stay inside Resolve.
- Choose a dedicated Foley library if realism depends on very specific production recordings, surfaces, or performance variations.
- Choose Epidemic Sound if you regularly need licensed music and sound effects as part of a broader publishing workflow. Confirm whether your intended channel, client, advertising, or commercial use is covered.
- Choose Resolve Studio's immersive tools if the delivery and monitoring environment actually support spatial audio. Don't choose them just to make a stereo pan more complicated.
How do Resolve 21 Folder Tracks help with moving sound effects?
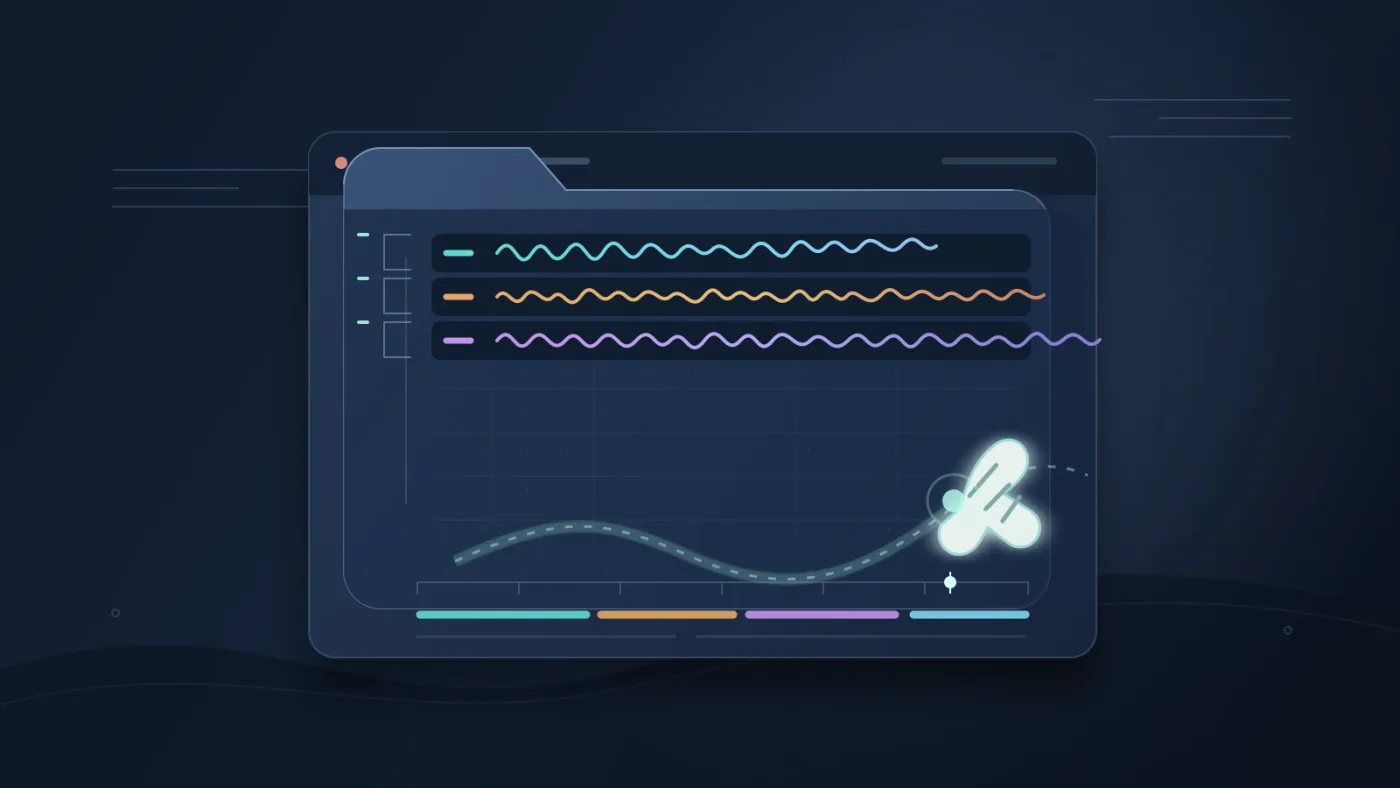
Resolve 21 Folder Tracks make it easier to organize several moving-effect tracks without flattening them into one file. They combine selected tracks into a composite view, preserve the original tracks, and can be nested up to three levels according to Blackmagic's Resolve 21 New Features Guide (DaVinci Resolve 21 New Features Guide, Folder Tracks).
Keep FOOTSTEPS, CLOTH, BODY, and WHOOSH as separate tracks inside a RUNNER_FX folder. Collapse it while working on music, then reopen it to adjust a pan curve.
Folder Tracks solve a visibility problem, not a spatial-mixing problem. The original tracks remain the place where you inspect clips and automation. If you collapse a folder and hear a static sound, open it again and check the child track that should move.
Resolve 21 also adds a small navigation shortcut to Fairlight: pressing C snaps the playhead to the mouse pointer in the Fairlight timeline. That is useful when you are placing a waypoint at a visible action, but it doesn't write pan data by itself (DaVinci Resolve 21 New Features Guide).
Resolve 21's Folder Tracks make complex action sound design easier to inspect, but they do not replace pan automation.
How can I learn this Fairlight workflow without losing the creative decision?
Use Blackmagic's official Fairlight training for the controls, then practice one short moving-object shot until you can hear the timing problem clearly. Its training library includes Introduction to Audio and Introduction to Sound Design (Blackmagic Design official training).
TryUncle is the on-screen assistant for DaVinci Resolve on macOS. Ask in plain words and Uncle points at the exact control on your screen.
That kind of help is most useful when you know what you want to do but can't locate the automation toolbar, Pan enable, or Viewer tracker control. It doesn't replace the creative decisions in this guide. You still decide where the sound starts, how quickly it moves, and whether the effect should be heard at all.
The best way to learn DaVinci Resolve is to connect a control to a visible result. Pick an object that crosses the frame, write one move, listen without looking, then ask whether your ears place the object correctly.
What should you do next to make the movement believable?
Write one stereo pan pass on a dedicated track, inspect the curve, and only then add level, EQ, reverb, or extra Foley layers. If the sound moves in a straight line, Fairlight automation is enough. If the object turns, use Viewer tracker waypoints. If several layers move together, organize them with Resolve 21 Folder Tracks while keeping their automation editable.
The fastest reliable workflow is to build the move in passes: sync, pan, depth, then polish.
Close your eyes during playback. If you can tell where the object is and when it passes, the pan is doing its job. If not, simplify the automation and return to the action.
That is the whole craft in miniature: make the sound obey the shot first, then give it character.
Frequently asked questions
- How do I make sound effects follow a moving object in DaVinci Resolve?
- Open the Fairlight page, place the effect on its own track, enable Pan in the automation toolbar, and write the pan as the object crosses the frame. Use Viewer tracker controls when the path has several turns.
- Why is my sound effect staying in the center in DaVinci Resolve?
- The usual causes are that Pan was not enabled for automation, the wrong track is selected, or the clip is being monitored as a centered stereo signal. Check the track automation view and the clip's channel format.
- How do I make a sound effect move from left to right in DaVinci Resolve?
- Start the effect with the pan to the left, play the shot, move the pan control toward the right while automation records, then stop and review the written curve.
- Can I use 3D panning for a moving object in DaVinci Resolve 21?
- Yes, DaVinci Resolve Studio has an immersive 3D panner for flying sound objects. For a normal stereo export, standard Fairlight pan automation is the simpler and more portable choice.
- Does this workflow work in DaVinci Resolve 21 Free?
- The guide's basic stereo workflow uses Fairlight pan automation and does not require the immersive 3D panner. Resolve Studio is the version to choose when you need immersive 3D audio tools.
Sources
- DaVinci Resolve 21 New Features Guide, Fairlight
- The Fairlight Audio Guide to DaVinci Resolve 20
- DaVinci Resolve Fairlight official feature page
- DaVinci Resolve official training
- Randy Thom interview on sound effects editing and mixing
- Epidemic Sound current sound-effects options
- DaVinci Resolve 17 Fairlight Audio Guide
- DaVinci Resolve 17 New Features Guide, Automation Follows Edit
- DaVinci Resolve 19 New Features Guide, Manual Tracking Using the Viewer
Keep reading
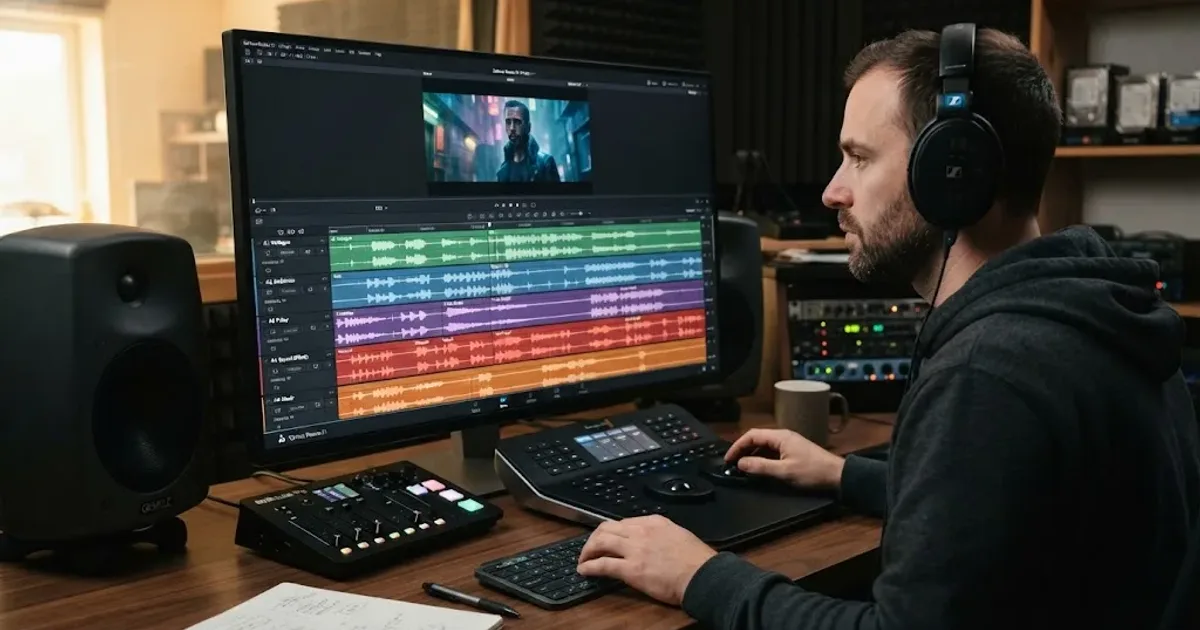
Guides · Aug 24, 2026 · 8 min
How to Layer Sound Effects in DaVinci Resolve 21
Learn how to layer sound effects in DaVinci Resolve 21 with a clean Fairlight track layout, precise sync, volume shaping, and practical mix checks.
Guides · Aug 28, 2026 · 8 min
How to Make Sound Effects Realistic in DaVinci Resolve 21
Make sound effects realistic in DaVinci Resolve 21 with layering, EQ, reverb, panning, automation, and room-aware mixing in Fairlight.
Guides · Aug 31, 2026 · 8 min
DaVinci Resolve Sound Design for Action Scenes
Build convincing action-scene sound in DaVinci Resolve 21 with layered effects, perspective, Fairlight automation, music, and a clean mix.