Articles / Guidesupdated for DaVinci Resolve 21.0 (August 2026)
How to Use Music Stems in DaVinci Resolve 21
Quick answer
To use music stems in DaVinci Resolve, import each vocal, drum, bass, and instrument file, place them on separate Fairlight tracks, align their first beats, then mute, automate, and mix each track. Export the finished bus for video, or render separate tracks when another mixer needs the stems.

Music stems make a soundtrack adjustable instead of fixed. I use them when a vocal needs to disappear, the drums crowd a cut, or a client wants an instrumental version. As of August 2026, this workflow applies to DaVinci Resolve 21 and its Fairlight page. We run a 100,000+ member editing community, and after 7+ years of professional commercial editing, one rule keeps saving time: organize the stems before you mix.
What are music stems in DaVinci Resolve?
Music stems are separate audio files that contain parts of one song, such as vocals, drums, bass, or instruments. In DaVinci Resolve, each file becomes an independently editable clip on a Fairlight track, so you can change one part without replacing the whole song. Blackmagic describes Fairlight as a timeline where clip and waveform editing happen in one view, with controls for clips, tracks, and buses. Blackmagic's Fairlight overview documents those controls.
Music stems are separate audio files that let you change vocals, drums, bass, and instruments independently in DaVinci Resolve.
Use the labels from your download rather than assuming every provider supplies the same set. A practical layout looks like this:
| Stem | Track name | Useful first move |
|---|---|---|
| Vocal | MUS Vocal | Solo it to check the lyric against the edit |
| Drums | MUS Drums | Lower it under dialogue or quiet scenes |
| Bass | MUS Bass | Check low-end buildup with the full mix |
| Instruments or Other | MUS Music | Keep the melodic bed under the picture |
If you only have one stereo music file, you don't have clean source stems. Resolve Studio can still offer a workaround through Music Remixer. Blackmagic's Resolve 19 guide says the Studio-only effect splits a full music track into five groups: Vocals, Drums, Bass, Guitar, and Other. It can help with a rescue or quick alternate version, but source stems give you more direct control.
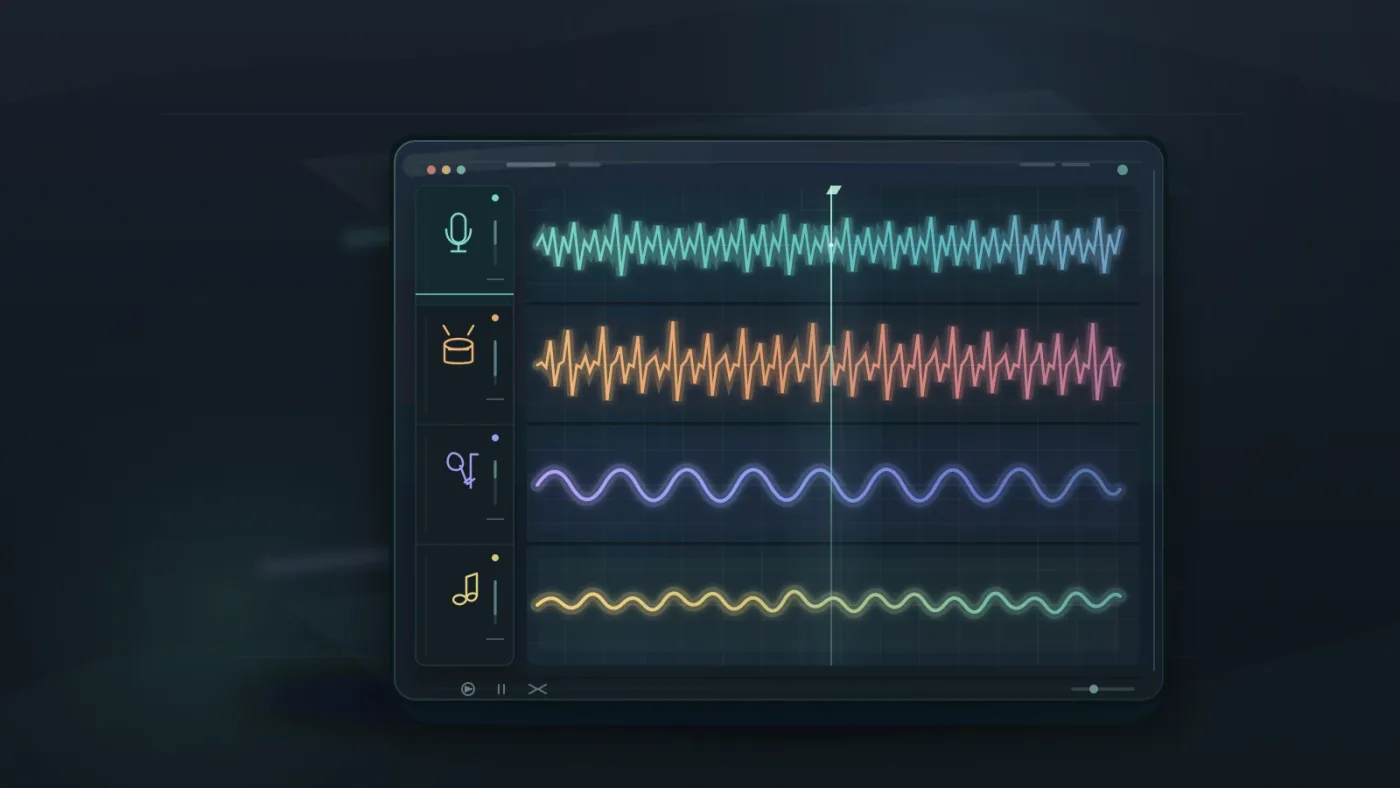
How do I import music stems into DaVinci Resolve?
To import music stems into DaVinci Resolve, bring every audio file into the Media Pool, then drag each file onto its own Fairlight track. Blackmagic lists Resolve 21 for Mac, Windows, and Linux, in free and Studio editions.
- Put the stem files in one folder. Use clear names such as
Song_Vocal.wav,Song_Drums.wav, andSong_Bass.wav. Don't rename files after importing unless you also keep the project organized. - Open the Media page or the Media Pool and import all the stems together. Select them in the Media Pool so you can move them as a group when needed.
- Open the Edit or Fairlight page. Drag one stem to an empty audio track, then place the remaining stems on new tracks below it.
- Rename the tracks from their generic names to
MUS Vocal,MUS Drums,MUS Bass, andMUS Instruments. - Play each track alone. If a file is silent, check the clip, track, and bus state before changing any levels.
The key is one stem per track. That gives you a mute button, mixer channel, automation lane, and independent level for each musical part. Blackmagic's Fairlight documentation also describes mono tracks and multichannel mapping, so a stereo stem can stay stereo while a mono stem can use a mono track.
The safest stem workflow is one file per Fairlight track, with every stem starting at the same musical point.
How do I align music stems in DaVinci Resolve?
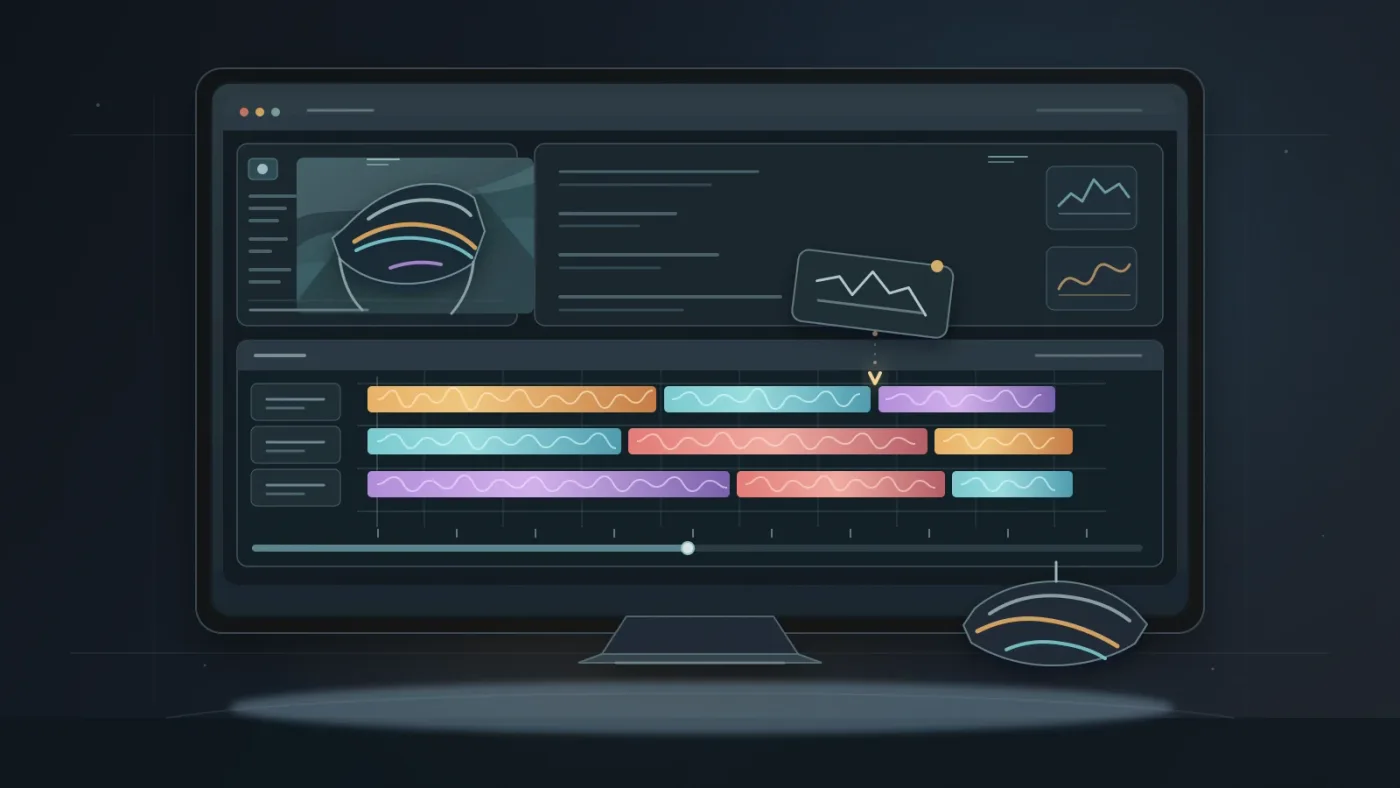
Align music stems by placing the same musical start point at the same timeline position, then verify the result by soloing and unsoloing the tracks. The first strong kick, snare, vocal consonant, or chord attack is easier to identify than a long section of low-level waveform.
- Find the first clear transient in the top stem and place the playhead there.
- Move the other stems until their matching transient sits at the same position. Turn snapping on when you want clips to meet cleanly.
- Zoom in far enough to see the waveform shape. If one file has leading silence, trim that silence or move the clip by the same amount.
- Solo the vocal, then the drums, then the bass. Finally, listen to all stems together.
- Select the stem clips and move them as a group if the music needs to shift against picture. Avoid nudging one stem on its own after the check.
When the stems don't line up, compare the first transient rather than the file edges. The file edges may include different amounts of silence.
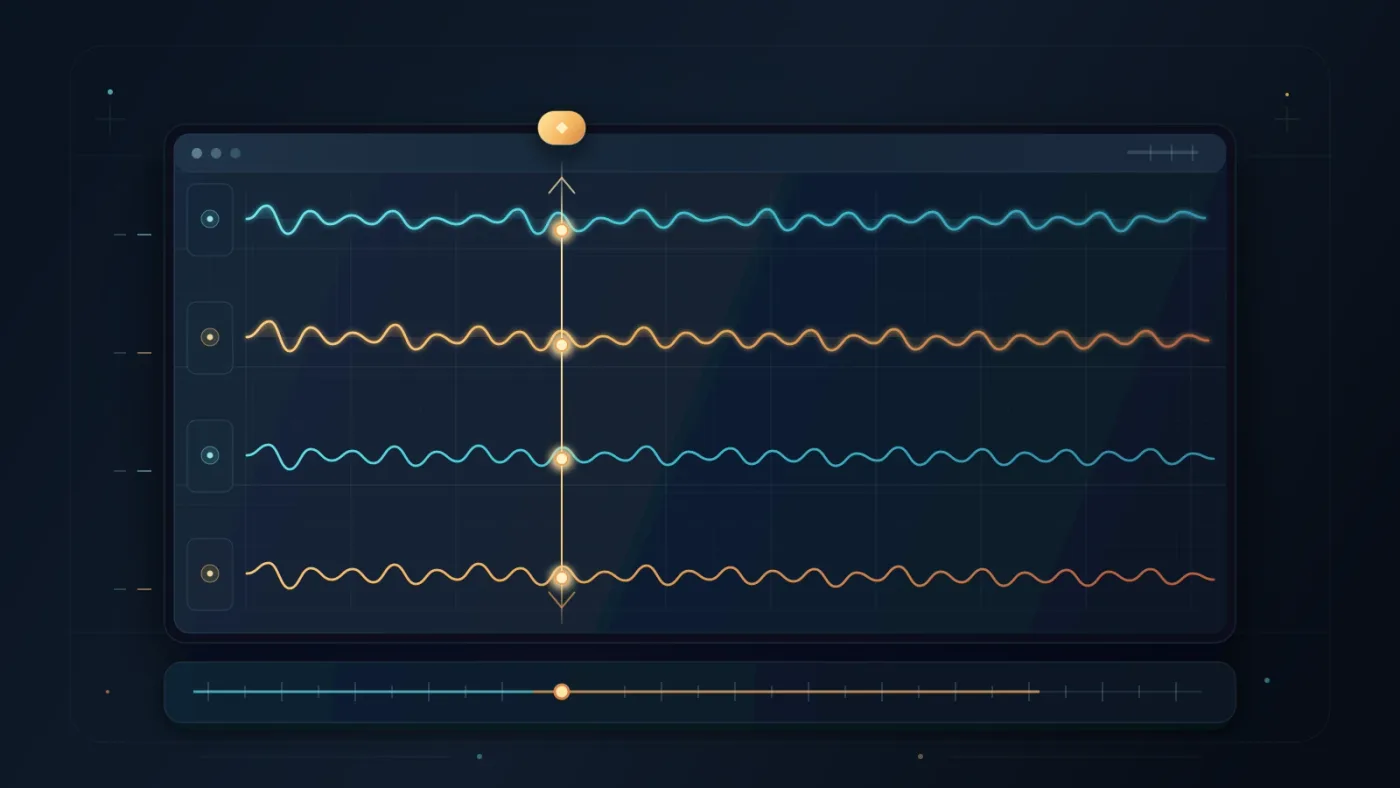
How do I mute vocals, drums, or bass without deleting them?
Mute a stem with its track Mute control or mixer channel, and use Solo to hear one part in isolation. Track muting is reversible, which makes it safer than deleting clips when you are still testing versions.
For a whole-song change, mute the track. For one scene, lower the clip level or draw automation so the stem returns later. Keep the track available until final export because a muted stem can help with a second cut or client revision.
If you only have a full mix, open the Music Remixer Track FX in Resolve Studio. The official guide lists controls for the five groups above and says the Mute buttons can bring parts in and out while automation records the changes. It is a Studio feature, so it won't appear in the free edition.
Grant Petty, Blackmagic Design's CEO, described Fairlight this way in an official release: “These new features allow complex audio post production work in the Fairlight page using a simple mouse and keyboard.” Start with track headers and the mixer, then add automation only where the edit needs it.
Muting a stem is reversible; deleting a stem is not.
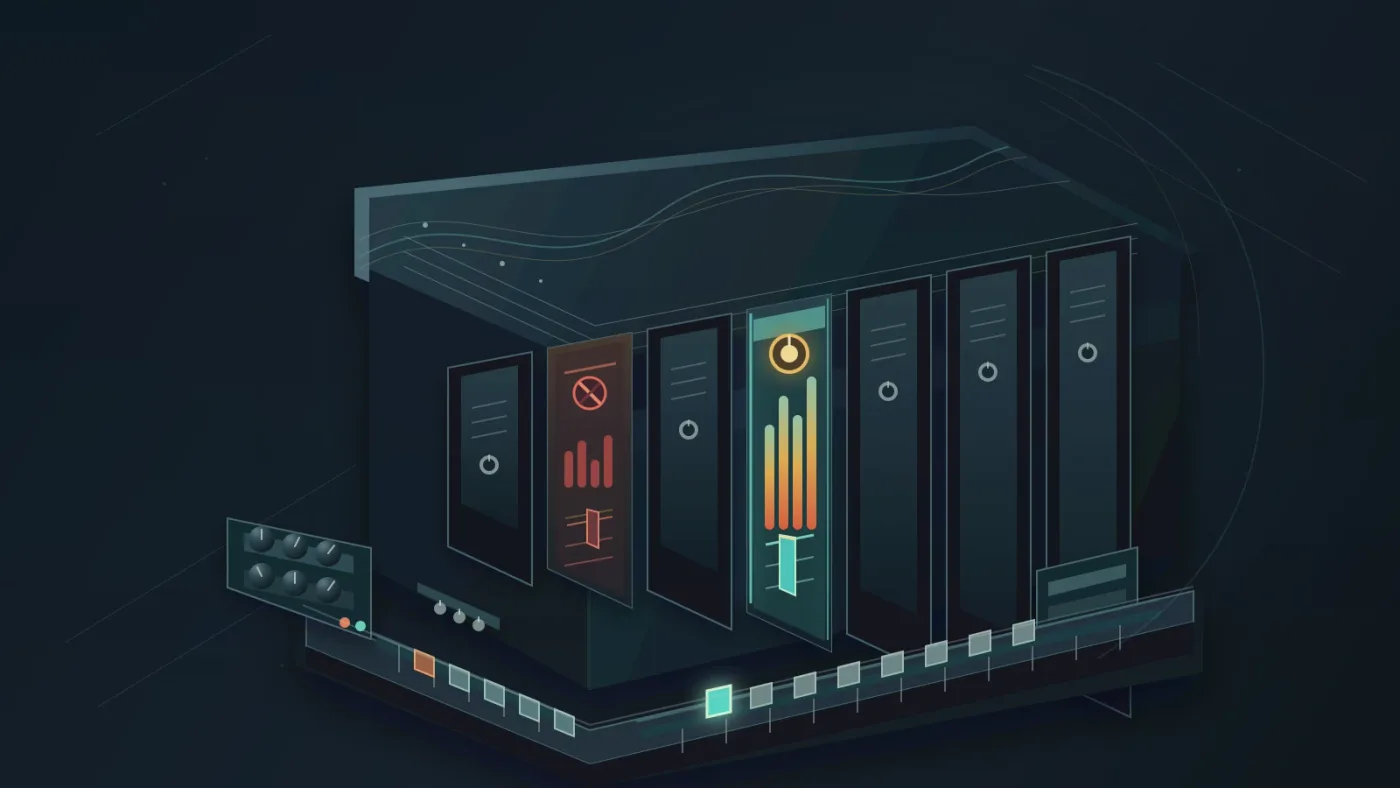
How do I mix music stems under dialogue in DaVinci Resolve?
Mix music stems under dialogue by lowering the music bus or individual tracks, then automate only the moments that need a change. Keep spoken words clear without making the music disappear.
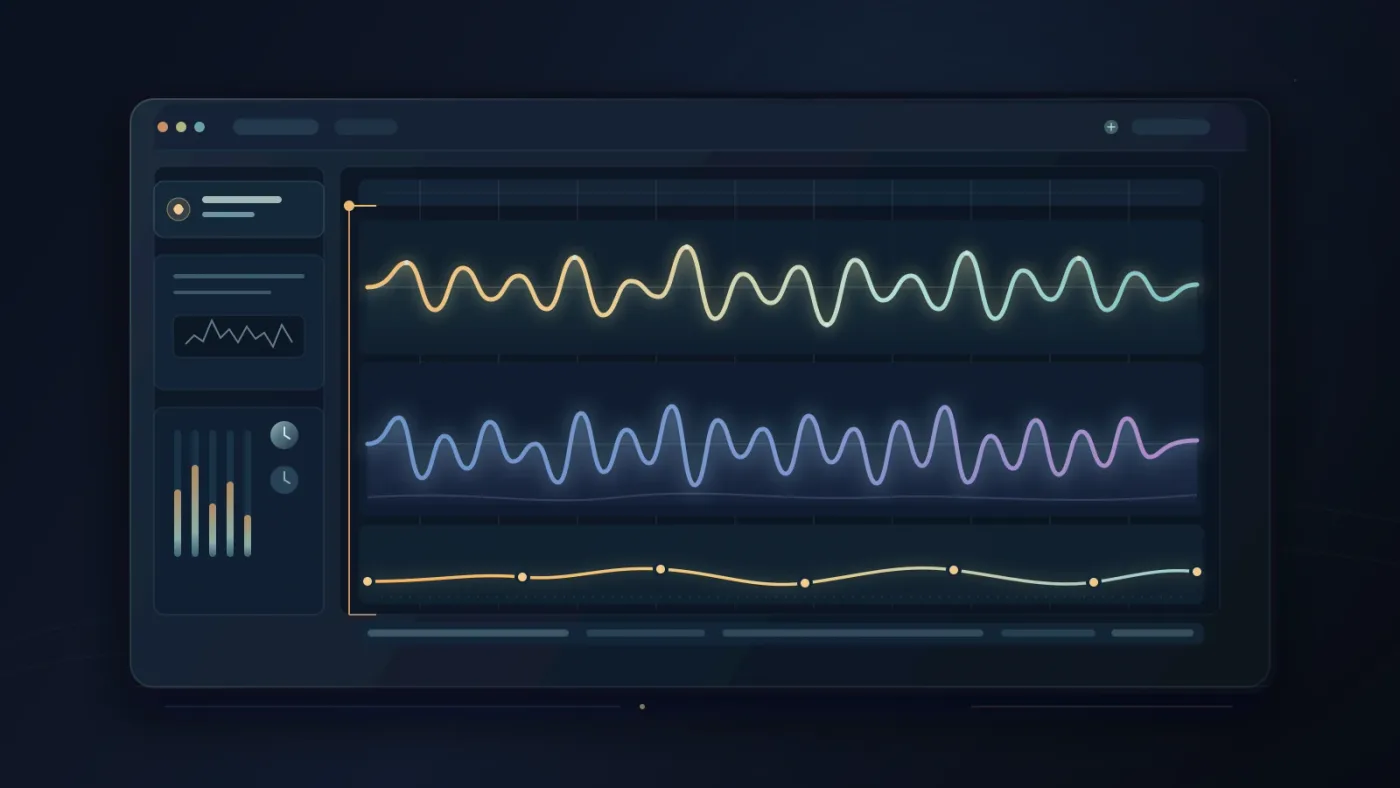
For a simple mix, adjust the vocal, drums, bass, and instruments separately in the Fairlight mixer. For recurring dialogue sections, Fairlight's Ducker Track FX can use one or more dialogue tracks to reduce a target music track, then raise it again after the dialogue ends. Blackmagic documents controls for duck level and recovery on its Fairlight page.
Our guide to mixing audio in DaVinci Resolve with Fairlight covers wider routing and automation. Keep the music stems grouped consistently so dialogue ducking doesn't become a separate fix on every track.
What should I do if the music stems do not fit the edit?
If music stems do not fit the edit, trim the clips, use fades, and automate the arrangement while keeping the originals untouched. You can shorten an intro, remove a section, or mute the vocal during a title card.
Use clip edits for one-time structural changes and automation for repeatable level changes, such as a drum lift into a montage. Add short fades at hard cuts. If the song needs a different duration, see fitting music to video length in DaVinci Resolve.
DaVinci Resolve Studio's Music Remixer is a fallback for a full mix, not a replacement for clean source stems.

Should I use Epidemic Sound for DaVinci Resolve music stems?
Epidemic Sound is worth considering when you repeatedly need licensed music, downloadable stems, and a direct Resolve workflow. It isn't necessary for this tutorial, and a single licensed track, Soundstripe, or Artlist may be simpler for one song.
Disclosure: this post contains an affiliate link. If you subscribe through it, we may earn a commission at no extra cost to you.
Epidemic Sound's DaVinci Resolve Studio integration can show and download individual stems, then let you drag files directly to the timeline. Its help documentation says the integration requires paid DaVinci Resolve Studio, not the free edition, and that Timeline Sync isn't supported. You still need to align and mix the downloaded files yourself.
Epidemic Sound fits recurring soundtracking needs best when your Resolve workflow already uses the paid Studio edition.
If you use free Resolve, download the stems from your music source and import them manually. If you make client videos, paid ads, or branded content, read the plan's license before publishing. Licensing is separate from whether the files import.
Check Epidemic Sound's current stem-enabled options if you need a recurring music source, and compare the license to your actual channels and client work before subscribing.
How do I export a music stem mix from DaVinci Resolve?
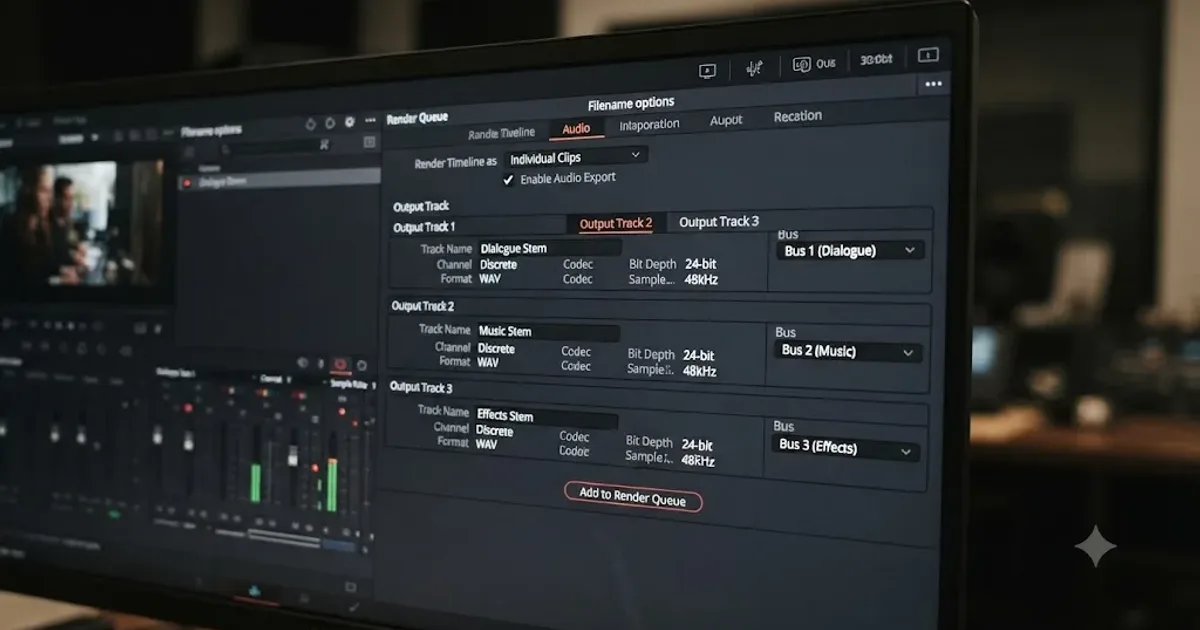
Export finished music with the Deliver page's audio settings: render the main bus for a normal video, or choose separate tracks when another person needs editable stems. Blackmagic's Fairlight overview lists audio-only rendering and selection of buses and tracks.
Before rendering, check four things: every stem begins on the right beat, no track is accidentally muted, dialogue remains intelligible, and the bus output is active. Use a clear naming pattern for separate files, such as Project_MUS_Vocal.wav and Project_MUS_Drums.wav.
For a dedicated handoff, read how to export separate audio stems for mixing in DaVinci Resolve. A stereo mix is convenient for publishing. Separate stems preserve choices for the next editor or mixer.
A final stereo mix is the delivery file; separate stems are the flexible handoff.

Start with the files you already have. Put one stem on each Fairlight track, align the first musical beat, mute or automate only what the picture needs, and render the main bus when the mix is finished. That gives you control without locking the soundtrack too early.
Frequently asked questions
- How do I import music stems into DaVinci Resolve?
- Import every audio file into the Media Pool, then place each stem on its own Fairlight track and line up the first musical beat.
- Why are my music stems out of sync in DaVinci Resolve?
- The stems probably have different amounts of leading silence or were placed at different timeline positions. Zoom into the first clear transient, align the stems, and listen with the tracks soloed.
- Can I use music stems in the free version of DaVinci Resolve?
- Yes. You can manually import and mix audio stems in the free version. Third-party Resolve plugins, including the Epidemic Sound integration, require DaVinci Resolve Studio.
- How do I mute vocals or drums without deleting the stem?
- Use the Mute button on the stem's track header or mixer channel. Use clip volume or automation when you need the stem to change only during part of the edit.
Sources
Put this guide to work with TryUncle.
Ask about the step you’re on. TryUncle sees your screen and points at the control you need, so you can keep learning in your own project.
Get TryUncle for Mac or WindowsKeep reading
Guides · Jul 11, 2026 · 31 min
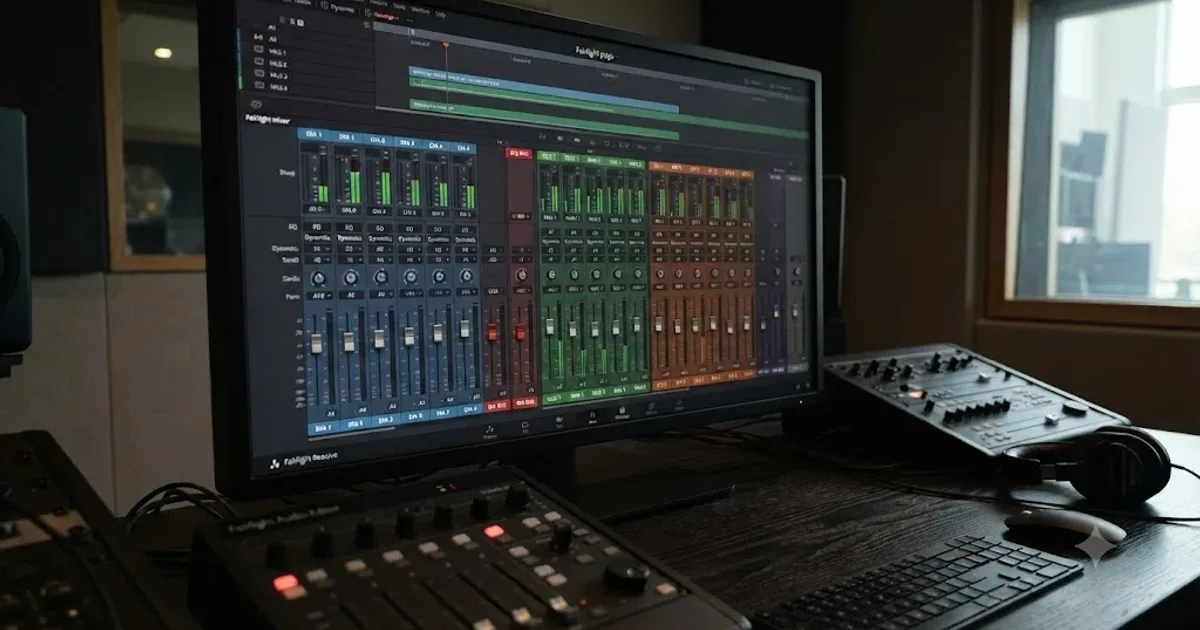
How to Mix Audio in DaVinci Resolve Using Fairlight
Mix audio in DaVinci Resolve's Fairlight page: build a dialogue/music/effects bus structure, gain-stage your clips, EQ and compress dialogue, then duck music under it.
Guides · Aug 24, 2026 · 7 min
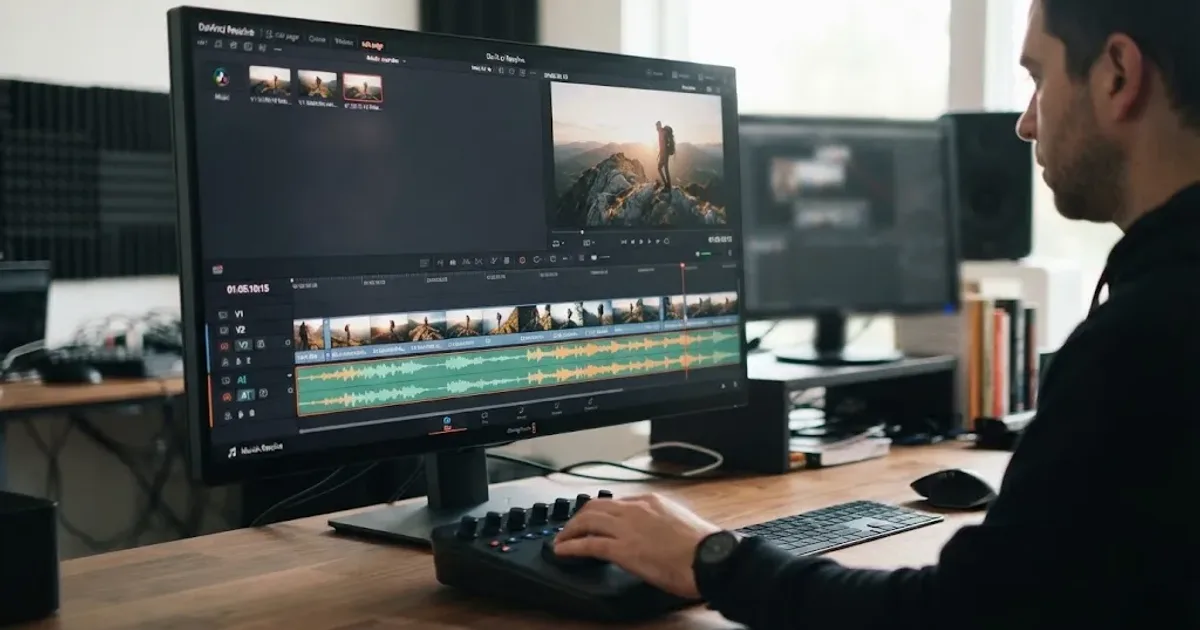
DaVinci Resolve Fit Music to Video Length: 21 Guide
Fit music to your video in DaVinci Resolve 21 with Music Editor, beat markers, Elastic Wave, and a clean manual fallback.
Guides · Aug 2, 2026 · 39 min
How to Export Separate Audio Stems for Mixing in DaVinci Resolve
Export separate audio stems for mixing in DaVinci Resolve: build Fairlight buses, set Deliver page Output Track per stem, and render 24-bit WAV files.