Articles / Guidesupdated for DaVinci Resolve 21.0.2 (July 2026)
How to Use PowerGrades in DaVinci Resolve
Quick answer
A PowerGrade in DaVinci Resolve is a saved node tree, not a flat look, stored in the Gallery so it follows you into every project on your machine. Grab one with Grab Still into a PowerGrade album, then apply it by middle-click, drag and drop, or right-click Apply Grade, or use Append Node Graph to add it without erasing what you already built.
I spent longer than I'd like to admit rebuilding the same six-node skin correction from scratch on every interview setup for one project, because I was saving looks as ordinary Stills and Stills don't leave the project they were born in. The fix was a five-minute habit change: a PowerGrade album instead of the default Stills album. Same grab-still gesture, completely different result.
This guide covers what a PowerGrade actually is, how it differs from a Still, a LUT, and a saved version, and every method DaVinci Resolve gives you to save, apply, append, organize, and share one. It also covers where this breaks, because it does, usually around a drive that got renamed at the worst possible time.
What is a PowerGrade in DaVinci Resolve?
A PowerGrade is a saved grade that lives outside any single project. Per the DaVinci Resolve Reference Manual's page on PowerGrade Albums, a PowerGrade album is "shared among all projects" within your project library, and it's tied specifically to your user login rather than to the project file itself. Save a grade into a PowerGrade album on Monday, open a completely unrelated project on Wednesday, and that same grade is sitting in the Gallery waiting for you, because it never belonged to Monday's project in the first place.
What makes that possible is what a PowerGrade actually stores. Justin Robinson, who runs the DaVinci Resolve and Fusion training channel JayAreTV, puts the distinction plainly: "Power Grades are different. They capture your entire node tree," per his PowerGrade and Gallery explainer. Not a single flattened color value. Every node, every qualifier, every power window, every serial and parallel connection, exactly as you built it, ready to be re-edited the moment you apply it to a new clip.
A PowerGrade is a node tree with a passport, not a color with a name. That's the whole reason it exists as a separate album type instead of just being a differently labeled Still. A Still answers "what did this clip look like." A PowerGrade answers "how do I build this look again, on any clip, in any project, starting right now."
Rubidium Wu, writing for PremiumBeat, frames the same split in terms of scope rather than content: "Stills are specific to a particular project, whereas PowerGrades are shared across all projects of a user," from "3 Ways to Store and Share Grades in DaVinci Resolve". That one sentence is the entire practical case for learning this feature. If you've ever opened a new project and thought "I built this exact look three projects ago, where did it go," the answer is that it went nowhere, it's still sitting in whatever project you built it in, because it was saved as a Still instead of a PowerGrade.
How is a PowerGrade different from a Still, a LUT, and a saved version?
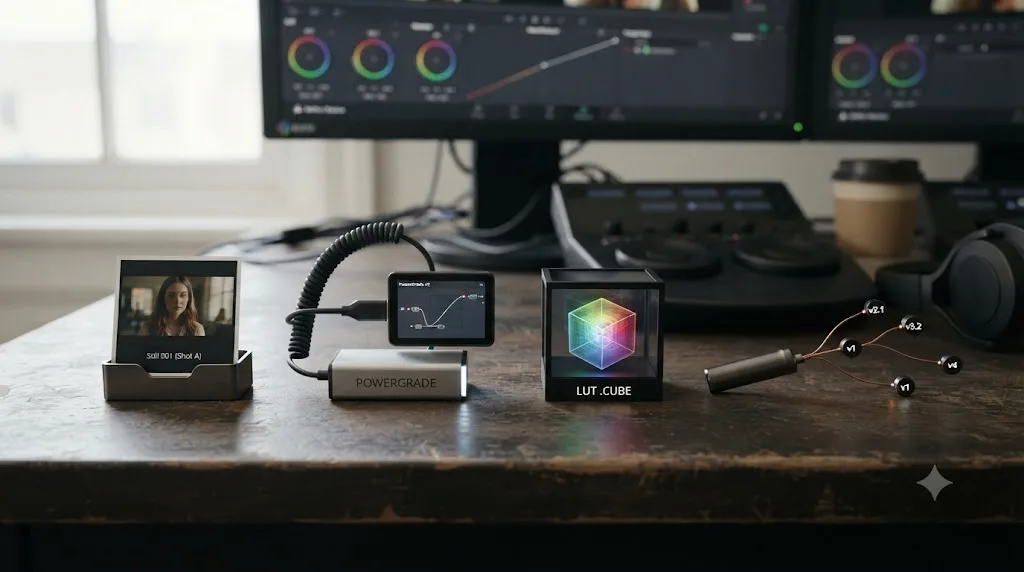
DaVinci Resolve gives you four different ways to preserve a look, and they solve four different problems. Confusing them is the single most common reason people either lose work they thought was saved, or build a fragile grade around the wrong tool for the job.
| Tool | What it stores | Where it lives | Editable after applying? | Best for |
|---|---|---|---|---|
| Still | Full node tree, one frame's picture | Inside the current project only | Yes | Reference stills, before/after comparisons within one job |
| PowerGrade | Full node tree, one frame's picture | Shared across every project, tied to your login | Yes | Reusable looks, house styles, series consistency |
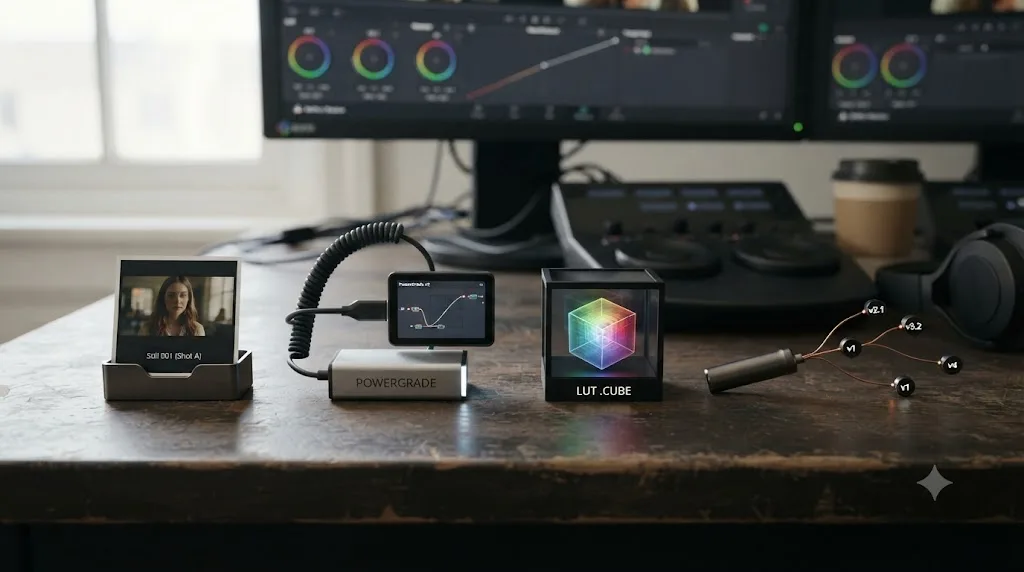
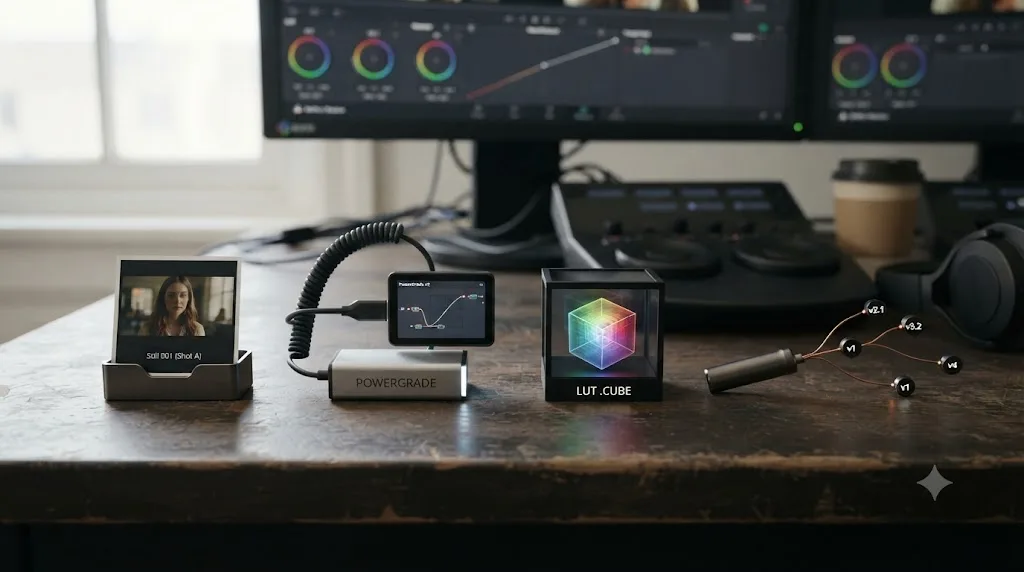
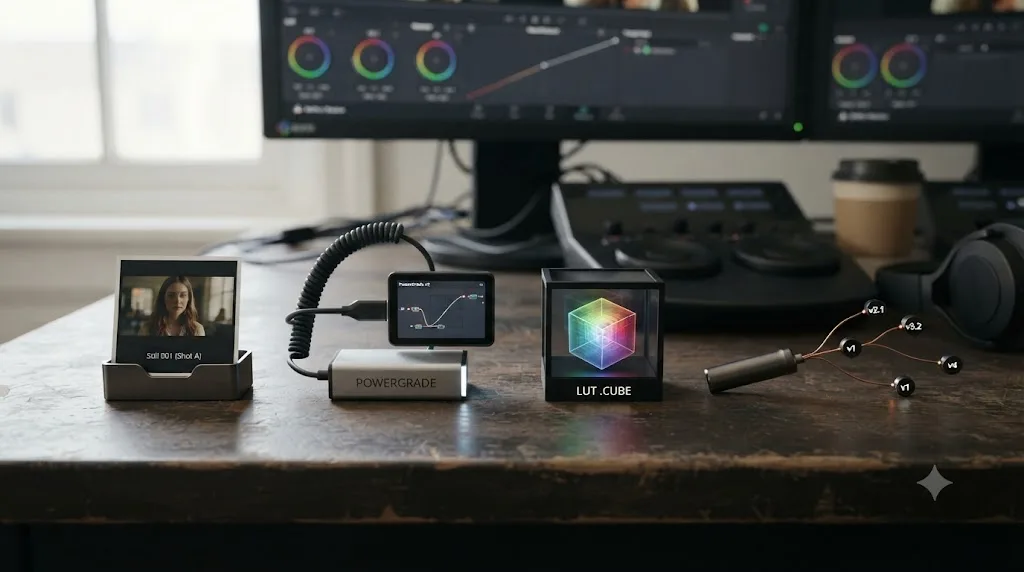
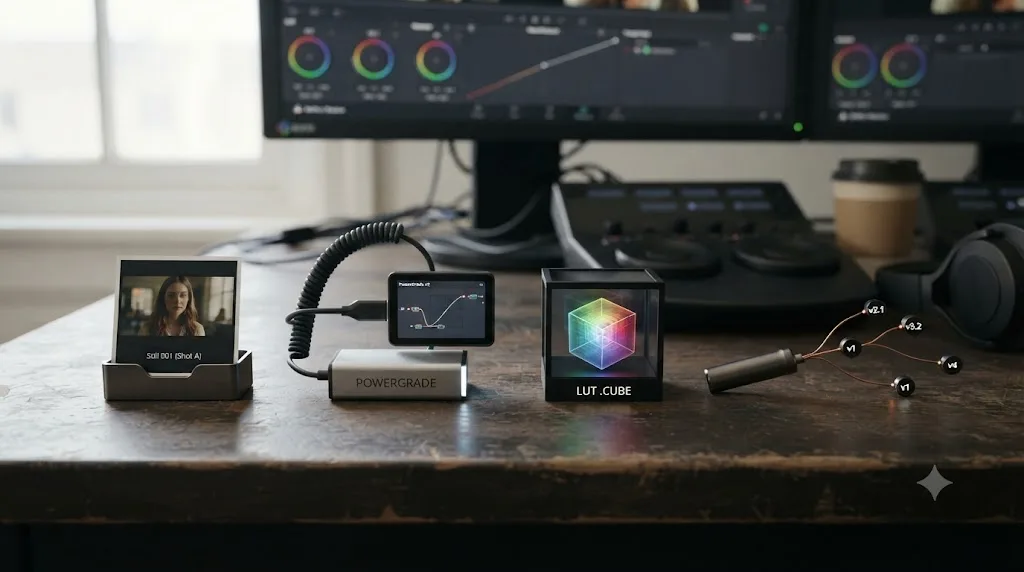
| LUT (.cube) | Baked, flattened color transform only | A folder Resolve reads on load, independent of any project | No, it's a fixed lookup table | Delivering a look to another app, loading onto a camera or monitor |
| Local/Remote Version | A saved state of a specific clip's grade, inside that project | Inside the current project, attached to the clip | Yes, and you can flip between versions on the same clip | A/B comparing alternate grades on the same shot |
The row that trips people up most is LUT versus PowerGrade, because both start from the same source, a grade you built in the node editor, and both end up reusable elsewhere. The difference is what survives the export. Jason Bowdach, a Los Angeles colorist and founder of the color-tools company PixelTools, states the contrast in one line: "A PowerGrade keeps every node live and editable. A LUT bakes the look flat," from PixelTools' PowerGrade guide. Our custom LUT guide covers the export side of that distinction in detail, including exactly which node types a LUT export ignores outright.
Choose a PowerGrade when you still expect to change your mind, and a LUT only once you don't. That's the whole decision in one sentence, and it holds regardless of how polished the grade looks in the moment. A LUT you export today is frozen forever unless you regenerate it from scratch. A PowerGrade you save today still has every wheel and curve waiting to be nudged next time you apply it.
How do you set up a PowerGrade album?
Resolve gives every project library its own PowerGrade album by default, but you'll usually want more than one, split by purpose rather than dumping every reusable look into a single undifferentiated bucket.
- Open the Color page and reveal the Gallery panel, usually docked above the node editor or accessible from the interface toolbar.
- Click the album list at the top of the Gallery. You'll see your project's default Stills album alongside at least one PowerGrade album.
- To make a new one, right-click inside the album list and choose the option to create a new PowerGrade album, then name it something specific to its purpose: "Client X house look," "Interview base grades," "Skin tone starting points."
- Click the album to make it current. Anything you grab as a still from this point forward, until you switch albums again, saves into whichever album is active.
- Per the manual, the last remaining PowerGrade album in a library can't be deleted, since Resolve maintains at least one at all times. You can still rename it or leave it as a catch-all if you don't need multiple categories yet.
Most colorists who work across recurring clients or a multi-episode series end up with a small handful of albums rather than one giant list: a general-purpose album for miscellaneous reusable corrections, and separate albums per client or per show, so a look built for one project doesn't clutter the Gallery when you're searching for something built for another.
How do you grab a PowerGrade from a grade you've already built?
Saving a PowerGrade uses the exact same gesture as saving an ordinary Still. The only thing that changes which album type you get is which album was active in the Gallery at the moment you grab it.
- Build your grade on the Color page until it's in a state worth reusing.
- In the Gallery, make sure a PowerGrade album is the active album, not the default Stills album. This is the step people skip, and it's the entire reason a good grade sometimes ends up trapped in one project instead of following you everywhere.
- Right-click the Viewer and choose Grab Still, or use the keyboard shortcut, Command-Option-G on Mac or Ctrl-Alt-G on Windows.
- Resolve saves a thumbnail into the active album, capturing the full node tree exactly as it stood at that moment.
- Rename the still immediately, right-click it and choose to rename, rather than leaving it as a generic timestamp. A Gallery full of unlabeled thumbnails that all look like slightly different skin tones is its own kind of chaos six months later.
One habit worth building early: grab a PowerGrade the moment a look is "good enough to reuse," not only once a project is finished. Waiting until the end means you'll forget which version of a look was the one that actually worked, especially on a long project where the grade drifted through several revisions before landing somewhere good.
How do you apply a PowerGrade to a clip?
DaVinci Resolve gives you four interchangeable ways to apply a PowerGrade, and they all produce the identical result: the target clip's node tree is replaced with the PowerGrade's node tree.
| Method | How to do it | Best when |
|---|---|---|
| Middle-click | Middle mouse button click directly on the still's thumbnail in the Gallery, with the target clip selected | You're moving fast through a batch of similar clips |
| Drag onto the clip | Drag the still from the Gallery onto the clip's thumbnail in the timeline | You're applying to a clip you're not currently parked on |
| Drag onto the node graph | Drag the still onto the node editor above the viewer | You want visual confirmation of exactly which nodes just replaced your old ones |
| Right-click Apply Grade | Right-click the still, choose Apply Grade | You prefer menus over drag gestures, or you're on a trackpad where a clean drag is fiddly |
Whichever method you use, the result is the same: every node the target clip had is gone, replaced entirely by the PowerGrade's node tree. That's usually exactly what you want on a fresh, ungraded clip. It's usually not what you want on a clip you've already spent twenty minutes correcting, which is where the next section comes in.
Applying a PowerGrade is a replacement, not a merge, unless you deliberately choose the append option instead. Keep that distinction in your head before you drag anything onto a clip you care about, because there's no undo-proof warning dialog standing between you and an accidentally erased grade. Resolve's own Ctrl-Z or Cmd-Z undo will get you back, but only if you catch the mistake before you've made several more changes on top of it.
How do you apply a PowerGrade without wiping your existing grade?
This is the feature most PowerGrade tutorials skip, and it's the one that actually makes PowerGrades useful for anything beyond a completely blank clip. It's called Append Node Graph, and per the DaVinci Resolve Reference Manual, when you use it, "the current clip's grade isn't overwritten, the applied grade is added to the end of it."
- Build or select the clip's existing grade first, whatever correction you've already applied.
- In the Gallery, right-click the PowerGrade's still and choose Append Node Graph instead of Apply Grade.
- Resolve adds the PowerGrade's entire node tree onto the end of the clip's current chain, after every node that was already there.
- If you'd rather add fewer, tidier nodes instead of a long run of individual ones, Command-drag the still onto a connection line in the node editor. When a plus icon appears, release, and Resolve appends the PowerGrade as a single compound node, folding the whole saved tree into one collapsible block instead of spreading it across your visible graph.
A Blackmagic Forum thread on exactly this question, "Powergrade without replacing all prior nodes?", exists precisely because the default drag-and-drop behavior surprises people the first time it erases a grade they'd already started. Append Node Graph is the answer to that thread, and it's worth knowing before you hit the problem rather than after.
Should you replace or append when applying a PowerGrade?
This comes down to what the clip already has on it and what job the PowerGrade is doing.
Replace (Apply Grade, drag, or middle-click) when:
- The clip is ungraded, or its existing correction is a placeholder you don't need.
- The PowerGrade is a complete, self-contained look, camera normalization through final creative grade, and you want that whole chain driving the shot.
- You're batch-applying a baseline to a large group of similar clips before doing any individual work on them.
Append (Append Node Graph or Command-drag) when:
- You've already normalized and balanced the shot, and the PowerGrade is a creative look, a split-tone curve, a film emulation, meant to sit on top of correct exposure and white balance rather than replace it.
- You're layering more than one PowerGrade onto the same clip, a base look plus a texture or grain pass someone else built separately.
- The clip has shot-specific fixes, a power window isolating a hot window in the background, a qualifier keying a green screen edge, that a full replacement would wipe out along with everything else.
A useful habit: keep your reusable PowerGrades scoped to exactly one job each, normalization, or creative look, or noise pass, rather than building a single monolithic PowerGrade that tries to do everything at once. A narrowly scoped PowerGrade is safe to append onto almost any clip. A do-everything PowerGrade is really only safe to use as a full replacement on a blank slate, which limits where you can actually use it.
How do you organize PowerGrades so you can find the right one later?
A Gallery with forty unlabeled thumbnails that all look like slightly different shades of teal-and-orange is not a library, it's a junk drawer. A few habits keep it usable:
Name by intent, not by project. "Warm interview base" tells you what a PowerGrade does on any project. "Client_Final_v3" only means something on the specific job it came from, and stops meaning anything the moment that job wraps.
Split albums by category, not by date. One album for normalization and balance starting points, one for creative looks, one for texture and grain passes. A date-based system just becomes a longer and longer list you have to scroll through; a category-based system stays flat no matter how many PowerGrades you accumulate over a career.
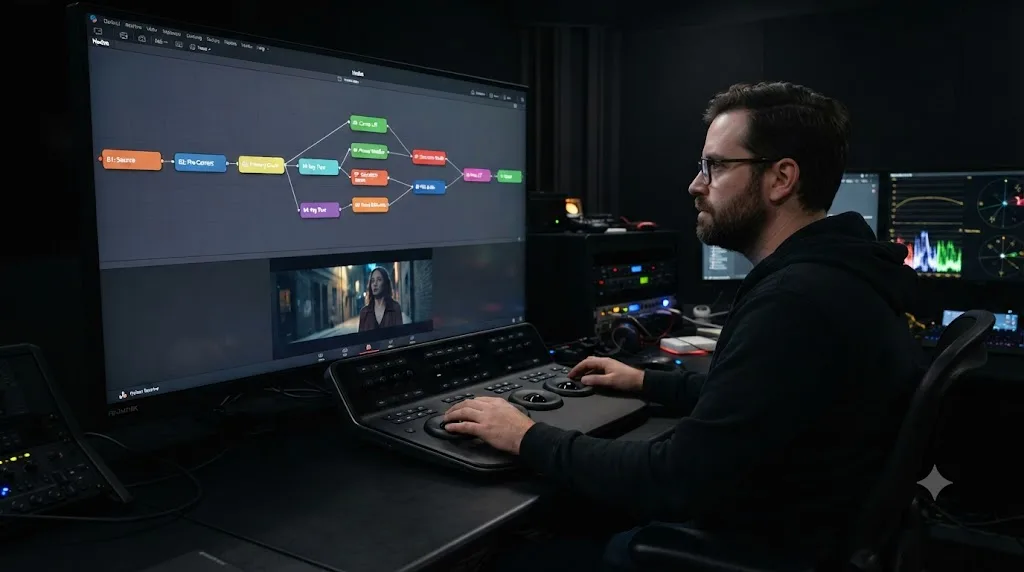
Carry your node labeling and coloring system into every PowerGrade you save. If you already label and color-code your node chains, and our guide to node labels and colors covers building that system from scratch, those labels and colors travel with the PowerGrade automatically. Applying a well-labeled PowerGrade to a new clip means the new clip's node graph is instantly legible too, not just correctly graded.
Retire PowerGrades that no longer represent how you actually work. A look you built two years ago, before you refined your color management approach, is worth keeping as reference but shouldn't sit in your main working album competing for attention with the corrections you actually reach for today. Move it to an archive album instead of deleting it outright; you never know when an old client wants the exact same look revived.
How do you share a PowerGrade with a colleague or another machine?
PowerGrades are portable, but only if you keep two specific files together, and this is where people most often lose a shared grade in transit.
- Right-click the PowerGrade's still in the Gallery and choose Export.
- Pick a destination folder. Per Rubidium Wu's breakdown for PremiumBeat, "Resolve will output two files: the .DRX file, which is the color settings, as well as a .DPX file, which is the thumbnail. You need both in order to reimport them or send them to a colleague," from "3 Ways to Store and Share Grades in DaVinci Resolve".
- Send both files together, zipped as a pair if you're emailing them, so nothing gets separated in transit.
- On the receiving end, drag both files together into a PowerGrade album in the Gallery, or right-click the album and choose Import, pointing at the folder holding the pair.
- The imported PowerGrade applies exactly like a local one: middle-click, drag, right-click Apply Grade, or Append Node Graph, all work identically regardless of whether the PowerGrade started life on your machine or someone else's.
A word of caution on what actually travels inside that .drx file: the node structure and its settings travel completely, but any external resource the grade references, a custom LUT loaded into one of the nodes, a third-party OFX plugin, a DCTL script, is stored as a reference to that file, not a bundled copy of it. If your colleague doesn't have the same LUT installed in the same location, or the same plugin licensed on their system, the PowerGrade will apply with that node showing an error or a blank pass-through instead of the effect you intended. Keep a shared folder of any third-party dependencies alongside your shared PowerGrades, and note which grades depend on what, especially across a team.
Do PowerGrades work in the free version of DaVinci Resolve?
Yes, fully. The Gallery, PowerGrade albums, Grab Still, Apply Grade, and Append Node Graph are all part of the node editor, and the node editor, along with the full primaries, qualifiers, and power window toolset, ships in the free version exactly as it does in Studio.
What can trip you up isn't PowerGrades themselves, it's what a specific PowerGrade contains. Per Jason Bowdach's guide for PixelTools, standard primary and secondary nodes "render identically" between free and Studio, but "grades using native DCTL transforms, Studio-exclusive ResolveFX, or the Neural Engine require Resolve Studio." So a PowerGrade built entirely from Primaries wheels, Curves, and Qualifiers applies and edits identically whether you're on free or Studio. A PowerGrade that includes a DCTL-based film emulation, or a node running Magic Mask, will apply on the free version, but the Studio-only piece of that chain won't function until you're running Studio on that machine.
If you're building PowerGrades meant to circulate on a team where not everyone runs Studio, it's worth checking which nodes in your reusable looks depend on Studio-only tools, and building a Studio-free fallback version of your most commonly shared PowerGrades if your collaborators aren't all licensed the same way.
What actually gets stored inside a PowerGrade, and what doesn't?
A PowerGrade preserves far more than a single flat color, but it's not an unlimited container either. Understanding the boundary saves you from assuming a PowerGrade did something it quietly didn't.
What travels with a PowerGrade:
- Every node in the chain: serial, parallel, layer, and outside nodes, in their original order and connections.
- Primaries wheel settings, custom curves, and Color Space Transform parameters on every node.
- Qualifiers, including HSL, RGB, and 3D keyer selections, with all their softness and range settings intact.
- Power windows and their tracking data, shapes, and feathering.
- Node labels and colors, so a well-organized graph stays well organized wherever it's applied.
- References to external LUTs, DCTLs, and OFX plugins used inside the chain, though not the underlying files themselves.
What doesn't travel, or travels only as a broken reference:
- The actual file for any external LUT, DCTL script, or third-party plugin the grade depends on, if that file isn't present at the same path on the receiving machine.
- Anything about the clip itself: its media, its timing, its audio. A PowerGrade is purely a color and effects instruction set, applied on top of whatever clip you drop it onto.
- Timeline-level adjustments that live outside the clip's own node graph, like a Timeline-wide CST or an adjustment clip sitting above your footage.
Knowing this boundary matters most when you're troubleshooting a PowerGrade that "looks wrong" after applying it somewhere new. Nine times out of ten, the grade itself transferred correctly, and the problem is a missing external file the grade was quietly depending on.
Can you use PowerGrades across multiple cameras on the same shoot?
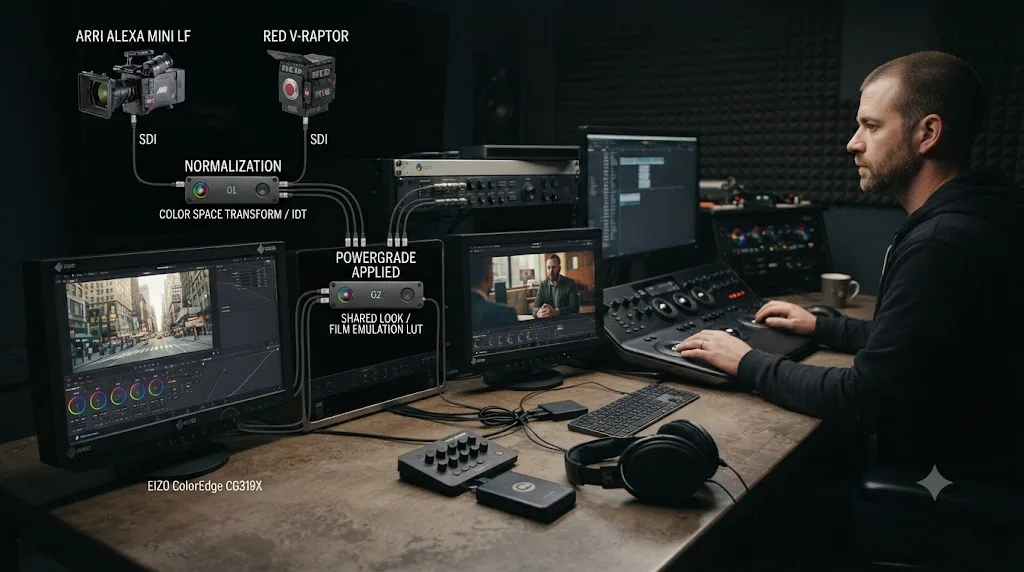
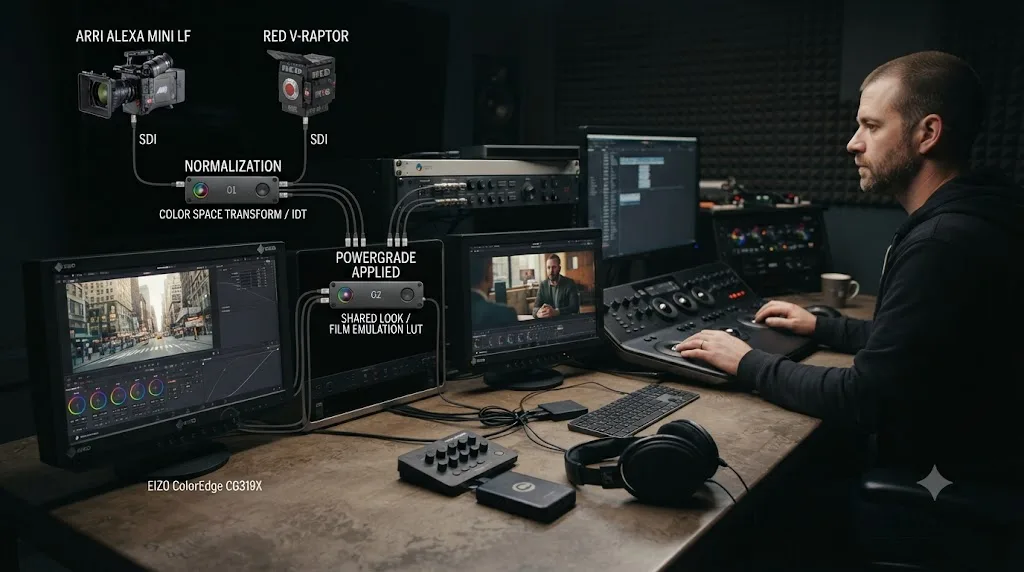
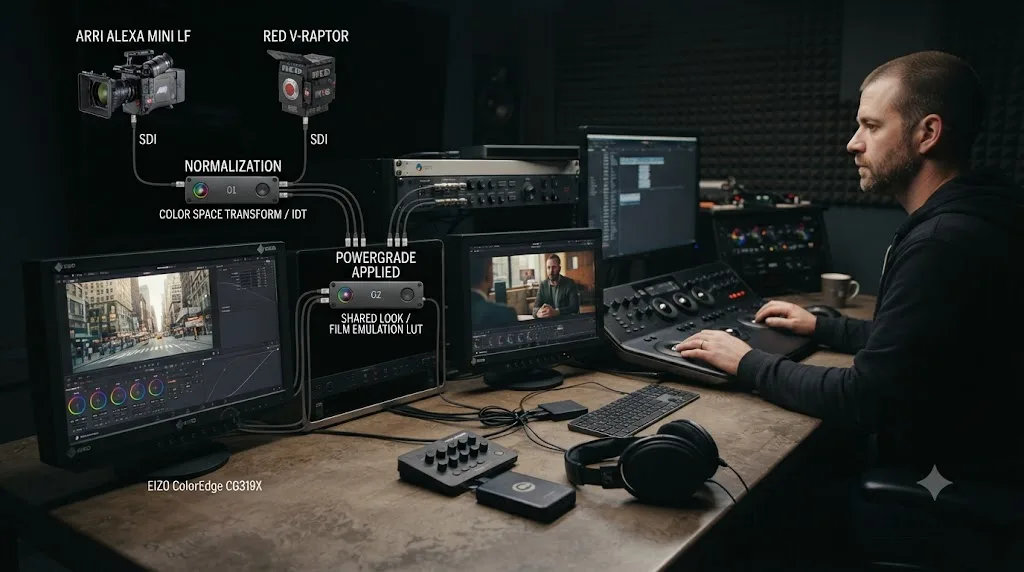
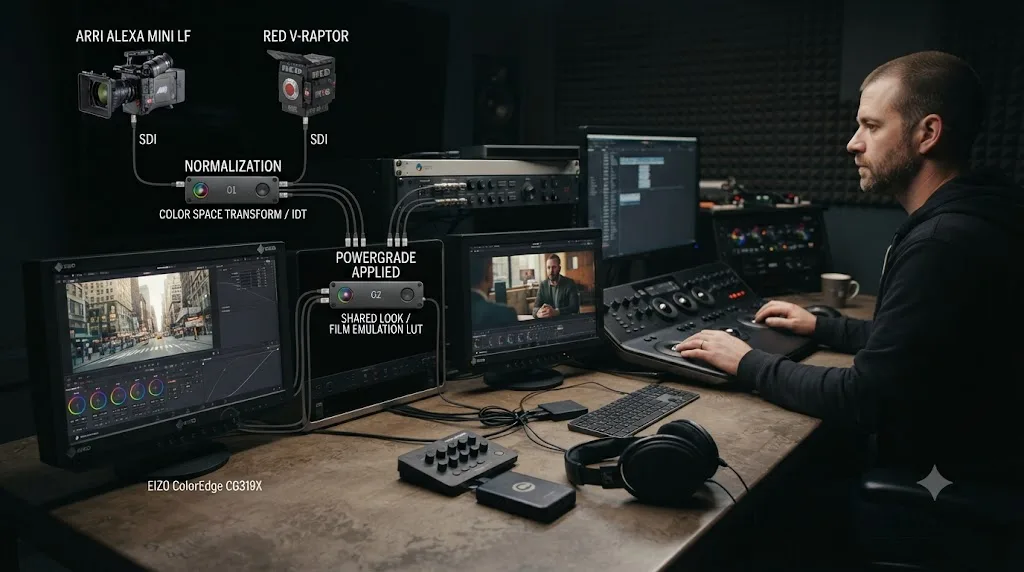
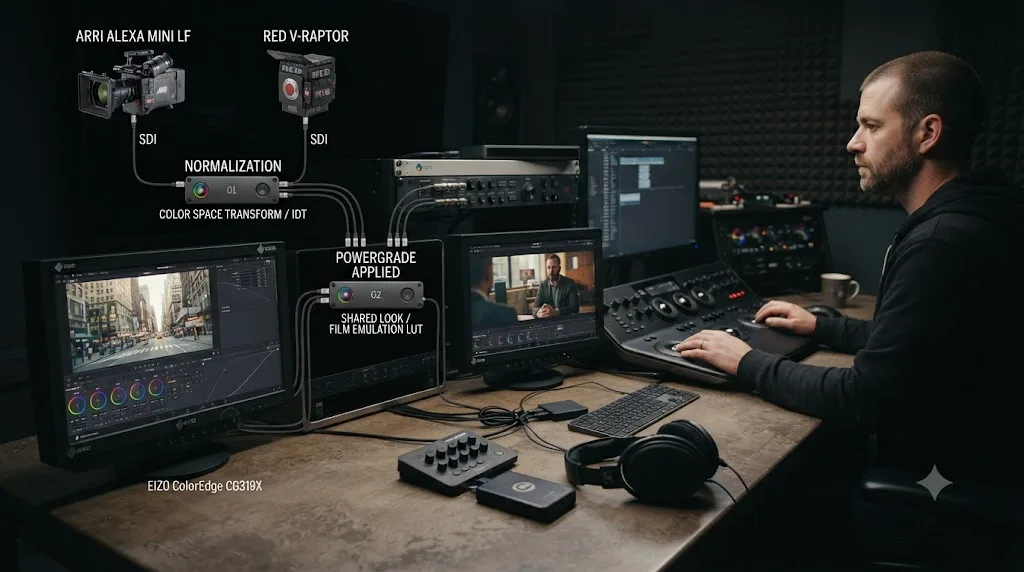
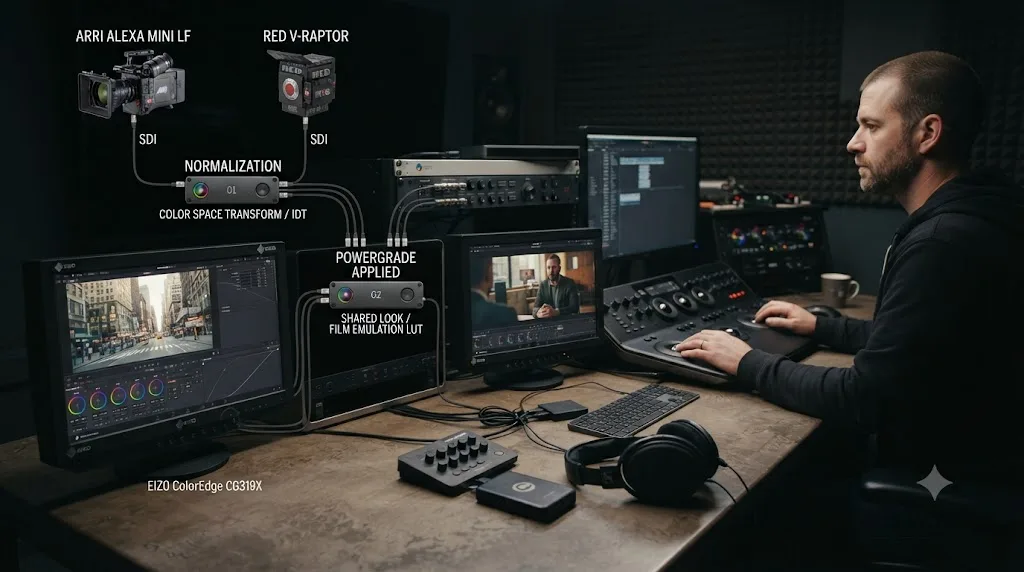
Yes, and this is one of the more common professional uses for the feature, though it works best as a starting point rather than a finished answer. A single PowerGrade applied identically across footage from two different camera bodies won't automatically match them, because different sensors and different log profiles respond to the same correction differently. What it does give you is a consistent baseline: apply the same PowerGrade to every camera, then handle the remaining, camera-specific differences with the normalization tools built for that job.
The practical order looks like this:
- Normalize each camera's native color space into a shared working space first, using Color Space Transform, exactly as our guide to matching different cameras covers in detail.
- Only after normalization, apply your shared creative-look PowerGrade across every camera's clips as a baseline.
- Layer any remaining camera-specific correction on top, appended rather than replacing the PowerGrade, since the PowerGrade is now doing the "look" job and the remaining work is strictly a matching job.
This ordering matters because a PowerGrade applied before normalization bakes its creative intent on top of two cameras that don't yet agree on color, which means the same PowerGrade produces two visibly different results even though you applied the identical thing to both. Normalize first, apply the shared look second, and the PowerGrade actually does what you built it to do: unify the look, not fight an unresolved mismatch underneath it.
Why is your PowerGrade album empty, missing, or showing black thumbnails?
PowerGrades store their picture data on a specific drive path, and if that path goes away, the grades themselves are usually still fine, but their thumbnails aren't. This is different from the general Gallery Stills Location, and confusing the two settings is the most common reason people panic over what looks like lost work.
Per the manual's page on Changing the PowerGrade Still Directory, you set this path independently through the Gallery's option menu, not through the general Project Settings Working Folders panel. If a PowerGrade album goes blank or shows black thumbnails after a drive swap, reformat, or OS update, check that path specifically:
- Open the Gallery panel and click the three-dot option menu.
- Choose Change PowerGrades Path.
- Confirm the current path shown in the dialog actually exists and is reachable. If the drive it points to has been renamed, unmounted, or replaced, this is exactly where you'll see it.
- Reconnect the original drive if it still exists, or set a new path on a stable, dedicated drive if it's gone for good.
Our gallery stills disappeared guide goes deeper into this exact failure mode, including RAID array instability as a less obvious cause and how to rebuild a still whose picture is genuinely unrecoverable. The short version for PowerGrades specifically: because the node tree itself is generally stored differently from the picture data, a black thumbnail is rarely a sign that the actual grade is gone. Reconnecting the right drive, or resetting the path, brings most of the library straight back.
Setting a deliberate, dedicated PowerGrades path once is cheaper than rebuilding a library of looks from memory after a drive swap. It's a two-minute setting most people never touch until the day it costs them an afternoon, and that afternoon is entirely avoidable.
PowerGrade or LUT: which should you build first?
Build the PowerGrade first, always, and only export a LUT once you're confident the look is finished. This isn't a stylistic preference, it's a direct consequence of what a LUT export throws away.
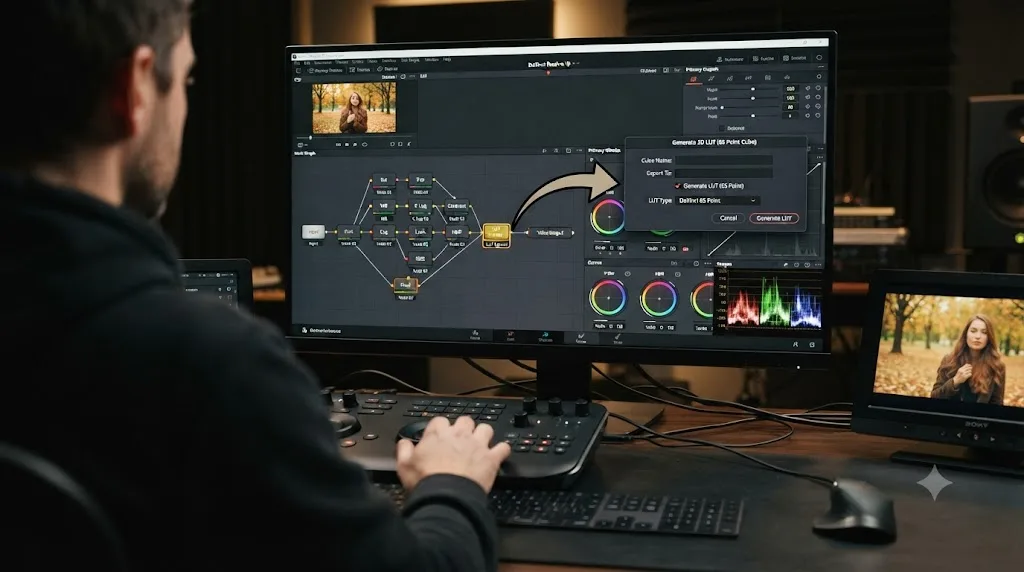
Per our custom LUT guide, Resolve's LUT export ignores qualifiers, power windows, and any filtering effect like blur or sharpen entirely, baking in only Primaries, Custom Curves, Color Space Transform, ACES Transform, and Gamut Mapping. If your grade includes a qualifier isolating skin tone, or a power window vignetting the frame, exporting it as a LUT silently drops those adjustments, and the resulting file will look different from the grade you thought you were exporting, with no warning that anything was left out.
A PowerGrade has no such limitation. It captures everything, qualifiers and windows included, exactly as built. That makes it the right format while you're still iterating, still deciding whether that skin qualifier needs to be a touch softer, still testing the look on three different shots before committing. Once the grade is genuinely locked, and you specifically need a portable, flattened transform for a camera monitor, another editor's software, or a colleague who doesn't use Resolve at all, that's the moment to generate a LUT from it.
| Situation | Use a PowerGrade | Use a LUT |
|---|---|---|
| Still iterating on the look | Yes | No |
| Grade includes qualifiers or windows | Yes, they're preserved | No, they're dropped silently |
| Sending to a colorist who uses Resolve | Yes | Optional |
| Sending to an editor using Premiere or Final Cut | No, LUTs are more universally supported | Yes |
| Loading onto a camera or field monitor | Not applicable | Yes |
| Building a reusable house style across a series | Yes | Only as a secondary export |
What are the most common PowerGrade mistakes?
A handful of patterns account for most of the frustration people run into once they start using PowerGrades regularly.
Saving into the default Stills album by accident. The single most common mistake, and the one that started this whole guide. Check which album is active in the Gallery before you grab a still, every time, until it becomes automatic.
Building one giant PowerGrade that tries to do everything. A PowerGrade combining normalization, balance, a secondary, and a creative look is only safely usable as a full replacement on a blank clip. Split your reusable looks into narrower, single-purpose PowerGrades instead, and you'll be able to append most of them onto almost anything.
Forgetting Append Node Graph exists. Without it, every PowerGrade application feels destructive, which trains people to avoid using PowerGrades on anything but the first, ungraded pass. Once you know Append Node Graph is there, a PowerGrade becomes something you can layer onto an already-corrected clip without fear.
Sharing only the .drx file, not the paired .dpx. Resolve needs both to import a shared PowerGrade. A .drx sent alone will fail to import, or import without a usable thumbnail, and the confused troubleshooting that follows is entirely avoidable by just sending the pair as originally exported.
Never checking the PowerGrades path after a hardware change. Covered in detail above, but worth repeating here as its own category of mistake: a changed drive letter, a renamed volume, or a swapped SSD is the single most common reason a previously working PowerGrade library suddenly looks broken.
Treating a client-specific look as a permanent house PowerGrade. Not every good grade deserves a permanent slot in your general-purpose album. A one-off look built to satisfy a specific client's specific brief clutters your working library if it never gets archived separately, and makes it harder to find the PowerGrades you actually reach for on most projects.
A worked example: building a reusable interview base grade
Say you shoot recurring interview setups, same rough lighting kit, different guests and locations each time, and you're tired of rebuilding the same starting point on every new sit-down.
- Build the base chain once. On a representative clip, add a Color Space Transform to normalize your camera's log profile, a balance node correcting for your typical lighting temperature, and a mild skin-tone secondary tuned to the kind of subjects you usually shoot.
- Label and color each node as you go, following the same system our node labels and colors guide walks through, so the PowerGrade you're about to save is legible the moment you or a collaborator opens it on a different job.
- Create a dedicated PowerGrade album named something like "Interview base grades," separate from any client-specific or one-off look albums.
- Grab the chain as a still into that album, right-click the viewer, Grab Still, or Cmd/Ctrl-Option/Alt-G.
- On your next shoot, apply it to every clip as a first pass. Middle-click or drag it onto each clip in a batch, giving every interview the same starting normalization and balance before you touch anything individually.
- Append shot-specific fixes on top, rather than replacing the base. A hot window in the background on one particular angle gets its own power window, appended after the base PowerGrade, not baked into the shared version.
- Update the base PowerGrade itself only when your actual workflow changes, a new camera, a new lighting setup, a genuinely improved starting correction, rather than every time a single shoot needs a tweak. Grab a fresh still into the same album, overwriting the old thumbnail, so the base stays current without multiplying into a dozen near-duplicate versions.
The payoff compounds. The tenth interview you shoot with this base grade in place starts from a corrected, on-brand image the moment you drop clips onto the timeline, instead of the blank slate every earlier project started from.
Does this work the same on Windows, Mac, and Linux?
Yes, almost entirely. The Gallery, PowerGrade albums, Grab Still, Apply Grade, and Append Node Graph behave identically across all three operating systems, since they're part of the same node editor and Gallery engine everywhere Resolve runs. The only substitution you'll make moving between platforms is the standard one, Command becomes Ctrl and Option becomes Alt on Windows, which is why Grab Still is Cmd-Option-G on a Mac and Ctrl-Alt-G on Windows.
Where things can genuinely differ is storage paths, since PowerGrades and their thumbnails live on disk somewhere specific to your OS and installation. A shared network drive that reliably keeps the same mount point on a Mac might present under a different letter or path on Windows, which is exactly the kind of mismatch that produces the black-thumbnail problem covered earlier on a team working across mixed operating systems. If your team shares PowerGrades across a mixed Mac and Windows setup, standardize on a single stable, cross-mounted storage location before anyone starts building a shared library, rather than discovering the mismatch after the fact.
Where do PowerGrades fit if you're still learning color grading in Resolve?
If you're newer to grading altogether, Blackmagic's own free training and documentation cover the mechanics of the node editor, and they're the right starting place before PowerGrades specifically matter to you. YouTube creators like Casey Faris cover practical, applied grading workflows for free, and communities on Reddit trade specific fixes and opinions on everything from node order to look development. None of that changes with this guide; if anything, PowerGrades become useful precisely once you've built enough of your own grades to notice you're rebuilding the same corrections over and over.
Our own color grading basics guide is the place to start if node order, the difference between primary and secondary correction, or reading a waveform scope still feels unfamiliar. PowerGrades are a productivity feature for someone who already knows what grade they want to build repeatedly, not a shortcut around learning to grade in the first place.
That said, a lot of the friction in learning DaVinci Resolve isn't the grading itself, it's remembering which menu holds which command while you're mid-session and don't want to break flow to search a manual. TryUncle is an AI tutor for DaVinci Resolve on macOS - ask in plain words and Uncle points at the exact control on your screen, whether that's the Gallery's option menu, the Append Node Graph command, or the Change PowerGrades Path dialog covered above. It's a paid app, currently at founder pricing, and platform-specific to macOS, so check the current rate on TryUncle's site if that kind of live, on-screen guidance sounds useful alongside whatever course or channel you're already learning from.
The next PowerGrade to build
Pick one grade you've rebuilt more than twice this month. Grab it into a properly named PowerGrade album today, right now, before you close this tab and forget which project it's currently trapped inside. That single five-minute habit change is the entire difference between a Gallery that works for you across every future project and one that quietly resets to zero every time you open something new.
Frequently asked questions
- What is a PowerGrade in DaVinci Resolve?
- A PowerGrade is a saved color grade stored at the database level rather than inside a single project, so it shows up in the Gallery of every project you open on that system. It captures the entire node tree, not just a final color, including qualifiers, power windows, and keys, and you apply it to any clip the same way you'd apply an ordinary still.
- How do you apply a PowerGrade to a clip?
- Select the clip on the Color page, then middle-click the PowerGrade's thumbnail in the Gallery, drag it onto the clip's thumbnail in the timeline, drag it onto the node graph itself, or right-click the still and choose Apply Grade. All four routes replace the clip's current node tree with the PowerGrade's node tree.
- How do you apply a PowerGrade without replacing your current grade?
- Right-click the PowerGrade's still in the Gallery and choose Append Node Graph instead of Apply Grade. Resolve adds the saved nodes to the end of your existing chain rather than overwriting it. Command-drag the still onto a connection line in the node editor to append it as a single compound node instead of a long run of individual ones.
- What's the difference between a PowerGrade and a LUT in DaVinci Resolve?
- A LUT is a flat, baked color transform with no memory of how it was built. A PowerGrade is the live node tree itself, fully editable after you apply it, including any qualifiers or power windows a LUT export would silently drop. Build a look as a PowerGrade while you're still iterating, and only bake a final LUT once the grade is locked.
- Do PowerGrades work in the free version of DaVinci Resolve?
- Yes. The Gallery, PowerGrade albums, Grab Still, Apply Grade, and Append Node Graph are all node-editor features included in the free version. What still requires Studio is anything inside the grade itself that depends on Studio-only tools, DaVinci Color Transform Language, or DaVinci Neural Engine features like Magic Mask.
- How do you share a PowerGrade with someone else?
- Right-click the still in your PowerGrade album, choose Export, and pick a folder. Resolve writes two files, a .drx holding the color settings and a .dpx holding the thumbnail. Send both together. Your colleague drags the pair into their own PowerGrade album, or right-clicks the album and chooses Import, and the grade applies exactly like a local one.
- Why is your PowerGrade album empty, missing, or showing black thumbnails?
- PowerGrades store their pictures on a path you set through the Gallery's Change PowerGrades Path option, separate from your general Gallery Stills Location. If that drive got renamed, unplugged, or swapped, Resolve can't find the pictures and shows black or blank thumbnails even though the underlying grades are usually still intact and recoverable.
Sources
- DaVinci Resolve Reference Manual: PowerGrade Albums (Blackmagic Design, mirrored)
- DaVinci Resolve Reference Manual: Append Node Graph (Blackmagic Design, mirrored)
- DaVinci Resolve Reference Manual: Changing the PowerGrade Still Directory (Blackmagic Design, mirrored)
- 3 Ways to Store and Share Grades in DaVinci Resolve, by Rubidium Wu (PremiumBeat)
- DaVinci Resolve Powergrade and Gallery Explained, by Justin Robinson (JayAreTV)
- PowerGrades in DaVinci Resolve: Complete Guide, by Jason Bowdach (PixelTools)
- Blackmagic Forum: "Powergrade without replacing all prior nodes?"
- DaVinci Resolve - Color (Blackmagic Design)
- DaVinci Resolve - Studio (Blackmagic Design)
- DaVinci Resolve product page (free version)
- DaVinci Resolve - What's New (Blackmagic Design)
Put this guide to work with TryUncle.
Ask about the step you’re on. TryUncle sees your screen and points at the control you need, so you can keep learning in your own project.
Get TryUncle for Mac or WindowsKeep reading
Guides · Jul 13, 2026 · 30 min
How to Create a Custom LUT in DaVinci Resolve (Full Guide)
Build a custom LUT in DaVinci Resolve from your own grade: Generate 3D LUT, pick a grid size, know what qualifiers and windows do to the export, test it right.
Guides · Jul 16, 2026 · 29 min
DaVinci Resolve Node Labels and Colors for Organized Grading
Rename and color-code DaVinci Resolve nodes so a six-node grade still makes sense months later. Labels, colors, badges, and a system that actually holds up.
Fixes · Jul 8, 2026 · 24 min
DaVinci Resolve Gallery Stills Disappeared? Fix Black Thumbnails
DaVinci Resolve gallery stills disappeared or turned black? The scratch disk cause and the PowerGrades fix that stops it recurring.