Articles / Guidesupdated for DaVinci Resolve 21.0.4 (September 2026)
How to Use Stock Footage in DaVinci Resolve 21
Quick answer
To use stock footage in DaVinci Resolve, download the licensed clip, import it into the Media Pool, sort it into a bin, place it on the timeline, then match its frame rate, scale, color, and motion to your edit. In Resolve 21, use proxies for difficult playback and keep the asset license with your project.
How to Use Stock Footage in DaVinci Resolve 21
Stock footage is useful when it gives your edit a shot you couldn't capture yourself. I start with the story job, not the search box. As of September 2026, this guide targets DaVinci Resolve 21.0.4 and the surrounding 21.0.x releases.
We run a 100,000+ member professional video-editing community, have 7+ years of commercial editing experience, and have taught 100,000+ students on Udemy as an official Udemy Business Partner. That background has taught us a simple lesson: the hard part isn't dragging a clip onto a timeline. It's making the clip legal, organized, and believable beside your own footage.
How do I use stock footage in DaVinci Resolve?
DaVinci Resolve uses stock footage like any other video media: import it into the Media Pool, edit it on a timeline, then adjust its framing, motion, color, and sound. Use this seven-step workflow.
- Give the clip a job. Decide whether it will establish a place, cover a jump cut, show an idea, add scale, or create a transition.
- Check the license before the download becomes part of the cut. Confirm the permitted channels, commercial use, client use, attribution rules, and whether publication must happen during an active subscription.
- Prepare a project folder. Keep the original video, license or certificate, and any useful notes together. Don't rename the source until you know how the provider records the asset.
- Import the clip into a named bin. A bin such as
STOCK_CITY,STOCK_NATURE, orSTOCK_COVERgives the footage a home you can find later. - Build the rough cut first. Put the clip where the viewer needs information, then trim to the useful action. Don't grade a shot you may delete.
- Make it belong. Match the crop, camera direction, speed, contrast, color temperature, grain, and room tone to the surrounding shots.
- Review from the original media. Proxies can make editing easier, but your final quality check should use the source clip and the intended delivery settings.
Stock footage works when the shot has a clear editorial job.
What should I do before importing stock footage?
Before importing stock footage, confirm the license and make the download easy to identify outside the stock website. Resolve can't decide whether your usage is permitted.
Personal YouTube, paid ads, client videos, broadcasts, and festivals can fall under different terms. Read the asset license and save the certificate with the project.
For Artlist, current license guidance says footage, templates, music, and sound effects must be published while the subscription is active. A project published during that period can remain covered after cancellation, but the asset can't enter a new project after expiry.
Disclosure: This guide uses an affiliate link to Artlist. If you buy through it, we may earn a commission at no extra cost to you. Read the current Artlist license terms before client use.
Choose a source clip with enough room for the final frame. A 4K clip can give you useful reframing space in a 1080p timeline, but extra pixels don't rescue a shot with the wrong direction or lighting. Browse how to choose B-roll for a video when the problem is selection rather than software.
How do I import stock footage into DaVinci Resolve 21?
To import stock footage into DaVinci Resolve 21, open the Media page, select a bin, and use Import Media or Import Media Folder. Blackmagic's manual describes the Media Pool as the project area for source clips and timelines across the Edit, Fusion, Color, and Fairlight pages. Blackmagic's Resolve 21 Reference Manual covers the menu names.
Use this sequence:
- Open the Media page.
- In the Media Pool, create or select a bin for the stock footage.
- Click Import Media for individual files, or Import Media Folder for a folder of clips.
- Select the downloaded files and confirm the import.
- Switch to the Edit page and drag a clip from the bin to a new or existing timeline.
You can also drag media from Finder into the Media Pool. Keep the source folder stable. If you move the download later, Resolve may show the clip as offline and you'll need to relink it.
Why is my stock footage the wrong size or frame rate?
Stock footage looks wrong when the clip's frame size, aspect ratio, or frame rate doesn't match the timeline. Set the timeline for the finished video, then use the Inspector and input-scaling controls to make each stock clip fit that decision.
| Situation | First choice | What to watch |
|---|---|---|
| 4K stock clip in a 1080p timeline | Reframe with Zoom and Position | Cropping can remove the detail you needed |
| Wide stock clip in a vertical edit | Reframe the subject, then keyframe if needed | A centered crop may cut away the action |
| 24 fps stock in a 30 fps project | Keep the project rate if delivery requires 30 fps | Motion cadence can feel different |
| 60 fps stock for a slower moment | Interpret or retime deliberately | Slowing a clip can change motion character |
| Clip appears stretched | Check scaling and pixel-aspect assumptions | Don't fix a geometry problem with random zoom |
Resolve may ask whether to change project settings when media and the current project disagree. Choose the setting that serves the final delivery, not automatically the first stock clip you import.
A stock clip should be fitted to the story's delivery format, not the other way around.
How do I make stock footage match my edit?
To make stock footage match your edit, match composition first, then motion, color, and texture. A technically sharp shot still looks pasted in if it has a different visual logic from the rest of the sequence.
Use the Inspector for basic framing. Set Zoom and Position until the subject has the right screen space. If the camera moves, add keyframes or use a crop that preserves the movement. Match screen direction too. A person walking left can make a cut feel backward if the shots around it move right.
Next, compare exposure and white balance. On the Color page, correct obvious differences before adding a creative look. Resolve 21's official training covers balancing shots, scopes, color management, and project-based editing, so Blackmagic's free training library is a useful reference when you need to learn the controls.
Finally, add only the grain or texture the sequence needs. Stock libraries mix cameras and lighting styles, so the goal is coherence, not identical shots.
How do I fix stock footage that plays badly?
If stock footage plays badly in DaVinci Resolve, identify whether the problem is decoding the source or processing effects, then use the smallest playback aid that solves it. Start with timeline proxy resolution for a quick test; generate proxy media when you need a separate, reusable lower-resolution file.
Blackmagic's Resolve documentation defines proxies as lower-resolution versions used to improve real-time work. In Resolve 21, select the clip in the Media Pool and use the proxy-media controls, or lower the timeline proxy resolution from the playback controls. Keep the original media linked for the final quality check.
If one clip is difficult, don't proxy your entire library by reflex. Test a representative shot. Heavy H.264 or H.265 decoding, high frame rates, large frame sizes, and effects can create different bottlenecks. Render cache may help an effect-heavy section, while a proxy is more useful when the source itself is hard to decode.
If playback remains poor, check storage, close unnecessary applications, and remove unused test downloads. When media moves, use Resolve's relink tools rather than importing a second copy. The Media Offline troubleshooting guide covers that separate problem.
Which stock footage source should I choose for DaVinci Resolve?
Choose the source by asset need and license scope. Original footage wins for story-critical shots; a subscription wins for many supporting shots; a one-off license wins for one precise image.
| Source | Choose it if | Trade-off |
|---|---|---|
| Original footage | The location, person, or action is central to the story | It costs time, access, and production effort |
| One-off stock license | You need a single specific shot | Repeated projects can make individual licenses tedious |
| Artlist | You need footage alongside other production assets and a plan that covers the intended use | License tier and active-subscription publishing rules matter |
| Storyblocks | Footage is the main need and its current plan fits your workflow | Compare its terms and template support with your project |
| Envato Elements | You also need design assets, fonts, graphics, or templates | Per-project licensing and asset terms require attention |
Artlist is a useful integrated option for creators who regularly need footage, templates, music, and sound effects. It isn't a replacement for Resolve or automatically the right license for client work. See the Artlist recommendation, then check the plan before downloading.
The cheapest stock clip is not cheap if its license can't cover the finished video.
What is the best way to learn DaVinci Resolve while I edit?
The best way to learn DaVinci Resolve is to combine structured practice with a real project and targeted help. Blackmagic's free training gives you an ordered foundation, Casey Faris offers a creator-led course with downloadable media, and r/davinciresolve is useful for peer advice on edge cases.
| Resource | Best fit | Limitation |
|---|---|---|
| Blackmagic official training | Structured foundation with project files | It won't see your specific project |
| Casey Faris | Creator-led explanation with practice media | Translate the lesson to your cut |
| Reddit community | Version-specific troubleshooting | Check advice against the manual |
| Live on-screen help | A stuck moment in your own Resolve window | It doesn't replace editorial judgment or licensing |
TryUncle is a paid macOS app for DaVinci Resolve. Its AI tutor, Uncle, can point at the control you need on screen while you work. Learn more about TryUncle if your problem is finding a control in your own project.
That's useful when your question is "where is this control in Resolve 21?" It won't choose the right stock shot, interpret a license, or replace editorial judgment. It should shorten a stuck moment, not decide the edit.
Grant Petty, Blackmagic Design's founder, described the broader value of the application in the foreword to Blackmagic's editing guide: “I think one of the most exciting things about DaVinci Resolve 15 is that it brings together editing, color correction, audio post, and now, visual effects in the same software application!” That older version still captures Resolve's integrated workflow.
Guided practice inside your actual Resolve project beats watching a course about somebody else's timeline.
Start with one licensed clip, one named bin, and one clear story job. Then cut it, match it, and check the original before delivery. That is how stock footage becomes part of your film instead of a loose piece of borrowed scenery.
Frequently asked questions
- How do I import stock footage into DaVinci Resolve?
- Open the Media page, choose Import Media or Import Media Folder, select the downloaded clip or folder, and place it in a named Media Pool bin. You can also drag files from Finder into the Media Pool.
- Why is my stock footage the wrong size in DaVinci Resolve?
- The clip and timeline have different frame sizes or aspect ratios. Open the Inspector, use Zoom and Position to frame the shot, and set Input Scaling in Project Settings when you need a consistent rule for mismatched footage.
- Can I use stock footage after my subscription ends?
- Check the provider’s license. Artlist says a project using its footage must be completed and published while the subscription is active to remain licensed after cancellation; a new project cannot use that downloaded asset after expiry.
- What is the best way to use 4K stock footage in a 1080p edit?
- Import the 4K clip into the 1080p project, reframe it with the Inspector, and use a proxy or lower playback resolution if the source is hard to decode. Export from the original media after checking the final crop.
Sources
- Blackmagic Design DaVinci Resolve 21.0.4 support listing
- Blackmagic Design DaVinci Resolve 21 Reference Manual
- Blackmagic Design DaVinci Resolve training
- Blackmagic Design DaVinci Resolve 21 What's New
- Grant Petty foreword in Advanced Editing with DaVinci Resolve
- Artlist license guidance for footage and templates
- Storyblocks stock media plans and pricing
- Envato Elements video creator library
- Envato Elements project licensing guidance
- Casey Faris DaVinci Resolve community and course
- DaVinci Resolve community discussion of learning resources
- TryUncle product description and editorial credentials
Put this guide to work with TryUncle.
Ask about the step you’re on. TryUncle sees your screen and points at the control you need, so you can keep learning in your own project.
Get TryUncle for Mac or WindowsKeep reading
Guides · Sep 2, 2026 · 8 min
How to Choose B Roll for a Video in Resolve 21
Learn how to choose B-roll for a video by matching every shot to the story, the edit, the format, and the footage source.
Guides · Aug 27, 2026 · 8 min
Artlist DaVinci Resolve Templates Free Version Guide
Can Artlist DaVinci Resolve templates work in the free version? Check Resolve 21 compatibility, Studio requirements, .dra installs, and fixes.
Fixes · Jul 7, 2026 · 26 min
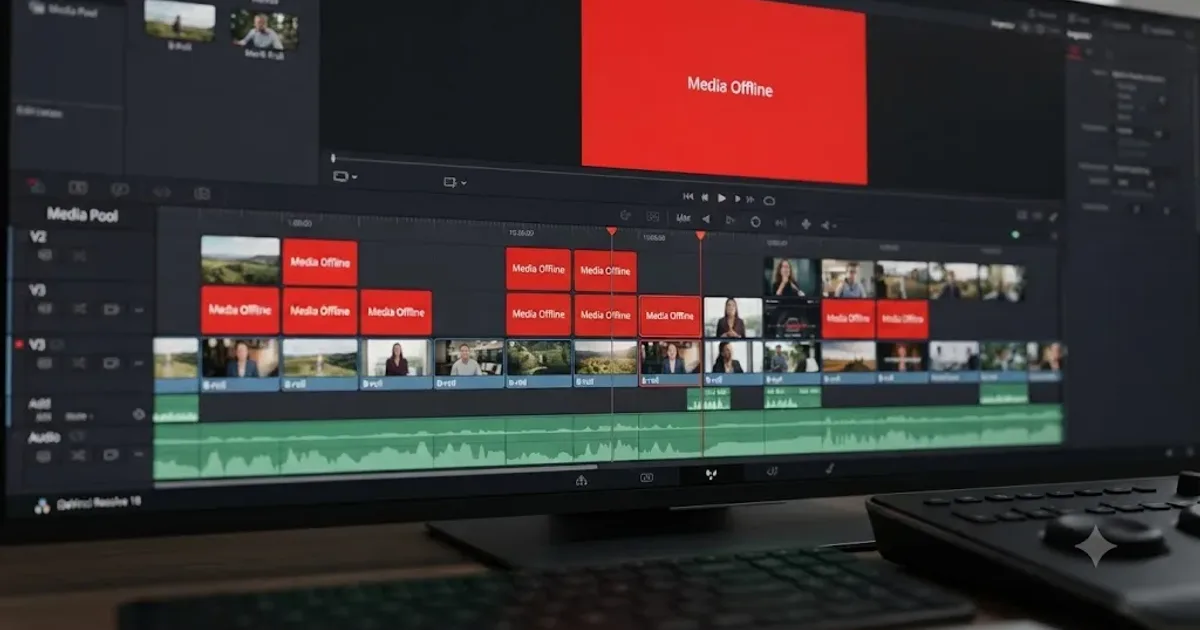
DaVinci Resolve Media Offline: Every Cause and the Fix
Every reason DaVinci Resolve marks a clip media offline, and the exact relink, cache, and codec fixes for each cause, in order of how often they happen.