Articles / Guidesupdated for DaVinci Resolve 21.0.2 (July 2026)
Sony FX30 C-Log3 Color Grading in DaVinci Resolve (It's S-Log3)
Quick answer
The Sony FX30 doesn't shoot C-Log3, it shoots S-Log3, and that's what you grade in DaVinci Resolve. Set Color Space Transform Input Color Space to Sony S-Gamut3.Cine, Input Gamma to S-Log3, output to DaVinci Wide Gamut, then a second node to Rec.709. Shoot at ISO 800 or the FX30's second base of ISO 2500.
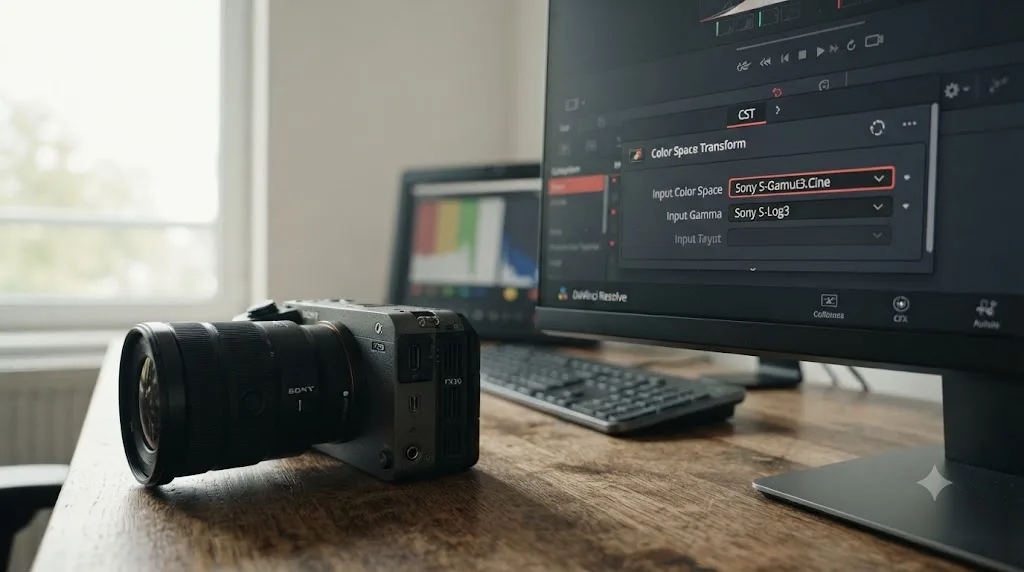
Your Sony FX30 shoots S-Log3, but you typed C-Log3 into a search bar, because that's the phrase you remember from a friend's Canon or a tutorial you half-watched last year. Fair enough. The two get mixed up constantly, and the confusion costs you nothing except a slightly wrong Google query. What actually matters is that your footage is flat, grey, and sitting in your DaVinci Resolve timeline looking wrong, and you need the exact settings that fix it.
In seven years of professional commercial editing, including projects for Fortune 500 clients, this two-node setup is the one we reach for on nearly every Sony log job, FX30 included. Here's the terminology correction out of the way first, then the exact Color Space Transform values, the dual base ISO that makes them work, the Log Shooting mode decision the FX30 forces on you that a stills-first Sony body doesn't, and the ND filter, RAW, and import questions that show up before you ever touch a node.
Does the Sony FX30 actually shoot C-Log3?
No. C-Log3 is Canon's log gamma curve, found on cameras like the EOS R5 and R6 Mark II, and the Sony FX30 has never shipped with it in any firmware version. What the FX30 shoots is S-Log3, Sony's own log curve, paired with the S-Gamut3.Cine color space.
The mix-up is common enough that it's worth explaining rather than just correcting. Canon and Sony each built their own log gamma curves independently, C-Log (now C-Log3) on Canon's side and S-Log (now S-Log3) on Sony's, and both do roughly the same job: compress a wide dynamic range into a flat, low-contrast recording that holds more highlight and shadow detail for grading later. They're not interchangeable, and a Color Space Transform built for Canon's Cinema Gamut and C-Log3 will not produce a correct result on Sony S-Gamut3.Cine and S-Log3 footage, even though both start from a similarly grey, desaturated image.
If you own an FX30 and searched for C-Log3 settings, either you're used to a Canon body from other work, or you saw the term somewhere describing a different camera and assumed it applied here. Either way, S-Log3 is the format your footage is actually in, and every setting in this guide is built around it specifically. Per Sony's own Picture Profile documentation for the FX30, S-Log3 is "a gamma curve for [S-Log3] with more similar features to film. This setting is based on the assumption that the picture will be processed after shooting," confirmed directly on the ILME-FX30's official Sony Help Guide.
The Sony FX30 has never shot C-Log3, it shoots S-Log3, and that single terminology correction is the difference between finding the right Color Space Transform settings on the first try and wasting an afternoon on a Canon-specific guide that doesn't apply to your camera. Everything else in this guide assumes you now know that, and gets into exactly what S-Log3 needs instead.
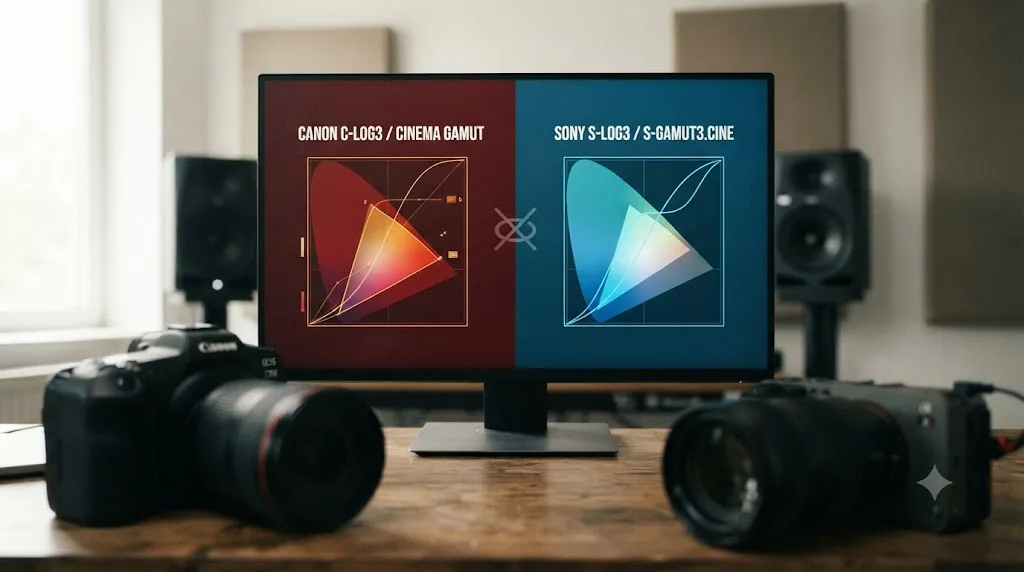
What Color Space Transform settings does S-Log3 footage from the Sony FX30 need?
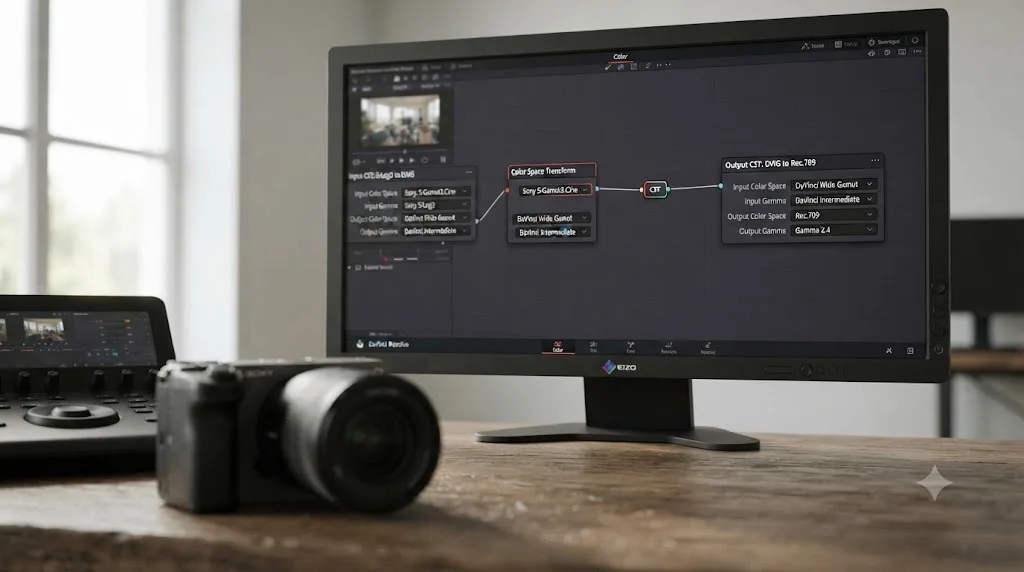
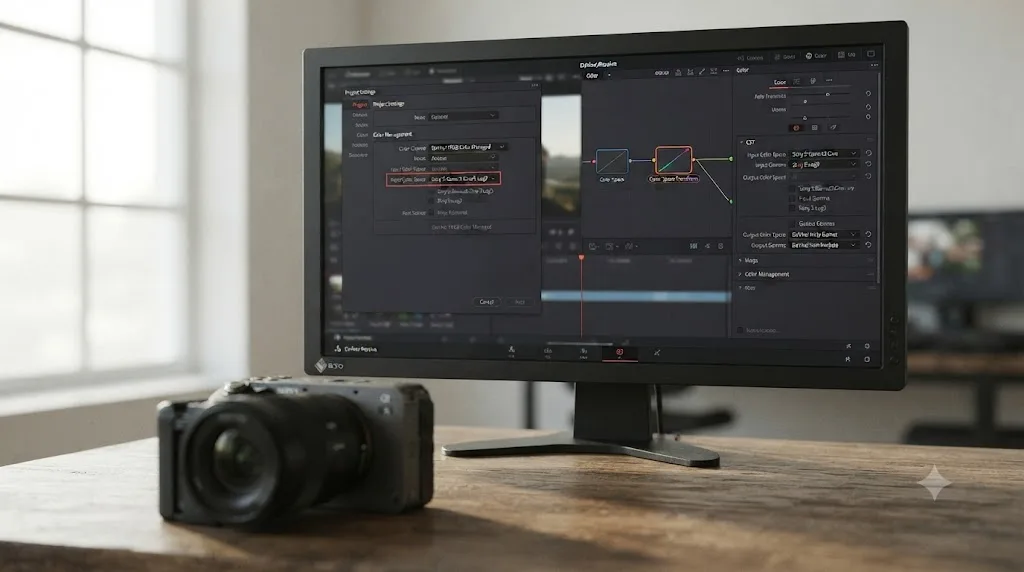
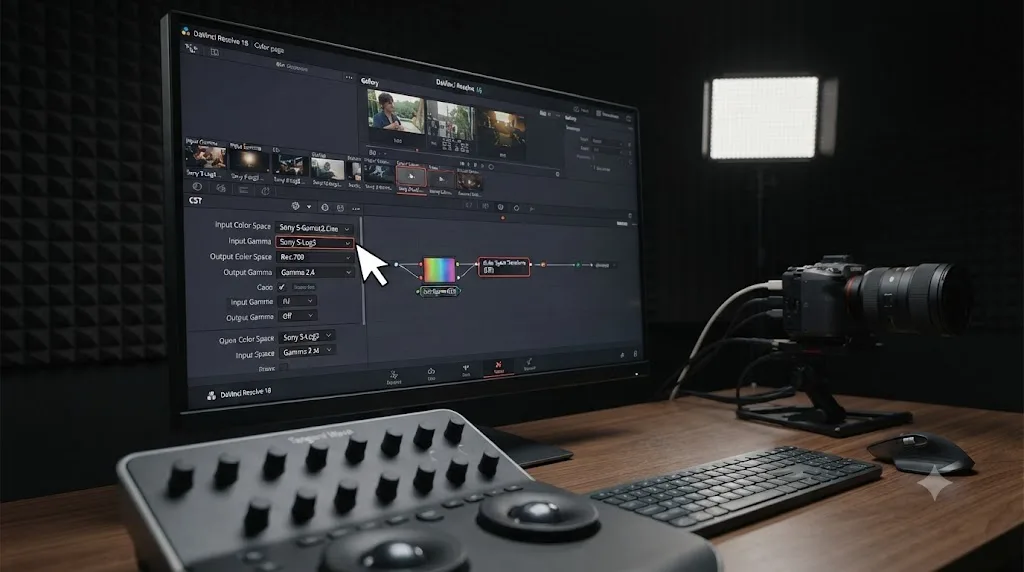
This is the core mechanism, worth writing down once so you're not hunting through a forum mid-session. Add a Color Space Transform to your first node and set: Input Color Space Sony S-Gamut3.Cine, Input Gamma S-Log3, Output Color Space DaVinci Wide Gamut, Output Gamma DaVinci Intermediate. That takes your flat Log source into Resolve's own working space, where your actual grading happens.
On your last node, before your final output, reverse it: Input Color Space DaVinci Wide Gamut, Input Gamma DaVinci Intermediate, Output Color Space Rec.709 (or Rec.2100 if you're delivering HDR), Output Gamma Rec.709 (or ST 2084 / HLG for HDR). This pairing, one Color Space Transform converting in and one converting back out, is the entire mechanism.
This "in, grade, out" pattern is the same one Color Culture's step-by-step walkthrough of grading S-Log3 in Resolve documents for Sony's S-Log3 workflow broadly, using DaVinci Wide Gamut as the intermediate stop between the camera's native color space and a Rec.709 or HDR delivery target. The FX30 doesn't need anything different from that general Sony pattern on the color math itself. What it adds, and what most generic S-Log3 guides skip, is the Log Shooting mode decision covered later in this guide, and a dual base ISO that lands on different numbers than Sony's full-frame Alpha bodies.
Two Color Space Transform nodes, one converting Sony's S-Gamut3.Cine and S-Log3 into DaVinci Wide Gamut and one converting back out to Rec.709, is the entire mechanism behind a correct FX30 S-Log3 grade. Everything else in this guide is either getting those four dropdown values exactly right for your specific recording, or troubleshooting what happens when one of them is wrong.
S-Gamut3.Cine or S-Gamut3, which one did your FX30 actually record?
The FX30's Log Shooting Setting menu offers both S-Gamut3.Cine and S-Gamut3 as Color Gamut options when Log Shooting is active, and picking the wrong one in your Color Space Transform's Input Color Space dropdown produces a result that's mathematically valid but tuned for the wrong starting gamut.
S-Gamut3.Cine is the narrower of the two, deliberately scaled to stay closer to what a standard Rec.709 or DCI-P3 delivery can actually reproduce. Plain S-Gamut3 covers a wider theoretical color space built for a heavier VFX or digital cinema pipeline. Per Sony's own Picture Profile documentation, S-Gamut3.Cine is a "setting based on the assumption that the pictures will be processed after shooting... This setting allows you to shoot in a color space that can easily be converted for digital cinema," while S-Gamut3 is described as allowing you "to shoot in a wide color space," both defined on the same ILME-FX30 Picture Profile page. That's Sony's own language distinguishing the two, and it's the same distinction that applies across every current Sony body that offers S-Log3, from the A7 IV to the FX6.
Most third-party S-Log3 LUT packs sold for Sony cameras, and the free technical LUTs Sony itself publishes for the FX30 through its Select LUT menu, are built for S-Gamut3.Cine specifically. The practical rule for FX30 shooters is the same as it is on Sony's Alpha line: if you didn't deliberately switch Color Gamut to S-Gamut3 in the Log Shooting Setting menu, you're almost certainly holding S-Gamut3.Cine footage, since that's the default pairing with S-Log3 on this camera.
| Gamut option | Color space size | Best for | Default with S-Log3 on FX30 |
|---|---|---|---|
| S-Gamut3.Cine | Narrower, closer to displayable gamuts | Standard Rec.709/DCI-P3 grading, most third-party LUTs | Yes |
| S-Gamut3 | Wider, built for heavier VFX/cinema pipelines | ACES workflows, projects needing maximum color latitude | No, requires manual selection |
Choosing S-Gamut3.Cine over S-Gamut3 as your Color Space Transform input is not a stylistic preference, it's matching the actual color space your FX30 recorded, and getting it backward produces a transform that looks almost right, which is harder to catch than one that looks obviously wrong. Check Clip Attributes or your on-set notes before assuming the default.
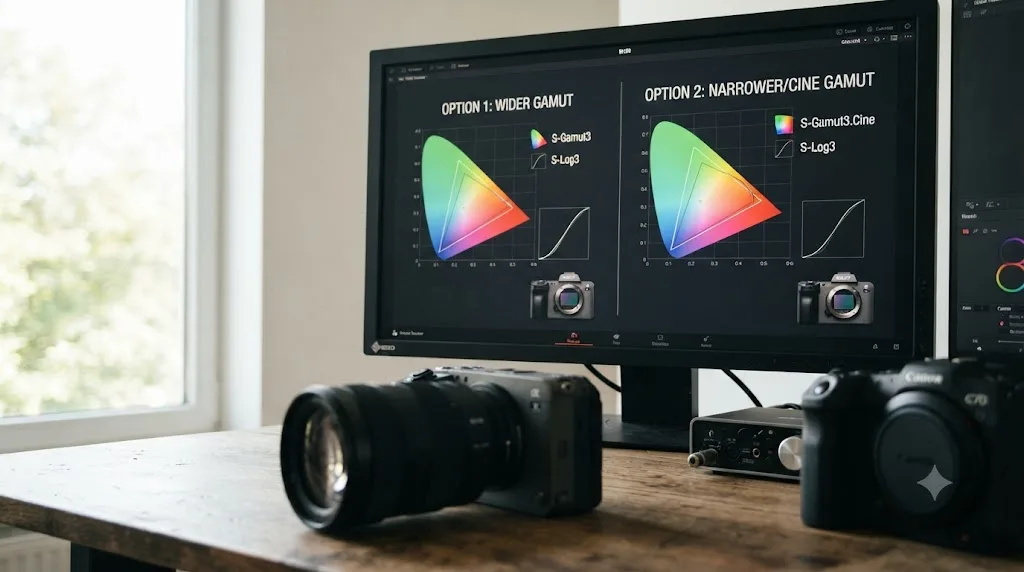
Resolve Color Management or a manual Color Space Transform node, which one should you use?
Both get you to the same place. Which one fits depends on how consistent your FX30 footage actually is clip to clip, and on whether Log Shooting was set the same way for every take.
Resolve Color Management, set under Project Settings, Color Management, with Color Science set to DaVinci YRGB Color Managed, lets you assign S-Gamut3.Cine and S-Log3 as a clip's input color space directly through Clip Attributes, and Resolve applies the conversion automatically without you touching a node on every clip. That's the faster setup for a project built entirely from FX30 footage shot with one consistent Log Shooting Setting.
A manual Color Space Transform node gives you more control per clip or per group, which matters the moment your FX30 footage is mixed with a different camera, or you switched Log Shooting mode partway through a shoot. You can normalize each source independently before applying one shared creative grade across all of them. Our guide to color matching different cameras in DaVinci Resolve covers that multi-camera normalization step in more depth if your FX30 project isn't shot on a single camera alone.
To set up Resolve Color Management on an FX30 project, open Project Settings, the gear icon in the bottom right, and go to the Color Management panel. Set Color Science to DaVinci YRGB Color Managed, set your Timeline Color Space to DaVinci Wide Gamut / Intermediate, and set Output Color Space to Rec.709 or your actual HDR target. From there, select your FX30 clips in the Media Pool, right-click, and open Clip Attributes to assign Input Color Space and Input Gamma once per clip or per group.
| Situation | Better fit |
|---|---|
| Project is entirely FX30 footage, one consistent Log Shooting Setting | Resolve Color Management, automatic tagging |
| Mixing FX30 with another camera brand or log format | Manual Color Space Transform per camera group |
| Log Shooting mode or Color Gamut changed mid-shoot | Manual Color Space Transform, checked per clip |
| Fastest setup with the least manual work | Resolve Color Management |
What ISO should you shoot S-Log3 at on the FX30 for these settings to work correctly?
The Color Space Transform math assumes you exposed the footage the way S-Log3's gamma curve was designed for, and getting that wrong upstream isn't something Resolve can fully fix downstream.
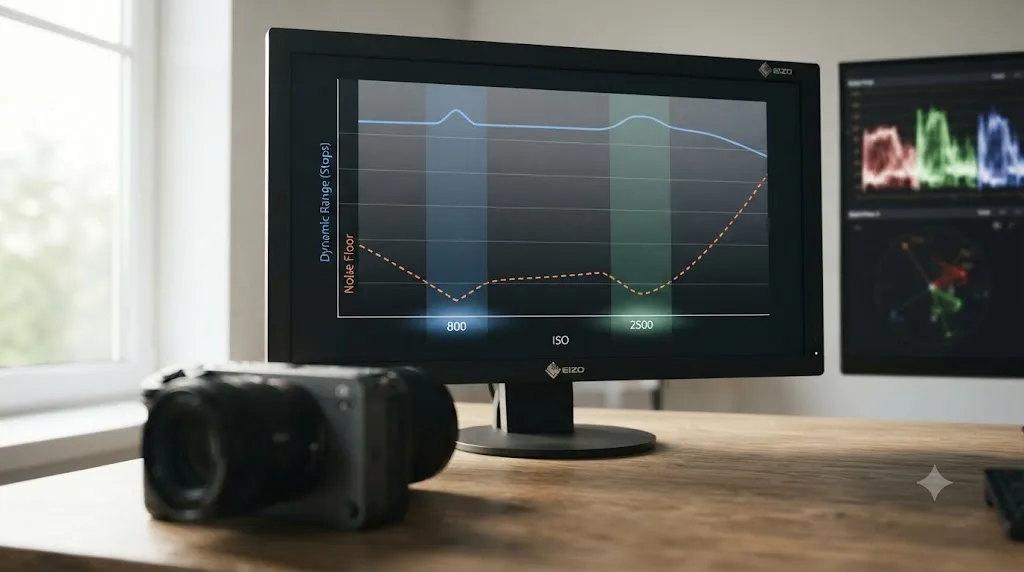
The FX30 uses a dual base ISO sensor, meaning it has two points where the sensor's gain circuit resets and noise performance improves, rather than degrading smoothly across the whole range. For S-Log3, those two base points are ISO 800 and ISO 2500, per Sony's own Base ISO documentation for the ILME-FX30, which describes the feature as "a shooting mode that allows you to shoot with two Base ISO settings that can express clear images with the maximum dynamic range and suppressed noise." That's a different second base than the A7 IV's ISO 3200, and it's a detail worth confirming for your specific camera rather than carrying over a number from a different Sony body you've used before.
Colorist and filmmaker Keith Knittel, who maintains a documented reference of Sony base ISO values by camera specifically because "they are different for each camera, and keeping them straight is tough when using multiple cameras," lists the FX30's S-Log3 values as Base ISO 800 and High Base ISO 2500, confirmed in his dedicated FX30 base ISO reference. ISO 800 is the floor most FX30 shooters should treat as their default for daylight and well-lit interior work; ISO 2500 is the second clean point to jump to in low light rather than pushing gain gradually upward through the noisy range between them.
Cinematographer Alister Chapman, who publishes hands-on camera testing at XDCAM-USER.COM, put the broader exposure philosophy for this camera generation directly after testing the FX30: "The latest cameras (FX30, FX3, FX6, FX9 etc) are not nearly as noisy, so for most shots you don't need to expose extra bright, just expose well (by this I mean exposing correctly for the scene being shot)," he wrote in his FX30 testing writeup. That's a direct pushback on the older habit of deliberately overexposing S-Log3 by a stop or two, a habit that made more sense on noisier, earlier-generation Sony sensors than it does on the FX30.
CineD's own lab testing measured the FX30's dynamic range at 11.4 stops at SNR=2 (and 12.6 stops at SNR=1) shooting XAVC S-I 4K at ISO 800 with S-Gamut3.Cine/S-Log3, with a nearly identical 11.0 stops at SNR=2 at the ISO 2500 second base, according to CineD's camera database entry for the FX30. Sony's own marketing claims 14+ stops for the camera; CineD's lab methodology measures a stricter signal-to-noise threshold than Sony's marketing figure, which is a normal gap between a manufacturer's headline number and an independent lab test, not a sign either figure is wrong.
Exposing S-Log3 below the FX30's ISO 800 base doesn't just make footage darker, it works against the entire reason to shoot S-Log3 instead of a standard picture profile in the first place. If your FX30 footage still clips highlights or shows crushed shadows after a correct Color Space Transform, check your original ISO before you spend more time on the color node.
| ISO for S-Log3 on FX30 | Behavior |
|---|---|
| Below 800 | Narrows available dynamic range, not a true base ISO |
| 800 (first base) | Default recommended base, cleanest noise floor at daylight sensitivity |
| Between 800 and 2500 | Gradually noisier, no dual-gain benefit |
| 2500 (second base) | Second clean noise point, use for low light instead of pushing gain manually |
| Above 2500 | Noise increases again past the second base |
Flexible ISO, Cine EI, or Cine EI Quick, which Log Shooting mode should you use?
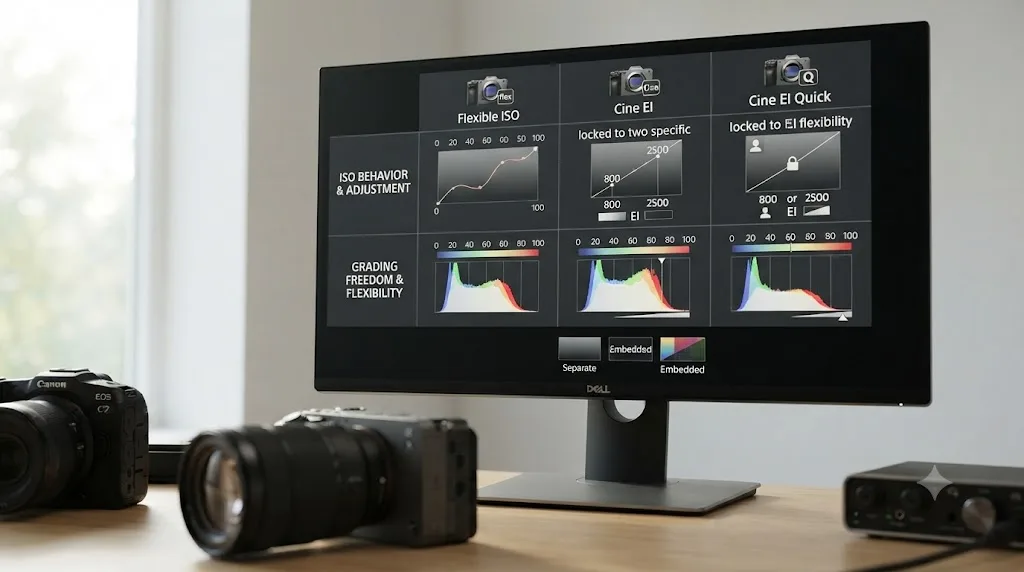
This is the decision the FX30 hands you that a stills-first Sony body like the A7 IV doesn't, because the FX30 is built on Sony's Cinema Line exposure architecture rather than the Alpha line's. Per Sony's own Log shooting documentation, "Log shooting can be divided into three methods: 'Flexible ISO,' 'Cine EI,' and 'Cine EI Quick,'" set through the ILME-FX30's Log Shooting Setting menu.
Flexible ISO behaves closest to a normal camera. You adjust sensitivity across a continuous range while still recording S-Log3, and the camera doesn't lock you to one of the two base ISOs. It's the mode most hybrid shooters and solo operators reach for by default, since it doesn't demand you think in Exposure Index terms mid-shoot.
Cine EI locks the sensor to one of its native base ISOs, 800 or 2500, and instead of changing ISO to adjust exposure, you dial an Exposure Index that tells the camera how many stops over or under that fixed base you're intentionally shooting. The camera's display reflects this directly, showing something like "800EI/6.0E/L" on screen, where "L" marks the low, ISO 800 base and the EI value shows your chosen offset from it. This is the workflow professional productions use to guarantee a known, fixed noise floor across every camera on a multi-camera shoot, since every FX30, FX3, FX6, or FX9 on set locked to the same base ISO and EI produces footage with matching grain characteristics before a single color correction happens.
Cine EI Quick works the same way but automates the EI selection rather than requiring you to set it manually, trading some of Cine EI's deliberate control for speed. Sony's Log shooting page places both Cine EI and Cine EI Quick in the "high" color grading freedom column, versus "moderate" for Flexible ISO, since a locked base ISO combined with a known EI offset gives a colorist a more predictable starting point than footage where ISO drifted continuously through a scene.
None of these three modes change the Color Space Transform settings covered earlier in this guide. S-Gamut3.Cine and S-Log3 are still S-Gamut3.Cine and S-Log3 regardless of which Log Shooting method captured them. What changes is how predictable your noise floor is clip to clip, and whether an editor downstream needs to know your EI offset to properly expose the grade.
| Log Shooting mode | ISO behavior | Grading freedom | Best for |
|---|---|---|---|
| Flexible ISO | Continuous ISO adjustment, like a normal camera | Moderate | Solo hybrid shooters, run-and-gun |
| Cine EI | Locked base ISO (800 or 2500), manual Exposure Index | High | Multi-camera or scripted productions needing a fixed noise floor |
| Cine EI Quick | Locked base ISO, automatic Exposure Index | High | Cine EI's consistency with less manual setup |
Flexible ISO, Cine EI, and Cine EI Quick all still shoot S-Gamut3.Cine and S-Log3 under the hood, so none of them change a single Color Space Transform value. What they change is how consistent your noise floor is across a shoot, which is a shooting-day decision worth making deliberately rather than defaulting into whichever mode the menu happened to be on.
How do you judge S-Log3 exposure on the FX30's screen if the image looks flat and grey?
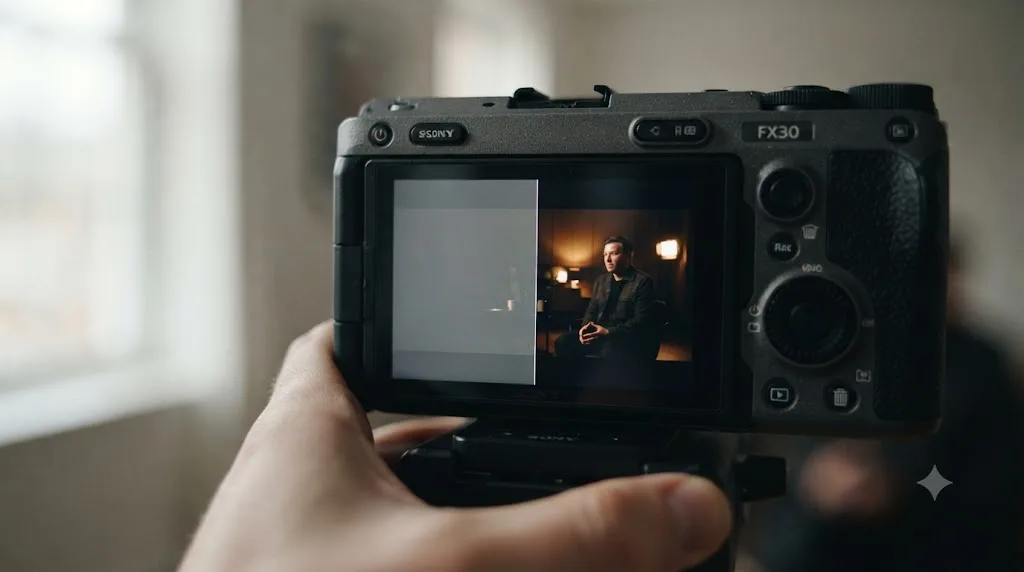
A correctly exposed S-Log3 frame looks wrong on the FX30's own LCD, by design, which makes judging exposure by eye close to useless unless you turn on the feature built specifically to fix that.
Sony's help guide explains the underlying reason directly: S-Log3 and HLG footage "are therefore displayed in low contrast during shooting, and may be difficult to monitor," per the ILME-FX30's Gamma Display Assist page, which goes on to describe how the assist function "reproduce[s] contrast equivalent to that of normal gamma." That confirms the flat, low-contrast image you're seeing while shooting is intentional and not a preview bug, and Gamma Display Assist exists to undo that flatness on your monitor and viewfinder only, without touching the recorded file. One limitation worth flagging directly from the same page: "Gamma Display Assist is not applied to movies when displayed on a TV or monitor connected to the camera," so an external monitor fed over HDMI won't automatically get the corrected view unless you configure it separately.
The specific look that assist applies depends on Gamma Disp. Assist Type, and the FX30 gives you four options. Auto reads your current gamma or color mode and picks a matching conversion automatically. S-Log3→709(800%) "displays images with an S-Log3 gamma reproducing contrast equivalent to ITU709 (800%)," per the FX30's Gamma Disp. Assist Type page. HLG(BT.2020) and HLG(709) each adjust the display "to a quality that is almost the same as when images are displayed on an [HLG] compatible monitor," for shooters previewing an HDR delivery rather than a Rec.709 one.
For the workflow this guide covers, set Gamma Disp. Assist Type to S-Log3→709(800%) specifically whenever you're shooting S-Log3, rather than leaving it on Auto. Auto is a reasonable default if you switch gammas often, but it's one more layer of guessing between you and a display that actually matches what you shot.
There's a second monitoring tool worth knowing about that's specific to Sony's Cinema Line menu structure: Select LUT. Per the FX30's own help page, you can choose among three preset LUTs for on-camera monitoring, S-Log3 itself (no correction applied), s709, which "selects the s709 LUT for color tones similar to the film color preferred in movie and drama productions," and 709(800%), described as giving "contrast in color tones with true-to-life color reproduction," per the ILME-FX30's Select LUT page. Alister Chapman's own FX30 testing notes he used exactly this feature in practice: "I used the Flexible ISO mode in the cameras to shoot S-Log3 with the standard s709 LUT for monitoring," per his FX30 testing writeup. Select LUT changes what you see on the monitor and, depending on Rec Function settings, can be baked into a proxy or monitoring stream, but it doesn't touch the recorded S-Log3 file your Color Space Transform actually processes.
Gamma Display Assist and the Select LUT s709 preset both change what you see on the FX30's screen, never what gets written to the card, which is exactly why either is safe to leave on for every S-Log3 shoot without worrying it'll affect your Color Space Transform settings later. Confirm the assist type or LUT matches your actual gamma before you trust what the screen is showing you, and remember it won't automatically follow you to an external HDMI monitor.
Is S-Cinetone a better option than S-Log3 for the FX30?
They solve different problems, and picking between them is a decision about how much grading time you have, not a question of which one is objectively higher quality.
S-Cinetone is a picture profile carried over from Sony's Cinema Line, described in Sony's own documentation as a "gamma curve designed to achieve cinematic gradations and color expressions" that "enables shooting with softer color reproduction ideal for portrait shooting," per the same ILME-FX30 Picture Profile page that defines S-Log3. It's designed to look natural and correctly saturated straight out of the camera with little to no grading.
The base ISOs tell the practical story clearly. Per Keith Knittel's documented reference, S-Cinetone on the FX30 has a Base ISO of 125 and a High Base of 400, dramatically lower than S-Log3's 800 and 2500. That lower base reflects S-Cinetone's design goal: a standard-contrast image with less dynamic range headroom, exposed more like a conventional picture profile, versus S-Log3's flat curve built to be pushed hard in the grade.
For a run-and-gun shoot with no time in the color suite afterward, S-Cinetone is the more practical choice. For anything getting a real grade, especially footage that needs to match against other log-shot cameras or intercut with Cine EI-locked S-Log3 clips from a second FX30 or an FX3, S-Log3's extra latitude is worth the setup cost this entire guide walks through.
Choosing between S-Cinetone and S-Log3 on the FX30 is a choice between speed and latitude, not a choice between a lesser option and a better one, and the two profiles even sit on completely different base ISOs because they're built for different exposure philosophies. Know which one your project actually needs before you set the camera's Log Shooting menu, since switching mid-shoot means intercutting two fundamentally different color pipelines in the same edit.
Why does the FX30 have no built-in ND filter, and how does that affect S-Log3 exposure?
This is a hardware limitation that trips up shooters coming from Sony's larger Cinema Line bodies, and it directly affects how reliably you can hit the ISO 800 or 2500 base points covered earlier in this guide.
The FX30's menu does have an ND Filter setting, but it isn't what it sounds like on a camera with electronic ND built in. Per Sony's own Help Guide, the setting "registers the optical density of the ND filter attached to the lens," and warns that "the [ND Filter] setting is configured manually, so it may not match the optical density of the ND filter actually attached," per the ILME-FX30's ND Filter page. That's a metadata registration for a physical filter you've screwed onto the front of your lens, not an internal, steppable ND element the camera controls electronically the way the FX6 and FX9 do.
The reason comes down to size. Sony's electronic variable ND mechanism sits below the sensor in the FX6 and FX9, and there simply isn't room for that mechanism in a body as compact as the FX30 or its full-frame sibling, the FX3. Both cameras share this limitation equally.
The practical consequence is exposure discipline on bright days. Without electronic ND, hitting ISO 800 outdoors in daylight at a wide aperture for shallow depth of field means either stopping down past where you wanted to be, or adding a physical variable ND filter or a fixed ND stack in front of the lens. Skip that step and you'll find yourself pushed toward a narrower aperture than your shot calls for, or forced above ISO 800 into the noisier middle ground the ISO table earlier in this guide warns against, not because S-Log3 demands it, but because nothing else in the exposure triangle is left to pull.
The FX30's ND Filter menu setting is bookkeeping for a physical filter you attach yourself, not an electronic ND like the FX6 has, and that's a shooting-day exposure constraint, not a Color Space Transform problem. Budget for a variable ND or a matte box filter stage if daylight exteriors are a regular part of your FX30 work, the same way you'd budget for one on any camera without built-in electronic ND.
Does 16-bit RAW output over HDMI change your Color Space Transform settings?
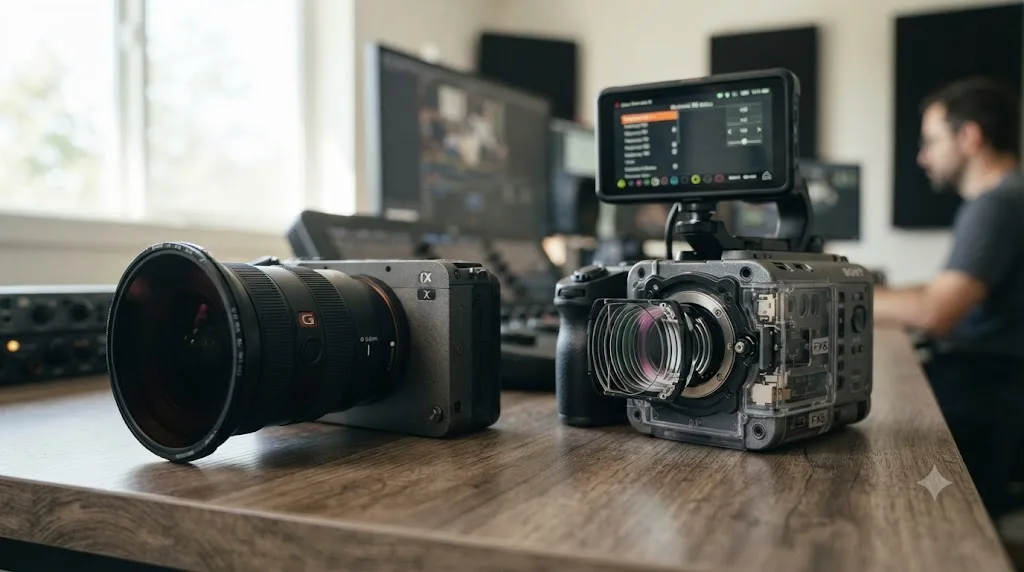
The FX30 can send 16-bit RAW video over HDMI to a compatible external recorder, and if you're working with that kind of file, it's a genuinely different pipeline from the standard S-Log3 workflow this guide covers.
Per Sony's own Help Guide on RAW output, "when outputting RAW movies to another device connected via HDMI, set [Log Shooting] under [Log Shooting Setting] to a setting other than [Off]," and separately, "the setting for [Color Gamut] under [Log Shooting Setting] is applied to RAW movies output via HDMI," per Sony's official page covering the ILME-FX30's RAW movie output. Practically, that means your Log Shooting Setting menu choices, including which Color Gamut you picked, still travel with a RAW HDMI signal, even though the file itself decodes through a fundamentally different path once it reaches Resolve.
That RAW signal gets decoded and debayered by Resolve's own Camera RAW palette rather than handled through a standard Color Space Transform node, closer in spirit to how Blackmagic RAW or Canon's internal RAW footage gets processed than to the two-node CST setup covered throughout this guide. Sony's help documentation notes the output image size for RAW movies from the FX30 is 4672 x 2628 pixels, and that you'll need a Premium High Speed HDMI cable to carry it reliably.
Before assuming your FX30 footage is in this category, confirm you deliberately enabled RAW Output under HDMI Output Settings and that your external recorder actually supports it; it isn't the default HDMI mode. If your recorder captured a standard 10-bit 4:2:2 file rather than a RAW one, you're in the standard S-Log3 workflow covered earlier in this guide, not the RAW path.
RAW HDMI output and standard S-Log3 HDMI output are two different pipelines that happen to travel over the same cable, and confirming which one you actually recorded matters before you troubleshoot either the color or the decode. If you're not certain which mode your recorder captured, check the file's own metadata or your recorder's log from the shoot day rather than guessing from memory.
Does noise get worse at higher ISO, and how do you fix it in Resolve?
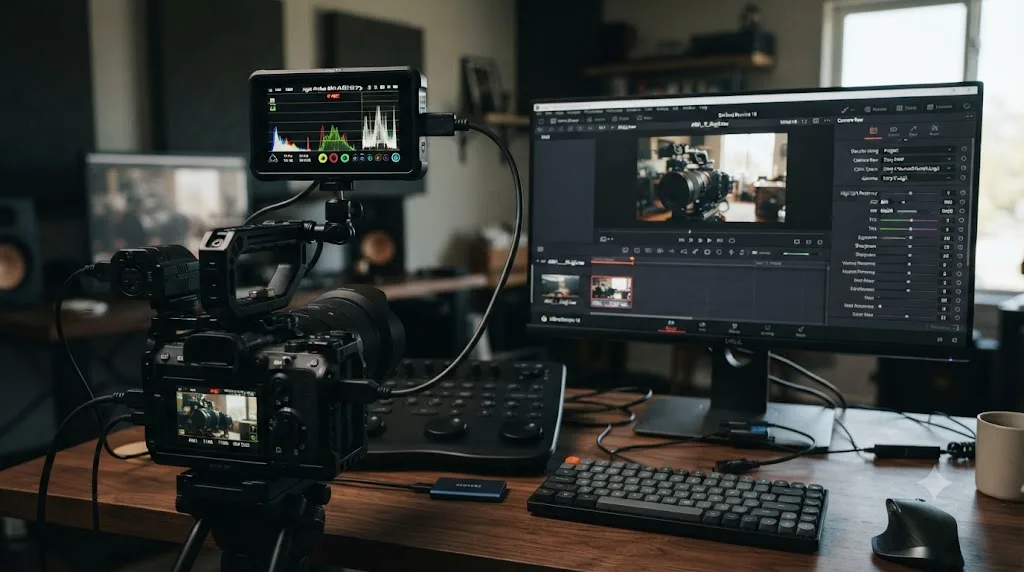
Every stop of ISO you add above the FX30's S-Log3 base points buys you correct exposure at the cost of more visible noise once you stretch that flat Log image out into a normal-contrast grade, and the Color Space Transform itself does nothing to reduce it.
DaVinci Resolve's Noise Reduction tools, both Temporal and the DaVinci Neural Engine-driven Spatial and UltraNR modes, are Studio-exclusive. Blackmagic's own Studio product page lists temporal and AI spatial noise reduction among the features that separate Studio from the free version, alongside the wider Neural Engine feature set. If you're already on Studio for other reasons, you already have access to these tools; if you're not, denoising a noisy high-ISO S-Log3 clip inside Resolve itself isn't something the free version offers.
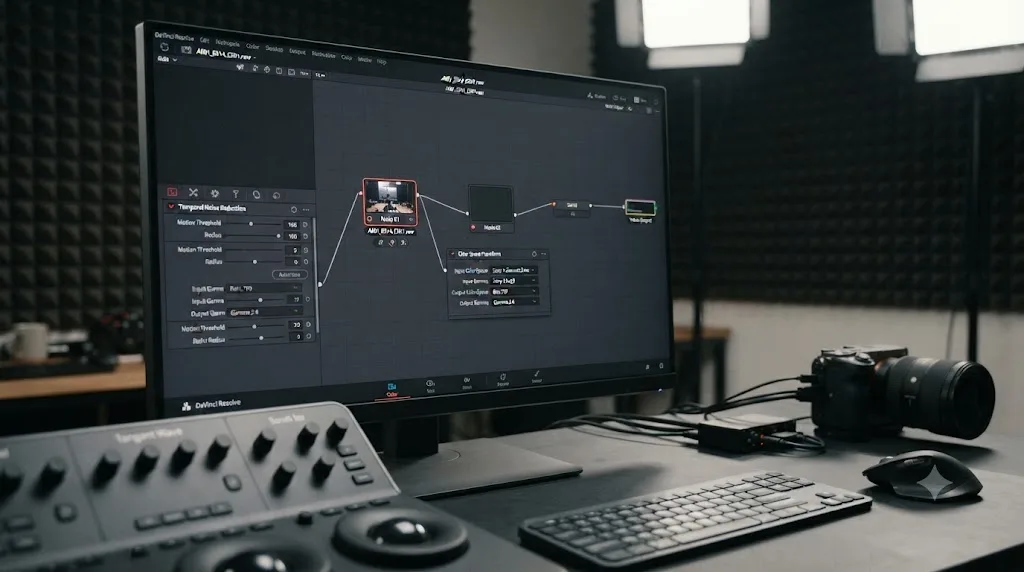
Node placement matters more than which specific noise reduction mode you pick. Apply Noise Reduction on a node before your Color Space Transform converts the clip out of Log, while the image is still flat and the noise pattern is closer to what the sensor actually recorded, rather than after you've already pushed contrast and saturation back in through the grade. Denoising after a heavy grade means fighting noise that's already been amplified by every downstream contrast and saturation move, asking far more of the same tool for a worse result.
Our dedicated guide to DaVinci Resolve's video noise reduction settings covers the specific Temporal, Spatial, and UltraNR parameters, motion estimation range, and the tradeoffs between denoising strength and softened detail in more depth than fits here.
S-Log3's noise floor on the FX30 is a shooting-day problem first and a Resolve problem second. Staying near ISO 800 or jumping cleanly to ISO 2500, rather than sitting somewhere in between just because the dynamic range technically allows it, keeps you out of the noise reduction workflow altogether on most shoots.
Why won't some Sony FX30 clips import into DaVinci Resolve smoothly at all?
If your S-Log3 clip stutters on playback or won't decode fast enough to scrub, that's a different failure mode from a wrong-looking grade, and it usually traces back to the codec, not the color space.
The FX30 records its 10-bit 4:2:2 footage in XAVC S-I, XAVC HS, or standard XAVC S depending on your codec setting, per Sony's own official specifications for the ILME-FX30 and confirmed by Wikipedia's summary of the camera's codec support. XAVC HS is Sony's H.265 long-GOP option specifically, which trades a smaller file size for a heavier decode cost, and Resolve's free version has real limits decoding H.265 on some hardware and OS combinations. Puget Systems' own breakdown of Resolve's decoding support notes that "the Studio version of DaVinci Resolve has long been able to utilize hardware decoding of H.264 and H.265 (HEVC) media," which means Windows users specifically on the free version lean harder on the CPU for the exact codec the FX30's XAVC HS mode produces, confirmed directly in Puget Systems' hardware decoding analysis.
Our related guide on why Sony A7S III XAVC S footage won't play smoothly in DaVinci Resolve covers this exact decode bottleneck in more depth, and the underlying cause is the same across Sony's current lineup: 10-bit 4:2:2 long-GOP footage is genuinely expensive to decode in real time, regardless of which specific Sony body recorded it.
If a clip won't come online at all rather than just stuttering, confirm you're running a Resolve build that supports your specific XAVC variant, and on Windows, that any required Microsoft HEVC decoding component is installed at the OS level, since Windows doesn't ship H.265 decoding natively the way recent macOS versions do.
A Sony FX30 clip that stutters or won't decode isn't a color science problem and no Color Space Transform setting fixes it, it's a codec decode cost specific to the file's compression, not its color space. Confirm which XAVC variant you're running before you spend time troubleshooting a Color Space Transform on a clip that hasn't actually decoded smoothly yet.
Do you need proxies to edit FX30 S-Log3 footage smoothly?
Often, yes, and the reason is the same long-GOP decode cost covered above, not the color space or resolution alone.
DaVinci Resolve gives you two related tools for this, Proxy Media and Optimized Media. Right-click a clip or a bin in the Media Pool and choose Generate Optimized Media to have Resolve transcode a full local copy in the background at a resolution and codec you set in Project Settings, Master Settings. On a Mac, ProRes, typically ProRes 422 or ProRes 422 LT, is the standard proxy codec; on Windows, DNxHR fills the same role. Our proxy media setup guide for a slow laptop walks through the exact Project Settings panel and a decision tree for which resolution tier fits your specific hardware.
The FX30's dual CFexpress Type A/SD card slots add one more practical wrinkle worth knowing about: CFexpress Type A cards sustain higher write speeds than UHS-II SD cards, which matters for the FX30's higher-bitrate XAVC S-I 4K modes, but the card format has no bearing on how Resolve decodes the footage once it's transferred to your editing drive. Proxy generation performance depends entirely on your editing drive's read speed and your CPU or GPU's transcode throughput, not on which card the file originally came from.
Proxies fix playback performance, not color. Building optimized media from an FX30 clip doesn't change or skip the Color Space Transform step covered earlier in this guide; Resolve automatically relinks to your full-resolution originals for the final render regardless of what you cut with, so your S-Gamut3.Cine input tagging still applies exactly the same way it would without proxies in the pipeline.
How does FX30 S-Log3 compare to the FX3, FX6, and other Cinema Line cameras for color matching?
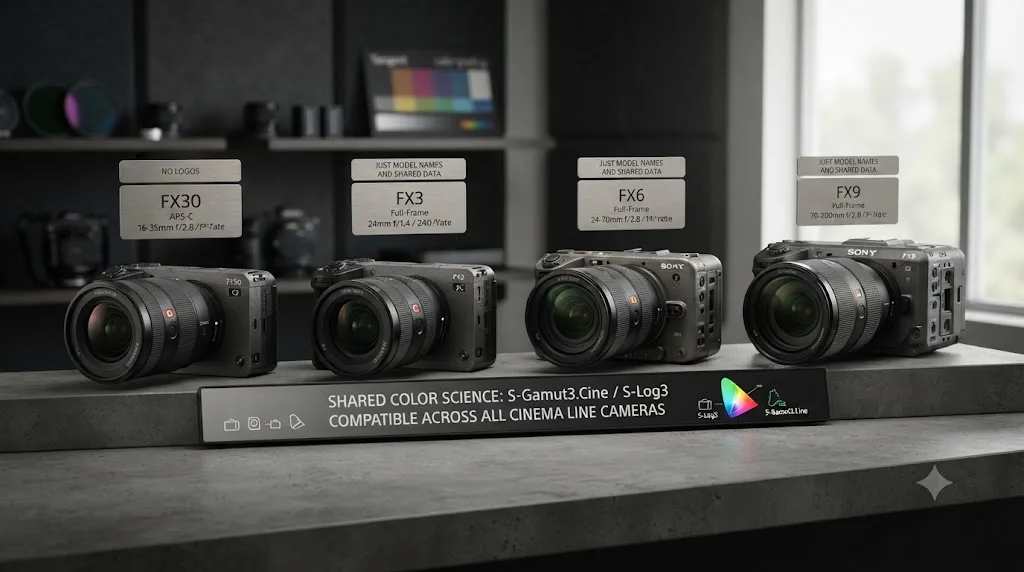
The FX30 is, by Sony's own design intent, meant to intercut cleanly with the rest of its Cinema Line, and that shared color science is a real practical advantage if your work involves more than one camera on set.
Matthew Allard ACS, editor of Newsshooter, covered this directly at the FX30's original announcement: "Sony was also keen to stress that all of the cameras in the Cinema Line have similar color science and that they have all been designed to match," he wrote, describing the FX30 as essentially "a baby FX3 with an APS-C sensor". That's not marketing framing invented for a press release; it reflects the actual gamma and gamut math this guide has walked through, since S-Gamut3.Cine and S-Log3 are the same defined color space and curve whether the sensor behind them is the FX30's APS-C chip or the FX3's full-frame one.
Alister Chapman's own hands-on FX30 testing backs this up from the practical, colorist's side of the equation: the FX30's "colours are extremely closely match those of the FX6, FX3 and FX9," per his testing writeup. The Color Space Transform settings in this guide, Sony S-Gamut3.Cine input, S-Log3 gamma, DaVinci Wide Gamut intermediate, Rec.709 output, are consequently the exact same starting point for FX3, FX6, and FX9 footage shot on S-Log3 with S-Gamut3.Cine, which means a project intercutting an FX30 with any of those bodies doesn't need a separate normalization pass for the base color science the way mixing brands would.
Where the FX30 does diverge from its full-frame Cinema Line siblings is sensor size and the resulting field of view and depth of field characteristics, plus the exposure architecture covered earlier in this guide: no built-in electronic ND, and a lower dual base ISO ceiling (2500 versus the FX3's higher second base). None of that shows up as a color mismatch on the timeline. It shows up as a framing and exposure planning difference on set, the kind of thing that matters when you're building a shot list, not when you're building a Color Space Transform node.
| Aspect | FX30 | FX3 / FX6 / FX9 |
|---|---|---|
| Sensor | APS-C / Super 35 | Full-frame |
| Log gamma | S-Log3 | S-Log3 |
| Color space | S-Gamut3.Cine or S-Gamut3 | S-Gamut3.Cine or S-Gamut3 |
| Built-in electronic ND | No | FX6/FX9 yes, FX3 no |
| S-Log3 dual base ISO | 800 / 2500 | Varies by model, higher second base on some |
| Color Space Transform settings | Identical | Identical |
Every FX30 setting in this guide applies unchanged to S-Log3 footage from the FX3, FX6, and FX9, because Sony deliberately built the Cinema Line's color science to match across sensor sizes. If you're cutting a multi-camera project spanning those bodies, the Color Space Transform node you build for one applies directly to the rest, and your energy is better spent matching exposure and lens characteristics than rebuilding color pipelines per camera.
Do you need DaVinci Resolve Studio for any of this?
No, not for the core S-Log3 workflow this page covers. The Color Space Transform effect and Resolve Color Management's automatic tagging both work in the free version of DaVinci Resolve, with no functional restriction on the color math itself.
Per Blackmagic's own free version product page, the free tier covers professional color grading tools without a Studio license. Where Studio genuinely enters the picture is a delivery target that needs Dolby Vision metadata authoring or HDR10+ analysis and export, both listed on Blackmagic's Studio product page as Studio-exclusive; workflows that lean on Studio-only Noise Reduction tools for a noisy high-ISO clip, covered above; or hardware-accelerated H.265 decoding on Windows for the FX30's XAVC HS footage specifically, also covered above.
Our full DaVinci Resolve Studio price breakdown covers exactly what the license changes if you're weighing it for other reasons beyond FX30 color work.
Getting Sony FX30 S-Log3 footage to grade correctly is a color management problem, and color management is not a feature Blackmagic gates behind the Studio license. Don't let a general free-versus-Studio comparison talk you into buying software just to make your FX30 footage look right, unless you've actually hit one of the specific decode or noise reduction walls above.
| Capability | Free version | Studio |
|---|---|---|
| Color Space Transform, all inputs and outputs | Yes | Yes |
| Resolve Color Management automatic tagging | Yes | Yes |
| Camera RAW palette for 16-bit RAW HDMI output | Yes | Yes |
| Noise Reduction (Temporal, Spatial, UltraNR) | No | Yes |
| Hardware-accelerated H.265 decode on Windows | No | Yes |
| Dolby Vision / HDR10+ delivery | No | Yes |
How do you deliver both SDR and HDR from the same S-Log3 grade?
Most FX30 projects only need one deliverable, but the moment a client asks for both a Rec.709 web version and an HDR10 or Dolby Vision master from the same shoot, you're choosing between regrading from scratch and branching off the grade you already built.
The node structure covered throughout this guide makes branching straightforward, because the S-Log3 conversion and your creative grade both happen before the final output-facing Color Space Transform node, not inside it. The input Color Space Transform, optional Noise Reduction, primary correction, and creative grade all operate in DaVinci Wide Gamut and don't reference an SDR or HDR target at all. Only the last node, the output Color Space Transform, cares what you're delivering to.
The practical approach is to duplicate the timeline, right-click it in the Media Pool or Edit page and choose Duplicate Timeline, so you have two timelines sharing the same clips and the same grade up through your creative-grade node. On one timeline's output Color Space Transform, set Output Color Space to Rec.709 and Output Gamma to Rec.709 or Rec.709-A for your SDR delivery. On the other, set Output Color Space to Rec.2100 and Output Gamma to ST 2084 (PQ) for HDR10 or Dolby Vision, or HLG if that's your target instead. The shared base grade means a change to your primary correction or creative look on one timeline doesn't automatically propagate to the other, so treat the duplication point as the moment your two deliverables start diverging, and make base-grade fixes before you duplicate rather than after.
One setting worth knowing about on that final Color Space Transform node: a Tone Mapping menu that controls how highlights that fall outside your output's displayable range get compressed rather than hard-clipped. The manual describes several methods, including a "Simple" curve that "compress[es] or expand[s] the highlights and/or shadows of the timeline dynamic range to better fit the output dynamic range," a "DaVinci" method with "a smooth luminance roll-off in the shadows and highlights, and controlled desaturation of image values in the very brightest and darkest parts of the image," and a "Saturation Preserving" option built for grades that push color harder without the extra desaturation the DaVinci method applies, as documented in Blackmagic's own Color Space Transform Tone Mapping reference. This matters more on the HDR-to-SDR direction, where you're deliberately narrowing dynamic range, than on a straightforward S-Log3-to-Rec.709 delivery with no HDR intermediate step, but it's the control to reach for if an HDR-derived SDR version clips highlights that looked fine in the HDR grade.
Branching an SDR and an HDR deliverable from the same FX30 S-Log3 grade means duplicating the timeline after your creative grade and changing only the final Color Space Transform's output settings, not rebuilding the grade twice. Keep the branch point late, right before the output node, so a fix to your base grade only has to happen once and gets duplicated forward rather than needing to be repeated on both versions by hand.
A step-by-step example: taking one S-Log3 clip from flat to Rec.709
Here's the full sequence in order, from a fresh FX30 clip in the Media Pool to a delivered Rec.709 grade, with every step from earlier in this guide placed where it actually happens in a real node tree.
- Confirm the source. Right-click the clip, check Clip Attributes, and confirm it's S-Log3 with S-Gamut3.Cine (not S-Gamut3, and certainly not C-Log3, which this camera has never shot), which Log Shooting mode captured it, Flexible ISO, Cine EI, or Cine EI Quick, and whether the ISO was near 800 or 2500.
- Build optimized media if the clip is stuttering on scrub. If it's a 10-bit 4:2:2 XAVC HS file playing back roughly, generate optimized media at Half or Quarter Resolution before you touch color, so you're not fighting playback performance and grading decisions in the same pass.
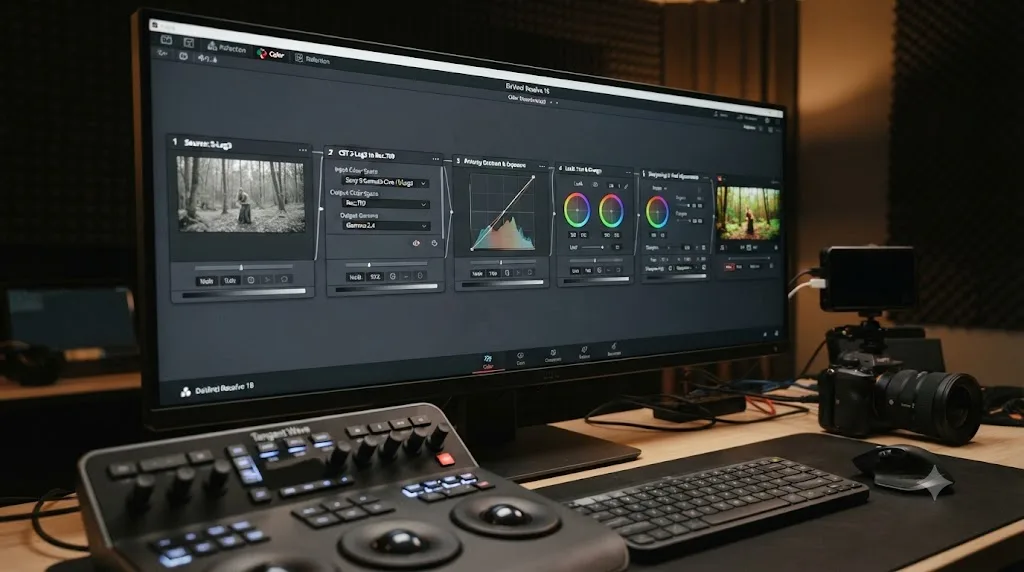
- Node 1, Color Space Transform in. Set Input Color Space to Sony S-Gamut3.Cine, Input Gamma to S-Log3, Output Color Space to DaVinci Wide Gamut, Output Gamma to DaVinci Intermediate.
- Node 2, Noise Reduction, if the shot needs it. If the clip was shot at ISO 2500 or pushed higher and shows visible grain once it's out of Log, add a Temporal or Spatial Noise Reduction node here, immediately after the Color Space Transform, before any contrast or saturation moves.
- Node 3, primary correction. With the clip sitting in DaVinci Wide Gamut, set your white balance using an eyedropper on a neutral reference in frame if you have one, then bring your black point and white point in toward the edges of your waveform using the Lift and Gain wheels, watching for clipping on the scopes rather than by eye alone.
- Node 4, creative grade. Do your actual look here: contrast shaping, color balance between shadows and highlights, any secondary qualifiers or power windows the shot needs. Nothing about S-Log3 changes how you grade once you're in a normal working space.
- Node 5, Color Space Transform out. Input Color Space DaVinci Wide Gamut, Input Gamma DaVinci Intermediate, Output Color Space Rec.709, Output Gamma Rec.709 or Rec.709-A. If this project also needs an HDR deliverable, duplicate the timeline here and swap this node's output settings on the copy instead of regrading.
- Check the result against the troubleshooting table below before you call the grade final, particularly if this FX30 clip is intercut with footage from an FX3, FX6, or a different camera brand entirely.
Five nodes handle the entire mechanism from flat Log source to finished Rec.709 delivery, with Noise Reduction as the one optional insertion depending on how the clip was shot. A common mistake worth naming directly: adding a third or fourth Color Space Transform "just to see" what a different combination looks like, then forgetting to remove it. Two conversions per clip, one in and one out, is correct.
Why does S-Log3 footage still look wrong after you've applied the Color Space Transform?
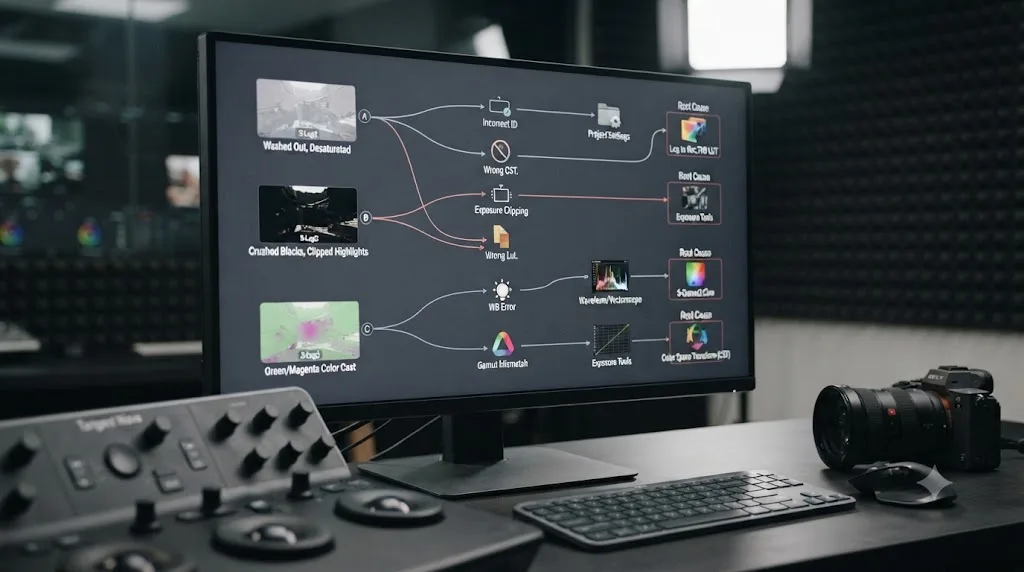
If you've followed the settings above and it's still off, work through these in order before assuming your footage is somehow bad.
First, confirm you're not chasing a Canon setting by accident. If a step in this list references Cinema Gamut, C-Log3, or a "BT.709/BT.2020/Cinema Gamut" color space menu, you're looking at Canon documentation, not Sony's, and none of it applies to an FX30.
Second, the S-Gamut3 versus S-Gamut3.Cine mixup covered earlier. Confirm your Color Space Transform's Input Color Space dropdown actually says S-Gamut3.Cine, not the wider S-Gamut3, since the two produce noticeably different results from the same source file and Resolve's dropdown lists both.
Third, log-on-log. If a clip looks oversaturated, hue-shifted, or has crushed color that doesn't respond normally to your color wheels, check whether a LUT, including the FX30's own Select LUT presets baked into a proxy, is stacked on top of a Color Space Transform doing the same conversion, or whether Resolve Color Management is set to automatic tagging while a manual node is also applying its own transform to the same clip.
Fourth, timeline color space mismatch. If your project's overall Color Management is set to a working space your output node doesn't actually match, Rec.709 versus Rec.2100 being the most common version of this mistake, footage can look correct in isolation and wrong the moment it's viewed against your monitoring setup or exported.
Fifth, and easy to miss because the symptom looks like a color problem: check whether the clip actually decoded at full quality, or whether you're grading a low-resolution proxy that never got relinked to full-resolution media before export.
| Symptom | Likely cause | Fix |
|---|---|---|
| Guide mentions Cinema Gamut, BT.2020, or C-Log3 | You're reading a Canon-specific guide, not one for this camera | Confirm settings against Sony's S-Log3 documentation instead |
| Result looks close but subtly off, especially skin tones | S-Gamut3 selected instead of S-Gamut3.Cine | Recheck the Input Color Space dropdown value |
| Oversaturated or hue-shifted color that won't respond to normal grading | LUT and Color Space Transform both applied | Remove one; don't convert the same clip twice |
| Footage looks right in the viewer, wrong on export or external monitor | Project color management doesn't match output target | Check Project Settings, Color Management, against your actual delivery spec |
| Highlights clip or shadows are noisy despite correct CST | Footage shot away from ISO 800 or ISO 2500 | Not a Resolve setting; requires re-exposing on a future shoot |
| Grade looks correct but noisy at ISO 2500 or higher | Noise Reduction not applied, or applied after the Color Space Transform | Add Temporal/Spatial Noise Reduction (Studio only) right after the Color Space Transform in |
| Two FX30 clips from the same scene grade differently | Different Log Shooting mode or Color Gamut used between takes | Check Clip Attributes for both, don't assume they matched |
| Clip stutters or won't decode at all | XAVC HS long-GOP H.265 decode cost | Generate optimized media, or confirm hardware decode support on your OS |
When the menus alone don't get you there fast enough
Everything in this reference is a settings problem with a settings answer, but finding the right menu on a deadline is its own kind of friction, especially when you're bouncing between Project Settings, the node graph, and Clip Attributes trying to confirm exactly what a clip is before you touch its color, all while double-checking you're not accidentally following a Canon C-Log3 tutorial for a camera that doesn't shoot it.
TryUncle is the on-screen assistant for DaVinci Resolve on macOS. Ask in plain words, and Uncle points at the exact control on your screen. If you're on a Mac asking "why does my S-Log3 footage look grey" out loud at your screen, that's a faster route to the Color Space Transform panel than searching this page a second time mid-session. It's a paid app, currently in founder pricing, and macOS only, so it won't help a Windows editor working through Resolve's menus. Check TryUncle for current pricing before deciding if it fits your workflow.
It's worth knowing the category has other tools built on a different premise. Sottocut, PremiereCopilot, heyeddie.ai, and cutagent.ai automate parts of an edit or answer chat questions about your footage, rather than watching your live screen and pointing at controls. If your goal is automating a cut, those solve a different problem. If your goal is finding the right Color Space Transform setting faster while you're mid-grade, on-screen guidance is the more direct tool for that specific job.
What's the full settings cheat sheet at a glance?
Before the table, here's the one-line version of everything above. It's S-Log3, not C-Log3, on this camera, full stop. Use Resolve Color Management if your project is entirely FX30 footage shot the same way. Switch to a manual Color Space Transform node the moment you're mixing Log Shooting modes, cameras, or Color Gamut settings. Stay at ISO 800 or jump cleanly to ISO 2500 rather than sitting in between, remember there's no built-in electronic ND to lean on outdoors, and set Gamma Disp. Assist Type so what you're seeing on the LCD actually matches what you shot. And if a clip stutters or won't decode at all, that's a codec problem, not a color space problem.
| Setting | Value |
|---|---|
| Log format actually recorded | S-Log3 (not C-Log3, that's Canon's format) |
| Shooting ISO for S-Log3 | 800 (first base) or 2500 (second base) |
| Log Shooting mode | Flexible ISO (solo/hybrid), Cine EI or Cine EI Quick (multi-camera/scripted) |
| Gamma Disp. Assist Type while shooting S-Log3 | S-Log3→709(800%), not Auto |
| Built-in electronic ND filter | None; register a physical filter or use an external variable ND |
| Input Color Space (standard workflow) | Sony S-Gamut3.Cine |
| Input Gamma (Log workflow) | S-Log3 |
| Intermediate Output Color Space | DaVinci Wide Gamut |
| Intermediate Output Gamma | DaVinci Intermediate |
| Final Output Color Space (SDR delivery) | Rec.709 |
| Final Output Gamma (SDR delivery) | Rec.709 (or Rec.709-A for Apple software) |
| Final Output Color Space (HDR delivery) | Rec.2100 |
| Proxy codec | ProRes on Mac, DNxHR on Windows |
| Studio required for basic S-Log3 grade | No |
| Studio required for Noise Reduction | Yes |
| Studio required for hardware H.265 decode on Windows | Yes |
| Recommended gamut for most S-Log3 LUTs | S-Gamut3.Cine, not S-Gamut3 |
Match S-Gamut3.Cine and S-Log3 on your first Color Space Transform, not the C-Log3 or Cinema Gamut settings meant for a different camera brand, keep your exposure near ISO 800 or ISO 2500, pick a Log Shooting mode deliberately instead of defaulting into whatever the menu happened to show, and the rest of this workflow is two nodes doing exactly what they're built to do. Most FX30 footage that "looks wrong" in Resolve isn't broken. It's one mislabeled search term, one dropdown, or one habit from the shoot day, away from correct, and now you know which one.
Frequently asked questions
- Does the Sony FX30 actually shoot C-Log3?
- No. C-Log3 is Canon's log format, used on cameras like the EOS R5 and R6 Mark II. The Sony FX30 shoots S-Log3, Sony's own log gamma curve, paired with the S-Gamut3.Cine color space. If you searched for FX30 C-Log3 settings, S-Log3 is the format your footage is actually in, and the settings in this guide are the ones you need.
- What Color Space Transform settings does Sony FX30 S-Log3 footage need in DaVinci Resolve?
- Set Input Color Space to Sony S-Gamut3.Cine and Input Gamma to S-Log3 on your first node, with Output Color Space DaVinci Wide Gamut and Output Gamma DaVinci Intermediate. On your last node, reverse it: DaVinci Wide Gamut and DaVinci Intermediate in, Rec.709 out. Two Color Space Transform nodes handle the entire conversion.
- What ISO should I shoot S-Log3 at on the Sony FX30?
- ISO 800 is the FX30's first base ISO for S-Log3, and ISO 2500 is its second, higher base ISO, where the dual-gain sensor cleans up again. Sony's own Base ISO documentation confirms these are the camera's two Cine EI base points. Stay near one of those two, not somewhere in between, to keep grain manageable.
- Should I use Flexible ISO, Cine EI, or Cine EI Quick on the FX30?
- Flexible ISO is the easiest starting point for solo hybrid shooters, since it lets you adjust sensitivity like a normal camera while still recording S-Log3. Cine EI and Cine EI Quick lock the sensor to a base ISO and use an Exposure Index instead, which suits a multi-camera or scripted production where consistent noise floor across cameras matters more than shooting convenience.
- Does the Sony FX30 have a built-in ND filter?
- No. Sony's own FX30 Help Guide describes an ND Filter menu setting, but it only registers the optical density of a physical filter you've attached to the lens, it doesn't control an internal electronic ND like the FX6 and FX9 have. The FX30 and FX3 are both too small to fit that mechanism, so exposure control in bright light falls to external ND glass or a variable ND on the lens.
- Do I need DaVinci Resolve Studio to grade Sony FX30 S-Log3 footage?
- No. Color Space Transform and Resolve Color Management both work in the free version with no restriction on S-Log3 footage specifically. Studio matters if you need Noise Reduction on a noisy high-ISO clip, Dolby Vision or HDR10+ delivery, or hardware-accelerated H.265 decoding on Windows, not for the color conversion itself.
- Why does my FX30 footage still look wrong after I apply the Color Space Transform?
- Check three things in order: whether you picked S-Gamut3.Cine instead of the wider S-Gamut3 by mistake, whether a LUT is stacked on top of a Color Space Transform doing the same conversion twice, and whether your project's timeline color space actually matches your output node. Log-on-log, applying two conversions to the same clip, is the most common cause of oversaturated, hue-shifted results.
- Is S-Cinetone better than S-Log3 for the FX30?
- They're built for different jobs. S-Cinetone is a baked-in picture profile designed to look correct straight out of camera, matching the look of Sony's FX6, FX9, and Cinema Line bodies, and its base ISOs are 125 and 400, far lower than S-Log3's 800 and 2500. S-Log3 needs a Color Space Transform and deliberate grading but keeps more dynamic range for a heavier creative grade.
Sources
- Sony Help Guide (ILME-FX30): Picture Profile, S-Gamut3.Cine, S-Log3 and S-Cinetone definitions
- Sony Help Guide (ILME-FX30): Base ISO
- Sony Help Guide (ILME-FX30): Log shooting
- Sony Help Guide (ILME-FX30): Log Shooting Setting
- Sony Help Guide (ILME-FX30): Gamma Display Assist
- Sony Help Guide (ILME-FX30): Gamma Disp. Assist Typ.
- Sony Help Guide (ILME-FX30): Select LUT
- Sony Help Guide (ILME-FX30): HDMI Output Settings (movie)
- Sony Help Guide (ILME-FX30): Outputting RAW movies to an external RAW recorder
- Sony Help Guide (ILME-FX30): ND Filter
- Newsshooter: Sony FX30, the baby FX3 with an APS-C sensor (Matthew Allard ACS)
- Newsshooter: Sony FX30 on sale for $1,798 USD
- XDCAM-USER.COM (Alister Chapman): Testing the Sony ILME-FX30
- Keith Knittel: Sony FX30 Base ISO for S-Log3 & S-Cinetone
- CineD Camera Database: Sony FX30 dynamic range lab test
- Wikipedia: Sony FX30
- Sony official specifications: ILME-FX30
- Color Culture: Color Grade S-Log3 in DaVinci Resolve (Step by Step Guide)
- DaVinci Resolve product page (free version specs, Blackmagic Design)
- DaVinci Resolve Studio product page (Blackmagic Design)
- DaVinci Resolve 18.6 Reference Manual: Color Space Transform [CSt] (Blackmagic Design, mirrored)
- DaVinci Resolve 18.6 Reference Manual: Color Space Transform Tone Mapping (Blackmagic Design, mirrored)
- Puget Systems: What H.264 and H.265 Hardware Decoding Is Supported in DaVinci Resolve Studio? (Matt Bach)
Keep reading
Guides · Jul 25, 2026 · 39 min
Sony A7 IV S-Log3 Color Grading in DaVinci Resolve, Explained
The exact DaVinci Resolve Color Space Transform settings for Sony A7 IV S-Log3 footage: S-Gamut3.Cine, ISO 800, and the HDMI gotcha most guides skip.
Guides · Jul 12, 2026 · 39 min
How to Color Match Different Cameras in DaVinci Resolve
Match footage shot on different cameras in DaVinci Resolve with Color Space Transform, Color Match, and Shot Match, plus settings by camera brand.
Guides · Jul 8, 2026 · 29 min
DaVinci Resolve Noise Reduction Settings: Temporal and Spatial
The exact Temporal and Spatial Noise Reduction settings in DaVinci Resolve: frame count, threshold values, motion range, and when to use each.