Articles / Guidesupdated for DaVinci Resolve 21.0.3 (July 2026)
Switching From LumaFusion to DaVinci Resolve: The Complete Guide
Quick answer
Switching from LumaFusion to DaVinci Resolve trades a $29.99 touch-first iPad editor for a free desktop suite with node-based color, Fairlight audio, and Fusion effects. Export LumaFusion's $19.99 FCPXML add-on, since that's the only interchange format Resolve reads, then rebuild any grading, titles, or effects it drops on the way across.
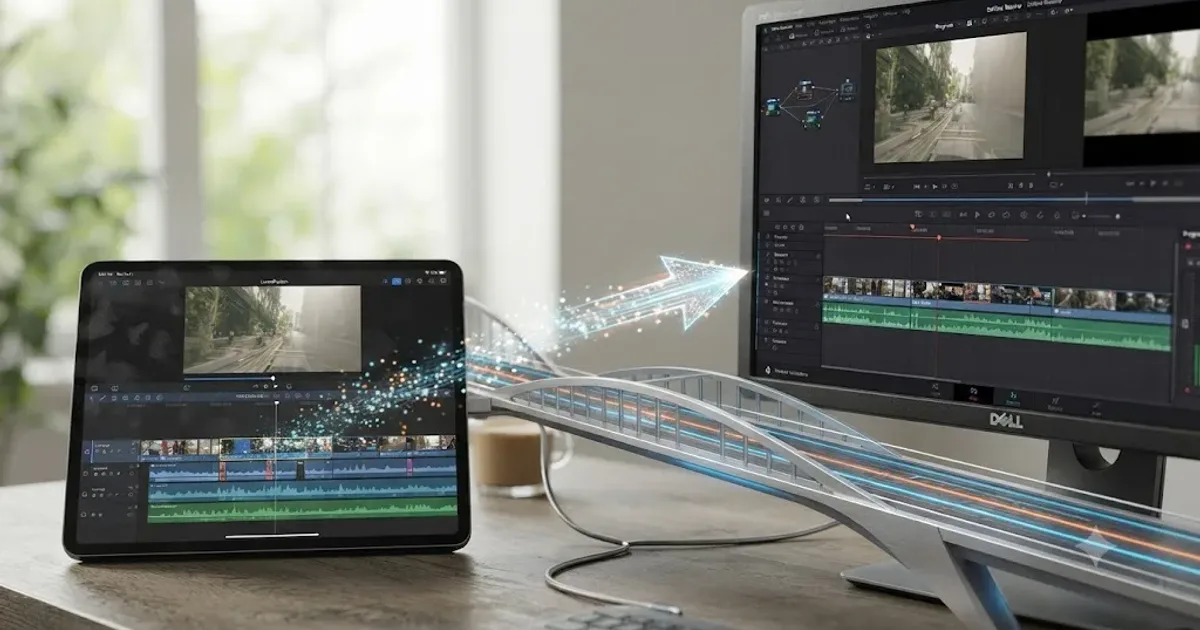
I hear a version of the same question from three kinds of editors. A wedding videographer who cuts highlight reels on an iPad between ceremonies and wants real color grading for the feature film. A mobile journalist who shoots, edits, and files a story from an iPhone in the field and now needs broadcast-spec delivery. A YouTuber who started on a tablet and just bought a real camera and a desktop computer. All three end up typing some version of the same search: switching from LumaFusion to DaVinci Resolve.
We've spent seven years cutting professional, commercial video, and we run a video-editing community that's grown past 100,000 members, so this is one of the recurring questions we see there: someone hits LumaFusion's ceiling and wants to know exactly what moves and what doesn't. As of August 2026, the honest answer isn't "just export your project." It's narrower than that, and this guide walks through the real path, the real cost, and the real gap that neither app's marketing page will tell you about.
Why are editors switching from LumaFusion to DaVinci Resolve in 2026?
Three reasons come up over and over, and none of them is "LumaFusion stopped working." LumaFusion remains one of the most respected touch-first editors on iOS, but its ceiling is real, and switchers hit it in predictable places.
The ceiling on color and audio. LumaFusion supports LUTs in .cube and .3dl formats and a library of built-in looks, which covers a real amount of ground for a mobile app. It has no node-based color corrector, no scopes, and no secondary grading tools that isolate a face or a sky independently. Its audio side handles levels, basic EQ, and ducking, not a multi-track mix with bussing and real-time dynamics. Resolve's Color page and Fairlight page exist specifically for editors who've outgrown that ceiling.
A growing gap between mobile capture and desktop delivery. An editor who started shooting on a phone and now owns a mirrorless camera, or a drone, or multiple mics, needs a tool built for that volume of media and that range of formats. LumaFusion was designed around a touch timeline meant for shorter, simpler projects. Resolve was designed around bins, nested timelines, and camera-original RAW footage from most major manufacturers.
Where paid professional post-production actually happens. Colorists, broadcast finishers, and most agency pipelines run DaVinci Resolve or Resolve Studio, not a mobile editor. A LumaFusion editor angling for client work that ends in a real delivery spec, streaming, broadcast, or festival, eventually needs a tool the rest of that pipeline already speaks.
None of that makes LumaFusion a bad app. It's a genuinely capable, award-winning editor built for a different production reality than Resolve targets, and the next section is honest about exactly where it still wins.
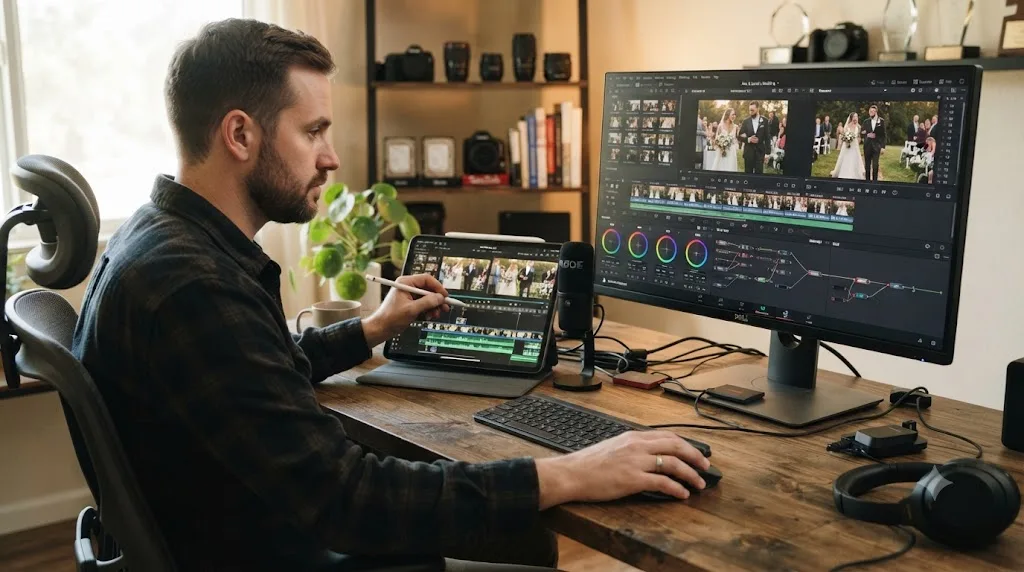
How does DaVinci Resolve's pricing compare to LumaFusion's?
Line the two pricing structures up and the shape of the decision runs backward from most switcher guides on this site, because LumaFusion, unlike CapCut or a subscription NLE, isn't free to begin with.
| Tier | LumaFusion | DaVinci Resolve |
|---|---|---|
| Base app | $29.99, one-time purchase, per LumaFusion's App Store listing | Free, no watermark, Ultra HD 60fps export, per Blackmagic's tech specs |
| Multicam | Multicam Studio add-on, $19.99 | Included free, with a multicam viewer supporting 4, 9, 16, 25 or more camera angles, per Blackmagic's Edit page |
| Project interchange | FCPXML Export add-on, $19.99, the only way to move a timeline out of LumaFusion | Included free; Resolve imports AAF, EDL, XML, DRT, ADL, and OTIO with no extra purchase |
| Speed ramping / advanced keyframing | Add-on, $19.99 | Included free on the Edit and Fusion pages |
| Subscription layer | Creator Pass, $9.99/month or $69.99/year, adds Storyblocks stock content and extra features | Studio license, $295 one time, not monthly, per Blackmagic's Studio product page; adds AI tools, 10-bit color, HDR delivery |
A fully unlocked LumaFusion, base app plus Multicam Studio plus FCPXML Export plus speed ramping, runs about $89.96 before a single month of Creator Pass, while DaVinci Resolve's free desktop tier already includes all four of those capabilities at no cost. That's not a marketing framing. It's the plain arithmetic of what's a paid add-on in one app and a default feature in the other.
To be fair to LumaFusion, its base $29.99 already buys a genuinely full-featured mobile editor most switchers use happily for a long time before hitting any of those add-on walls. The comparison that actually matters isn't LumaFusion's cheapest configuration against Resolve's most expensive one. It's what a working editor actually pays to do the same job in both: multicam, project interchange, and speed tools, three things LumaFusion prices separately and Resolve ships free.
Where LumaFusion's Creator Pass earns its subscription is the Storyblocks stock footage and music library bundled in, a genuine convenience for an editor who builds short-form content around licensed b-roll and doesn't want to shop for it separately. Resolve has no equivalent stock library baked into the free tier or Studio license.
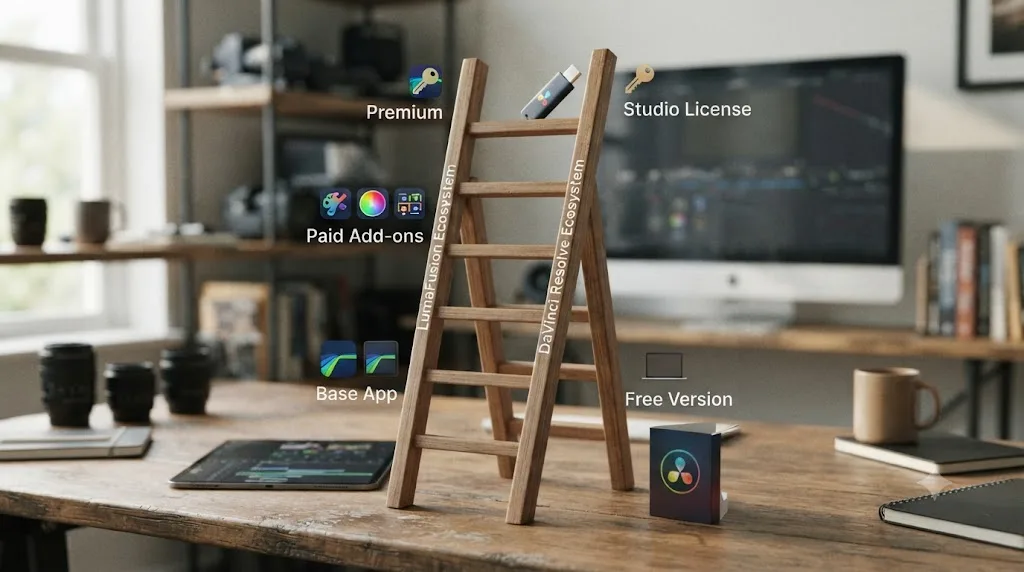
What does LumaFusion still do better than DaVinci Resolve?
Honesty matters more here than anywhere else in this guide, because a switcher expecting a strict upgrade in every category will be frustrated the first week for no good reason.
A genuinely touch-native timeline. LumaFusion was built from the ground up for fingers, not a mouse. Pinch to zoom a timeline, drag clips with real momentum, trim with a thumb, all of it feels designed rather than adapted. Resolve's Edit and Cut pages work fine with a trackpad or touchscreen laptop, but neither was built touch-first the way LumaFusion was.
Editing that travels anywhere with a signal. LumaFusion runs on an iPhone in your pocket, an iPad on a plane, or a laptop-free field kit with nothing heavier than a phone and a gimbal. DaVinci Resolve has no iPhone app at all. Its mobile presence is DaVinci Resolve for iPad, a free, capable app, but one that still needs an iPad, not the phone already in your hand.
Ten-plus years of touch-editing refinement aimed at one job. LumaTouch co-founder Terri Morgan, whose company has built LumaFusion since 2014, described the company's approach plainly: "The way we did that was through our passion, both for storytelling and editing," she told iMore in a 2024 interview marking the app's history. That single-purpose focus shows up in details Resolve, a seven-page professional suite, doesn't optimize for as tightly: a magnetic timeline that snaps clips together without gaps, six video and graphic tracks plus six dedicated audio tracks, and frame rate support from 18fps up to 240fps for slow motion, all inside one touch interface, according to LumaFusion's own App Store listing.
A gentler learning curve for a first real edit. This cuts both ways, but it's real: LumaFusion does less than Resolve, and doing less makes it faster to feel mastered. An editor who only needs to cut, trim, and add a title can learn LumaFusion's full toolset in an afternoon in a way that Resolve's seven pages simply don't allow on day one.
None of these are reasons to stay if the rest of this guide outweighs them for your specific work. But they're the honest reasons a working editor might keep LumaFusion installed even after learning Resolve, and that's covered later in this guide too.
What does DaVinci Resolve add that LumaFusion doesn't have?
Flip the comparison around and the list gets considerably longer, mostly because Resolve isn't competing as a mobile editor. It's competing as an entire desktop post-production pipeline.
| Category | What Resolve adds |
|---|---|
| Color grading | A full node-based Color page with primary and secondary correction, qualifiers, tracked power windows, and broadcast scopes; LumaFusion's LUT-and-slider approach has no equivalent depth |
| Audio | The Fairlight page, a complete multi-track mixer with EQ, dynamics, bussing, and Dolby Atmos mastering in Studio, well beyond LumaFusion's leveling and basic ducking |
| Visual effects | The Fusion page, a node-based compositor for keying, tracking, and custom motion graphics, a category LumaFusion doesn't compete in at all |
| Camera format support | Native support for RAW formats across most major camera brands, plus ProRes and DNxHR, well beyond what a phone- or gimbal-shot LumaFusion project typically needs |
| Delivery specs | DCP and IMF mastering for festival and streaming delivery in Studio, a professional finishing path LumaFusion doesn't target |
| Project structure | Bins, nested timelines, and Compound Clips built for projects with hundreds of clips and multiple editors, not a single touch-first draft |
| Interchange formats | Native import of AAF, EDL, XML, DRT, ADL, and OTIO, with no in-app purchase required to unlock the import side of any of them |
An editor who moves from LumaFusion to DaVinci Resolve doesn't just change apps; they absorb a color suite, an audio studio, and a compositor that used to be three separate purchases or three separate apps entirely. That's the real shape of the decision, and it's why so many switchers describe the move less like upgrading software and more like graduating into a different category of tool.
The practical difference shows up the first time a client or a brand deal asks for something LumaFusion's toolset genuinely can't do: an isolated skin tone correction that survives a camera move, a dialogue mix that doesn't clip on a loud line, or a delivery master that meets a streaming platform's HDR spec rather than a social export preset. That's the moment Resolve's extra learning curve stops feeling like overhead and starts feeling like the actual job.
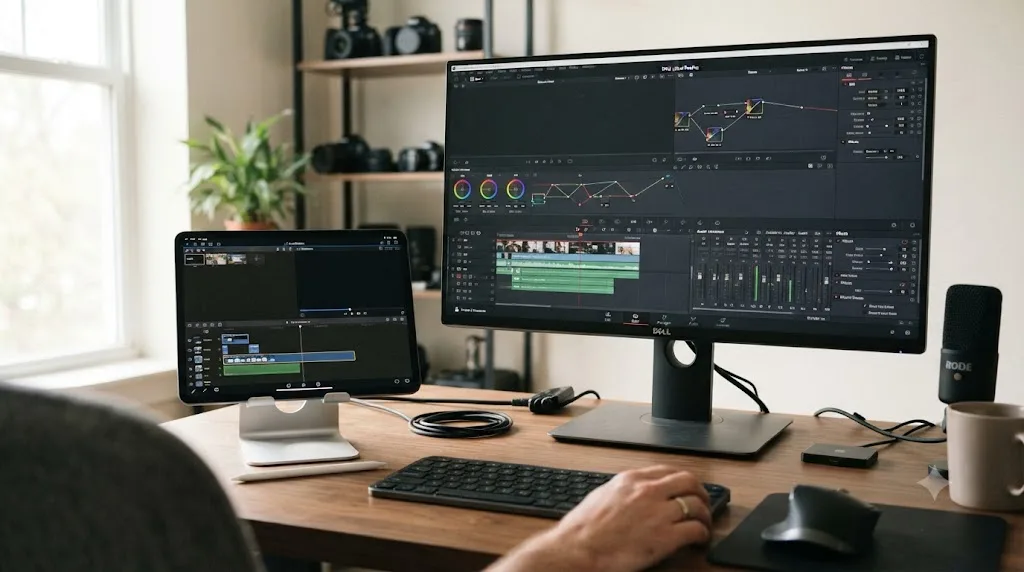
Can you import a LumaFusion project directly into DaVinci Resolve?
Not with the base app, and this is the first thing every switcher needs to understand before planning a real migration. LumaFusion's $29.99 base purchase includes no project export at all. The only path out of LumaFusion and into any desktop NLE, Resolve, Premiere Pro, or Final Cut Pro, runs through a separate $19.99 in-app purchase called FCPXML Export, according to LumaFusion's own App Store listing and LumaTouch's dedicated FCPXML Export product page.
Once you own that add-on, the export itself is real and it works, within limits. LumaTouch's own knowledge base is direct about what does and doesn't survive: video and audio clips, basic transitions, and titles carry across, but effects, color adjustments, and several other elements don't, according to LumaTouch's help article on the XML Export feature. LumaFusion itself will warn you about incompatible items at export time rather than silently dropping them.
Richard Lackey, writing for CineD about the workflow specifically into DaVinci Resolve, found the basic path holds up: "I've tested imports of basic cut-only sequences into Resolve too, and it seems to work." But he flagged the same friction points switchers from other apps run into on Resolve's side: "Resolve may fail to find the media files, even if they are in the same folder as the fcpxml file, but it will prompt you to browse to the folder containing the video files." He also warned that the win is partial, not total: "there are likely to be things that have to be recreated again in your desktop edit because they couldn't carry across."
Why does LumaFusion charge separately for something Resolve, Premiere, and Final Cut all treat as a baseline feature? The honest answer is that LumaFusion was built as a closed, phone-and-tablet-first tool first, with desktop interchange added later as an optional upgrade for the subset of users who actually need it. That's a defensible product decision for an app whose core audience finishes and posts entirely on the device they shot on. It just means the free "export and import" path that Lightworks or Premiere switchers take for granted costs LumaFusion switchers $19.99 up front.
Nothing about LumaFusion's paywalled export means your footage or your cut decisions are trapped behind it. You can always fall back to rebuilding from raw footage with your finished LumaFusion export playing as a visual reference, the same path CapCut switchers take by necessity. The FCPXML add-on just makes that rebuild partial instead of total, for a fixed one-time cost.
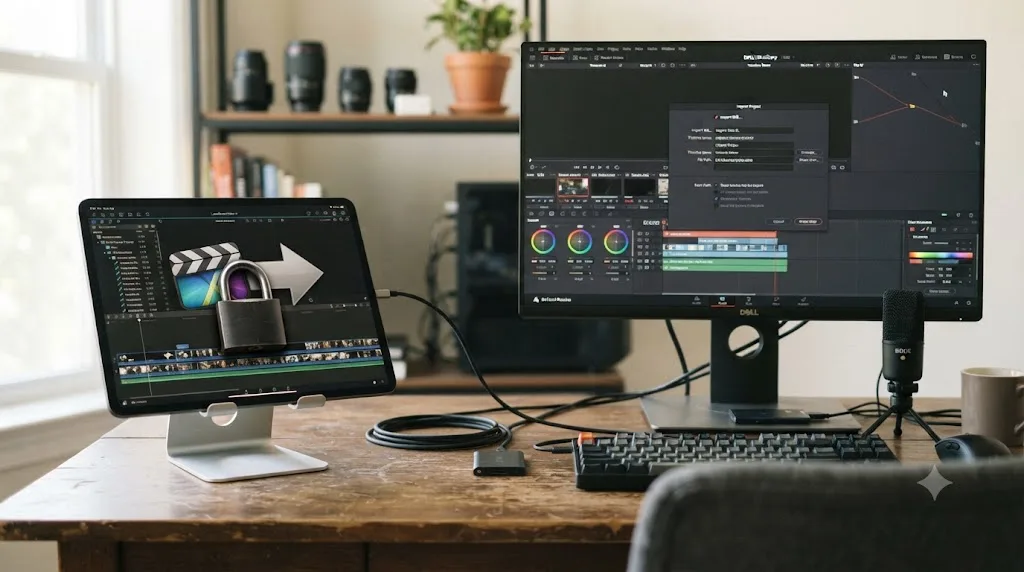
How do you move a LumaFusion project into DaVinci Resolve?
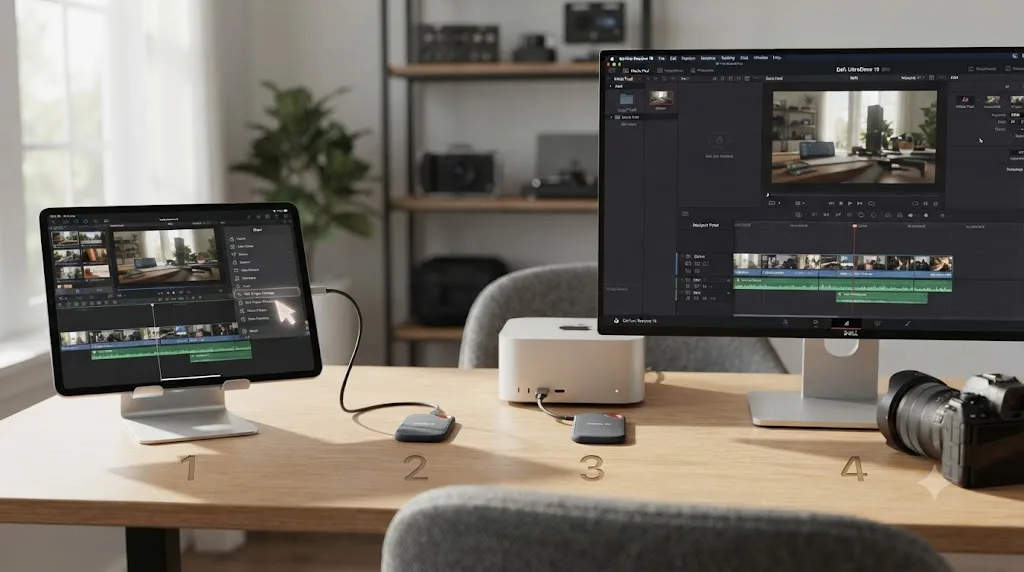
There's no native LumaFusion project file Resolve can open. You're crossing through an interchange format, FCPXML, the same way editors move projects between any two apps built by different companies. Here's the sequence that keeps the most information intact.
- Buy the FCPXML Export add-on if you haven't already. It's a one-time $19.99 in-app purchase inside LumaFusion, not a subscription, and it's the only route to a portable project file.
- Lock picture in LumaFusion before you export anything. Every step below gets harder if you're still trimming after the handoff has started. Treat the export as a checkpoint, not a snapshot you'll casually redo.
- Choose XML Project Package from LumaFusion's Share menu. Export it to a folder in Files, or AirDrop it directly to a Mac on the same Wi-Fi network if you're moving straight to a Mac-based Resolve install.
- Move the exported package to storage your Resolve machine can reach. If you're on Windows or a different Mac than the one you AirDropped to, copy the folder over a cable, cloud drive, or shared network volume, keeping the media files and the fcpxml together.
- Import through Resolve's Media Pool, right-click and choose Timelines > Import, then point it at the fcpxml file inside the unzipped package. Resolve creates a new timeline and pulls in whatever media it can locate.
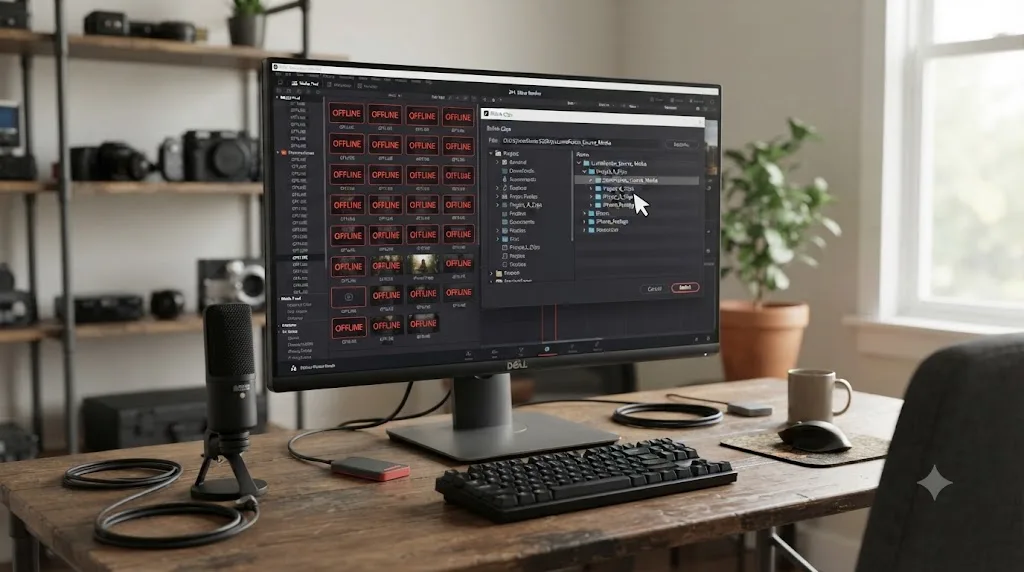
- Relink anything that lands offline, browsing to your source clips by hand if Resolve's automatic path matching misses them, which Lackey's testing found happens even when media sits in the expected folder.
- Rebuild titles, effects, and any color work natively inside Resolve. LumaFusion's built-in titles, LUTs, and filters carry no exportable data through FCPXML; you're recreating the look, not migrating a setting.
Moving a LumaFusion project into DaVinci Resolve carries picture, basic transitions, and titles, but not color grades or effects, because FCPXML was never built to hold LumaFusion-specific adjustment data. Budget time for the rebuild, not just the import, especially on anything with more than a handful of graded shots or custom titles.
What FCPXML import errors show up in practice, and how do you fix them?
The import usually works. That's the good news, worth saying plainly before the troubleshooting list, because switchers who've read every warning about lossy interchange formats sometimes brace for a wall of red errors instead of a working timeline. Lackey's testing for CineD found the basic path holds: cut-only sequences from LumaFusion open in Resolve without drama. But "usually works" hides a short, predictable list of things that go wrong, and every one of them has a fix.
Media shows up offline even though the files are right there. This is the single most common complaint, and Lackey's own testing confirms it isn't a fluke: "Resolve may fail to find the media files, even if they are in the same folder as the fcpxml file." The fix is manual, not automatic. Right-click the offline clips in the Media Pool, choose Locate Media, or use the relink prompt Resolve shows on import, and point it at the folder you copied over. Resolve remembers the path once you relink one clip from a batch, so this is a one-time cost per import, not per clip.
The timeline frame rate doesn't match what you expected. LumaFusion lets you set frame rate per project, and if your source clips mixed frame rates, a common phone-shooting habit, 30fps for daily footage and 60fps for one slow-motion pan, Resolve's new timeline inherits whatever the FCPXML declares as the sequence rate, not necessarily what you'd pick by hand. Check the timeline settings before you start relinking. It's a five-second fix if you catch it early and a full reconform if you don't.
Titles land as blank placeholders instead of the styled text you built. LumaTouch's own documentation is upfront that title styles don't map cleanly to FCPXML's supported element set. When Resolve can't translate a title, it typically drops a placeholder clip at the right duration and position rather than deleting the slot outright, which is actually useful: the timing survives even when the content doesn't. Rebuild the actual title using Resolve's Text+ or Fusion Titles in the same spot.
Audio tracks come in mono when you mixed in stereo, or the other way around. Channel mapping between apps is one of the oldest interchange headaches in editing, older than FCPXML itself. If a track sounds off-center or thin after import, open the clip's Audio tab in the Inspector and check the channel format before assuming your original recording was the problem.
Nothing imports at all, and Resolve throws a generic error. This almost always traces back to a corrupted or partial copy of the exported package, most often from an interrupted AirDrop or a cloud sync that hadn't finished uploading every file before you moved it. Re-export from LumaFusion and copy the package again with a wired transfer if you can, rather than troubleshooting the fcpxml file itself for hours.
None of Resolve's import quirks are unique to LumaFusion. Every NLE that reads FCPXML built by a different company's export engine runs into some version of relinking friction, because the format was never designed to guarantee a bit-perfect handoff between competing tools. Knowing that going in turns a scary red banner into a two-minute chore instead of a reason to start the whole project over from raw footage.
What breaks or needs rebuilding during the move?
Set expectations here before you start a real project, because nothing on this list is a bug. It's what a single-purpose, phone-and-tablet interchange format was never built to carry.
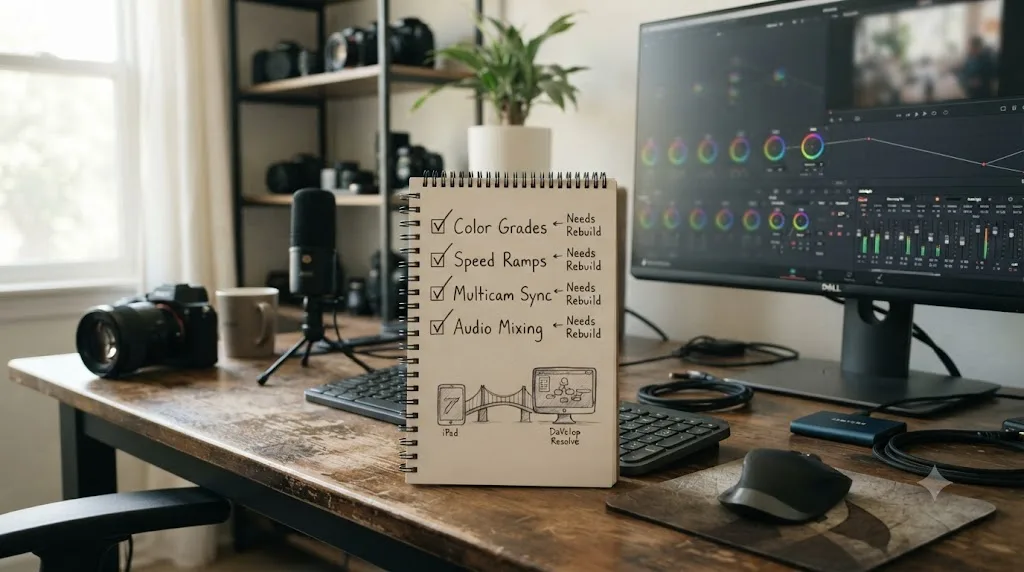
- Color grades and LUT-based looks. Any
.cubeor.3dlLUT you applied inside LumaFusion, or any filter from its built-in library, stays in LumaFusion. Regrade in Resolve's Color page instead, which is arguably the smallest loss on this list, since Resolve's grading tools are the whole reason many switchers are here. - Speed ramps and keyframed effects. If you paid for LumaFusion's Speed Ramping & Keyframing add-on and used it, that animation data doesn't travel through FCPXML. Rebuild retiming natively with Resolve's own speed and keyframe tools on the Edit or Color page.
- Multicam sync groups. LumaFusion's Multicam Studio sync data has no equivalent in the FCPXML package. If your project used synced multicam angles, you'll resync them inside Resolve using its own multicam tools, covered in the next section.
- Audio mix and ducking. Any automatic ducking or manual level rides you built in LumaFusion carry over as flattened audio at best. Rebuild the actual mix on Fairlight rather than trusting the levels arrived intact.
- Complex transitions and titles beyond a basic cut. LumaTouch's own documentation confirms some transitions and title styles simply don't map to FCPXML's supported element set. Rebuild anything more elaborate than a cross-dissolve or a simple text title natively in Resolve once the conform is clean.
Nothing about a LumaFusion-to-Resolve handoff loses your footage or your cut points; everything it loses lives in the layers you added on top of the cut, and every one of those layers gets rebuilt, not recovered. That distinction should shape how you scope the migration. A picture-only rough cut with basic titles moves in well under an hour. A fully graded, multicam-synced, speed-ramped final cut moves in an afternoon, not because the transfer is slow, but because the rebuild is real work.
What does a full migration look like, start to finish?
Picture a fifteen-minute event recap: three camera angles synced through LumaFusion's Multicam Studio, a handful of .cube LUTs applied per scene, licensed background music with manually ridden levels under the dialogue, and five lower-third titles built from LumaFusion's own title library. That project touches nearly every item on the "what breaks" list above, which makes it a useful stress test for what a real migration actually costs in time and decisions, not just theory.
Step one is triage, not export. Before touching the FCPXML button, decide what's actually worth carrying across versus rebuilding from scratch. The multicam sync groups won't survive the trip regardless of what you do, so there's no version of this migration that skips resyncing those three angles inside Resolve. That's a fixed cost. Knowing it up front changes how carefully you scope the rest of the day.
Step two is the export and import, following the same sequence covered earlier: buy FCPXML Export if you haven't, lock picture, export the XML Project Package, move it to the Resolve machine, and import through the Media Pool. For a fifteen-minute cut with a moderate clip count, this mechanical part is genuinely fast, the kind of thing that finishes while you're getting coffee, not the part of the day that eats hours.
Step three is relinking and triage of what landed. Expect a batch of offline clips on first import, not because anything is broken, but because that's simply how FCPXML handles media paths across two different apps on two different devices. Relink once, confirm the picture cut, transitions, and titles landed where you expect, and set aside anything that came in as a blank placeholder for the rebuild pass.
Step four is the actual rebuild work, and it's where the real time goes. Resync the three multicam angles using Resolve's own multicam tools. Reapply each .cube LUT as a node in the Color page rather than trying to force LumaFusion's exact look by eye; Resolve's scopes make it faster to match the original grade than guessing would be. Rebuild the five lower thirds with Text+, matching position and duration from the surviving placeholder clips. Remix the audio in Fairlight instead of trusting whatever flattened levels came through, since the original ducking and level rides don't travel through FCPXML.
A project this size, moderate multicam, a handful of LUTs, a handful of titles, is realistically an afternoon of rebuild work on top of a same-day export and import. A simpler picture-only cut with basic titles and no multicam clears in well under an hour, the same estimate covered earlier in this guide. The variable that actually predicts your timeline isn't the project's runtime, it's how many of the five "what breaks" categories your specific edit actually used. A talking-head interview with no multicam and no LUTs might touch only the audio-mix category and be done before lunch.
How do the two interfaces compare, page by page?
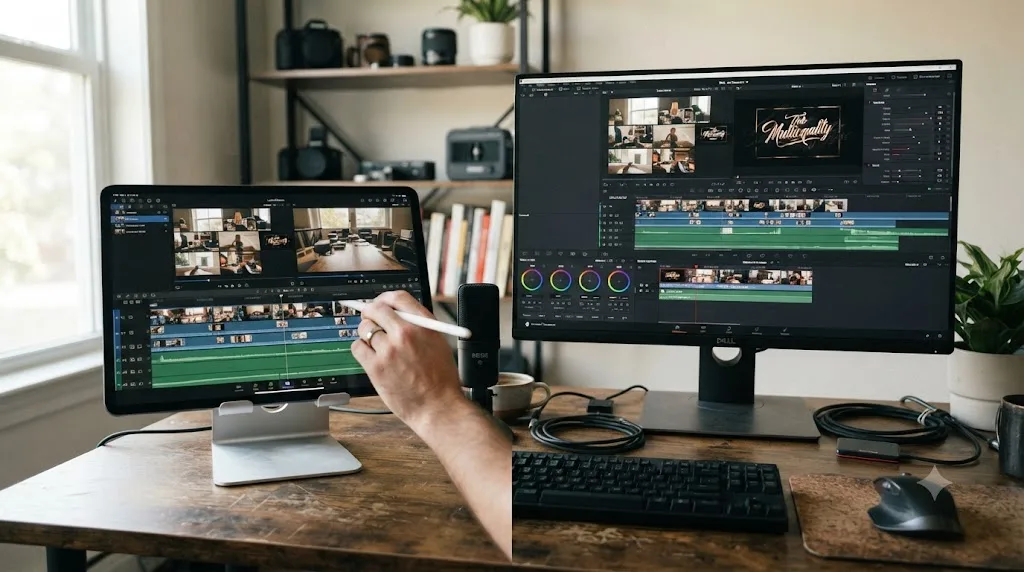
LumaFusion organizes itself around one editing screen with a timeline, a source viewer, and tool trays you tap through, all sized for a touchscreen. Resolve organizes itself around entirely separate pages, each a purpose-built application in its own right, switched by tabs across the top. That structural difference is the first thing switchers notice.
| LumaFusion concept | Closest DaVinci Resolve equivalent | What's different |
|---|---|---|
| Project library / clips browser | Media Pool | Resolve's Media Pool doubles as the hub for every page, not just editing, and organizes into nested bins |
| Main timeline | Edit page | Similar track-based layout; Resolve adds a full Inspector panel per clip and precise roll/slip/slide trim tools |
| Touch-first quick cutting | Cut page | Built for the same speed-first philosophy: a source tape view, background rendering, and one-click smart edits |
| LUTs and color sliders | Color page | An entirely separate page with node trees, scopes, and qualifiers; LumaFusion has nothing this deep |
| Audio levels, ducking, basic EQ | Fairlight page | A full multi-track mixer page, not a panel bolted onto editing |
| Titles, filters, overlays | Fusion page | Node-based compositing and title-building from scratch, a category LumaFusion's built-in library doesn't compete in |
| Share / export screen | Deliver page | Preset-driven export queue with per-platform templates you build once and reuse |
The Cut page deserves special mention for LumaFusion switchers specifically, because it's the closest thing Resolve has to LumaFusion's fast, tap-and-trim philosophy. It skips the deeper trim controls the full Edit page exposes in favor of a source tape you scrub like one continuous reel, plus background rendering that keeps playback smooth without manually building render caches. Our comparison of Resolve's Cut and Edit pages breaks down exactly when each one earns its keep, worth reading before you settle into the full Edit page purely out of habit.
LumaFusion fits its entire toolset into one touchscreen with tool trays; DaVinci Resolve spreads the same category of work across seven dedicated pages, and that spread is the single biggest adjustment a switcher makes. It's not a harder interface so much as a wider one, and width takes longer to map than depth does, especially coming from an app deliberately built to feel small and complete.
What computer do you need to run DaVinci Resolve after leaving an iPad?
LumaFusion runs on whatever iPad or iPhone you already own; there's no separate hardware conversation to have. DaVinci Resolve on desktop is a different animal, and this is the part of switching that catches editors off guard the most, because nobody mentions it until after they've already bought the FCPXML add-on and started the export.
Resolve is built to lean on your graphics card, not just your CPU, and an underpowered GPU is the single most common cause of a switcher's first bad impression. Colorist Richard Lackey, writing about the app's real-world requirements, puts the RAM floor plainly: "You'll need a minimum of 16GB RAM to run DaVinci Resolve well. However, I recommend 32GB RAM," particularly once Fusion effects enter the picture. On GPU memory, he's even more direct that the marketed minimum undersells what you'll actually want: "if you're looking at a new system on a budget and you're working mostly in HD, I'd recommend an absolute minimum of 2GB GPU memory, really 4GB is a more realistic minimum," with 8GB or more recommended for comfortable 4K color work, according to his own breakdown of Resolve's system requirements.
| Spec | Bare minimum | Realistic minimum | Comfortable |
|---|---|---|---|
| System RAM | 8GB (Apple Silicon Macs only) | 16GB | 32GB, especially with Fusion |
| GPU VRAM | 2GB (HD only) | 4GB | 8GB or more for 4K color work |
| Operating system | N/A | Current release | Mac Sonoma, Windows 11, or Rocky Linux 8.6, per Blackmagic's tech specs |
That 8GB Apple Silicon exception matters specifically for LumaFusion switchers, since a lot of them are already inside Apple's ecosystem. Lackey notes that Apple Silicon Macs with unified memory perform well even at specs that would choke a comparable Windows machine, because the architecture shares memory between the CPU and GPU instead of splitting it. A base MacBook Air someone already owns for email and browsing may genuinely be enough for a first Resolve project cut entirely from phone or gimbal footage, even if it wouldn't touch a heavier Fusion composite.
The honest comparison to LumaFusion's hardware story is that there isn't one. An iPad that runs LumaFusion smoothly, which is most iPads sold in the last several years, has nothing to do with whether the desktop machine sitting under your desk can run Resolve smoothly. If you're switching to Resolve on hardware you haven't upgraded in a while, check your RAM and GPU before you invest a weekend in relearning seven pages, not after.
Can DaVinci Resolve replace LumaFusion on an iPhone, or do you need a Mac or iPad?
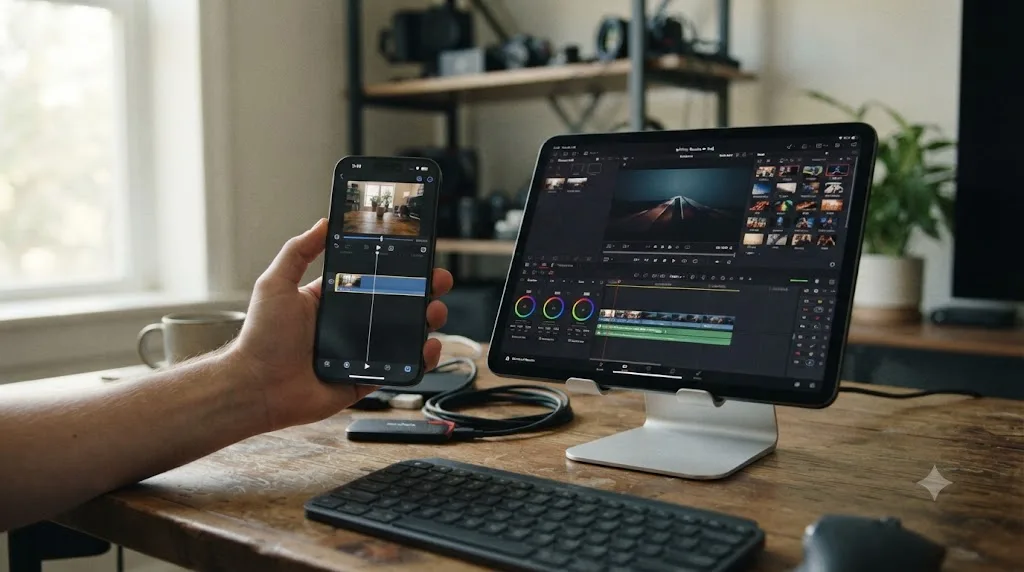
No, not on an iPhone specifically, and this is the platform gap that shapes this entire switch more than any feature comparison does. DaVinci Resolve has no iPhone app, full stop. Blackmagic's mobile presence is DaVinci Resolve for iPad, a free, genuinely capable app requiring iPadOS 18.0 and an A12 Bionic chip or later, with a $94.99 in-app purchase to unlock Studio features like Magic Mask, Smart Reframe, and Voice Isolation, according to DaVinci Resolve for iPad's own App Store listing. It launched in December 2022 with editing and color correction combined in one app, camera-original image quality throughout, and cloud collaboration through Blackmagic Cloud, per MacRumors' coverage of the launch.
That's real, and it means an editor who owns an iPad and switches away from LumaFusion has a genuine on-device option in Resolve, not just a desktop-only fallback. But LumaFusion runs on iPhone, iPad, and now Apple Silicon Macs through Apple's app compatibility layer, giving it a phone-to-desktop range Resolve simply doesn't match. If your entire production chain, shooting, editing, captioning, and posting, happens on the phone in your pocket with no iPad or laptop anywhere in the workflow, DaVinci Resolve isn't an option today. Full stop, the same gap CapCut switchers hit with Resolve's total absence of any phone app at all.
The practical decision tree is straightforward once you frame it this way. Editing on an iPhone with no other device involved: stay on LumaFusion, since nothing in Resolve's lineup reaches that device. Editing on an iPad, with or without a Mac in the chain: DaVinci Resolve for iPad is a legitimate, free alternative worth trying before you assume you need a full desktop switch. Editing on a Mac, Windows PC, or Linux machine, whether or not you also shoot on a phone: the full desktop version of Resolve is the target this entire guide is built around.
LumaFusion's biggest structural advantage over DaVinci Resolve isn't a feature, it's a device: LumaFusion runs on the phone already in your pocket, and Resolve doesn't. That's not a gap Blackmagic is racing to close with an iPhone-specific app; DaVinci Resolve for iPad has been the company's mobile answer for years and shows no sign of expanding to phone screens. If phone-only editing is non-negotiable for your workflow, that single fact should weigh more in your decision than any color tool comparison in this guide.
Is DaVinci Resolve harder to learn than LumaFusion?
For a first real project, yes, and there's no honest way to soften that. LumaFusion's touch interface hides less complexity than CapCut's templates do, but it's still built around one screen and a handful of tool trays that a new editor can map in an afternoon. Resolve is a professional tool with seven distinct pages, and even limiting yourself to the two most relevant at first, Edit or Cut and Color, means learning a timeline that's more powerful and less immediately intuitive than a touch-first layout built around fingers and gestures.
But "harder to learn" and "slow forever" are different claims, and switchers often conflate them. Guided practice inside Resolve beats watching courses about Resolve. That's true for every switcher, not just ones coming from LumaFusion, and it's worth internalizing before queuing up a dozen tutorial videos before you've even opened the app. The fastest path to comfort is opening a real project and hitting the specific wall it creates, not pre-learning every tool you might theoretically need someday.
On naming the actual consensus honestly, and it's worth being specific here rather than vague: the best way to learn DaVinci Resolve, according to nearly every experienced editor who's answered that question publicly, starts with the same three free resources. Blackmagic's own free training on its website, built for the exact version you're running rather than a year-old release. A YouTube channel like Casey Faris for workflow habits and real project walkthroughs rather than isolated feature demos. And Reddit's r/davinciresolve for the oddly specific problem no course covers, the kind of question that only comes up once you're inside a real deadline. None of those require paying anything, and none of them are wrong to start with. Our complete beginner's guide walks through that on-ramp in order, which a LumaFusion switcher is effectively following from zero outside of basic timeline instincts that already transfer.
We've also taught more than 100,000 students on Udemy as an official Udemy Business Partner and worked directly with Fortune 500 teams learning Resolve for internal production, so the pattern we describe here isn't a guess; it's the same on-ramp that works whether someone's switching from a $29.99 mobile app or coming from a full broadcast suite.
If you want an app that helps you while you're actually using DaVinci Resolve, not a course you watch beforehand, that's a narrower and newer category worth naming honestly rather than pretending it doesn't exist. TryUncle is the on-screen assistant for DaVinci Resolve on macOS: ask in plain words and Uncle points at the exact control on your screen. It's not the only tool in that category. Sottocut and CutAgent automate edits directly on your timeline rather than teaching you to do them yourself, and PremiereCopilot's own roundup of AI plugins for editors covers several more that touch Resolve in similar ways. Uncle's job is different: it watches, points, and lets you make the click yourself, which matters more for a switcher trying to build real Resolve muscle memory than one who just wants the edit done automatically. It's a paid app, currently at founder pricing, macOS only, and it shortens exactly the moment a LumaFusion switcher hits staring at seven pages wondering which one has the button they need. Check TryUncle directly for current pricing rather than relying on a number that might already be out of date by the time you read this.
How do you go from a touchscreen edit to a mouse-and-keyboard workflow?
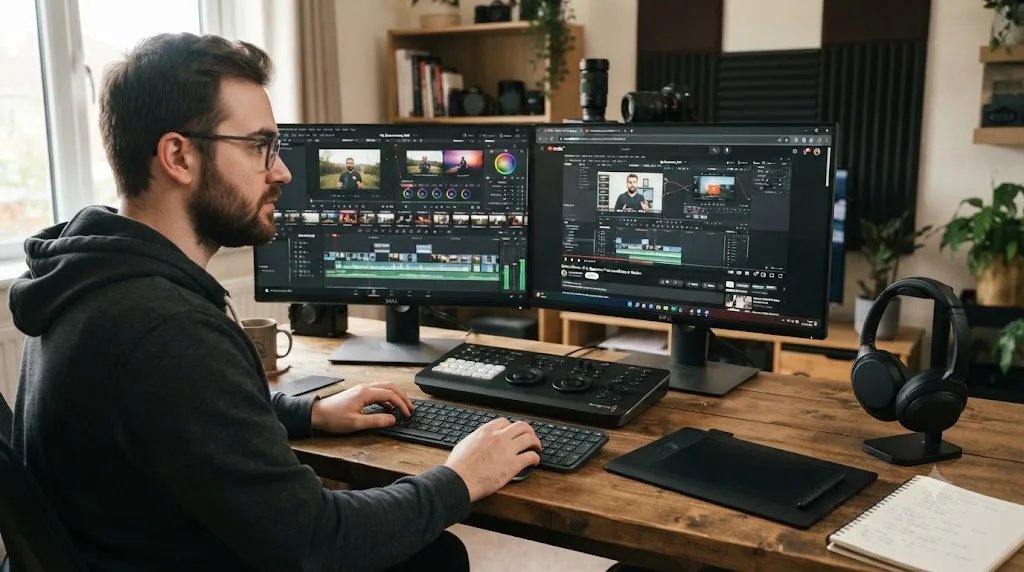
This is the part most LumaFusion switchers underestimate, more than color grading or Fairlight. Your hands learned to trim, zoom, and drag with a thumb. Resolve, on a desktop, expects a mouse, a keyboard, and shortcuts that assume neither of those things behave like a finger on glass.
Start with the Cut page, not the full Edit page. It's the closest thing Resolve has to LumaFusion's tap-and-go philosophy: a source tape you scrub instead of a bin you click into one clip at a time, background rendering so playback stays smooth, and a simplified toolset that mirrors the "get it done fast" feeling LumaFusion was built around.
Learn J, K, and L before anything else. LumaFusion's playback controls are touch gestures, swipe and tap, with no keyboard shuttle equivalent to relearn, so unlike a Premiere or Avid switcher, you're not unlearning old muscle memory here, you're building new muscle memory from nothing. J, K, and L shuttle playback on Resolve by default, and they're worth memorizing in your first session, since nearly every other keyboard-driven editor uses the same three keys.
Set up Resolve's Keyboard Customization panel early, even before you need it. Open it with Cmd+Option+K on Mac or Ctrl+Alt+K on Windows. There's no LumaFusion preset to load, since LumaFusion has no keyboard shortcuts of its own to emulate, but you can build your own shortlist of the five or six commands you'll use constantly: cut, trim, playback shuttle, and marking in and out points. Our complete keyboard shortcuts reference covers every default binding by page, the fastest way to find what's already close to what you want before you build a custom set from scratch.
Expect trim precision to feel harder before it feels easier. A thumb drag on a touchscreen timeline gives you rough, fast trims with visual feedback built in. A mouse-driven trim on Resolve's Edit page is more precise, frame-accurate, and slower to learn, because it depends on keyboard modifiers and edit points you have to memorize rather than feel. That tradeoff, precision for speed, is really the entire story of switching from a touch interface to a desktop one, and it applies to every tool in Resolve, not just trimming.
Nothing about moving from a touchscreen to a desktop timeline means starting from zero; it means relearning the same editing instincts through a different physical interface. A switcher who already understands cutting on beat, matching action, and building rhythm in LumaFusion keeps every bit of that judgment. What changes is the hardware translating that judgment into an edit, and that's a matter of practice hours, not raw difficulty.
Do you need DaVinci Resolve Studio right away?
Not usually, and definitely not on day one. The free desktop version already outclasses a fully paid LumaFusion configuration, as the pricing section above lays out, and most of what a LumaFusion switcher actually needs, real color grading, real audio mixing, real effects, ships in that free tier with no watermark and no time limit.
Studio's real feature set is narrower and more specialized than its $295 price tag might suggest, and it's worth naming exactly what you're paying for rather than treating the upgrade as a vague "unlock everything" button. According to Blackmagic's Studio product page, Studio adds the DaVinci Neural Engine's AI-driven tools, Magic Mask for object isolation and tracking, Speed Warp for optical-flow retiming, Super Scale for upscaling HD to 4K or 8K, plus object removal and scene cut detection. On the delivery side, it adds Dolby Vision and HDR10+ grading, Dolby Atmos mastering, and DCP and IMF mastering for festival and streaming delivery. It also unlocks 45 additional Resolve FX filters and support for resolutions and frame rates well beyond what any phone or gimbal shoot produces.
| You need Studio if... | You're fine on free if... |
|---|---|
| You're isolating a subject with Magic Mask instead of hand-keying | You're doing primary and secondary color correction with power windows |
| You're retiming footage with Speed Warp's optical flow | You're doing standard speed changes and basic ramps |
| Your delivery spec requires Dolby Vision, HDR10+, or Dolby Atmos | You're exporting standard Rec.709 video for social or YouTube |
| You're mastering a DCP or IMF package for festival or streaming delivery | You're delivering an MP4 or MOV straight to a client or platform |
| You're upscaling old HD footage to 4K with Super Scale | Your footage is already shot at your delivery resolution |
A LumaFusion switcher chasing color and audio depth gets essentially all of it free; Studio's $295 buys AI-assisted shortcuts and professional delivery formats, not the core grading and mixing tools themselves. That's worth sitting with, because it's the opposite of how LumaFusion's own upgrade path works, where Multicam Studio and FCPXML Export gate basic project mechanics behind a purchase. Resolve gates convenience and delivery specialization instead. Wait until a real project actually needs Magic Mask, HDR delivery, or DCP mastering before spending the $295, and even then, compare it against what you were already paying LumaFusion's Creator Pass for. If Storyblocks stock footage was the only reason you kept that subscription, Studio's one-time cost likely replaces it within a year or two of active work.
Can you collaborate on a project the way you'd share a LumaFusion file?
Differently, and in most cases, better, once you're past the setup. LumaFusion's version of sharing is built around handing off a finished or partial project: AirDrop a package to a Mac, export a package to Files, or hand someone a copy of your media and let them rebuild. It's a file transfer, not a shared workspace, and that's fine for a single editor moving between their own devices, but it doesn't stretch to a real team.
DaVinci Resolve, on both desktop and iPad, is built around Blackmagic Cloud from the ground up, and it's a genuinely different model. According to Blackmagic's own collaboration page, you create a free Blackmagic Cloud ID, set up a project library, and invite collaborators by their Cloud ID, letting "editors, colorists, VFX artists, animators and sound engineers" work on the same project "from anywhere in the world." Multiple people can be inside the same timeline at once, seeing each other's changes in the viewer and choosing when to accept them, rather than passing a single file back and forth by hand.
A few specifics matter for a switcher deciding whether this is worth setting up:
- Media syncing is a choice, not automatic. You pick whether Blackmagic Cloud Storage syncs proxies only, proxies plus original media, or nothing at all, per project. That control matters if you're on a metered connection or working with footage too large to duplicate across every collaborator's drive.
- Bins and timelines lock automatically to prevent two people from overwriting the same work. There's no equivalent concern in LumaFusion, since nobody else is ever inside your project file at the same time.
- Changes save locally first and sync when the connection returns, so a dropped Wi-Fi signal on a plane doesn't lose work, it just delays the sync, and the project stays available in read-only mode until the connection comes back.
- Project Collaboration itself is a free-tier feature, not something gated behind the Studio license; Studio adds extra workflow management integration on top, but the core real-time collaboration works on the free version.
For a solo LumaFusion switcher, none of this matters day one. But if the reason you're switching includes bringing on a colorist, an assistant editor, or a sound mixer for the first time, Resolve's collaboration model is built for exactly that in a way LumaFusion's export-and-hand-off approach was never designed to be.
Should you keep using LumaFusion after switching to DaVinci Resolve?
For a lot of working editors, yes, and there's no penalty for saying so. The pattern that shows up over and over among switchers who've actually made this move: LumaFusion handles the fast field edit, the moment speed and mobility matter more than depth, and Resolve handles anything where color, audio, or a client's production value takes over.
This hybrid approach makes particular sense in three specific situations.
- You shoot and post from locations where a laptop isn't practical. Wedding videographers cutting a same-day highlight reel between the ceremony and the reception, or event shooters filing content from a venue with no desk in sight, get real value from LumaFusion's phone-and-tablet mobility that a desktop-only workflow can't match.
- You're a mobile journalist filing time-sensitive stories. A reporter shooting, editing, and transmitting from an iPhone in the field needs a tool that runs on that exact device right now, not a workflow that assumes a laptop is nearby. LumaFusion fills that role; Resolve, with no iPhone app, structurally can't.
- Your channel mixes daily quick content with less frequent, higher-production work. LumaFusion's speed serves same-day posts, while Resolve's depth serves the monthly brand deal or client project where color and audio actually get scrutinized.
Where the hybrid approach breaks down is redundant spend. If you've already paid for LumaFusion's Multicam Studio and FCPXML Export add-ons and you're running most of your finishing work through Resolve anyway, you're paying twice for capabilities Resolve already includes free. Treat "run both" as a deliberate choice tied to where you actually shoot, not a default you fall into because switching feels like more effort than it's worth.
What are common mistakes editors make when switching from LumaFusion?
A handful of avoidable mistakes account for most of the regret switchers report after moving too fast.
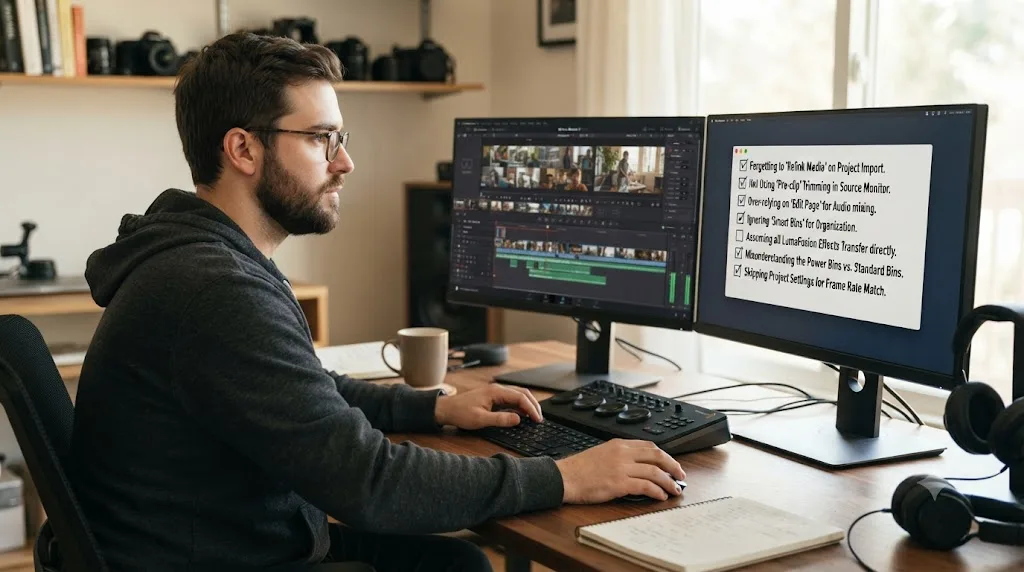
Buying the FCPXML Export add-on before confirming it covers what you actually need. The $19.99 purchase moves picture, basic transitions, and titles, not color grades, speed ramps, or multicam sync. If your project leans heavily on any of those, you may be better off rebuilding from raw footage in Resolve than paying for a partial export.
Assuming DaVinci Resolve for iPad is a full substitute for LumaFusion on mobile. It's free, it's real, and it covers editing and color correction in one app, but it's iPad-only, requires an A12 Bionic chip or later, and has no iPhone counterpart at all. If your workflow needs to run on a phone specifically, neither DaVinci Resolve for iPad nor the desktop version fills that gap.
Buying DaVinci Resolve Studio before confirming the free desktop version isn't enough. The free tier covers full editing, color, Fairlight audio, and vertical export with no watermark. Studio's real triggers, HDR delivery, higher resolutions, Magic Mask, and the full AI Neural Engine toolkit, mostly matter for demanding production, not a standard highlight reel or short-form video.
Trying to force Resolve into a phone-only workflow it was never built for. If your entire production chain runs on an iPhone with no iPad or computer involved, Resolve simply isn't an option today, full stop; there's no version of the app that runs there.
Rebuilding a complex project from memory instead of using the LumaFusion export as a reference. Whether you're carrying an FCPXML timeline across or rebuilding fully from raw footage, keep your finished LumaFusion export open on a second screen while you work in Resolve, so you're matching your own cut points rather than guessing from memory ten minutes in.
Underestimating the multicam rebuild. LumaFusion's Multicam Studio sync groups don't survive FCPXML export. If you're moving a multi-camera project, budget real time to resync angles inside Resolve rather than assuming the handoff carries that structure across.
Ignoring the hardware gap until after the migration is already underway. A switcher who buys FCPXML Export, exports a project, and only then discovers their desktop machine has 8GB of RAM and an integrated GPU is starting the relearning process at the worst possible moment. Check your specs against Resolve's realistic minimums before you invest a weekend in the switch, not during it.
Which situation fits you?
Checklists beat a single verdict here, because "should I switch" depends entirely on your device, your workflow location, and what your content is actually for.
| You are | Lean toward | Why |
|---|---|---|
| Editing entirely on an iPhone with no iPad or computer | Stay on LumaFusion | DaVinci Resolve has no iPhone app; LumaFusion is the only one of the two built for that device |
| Editing on an iPad, with or without a Mac | Try DaVinci Resolve for iPad first | Free, capable, and touch-native, closer to LumaFusion's device profile than the desktop app |
| Already own LumaFusion's paid add-ons and use them constantly | Keep LumaFusion for field work, add Resolve for finishing | You've already paid for multicam and interchange; use both where each earns its keep |
| Filing time-sensitive mobile journalism from the field | Keep LumaFusion for filing, learn Resolve for longer pieces | Speed and phone mobility matter more than color depth on a same-day story |
| Frustrated by LumaFusion's color or audio ceiling | Switch to DaVinci Resolve | Node-based color and Fairlight audio handle what LUTs and basic ducking can't |
| Building a portfolio or chasing brand deals judged on production value | Switch to DaVinci Resolve | Color, audio, and delivery depth matter more once a client is judging the final master |
| A wedding or event shooter cutting same-day and finishing later | Run both, in sequence | LumaFusion for the same-day highlight reel, Resolve for the graded feature film that ships weeks later |
| A total beginner who's never edited before | Start on whichever device you already own | LumaFusion for phone-first learners, Resolve's free desktop tier for anyone starting on a laptop |
| Bringing on a colorist or sound mixer for the first time | Switch to DaVinci Resolve | Blackmagic Cloud collaboration handles multi-editor work; LumaFusion has no equivalent |
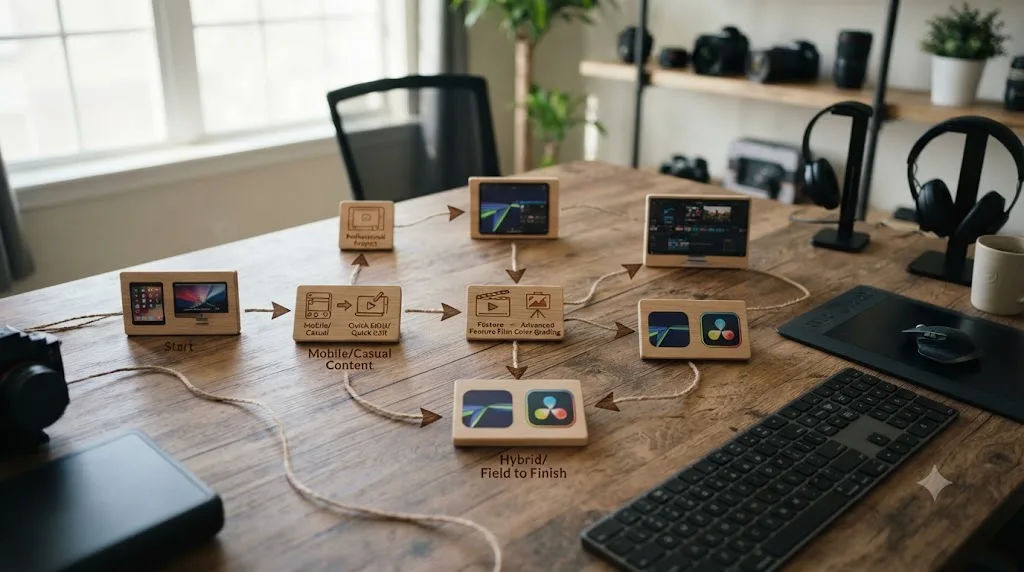
If you're still torn, ask one question: does your workflow need to run on the phone in your pocket right now, or does your next project need to look better than the last ten you made? "Has to run on my phone" still favors LumaFusion, structurally, not just by preference. "Look better than the last ten" is the entire reason this guide exists.
What's the honest verdict?
If your entire production chain runs on an iPhone with no iPad or computer anywhere in the workflow, there's no available substitute for LumaFusion in Resolve's lineup, full stop. That's not a close call or a matter of preference; it's a hardware fact, since DaVinci Resolve has never shipped an iPhone app and shows no sign of building one.
If you own an iPad, a Mac, or a Windows PC, and any part of your work touches real color grading, multi-track audio mixing, custom motion graphics, or a delivery spec beyond a quick social export, DaVinci Resolve's free desktop version already does more than LumaFusion's fully paid configuration, at no cost, with no watermark and no add-ons to buy separately. LumaFusion's co-founder Terri Morgan put the mobile-versus-desktop question in her own words when asked about Resolve and Final Cut Pro entering the iPad space: "other players in the video-editing space have come in since, like Da Vinci and Final Cut Pro," she told iMore, adding that LumaFusion's own reaction to those entries was "a relief," since neither displaced what LumaFusion had already built for touch-first editing. That's a fair, confident read from someone who's spent over a decade building the app you're leaving, and it's worth taking seriously: the two tools aren't really fighting for the same job.
Move one real project across before you commit fully. If you own the FCPXML add-on, export a finished LumaFusion timeline and bring it into a fresh Resolve project through the Media Pool's import path. If you don't, pull your original footage in instead and rebuild the cut using your LumaFusion export as a visual reference. Either way, spend an afternoon rebuilding the color and any titles you'd normally add, and check your RAM and GPU against the realistic minimums above before you judge Resolve's performance. That single test tells you more about whether the switch is right for you than any comparison chart, including this one. If the rebuild feels like busywork that fights your workflow, keep LumaFusion for what it does well and revisit Resolve later. If it feels like your footage finally has room to become something better than a phone-shot draft, you'll know that within the first hour, and you'll already be halfway there.
Frequently asked questions
- Can I import my LumaFusion project directly into DaVinci Resolve?
- Not by default. LumaFusion's base $29.99 app has no project export at all. You need the separate $19.99 FCPXML Export add-on, sold as an in-app purchase, according to LumaFusion's own App Store listing. Once you own it, you export an XML Project Package from LumaFusion's Share menu and import it into Resolve through the Media Pool's Timelines > Import command. Color grades, titles, and most effects still don't survive the trip.
- Is DaVinci Resolve free like LumaFusion?
- DaVinci Resolve's desktop version is free with no watermark, no time limit, and Ultra HD 60fps export, according to Blackmagic's own tech specs. LumaFusion is not free; it's a one-time $29.99 purchase on the App Store. So the free-vs-paid framing actually runs the other way from what most switchers expect: the app you're leaving cost money, and the desktop suite you're moving to doesn't.
- Do I need to buy LumaFusion's FCPXML export just to switch to DaVinci Resolve?
- Only if you want to carry your edited timeline across instead of rebuilding it from raw footage. The $19.99 FCPXML Export in-app purchase is the only path LumaFusion offers into Resolve, Premiere, or Final Cut Pro. If you'd rather start clean in Resolve using your original clips as reference, you can skip the purchase entirely and rebuild the cut by eye, the same way CapCut switchers already have to.
- Does DaVinci Resolve run on iPhone the way LumaFusion does?
- No, and this is the single biggest platform gap in this whole switch. DaVinci Resolve has no iPhone app at all. Blackmagic ships DaVinci Resolve for iPad, a free, genuinely capable app requiring iPadOS 18.0 and an A12 Bionic chip or later, plus the full desktop app for Mac, Windows, and Linux. If your entire workflow runs on an iPhone with no iPad or computer in the chain, Resolve simply isn't an option yet.
- Is DaVinci Resolve harder to learn than LumaFusion?
- For a first project, yes. LumaFusion's touch interface and single-window layout are built to be picked up in an afternoon. Resolve spreads editing, color, audio, and effects across seven separate pages, which is more power and more surface area at once. Most switchers get comfortable on the Edit or Cut page within a couple of weeks and treat Color, Fairlight, and Fusion as separate skills learned only when a project actually needs them.
- Should I keep using LumaFusion after switching to DaVinci Resolve?
- Many working editors do, especially anyone who shoots and posts from a phone or iPad in the field. A common pattern: rough-cut and caption on LumaFusion while traveling or on location, then move the finished sequence, or just the raw footage, into Resolve back at a desk for color, audio, and delivery. Running both costs nothing extra once you already own LumaFusion outright.
- What's the fastest way to learn DaVinci Resolve after switching from LumaFusion?
- Start with Blackmagic's own free training, built for the exact version you're running, then add a YouTube channel like Casey Faris for workflow habits and Reddit's r/davinciresolve for the oddly specific question no course covers. If you want an app that helps you while you're actually inside DaVinci Resolve rather than a course you watch first, TryUncle watches your screen live and points at the control you're asking about.
- What computer do you need to run DaVinci Resolve after switching from LumaFusion?
- More than LumaFusion needed on an iPad. Resolve leans on GPU memory more than most editors expect: budget at least 16GB of system RAM and a realistic minimum of 4GB of GPU VRAM, according to colorist Richard Lackey's own testing, with 32GB RAM and 8GB or more VRAM for comfortable 4K color work. Apple Silicon Macs are an exception, since their unified memory architecture handles Resolve well even at 8GB, per Blackmagic's own specs.
Sources
- LumaFusion (App Store listing, Apple)
- FCPXML Export (LumaTouch product page)
- What parts of my project will transfer when using the XML Export feature? (Luma Touch Knowledge Base)
- LumaFusion FCPXML Export to DaVinci Resolve, by Richard Lackey (CineD)
- LumaFusion co-founder Terri Morgan on its history, Vision Pro, and rivals (iMore)
- Luma Touch releases LumaFusion, the first comprehensive video editing and effects editor for iOS (LumaTouch)
- DaVinci Resolve for iPad (App Store listing, Apple)
- DaVinci Resolve for iPad Now Available on the App Store (MacRumors)
- DaVinci Resolve Studio product page (Blackmagic Design)
- DaVinci Resolve product page, free version specs (Blackmagic Design)
- DaVinci Resolve - Tech Specs (Blackmagic Design)
- DaVinci Resolve - Edit (Blackmagic Design)
- DaVinci Resolve - Cut (Blackmagic Design)
- DaVinci Resolve keyboards and Keyboard Customization (Blackmagic Design)
- DaVinci Resolve Minimum System Requirements: A Reality Check, by Richard Lackey
- DaVinci Resolve - Collaboration (Blackmagic Design)
Keep reading
Guides · Jul 7, 2026 · 32 min
DaVinci Resolve for Beginners: The Complete Starter Guide
Learn DaVinci Resolve from zero: what it costs, what it needs to run, the seven pages you'll actually use, and the steps to cut your first project.
Guides · Jul 8, 2026 · 16 min
DaVinci Resolve Keyboard Shortcuts: The Complete Reference
Every essential DaVinci Resolve keyboard shortcut, organized by page: Edit, Cut, Color, Fairlight, Fusion, and Deliver, plus how to customize and share your own.
Comparisons · Jul 10, 2026 · 28 min
DaVinci Resolve Cut Page vs Edit Page: The Real Differences
A full side-by-side of DaVinci Resolve's Cut and Edit pages: timeline, trimming, multicam, and hardware differences, plus which one to use.