Articles / Guidesupdated for DaVinci Resolve 21.0.2 (July 2026)
What Is CineFocus in DaVinci Resolve 21?
Quick answer
CineFocus is a new AI tool in DaVinci Resolve 21 that adds simulated depth of field to footage after it's shot. On the Color page, you click a focal point, then adjust aperture, focus distance, and bokeh, with full keyframe support for rack-focus moves. It requires DaVinci Resolve Studio; the free version doesn't include it.
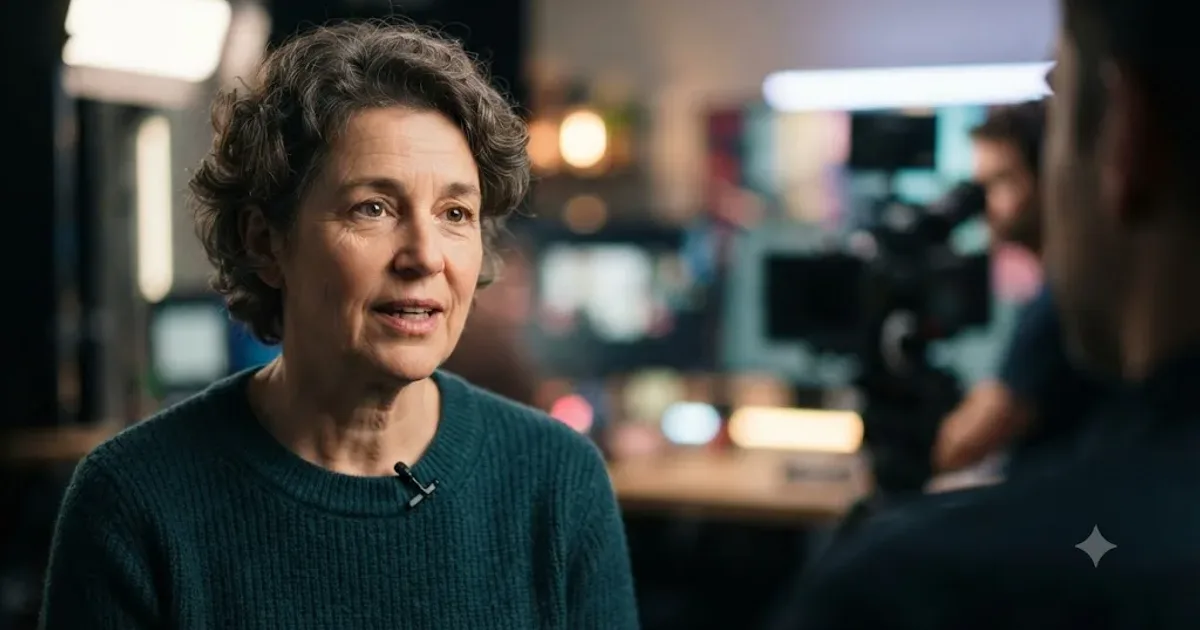
Somebody shot a whole interview on an iPhone. Every frame is in focus, background and face alike, and it looks like a security camera instead of a documentary. That's the exact problem CineFocus was built for, and as of July 2026 it's one of the more talked-about additions in DaVinci Resolve 21.
This page is the long answer: what CineFocus is, where it lives, what it costs, how to apply it without wrecking your timeline, and where it actually falls apart. If you want the full list of everything else new in Resolve 21, that's a separate page. This one stays on CineFocus, in depth.
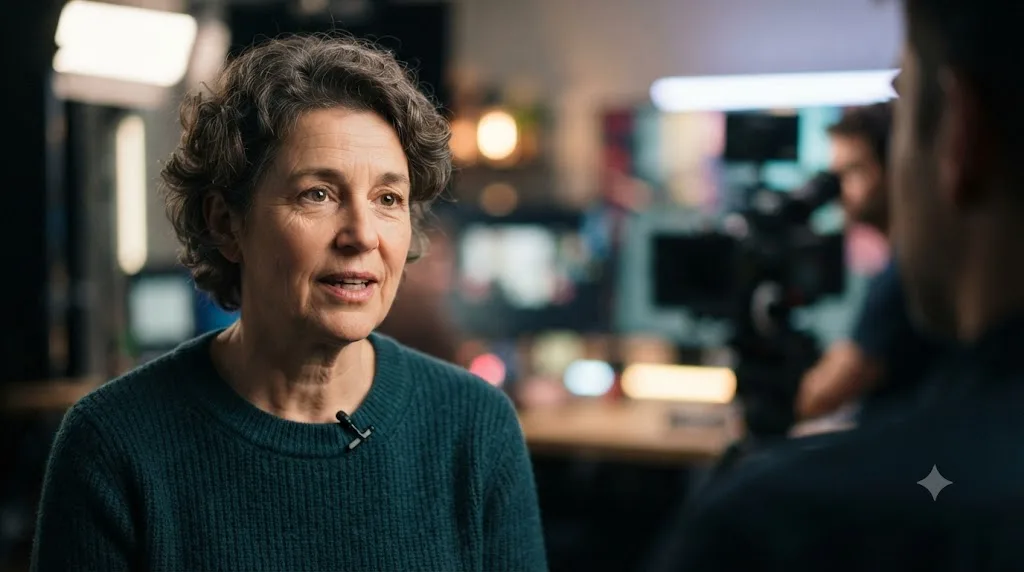
What is CineFocus in DaVinci Resolve 21?
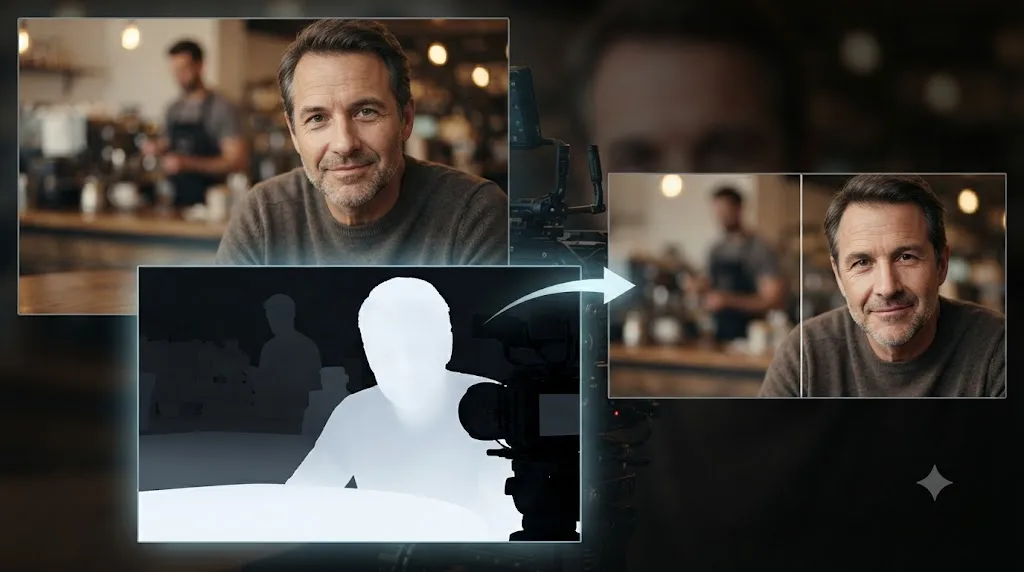
CineFocus is a ResolveFX effect on the Color page that uses an AI-generated depth map to simulate a real camera's depth of field on footage that's already been shot. You pick a focal point in the frame, and CineFocus blurs everything at a different depth, the same visual result a shallow-depth lens would have produced on set.
Blackmagic Design's own description keeps it short: "Define the focal point of a shot with AI CineFocus! Click to focus on a particular area of a scene and adjust aperture and focal range to change the depth of field," according to Blackmagic's What's New page. That's the whole pitch in one sentence: focus is now a post-production decision, not just a production one.
CineFocus doesn't recover focus a lens actually missed. It manufactures new depth of field on footage that was already sharp everywhere. That distinction matters more than any control panel detail in this post, so hold onto it before you read the rest.
CineFocus isn't limited to video, either. It ships as one of nine AI tools in Resolve 21, and it works inside the Photo page on stills as much as it works on clips, a detail we'll come back to shortly because it changes who this tool is actually for.
Why does DaVinci Resolve need an AI tool for focus at all?
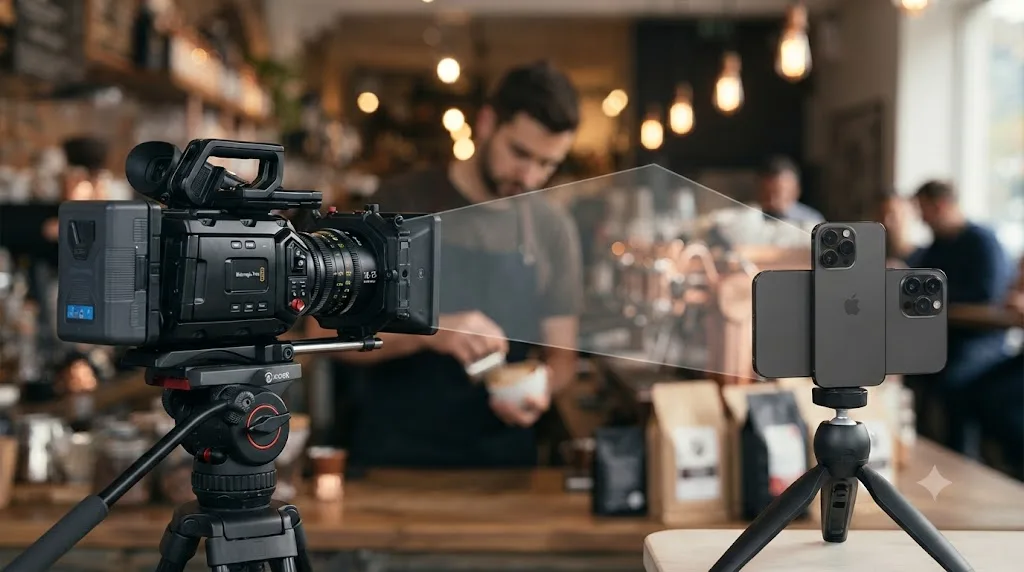
Small sensors keep almost everything in a shot sharp, which is a technical strength for stills and a creative problem for video. According to Larry Jordan's hands-on writeup, "the big problem it solves is that, when you take shots with an iPhone, everything is in focus." A wide depth of field reads as flat and amateur on screen, even when the exposure and color are perfect, because viewers associate shallow focus with intentional, professional camera work.
CineFocus targets that exact gap. It doesn't try to make footage sharper or better lit. It tries to make the background disappear the way a large-sensor camera and a fast lens would have made it disappear on the day of the shoot. That's a narrow job, and CineFocus is built to do only that job, not to serve as a general image-repair tool.
The same problem shows up outside interviews, too. Product B-roll shot on a gimbal, drone establishing shots, screen recordings turned into talking-head videos, all of it comes out of small-sensor cameras with everything crisp from six inches to infinity. CineFocus exists because reshooting all of that with a cinema camera and a fast prime isn't realistic for most creators, and a plugin that fakes the look is cheaper than a new lens kit.
How does CineFocus actually work under the hood?
CineFocus analyzes the frame and builds an internal depth map, essentially a distance estimate for every pixel, then uses that map to decide how much blur to apply at each depth relative to your chosen focal point. This is the same AI depth-estimation technology behind Resolve's older Depth Map tool, repackaged into a dedicated effect with camera-style controls instead of raw depth-layer sliders.
Two processing modes exist inside CineFocus: Better and Faster. Per CineD's coverage of Resolve 21's public beta 4, Blackmagic refined both of them ahead of the final release: "Both the Better and Faster modes now handle subtle blur more cleanly, and Blackmagic Design has reduced edge shimmer, stair stepping, and halos so foreground subjects separate more naturally from their backgrounds." Faster mode trades some of that edge quality for real-time playback while you're still adjusting settings; Better mode is the one to switch to before you commit to a render.
That refinement targeted the exact place synthetic depth of field usually breaks. As the same CineD piece put it, "that separation is exactly where synthetic depth of field tends to fall apart, so the gains are most useful when simulating lens focus on interviews, close-ups, or archival footage where reshooting is not an option." In other words, Blackmagic's own beta notes admit the edge between subject and background was the weak point, and the beta 4 update was specifically aimed at fixing it, not adding new sliders.
The aperture control isn't just a strength slider dressed up in lens language. Per Cutsio's step-by-step CineFocus tutorial, aperture behaves the way an f-stop behaves on a real lens: lower numbers produce a shallower depth of field, meaning more of the frame falls out of focus, while higher numbers hold more of the scene sharp. If you've ever shot on a fast prime wide open versus stopped down, that's the exact relationship CineFocus is trying to reproduce.
Does CineFocus work on stills in the Photo page?
Yes, and this is one of the more overlooked things about the tool. Resolve 21 added an entirely new Photo page, an eighth page in Resolve's page-based workflow, built for grading RAW stills with the same node system used for video. CineFocus works there too, because a depth map doesn't care whether the source is a still frame or a moving one.
Per a workflow guide covering Resolve 21's Photo and video tools, CineFocus "lets you adjust focal emphasis after capture, clicking a region to refine where attention falls and tuning the apparent aperture and focal range," and the same guide flags it as a fix for a photographer who "missed focus slightly" on a still. That's a genuinely useful case: a portrait where the eyes are a touch soft but the rest of the composition is a keeper, rescued with a synthetic focal plane instead of a reshoot.
The same source is honest about the cost of that convenience: "CineFocus and the portrait tools lean on the GPU," and a Photo page session that stutters when you drop CineFocus onto a still is a hardware ceiling, not a broken feature. If you're already grading dozens of RAW stills in one album and adding CineFocus to several of them, expect the same GPU load you'd see applying it to video, just repeated once per image instead of once per timeline.
CineFocus treats a photo and a video frame the same way: as one image with an estimated depth map underneath it. That's why the tool moved so easily from the Color page to the Photo page without needing a separate version.
Where do you find CineFocus, and how do you apply it?
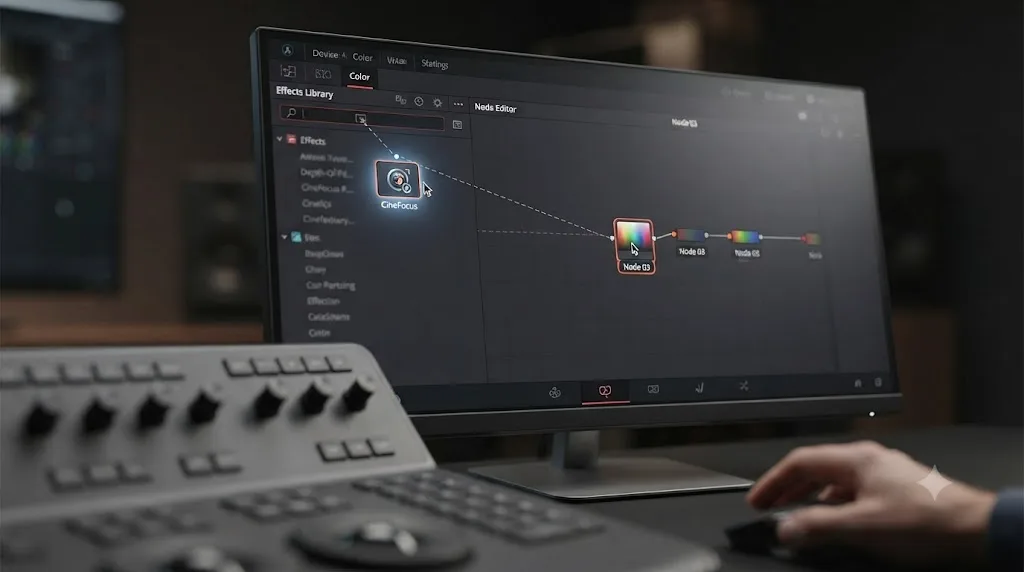
CineFocus lives on the Color page, applied like any other ResolveFX. Here's the exact sequence, based on Larry Jordan's step-by-step walkthrough:
- Select your clip on the Color page timeline.
- Open the Effects Library and search for "CineFocus."
- Drag the CineFocus effect onto the node you want it to affect.
- In the Depth Map section, check Adjust Map Levels, then set Far Limit so the background reads black and Near Limit so the foreground reads white. This calibrates the depth map to your specific shot.
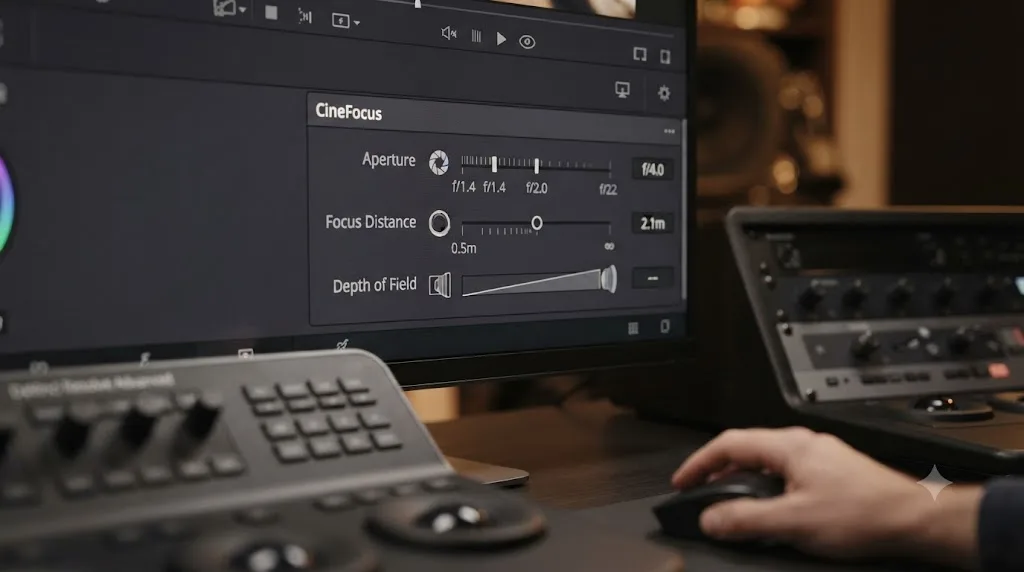
- In the Focus section, set Focus Distance to choose where the sharp plane sits, adjust Depth of Field to control how much of the frame stays sharp around that point, and modify Aperture to set how strong the defocus effect gets.
- Optionally, keyframe Focus Distance across the clip to animate a rack-focus pull that was never actually performed on set.
Jordan's own reaction to having that level of control over already-shot footage was direct: "These two effects are amazing because of the control they give us over video that was already shot," referring to CineFocus alongside its sibling tool, AI Depth Map.
That's the basic path, and it's enough for a single clip. But there's a second, more deliberate workflow worth knowing before you touch a whole timeline, because CineFocus is not a cheap effect to preview in real time, and building your node tree the wrong way is the single most common reason people give up on it.
What controls does CineFocus give you?
Here's the full control set, gathered from Blackmagic's own materials and hands-on coverage of the tool.
| Control | What it does |
|---|---|
| Focus point | Click anywhere in the frame to set what stays sharp |
| Focus Distance | Sets the depth of the sharp plane; keyframeable for a focus pull |
| Depth of Field | Controls how wide or narrow the sharp zone is around the focal point |
| Aperture | Sets how strong the blur gets outside the focus zone; lower values mean a shallower, more aggressive defocus, the same way a lower f-stop does on a real lens |
| Aperture shape | Choose between circular, hexagonal, or a custom shape to change the character of out-of-focus highlights, per Cutsio's tutorial |
| Adjust Map Levels, Far Limit, Near Limit | Calibrates the underlying depth map to the specific shot |
| Focus preview | Toggles an on-screen overlay so you can see the calculated focal plane before you commit to a look |
| Better / Faster mode | Trades render quality for real-time preview speed |
Every control in CineFocus is keyframeable, which is what turns a static blur into an animated rack-focus move. That's the detail that separates CineFocus from a simple background-blur filter: you're not just softening a background once, you're choreographing a focus change across the clip's duration, the way a focus puller would have done live on set.
Aperture shape deserves a second look, because it's the control most people skip. A circular aperture gives you the smooth, evenly round bokeh balls you'd get from a lens with a rounded diaphragm; hexagonal gives you the faceted, six-sided highlights typical of cheaper still-photography lenses stopped down a little; custom lets you push toward something more stylized. None of that changes how sharp your subject is. It only changes what the background looks like once it's blurred, and it's the fastest way to make a CineFocus shot look like it came from a specific lens instead of a generic filter.
A worked example: rack-focusing a two-person interview
Here's what the full workflow looks like end to end, using the control names above on a shot that comes up constantly: a two-person interview, both subjects roughly the same distance from the camera, shot on a single wide lens where everything from the near subject to the wall behind them is in focus.
The goal is a soft push-focus from Subject A to Subject B mid-answer, the kind of move a focus puller would make on a real set to redirect attention.
- Drop CineFocus on its own node. Put it after your primary color correction node, not before. Grading first and defocusing second keeps the blur consistent with your final color; defocusing before grading can shift how the blur reads once contrast and saturation change downstream.
- Calibrate the depth map first, before touching focus controls. Turn on Adjust Map Levels and nudge Far Limit and Near Limit until the depth preview cleanly separates the two subjects from the wall behind them. If the map reads muddy here, every focus setting you dial in afterward will be fighting bad data.
- Set the opening focal point on Subject A. Click their face, set Aperture low enough that the wall behind both subjects goes soft but Subject B, sitting at roughly the same distance, stays reasonably sharp too. This is the frame where the audience's attention should sit at the top of the answer.
- Move the playhead to the exact word or beat where attention should shift, and click Subject B's face to set a new Focus Distance keyframe there. Keep Aperture unchanged unless the two subjects are meaningfully different distances from camera.
- Open the keyframe curve editor and ease the transition. A linear focus pull looks mechanical; a focus puller on a real set eases into the move and settles at the end. Rounding the curve here is what sells the illusion that this happened live.
- Switch to Better mode and scrub the full move at full resolution before you trust it. Faster mode is fine while you're placing keyframes, but edge shimmer that Faster mode hides can reappear in Better mode, especially around hair or a busy shirt pattern.
- Check the shot at the cut points, not just mid-move. A rack focus that looks great held on a still frame can look inconsistent the instant the editor cuts to it mid-transition, so scrub past your actual edit points, not just the effect's start and end.
That's the difference between "I dragged CineFocus on and moved a slider" and a rack focus a viewer reads as intentional. The controls are simple. Sequencing them in the right order, and calibrating the depth map before you touch anything else, is where the actual craft is.
How do you keep CineFocus from tanking your timeline's performance?
CineFocus is one of the heavier effects in Resolve 21's toolkit, because every frame it touches requires a fresh depth estimate before any blur even gets calculated. Scrubbing a timeline with CineFocus applied to several clips in a row, all in Faster mode, still bogs down on a lot of machines. There's a specific, sourced workaround worth building into your habits before you apply this tool to a whole project instead of one clip.
Per a tutorial on Resolve 21's new AI tools, the more efficient node structure separates depth estimation from the blur itself: build a dedicated depth map node, turn on render caching for that node specifically, then connect its output into CineFocus's alpha input rather than letting CineFocus recompute the depth map from scratch on every scrub. Once the depth node is cached, Resolve reuses that calculation instead of regenerating it, and playback smooths out considerably. The same guide points to CineFocus's focus preview button as the fastest way to confirm the calculated focal plane matches what you intended before you spend render time on the full effect.
A few more habits that matter once CineFocus is on more than a demo clip:
- Pre-edit your timeline before applying CineFocus. Applying the effect to a clip you later trim, split, or replace means redoing the depth calibration on the new in and out points. Lock picture first on a scene, then go back and apply CineFocus to the clips that survived the cut.
- Use Faster mode while you work, Better mode when you commit. Treat Faster mode the way you'd treat a low-res proxy: good enough to place keyframes and judge timing, not good enough to judge the final edge quality around hair or fine detail.
- Cache the clip once you're happy with it. Render caching a clip with CineFocus baked in turns an expensive real-time effect into a static frame sequence Resolve can play back without recalculating anything, which matters most if you're stacking CineFocus with Magic Mask, noise reduction, or a Fusion composite on the same node tree.
- Don't apply CineFocus to a whole multicam group at once if you can avoid it. Depth quality varies shot to shot depending on lens, distance, and background complexity. A setting that looks right on camera A's angle can look wrong on camera B's, even in the same scene.
None of this is unique to CineFocus. It's the same discipline colorists already use with heavy Fusion comps or stacked noise reduction: separate the expensive calculation from the thing that consumes it, cache early, and don't make the software redo work it already did once.
Is CineFocus free in DaVinci Resolve 21, or does it require Studio?
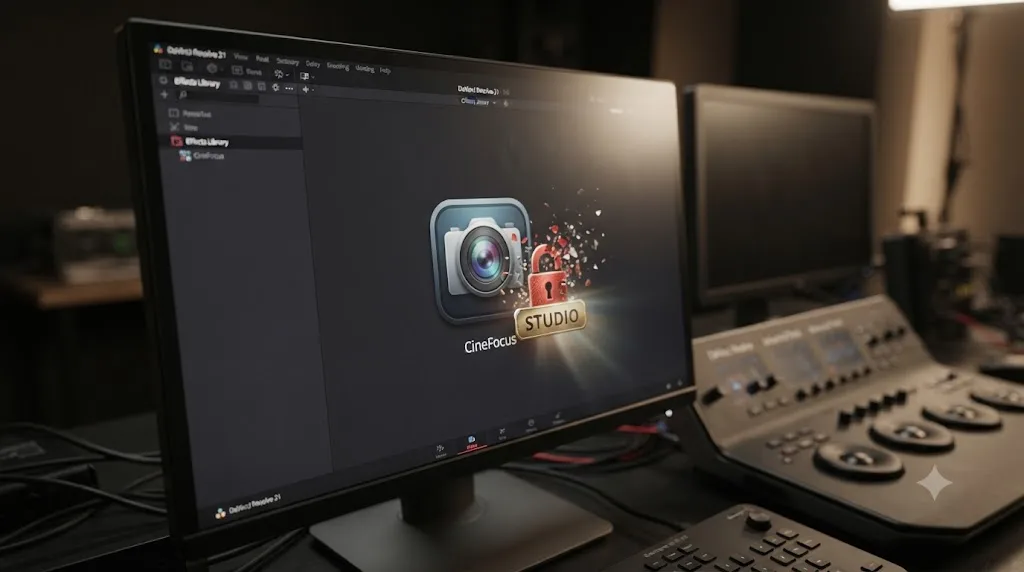
CineFocus requires DaVinci Resolve Studio. It doesn't appear in the free version in any form, not as a watermarked preview and not as a limited mode. Blackmagic gates every Neural Engine AI tool the same way, and multiple independent write-ups confirm CineFocus sits behind that same gate: "All AI features in DaVinci Resolve require the Studio version," as Larry Jordan states plainly.
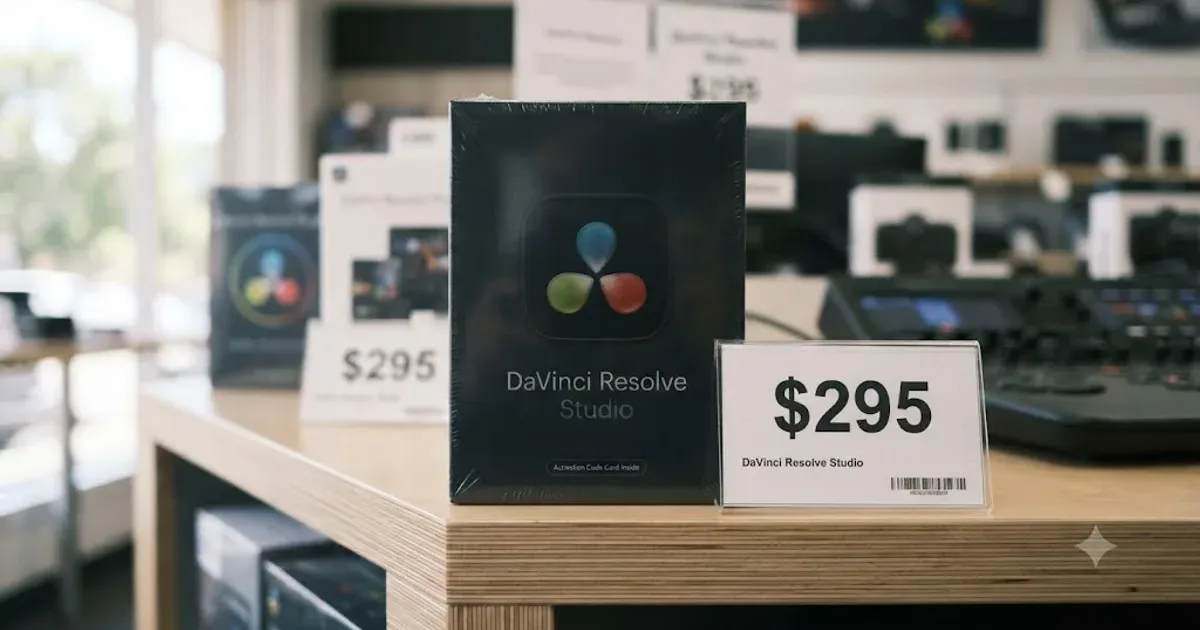
CineFocus is one of nine new AI tools Blackmagic added across Resolve 21, alongside IntelliSearch, AI Speech Generator, AI UltraSharpen, AI Motion Deblur, and others, all sharing the same Studio-only restriction. Studio itself costs $295 once, not a subscription, per Blackmagic's Studio product page. If CineFocus is the only reason you're considering the upgrade, our full breakdown of DaVinci Resolve Studio's price covers what else that $295 buys, since CineFocus alone is a narrow reason to spend it.
How is CineFocus different from Magic Mask?
They both live on the Color page and both run on the Neural Engine, which is exactly why people mix them up. The actual jobs are different.
| CineFocus | Magic Mask | |
|---|---|---|
| What it isolates | The whole frame, by estimated depth | One specific person or object, by a brush stroke |
| Applied via | Dragged onto a node as a ResolveFX | A dedicated palette on the Color page |
| Main use | Simulating shallow depth of field, rack focus | Selective grading, blurring, or replacing one subject |
| Keyframeable | Yes, for animated focus pulls | Tracks automatically across the clip |
| Studio required | Yes | Yes |
CineFocus decides what's blurred by distance from the lens. Magic Mask decides what's isolated by what you painted. You can combine them on the same clip, for example masking a subject with Magic Mask and separately using CineFocus to soften everything behind them for extra depth, though that's a heavier compositing stack than either tool alone, and it's exactly the kind of stacked effect where the node-caching habits from the previous section stop being optional. Our full Magic Mask guide covers that tool's stroke-and-track workflow if you want the comparison in more depth.
How is CineFocus different from AI Depth Map?
This is the pairing people confuse most, because they're built on the same underlying technology. AI Depth Map showed up a full version earlier. As Larry Jordan puts it plainly, "Depth Map showed up in Resolve 20, while CineFocus is new."
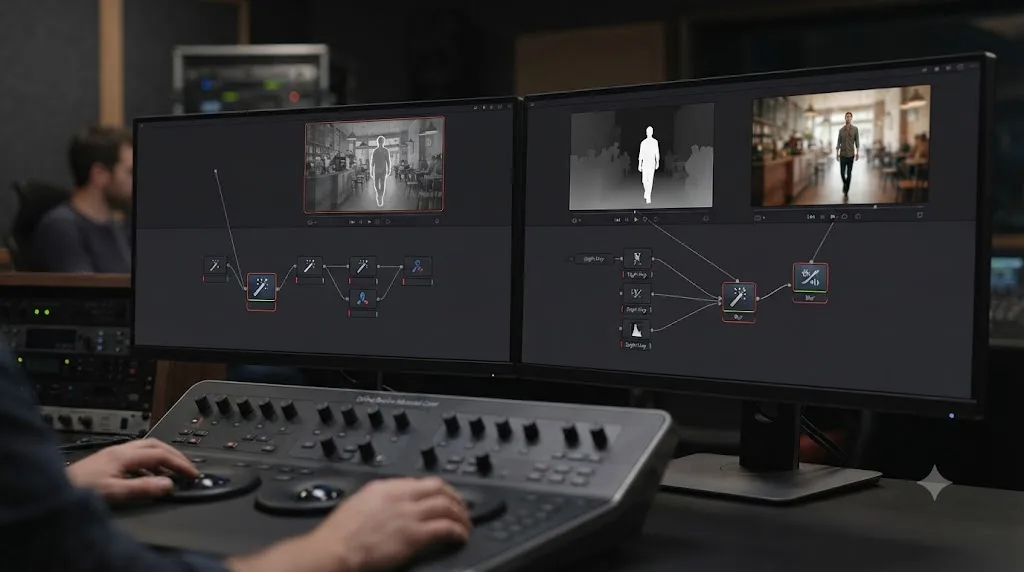
Depth Map is the general-purpose tool: it generates the same kind of depth estimate and lets you isolate foreground from background to adjust brightness, contrast, or blur by depth layer, useful for darkening a distracting background or lifting a subject without touching everything behind them. CineFocus takes that same depth data and wraps it in camera-specific language: aperture, focal range, bokeh, a focus point you click. It's Depth Map's raw material, repackaged as a lens simulator instead of a general grading tool.
| AI Depth Map | CineFocus | |
|---|---|---|
| Introduced in | DaVinci Resolve 20 | DaVinci Resolve 21 |
| Framed as | A depth-based isolation tool for grading | A depth-of-field and rack-focus simulator |
| Typical use | Darkening a background, lifting a subject | Adding shallow focus, animating a focus pull |
| Controls | Depth layer isolation, blur, brightness | Focus point, aperture, focal range, keyframes |
Choose Depth Map when you want to grade a background differently from a subject. Choose CineFocus when you want the background to look genuinely out of focus. If your goal is a cinematic rack-focus move rather than a corrective grade, CineFocus is the tool built for that specific job.
The two tools aren't only alternatives, though. Remember the performance workaround from a few sections back, feeding a cached depth node into CineFocus's alpha input instead of letting CineFocus generate its own map. That's a Depth Map node doing the heavy lifting, feeding a CineFocus node doing the aperture simulation, both in the same node tree. Treat AI Depth Map as the raw depth data source and CineFocus as one of several tools that can consume it, rather than two features competing for the same job.
How does CineFocus compare to your phone's Cinematic Mode?
If you shoot on an iPhone, you already have a built-in tool that does something similar: Cinematic Mode, which estimates depth in real time while you're filming and applies a live simulated blur you can adjust afterward in the Photos app. It's worth knowing exactly where that overlaps with CineFocus and where it doesn't, because they solve the same underlying problem from opposite ends of the pipeline.
Per a direct comparison of the two tools, Cinematic Mode's depth map "isn't perfect, so the edges can look weird," and it's confined to Apple's own camera app with a limited set of adjustable controls after the fact. It also doesn't support Apple Log, which matters if you're already shooting log footage intending to grade it properly in Resolve. CineFocus, by contrast, "works with any footage type" and gives you full post-production control, including on Apple Log and ProRes RAW sources that Cinematic Mode can't touch at all.
The same piece lands on a practical split: use Cinematic Mode for something you're posting straight to social media with no further editing, and shoot normally, then apply CineFocus in Resolve, for anything headed into a real edit. That's a reasonable line to draw. Cinematic Mode is convenient because the depth capture happens live, at the moment of recording, using the phone's own sensors rather than an estimate reconstructed after the fact from a single 2D frame. CineFocus has to guess at depth from pixels alone, with no depth sensor data behind it, which is exactly why calibrating Far Limit and Near Limit correctly, as covered earlier in this post, matters so much for a clean result.
Cinematic Mode captures depth while you shoot. CineFocus estimates depth after the fact, from a picture that never recorded any distance information at all. That's the core technical difference, and it's why CineFocus asks more of you in exchange for working on footage a phone's live depth capture never touched.
Which kinds of footage work best and worst with CineFocus?
Not every shot gives CineFocus an equally fair chance. Depth estimation from a single 2D frame is a hard computer vision problem, and how well it holds up depends heavily on what's actually in the shot.
| Footage type | How CineFocus tends to do | Why |
|---|---|---|
| Static or near-static interview, single subject | Strong | Clean, high-contrast edge between subject and background, little motion to track frame to frame |
| Archival footage with a locked-off shot | Strong | CineD's own coverage names this as a target use case since reshooting isn't an option |
| Product close-up on a simple background | Strong | Clear near/far separation, limited depth layers to estimate |
| Two-person interview at similar depths | Moderate | Workable, but the depth map has to separate two subjects that may be close in estimated distance |
| Handheld run-and-gun with a busy background | Weak | Motion blur and a background with objects at many different depths confuse the depth estimate |
| Wide establishing or landscape shots | Weak | No single clear subject to anchor the focal point, and depth varies continuously across the frame |
| Footage with fine, wispy hair or reflective surfaces | Weak | These are the exact edge cases CineD says still challenge the depth map even after the beta 4 refinements |
| Fast-moving subjects crossing depth planes | Weak | The depth map has to re-estimate distance every frame, and fast motion makes that estimate less stable |
A locked-off interview against a simple background is the best-case scenario CineFocus was built for. A handheld shot with a cluttered background and a moving subject is closer to a worst case. If your footage sits in the "weak" rows of that table, expect to spend real time on Far Limit and Near Limit calibration, and don't be surprised if the result needs a pass of manual masking on top to hide edge artifacts CineFocus can't resolve on its own.
What changed between the CineFocus beta and the final release?
CineFocus went through a real beta cycle before Resolve 21 shipped, and it visibly improved during that cycle rather than arriving finished. Blackmagic announced the tool ahead of NAB 2026 in April, and by public beta 4, the edge-handling problems that plague every synthetic depth-of-field tool had gotten a dedicated pass: less shimmer at the subject's edge, less stair-stepping on fine detail like hair, fewer halos where foreground meets background.
That's worth knowing if you tried CineFocus early in the beta and came away unimpressed. The version that shipped in the June 3, 2026 final release, per PetaPixel's release coverage, is not the same tool you may have tested months earlier.
Blackmagic didn't stop touching CineFocus once the final build shipped, either. The 21.0.1 point release that followed launch specifically "improved reliability when using AI CineFocus, and squashed a few more bugs specific to the paid version of the software," alongside fixes elsewhere for DNG and Apple ProRAW decoding and H.265 HDR rendering color. That's a meaningful data point: if CineFocus behaved unpredictably for you on day one of the 21.0 release, an update landed within weeks specifically targeting that stability, separate from the beta 4 image-quality work. The 21.0.2 update that followed focused on keyframe pasting, retime curves, and IntelliSearch performance rather than CineFocus specifically, so the current build inherits the 21.0.1 reliability fix without a further CineFocus-specific change on top of it.
CineFocus is now three releases removed from its NAB 2026 preview: the beta 4 image-quality pass, the 21.0.1 reliability fix, and the 21.0.2 maintenance update. If your last experience with it was the April preview or an early beta build, treat that experience as outdated.
Where does CineFocus still fall short?
Here's the honest part. Synthetic depth of field is genuinely hard, and no AI depth estimate is a perfect substitute for the actual distance information a real depth sensor or stereo rig would capture. Even after the beta 4 refinements, edge accuracy depends heavily on your source footage: a subject with clean, high-contrast edges against a simple background gives CineFocus an easy job. Fine, wispy hair, motion blur, reflective surfaces, and busy backgrounds with objects at many different depths all make the depth estimate less reliable, and less reliable depth estimates show up as exactly the shimmer and stair-stepping Blackmagic says it reduced, not eliminated.
After seven years of cutting professional commercial work, we treat every "AI fixes it in post" claim the same way: test it against a shot that actually has the problem, not a clean demo reel. CineFocus is a genuinely useful tool for the case it's built for, an interview or a static-ish shot where the background is simple and the subject holds still relative to the camera. It is not a replacement for shooting with an actual shallow depth of field when you have the choice to do so on set. Reception outside Blackmagic's own materials has been mixed for exactly this reason: one widely shared YouTube review carries the blunt title "The NEW CineFocus Effect in DaVinci Resolve 21 is [Not so] Amazing!", a fair summary of how CineFocus performs well on easy footage and struggles on hard footage, the same split every synthetic depth tool runs into.
CineFocus works best on the footage that needs it least: a simple, static, well-lit shot with one clear subject. The archival interview and the busy handheld run-and-gun clip are not the same test, and CineFocus passes one far more reliably than the other.
Troubleshooting: common CineFocus problems and what fixes them
Most CineFocus complaints trace back to one of a handful of root causes. Here's a decision table for the problems that come up most.
| Symptom | Likely cause | What to try |
|---|---|---|
| Shimmering or crawling edge around the subject | Depth map isn't calibrated tightly, or the source has fine detail like hair the map can't resolve cleanly | Re-tighten Far Limit and Near Limit, switch to Better mode before judging the edge, and accept that very fine hair may need a small manual mask pass on top |
| Halo or bright fringe where subject meets background | Depth transition between subject and background isn't sharp in the depth map | Increase Depth of Field slightly so the transition zone is wider and less abrupt, rather than trying to force a hard-edged mask look out of a soft depth estimate |
| Focus point seems to drift onto the wrong thing mid-clip | The subject moved further from or closer to camera than the depth map's calibrated range | Re-check Far Limit and Near Limit against the subject's new position, or add a Focus Distance keyframe to track the movement instead of relying on one static setting |
| Playback stutters or drops frames with CineFocus applied | Depth estimation is being recalculated on every scrub instead of cached | Build a separate cached depth map node feeding CineFocus's alpha input, and preview in Faster mode until you're ready to commit |
| Effect looks fine on the Color page but different once exported | Better mode wasn't used for the final render, or the effect wasn't cached before other nodes were added downstream | Switch to Better mode before final export, and render-cache the CineFocus node once you're satisfied with the look |
| Two clips from the same scene look inconsistent after the same settings | Different cameras or angles produce different depth maps even in one scene | Recalibrate Far Limit and Near Limit per clip instead of copying one setting across a whole multicam group |
| Effect isn't in the Effects Library at all | Wrong Resolve version or wrong license tier | Confirm you're on Resolve 21 or later and on Studio, not the free version, covered in full in the next section |
None of these are exotic problems. They're the same handful of root causes wearing different symptoms: a depth map that wasn't calibrated for the specific shot, a mode setting that wasn't matched to the task, or a node tree that's forcing Resolve to redo expensive work it didn't need to redo.
Why can't I find CineFocus in my copy of DaVinci Resolve?
Two reasons cover almost every case people run into. First, you're on the free version, and CineFocus simply isn't there to find, no matter how carefully you search the Effects Library. Second, you're on Resolve 20 or an older release, since CineFocus didn't exist before version 21.
This is one of the recurring questions in our 100,000+ member editing community: someone searches "CineFocus" in the Effects Library, finds nothing, and assumes the search is broken rather than the license or the version. Check Resolve's version number in the About box first, then check whether you're running Studio. If either answer is no, that's the whole explanation, not a bug.
What are the system requirements for running CineFocus?
Blackmagic hasn't published a CineFocus-specific GPU or RAM minimum. What is published applies to Resolve 21 as a whole, and it's worth pinning down since it gates whether you can even open the software CineFocus lives in. Per CG Channel's release report, Resolve 21 requires Windows 10 or later, macOS 15 (Sequoia) or later, or Rocky Linux 8.6.
| OS | Minimum for Resolve 21 |
|---|---|
| Windows | 10 or later |
| macOS | 15.0 (Sequoia) or later |
| Linux | Rocky Linux 8.6 |
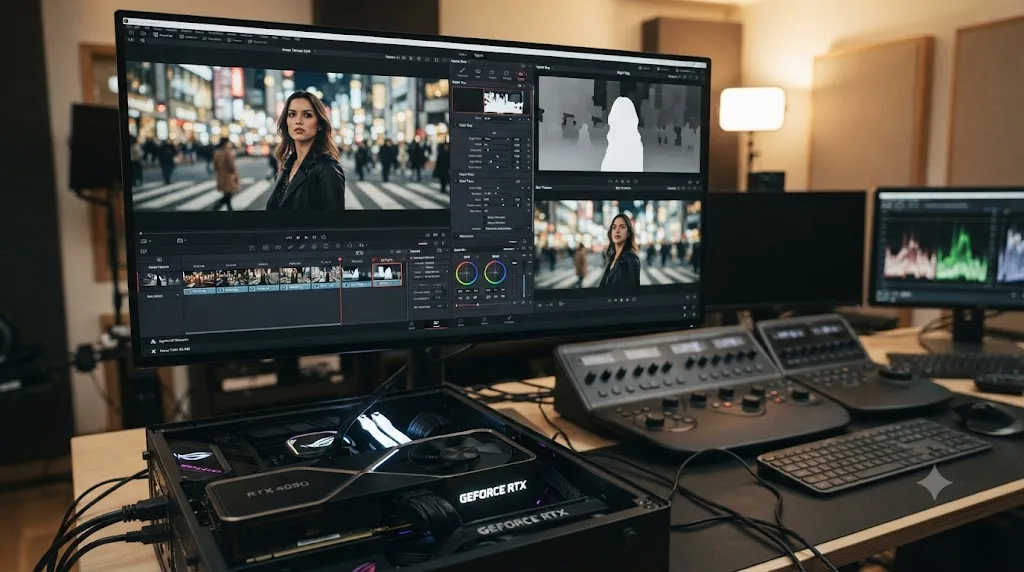
Since CineFocus generates a depth map and renders a real-time blur preview, it draws on the same GPU-bound pipeline every other Neural Engine tool in Resolve uses. More VRAM and a newer card help every AI tool in this release, CineFocus included, and there's no separate, lighter-weight path for it. If your machine already struggles with ordinary playback, CineFocus will make that struggle more visible, not less.
Beyond Blackmagic's official minimums, independent GPU guides for Resolve Studio's AI features give a rough sense of what "comfortable" actually looks like in practice, as opposed to "technically launches." Treat these as third-party guidance, not a Blackmagic-published spec, but they're a useful reality check before you buy hardware around this specific feature. Per CoreMicro's GPU guide for Resolve Studio, the practical target for regular use of GPU-heavy AI tools like Magic Mask, temporal noise reduction, and Fusion compositing is "at least 16 GB of VRAM," climbing to "24-32 GB" for serious 6K or 8K work. The same guide notes that in its testing, "NVIDIA RTX cards consistently outperform equivalent AMD Radeon GPUs in Resolve, particularly for AI-driven effects like Magic Mask, noise reduction, and Super Scale," attributing the gap to how deeply CUDA is integrated into Resolve's acceleration pipeline compared with AMD's equivalent path.
| Use case | Third-party VRAM guidance |
|---|---|
| Occasional CineFocus use on a handful of clips | Workable on most modern GPUs Resolve 21 already supports; expect Faster mode to carry more of the workload |
| Regular use across an interview-heavy edit, alongside Magic Mask or temporal noise reduction | Around 16 GB VRAM as a comfortable target |
| Heavy 6K/8K work or CineFocus stacked with Fusion comps on the same timeline | 24-32 GB VRAM territory, per the same third-party guidance |
CineFocus doesn't have a documented Apple Silicon-specific behavior in the sources checked for this post, so don't assume a Mac with unified memory automatically sidesteps the VRAM guidance above; Resolve's own minimum OS requirement of macOS 15 or later still applies regardless of chip.
Should you buy Studio just to get CineFocus?
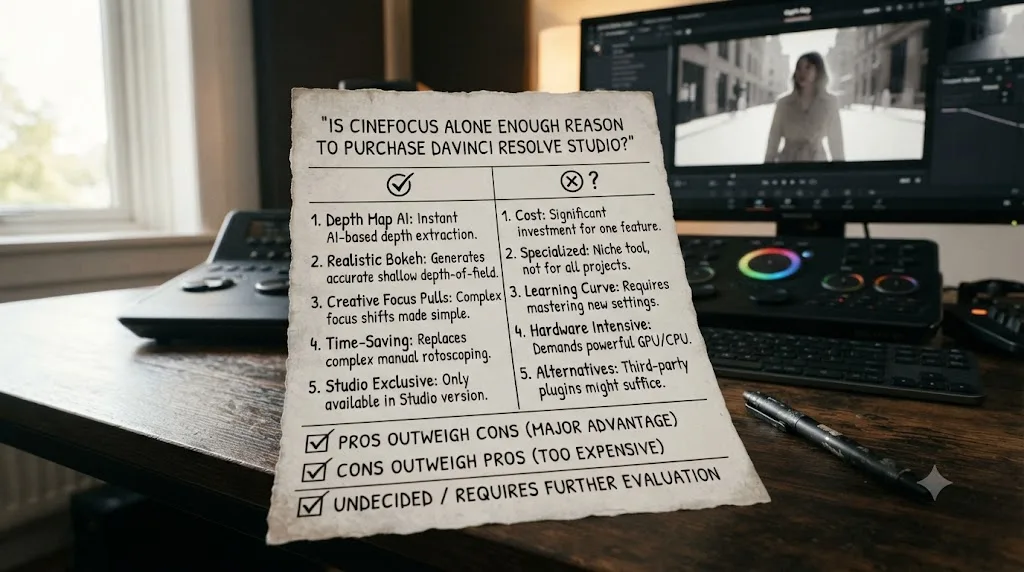
Almost never, on its own. CineFocus is one narrow tool inside a $295 license that also includes Magic Mask, noise reduction, Super Scale, 10-bit support, and dozens of other Resolve FX. If a rack-focus effect on a handful of clips is genuinely blocking a delivery, and there's no way to reshoot or borrow a shallow-depth lens, CineFocus earns its keep. But buying an entire professional license for one effect you might use a few times a year is the same math as buying a whole toolbox for one screwdriver.
The better question is whether Studio's other features already justify the purchase for your workflow, with CineFocus as a bonus rather than the reason. Our complete guide to Resolve 21's new features covers CineFocus alongside the other eight new AI tools if you're weighing the whole release, not just this one effect.
If your blocker isn't the license but figuring out which menu actually holds the CineFocus controls once you have Studio installed, that's a smaller problem than $295. TryUncle is the on-screen assistant for DaVinci Resolve on macOS, ask in plain words and Uncle points at the exact control on your screen, instead of you hunting through the Effects Library alone.
The short version
CineFocus is a Studio-only ResolveFX that builds an AI depth map, then lets you click a focal point and dial in aperture, focus distance, and bokeh shape to simulate a shallow-depth-of-field shot after the footage was already recorded. It works on both video clips and stills in the new Photo page. It shipped in DaVinci Resolve 21 on June 3, 2026, went through real refinement during the public beta to cut down on edge artifacts, and picked up a dedicated reliability fix in the 21.0.1 point release afterward.
It works best on simple, static, well-lit shots with one clear subject, whether that's a locked-off interview or an archival clip you can't reshoot, and it works worst on handheld, cluttered, fast-moving footage where the depth map has too much to guess at. Feed it a cached depth node instead of letting it recompute one on every scrub, calibrate Far Limit and Near Limit before you touch anything else, and use Faster mode to work and Better mode to commit. It's a real tool for a real problem, iPhone and small-sensor footage that reads as flat because nothing in it is out of focus, but it's not a magic fix for missed focus, and it's not, by itself, a strong enough reason to buy the $295 license unless you already need what else Studio brings.
Frequently asked questions
- What is CineFocus in DaVinci Resolve 21?
- CineFocus is a ResolveFX effect on the Color page that uses an AI-generated depth map to simulate a camera's depth of field after the shot is already recorded. You click a point in the frame to set focus, then adjust aperture, focal range, and bokeh to blur everything else, with keyframe support for animated rack-focus moves.
- Is CineFocus free in DaVinci Resolve 21, or does it need Studio?
- It needs DaVinci Resolve Studio. CineFocus runs on the DaVinci Neural Engine, and Blackmagic Design restricts every Neural Engine tool, CineFocus included, to the $295 Studio license. The free version of Resolve 21 does not include CineFocus in any form, not even a limited preview.
- How do you apply CineFocus to a clip in DaVinci Resolve?
- Select your clip on the Color page, open the Effects Library, search for CineFocus, and drag it onto a node. Turn on Adjust Map Levels and set Far Limit and Near Limit so the depth map reads correctly, then set Focus Distance, Depth of Field, and Aperture to shape the blur.
- Can CineFocus actually fix footage that's out of focus?
- Only up to a point. CineFocus adds a synthetic blur around a focal point you choose; it cannot recover detail that a lens genuinely missed. It's built for footage that's already sharp everywhere, like an iPhone or small-sensor clip, where the problem is too much focus rather than too little.
- What's the difference between CineFocus and Magic Mask?
- Magic Mask isolates a specific person or object with a brush stroke so you can grade or blur just that subject. CineFocus works on the whole frame's depth instead, using an AI depth map to decide what's near and what's far, then blurring by distance rather than by a masked shape. They solve different problems and can be combined on the same clip.
- What's the difference between CineFocus and AI Depth Map?
- AI Depth Map arrived in DaVinci Resolve 20 as a general tool for isolating foreground and background so you can grade or adjust brightness and blur by depth layer. CineFocus, new in Resolve 21, is a purpose-built ResolveFX on top of that same depth technology, dedicated specifically to simulating a lens's aperture, focal range, and bokeh for a rack-focus effect.
- Does CineFocus work on the Fusion page, or only Color?
- CineFocus ships as a ResolveFX plugin on the Color page. Blackmagic's own release material describes it as a Color page tool applied through the Effects Library and dragged onto a node, the same way you'd apply any other ResolveFX.
- Does CineFocus work on photos in DaVinci Resolve 21's Photo page?
- Yes. CineFocus applies to still images through the Photo page the same way it applies to clips: it builds an AI depth map from the 2D photo, then lets you click a focal point and dial in aperture and focal range. Guides covering the Photo page workflow also warn that CineFocus leans on the GPU, so a still that stutters under it points to a graphics card limit, not a bug.
Sources
- DaVinci Resolve - What's New (Blackmagic Design)
- Larry Jordan: Two Killer New Features in DaVinci Resolve 21 Studio, AI Depth Map and AI CineFocus
- CineD: DaVinci Resolve 21 Public Beta 4 Released, Canon RAW Highlight Fix, Fusion Motion Path Keyframing, and Refined AI CineFocus
- CineD: DaVinci Resolve 21 Hands-On at NAB 2026, Photo Page, IntelliSearch, and CineFocus in Action
- ProVideo Coalition (Jeff Foster): Blackmagic Design NAB Show 2026 Updates
- CG Channel: Blackmagic Design Releases DaVinci Resolve 21.0
- PetaPixel: DaVinci Resolve 21 Officially Released With New Photo Editing, AI Tools, and Much More
- DaVinci Resolve Studio product page (Neural Engine, Studio-exclusive AI features)
- DaVinci Resolve product page (free version specs)
- Newsshooter: Blackmagic Design Announces DaVinci Resolve 21, Major Update Adds New Photo Page (Grant Petty quote)
- RedShark News: DaVinci Resolve 21.0.1, What's New
- Cutsio: How to Adjust Focus After Recording With AI CineFocus in DaVinci Resolve 21
- Creative Video Tips: New AI Tools in DaVinci Resolve 21
- iPhoneographers TV: Use Cinematic Mode or DaVinci Resolve CineFocus?
- Creative AI News: DaVinci Resolve 21, Photos + Video Workflow Guide
- CoreMicro: Best GPUs for DaVinci Resolve Studio (2025-2026 Guide)
Keep reading
Guides · Jul 7, 2026 · 7 min
How to Use Magic Mask in DaVinci Resolve (Complete Guide)
How Magic Mask in DaVinci Resolve isolates people and objects from one brush stroke, what changed in Resolve 21, and where the AI still needs help.
News · Jul 8, 2026 · 21 min
DaVinci Resolve 21 New Features: The Complete List
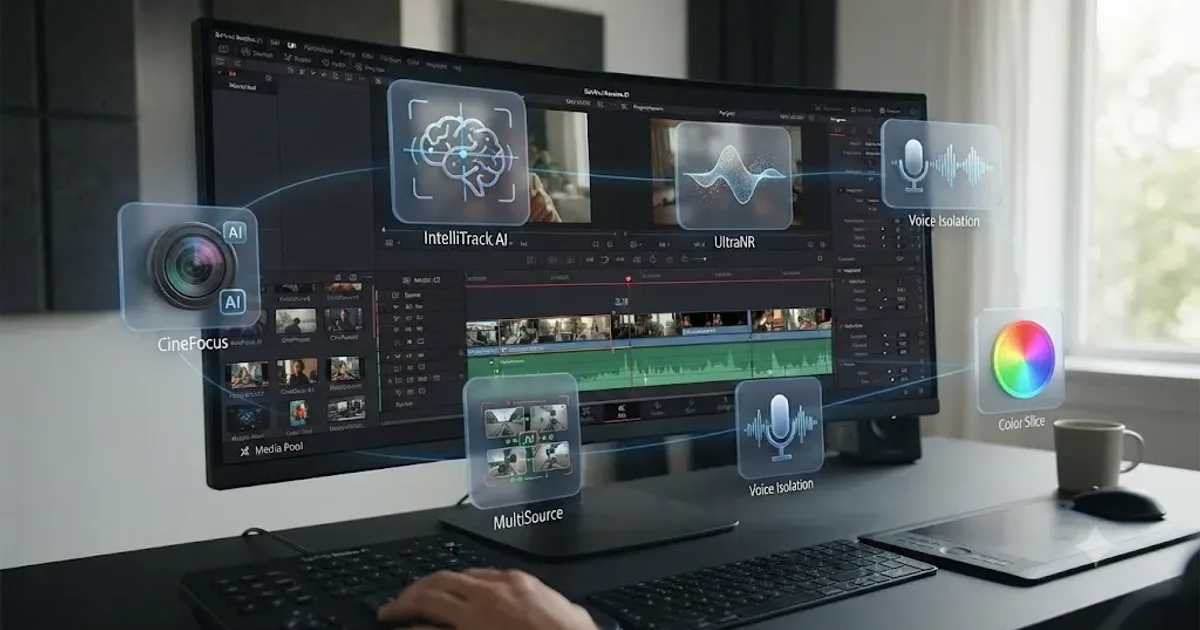
Every new feature in DaVinci Resolve 21, page by page: Photo page, nine AI tools, Krokodove, MultiMaster, and Fairlight updates, all sourced.
Comparisons · Jul 7, 2026 · 28 min
DaVinci Resolve Studio Price: Free vs. Studio Cost, Explained
DaVinci Resolve Studio costs $295, paid once, not monthly. Here's exactly what that buys, how it stacks up against Premiere Pro and Final Cut Pro, and who needs it.