Articles / Guidesupdated for DaVinci Resolve 21.0.2 (July 2026)
DaVinci Resolve Dynamic Trim Mode Explained: The Full JKL Guide
Quick answer
Dynamic Trim Mode is DaVinci Resolve's live JKL trimming mode, turned on with the W key. Once it's on, J, K, and L stop just shuttling playback and instead ripple, roll, slip, or slide whatever edit point or clip is selected, in real time, while you watch and listen. Press W again to turn it off.
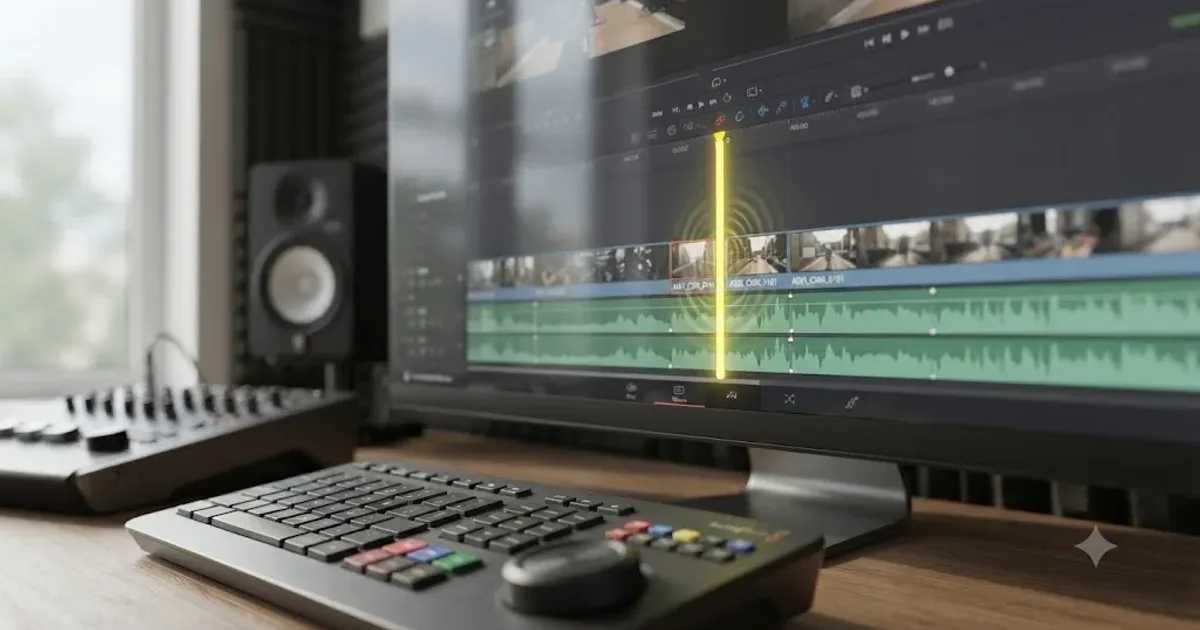
I've cut long-form documentaries with a mouse and a scrub bar, and I've cut them with J, K, L, and Dynamic Trim Mode running the whole time. The second way is faster, and it's not close. After seven years of professional, commercial video editing, and running a 100,000+ member video-editing community where this exact question comes up on a loop, Dynamic Trim Mode is the one Edit page habit I'd tell a new editor to build before almost anything else.
As of August 2026, DaVinci Resolve 21 is the current release, and Dynamic Trim Mode works the same way it has for years, layered underneath the newer features Resolve 21 actually added. This guide covers what it does, how it decides between a ripple, a roll, a slip, and a slide, where it stops working, and where people confuse it with something else entirely, including a brand-new Resolve 21 feature that also has the word "trim" in its name.
What is Dynamic Trim Mode in DaVinci Resolve?
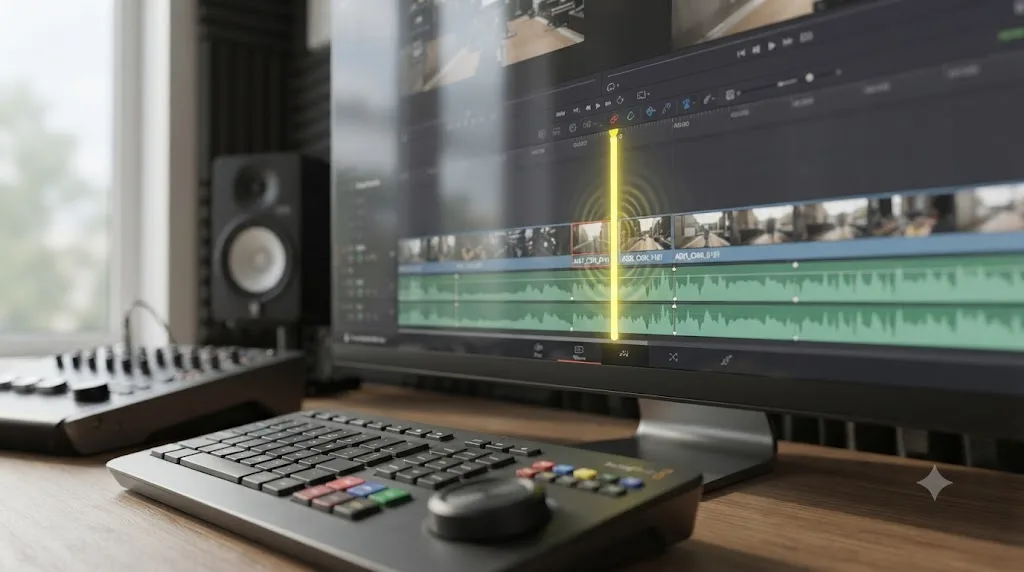
Dynamic Trim Mode is the Edit page mode that hands the J, K, and L transport keys over to trimming instead of playback. Turn it on, select an edit point or a clip, and those same three keys you use to shuttle through footage now nudge, roll, slip, or slide that selection while you watch the frame and hear the audio change in real time.
It's not a separate tool hiding in a menu somewhere. It's a toggle on top of the keys you already use constantly. That's the whole point: instead of learning a new set of commands for trimming, you keep using J, K, and L, and Resolve just changes what they're pointed at.
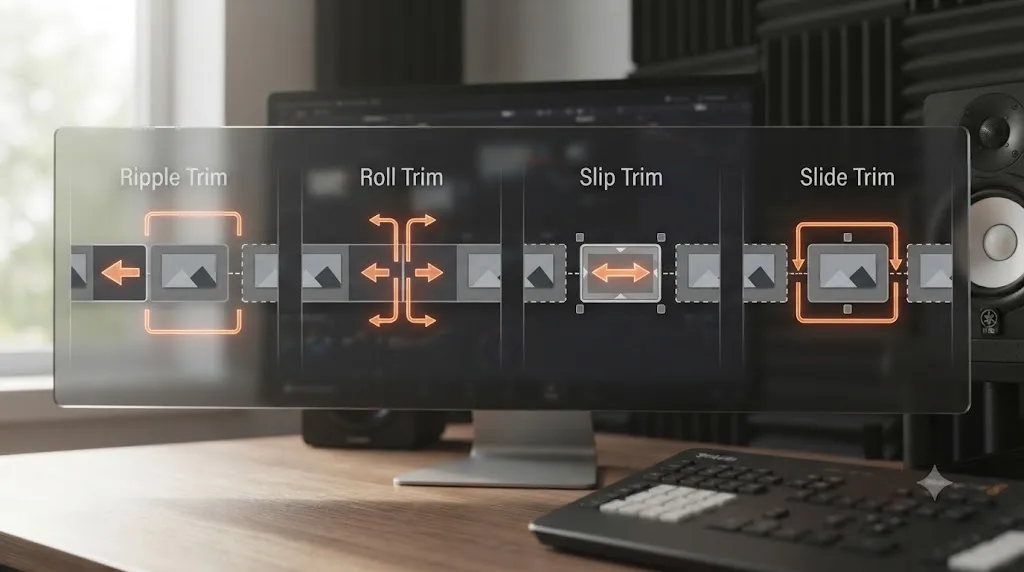
Dynamic Trim Mode doesn't add new trim types. It adds a live, playback-driven way to perform the trim types Resolve already has. Ripple, roll, slip, and slide all exist without Dynamic Trim Mode turned on, through the mouse-driven Trim Edit Mode covered later in this guide. What Dynamic Trim Mode changes is how you make those adjustments: with the timeline rolling, listening to dialogue or music land, instead of dragging an edge and guessing.
The DaVinci Resolve reference manual describes the underlying feature as "the ability to dynamically resize, ripple, roll, slip, slide, or move selected edit points and clips using the JKL transport control keyboard shortcuts," a description that hasn't meaningfully changed across recent Resolve versions, per the DaVinci Resolve reference manual's chapter on JKL trimming. That single sentence is really the entire feature. Everything else in this guide is detail on top of it.
How do you turn on Dynamic Trim Mode?
Press W on the Edit page. That's the entire activation step, and it's the same key whether you're on Windows or Mac, since Resolve doesn't remap it between platforms.
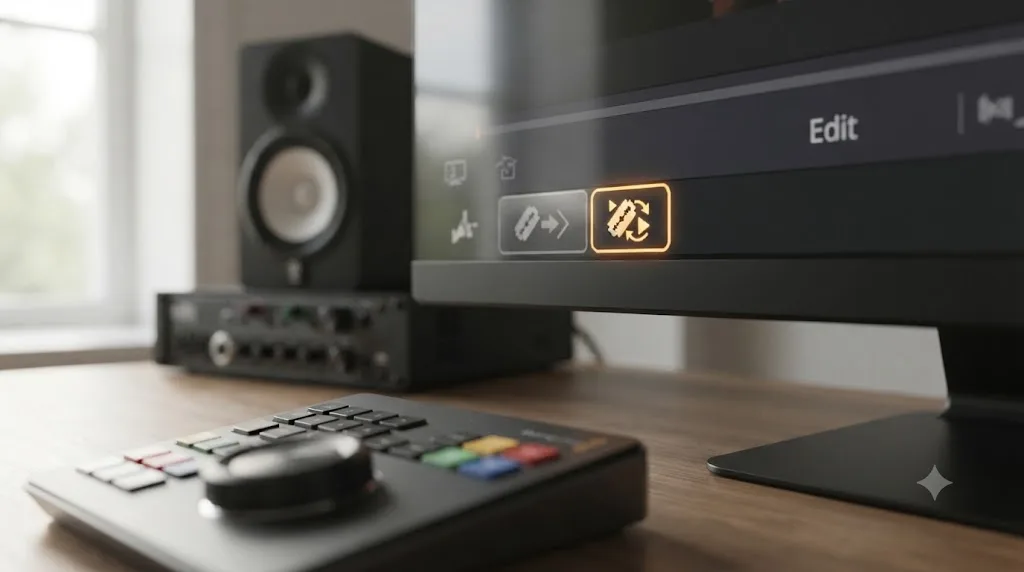
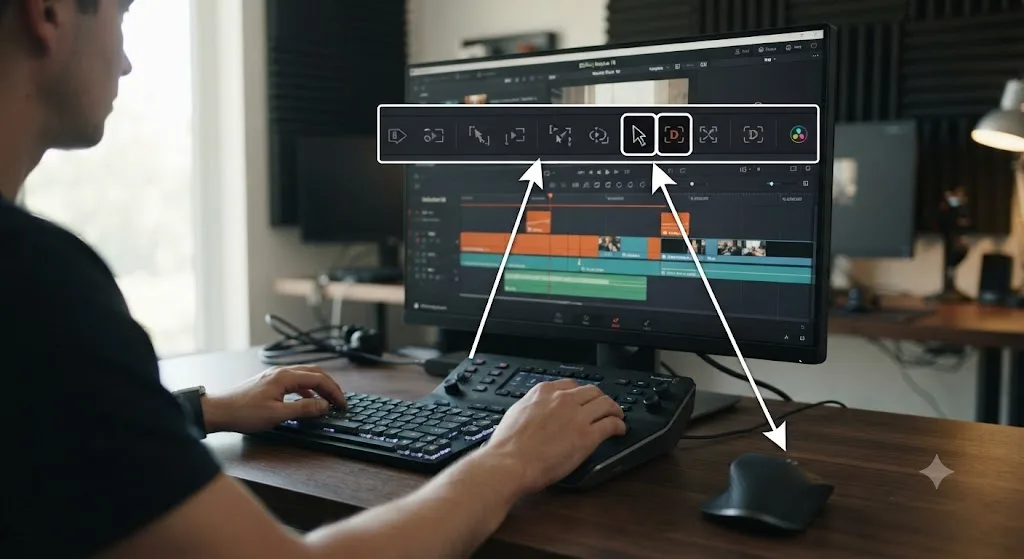
You can also click the Dynamic Trim icon in the toolbar directly above the timeline, next to the Trim Edit Mode icon, if you'd rather use the mouse than memorize a letter. Either method does the same thing: the icon highlights, and the playhead itself turns yellow, a visual confirmation that's easy to miss the first few times you use the mode and genuinely useful once you know to look for it.
The color change matters more than it sounds like it should. On a long session, it's easy to lose track of which mode is active, especially if you've been switching between Selection Mode and Trim Edit Mode all afternoon. A yellow playhead is a fast, glanceable answer to "wait, am I in Dynamic Trim Mode right now," without opening a menu or checking a toolbar icon that might be scrolled off screen.
Before you press W, though, selection is what actually matters. Dynamic Trim Mode with nothing selected does almost nothing, a detail covered in full in the next two sections, and it's the single most common reason people think the mode "isn't working" the first time they try it.
What do J, K, and L actually do once Dynamic Trim Mode is on?
They behave like the tape-deck convention Resolve inherited, layered on top of whatever's currently selected. The table below is the fastest reference for what each combination does.
| Key or combination | What it does in Dynamic Trim Mode |
|---|---|
| L (once) | Trims forward with real-time playback and audio |
| L (repeatedly) | Trims forward faster with each additional press |
| J (once) | Trims backward with real-time playback and audio |
| J (repeatedly) | Trims backward faster with each additional press |
| K | Stops the trim cold on the current frame |
| K held, tapping J or L | Trims one frame at a time, precise and frame-accurate |
| J+K or K+L held together | Trims in slow motion, with slowed-down audio playback |
| Left / Right arrow | Jumps to the previous or next edit point while staying in the mode |
That combination, K held down while tapping J or L, is worth practicing on its own before anything else on this list. It's the move that gets you from "close enough" to "exactly the frame I meant," and it's the one editors reach for most once trimming stops being a conscious decision and starts being muscle memory.
The reference manual's own description of the slow-motion combination is specific about why it exists: holding J+K or K+L trims "in slow motion, with slow motion audio playback," which matters for anything where the audio, not just the picture, decides where a cut actually feels right, per the reference manual's page on Dynamic Trimming. A dialogue trim that looks fine paused often sounds wrong at speed, and slow-motion JKL trimming is built specifically to catch that.
Trimming by ear, not just by eye, is the entire reason Dynamic Trim Mode exists instead of a plain drag-and-drop trim tool. A static trim tool shows you frames. Dynamic Trim Mode plays the actual cut back to you while you adjust it, which is a fundamentally different way of deciding where an edit point belongs.
How does Dynamic Trim Mode decide whether to ripple, roll, slip, or slide?
It doesn't decide on its own. What you selected before pressing W decides for you, which is why understanding the four trim types matters more than memorizing any single keyboard shortcut.
| Trim type | What moves | What stays fixed |
|---|---|---|
| Ripple | Trims one side of an edit point and shifts every downstream clip to close the gap | The untrimmed clip's own length and content |
| Roll | Shortens one clip and lengthens its neighbor by the same number of frames at the shared edit point | The total duration of both clips combined, and everything else on the timeline |
| Slip | Changes which frames of the clip's source media appear, without moving the clip itself | The clip's position and duration on the timeline |
| Slide | Moves the clip earlier or later on the timeline, adjusting the neighbors around it | The clip's own in and out points and duration |
Lewis McGregor, writing for PremiumBeat, summed up the whole logic in one sentence: "In Resolve, trim is a dynamic process. When you're in the Trim Edit mode, you can complete different trim edits depending on where you place your cursor on the clip," in his PremiumBeat guide to Resolve's dynamic trim tool. That's written about the mouse-driven version, but the same principle carries straight into Dynamic Trim Mode: your selection, not a separate menu choice, is what determines whether J and L perform a ripple, a roll, a slip, or a slide.
Select a single edit point where two clips meet, and JKL performs a roll, shortening one side and lengthening the other by the same amount. Select just one clip's in or out point in isolation, and you get a ripple, shifting the timeline downstream. Select an entire clip's content region rather than an edge, and JKL slips the source material inside it. Select a clip and enable a slide-specific selection, and JKL moves the clip itself between its neighbors.
The mode you get out of Dynamic Trim Mode is entirely a function of what you selected going in, never something you toggle separately. This is the detail that trips up editors coming from other NLEs, where trim type is sometimes a distinct tool choice. In Resolve, selection is the tool choice.
Which trim type should you actually reach for?
Knowing the mechanics from the table above is one thing. Knowing which one solves the problem in front of you is another, and that's the question that actually matters mid-edit, not the terminology.
| If you're trying to... | Reach for | Because |
|---|---|---|
| Cut a pause, filler word, or dead moment out of a clip and close the resulting gap | Ripple | Everything downstream shifts left automatically, so no gap is left behind |
| Move a cut point a few frames earlier or later without changing the sequence's total length | Roll | One clip gets shorter while its neighbor gets exactly that much longer, so nothing else on the timeline moves |
| Keep a clip's position and length exactly where they are, but show a moment slightly earlier or later inside the source footage | Slip | Only the in and out points inside the source change; the clip's timeline position and duration stay fixed |
| Reposition an entire clip earlier or later against its neighbors, without changing that clip's own length | Slide | The clip moves as a block, and its neighbors absorb the difference |
| React to a giggle, breath, or lighting flicker you only notice while the cut is playing | Any of the above, through Dynamic Trim Mode specifically | JKL trimming shows and plays the change live, instead of asking you to guess from a static frame |
The fastest way to pick, in practice, is to ask what you don't want to move. If nothing downstream should shift, that rules out ripple. If the clip's own content shouldn't change, that rules out slip. Answer that one question honestly and usually only one trim type is left standing, which is most of what "getting fast" at Dynamic Trim Mode actually means: not faster fingers, better selection.
How do you create a J-cut or L-cut with Dynamic Trim Mode?
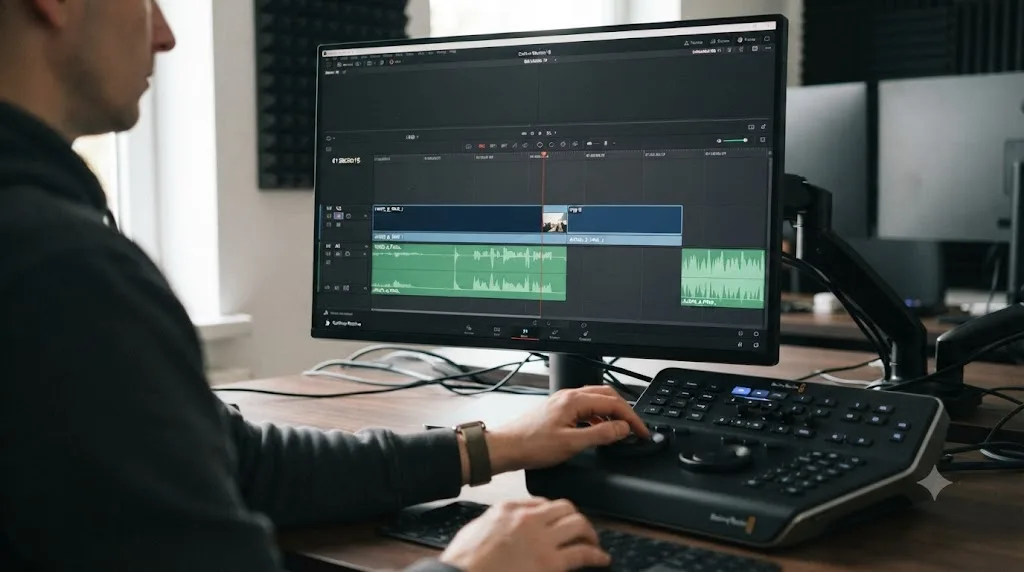
Dynamic Trim Mode's JKL keys handle one edit point at a time by default, forward or backward, on whatever's selected. A split edit, where the next clip's audio starts before its picture cuts in (a J-cut), or where the current clip's audio lingers after the picture has already cut away (an L-cut), needs two edit points moving in opposite directions at once. Resolve calls this asymmetric trimming, and it's a related selection technique layered on the same trim system rather than a fifth trim type.
To set one up, select the outgoing half of an edit point, the left side, then Command-click to select the incoming half of the same point on another track, or Option-click to grab the outgoing video edit of one clip and the incoming audio edit of the next clip separately, per the reference manual's page on asymmetric trimming. With both halves selected, dragging, nudging, or entering timecode moves each selected edit point in the opposite direction from the other, sliding the audio and video cut points apart to create the split.
A J-cut and an L-cut are the same asymmetric trim performed in opposite directions. Slide the audio's incoming point earlier than the video's, and you get a J-cut, the sound arrives before the picture. Slide the audio's outgoing point later than the video's, and you get an L-cut, the sound lingers after the picture has already moved on.
The reference manual documents this asymmetric selection working with drag, nudge, or typed timecode, in Selection mode or Trim Edit Mode. It doesn't specify whether Dynamic Trim Mode's JKL keys drive a two-point asymmetric selection the same way they drive a single edit point, so I'm not going to claim it does. If you need a split edit, build it with an asymmetric selection and a drag or Trim Edit Mode adjustment first, then switch to Dynamic Trim Mode to fine-tune either side of the finished split individually, one edit point at a time, listening to it while it plays.
There's a simpler route to a similar result that some editors prefer for exactly this reason. Instead of a two-point asymmetric trim, roll just the clip's audio or video edit point after it's already cut, using ordinary Trim Edit Mode or Dynamic Trim Mode on that one edit alone. A roll trim on only the video side of an already-placed cut, done without touching the audio at all, produces close to the same effect: the picture changes on a different frame than the sound does, and the cut feels invisible instead of mechanical.
What do you need selected before Dynamic Trim Mode does anything?
An actual selection, and this is the single biggest point of confusion for anyone trying the mode for the first time.
Nothing selected means JKL just plays the timeline, exactly like Dynamic Trim Mode wasn't on at all. The reference manual is explicit about this behavior, stating plainly that "if nothing is selected while you're in Dynamic Trim mode, JKL simply plays through the Timeline, as usual," per the reference manual's page on Dynamic Trimming. That's not a bug report waiting to happen. It's deliberate, so you can scrub around a timeline while the mode stays active, without accidentally trimming something you never meant to touch.
Making a selection is usually one click: click directly on an edit point with the Selection tool active, and Resolve highlights it. Click a clip's body to select the whole clip instead of a single edge. You don't need Trim Edit Mode turned on to make this selection, though combining the two, described in the next section, is how most experienced editors actually work.
If you press W, then J or L, and absolutely nothing happens except normal playback, the selection is almost always the missing piece. Check the timeline for a highlighted edit point or clip before assuming the keyboard shortcut itself is broken or remapped.
What's the difference between Trim Edit Mode and Dynamic Trim Mode?
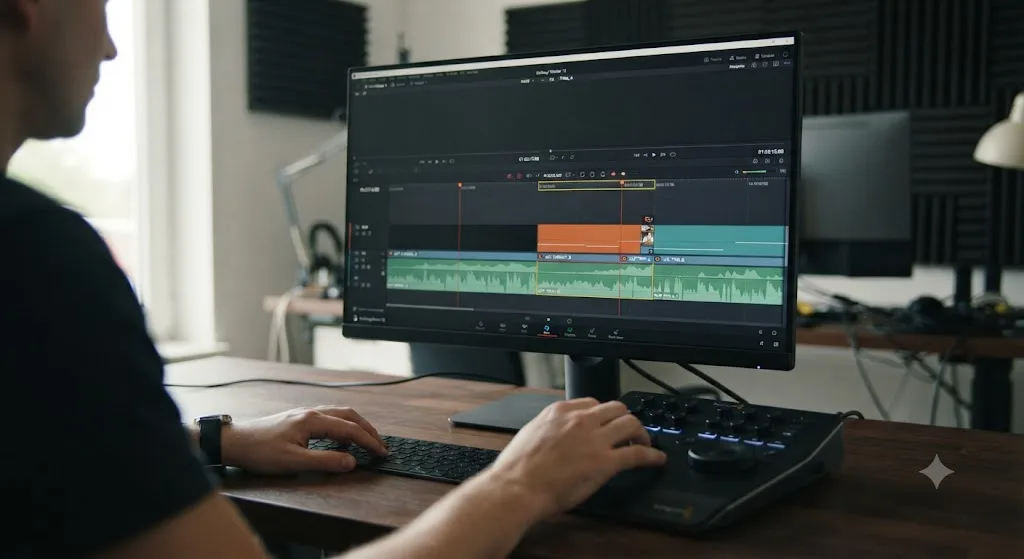
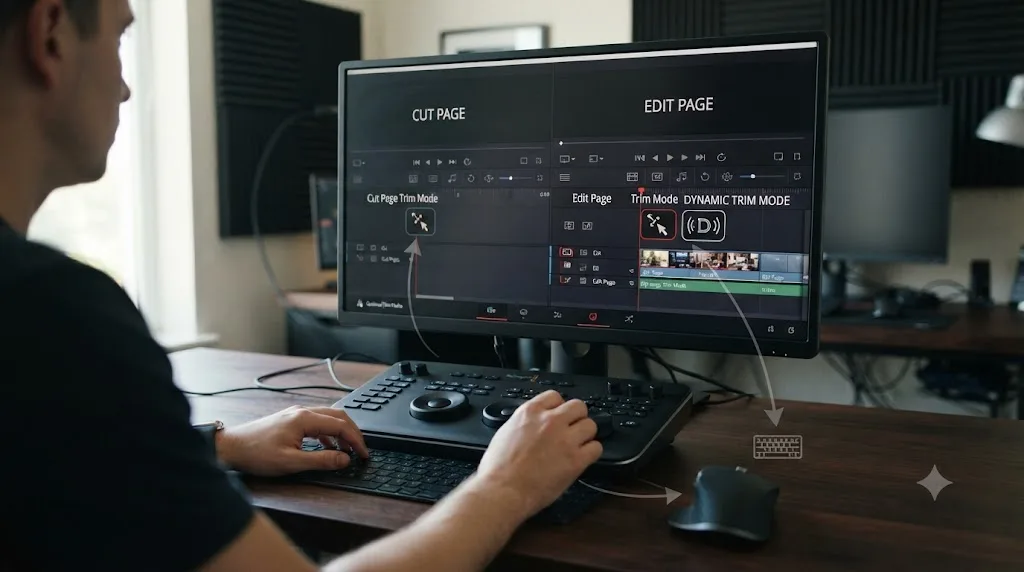
Trim Edit Mode changes what your mouse does. Dynamic Trim Mode changes what your keyboard does. They solve adjacent problems, and using them together is where Resolve's trim system actually gets fast.
Press T to enter Trim Edit Mode. Our keyboard shortcuts reference covers it as one of the core Edit and Cut page commands: click-and-drag near an edit point rolls, slips, or slides a cut depending on exactly where you grab the clip, all through the same gesture. That's a mouse-driven, click-and-drag way to perform the same four trim types described earlier.
Press W to enter Dynamic Trim Mode instead, and your keyboard, specifically J, K, and L, takes over trimming whatever's currently selected, with real-time playback attached. You don't need to be in Trim Edit Mode at all to use Dynamic Trim Mode. A plain Selection tool click on an edit point is enough of a selection for W to act on.
| Trim Edit Mode (T) | Dynamic Trim Mode (W) | |
|---|---|---|
| What it changes | Mouse click-and-drag behavior | J, K, L keyboard behavior |
| How you trigger a trim | Click and drag near an edit point | Select something, then press J, K, or L |
| Playback while trimming | Not automatic | Built in, live, at variable speed |
| Best for | Fast mouse-driven adjustments by feel | Frame-accurate trims judged by ear and eye together |
Trim Edit Mode and Dynamic Trim Mode aren't competing tools. They're two separate systems that happen to share the word "trim" and work on the exact same underlying edit points. A common real workflow: use Trim Edit Mode's click-and-drag to get roughly close to the right frame, then switch straight to Dynamic Trim Mode's JKL keys, still on the same selection, to nail the exact frame while listening to the cut play.
If you're coming from another NLE, the JKL half of this will already feel familiar. Most professional editors, whatever their background, have some version of shuttle keys wired into their hands. What's specific to Resolve is layering ripple, roll, slip, and slide on top of those same three keys instead of parking trim behavior behind a separate mouse-only tool.
What's the difference between Quick Trim and full Dynamic Trim Mode?
Quick Trim skips the mode entirely and gives you a faster, less flexible shortcut for the same basic idea. It's worth knowing both exist, because reaching for the wrong one wastes motion.
Command-J (Ctrl+J on Windows) and Command-L (Ctrl+L on Windows) trim a selected edit point immediately, at real-time speed or faster, with playback, without ever pressing W. It's a one-key gesture for a quick nudge when you already know roughly which direction you want to trim and don't need the full range of speeds Dynamic Trim Mode offers.
The tradeoff is real, and it's exactly what you'd expect from a shortcut built for speed over precision: Quick Trim doesn't give you frame-by-frame control or slow-motion trimming with slowed audio. If you need the K-held, tap-J-or-L precision move, or the J+K slow-motion combination for a dialogue-sensitive cut, Quick Trim can't do either. You need full Dynamic Trim Mode, entered with W, for that level of control.
Think of Quick Trim as the fast lane for an obvious adjustment, and Dynamic Trim Mode as the full toolset for anything where the exact frame, or the exact sound at that frame, genuinely matters. Editors who only ever learn Quick Trim tend to hit a wall the first time a cut needs to land within a frame or two of a specific word or beat, because that's precisely the job Dynamic Trim Mode's slower, more deliberate speeds were built for. A rough cut pass is a reasonable place to lean on Quick Trim, since you're moving fast and correcting later anyway. A fine cut, where a laugh or a breath decides the exact frame, is where full Dynamic Trim Mode earns the extra keystroke.
How do you turn Dynamic Trim Mode off, and why does forgetting matter?
Press W again, the same key that turned it on, or click the Dynamic Trim toolbar icon a second time to un-highlight it. Either way, JKL goes back to plain playback shuttling across the entire timeline.
It's worth doing this deliberately rather than assuming it happens automatically, because it doesn't. The reference manual states the risk directly: "you always want to be sure to turn Dynamic mode off when you're done, because otherwise using JKL will continue trimming selections whenever one or more edits or clips are selected," instead of playing the timeline the way you'd expect, per the reference manual's page on Dynamic Trimming.
Here's the exact scenario that catches people out. You finish trimming an edit point, leave it selected, move on to something else, click into a different part of the interface, then come back to the timeline and press L expecting to play forward. Instead, because that edit point is still selected and Dynamic Trim Mode is still on, L trims it again, moving a cut you thought you'd already finished. Nothing crashes and nothing errors out. The timeline just doesn't play, and the edit point you were happy with an hour ago has quietly shifted.
The fastest habit that prevents this: after a trim you're satisfied with, click into empty space on the timeline to deselect, or press W to exit Dynamic Trim Mode outright, before moving on to review or playback. Either action alone breaks the loop.
Does Dynamic Trim Mode work the same way on the Cut page as on the Edit page?
No, and this is a real, structural difference, not a minor variation in behavior. Dynamic Trim Mode is built for the Edit page specifically.
The Cut page runs its own simplified trim system: a dual timeline, a source tape you scroll through instead of a bin you browse, and one-click smart edit tools tuned for fast turnarounds, described directly on Blackmagic's own Cut page product page. It doesn't expose the same W key toggle or the same JKL-driven ripple, roll, slip, and slide behavior described throughout this guide. The Cut page's trim tools are built around speed for a specific kind of fast, deadline-driven workflow, not around the deep, mode-based system the Edit page offers.
The Edit page, by contrast, keeps the full track stack, the Inspector, and the precise trim tools this guide covers, according to Blackmagic's own Edit page product page. Our Cut page versus Edit page comparison covers the rest of the structural gap between the two pages, including timeline behavior, multicam support, and hardware pairing, if Dynamic Trim Mode isn't the only place you've noticed the two pages diverge.
If you press W on the Cut page expecting the same yellow-playhead Dynamic Trim Mode behavior described here, and it doesn't appear to do anything, that's not a bug. It's confirmation you're on a page that was never built to have it. Switch to the Edit page for JKL-driven live trimming.
Does Dynamic Trim Mode work differently on a multicam clip?
Yes, in one specific way: it can't ripple. A multicam clip bundles several camera angles that stay locked in sync with each other, and breaking that sync by shifting only one angle would desync the whole clip on every cut where you'd switched to it.
Larry Jordan's walkthrough of Resolve's multicam workflow states the constraint directly: "To avoid breaking sync, edit points can only be roll-trimmed, not a rippled," in his guide to multicam editing in DaVinci Resolve. Select an edit point on a multicam clip in Dynamic Trim Mode, and J and L still trim it live, with playback, exactly the way they trim any other edit point. What's different is the trim type available: it's always a roll, lengthening one clip while shortening its neighbor by the same amount, never a ripple that would shift every other clip on the timeline and risk pulling an angle's audio out of alignment with its picture.
If you need to adjust an individual angle inside the multicam clip itself, rather than trim where the multicam clip as a whole starts or ends, you step inside it first: select the multicam clip on the timeline and choose Open in Timeline from the Clip menu, per the same guide. That opens every angle on its own track, where you can nudge an individual angle's sync a frame at a time and trim within it like an ordinary clip, before collapsing it back into the single multicam clip you cut with.
A ripple trim and a multicam clip don't mix, and Dynamic Trim Mode won't let you force one. If J or L seems to be doing a roll when you expected a ripple, and the selected clip is a multicam clip, that's the sync protection working as designed, not a bug in Dynamic Trim Mode.
Does Sync Lock decide what Dynamic Trim Mode ripples?
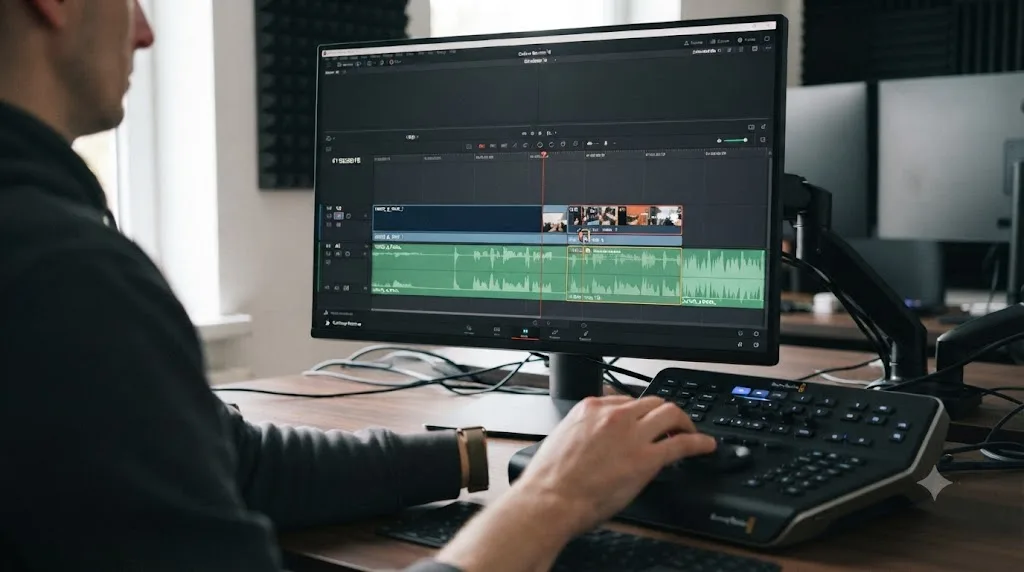
Yes, whenever your selection triggers a ripple trim rather than a roll, slip, or slide. Dynamic Trim Mode doesn't override the same track-level rules that govern any other ripple operation on the Edit page.
Since DaVinci Resolve 20.2, a change that carries forward unchanged into every DaVinci Resolve 21 release, Sync Lock is the per-track control that decides which tracks shift when something ripples, separate from Auto Track Selector, which only controls which tracks a targeting operation like Blade All or copy-paste reaches. Reporting on that 20.2 change, Digital Production's Bela Beier described it plainly: "Sync lock controls now ripple edits independently of the auto-select function," in Digital Production's coverage of DaVinci Resolve 20.2.
What that means for Dynamic Trim Mode specifically: if you're JKL-trimming an edit point on V1 and expecting a lower-third graphic on V2 to shift along with it, that only happens if V2's Sync Lock icon is turned on. Sync Lock off on a track means that track holds still through a Dynamic Trim ripple exactly the same way it holds still through a mouse-driven ripple delete or a Trim Edit Mode drag. Dynamic Trim Mode is a different input method for the same underlying ripple engine, not a separate system with its own rules.
Our guide to DaVinci Resolve's ripple delete not working goes deep on Sync Lock, Auto Track Selector, and every other setting that can make a ripple behave unexpectedly, and everything in it applies just as much to a ripple triggered from inside Dynamic Trim Mode as it does to a plain ripple delete keypress. If a JKL trim in Dynamic Trim Mode doesn't move a track you expected it to, check that track's Sync Lock icon before assuming the mode itself is misbehaving.
Does Dynamic Trim Mode touch the retime speed curve?
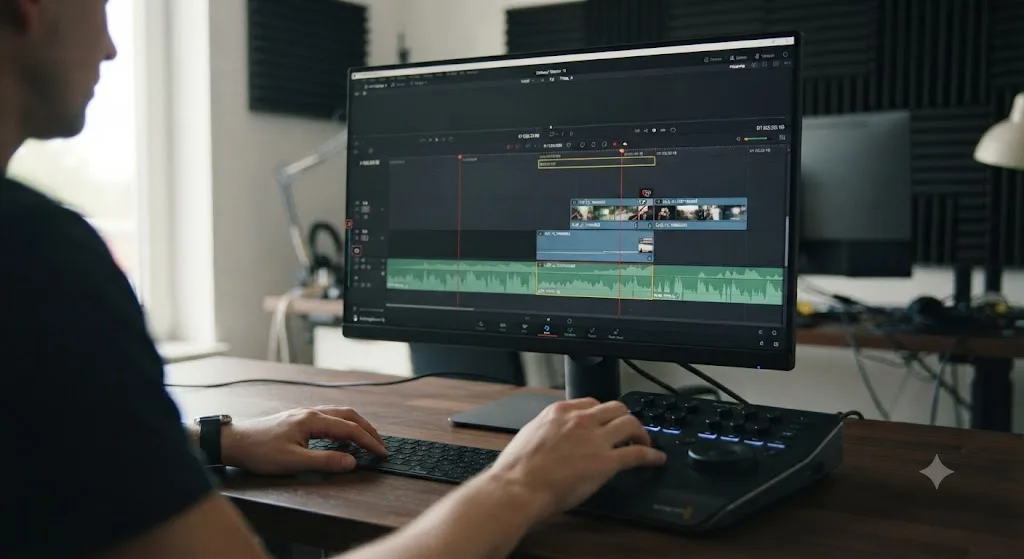
No, and these are genuinely separate systems that just happen to sit near each other conceptually. Dynamic Trim Mode changes an edit point's position. Retime changes how fast a clip plays back internally.
Dynamic Trim Mode, ripple, roll, slip, and slide included, never alters a clip's playback speed. It only changes where a clip starts, ends, or sits relative to its neighbors, and what portion of its source media is visible. Retime, opened with Ctrl+R (Cmd+R on Mac) on a selected clip, is a completely different operation that stretches or compresses a clip's internal timing, and since DaVinci Resolve 20, that speed curve lives in the Keyframes panel rather than in a dedicated dropdown under the clip.
If your retime speed curve looks flat, missing, or otherwise broken, that's not a Dynamic Trim Mode issue at all, and JKL trimming won't fix it. Our guide to DaVinci Resolve's retime curve not showing covers exactly where that curve moved to and how to get it back, including a display-specific bug that CineD reported Blackmagic addressed in the 21.0.2 point release, per CineD's coverage of DaVinci Resolve 21.0.2.
The two systems can work on the same clip in the same session without ever interfering with each other. Retime a clip to half speed for a slow-motion moment, then use Dynamic Trim Mode's JKL keys to adjust exactly where that retimed clip starts and ends against its neighbors. Neither operation reaches into the other's settings.
Is DaVinci Resolve 21's MultiMaster trim manager the same feature as Dynamic Trim Mode?
No, and this is worth a dedicated section because the shared word "trim" genuinely does confuse searches. They're unrelated features on different pages, built for entirely different jobs.
MultiMaster trim manager is a Color page tool DaVinci Resolve 21 added for generating multiple HDR and SDR deliverables from a single timeline, handling per-standard color management automatically instead of forcing you to build parallel node trees for each output format, according to Blackmagic's own What's New page. Dynamic Trim Mode, everything covered in this guide, is an Edit page keyboard mode for adjusting where cut points sit on a timeline.
They don't share a menu, a keyboard shortcut, a page, or any underlying code. One is about color and delivery formats. The other is about edit points and JKL keys. If you searched for "Resolve 21 trim manager" hoping to find Dynamic Trim Mode, or the reverse, you're looking at two completely different corners of the software that just happen to use the same word for unrelated reasons.
A shared word in software marketing rarely means a shared feature, and "trim" in DaVinci Resolve 21 is a clean example: one trim manages HDR and SDR color deliverables, the other trims cut points with a keyboard. Knowing this distinction upfront saves a real amount of time searching Blackmagic's own documentation for a connection between the two that was never there.
Can you use Dynamic Trim Mode with the Speed Editor or Editor Keyboard?
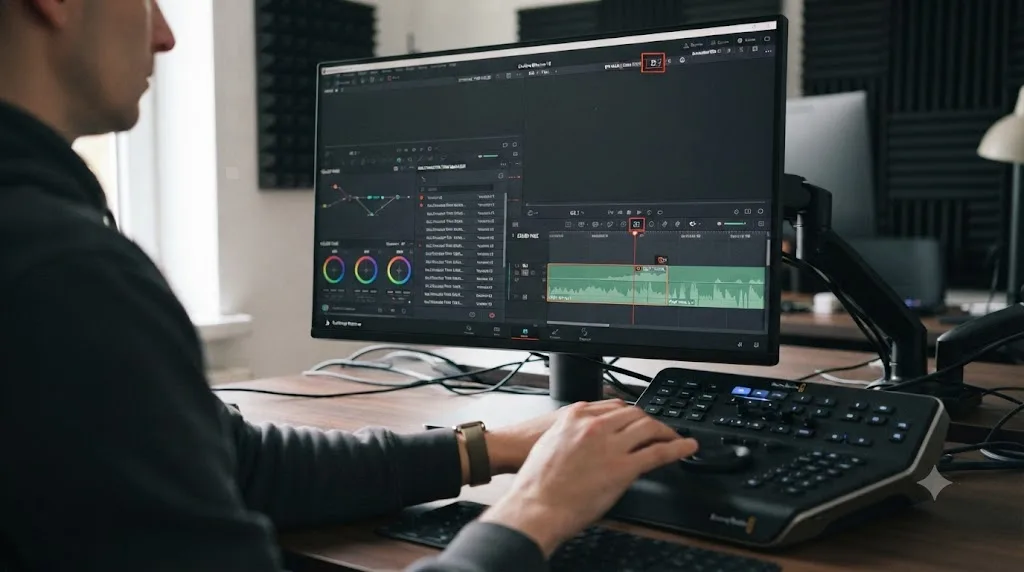
Yes, and Blackmagic's dedicated hardware gives you a physical version of the same idea, a jog wheel instead of held-down letter keys.
The DaVinci Resolve Speed Editor, priced at $435, has dedicated trim buttons that transform its search dial into what Blackmagic describes as "a large adjustment knob for real time, precise trimming," per Blackmagic's own Keyboard product page. Pressing one of those buttons switches the dial between Trim In, Trim Out, Roll, Slip Source, Slip Destination, and Transition Duration modes, letting you spin a physical wheel through the exact same ripple, roll, and slip operations Dynamic Trim Mode performs through J, K, and L on a standard keyboard.
The DaVinci Resolve Editor Keyboard, at $669 according to the same product page, adds a full standard keyboard layout around similar dedicated jog wheel and trim controls, aimed at editors who want the hardware speed without giving up a conventional keyboard for everything else a project needs, like naming bins and typing notes.
Neither piece of hardware replaces Dynamic Trim Mode. They give you an alternate physical control surface for the same underlying trim operations. You can use JKL Dynamic Trim Mode on a standard keyboard, a Speed Editor's dial, or both in the same session depending on which hand is free and which motion feels faster for a given adjustment.
Can you remap J, K, L, or W to different keys?
Yes. Dynamic Trim Mode's shortcuts aren't hardwired, though moving them off J, K, and L would work against a hundred years of tape-editing muscle memory for very little gain.
Keyboard Customization opens with Cmd+Option+K on Mac or Ctrl+Alt+K on Windows. Inside it, Resolve ships with mimic-another-NLE presets built in already, no import file required, letting you load "the default DaVinci Resolve set or any one of the other sets that attempt to mimic other NLEs you might be more familiar with," per the reference manual's page on keyboard customization. Those built-in sets are aimed at editors moving to Resolve from Avid Media Composer, Final Cut Pro, or Adobe Premiere Pro, useful if you'd rather keep old habits than relearn J, K, L, and W from scratch.
There's a real limit worth knowing before you go looking for a specific remap. The same manual page is explicit that "keyboard shortcuts can only be remapped to commands that functionally exist within DaVinci Resolve, so if a specific feature of another NLE does not have an equivalent in DaVinci Resolve, that key shortcut may not be mapped in the same way." Dynamic Trim Mode has no exact equivalent in every other NLE, so a preset built to mimic, say, Premiere Pro, maps Resolve's closest matching commands to Premiere's keys rather than recreating Premiere's own trim behavior inside Resolve.
Once you've picked a starting preset, or stuck with Resolve's own default, individual commands remain remappable one at a time inside the same panel, and a finished layout saves as its own named preset you can export and carry to another workstation, according to WriteDirect's walkthrough of building custom keyboard mappings in DaVinci Resolve.
Remapping J, K, L, and W is possible, but it trades away compatibility with every tutorial, every co-editor's muscle memory, and every piece of writing about Resolve, including this one, that assumes the defaults. Unless you're migrating from another NLE and want your old keys back during the transition, the stronger move is usually leaving Dynamic Trim Mode's defaults alone and building speed on top of them instead.
What goes wrong with Dynamic Trim Mode, and how do you fix it?
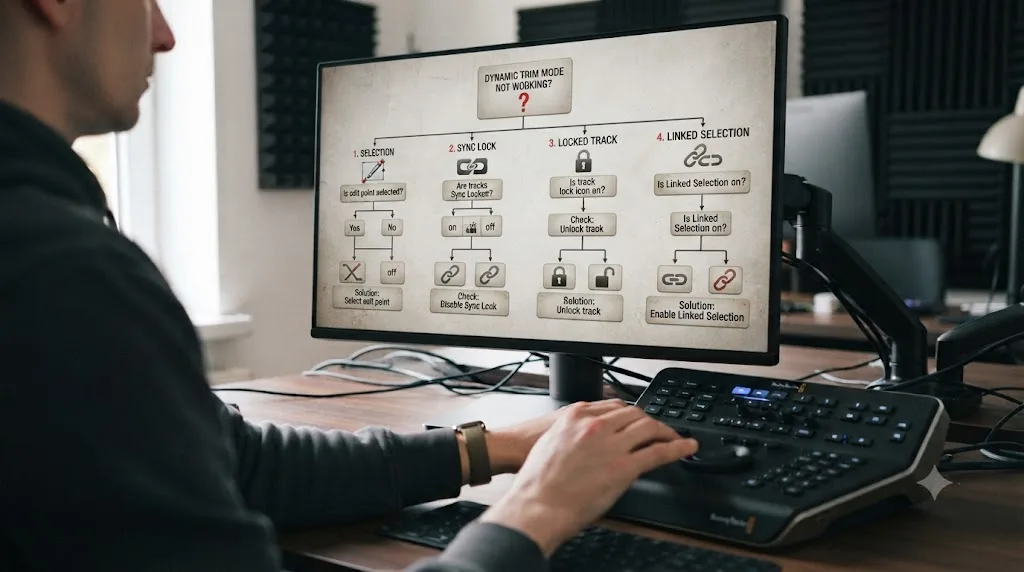
Most Dynamic Trim Mode problems trace back to one of a short list of causes, and working through them in order clears up almost every real report.
| Symptom | Likely cause | Fix |
|---|---|---|
| JKL just plays the timeline, doesn't trim | Nothing is selected | Click an edit point or clip first, then press J, K, or L |
| JKL keeps trimming when you meant to play back | Dynamic Trim Mode is still on with something selected | Press W to exit, or click empty timeline space to deselect |
| A ripple doesn't move a track you expected | That track's Sync Lock is off | Turn on Sync Lock in the track header |
| A trimmed edit point won't move at all | The track is locked | Unlock the track via its padlock icon |
| Linked audio doesn't follow a video trim | Linked Selection is off | Turn on the chain icon above the timeline |
| Pressing W does nothing visible | You're on the Cut page | Switch to the Edit page |
| A multicam edit point only rolls, never ripples | By design, to protect angle sync | Trim the surrounding clips separately, or step into the multicam clip's individual angles first |
| J, K, and L trim in an unfamiliar direction, or don't match this guide | A non-default keyboard preset is active | Open Keyboard Customization and check which preset is loaded |
| The wrong trim type happens (roll instead of ripple, etc.) | Selection targeted the wrong edge or region | Reselect precisely, or use Trim Edit Mode's click-and-drag first |
Two of these deserve extra emphasis because they're the most common by far. An empty selection is responsible for the majority of "Dynamic Trim Mode isn't doing anything" reports, and it's the very first thing worth checking. Forgetting to exit the mode is responsible for the majority of "Resolve stopped playing back correctly" reports that turn out to have nothing to do with playback at all.
Everything else on this list is a shared setting with the rest of Resolve's trim and ripple system, not something unique to Dynamic Trim Mode. If Sync Lock, locked tracks, or Linked Selection sound unfamiliar, our full guide to DaVinci Resolve's ripple delete not working walks through each of them individually, since a Dynamic Trim ripple and a plain ripple delete keypress answer to the exact same controls.
What does a full Dynamic Trim Mode pass look like on a real timeline?
Put the pieces together on a common case: a three-clip interview sequence on the Edit page, where a subject's answer runs a beat too long before the next cutaway.
The starting point: clip A, the subject talking, clip B, a cutaway to their hands, and clip C, back to the subject, all on V1, with a single audio track carrying the interview dialogue underneath on A1. The editor wants to shorten clip A by about a second and a half, right before a natural breath, without leaving a gap and without disturbing clip C's timing relative to a music cue that starts precisely when clip C begins.
Working through it with Dynamic Trim Mode: first, select the edit point between clip A and clip B with the Selection tool, a single click directly on the cut. Second, press W to enter Dynamic Trim Mode, confirmed by the playhead turning yellow. Third, press J once to trim backward with real-time playback, listening for the subject's breath. Since the initial pass overshoots slightly, hold K and tap J twice to nudge back two frames at frame-accurate precision, landing exactly on the breath.
Because this is a ripple at the edit point between A and B, not a roll, B and C shift left automatically to close the gap, and the audio track underneath, assuming Sync Lock is on for A1, shifts with them. Clip C's start, and the music cue timed to it, moves left along with everything else, preserving the same relative gap that existed before the trim. If A1's Sync Lock had been off, the dialogue would have stayed in its original position while the video rippled without it, immediately creating a sync problem the editor would need to catch and fix separately.
A second common case shows why slip earns its keep. Say clip B, the cutaway to the subject's hands, is already the right length and already sitting in the right place, sandwiched neatly between A and C, but the actual footage inside it starts a beat too early: the hands are already moving before the subject finishes their sentence. Ripple or roll would fix that by changing B's length or position, and that isn't the problem here. The problem is what's inside B.
Select clip B itself, not an edge, and confirm Dynamic Trim Mode is still active. Press L to slip forward through the source media inside B, watching the preview update while its timeline position and length stay locked to A and C. Hold K and tap L a few times once you're close, walking forward one frame at a time until the hands start moving right as the sentence ends. Clip B's duration on the timeline never changes, its neighbors never shift, and the edit points on either side of it stay exactly where the ripple from the first example left them.
That's the practical difference between the four trim types inside a single sequence: a ripple closed a gap, and a slip fixed what was showing inside a clip that was already the right size and in the right place. Neither trim knew about the other, and neither one needed the mouse.
The whole first adjustment, selection through frame-accurate landing, takes under thirty seconds once the keys are familiar, and it never once required opening a menu, dragging with a mouse, or leaving the timeline to check a setting.
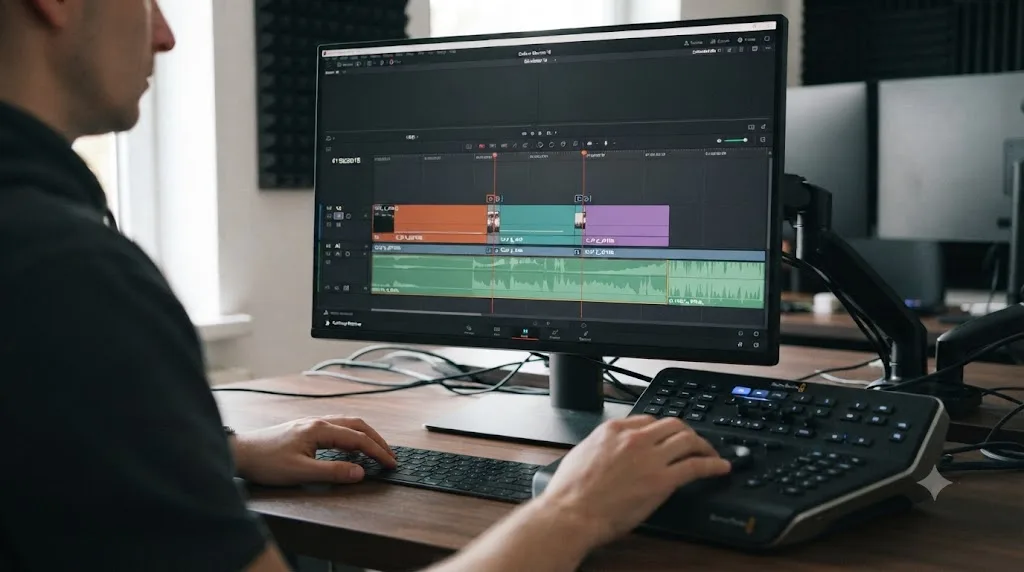
Where did J-K-L trimming actually come from?
Further back than DaVinci Resolve itself, and further back than non-linear editing entirely. J, K, and L are one of the oldest surviving conventions in professional video editing.
The lineage traces to computer-assisted tape editing systems that predate any timeline you'd recognize today. The CMX 600, introduced in 1971 as a joint venture between CBS and Memorex, is described on its own historical record as "the first non-linear video editing system," per Wikipedia's entry on the CMX 600. Editing controllers built in that era, and the generations that followed them through the tape-based systems of the 1980s and 1990s, standardized around dedicated shuttle keys for exactly the reason JKL still works today: an editor's hands stay in one place, on three adjacent keys, while their eyes stay on the footage instead of a mouse cursor.
Every major non-linear editor that followed, Avid, Final Cut, Premiere, and DaVinci Resolve among them, kept the convention rather than replacing it, which is part of why JKL feels instantly familiar to any editor moving between platforms. Resolve's Dynamic Trim Mode is a modern extension of that same decades-old idea: instead of just shuttling playback, the same three keys now shuttle a trim, with the same tactile logic an editor from a tape-editing era would recognize immediately.
A keyboard shortcut that's survived unchanged from 1970s tape editing into a 2026 color grading and editing suite is a genuinely rare kind of software longevity. Most interface conventions from that era are long gone. J, K, and L never left, because the underlying problem, trimming and playing footage without taking your hand off three keys, never went away either.
Is there a faster way to get fluent with trim mode than trial and error?
Some, and it's worth naming what actually exists rather than pretending trial and error is the only option. Blackmagic itself publishes free training books and webinars covering the Edit page directly, available through Blackmagic's own DaVinci Resolve training page, and it's the first stop worth checking before anything paid. Casey Faris, whose channel has built a large following specifically around DaVinci Resolve tutorials, covers trim workflows and JKL habits in detail on his YouTube channel, and Reddit's r/davinciresolve remains a genuinely useful place to see how other editors have solved the exact confusion you're stuck on, since someone else has almost always hit the same wall first.
None of that changes the actual bottleneck, though, which isn't information. It's the gap between reading "hold K and tap J" and remembering to do it while your hands are on a real keyboard, mid-cut, on a real deadline. That's the specific problem behind a newer category of tool built for people already inside Resolve rather than watching a video about it.
TryUncle is the on-screen assistant for DaVinci Resolve on macOS, ask in plain words and Uncle points at the exact control on your screen. Instead of pausing a tutorial to find the Dynamic Trim toggle, or scrolling back through a guide like this one to check whether K held plus J does a frame-by-frame nudge or a slow-motion trim, you ask, and Uncle points at the actual button on your actual timeline. That's a different job than a course or a video, and it's a different job from the other AI tools now built for Resolve editors.
Several other tools have entered this space recently, and it's worth naming them honestly rather than pretending they don't exist. Sottocut and CutAgent edit your timeline directly from typed or spoken instructions, automating cuts rather than teaching you to make them yourself. PremiereCopilot and heyeddie.ai lean toward answering editing questions in a chat window, separate from your actual Resolve session. Each solves a real problem for a specific kind of editor.
Watching your own screen and pointing at a control is a fundamentally different job from editing a timeline for you or answering a question in a separate chat window. If you want Resolve to trim for you, an automation tool like Sottocut or CutAgent is the honest answer. If you want to actually learn where Dynamic Trim Mode lives and build the muscle memory yourself, guided practice inside Resolve beats watching a course about Resolve, which is the gap TryUncle is built to close. TryUncle runs $29.99 a month at current founder pricing for its first 100 seats, macOS only, and pricing details are worth confirming directly on TryUncle since founder rates are, by design, temporary.
Whichever route you pick, official training, a YouTube channel, Reddit threads, or an on-screen assistant, the actual test is the same one this whole guide has been building toward: can you make a Dynamic Trim Mode adjustment without stopping to think about which key does what. That's the point where it stops being a feature you read about and starts being a habit you don't notice anymore.
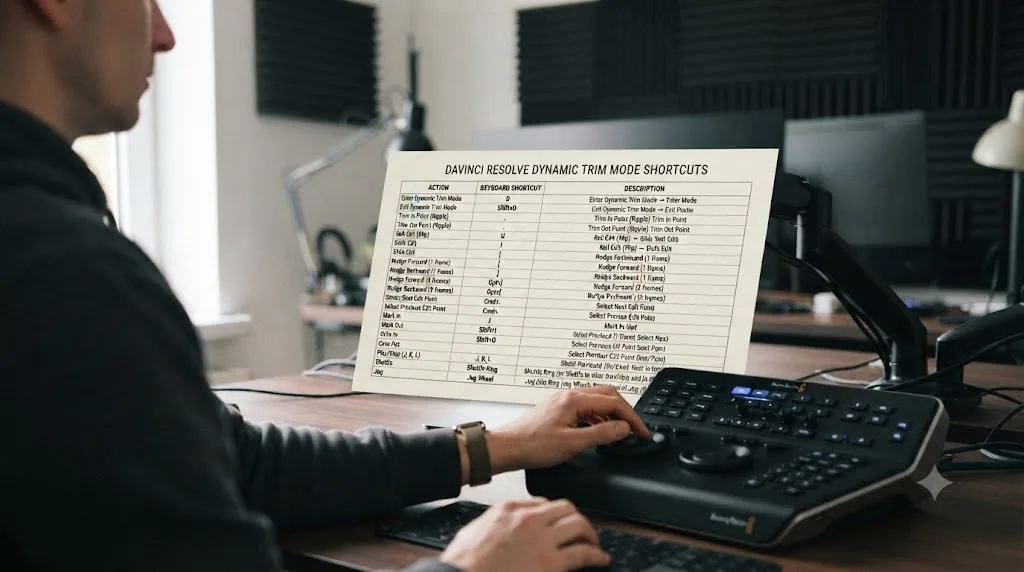
Quick reference: every Dynamic Trim Mode shortcut in one table
Keep this open in a second window the first few sessions you spend actually using the mode.
| Action | Shortcut |
|---|---|
| Turn Dynamic Trim Mode on or off | W |
| Turn Trim Edit Mode on or off | T |
| Trim forward with real-time playback | L |
| Trim backward with real-time playback | J |
| Stop the trim on the current frame | K |
| Trim one frame at a time | Hold K, tap J or L |
| Trim in slow motion with slowed audio | Hold J+K or K+L |
| Jump to the previous or next edit point | Left / Right arrow, while in Dynamic Trim Mode |
| Quick trim without entering Dynamic Trim Mode | Command-J or Command-L (Ctrl-J / Ctrl-L on Windows) |
| Trim all clips at the playhead to the playhead's In point | Shift-[ |
| Trim all clips at the playhead to the playhead's Out point | Shift-] |
| Open Retime Controls on a selected clip | Ctrl+R (Cmd+R on Mac) |
| Open Keyboard Customization | Cmd+Option+K (Ctrl+Alt+K on Windows) |
Our full DaVinci Resolve keyboard shortcuts reference covers the rest of the Edit and Cut page commands beyond trimming specifically, including insert and overwrite, snapping, and marker shortcuts, if you're building out a complete week-one command list rather than just the trim-specific subset covered here.
What's the verdict on Dynamic Trim Mode?
It's a small toggle with an outsized effect on how fast a fine cut actually goes. Press W, make sure something's selected, and J, K, and L stop being playback keys and start being the fastest trim tool DaVinci Resolve has, precise down to a single frame and honest about how a cut actually sounds, not just how it looks paused.
The mistakes that trip people up are small and specific: forgetting to select something first, forgetting to turn the mode off when you're done, confusing it with Trim Edit Mode's mouse-driven roll and slip, or confusing it entirely with Resolve 21's unrelated MultiMaster trim manager over on the Color page. A multicam clip that only rolls instead of rippling, or JKL keys that suddenly behave like a different NLE's shortcuts, are edge cases worth recognizing rather than mysteries worth debugging from scratch. None of these are hard to fix once you know to look for them, and none of them are signs the feature itself is broken or complicated.
Learn the key combinations in this guide, keep the reference table open for a week, and Dynamic Trim Mode stops being something you think about at all. It just becomes how you trim.
Frequently asked questions
- What is Dynamic Trim Mode in DaVinci Resolve?
- It's the Edit page mode, turned on with the W key, that hands the J, K, and L transport keys over to trimming instead of playback. With a clip or edit point selected, J and L shuttle the trim forward or backward while you watch and hear the result live, and K stops you on a frame. The playhead turns yellow to confirm the mode is active.
- How do I turn on Dynamic Trim Mode in DaVinci Resolve?
- Select an edit point or clip on the Edit page timeline, then press W, or click the Dynamic Trim icon in the toolbar above the timeline. The playhead turns yellow and J, K, and L now trim your selection instead of shuttling playback across the whole timeline.
- Why do J, K, and L just play the timeline instead of trimming anything?
- Because nothing is selected. Dynamic Trim Mode only trims when you've got an edit point or clip actively selected. With no selection, JKL falls back to plain shuttle playback, by design, so you can still scrub around the timeline without leaving the mode.
- What's the difference between Trim Edit Mode and Dynamic Trim Mode?
- Trim Edit Mode, the T key, changes what your mouse does: click-and-drag near an edit point rolls, slips, or slides depending on where you grab. Dynamic Trim Mode, the W key, changes what your keyboard does: J, K, and L trim live with playback. You can combine both, using the mouse to select an edit point in Trim Edit Mode, then Dynamic Trim Mode's JKL keys to fine-tune it while watching.
- Is DaVinci Resolve 21's MultiMaster trim manager the same feature as Dynamic Trim Mode?
- No, and the shared word 'trim' is a coincidence. MultiMaster is a Color page tool for generating multiple HDR and SDR deliverables from one timeline. Dynamic Trim Mode is an Edit page keyboard mode for adjusting cut points. They don't share code, a menu, or a keyboard shortcut.
- Does Dynamic Trim Mode work on the Cut page, or only the Edit page?
- It's built for the Edit page. The Cut page uses its own simplified trim tools, the dual timeline and one-click smart edits, and doesn't expose the same W key Dynamic Trim toggle. If you want JKL-driven live trimming with ripple, roll, slip, and slide, switch to the Edit page.
- How do I turn Dynamic Trim Mode off?
- Press W again, or click the Dynamic Trim icon in the toolbar to un-highlight it. It's worth doing deliberately, because Resolve's own reference manual warns that JKL keeps trimming any selected clip or edit point instead of playing the timeline for as long as the mode stays on and something is selected.
- Can I use Dynamic Trim Mode with the DaVinci Resolve Speed Editor?
- Yes. The Speed Editor's dedicated trim buttons turn its search dial into a large jog wheel for Trim In, Trim Out, Roll, Slip Source, Slip Destination, and Transition Duration, according to Blackmagic's own product page, giving you a hardware equivalent of Dynamic Trim Mode's live feel without touching J, K, or L at all.
Sources
- DaVinci Resolve Reference Manual: Dynamic JKL Trimming
- DaVinci Resolve Reference Manual: Dynamic Trimming (or JKL Trimming)
- DaVinci Resolve Reference Manual: Trim Start and Trim End
- DaVinci Resolve Reference Manual: Asymmetric Trimming
- DaVinci Resolve Reference Manual: Keyboard Customization
- PremiumBeat: How to Use the Dynamic Trim Tool in Resolve (Lewis McGregor)
- Larry Jordan: Get Started: Multicam Editing in DaVinci Resolve
- WriteDirect: How to Create Custom Keyboard Mappings in DaVinci Resolve
- DaVinci Resolve - Keyboard (Blackmagic Design)
- DaVinci Resolve - Cut (Blackmagic Design)
- DaVinci Resolve - Edit (Blackmagic Design)
- DaVinci Resolve - What's New (Blackmagic Design)
- DaVinci Resolve Training (Blackmagic Design)
- CG Channel: Blackmagic Design releases DaVinci Resolve 21.0
- Digital Production: DaVinci Resolve 20.2: Ripple Discipline, ProRes RAW, and AI Fog on Demand (Bela Beier)
- CineD: DaVinci Resolve 21.0.2 Released, Keyframe Fixes, Retime Curve Improvements, and Better Fusion Vertical Transitions
- Casey Faris on YouTube
- Wikipedia: CMX 600
Keep reading
Comparisons · Jul 10, 2026 · 28 min
DaVinci Resolve Cut Page vs Edit Page: The Real Differences
A full side-by-side of DaVinci Resolve's Cut and Edit pages: timeline, trimming, multicam, and hardware differences, plus which one to use.
Guides · Jul 8, 2026 · 16 min
DaVinci Resolve Keyboard Shortcuts: The Complete Reference
Every essential DaVinci Resolve keyboard shortcut, organized by page: Edit, Cut, Color, Fairlight, Fusion, and Deliver, plus how to customize and share your own.
Fixes · Jul 18, 2026 · 24 min
DaVinci Resolve Ripple Delete Not Working? Every Real Cause and Fix
DaVinci Resolve ripple delete not working? Since 20.2, Sync Lock (not Auto Track Selector) controls it on Edit, and Cut page only ripples V1.