Articles / Fixesupdated for DaVinci Resolve 21.0.2 (July 2026)
DaVinci Resolve Retime Curve Not Showing? Here's Where It Went
Quick answer
Your retime curve isn't missing. Since DaVinci Resolve 20, it lives in the Keyframes panel, not directly under the clip. Turn on Retime Controls (Ctrl/Cmd+R), add a second speed point, then click the Curve button on the clip's name bar to open it. Update to 21.0.2 or later if the curve renders flat.
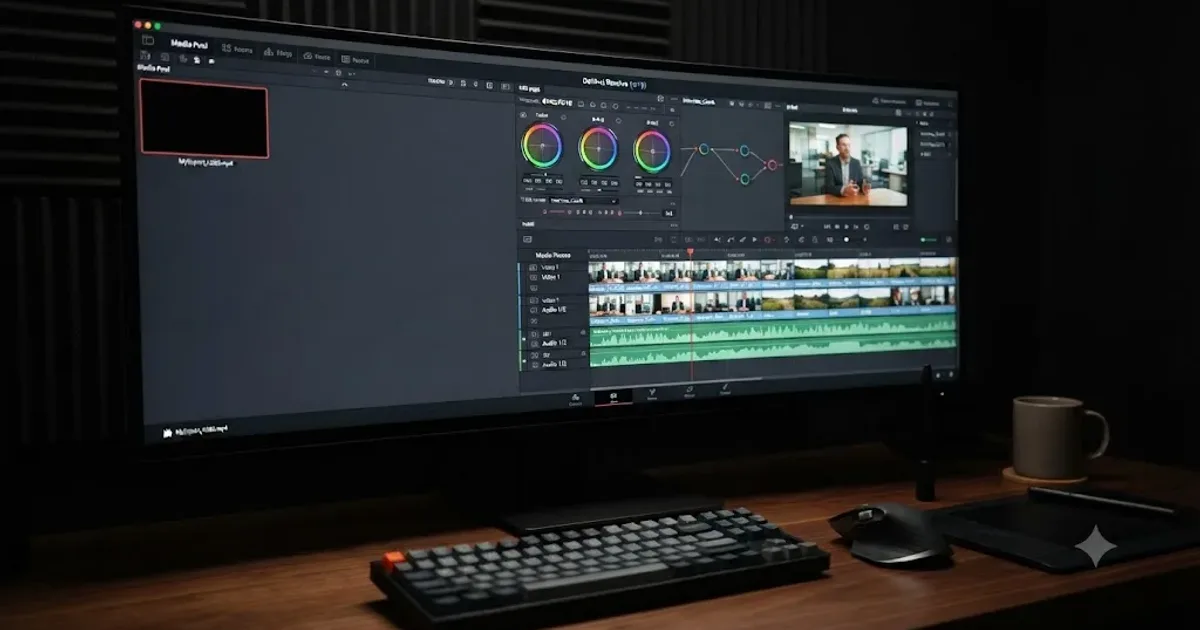
You right-click your clip, and the retime curve that used to unfold right there under the timeline just isn't there. You try the little arrow you've clicked a hundred times before. Nothing. You start wondering if you broke something, or if Blackmagic quietly ripped out a feature you've used on every speed ramp for years.
You didn't break anything, and Blackmagic didn't remove it. The curve moved. Starting in DaVinci Resolve 20 and carried through into 21, retime speed editing lives in the Keyframes panel now, built on the same Bezier system as every other animated parameter in the app. That's a real workflow change, it caught a lot of experienced editors off guard, and there's a second, genuinely separate bug layered on top of the confusion: even once you find the new panel, the curve can render flat or fail to draw at all until you update to the latest point release. This post walks through both problems and every fix for each.
Why doesn't the retime curve show up anymore?
There are two distinct causes, and mixing them up wastes time, so separate them before you touch a single setting.
The first is a location change, not a bug. Before DaVinci Resolve 20, clicking the small drop-down arrow beneath a retimed clip expanded a dedicated retime curve directly in the timeline, in its own space, using its own math. That arrow and that inline curve are gone. They aren't hidden behind a preference, and there's no setting to bring them back, because Blackmagic rebuilt how retime speed is edited from the ground up.
The second is an actual display issue. Even once you're in the right panel, the curve can render as a flat line, fail to update after you drag a handle, or simply not draw at all in some 21.x builds. Blackmagic's own 21.0.2 release notes, covered by CineD, list an item that "improved the display of the retime speed curve," which confirms the rendering problem was real, reported, and specific enough for Blackmagic to name it directly in a changelog.
The retime curve did not disappear from DaVinci Resolve. It moved into the Keyframes panel, and Blackmagic never sent a memo about where. That's the whole story behind most "not showing" reports. A smaller number are a genuine rendering bug on top of the relocation, and this guide covers both in order.
| Symptom | Likely cause | Where to look |
|---|---|---|
| No curve visible anywhere, arrow under clip is gone | Location moved to Keyframes panel (v20+) | Curve button on clip's name bar |
| Curve panel opens but shows a flat line | Only one speed point exists | Add a second speed point |
| Curve panel opens but the shape looks wrong or clipped | Rendering bug, or panel too small | Update to 21.0.2+, resize panel |
| No Curve button appears on the clip at all | Retime Controls never turned on, or no speed point added | Ctrl/Cmd+R, then add a speed point |
| Curve was visible, then vanished after an edit | Speed point got deleted or clip was split | Check remaining speed points |
Work down that table before assuming your install is broken. Most people land in row one or row two.
Why did Blackmagic move the retime curve into the Keyframes panel?
Because retime speed used to be its own separate system, with its own math, disconnected from everything else you could keyframe in Resolve. That inconsistency is exactly what version 21's keyframing overhaul was built to fix.
Justin Robinson, a DaVinci Resolve and Fusion instructor who covered the change for JayAreTV, put it plainly: "One of the most significant updates in version 21 is the complete overhaul of Retime Curves." He goes on to describe the practical upside once you know where to look: "Whether you are smoothing out a transition into a freeze frame or creating organic speed changes between clip segments, the new Bezier handles provide the tactile precision required for high-end professional work right on the Edit page."
Before this change, retime speed and every other keyframed parameter, Transform, Cropping, opacity, whatever you'd animated in the Inspector, lived in genuinely different editing systems. You couldn't grab a retime speed point and a Transform keyframe in the same drag, and the easing curves behaved differently between the two. Folding retime into the same 4-point Bezier system that already handled everything else fixes that split, but it has one unavoidable side effect: retime speed no longer gets its own dedicated space under the clip. It shares the Keyframes panel with everything else you've keyframed, which is also why the panel didn't exist as a concept the old retime curve needed to check into.
Retime speed used to run on its own separate math, disconnected from every other keyframed parameter in Resolve. Version 21 ended that split by putting retime, Transform, Cropping, and every other animatable property through the same Bezier engine, in the same panel.
The practical upside beyond consistency: you can now select multiple clips and keyframe their retime speed together, something the old inline curve never supported, because each clip's curve used to be a completely isolated, per-clip control.
How do you actually open the Keyframes panel to see your retime curve?
Five steps, and the order matters, because skipping step one is the single most common reason people conclude the feature is broken.
- Turn on Retime Controls. Right-click the clip in the timeline and choose Retime Controls, or press Ctrl+R on Windows, Cmd+R on Mac. A speed bar appears directly above the clip. Without this step, there's no retime speed to keyframe at all, and nothing downstream will work.
- Add at least one speed point. With Retime Controls active, park the playhead somewhere inside the clip and add a speed point (right-click the speed bar, or use the arrow menu next to the percentage readout). One clip with a flat, unmodified speed has nothing to curve, which matters for the next section.
- Look at the far right of the clip's name bar. Once a clip has at least one keyframed parameter, retime included, two small buttons appear there: a Curve button and a Keyframe button. Per the DaVinci Resolve reference manual's description of these controls, they "let you access specialized keyframe editors that serve different purposes."
- Click the Curve button, or select the clip and choose Clip > Show Keyframe Editor from the menu, which the manual notes is also reachable with Command-Shift-C. Either path opens the Keyframes panel.
- Confirm you're on the curve/spline view, not the flat dot-track view. The Keyframes panel has more than one display mode, and it's easy to land on the track view, which shows keyframe markers as dots on a line rather than the actual Bezier shape between them.
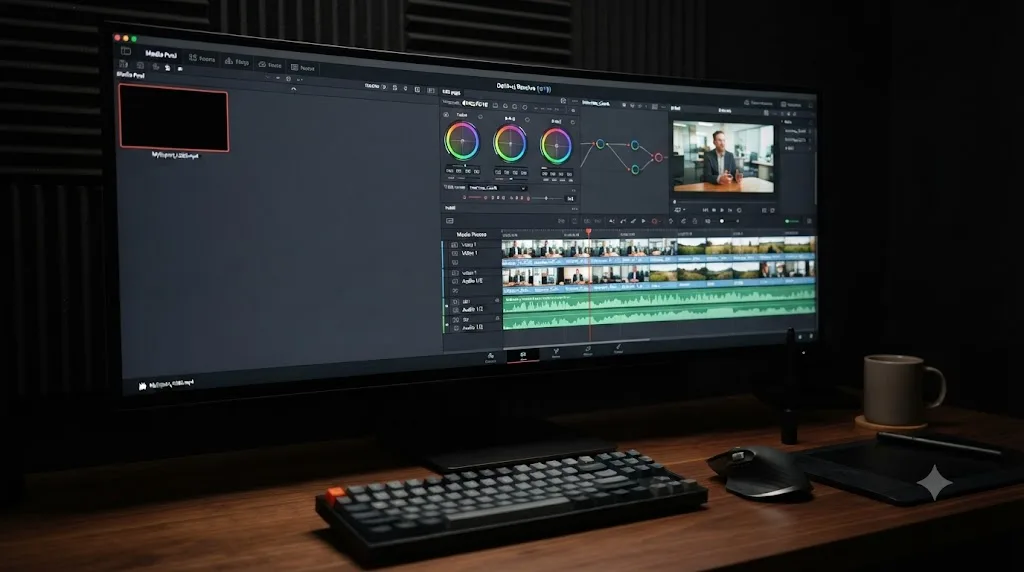
If you've gone through all five steps and still see nothing, the next two sections cover the two most common reasons that happens: no curve was ever generated in the first place, or the panel is drawing it wrong.
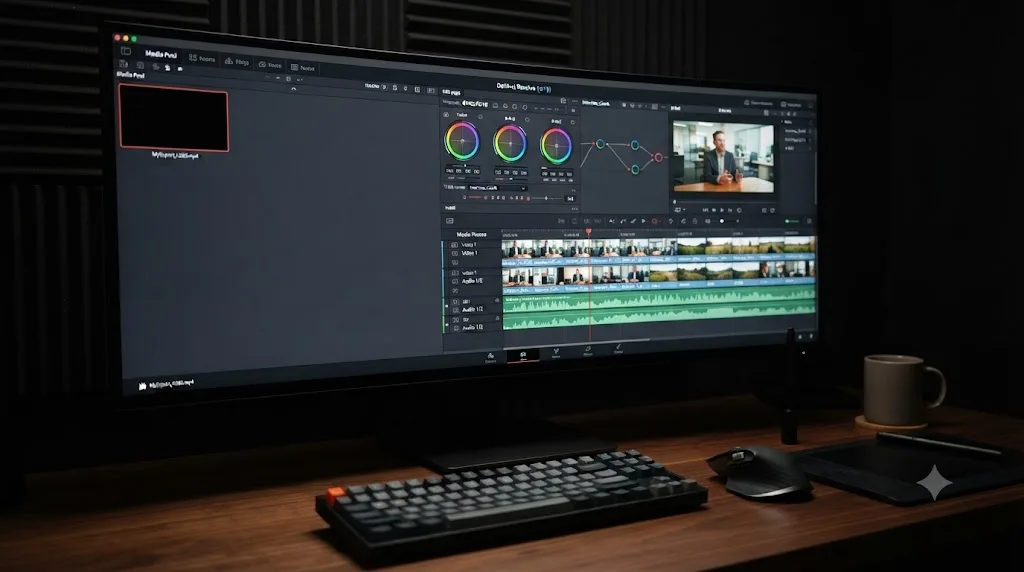
What if the Curve button never shows up on the clip at all?
This is a different symptom from a curve that opens flat, and it points at a different cause: Resolve genuinely has nothing keyframed yet, so it has nothing to show a button for.
A missing Curve button means Resolve has not registered a second speed point on that clip, not that the feature is broken. Check these three things in order:
- Is Retime Controls actually on for this specific clip? It's a per-clip toggle, not a global mode, so turning it on for one clip earlier in your session doesn't carry to the next clip you select. Ctrl/Cmd+R again on the clip you're currently troubleshooting.
- Did the speed point actually get added? Right-clicking the speed bar and choosing to add a point sometimes requires the playhead to be inside the clip's range, not on an adjacent clip or a transition. If the playhead sits even a frame outside the clip when you try to add a point, the add can silently fail.
- Is the clip a compound clip or nested timeline? Retime behaves differently on a compound clip than on a source clip, and the Curve button's appearance can lag behind what you'd expect if you're retiming the compound wrapper rather than the clip inside it. Open the compound clip and check whether the retime speed is actually applied at that inner level instead.
A related Blackmagic forum thread, titled "(How to access) Retime Speed keyframes?", tracks exactly this confusion, editors who had Retime Controls on but hadn't yet added a second point, and so found no button and assumed the feature had vanished entirely.
Why does the retime curve show a flat line instead of an actual curve?
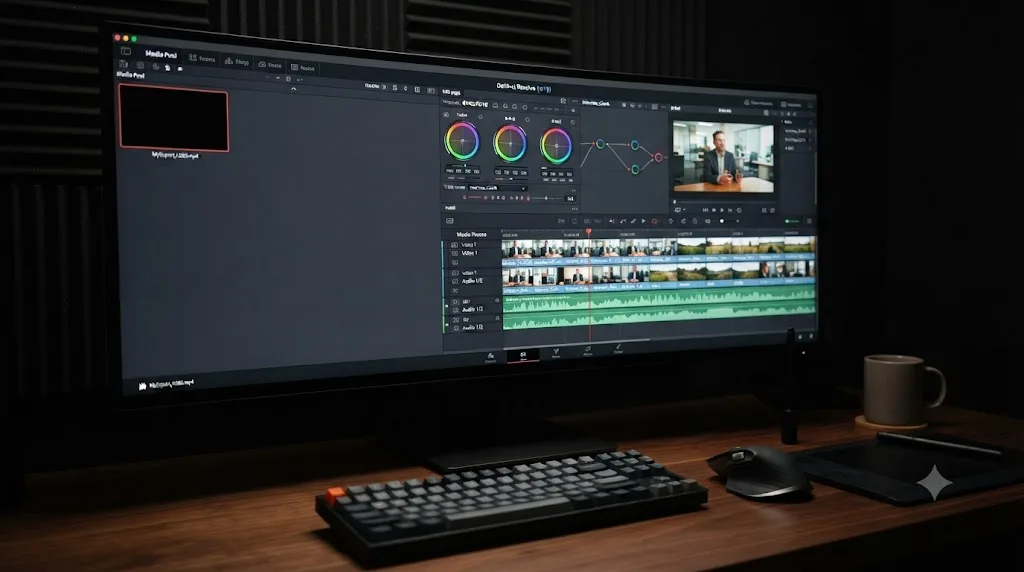
Because a curve, by definition, needs at least two points to bend between. One speed point on a clip is just a single value. There's nothing before it and nothing after it to curve toward, so the Keyframes panel correctly draws a flat, level line, and that flat line is often mistaken for a broken or empty curve rather than what it actually is: an accurate picture of a clip with only one data point.
The fix is simple once you see it for what it is: add a second speed point somewhere else in the clip. As soon as two points exist, Resolve has something to interpolate between, and the flat line becomes a genuine Bezier curve with handles you can drag.
| Number of speed points | What the curve looks like |
|---|---|
| Zero | No Curve button appears at all |
| One | A flat, level line, this is correct, not broken |
| Two or more | An actual curve, with draggable Bezier handles between each pair |
A flat line in the retime curve almost always means the clip has exactly one speed point, not a broken display. Confirm the point count before you start troubleshooting anything deeper, since this single check resolves a large share of "the curve looks wrong" reports without touching a preference or an update.
If you've confirmed two or more points exist and the line is still flat, or the shape between them looks jagged and wrong rather than smoothly curved, that's the display bug covered next, not a points problem.
Does DaVinci Resolve 21.0.2 actually fix the retime curve display bug?
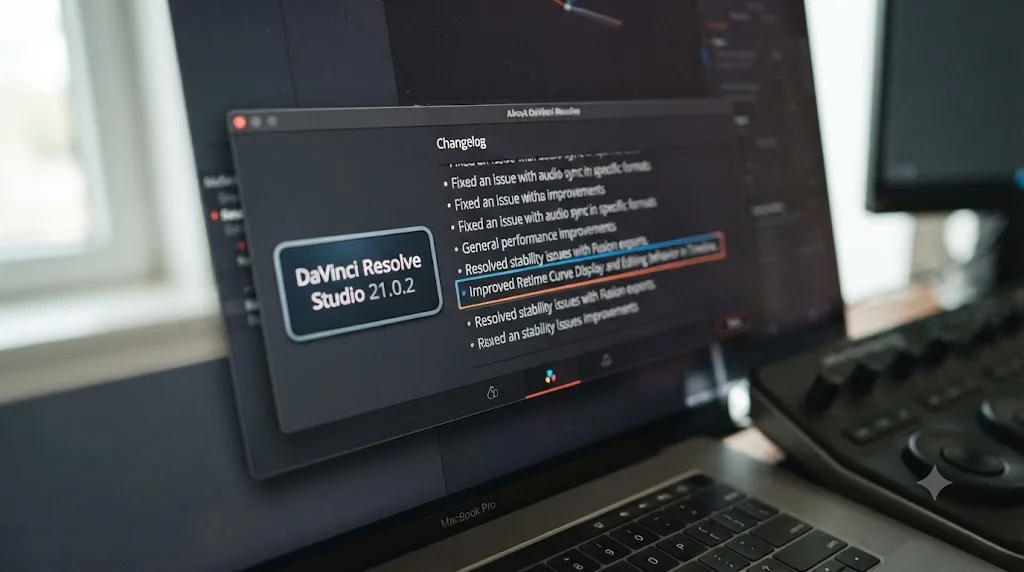
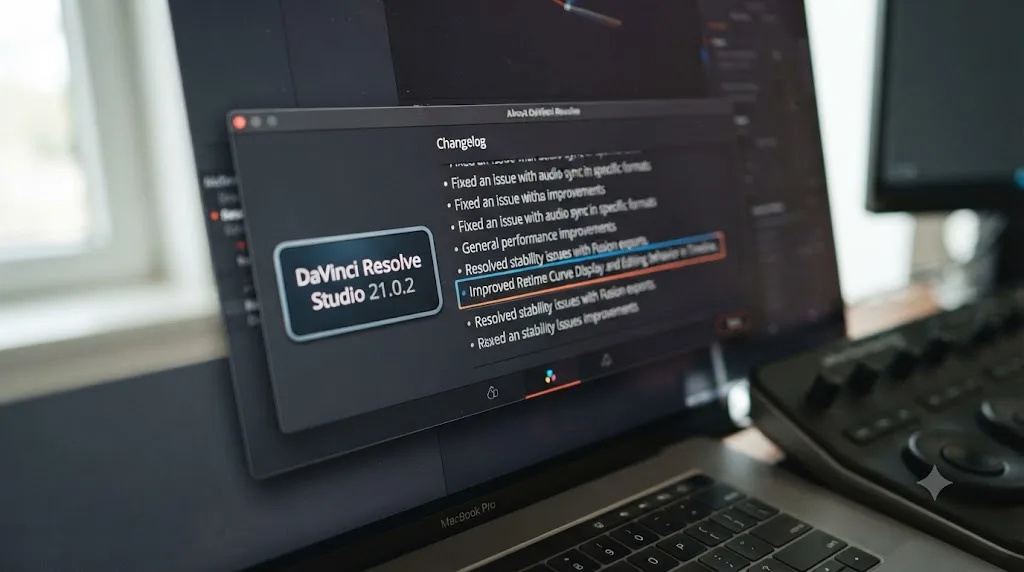
Partially, and it's worth being precise about what "improved" means here versus a full rebuild. Per Newsshooter's coverage of the 21.0.2 update, released the first days of July 2026, Blackmagic's own release notes list "Improved display of retime speed curve" as one line among a broader set of fixes. The same update also "corrected an issue with pasting copied keyframes between clips," a related but distinct keyframe bug.
That phrasing tells you two things. First, Blackmagic confirms the display problem was real and specific enough to name directly, which validates that you weren't imagining a glitch if you saw one on an earlier 21.x build. Second, "improved" is deliberately not "fixed" or "rebuilt." It's a targeted correction to how the curve draws, not a structural change to the panel or the underlying retime system, so don't expect 21.0.2 to bring back the old under-clip layout or add any new retime feature. It just draws the curve you already have more correctly.
The rest of 21.0.2 is a maintenance release, not a feature drop, and reading the full scope helps you judge whether updating is worth the disruption right now:
| Area | 21.0.2 fix |
|---|---|
| Retime | Improved display of retime speed curve |
| Keyframes | Fixed pasting copied keyframes between clips |
| Playback (Studio) | Addressed H.264/H.265 NVIDIA decode performance |
| IntelliSearch | Performance fix after slower behavior in prior builds |
| Fusion | Corrected transition defaults for vertical timelines |
| Inspector | Fixed video inspector zoom minimum values, unicode display with spell check |
| Export | Corrected bit depth handling when exporting individual frames as TIFF |
Version 21.0.2 improved how DaVinci Resolve draws the retime speed curve. It did not rebuild the retime system or restore the old under-clip layout. If you're still on 21.0.0 or 21.0.1 and seeing a curve that renders flat, jagged, or fails to redraw after a drag, updating is the single highest-odds fix available before you spend more time on anything else.
Check your current build under DaVinci Resolve > About DaVinci Resolve on Mac, or Help > About DaVinci Resolve on Windows, and compare it against the version listed on Blackmagic's What's New page before assuming you're already current.
How do you actually use the new 4-point Bezier retime curve for a speed ramp?
Once the panel is open and drawing correctly, the workflow itself isn't complicated, but it is different enough from the old inline curve that muscle memory from earlier versions will fight you for the first few attempts.
- Add speed points at every place the speed should change. Each point marks a moment where the clip's playback rate shifts. A speed ramp from 100% down to 25% and back up needs at minimum three points: the start at 100%, the middle at 25%, and the end back at 100%.
- Open the Keyframes panel and switch to curve view, following the steps from earlier in this guide.
- Drag the Bezier handles on either side of a point to control how the speed eases into and out of that point, rather than snapping abruptly. This is the part that's genuinely new: the old retime curve had its own simpler easing model, while this one uses the same 4-point Bezier handles as every other animated parameter, so a smoother ease-in on a speed ramp now looks and behaves identically to a smoother ease-in on a Transform move.
- Use Normalized Zoom mode if the curve looks too flat or too extreme to work with. Version 21 added this specifically for cases like retime, where a percentage value with a huge range, say 5% to 400%, can otherwise render as either an almost invisible sliver or an unreadable cliff. To adjust the vertical zoom directly, move your mouse cursor over the percentage readout on the curve and click-drag, which rescales the view without touching the actual keyframe values underneath.
- Select multiple clips before keyframing if you need the same ramp shape across several shots. This is the multi-clip capability the old system never had: select a run of clips, turn Retime Controls on for the selection, and adjust their speed points together instead of one clip at a time.
If your specific goal is a freeze frame rather than a variable speed ramp, our guide to freezing a frame in DaVinci Resolve covers that narrower case directly, including where Retime Controls and Change Clip Speed diverge for that one job.
Is this the same as a keyframe that "won't show" somewhere else in Resolve?
No, and conflating the two wastes troubleshooting time, because the causes and fixes barely overlap.
A missing Transform, Cropping, or other Inspector keyframe curve is almost always a selection problem: you've clicked a different clip than the one you keyframed, or you're looking at the wrong parameter's disclosure track inside an already-open Keyframes panel. The reference manual describes the panel's hierarchy directly: related parameters group under a single labeled track, for example Zoom and Position collapse into one row called Transform, and you click a disclosure arrow to expose the individual sub-parameter's own curve. If you're looking for a specific parameter's curve and only seeing the grouped summary track, that's a disclosure-arrow problem, not a missing-data one.
Retime is different for one specific reason: it's the only parameter type with its own separate activation step. You don't need to turn anything on to keyframe Zoom, you just animate it in the Inspector. Retime speed requires Retime Controls to be switched on for that clip first, which is the step most people skip and the reason retime-specific "not showing" reports outnumber every other keyframe type combined on the Blackmagic forum.
Retime Controls and the Keyframes panel are two separate systems that only work together once both are switched on. Confirm you're not chasing a generic keyframe visibility issue when your actual problem is that Retime Controls was never activated for the clip in question.
One priority detail worth knowing if you're keyframing both retime and something else on the same clip: the manual notes that Retime Controls, when already active, take priority in the panel's selection hierarchy over other keyframe types. If you're trying to click into a Transform curve on a clip that also has retime speed applied, and the panel keeps snapping back to the retime curve instead, that's expected behavior, not a bug, and clicking directly on the specific track you want inside the panel overrides the priority.
What if you're on DaVinci Resolve 20, not 21?
The location change happened one version earlier than most people assume. Several Blackmagic forum threads track exactly this confusion, including one titled "Missing 'Retime Curve' in DaVinci Resolve 20.0.1" and another asking outright, "Retime curve not working on Davinci Resolve 20?". Version 20 already moved retime editing into the Keyframes panel; it didn't yet have the full 4-point Bezier overhaul that version 21 added on top of the relocation.
Practically, that means everything in this guide about finding the Curve button, turning on Retime Controls, and adding a second speed point applies identically on version 20. What differs is the curve's shape and handle behavior once you get there: version 20's retime curve uses an earlier, simpler easing model than version 21's full Bezier system, so if you're following a tutorial or a forum answer written specifically for 21, some of the handle-dragging detail won't match what you see on 20.
If you're deciding whether to update from 20 to 21 partly because of this feature, the honest framing is that the location problem doesn't go away either direction. Both versions moved the curve out from under the clip. What updating to 21 actually buys you, retime-specific, is the full Bezier handle system and Normalized Zoom mode, plus whatever display fixes 21.0.2 shipped on top. Our full rundown of what's new in DaVinci Resolve 21 covers the rest of that upgrade decision beyond just keyframing.
Does the free version of DaVinci Resolve have the same retime curve as Studio?
Yes, identically. Keyframing and the Curves editor updates, retime included, ship in DaVinci Resolve's free tier, not gated behind the $295 Studio license. That puts retime in the same category as Fusion's Krokodove library and the Fairlight audio updates: structural, page-level changes that Blackmagic released broadly rather than reserving for paying customers.
That distinction matters here specifically because a lot of Resolve's newest, flashiest features, the nine AI tools, Magic Mask, MultiMaster, do require Studio, and it's a reasonable first guess that a changed workflow might be a licensing thing too. It isn't, in this case. If your retime curve isn't showing and you're on the free version, that's not why. The cause is one of the location or display issues covered above, the same for every Resolve user regardless of license.
Are Fusion retime curves the same as Edit page retime curves?
No, and this is a separate source of confusion worth ruling out if you're bouncing between pages on the same project. Fusion has always kept its own animation curve system, built around Fusion's node graph and its own Spline editor, independent from the Edit page's clip-level Retime Controls entirely.
If you've applied a speed change inside a Fusion composition, using a Time Speed node or a similar tool rather than the Edit page's Retime Controls, you won't find that curve in the Edit page's Keyframes panel at all. It lives in Fusion's own Spline editor, opened from within the Fusion page itself, and it uses Fusion's animation curve conventions rather than the Edit page's Bezier retime system covered throughout this guide.
Version 21 narrowed this gap in one specific direction: Fusion effects applied to a clip on the Edit page, per Blackmagic's What's New page, can now animate directly inside the Edit page's Keyframes and Curves editor, which closes a workflow gap that used to send editors bouncing between pages just to nudge a single Fusion parameter. Retime speed itself, though, stays an Edit page concept. Fusion's own internal speed changes still belong to Fusion's Spline editor, not the panel this guide covers.
If your specific confusion is a title template or a Fusion composition behaving unexpectedly after the version 21 update, rather than clip retime speed, our guide to Fusion title templates not working covers that separate set of causes.
What does a full worked example look like?
Put the pieces together on a realistic case: an editor cutting a highlight reel, wanting a clip to ease from full speed into a slow-motion hold on the key moment, then ease back to full speed, using DaVinci Resolve 21.0.1 on a Mac.
The complaint, as originally reported: right-clicking the clip shows no retime curve option anywhere, and the small arrow that used to expand one below the clip is nowhere in the menu.
Working through the causes in order: first, confirm Retime Controls is on for this specific clip. It wasn't. A single Ctrl+R turns on the speed bar above the clip immediately, which alone resolves the "there's no curve option at all" complaint, because the option was never missing, it just required a step that changed location in version 20 and was never reintroduced as a right-click menu item the way it used to be.
Second, add three speed points: one at the clip's start held at 100%, one at the key moment dropped to 20%, and one at the clip's end back at 100%. With Retime Controls active and speed points defined, the Curve button appears at the far right of the clip's name bar within the same second, exactly as documented.
Third, click that Curve button. The Keyframes panel opens, but the resulting curve looks jagged between the second and third points rather than smoothly eased, with visible stair-stepping instead of a clean Bezier bend. Checking DaVinci Resolve > About DaVinci Resolve shows build 21.0.1, one version behind the 21.0.2 release that specifically targeted retime curve display. Updating to 21.0.2 through Blackmagic's downloader and reopening the same project resolves the jagged rendering completely, with no change made to the actual speed point values, confirming the earlier display was a rendering bug rather than a data problem.
Total time from "the curve is gone" to a clean, working speed ramp: under five minutes, and the fix required zero changes to the edit itself, just turning on a control that had moved and updating one point release.
Does the platform matter? Mac vs Windows
Barely, and only in one place. Retime Controls, the Keyframes panel, and the retime curve itself behave identically on Mac and Windows, since this is core Edit page functionality rather than anything tied to GPU acceleration, OS-level rendering, or platform-specific drivers.
The one difference worth naming is the keyboard shortcut itself: Cmd+R on Mac, Ctrl+R on Windows, following DaVinci Resolve's usual Command-to-Control mapping convention across the whole application. Mixing that up, typing Ctrl+R out of habit on a Mac or the reverse on Windows, is an easy slip if you edit on both platforms regularly, and it produces exactly the "nothing happens when I try to turn on Retime Controls" symptom that leads people back to this page.
Beyond that shortcut, there's no meaningful platform delta here. If you're seeing a flat or jagged curve on Windows and a clean one on an identical Mac install, both on the same DaVinci Resolve build, that points at a corrupted preferences file or a UI layout issue rather than a genuine platform difference, and it's worth trying a UI layout reset from the Workspace menu before assuming the platforms behave differently by design.
What if the panel is too small to read the curve properly?
A separate, purely cosmetic cause worth ruling out before you assume anything is actually broken: the default Keyframes panel, docked at the bottom of the Edit page alongside the timeline, is often too short to show a subtle curve shape clearly, especially one with a narrow speed range like 90% to 110%.
Two fixes, and they solve different versions of the same complaint:
Drag the panel taller. The boundary between the Keyframes panel and whatever sits above it, usually the timeline, is draggable. Pulling it up gives the curve more vertical room to draw in, which alone resolves a curve that looks flattened purely because it's been squeezed into forty pixels of height.
Undock the panel into its own floating window. Per Blackmagic's own feature notes, version 21 added the ability to "open keyframes and spline as a new window," which gives you a full-size, independently resizable view completely separate from the constraints of the docked Edit page layout. This is worth doing by default if you regularly work with speed ramps, since a curve you can actually see clearly is a curve you can shape accurately, and eyeballing subtle Bezier handle adjustments in a cramped strip invites mistakes you won't notice until you play the timeline back.
Combine an undocked window with Normalized Zoom mode, covered earlier, for the clearest possible view of a subtle retime curve: the undocked window solves for screen space, Normalized Zoom solves for value range, and together they handle the two most common reasons a technically-correct curve still looks unreadable.
Can you get the old retime curve back by downgrading?
Not realistically, and not cleanly even if you tried. Two separate problems stand in the way.
First, DaVinci Resolve doesn't officially support opening a project in an older version once it's been touched by a newer one. Project files aren't guaranteed to remain compatible backward, and forcing the issue risks losing edits or corrupting the project database entirely. If your project has already been opened in 21, treat downgrading it as a real risk to your work, not a routine option.
Second, and more directly relevant to this specific complaint: downgrading to version 20 wouldn't actually restore what you're picturing. Version 20 already moved retime editing into the Keyframes panel, the forum thread titled "bring back the Retiming Curve" and a related one, "Please Bring Back Retime Curve option", both date from right around that version 20 transition, which tells you the relocation, not just the later Bezier overhaul, is what generated the original wave of complaints. Only versions before 20 had the old under-clip inline curve, and going back that far isn't a realistic move for an active project on modern hardware and camera formats.
The honest fix is learning the new location, not chasing the old one. A Blackmagic forum thread requesting the option to use the retime curve at clip level is exactly the kind of feature request worth adding your voice to if you want the old inline option back as a choice, but treat that as a long-term ask to Blackmagic, not something to solve today by downgrading software.
What's the fastest thing to try first?
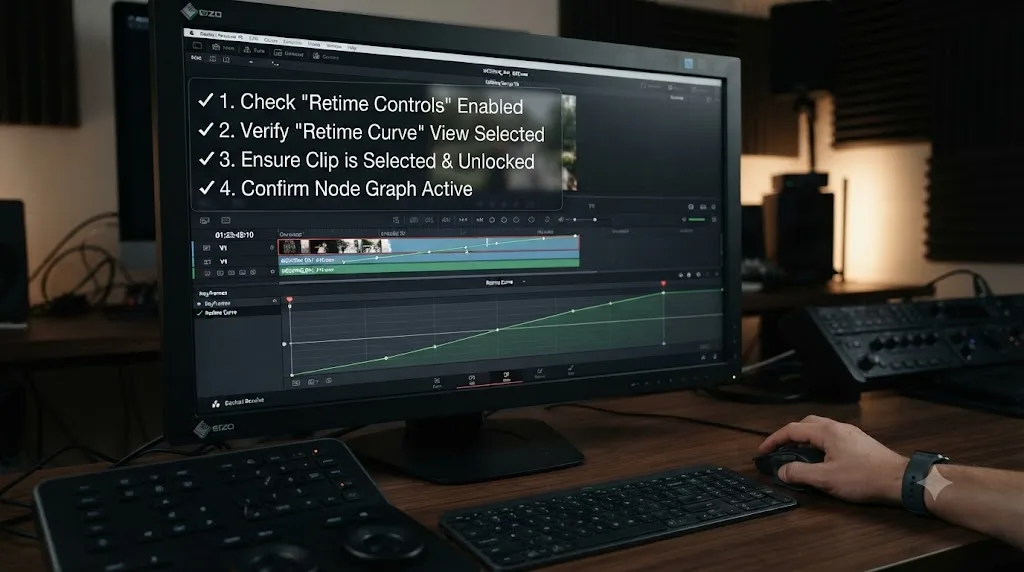
Work through these in order before assuming anything is actually broken:
- Confirm Retime Controls is turned on for the specific clip you're troubleshooting: Ctrl+R (Windows) or Cmd+R (Mac).
- Add a second speed point if you only have one; a single point produces a flat line by design, not a bug.
- Look at the far right of the clip's name bar for the Curve button, and click it, or use Clip > Show Keyframe Editor.
- Make sure you're on the curve/spline view inside the Keyframes panel, not the flat dot-track view.
- Check DaVinci Resolve > About DaVinci Resolve (Mac) or Help > About DaVinci Resolve (Windows), and update to 21.0.2 or later if you're behind.
- Drag the Keyframes panel taller, or undock it into its own window, if the curve renders but looks cramped or unclear.
- Rule out Fusion's separate Spline editor if the speed change you're chasing was actually applied inside a Fusion composition, not the Edit page.
If you're wading through preference menus and panel toggles you've never needed before and would rather someone just point at the exact button on your own screen, that's the specific gap TryUncle is built to close. TryUncle is an AI tutor for DaVinci Resolve on macOS. Ask in plain words and Uncle points at the exact control on your screen, instead of leaving you to match a forum screenshot from a different Resolve version against your own timeline.
Most people land on step one or step two. The retime curve isn't broken, and it isn't gone. It's sitting exactly where DaVinci Resolve 20 put it and where 21 refined it, one panel over from where your muscle memory keeps looking. Turn on Retime Controls, give it two points to draw between, and the curve you were sure had disappeared shows up right where it's supposed to be.
Frequently asked questions
- Why doesn't the retime curve show up under my clip in DaVinci Resolve 21 anymore?
- Because it isn't under the clip anymore. Starting with DaVinci Resolve 20, Blackmagic moved retime curve editing out of the small drop-down arrow that used to sit beneath a clip and into the Keyframes panel, now built on the same 4-point Bezier system as every other keyframed parameter. The feature didn't disappear, the location did.
- How do I open the Keyframes panel to see my retime curve?
- Turn on Retime Controls first (right-click the clip and choose Retime Controls, or press Ctrl+R on Windows or Cmd+R on Mac), add at least one speed point so Resolve has something to keyframe, then look at the far right of the clip's name bar in the Timeline for a small Curve button. Click it, or use Clip > Show Keyframe Editor.
- What keyboard shortcut turns on Retime Controls in DaVinci Resolve?
- Ctrl+R on Windows, Cmd+R on Mac. That toggles the speed bar above the clip. It's a separate step from opening the Keyframes panel, and skipping it is the single most common reason people think the retime curve vanished.
- Does DaVinci Resolve 21.0.2 fix the retime curve display bug?
- It improves it. Blackmagic's own 21.0.2 release notes, covered by CineD in July 2026, list an improvement to the display of the retime speed curve specifically. That's a targeted display fix, not a full rebuild, so update to 21.0.2 or later before assuming your install has a deeper problem.
- Why does my retime curve look like a flat line with no curve shape?
- Almost always because the clip only has one speed point. A curve needs at least two points to draw a shape between them; one point is just a flat speed value with nothing to curve toward. Add a second speed point with the clip playhead parked somewhere else in the clip, and the flat line becomes an actual curve.
- Is the retime curve different from a regular keyframe curve in DaVinci Resolve 21?
- Structurally, no, not anymore. Before version 21, retime speed used its own separate math, distinct from the 4-point Bezier easing used everywhere else. Version 21 folded retime into the same Bezier keyframe system as Transform, Cropping, and every other animatable Inspector parameter, which is exactly why it now lives in the same Keyframes panel instead of its own dedicated space.
- Can I get the old retime curve back by downgrading to DaVinci Resolve 20 or earlier?
- Not cleanly. Downgrading a project that's already been opened in a newer version of Resolve isn't officially supported and risks project damage, and DaVinci Resolve 20 already moved the retime curve into the Keyframes panel too, so downgrading from 21 to 20 won't actually restore the old under-clip curve. Only versions before 20 had that layout, and going back that far isn't realistic for most active projects.
- Why can't I see the Curve button on my clip's name bar at all?
- The Curve and Keyframe buttons only appear once a clip has at least one keyframed parameter, retime included. A clip with Retime Controls turned on but zero speed points added yet shows no buttons, because there's nothing keyframed to display. Add a speed point and the buttons appear immediately.
Sources
- CineD: DaVinci Resolve 21.0.2 Released, Keyframe Fixes, Retime Curve Improvements, and Better Fusion Vertical Transitions
- Newsshooter: DaVinci Resolve 21.0.2 Update
- JayAreTV: New Keyframe and Curves Editor in DaVinci Resolve 21 (Justin Robinson)
- Blackmagic Forum: Retime curue and keyfram not showing in davinci resolved-
- Blackmagic Forum: Retime Speed not showing up, or relocated unintuitively
- Blackmagic Forum: Retime Curve Option missing
- Blackmagic Forum: Missing "Retime Curve" in DaVinci Resolve 20.0.1
- Blackmagic Forum: bring back the Retiming Curve
- Blackmagic Forum: Please Bring Back Retime Curve option
- Blackmagic Forum: Retime curve not working on Davinci Resolve 20?
- DaVinci Resolve Reference Manual: Keyframing in the Edit Timeline and Curve Editor
- DaVinci Resolve Reference Manual: The Keyframe Editor
- DaVinci Resolve Reference Manual: Speed Effects and Retiming
- KabeerVerse: Fix DaVinci Resolve 21 Keyframe Curve Problems FAST!
- Boris FX: 4 Ways to Change Clip Speed in DaVinci Resolve
- Newsshooter: DaVinci Resolve 21 final release
- DaVinci Resolve - What's New (Blackmagic Design)
Put this guide to work with TryUncle.
Ask about the step you’re on. TryUncle sees your screen and points at the control you need, so you can keep learning in your own project.
Get TryUncle for Mac or WindowsKeep reading
News · Jul 8, 2026 · 21 min
DaVinci Resolve 21 New Features: The Complete List
Every new feature in DaVinci Resolve 21, page by page: Photo page, nine AI tools, Krokodove, MultiMaster, and Fairlight updates, all sourced.
Guides · Jul 9, 2026 · 32 min
How to Freeze Frame in DaVinci Resolve: Every Method
Freeze a frame in DaVinci Resolve with Change Clip Speed, Retime Controls, or Shift+R. Covers exporting stills, fixing audio pops, and timeline bugs.
Fixes · Jul 12, 2026 · 27 min
DaVinci Resolve Clip Plays Too Fast? Fix the Wrong Frame Rate
A DaVinci Resolve clip playing too fast is almost always a wrong frame rate. Fix Clip Attributes, Mixed Frame Rate Format, and Playback Frame Rate step by step.