Articles / Fixesupdated for DaVinci Resolve 21.0.2 (July 2026)
DaVinci Resolve Checksum Verification Failed: Every Fix
Quick answer
DaVinci Resolve shows 'Checksum Verification Failed' in two places: the Clone Tool, when a copied camera card doesn't hash-match its source, and the installer, when a downloaded file arrives corrupted. Redo the copy on different hardware to fix the Clone Tool version; free up disk space and re-download to fix the installer version. Never trust a copy that failed verification.
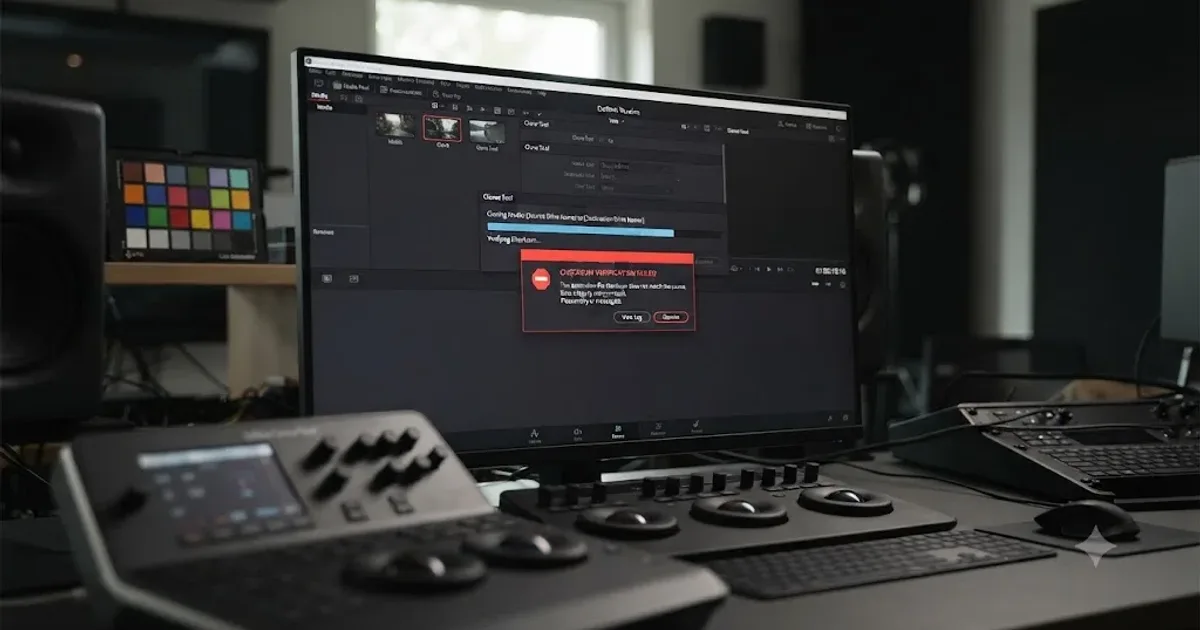
A red "Checksum Verification Failed" banner during a card offload is one of the worse moments in a shoot day. It shows up exactly when you have the least room to be wrong: the only copy of someone's footage, on a card you were about to reuse. It shows up often enough in editing forums and communities that the pattern is easy to recognize: someone posts about it late at night, staring at a card they're now afraid to erase.
The same error text, or a close cousin of it, shows up in a second, completely unrelated place: partway through installing DaVinci Resolve itself, when the installer's own integrity check on the downloaded file fails. Different tool, same words, different fix. This guide covers both, starting with the one you're more likely to be staring at right now.
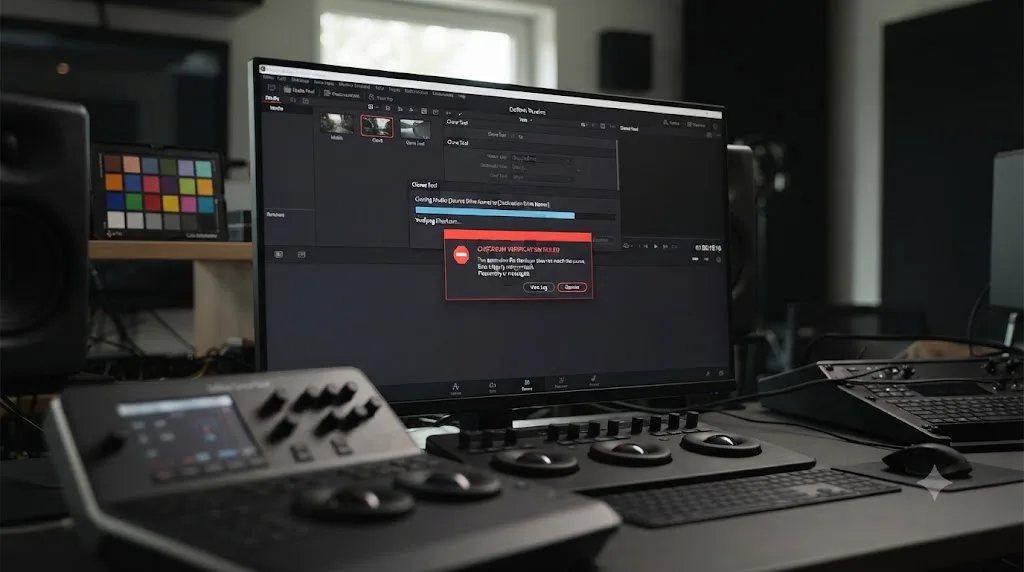
What does "Checksum Verification Failed" actually mean in DaVinci Resolve?
It means two sets of data don't match, byte for byte, and Resolve is refusing to pretend they do. A checksum is a short string generated by running a file through a hashing algorithm, and if you run the same file through the same algorithm twice, you get the same string both times, no matter how many times you check. DaVinci Resolve's manual describes the process plainly: it works by "comparing the hash value generated by the original file to that generated by the copied file," per the official DaVinci Resolve manual's section on the Clone Tool. When those two hash values differ, Resolve tells you, instead of quietly handing you a copy it can't vouch for.
In DaVinci Resolve, a checksum verification failure means the copy and the original no longer match byte for byte, not that the file is unreadable. That distinction matters, because the two contexts where you'll see this message point at completely different parts of your workflow.
| Where you saw it | What's actually being compared | Likely cause |
|---|---|---|
| Clone Tool, copying a camera card or drive | Source card data vs. the newly written destination copy | Bad connection, failing card, or a drive dropping mid-copy |
| DaVinci Resolve installer, before or during unpacking | The file Blackmagic Design published vs. what actually downloaded to your machine | Interrupted download or insufficient disk space |
| macOS mounting a downloaded .dmg | The disk image's internal checksum vs. what macOS reads back from it | Corrupted or incomplete download, same root cause as above |
Match your situation to a row in that table before you touch a single setting. The rest of this guide follows that same split: Clone Tool first, since it's the more common and higher-stakes version, then the installer.
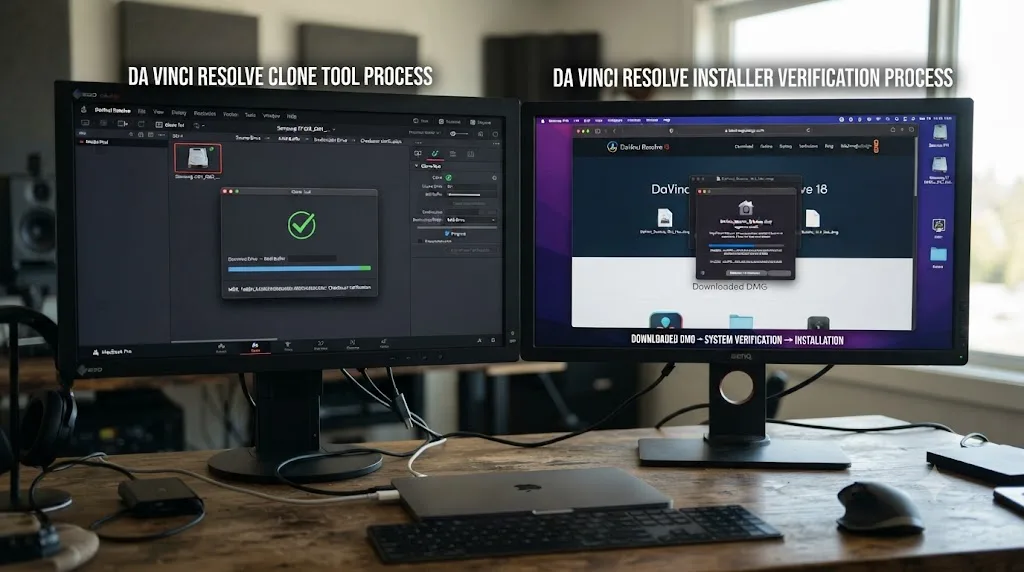
Why does the Clone Tool say "Checksum Verification Failed" when copying camera media?
It's telling you the file it just wrote to your destination drive doesn't hash-match the file still sitting on your source card, and in the large majority of cases the source card is fine. DaVinci Resolve's Clone Tool exists specifically to catch this. It reads the source file, generates a checksum, writes the copy, reads the copy back, generates a second checksum, and compares the two, according to a detailed breakdown of the process from Kinolios, a videography and color grading studio. "It is this second reading that considerably lengthens the total time of the operation," the same writeup notes, which is exactly why a verified clone always takes longer than a plain drag-and-drop copy.
A "Checksum Verification Failed" message on the Clone Tool almost never means your footage is gone. It means the safety net worked. The failure is nearly always introduced somewhere in the copy path, not on the original card, and the four usual suspects are:
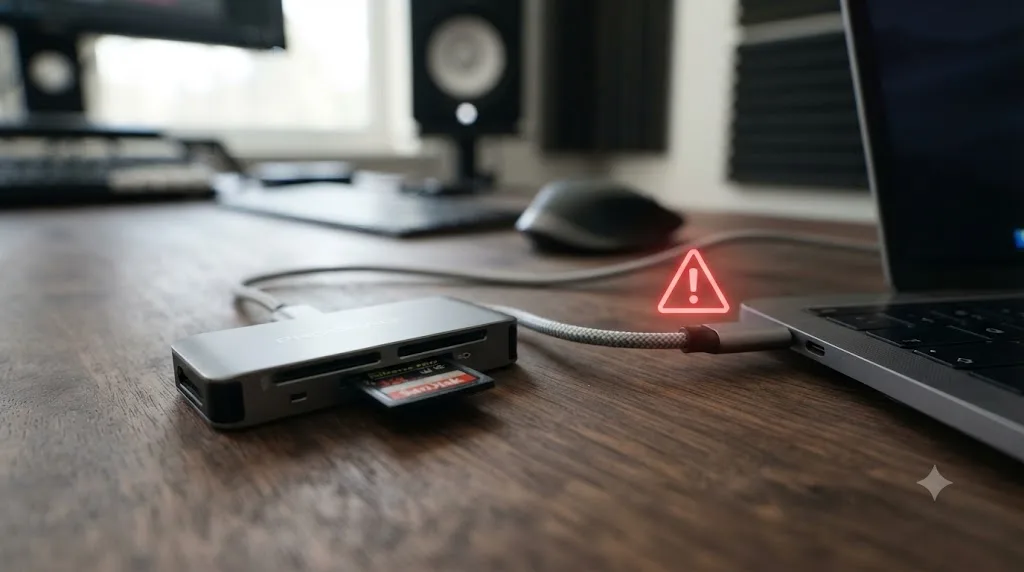
- A loose or marginal cable or connection. USB and Thunderbolt connections that work fine for casual file browsing can drop bits during a long, sustained read-write operation, especially through a cheap or overloaded hub.
- A card reader that's overheating or underpowered. Bus-powered readers pulling data continuously for several minutes on a big card can throttle or introduce errors that a short copy would never surface.
- A source card with a failing or worn-out sector. Less common than the connection issues above, but real, especially on cards that have been through hundreds of shoot-format-reuse cycles.
- A destination drive dropping out mid-write. Spinning drives that sleep, external SSDs that briefly disconnect, or a drive nearing the end of its write endurance can all corrupt the copy without corrupting the source.
Daniel Grindrod, a UK-based cinematographer who uses the Clone Tool on client work, put the stakes plainly: "you want to be 100% certain that when you've offloaded that card or mag that it has all been copied successfully," in his walkthrough of the tool. That's the whole reason checksum verification exists in the first place, and it's also why the right response to a failure is never to shrug and use the copy anyway.
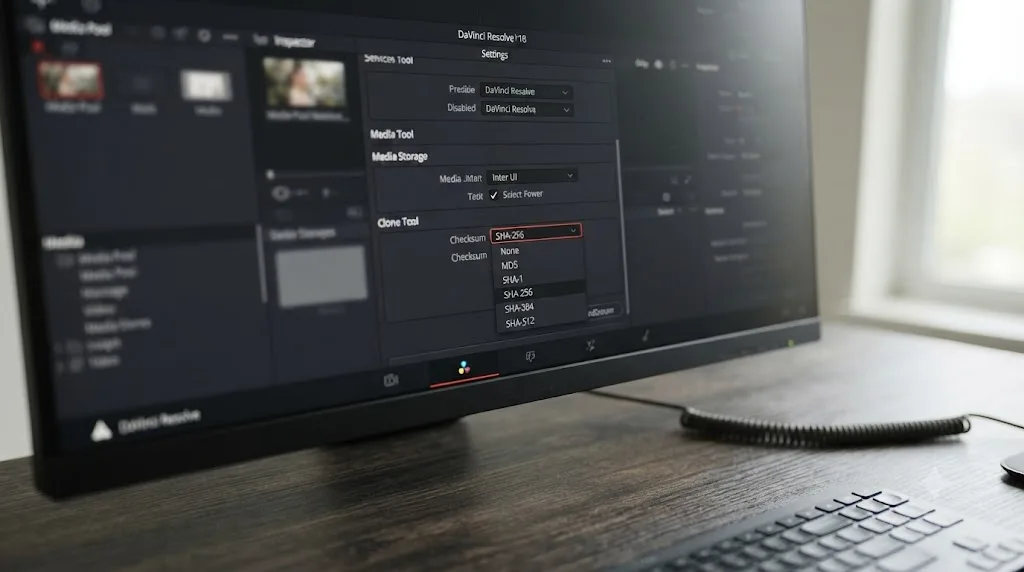
What are the six checksum methods in the Clone Tool, and which should you actually use?
DaVinci Resolve's Clone Tool offers six checksum options, and the right one depends on how much time you have and how much risk you can tolerate. Per the official Resolve manual, "greater security generally means a slower copy operation," which is the tradeoff you're actually choosing between every time you pick one.
| Method | Speed | Collision resistance | Manual's own description |
|---|---|---|---|
| None | Fastest | None, no verification happens | Skips verification entirely |
| File Size | Fast | Minimal | "Fast, but minimal data verification" |
| CRC 32 | Faster than MD5 | Low | "Faster than MD5, but less secure" |
| MD5 | Default, moderate | Reasonable, industry standard | "A reasonable tradeoff between speed and security" |
| SHA 256 | Slower | High | "Slower, but more secure" |
| SHA 512 | Slowest of the six | Highest | Slower than SHA 256, more collision resistant |
Some newer camera media and mounted drives also expose XXHash64 as an option in current builds, a high-speed algorithm that compares source and destination at the byte level, per Cutsio's guide to the Clone Tool. Where it's available, it sits closer to CRC32 on the speed end while offering better collision resistance, which is why some ingest crews default to it on high-volume shoot days instead of MD5.
For nearly everyone, MD5 is the right default, and it's the one Resolve ships with for a reason. Drop down to CRC32 or File Size only when you're racing a hard deadline across dozens of cards on drives you already trust. Move up to SHA256 or SHA512 for footage you're archiving long-term or handing off as a final master, where the extra few minutes per card cost nothing compared to what a bad archive copy would cost later.
What does a full Clone Tool session look like, step by step?
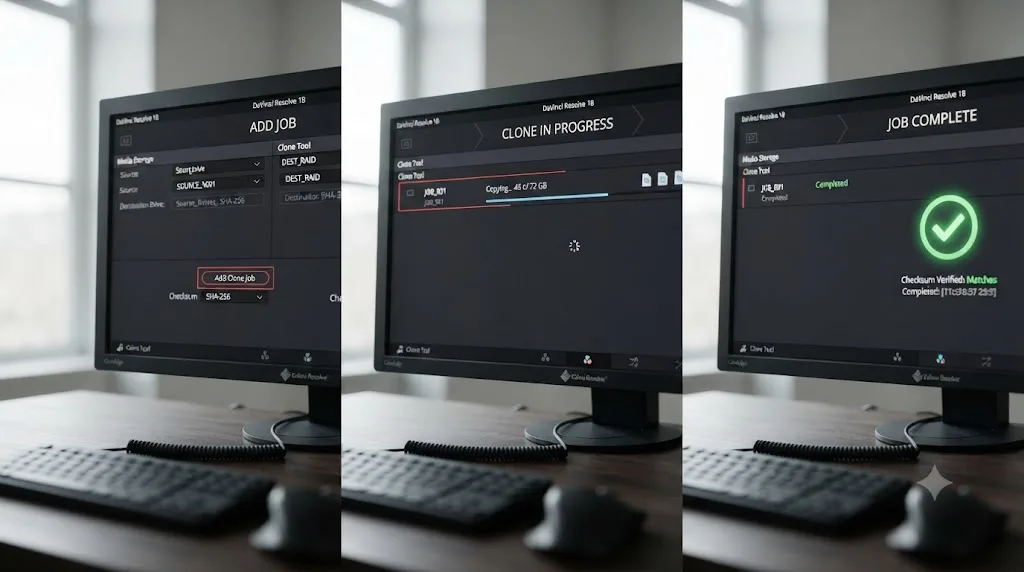
If you've never run the tool from a completely clean start, the individual pieces make more sense once you see the whole sequence in order.
- Open the Media page and find the Clone Tool tab, positioned next to the Media Storage panel, per Daniel Grindrod's walkthrough of the tool.
- Click Add Job to create a new clone task.
- Drag your source folder or card into the source field, or right-click a volume in the Media Storage panel and choose Set As Clone Source, an option the official Resolve manual also documents.
- Drag one or more destination folders into the destination field. The Clone Tool supports more than one destination in a single pass, so a two-drive backup takes one clone operation instead of two.
- Pick a checksum method from the options menu, MD5 by default, unless you have a specific reason to choose something faster or slower.
- Click Clone to start the transfer. The tool copies the source data and runs the checksum comparison in the same pass rather than as two separate operations.
- Wait for the green Complete icon. That's your confirmation the copy matches the source. If verification fails instead, you'll see the failure state described throughout this guide rather than a quiet success.
Once a clone finishes successfully, DaVinci Resolve writes a checksum report to the root of each destination volume, per the official manual, giving you a record of which checksum method ran and which files it covered. That's the file most third-party MHL tools read when you want to re-verify a copy later without touching Resolve at all, covered in more detail further down this guide.
None of these steps change based on which checksum method you pick or how many cards you're offloading in a day. The only thing that changes is how long step 6 takes, since a heavier algorithm like SHA512 takes longer to compute than File Size or CRC32 over the same amount of data.
Does the free version of DaVinci Resolve include the Clone Tool and checksum verification?
Yes, and this trips people up more than you'd expect. If you've hit a checksum failure and you're only running the free version of DaVinci Resolve, it's worth ruling out the theory that upgrading to Studio would somehow make the problem go away. It wouldn't.
Blackmagic Design's own list of what DaVinci Resolve Studio adds over the free edition includes things like "DaVinci Neural Engine for automatic AI region tracking, stereoscopic tools, more Resolve FX filters, more Fairlight FX audio plugins and advanced HDR grading," according to Blackmagic Design's tech specs page. The Clone Tool isn't on that list. Neither are any of its six checksum methods.
The Clone Tool and its checksum verification work the same way in the free version of DaVinci Resolve as they do in Studio. Both editions read the source card, generate a hash, write the copy, generate a second hash, and compare the two using the same underlying code path. A checksum mismatch on the free version means exactly what it means on Studio: the copy and the source don't match. License tier has nothing to do with it.
That's genuinely useful if you're offloading cards on a laptop that only has the free build installed, maybe a backup machine you keep around for exactly this purpose. You're not missing a paid feature and you're not looking at a degraded version of verification. You're looking at the same check everyone else gets, free or not.
Is a failed Clone Tool checksum ever a false alarm?
Practically never, and that's worth sitting with for a second before you dismiss the warning. A checksum comparison is deterministic. If the two hash values genuinely differ, the two files genuinely differ, and no amount of "it's probably fine" changes that math. What can feel like a false alarm is really a diagnosis problem: the message tells you a mismatch happened, but not where in the chain, which leads people to blame the footage when the fault sits in the reader or the cable.
That gap in Resolve's own reporting is a known limitation, not a rumor. As Kinolios puts it plainly, "A 'Failed' message will just be displayed, but no log will specify which file is the source of the problem, so you will have to start the cloning again from the beginning," describing exactly this frustration. No file name, no timecode, no hint. Just the word failed and a copy you now have to distrust entirely.
DaVinci Resolve's own checksum failure message names no file and writes no log, so the retry is the diagnosis. Change one variable, like the reader or the cable, redo the copy, and watch whether the failure follows the change. If it does, you've found your cause without needing Resolve to tell you. The same source offers a useful bit of perspective from real-world use: "I personally have had errors very rarely, when using questionable external drives for example, but the fault was not with the software." That's consistent with what most working DITs report. The tool is doing its job. The hardware around it is usually where the problem actually lives.
How do you fix a Clone Tool checksum verification failure, step by step?
Work through this in order rather than jumping straight to re-formatting a card or panicking about lost footage.
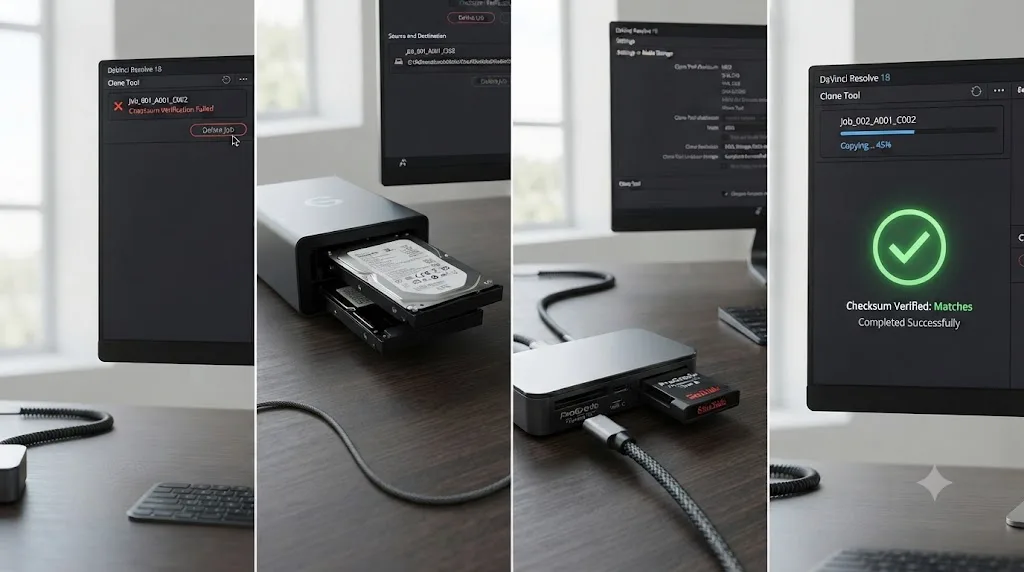
- Delete the failed destination copy completely. A copy that failed verification is unverified, not just incomplete. Don't build on top of it or assume the parts that seem fine actually are.
- Move the source card to a different reader. If you have a second reader on set or in the edit bay, use it. This single swap resolves the majority of repeat checksum failures.
- Plug directly into the computer, not through a hub. USB hubs, especially cheap or unpowered ones, are a common source of intermittent data errors during long, sustained transfers.
- Swap the cable. A cable that handles short file transfers fine can still be marginal enough to introduce errors over a multi-minute sustained write.
- Try a different destination drive. If the same source card fails against two different destinations, the problem has moved from "probably the destination" to "probably the source or the connection."
- Run the clone again from a clean start. Don't resume; start over with the checksum method you actually intend to keep.
- If it fails again on the same card after all of the above, treat the card itself as suspect. Try reading individual files from it manually. If those reads also error out or hang, the card may be failing physically, which is a different problem than a checksum mismatch and calls for professional data recovery rather than another clone attempt.
Do not erase or reformat the source card at any point in this list until you have a copy that passed verification cleanly. That's the entire point of running the checksum in the first place, and skipping straight to "it probably copied fine" defeats it.
Why does DaVinci Resolve throw a checksum or CRC error while installing?
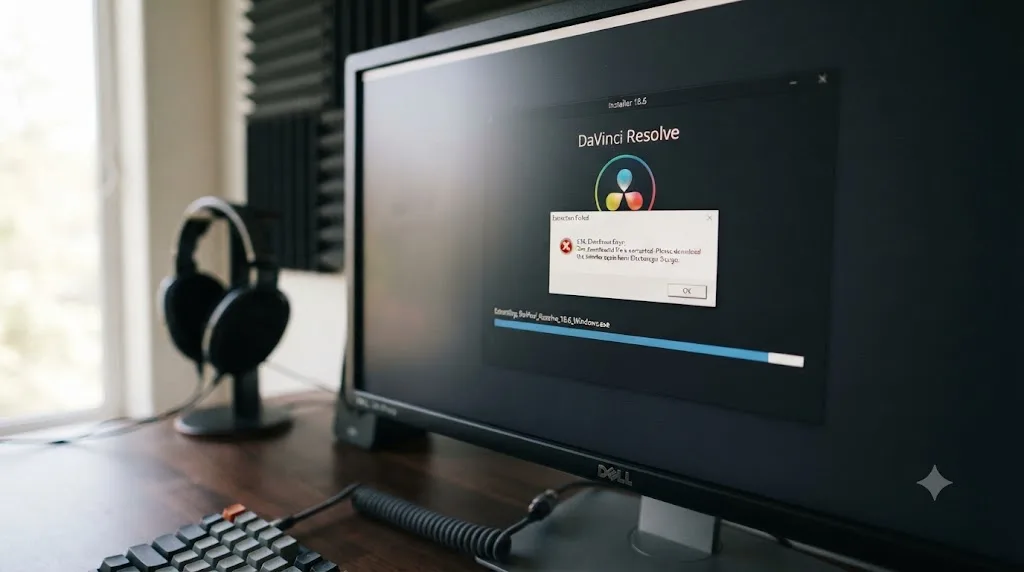
This is an entirely different mechanism from the Clone Tool, even though the wording overlaps. When you download DaVinci Resolve from Blackmagic Design's site, the installer file itself carries an internal check, and some installer packages verify a CRC (cyclic redundancy check) value against the archive contents before they'll extract. If what landed on your drive doesn't match what Blackmagic published, the installer stops rather than unpacking a file it can't confirm is intact.
Users have run into exactly this. On the Blackmagic Design forum, a thread specifically about a CRC checksum error extracting the DaVinci Resolve Studio 17.2.1 download for Windows describes the problem and its eventual resolution, and the root cause traced back to available disk space on the user's system rather than a bad download from Blackmagic's end. That's a genuinely useful data point, because it means "checksum error during install" doesn't automatically mean "re-download and hope." Sometimes the file arrived perfectly intact and the extraction itself has nowhere to unpack it.
A checksum error during installation is a math problem, not a hardware problem: the bytes that arrived don't match the bytes that were sent, or there wasn't room to write them out. Either way, the fix path is short, and it doesn't involve anything more exotic than a clean re-download and a look at your free disk space.
Is the installer checksum error about disk space, a bad download, or something else?
It's almost always one of those two, and they produce nearly identical symptoms, which is why it's worth checking both instead of guessing.
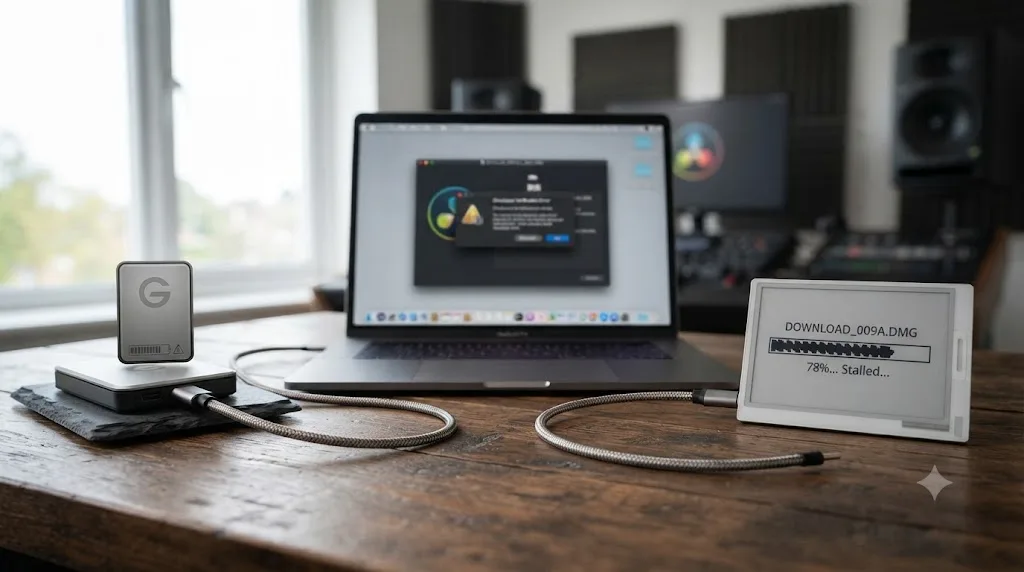
A truncated download is the more common cause. Here's the trap: a partial download can still show the full expected file size in your Downloads folder, because some browsers pre-allocate the entire file size on disk before every byte has actually arrived. Glancing at the file size in Finder or Explorer tells you nothing reliable. The installer's own checksum check is the only thing that actually confirms every byte made it, which is precisely why the error surfaces there instead of earlier.
Low disk space is the less obvious cause, and it's genuinely underestimated. Installers need headroom well beyond their own file size to safely write temporary files during extraction. If you have just enough free space for the installer file itself and almost nothing left over, the unpacking step can fail partway through in a way that surfaces as a checksum or CRC mismatch rather than a plain "disk full" message, exactly the pattern the Blackmagic forum thread above describes.
A short list of less common but real contributors:
- An interrupted download from a dropped Wi-Fi connection, especially on a coffee shop or hotel network known for flaky uptime.
- A download that was paused and resumed by the browser, which some download managers handle imperfectly for large files.
- Antivirus software quarantining or partially modifying the file during or right after the download completes, before you ever open it.
- A corrupted browser download cache serving up a stale, partial copy of a file with the same name as a previous failed attempt.
Rule out disk space first, since it takes ten seconds to check and it's the one cause a re-download alone won't fix.
How do you fix a checksum or CRC error during DaVinci Resolve installation?
Work through these in order:
- Delete the downloaded installer file entirely. Don't try to extract it again as-is, and don't resume a paused download of the same file.
- Check your free disk space before downloading anything else. Aim for at least a few gigabytes more than the installer's own listed size, since extraction needs working room beyond the final install footprint.
- Clear your browser's download cache, or switch to a different browser for the re-download if the first one keeps producing the same result.
- Go back to Blackmagic's official DaVinci Resolve support and downloads page and start a completely fresh download, ideally over a wired connection or stable Wi-Fi rather than a network known to drop.
- Let the download finish completely before opening the file. Some browsers mark a download "complete" a moment before the file handle actually finishes closing, so give it an extra few seconds after the progress bar hits 100%.
- Temporarily disable third-party antivirus or security software for the length of the extraction if the error persists after a clean re-download, then re-enable it once the install finishes.
- On Windows, try extracting with a dedicated archive tool like 7-Zip instead of the built-in extractor if the installer ships as a compressed archive, since some third-party extractors surface a clearer error message than the OS default.
The safest response to a failed checksum is always the same: replace the copy, never trust it half verified. That applies whether it's a camera card or an installer file. A file that failed its own integrity check has no business being extracted, run, or relied on, no matter how close it looks to correct.
Does macOS handle checksum verification differently than Windows?
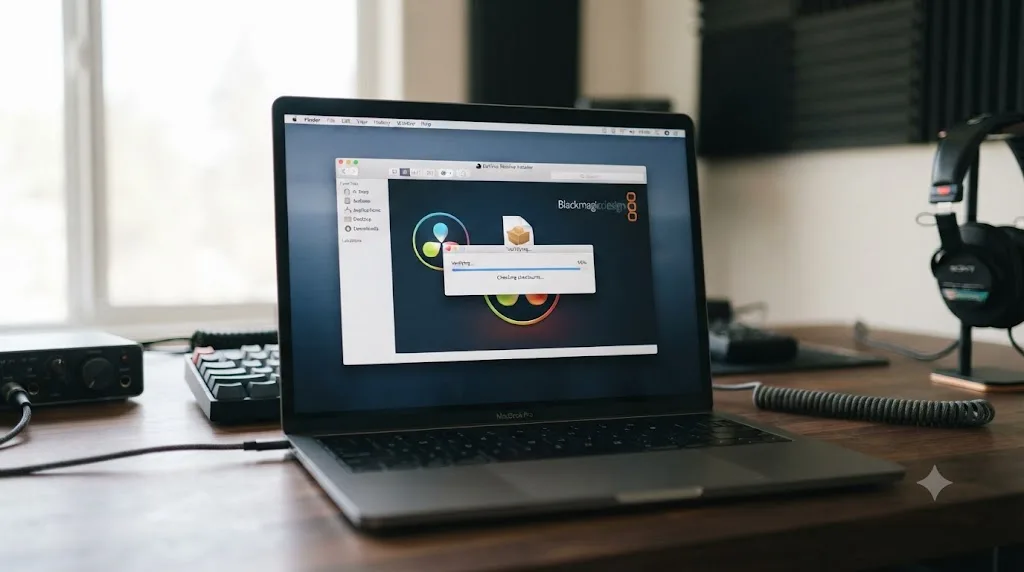
Yes, in one specific way worth knowing before you go looking for a Resolve-specific setting that doesn't exist. When you mount a downloaded .dmg on macOS, the operating system itself checks the disk image's internal checksum before letting you access its contents, independent of anything DaVinci Resolve's own installer does afterward. This is a general macOS mechanism that applies to any .dmg file, not something Blackmagic Design built specifically for Resolve.
There's a long-documented Terminal command that disables this OS-level check, defaults write com.apple.frameworks.diskimages skip-verify -bool YES, covered in a walkthrough from Engadget going back years. It works, and it will make a .dmg mount faster by skipping the verification step entirely. It is not a fix for a genuinely corrupted download, though, only a way to stop macOS from telling you about a problem that's still there. Running an app extracted from an unverified disk image is trading a clear error message now for a vague, harder-to-diagnose problem later. Re-download the file properly instead, and only reach for that command to re-enable verification afterward with the same command and -bool NO if you ever turned it off for something else.
On Windows, there's no equivalent OS-level disk image check, since the installer typically ships as a self-extracting executable or a standard archive rather than a mounted image, so the checksum or CRC error you'll see on Windows almost always comes from the installer's own internal validation, the exact scenario covered in the CRC checksum forum thread earlier in this guide.
Can a cheap card reader, hub, or cable cause repeated checksum failures?
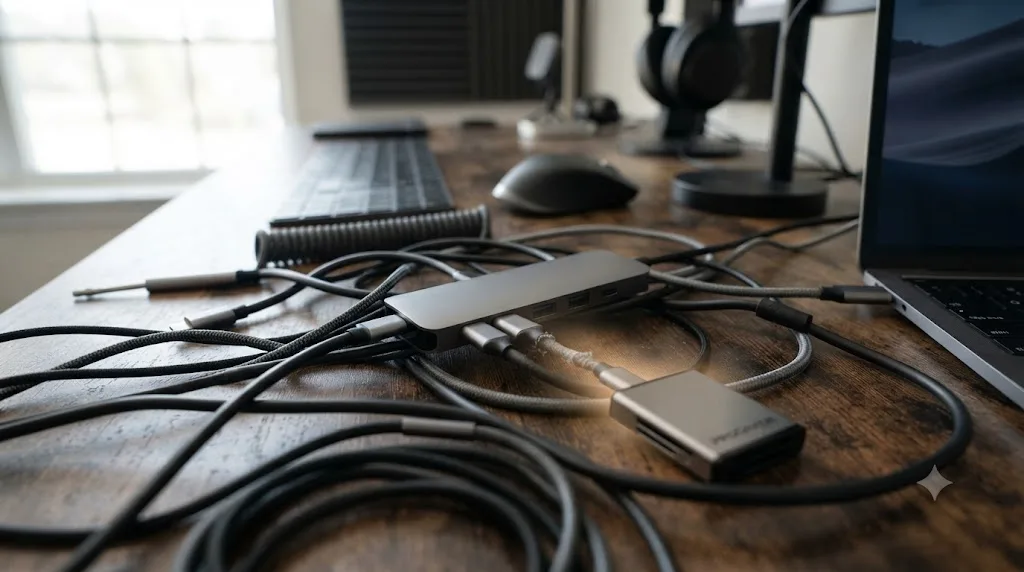
Yes, more often than any single piece of software or setting does, and it's the cause people check last instead of first. Checksum verification is unusually good at surfacing marginal hardware, because a short file copy might complete cleanly on a flaky connection purely by chance, while a large, sustained multi-gigabyte transfer gives that same marginal connection far more opportunities to drop or corrupt a bit somewhere in the stream.
A few patterns worth knowing:
- Multi-port USB hubs, especially unpowered ones, split bandwidth and power across every connected device. A card reader sharing a hub with a keyboard, a mouse, and an external SSD is drawing on a smaller, less stable slice of both than it would plugged in alone.
- Bus-powered card readers on long copies can genuinely overheat during a sustained multi-minute transfer, and thermal stress on cheap controllers is a real, if under-discussed, source of intermittent data errors.
- Damaged or worn cable connectors fail intermittently before they fail completely, which is exactly the kind of failure that produces occasional checksum mismatches rather than a connection that visibly refuses to work at all.
- Long cable runs, especially past the rated length for the USB or Thunderbolt version in use, degrade signal integrity in ways that a short test copy won't reveal but a full card offload will.
If a checksum failure happens once and never again, don't over-investigate it; treat it as the system working as designed and move on. If the same setup fails two or three times in a row across different cards, that's a hardware pattern, not bad luck, and it's worth replacing the reader or cable before you touch anything else.
What if the same file fails checksum every single time?
This is the pattern that actually points toward the source media, rather than the connection between it and your computer. If you've swapped the reader, the cable, and the destination drive, and the exact same file on the exact same card keeps failing verification no matter what else changes, the problem has narrowed down to the card itself.
Two things can be happening here, and they call for different responses:
The card has a genuinely failing sector. Flash storage degrades with write cycles, and a card that's been through hundreds of shoot-and-reformat rounds is a candidate for this even if it still mounts and browses normally. Try copying individual files manually outside of Resolve's Clone Tool. If a specific file hangs, errors, or takes drastically longer than its neighbors to copy, that file is likely sitting on damaged flash.
The card is fine, but one specific file was already corrupted when it was written by the camera. This happens more often than people expect, usually from a battery dying mid-write, a card being pulled before the camera finished its own write cycle, or a firmware bug on the camera itself. In this case, no amount of reader or cable swapping fixes it, because the checksum mismatch is comparing a correctly-copied bad file against itself, and the corruption predates the Clone Tool entirely.
If it's the second scenario, treat that clip as lost from the source rather than continuing to retry the copy. If it's the first, stop using that card for anything you can't afford to lose, and consider professional data recovery before you write anything else to it.
Should you ever turn checksum verification off?
Setting the Clone Tool to None removes verification entirely, and it's tempting when you're offloading a stack of cards against a hard deadline. It genuinely does make copies faster, since Resolve skips the second read-and-compare pass altogether. But it also removes the entire reason to use the Clone Tool instead of a plain drag-and-drop in Finder or Explorer.
Turning checksum verification off doesn't make a bad copy good. It just stops DaVinci Resolve from telling you about it. None makes sense in a narrow set of cases: you're moving files you already have two other independently-verified copies of, or you're copying something small and low-stakes where a corrupted file would be obvious and easy to redo anyway. It does not make sense as your default setting for camera original footage, where a bad copy might not surface as a problem until weeks later, in the edit, on the one clip a client specifically asks for.
If speed is genuinely the constraint, drop to File Size or CRC32 rather than jumping straight to None. Both are meaningfully faster than MD5 while still catching the most common failure mode, a copy that simply didn't finish or landed at the wrong size, even if they're less rigorous about detecting a subtler bit-level corruption.
How do you verify a copy after the fact if Resolve's own log doesn't say enough?
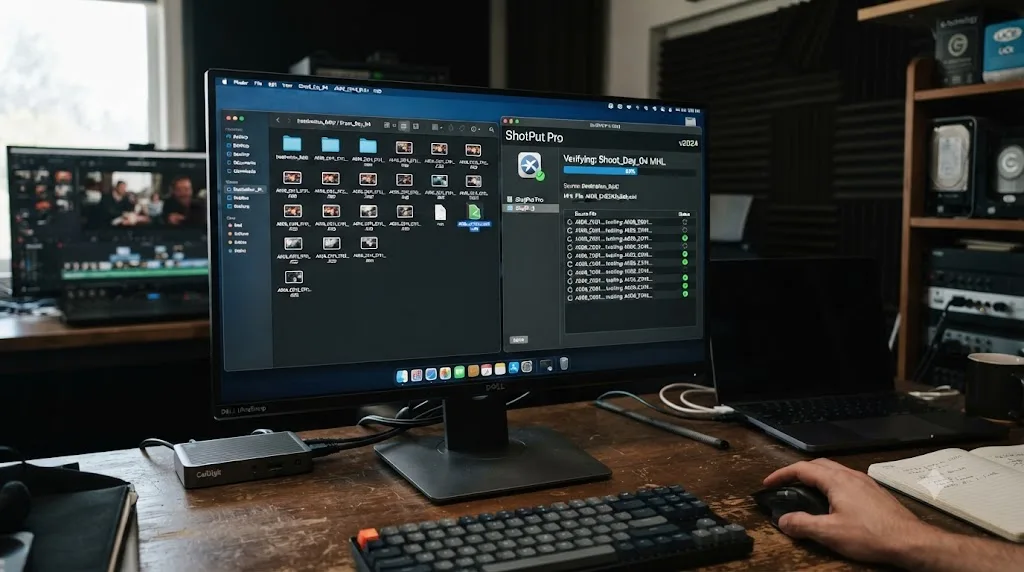
DaVinci Resolve's Clone Tool writes an MHL file, short for Media Hash List, into the destination folder alongside a completed clone. That file contains the checksum record for every file it copied, and it's an open, industry-standard format, not something proprietary to Resolve. You can view it in the destination folder after a successful clone.
The gap is that Resolve itself doesn't offer a built-in way to re-verify against that MHL file later, independent of the original copy operation. That's where dedicated third-party tools step in. MhlFileVerify, an open-source, cross-platform tool built specifically for this, describes itself as software "to verify and seal data according to the implementation of the MHL standard," and it explicitly supports the same format written by DaVinci Resolve, Silverstack, and Hedge, three of the most common tools professional data wranglers use on set. Point it at your destination folder and its MHL file, and it re-hashes every file and reports back whether the copy still matches, without needing DaVinci Resolve open at all.
If you just need to check one file rather than re-verify an entire card, you don't need to install anything extra. Both Windows and macOS ship with a checksum command built in. On Windows, open Command Prompt and run certutil -hashfile "path\to\file" MD5, swapping in SHA256 or SHA512 to match whichever method the Clone Tool used. Windows prints the hash on its own line, and certutil defaults to the outdated SHA1 if you leave the algorithm off entirely, so always name it explicitly, per a walkthrough of the certutil command. On macOS, the Terminal equivalent is shasum -a 256 /path/to/file, or -a 512 for the heavier variant, or the separate md5 command if that's the method you need to match.
Either way, you're comparing the printed hash against the value recorded in the Clone Tool's checksum report or the MHL file by eye, which works fine for a single file but doesn't scale past a handful of clips. For a full card's worth of files, the dedicated MHL tools above save you from copying and comparing dozens of hash strings by hand.
This matters most in two situations: when you want independent confirmation before erasing an expensive card on a paid shoot, and when you're archiving footage long-term and want to periodically re-verify that files sitting untouched on a shelf drive haven't silently degraded, a phenomenon sometimes called bit rot. Neither of those is a DaVinci Resolve problem specifically, but the MHL file the Clone Tool already writes for you means you don't have to build that safety net from scratch.
What's the right order to troubleshoot any checksum verification failure?
Match your symptom to a row here before you start changing settings at random.
| Symptom | Likely cause | Start with |
|---|---|---|
| Clone Tool fails on one card, once | Transient hardware hiccup | Retry the exact same setup once before changing anything |
| Clone Tool fails repeatedly, different cards | Reader, hub, or cable | Swap reader, connect directly, swap cable |
| Clone Tool fails on the same file every time, all hardware swapped | Failing card or file corrupted at time of recording | Test the file manually outside Resolve; consider it unrecoverable if it hangs |
| Installer fails at "Verifying" or shows a CRC error | Incomplete download | Delete and re-download completely |
| Installer fails partway through extraction, no clear message | Insufficient disk space | Free up several gigabytes beyond the installer's size |
| macOS .dmg won't mount, or mounts slowly with a verification bar | Standard OS-level disk image check, usually a fine download | Let it finish; only investigate further if it fails outright |
| Fails on the free version but you assume Studio would behave differently | Not a real distinction; license tier doesn't affect checksum behavior | Treat it as a hardware or connection issue like any other Clone Tool failure |
| Same setup worked yesterday, fails today | Recently changed cable, hub, or a drive nearing failure | Isolate what changed since the last successful copy |
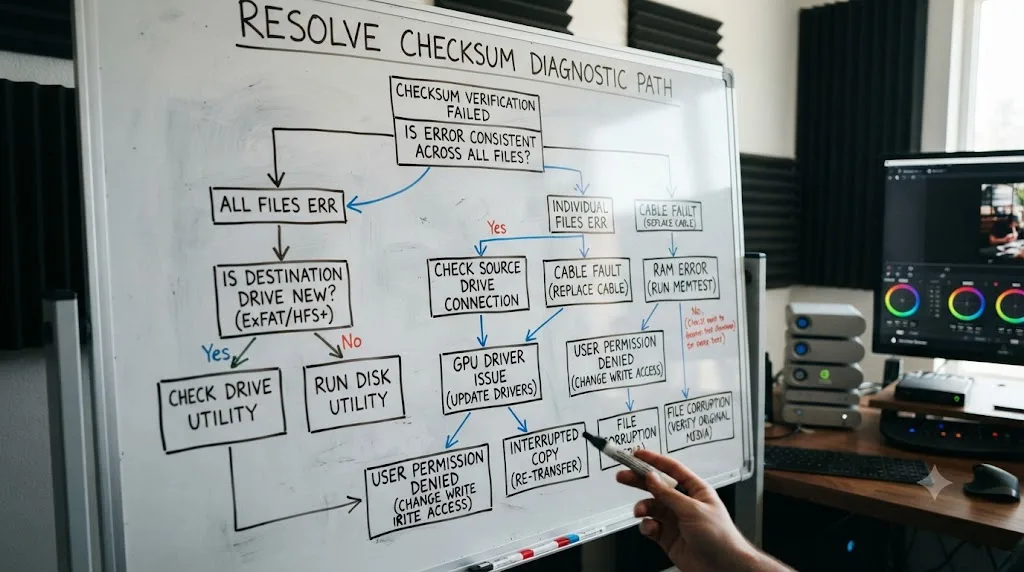
A checksum verification failure that repeats on new hardware is a data problem. One that repeats on the same hardware is an equipment problem. That single distinction, more than any specific setting inside DaVinci Resolve, tells you which half of this guide to spend your time in.
How do you stop checksum failures before they start?
Every fix above has a cheaper version that happens before the error ever appears.
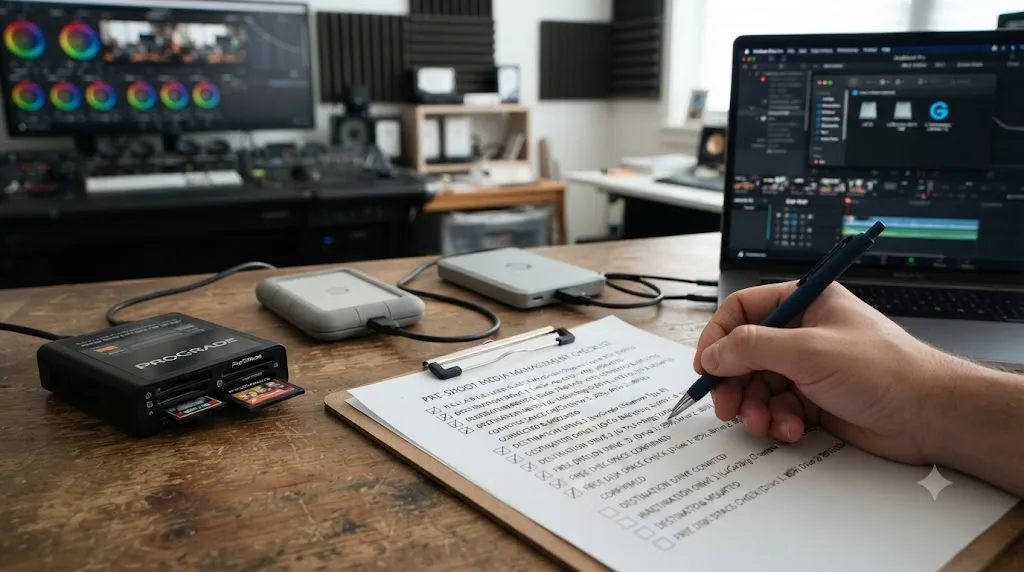
Buy one good card reader and stick with it. A single reliable reader, connected directly rather than through a hub, removes the single most common cause of repeat Clone Tool failures before it has a chance to happen.
Budget real time for verified copies, not drag-and-drop time. A checksum-verified clone of a full card takes meaningfully longer than a plain copy, because Resolve is reading the data twice. Treat that time as part of the shoot day, not an inconvenience to route around by skipping verification.
Keep two destinations, not one. The Clone Tool supports multiple simultaneous destinations in a single pass. If one destination drive has an issue, you're not starting the entire offload over from a card you've already begun to distrust.
Don't download installers on unstable connections. If you're on a hotel or airport Wi-Fi network and need Resolve installed before a job, download it once you're back on stable Wi-Fi rather than fighting a flaky connection and hoping the checksum passes on the third try.
Keep meaningful free space on both your boot drive and your working drive. Ten to twenty gigabytes of headroom on whichever drive handles installers and downloads avoids the space-related failures covered earlier in this guide entirely.
The fastest path back to a verified copy
Figure out which tool is actually throwing the error first, since the Clone Tool and the installer share a message but nothing else about their cause. For the Clone Tool, swap the reader and the cable before you suspect the card, and never keep a copy that failed verification, no matter how close it looks to complete. For the installer, delete the file entirely, check your free disk space, and re-download from Blackmagic's own site rather than resuming a partial file. In both cases, the checksum did exactly what it was built to do: it caught a mismatch before you trusted a bad copy. That's not bad luck. That's the tool working.
TryUncle is the on-screen assistant for DaVinci Resolve on macOS - ask in plain words and Uncle points at the exact control on your screen. If you're mid-shoot and unsure whether a setting in the Clone Tool's options menu is the one you actually need, that's the kind of stuck moment TryUncle can point at live on your own screen instead of sending you back to a forum thread. It's a paid app at founder pricing, worth checking TryUncle directly for the current rate, and macOS only for now.
If a checksum failure led you down a rabbit hole of disk space warnings elsewhere in Resolve, our guide to DaVinci Resolve's out of disk space error while rendering covers the render cache side of that same problem. If your install is stuck somewhere this guide didn't cover, our full breakdown of DaVinci Resolve installs stuck on Mac goes deeper into Gatekeeper, Rosetta, and permissions. And if a clip from a card you just cloned shows up as Media Offline once you're inside a project, that's a separate relinking problem covered in our guide to DaVinci Resolve media offline, while Blackmagic RAW files that seem to import fine but won't open are covered in our guide to Blackmagic RAW that won't import.
Frequently asked questions
- What does 'Checksum Verification Failed' mean in DaVinci Resolve?
- It means DaVinci Resolve compared a hash of the original data against a hash of the copied or downloaded data, and the two didn't match. That's the whole message. It shows up in two unrelated places: the Clone Tool, when copying camera media, and the installer, when it checks the downloaded application file before unpacking it.
- Why does the Clone Tool fail checksum verification when copying camera cards?
- Almost always hardware, not the file. A flaky USB hub, a card reader overheating on a long copy, a cable working loose, or a source card with a failing sector will all produce a hash mismatch even though nothing is wrong with your footage on the original card. Redo the copy with a direct connection and a different card reader before you assume the card itself is bad.
- Which checksum method should I use in DaVinci Resolve's Clone Tool?
- MD5 is Resolve's default and the right choice for most people, since it balances speed against a vanishingly small chance of a false match. Drop to CRC32 or File Size only when you're offloading dozens of cards against a hard deadline and the drives are known reliable. Reach for SHA256 or SHA512 for masters and archival copies where the extra minutes don't matter.
- Does the free version of DaVinci Resolve include the Clone Tool's checksum verification?
- Yes. The Clone Tool and all six of its checksum methods work identically in the free version and DaVinci Resolve Studio. Blackmagic Design's own list of what Studio adds, things like the Neural Engine, stereoscopic tools, and extra FX plugins, doesn't include the Clone Tool or checksum verification, so a mismatch on the free version means the same thing it means on Studio: the copy doesn't match the source.
- Is it safe to turn off checksum verification and set the Clone Tool to None?
- It's safe in the sense that Resolve will let you do it, but it removes the entire point of using the Clone Tool instead of a plain drag and drop copy. None only makes sense when you're moving files you already have two other verified copies of, and speed matters more than a third confirmation.
- Why do I get a checksum or CRC error when installing DaVinci Resolve?
- The installer's own integrity check caught a downloaded file that doesn't match what Blackmagic Design published, usually because the download was interrupted or your drive ran low on space mid-download. Delete the file completely, free up at least a few gigabytes more than the installer's stated size, and download it again from Blackmagic's site rather than resuming the same partial file.
- Does a checksum failure mean my footage is actually corrupted?
- Not on the source. A checksum failure tells you the copy doesn't match the original, and the original card is still sitting in the reader, unmodified. The fix is to make a fresh, successful copy, not to worry that the footage itself is damaged, unless the source card also fails to read or throws its own errors.
- Can I check a copy's checksum after the fact if Resolve's Clone Tool doesn't log the failing file?
- Yes. The Clone Tool writes an MHL (Media Hash List) file into the destination folder alongside a successful copy, and free tools built specifically to read that format, like the open-source MhlFileVerify, or professional ingest tools such as Silverstack and Hedge, can re-check it independently of Resolve. For a single file, both Windows and macOS also have a built-in checksum command you can run by hand.
Sources
- Kinolios: Backups and Data Integrity, Part II - Checksums
- Daniel Grindrod: How to Use the Clone Tool in DaVinci Resolve
- DaVinci Resolve Manual: Copying Media Using the Clone Tool (Blackmagic Design, via VFXPedia mirror)
- Cutsio: How to Clone and Backup Camera Media with Checksum Verification in DaVinci Resolve
- Blackmagic Design Forum: CRC checksum error when extracting 17.2.1 Studio for Windows
- Engadget: Terminal Tip - Stop Disk Image Verification
- GitHub: MhlFileVerify - MHL Checksum Verification Tool
- Blackmagic Design: DaVinci Resolve Support and Downloads
- Blackmagic Design: DaVinci Resolve - Tech Specs
- FolderManifest: certutil -hashfile - Verify a File Checksum in Windows CMD
Keep reading
Fixes · Jul 13, 2026 · 23 min
DaVinci Resolve Won't Install or Stuck on Mac: Every Fix
DaVinci Resolve installer stuck on Mac? Real causes: corrupted downloads, Gatekeeper, Rosetta prompts, leftover files. Here's the fix for each.
Fixes · Jul 7, 2026 · 26 min
DaVinci Resolve Media Offline: Every Cause and the Fix
Every reason DaVinci Resolve marks a clip media offline, and the exact relink, cache, and codec fixes for each cause, in order of how often they happen.
Fixes · Jul 19, 2026 · 25 min
DaVinci Resolve Out of Disk Space Error While Rendering
Why DaVinci Resolve throws a disk space error mid-render even when your drive looks fine, and the exact checks that find and fix the real cause.