Articles / Fixesupdated for DaVinci Resolve 21.0.3 (July 2026)
DaVinci Resolve Error: Rendering Timeline Aborted (Every Fix)
Quick answer
DaVinci Resolve's 'Render error: Rendering timeline aborted' message means the render engine hit a clip, effect, GPU limit, or setting it could not process and stopped rather than push through it. Note exactly where it aborts, since a repeatable frame points at the timeline and a moving frame points at the GPU, then match your case to the fix below.
I've watched this exact dialog stop a delivery an hour before a client call: a red warning, a timeline name in quotes, and the word "aborted" sitting there like it explains something. It doesn't. It's a wrapper, and the real cause is almost always small once you find it. Here's how to read the failure and match it to the fix that actually works.
What does "Render error: Rendering timeline aborted" actually mean?
It means DaVinci Resolve's render engine reached a specific point where it could not produce the next frame and chose to stop the entire job rather than push through it. The dialog names your timeline, sometimes a rough percentage or frame count, and the word "aborted." That's it. It doesn't tell you whether the cause is a corrupted clip, a GPU that ran out of memory, a plugin crashing silently, or a destination drive with no room left.
The word "aborted" in DaVinci Resolve's render dialog is not a diagnosis. It's a wrapper around a dozen different failures that all end the same way. That's the whole reason this error is confusing: two editors can see the identical message and be looking at completely unrelated problems. One person's abort is a bad frame near the tail of a phone clip. Another person's abort, on a different machine, is a laptop quietly rendering on its weak integrated GPU while the discrete card sits idle. The dialog looks the same. The fix is not.
This matters because the instinct when you see "aborted" is to treat it like a single bug with a single fix, the way you'd treat a typo. It isn't. Treat it like a symptom, and read the next few sections before you touch a single setting.
Why did DaVinci Resolve abort my render mid-timeline?
Because it hit something it could not turn into a finished frame, and the render engine is built to stop rather than guess. Unlike a corrupted photo viewer that shows you a gray placeholder and moves on, Resolve's Deliver page treats an unprocessable frame as a hard stop. That design choice is deliberate. A skipped frame in a client delivery is worse than a render that clearly failed and told you so, even if the message it gives you is frustratingly vague.
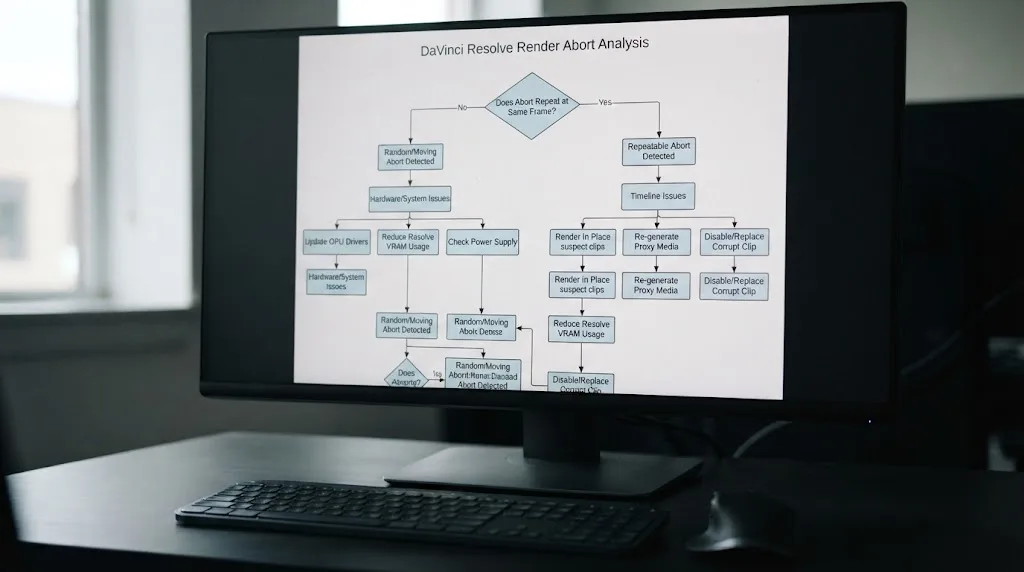
The most useful thing you can do before changing any setting is note the pattern of the failure itself, because the pattern is most of the diagnosis. Run the render twice without changing anything. If it aborts at the same frame or the same percentage both times, you're looking at a timeline problem: a specific clip, effect, or setting sitting at that exact timecode. If it aborts at a different point each time, you're looking at a resource problem, almost always GPU memory, sometimes thermal throttling, occasionally a drive that briefly couldn't keep up.
We built and run a video editing community with more than 100,000 members, and "why does my render just say aborted" is one of the recurring questions that shows up there on a near-weekly basis, almost always from someone who assumed the message meant one specific thing and spent an hour chasing the wrong fix. It doesn't mean one thing. That's the whole point of this guide.
| Failure pattern | What it usually means | Where to look first |
|---|---|---|
| Aborts at the same frame every run | Timeline problem: corrupt clip, VFR footage, a plugin, a Fusion node | Park the playhead on that exact frame |
| Aborts at a different frame each run | Resource problem: GPU memory, thermals, an intermittent drive | Render Speed, GPU selection, source drive health |
| Aborts instantly, before the first frame | Destination, permissions, or an unavailable format | Free space, write access, filename, license tier |
| Aborts with no dialog at all, job just stops | Usually audio, sometimes a silent plugin crash | Preferences, I/O, audio output device |
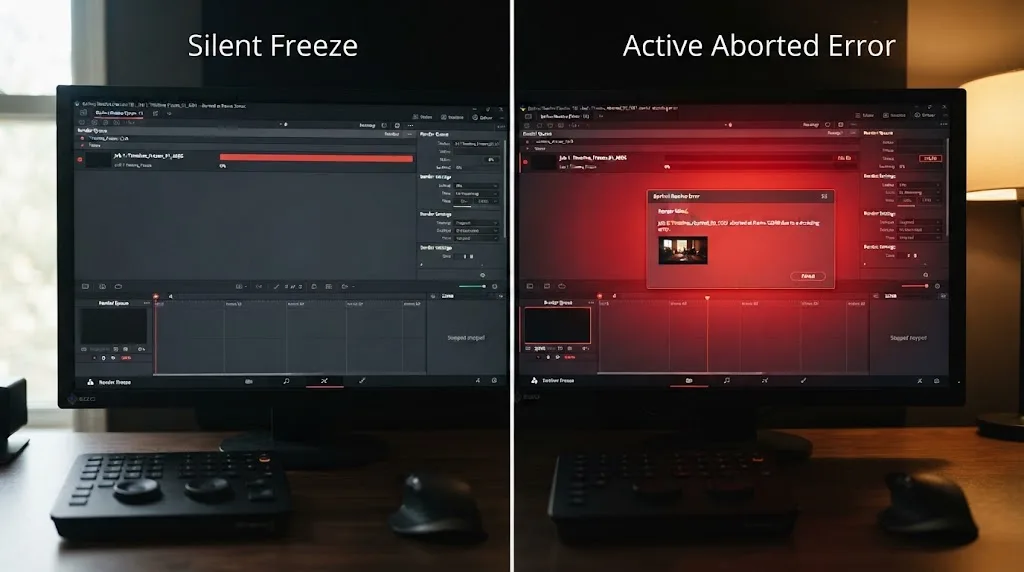
Is this the same thing as a render that's stuck or frozen?
No, and the distinction changes where you should be looking. A render that's stuck shows no dialog and no error at all. The progress bar simply stops moving, usually at 0% or somewhere near the end, and Resolve never actively tells you anything went wrong. An aborted render is the opposite: Resolve is actively ending the job and, in most cases, showing you a dialog that says so.
That difference points at different first suspects. A silently stuck render, especially one frozen at 0%, is very often an audio problem. If Resolve's audio output is pointed at a device that's disconnected, asleep, or no longer exists, the render can hang indefinitely without ever throwing an error. Our full guide to stuck and failed renders covers that specific symptom and the full checklist for it, including the audio device check that clears a surprising share of "stuck at 0%" reports.
An aborted render, with an actual dialog, means Resolve got further into the job and hit something concrete enough to name a stopping point. That's a narrower, more tractable problem than a silent freeze, even though it feels more alarming in the moment. You have more information than the person whose render just stopped without a word.
Is a GPU problem causing the abort?
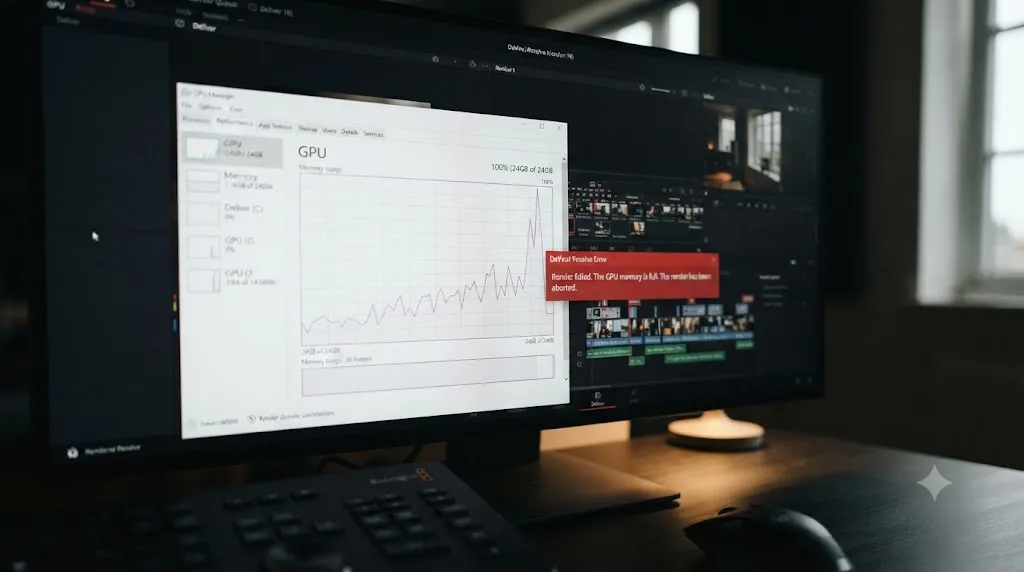
Often, yes, and it's worth checking early because the fix is usually a setting change rather than new hardware. Your GPU is doing more work during a render than at almost any other point in your session: decoding source footage, applying every color node and effect in real time, and encoding the output, frequently all at once. When it runs out of VRAM or hits a driver fault partway through, the render aborts rather than degrading gracefully.
A render that aborts at a different frame each time you try it is almost always a resource problem, and GPU memory is the resource that runs out most often. Color nodes, LUTs, noise reduction, and Fusion titles all consume VRAM before you've added anything else, and 4K or 8K footage with heavy grading pushes the load higher fast. According to a breakdown of the related "GPU memory is full" error, the issue "isn't one problem. It's more like a traffic jam with a few different causes piling into each other," per Vagon's writeup of the error. The same logic applies to a generic abort that's actually a VRAM overflow wearing a different label.
There's also a more specific GPU fault worth knowing by number. One documented failure mode shows the exact message "GPU failed to perform image processing error 702," according to Beginners Approach's breakdown of common DaVinci Resolve GPU issues, and the same source is direct about the root cause of most GPU-related errors in Resolve: "DaVinci Resolve usually throws GPU errors whenever there are any compatibility issues with the graphics card, video driver and the version of DaVinci Resolve." That's three variables, not one, which is exactly why the same GPU model can work fine for one editor and abort constantly for another running an older driver.
Three moves clear the majority of GPU-related aborts, in order of how cheap they are to try:
- Lower Render Speed from Maximum to 50% or 25% in the render settings. This slows how fast Resolve feeds frames to the GPU, which is the single most reliable fix for a memory-related abort.
- Update your GPU driver, and on NVIDIA cards take the Studio Driver branch rather than Game Ready, since it's validated specifically against creative applications.
- Switch GPU processing mode in Preferences, System, Memory and GPU. CUDA is correct on NVIDIA, Metal is the only sensible choice on Apple silicon, and OpenCL should generally be a fallback rather than a first choice.
If your card genuinely lacks the VRAM for the project, Blackmagic's own tech specs list a baseline requirement of a GPU with at least 4 GB of VRAM and 16 GB of system RAM, a floor rather than a comfortable target. For a working target instead of a bare minimum, Puget Systems' hardware recommendations, built on the company's own benchmarking, call for 8 GB of VRAM on 1080p timelines, 12 GB for 4K, and 20 GB or more once you're grading 6K or 8K footage.
Is Resolve even rendering on the right GPU?
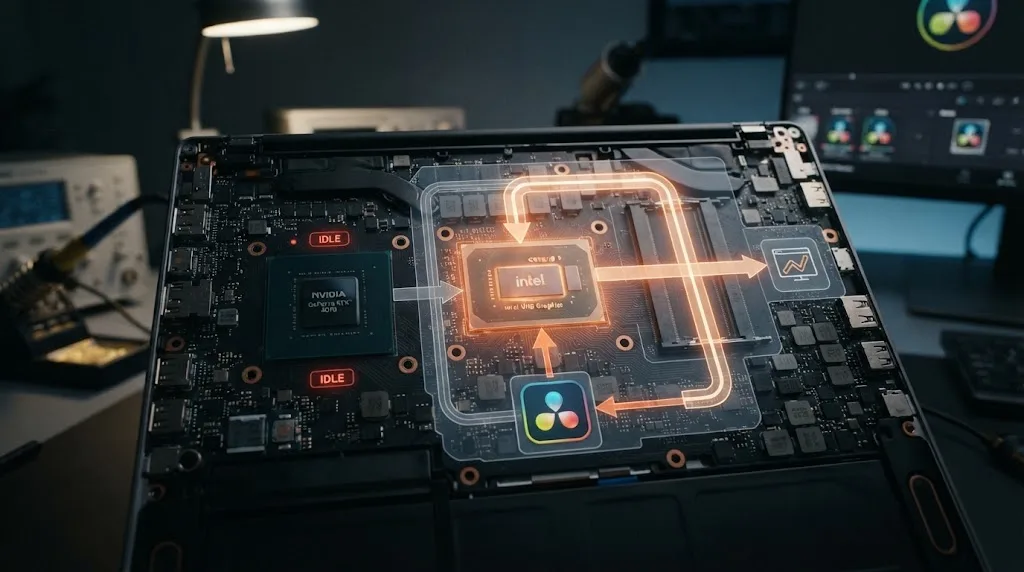
Check this specifically if you're on a laptop, because it's an easy blind spot and it produces GPU aborts that make no sense given the hardware you paid for. Most editing laptops carry two GPUs: a low-power integrated chip built into the CPU, and a discrete NVIDIA or AMD card meant for the heavy work.
On a dual-GPU laptop, DaVinci Resolve can render on the weak integrated GPU while the powerful discrete card sits completely idle. When that happens, you inherit the integrated chip's small memory allocation and its modest throughput, and you get GPU-related aborts that have nothing to do with the discrete card you actually bought the machine for.
Check Preferences, System, Memory and GPU. If GPU selection is set to Auto, switch it to Manual and tick only the discrete card, then restart Resolve. On Windows there's a second place this hides: the operating system's own Graphics settings can quietly assign Resolve to the power-saving GPU rather than the high-performance one, so set that explicitly too, under Settings, System, Display, Graphics.
Is a specific clip or effect causing the abort?
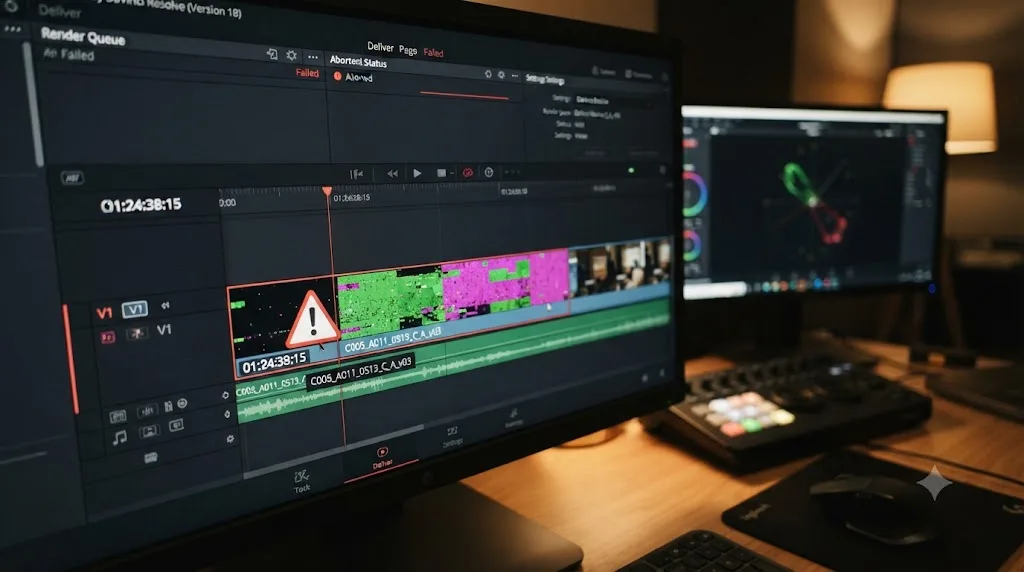
If the failure point repeats at the same frame every time, yes, and the search is narrower than it feels. Something deterministic sits at that exact timecode: a corrupted source file, variable frame rate footage, a third-party OFX plugin, or a heavy Fusion composition the GPU can't clear in time.
Corrupted or damaged clips are the simplest of these to confirm. Re-import or re-link the file and render just that section on its own. If the abort follows the file, you've found it. Variable frame rate footage, common from phones and screen recorders, is sneakier: individual frames inside the file can be technically unreadable at Resolve's expected constant rate even though the clip plays back fine in a normal player. Setting a fixed frame rate in Clip Attributes usually clears this without re-shooting anything.
Third-party plugins and OFX effects deserve direct suspicion too, especially any you installed recently or any running on a clip pulled from an older project. Bypass the effect on the suspect clip and render again. If the abort disappears, you've isolated it to that plugin specifically, and updating it or finding an alternative is the actual fix, not a Resolve preference.
Heavy Fusion nodes round out the list, and they're worth checking even if nothing about your grade looks unusual. A dense Fusion composition asks the GPU to hold and process far more at once than a simple color correction, and on longer or 4K timelines that load can be enough to abort the render on its own. Right-click the clip and choose Render Cache Fusion Output to pre-render it before the final export, which removes that load from the pass that's currently failing.
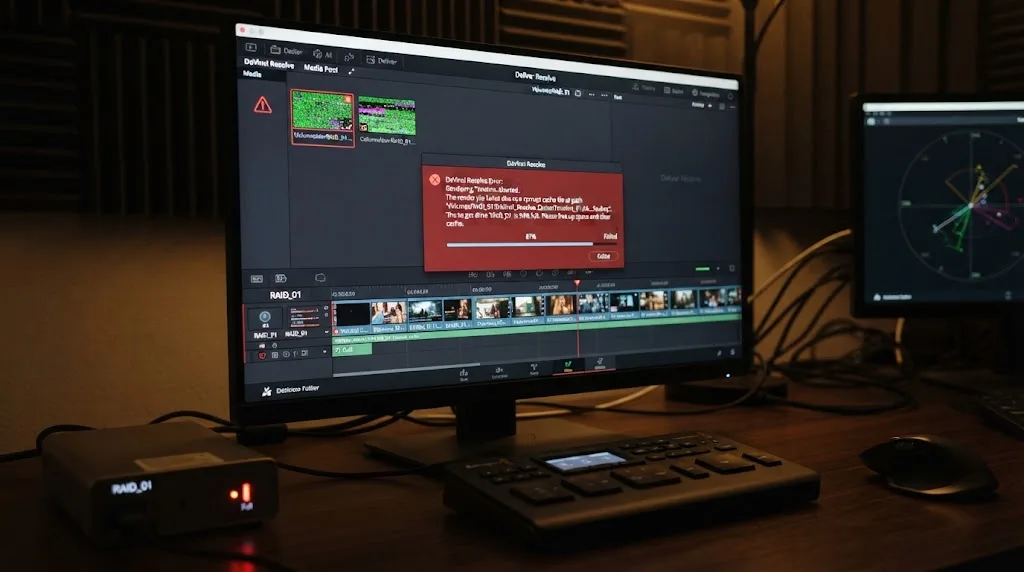
Is the render cache causing the abort?
It can, and it's one of the least suspected causes precisely because the cache exists to make things faster, not slower. With "Use render cached images" checked on the Deliver page, Resolve reuses frames it cached earlier instead of recomputing them for the export. If a cached file is stale or corrupted, or if the drive holding the cache is full or has quietly gone offline, the export inherits that damage directly: an abort, or worse, a completed file with glitched or outdated frames sitting in it.
Three checks settle this quickly. First, uncheck "Use render cached images" in the render settings and try again with everything computed fresh. It's slower, but if the render now completes, the cache was your problem the whole time. Second, if that works, clear the cache outright with Playback, Delete Render Cache, All, and let it rebuild clean rather than leaving corrupted entries in place. Third, check where the cache actually lives, since Project Settings, Master Settings lists the working folders, and a cache drive running low on space can fail in exactly this way during an export, when the cache and the output file may be competing for the same disk.
If you're chasing render trouble that shows up specifically as a disk space warning rather than a generic abort, our dedicated guide to DaVinci Resolve's out of disk space error covers the difference between a genuinely full drive and Resolve's own conservative space estimate, which is a distinct but closely related failure mode.
Could the codec or encoder setting be the actual cause?
Yes, and it produces a specific variant of this error worth knowing by name. If the dialog you're seeing mentions the codec directly, rather than just "aborted" with no further detail, Resolve's render engine likely can't match your chosen codec to the Format, Encoder, or GPU currently in use. That's a distinct, narrower error from the generic abort this guide covers, and we've written a dedicated breakdown of it: our guide to the invalid render settings, check codec error walks through exactly why the codec dropdown goes blank and the fix order that clears it.
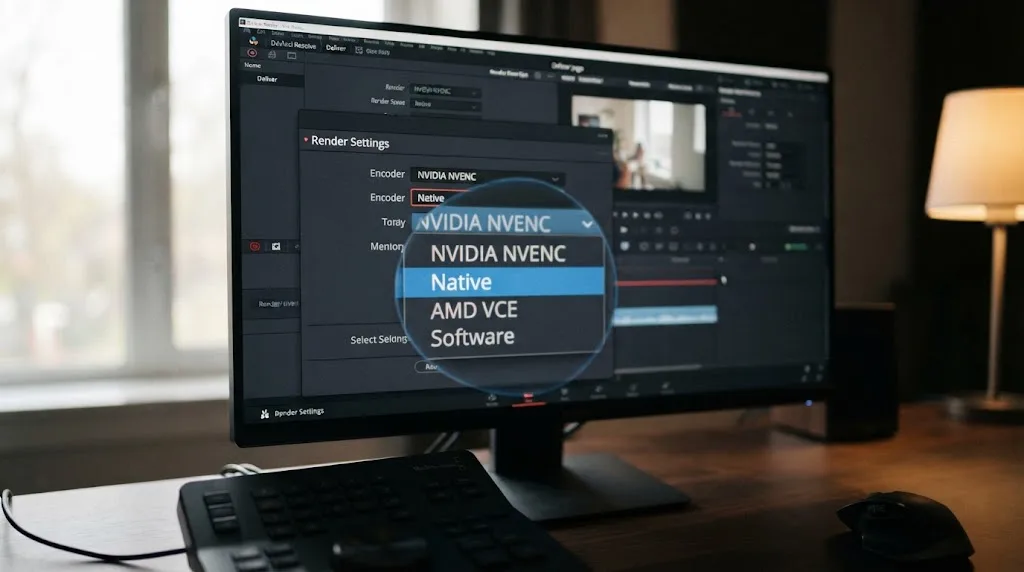
The general version of this same idea still applies to a plain "aborted" dialog. H.264 and H.265 usually run through your GPU's dedicated hardware encoder, NVENC on NVIDIA, AMF on AMD, Quick Sync on Intel, and Apple's VideoToolbox on Macs, while ProRes and DNxHR are encoded entirely in software by the CPU. When the hardware encoder path breaks, often right after a driver or OS update, only H.264 and H.265 exports fail while everything else renders as if nothing were wrong. That asymmetry is the tell. Switch the Encoder dropdown on the Deliver page from your GPU vendor's entry to Native, which routes the encode through the CPU instead. If the render now completes, the fault lives in the hardware encoder or its driver, not your project.
Which hardware encoders you're even offered depends on your license tier and operating system, and this is worth knowing before you assume a setting is broken rather than simply unavailable. Per Blackmagic's own supported codec documentation, hardware-accelerated H.264 and H.265 encoding on Windows and Linux is a Studio-only feature, while on macOS the free version encodes both through Apple's VideoToolbox regardless of license. If a tutorial's Deliver page shows encoder options yours doesn't, that's the version boundary, not a bug in your install.
Is audio causing a silent abort you haven't noticed?
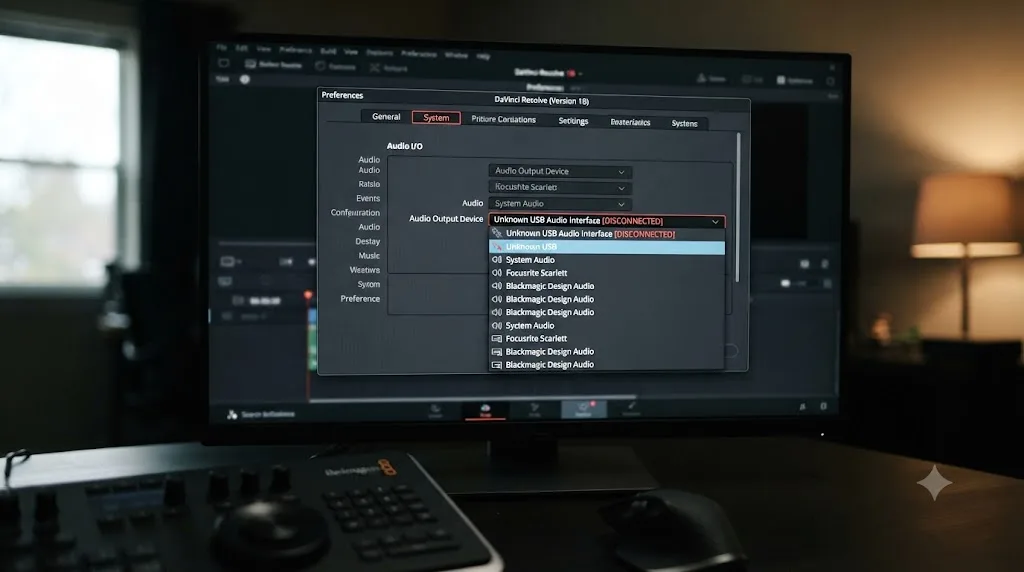
Sometimes, and it's worth ruling out even when the dialog you're seeing looks purely video-related. Resolve's render pipeline processes audio and video together, and a broken audio path, an output device that's disconnected, asleep, or set to a driver that's stopped responding, can be enough to end a render the engine otherwise had no problem with.
Open Preferences, then Video and Audio I/O, and check what's selected under audio output and the I/O Engine setting. If it's pointed at a headphone set you unplugged an hour ago, or a monitor speaker system that's since gone to sleep, switch it to your system's built-in output or whatever's actually connected right now. Resetting the I/O Engine back to System Audio has resolved this exact class of failure for editors reporting it, according to Puget Systems' initial troubleshooting guide for DaVinci Resolve.
This check costs about thirty seconds and rules out an entire category of aborts that have nothing to do with your grade, your effects, or your GPU. Do it before anything more involved on this list.
How do you actually find the exact clip that's aborting the render?
Set an In and Out point around a section of the timeline, roughly where you suspect the problem sits, and render just that range. If it aborts, narrow the range further. If it finishes, move the range forward until it aborts again. This is slower than one full export, but it turns a mystery into a five-minute clip instead of a forty-minute one.
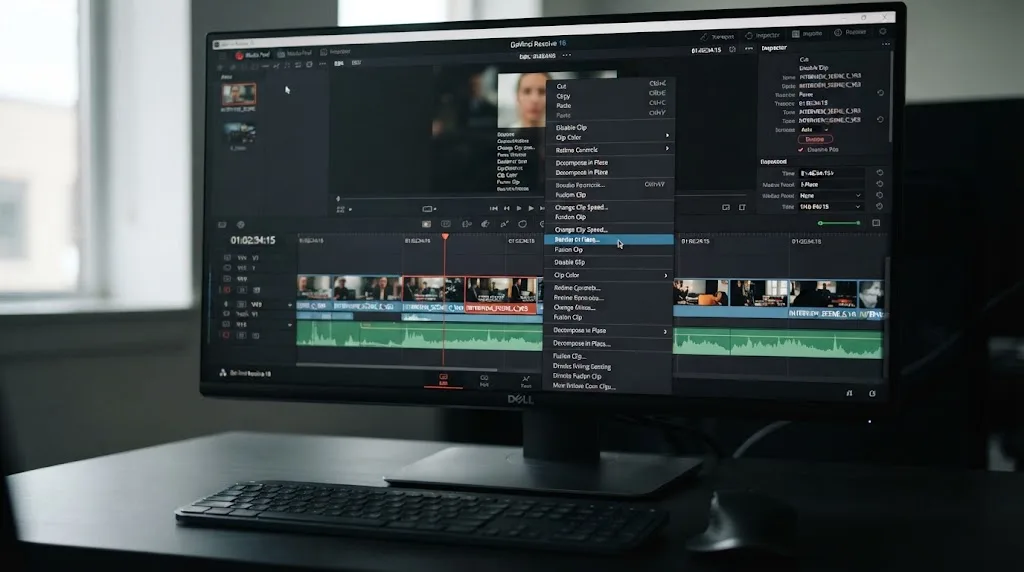
Filmmaker Mirko Fabian ran into a version of this while finishing his short film "The Camera," a 6K BRAW project loaded with color grading effects that kept crashing his system rather than aborting cleanly. He describes trying Render in Place on the demanding sections first: "Yet again I have to tell you that 'Render in Place' did work partially but my system was still crashing," from his account of troubleshooting the render. When even that didn't fully solve it, he fell back to exporting as an image sequence instead of a single file, and explained exactly why that method held up where the others didn't: "What I like and appreciate about this method is, that if the system crashes and freezes, you don't loose progress since Resolve is exporting each frame as a single image file."
That's the general shape of the isolation method, worth being deliberate about. If Render in Place succeeds on the suspect clip but the Deliver page still aborts on the same section, the clip was never the real problem: the failure lives in your delivery settings, most often the codec or the hardware encoder. If Render in Place also fails on that clip, you've confirmed the clip or an effect on it is the cause, and re-linking, re-transcoding, or bypassing effects on that one clip specifically is where your time should go next.
What does a full diagnosis look like in practice?
Say a 22-minute 4K timeline aborts at 58% with the generic dialog and nothing more specific. Here's the whole method above compressed into one worked run-through.
First render: note the percentage and, if the dialog names one, the frame. Second render, changing nothing at all: it aborts at 58% again. The same point twice means the timeline, not the hardware, so you skip Render Speed changes, driver updates, and GPU selection entirely and go straight to the failing timecode.
Now make the failure visible instead of a hard stop. Uncheck "Stop renders when a frame or clip cannot be processed" in Preferences, User, UI Settings, and render a third time, letting the job limp all the way to the end rather than abort. The finished file shows a cluster of unreadable frames right around the 58% mark, and that section lands inside a clip a co-editor shot on their phone while walking. Clip Attributes claims a fixed 29.97 fps, but phone footage frequently isn't a constant frame rate at all, and those broken frames are the gap between what the metadata promises and what the file actually contains. Setting a fixed rate in Clip Attributes, or transcoding that one clip to a genuinely constant frame rate and relinking it, clears the abort on the real render.
Now run the counterfactual. If the second render had aborted at 31% instead of 58%, the moving failure point flips the whole diagnosis toward resources: Render Speed down to 50%, GPU selection checked on a laptop, driver updated, and one test render with the Encoder switched to Native. Same method, completely different branch, and you'd know which one applied within two renders instead of guessing at settings for an hour.
The method, not any single fix, is the actual point here. Change one variable, read exactly where and how the abort moves, and follow the branch that reveals rather than trying settings at random hoping one sticks.
Do the fixes change on Windows, macOS, and Linux?
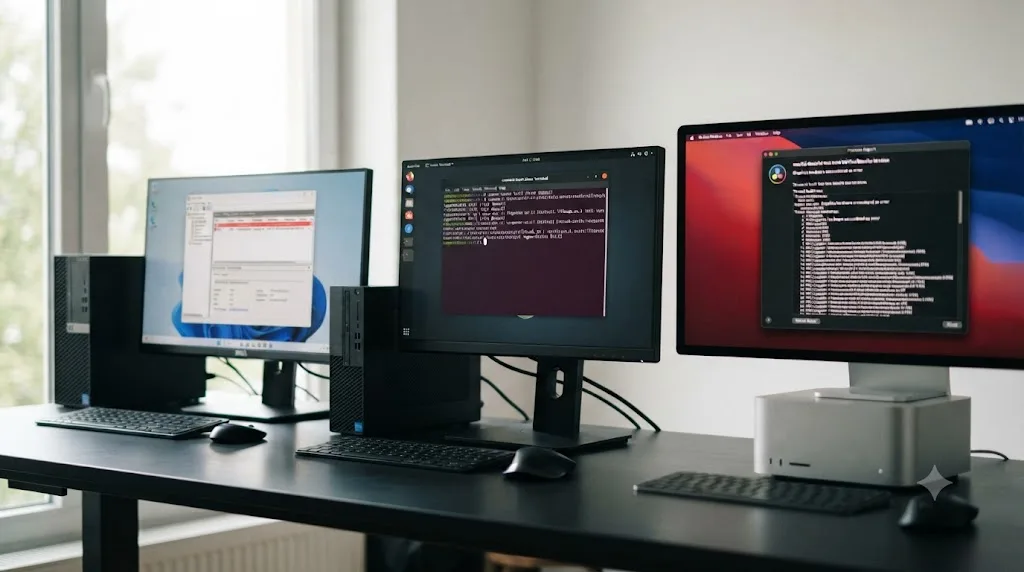
The render engine itself behaves the same everywhere, but each operating system layers its own quirks on top of the same underlying causes.
| OS | Quirk that produces aborts | What to check first |
|---|---|---|
| Windows | Antivirus locks the output file mid-write; assigned to the wrong GPU in Display, Graphics settings | Exclude the render folder from real-time scanning; set high performance GPU explicitly |
| macOS | A denied folder-permission prompt silently blocks writes to Desktop, Documents, or external volumes | Re-grant access in System Settings, Privacy & Security, Files and Folders |
| Linux | Fewer delivery codecs than the free macOS and Windows builds; open-source GPU drivers are less stable for this workload | Confirm the destination codec is actually supported; use the proprietary NVIDIA driver |
On Windows, a render can abort not because anything is wrong with your project but because real-time antivirus scanning grabs the output file while Resolve is still writing to it. Render to a folder your security software isn't actively watching, or add an explicit exclusion for it. The GPU assignment issue from earlier applies doubly on Windows laptops, since the operating system's own power-management settings can override whatever you've set inside Resolve's own preferences.
On macOS, remember the system gates app access to Desktop, Documents, Downloads, and removable volumes behind a one-time permission prompt. Click Don't Allow once, months ago, and renders to that location can abort today with a message that gives no hint the actual cause is a permission you denied a long time back. The Files and Folders panel under Privacy & Security shows exactly what Resolve is currently allowed to touch.
On Linux, stick to the proprietary NVIDIA driver rather than the open-source alternative, since that's the far more thoroughly tested path for Resolve specifically. And know going in that the free Linux build has historically shipped a narrower set of delivery codecs than the free macOS and Windows builds, so a render that aborts on Linux might be hitting a licensing or format boundary rather than any of the causes covered elsewhere in this guide.
Does the free version abort more often than Studio?
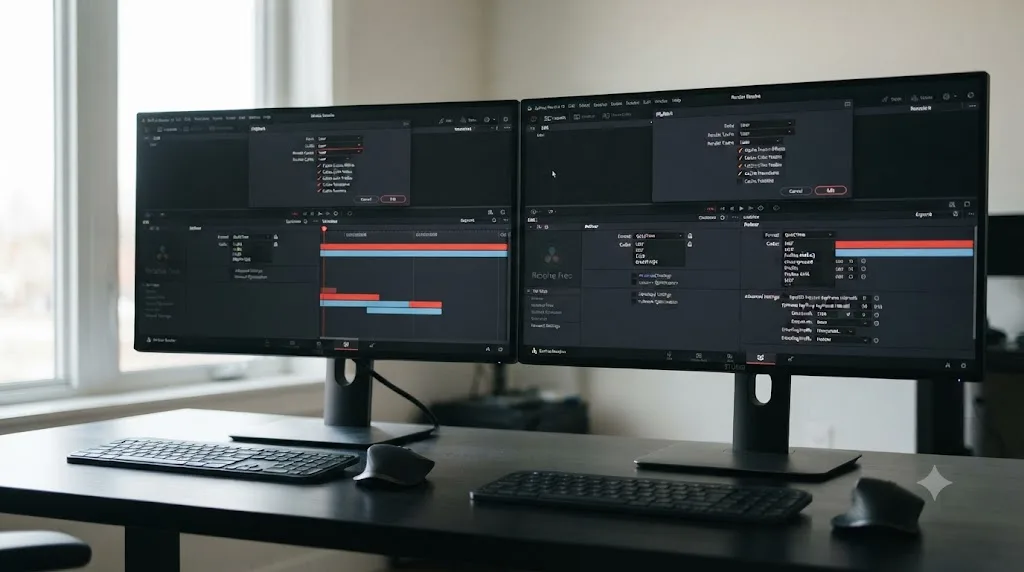
A little, and mostly for reasons that are indirect rather than a difference in the render engine's core stability. Per CineD's comparison of the free and Studio versions, the free version caps export resolution at 4K UHD (3840x2160) at 60fps in 8-bit, while Studio supports resolutions and frame rates well above that along with 10-bit and higher color depths. A lower ceiling on resolution and bit depth puts a rough cap on how demanding a single render can get, which indirectly limits how badly a GPU memory or cache problem can spiral on the free tier.
Hardware encoding follows a similar pattern with a more direct consequence for this specific error. On Windows and Linux, hardware-accelerated H.264 and H.265 encoding is a Studio feature, so free version users on those platforms fall back to slower software encoding by default. That doesn't make an abort more or less likely on its own, but it does mean a free version render that's about to abort from a driver fault takes noticeably longer to get there, giving you more time to notice something's wrong before the job actually stops.
| Question | Free version | Studio |
|---|---|---|
| Max export resolution and bit depth | 4K UHD, 60fps, 8-bit | Above 4K, higher frame rates, 10-bit and beyond |
| Hardware encoding on Windows/Linux | No, software only | Yes |
| Render cache and GPU memory behavior | Identical to Studio | Identical to free |
| Realistic ceiling on how large a single render's demands can get | Lower, bounded by the resolution cap | Higher, bounded mainly by your own settings |
The free version's lower export ceiling puts a rough limit on how demanding any single render can be, even though the render cache and GPU memory mechanics behind an abort are otherwise identical on both editions. If you're on Studio and routinely pushing 6K or 8K masters, the GPU headroom guidance from earlier in this guide deserves more margin than a typical free-version project ever needs.
Does this vary by DaVinci Resolve version?
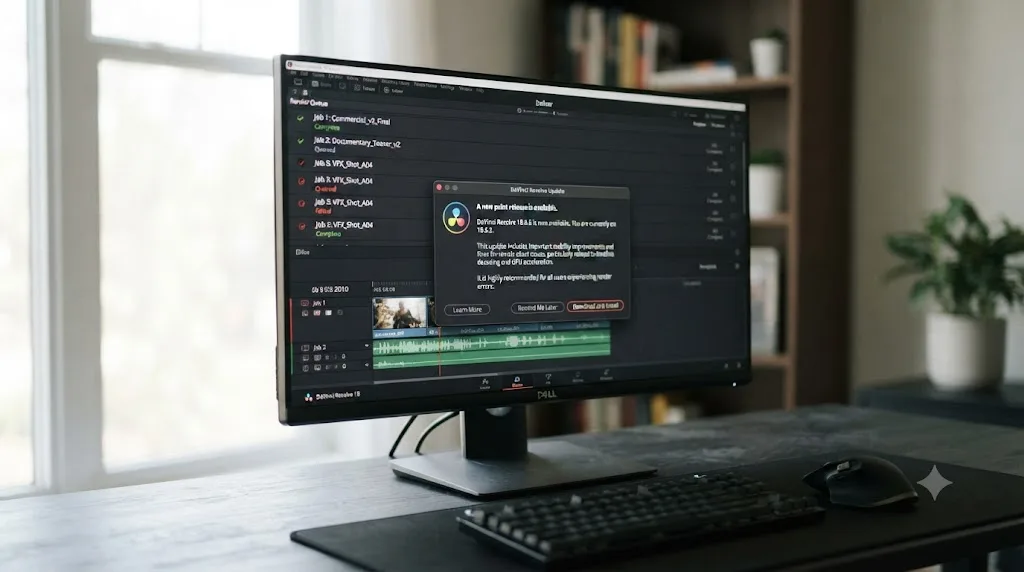
Somewhat, since Blackmagic ships fixes touching decoding, playback, and render stability in nearly every point release, and a bug you're fighting today may already be patched. As of July 2026, the current release is DaVinci Resolve 21.0.3, published July 21, 2026, with general performance and stability improvements alongside fixes for interlaced media handling and Fusion PSD import, according to Newsshooter's coverage of the update. The prior point release, 21.0.2, released July 1, 2026, focused on decode performance and playback fixes touching H.265 handling on NVIDIA GPUs, per Newsshooter's report on that update.
None of that guarantees your specific abort is a known, already-fixed bug. But it costs nothing to check the release notes for your exact symptom before you spend another hour manually isolating a clip that turns out to be a documented decoding issue Blackmagic already addressed. If you've worked through the GPU, cache, and clip-isolation steps above and the render still aborts in the same place, updating to the current point release belongs near the top of your list, not the bottom.
What's the right order to work through this?
Work through this list top to bottom. Each check costs less time than the one after it, and the pattern table from earlier in this guide should already point you toward one or two of these before you start.
- Render twice without changing anything and note whether the abort point repeats or moves.
- Check Preferences, Video and Audio I/O, for a disconnected or misconfigured audio output.
- Rule out the destination and cache drives: free space, write permission, and a plain filename.
- Uncheck "Stop renders when a frame or clip cannot be processed" to see exactly where a repeatable abort actually breaks.
- If the abort point moves between attempts, lower Render Speed to 50% or 25% and confirm Resolve is using the correct GPU.
- Clear or bypass the render cache if you suspect a stale or corrupted cache entry.
- Isolate the clip or effect with In and Out points, then confirm with Render in Place.
- Switch the Encoder to Native and update your GPU driver if only H.264 or H.265 exports abort.
- Update to the current point release if nothing above resolves it.
What if you need a deliverable today and can't fully diagnose it?
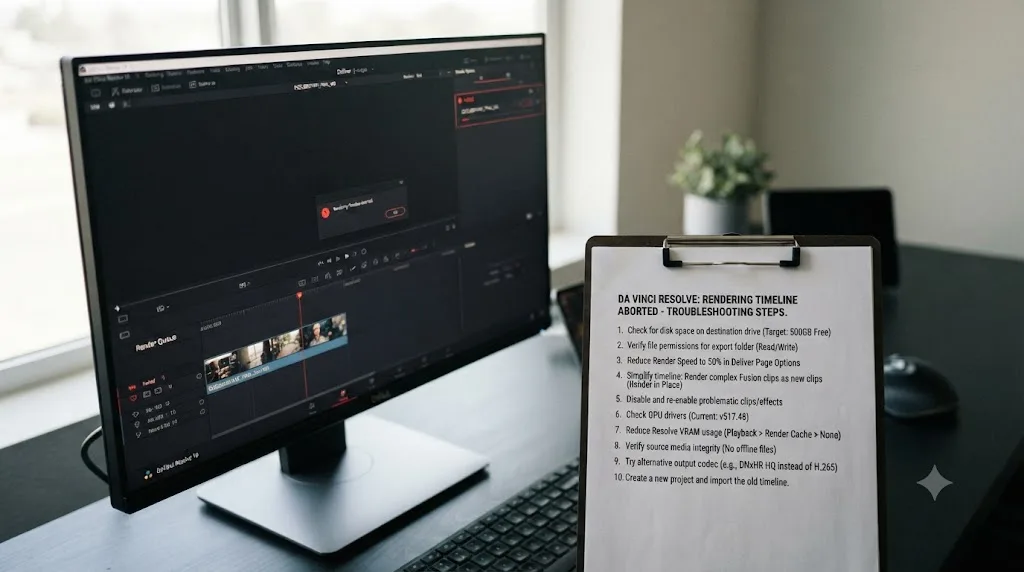
Two workarounds route around an abort you haven't fully solved yet, and both are worth knowing before a deadline forces the issue.
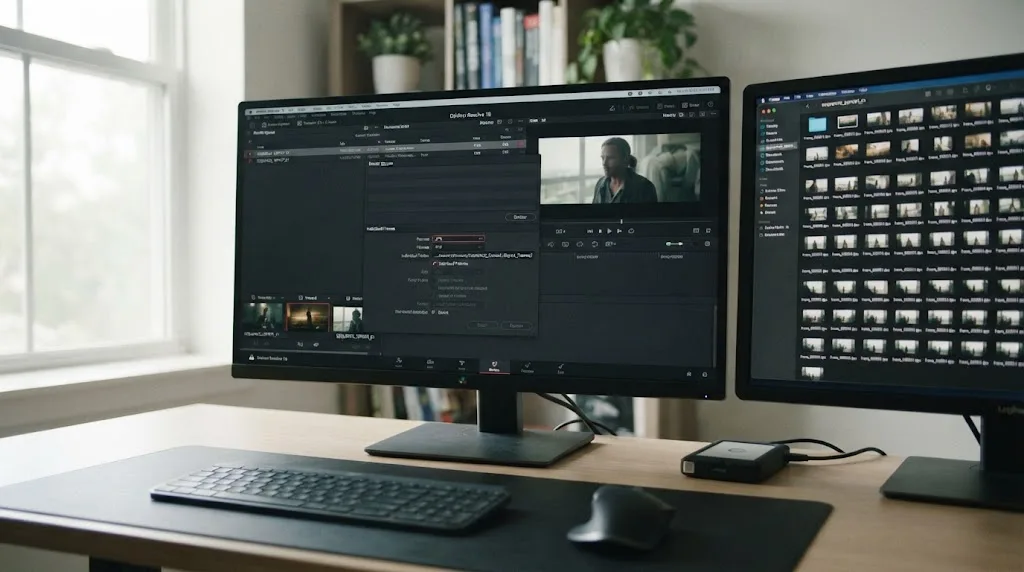
The first is rendering individual clips instead of a single file. On the Deliver page's render settings, switch Render from "Single clip" to "Individual clips." Resolve now writes each timeline clip as its own file, so an abort costs you one clip instead of the entire export, and the filename of whichever clip failed tells you exactly where to focus. Fix that one clip, assemble the rest in a fresh timeline, and an all-or-nothing render becomes a pile of mostly finished work plus one known problem.
The second is exporting an image sequence rather than a single video file. It's slower to set up and produces far more individual files, but because Resolve writes one image per frame, an abort partway through doesn't cost you the whole render, only the frames after the point where it stopped. This is exactly the method Mirko Fabian eventually settled on for his own crashing 6K project, and his description of why it holds up is worth repeating here: exporting frame by frame means "if the system crashes and freezes, you don't loose progress." That property, resumability after a failure, is the entire reason to reach for it when nothing else has worked yet.
How do you stop this from happening on the next project?
Every fix above has a cheaper version that happens before you ever click Render All.
Convert variable frame rate footage on the way in, not after a render aborts at 2 a.m. Phone videos and screen recordings are the usual offenders behind repeatable abort points, and fixing the frame rate in Clip Attributes during import costs a minute compared to a full diagnostic pass later.
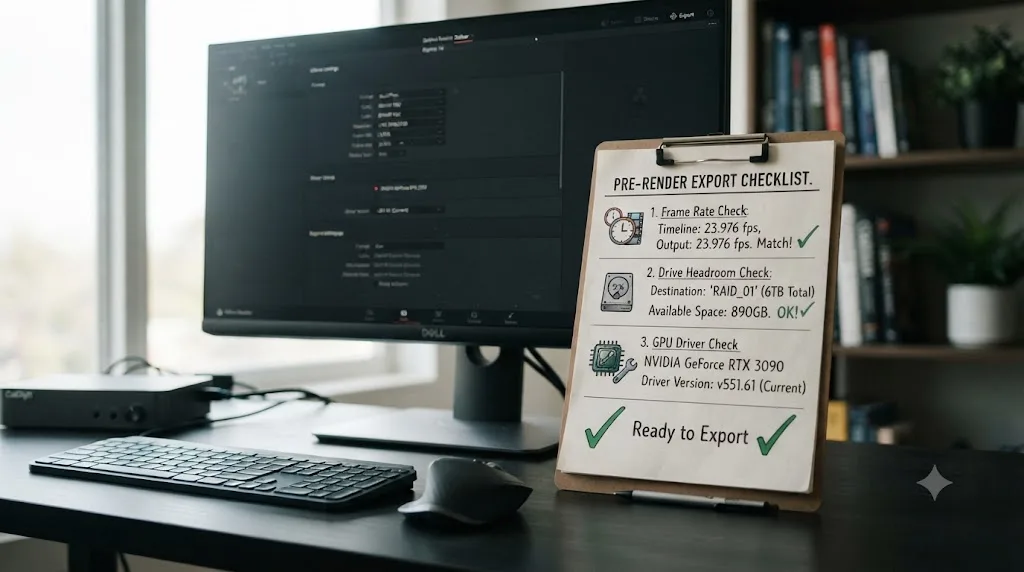
Keep real headroom on every drive a render touches, both the destination and whatever drive holds your cache. Renders, caches, and your operating system all want the same disk space at the same moment, and a drive that looked fine yesterday can be the reason today's export aborts.
Test-render before you full-render on anything that matters. Set In and Out points over the densest sixty seconds of your timeline and export with your exact delivery settings. That catches a GPU memory ceiling, an encoder fault, or a bad cache entry in two minutes instead of forty.
Treat GPU driver updates as a deliberate project decision, not a background event that happens whenever your OS feels like it. Don't let a driver auto-update mid-project, and when you do update on NVIDIA hardware, take the Studio branch rather than Game Ready.
And check for a current point release before you assume a persistent abort is simply how Resolve behaves now. The fix you need might already be sitting in an update you haven't installed.
What if the checklist doesn't clear it and forums aren't helping either?
Sometimes the fastest path is admitting the community threads you're reading describe a different GPU, a different footage type, or a different Resolve version than yours. A search for this exact error turns up reports where the render's estimated time climbs endlessly with no actual progress, and canceling the job freezes the application until it has to be force-closed entirely, a pattern described in a thread on the Blackmagic Design forum titled "Davinci Resolve won't render anything successfully", where the original poster had already tried different Resolve versions, different NVIDIA drivers, clean installs, and multiple render presets before posting. Another thread, simply titled "Render error" on the same forum, shows Blackmagic's own support staff immediately asking for the Resolve version, operating system, and full GPU and driver details before offering any fix at all, because the same dialog genuinely means different things on different machines.
That's not a knock on forums. It's the reason a generic search for "render aborted" so often leaves you more confused than when you started: the fix genuinely depends on specifics that a stranger's thread can't know about your machine. After seven years of finishing commercial video work in Resolve, the render errors that actually cost time aren't the ones with a clear message. They're the vague ones like this, where the real fix is buried three menus deep in a preferences panel that looks nothing like whatever a six-month-old forum post described.
TryUncle is the on-screen assistant for DaVinci Resolve on macOS — ask in plain words and Uncle points at the exact control on your screen, rather than making you guess whether a forum post about someone else's GPU driver applies to your situation. It's a paid app at founder pricing, not a substitute for the diagnostic order in this guide, but if the part costing you time is finding which of three preference panels labeled similarly actually holds the setting you need, that's the specific gap TryUncle is built to close.
The fastest path back to a finished export
Read the pattern before you touch a single setting. A repeatable abort point at the same frame every time means the timeline, so go straight to that clip and look at what's stacked on it. A moving abort point means a resource, almost always GPU memory, so lower Render Speed and confirm Resolve is using your actual discrete GPU before anything else. Rule out audio and the destination drive early, since both cost thirty seconds and clear an entire category of confusing failures. Uncheck the "stop on unprocessable frame" setting only to diagnose, never as a permanent fix, and isolate the exact clip with In and Out points before you assume an entire timeline is broken. Check for a current point release before you conclude the project itself is unfixable. Nearly every render that ends with the word "aborted" traces back to one of these, and almost never to the grade you spent hours getting right. If GPU memory keeps coming up as your specific cause, our deeper guide to DaVinci Resolve's GPU memory full error covers the timeline resolution and caching fixes that stop it at the source rather than just during export.
Frequently asked questions
- What does DaVinci Resolve's 'Rendering timeline aborted' error actually mean?
- It means the render engine reached a point in your timeline where it could not produce the next frame and stopped the job entirely rather than skip past it. The dialog itself doesn't name the cause. It's Resolve's generic wrapper for a dozen different underlying failures, from a corrupt clip to a GPU that ran out of memory to a plugin that crashed silently.
- Why does my render abort at the exact same point every time?
- A repeatable abort point is a timeline problem, not a hardware problem. Something deterministic sits at that timecode: a corrupted source clip, a variable frame rate hiccup, a Fusion composition, or a plugin. Park the playhead on that exact frame and look at what's stacked on it before you touch any preference.
- Why does my render abort at a different frame every time I try?
- A moving abort point usually means a resource is running out around a fixed workload, not that the timeline itself is broken. GPU memory is the most common culprit, followed by thermal throttling on a hot laptop and a source drive that occasionally can't deliver a frame fast enough.
- Does 'GPU memory is full' cause the rendering timeline aborted error?
- Yes, it's one of the most common specific causes. Your timeline is asking the GPU to hold more data in VRAM at once than it has room for, which happens fast on 4K or 8K footage stacked with noise reduction, Magic Mask, or multiple Fusion nodes. Lowering Render Speed and disabling heavy effects one at a time usually clears it.
- Should I uncheck 'Stop renders when a frame or clip cannot be processed'?
- Only as a diagnostic step, not as a permanent fix. That checkbox in Preferences, User, UI Settings tells Resolve to push through an unprocessable frame instead of aborting, which lets you find exactly where the problem sits. It won't necessarily give you a clean final file, and it can make a genuine disk space shortage worse by letting Resolve keep writing until the drive is completely full.
- Is a render that aborts different from a render that's stuck or frozen?
- Yes, and the difference tells you where to look. An abort is Resolve actively stopping the job and usually showing a dialog. A stuck or frozen render shows no error at all and just stops moving, which points at a disconnected audio device far more often than anything about your video.
- Does updating DaVinci Resolve fix aborted renders?
- Sometimes, and it costs nothing to check. Point releases like 21.0.2 and 21.0.3 have shipped fixes touching decoding, playback, and stability that were causing silent render trouble for some users. If you've worked through the checklist below and the render still aborts, confirm you're on the current point release before you assume the project itself is broken.
- What's the fastest way to find which clip is actually aborting the render?
- Set In and Out points around a small section of the timeline and render just that range. If it aborts, narrow the range. If it finishes, move the range forward until it aborts again. Once you've isolated the clip, right-click it and choose Render in Place to bake it into a single file and confirm the diagnosis.
Sources
- DaVinci Resolve - Tech Specs (Blackmagic Design)
- Puget Systems: Hardware Recommendations for DaVinci Resolve
- Puget Systems: DaVinci Resolve Initial Troubleshooting
- Mirko Fabian: Resolving Rendering Issues in DaVinci Resolve
- Vagon: How to Fix DaVinci Resolve 'GPU Memory Full' Error
- Vagon: DaVinci Resolve Keeps Crashing? Common Causes and Fixes by Crash Type
- Beginners Approach: Most Common DaVinci Resolve GPU Issues (& How to Fix Them)
- Newsshooter: DaVinci Resolve 21.0.3 Update
- Newsshooter: DaVinci Resolve 21.0.2 Update
- CineD: DaVinci Resolve - what are the differences between the free and Studio version
- DaVinci Resolve Supported Formats and Codecs, July 2025 (Blackmagic Design)
- Blackmagic Design Forum: Render error
- Blackmagic Design Forum: Davinci Resolve won't render anything successfully
Keep reading
Fixes · Jul 7, 2026 · 24 min
DaVinci Resolve Not Exporting? Fix a Stuck or Failed Render
Why DaVinci Resolve renders get stuck at 0% or 99%, or fail with no error, and the exact checks that get a stalled export moving again.
Fixes · Jul 19, 2026 · 25 min
DaVinci Resolve Out of Disk Space Error While Rendering
Why DaVinci Resolve throws a disk space error mid-render even when your drive looks fine, and the exact checks that find and fix the real cause.
Fixes · Jul 7, 2026 · 25 min
DaVinci Resolve GPU Memory Is Full: Every Real Fix
Why DaVinci Resolve throws 'GPU memory is full,' and which fixes actually work: timeline resolution, drivers, effects, and how much VRAM you need.