Articles / Guidesupdated for DaVinci Resolve 21.0.2 (July 2026)
DaVinci Resolve Fusion Glow Effect Settings, Explained
Quick answer
The Fusion Glow node's Controls tab holds Filter Method, Glow Size, Num Passes, a Glow gain slider, Clipping Mode, Blend, Apply Mode, and Color Scale. Choose a Filter Method like Fast Gaussian, set Glow Size for spread and Glow for brightness, then use Blend or Threshold Apply Mode so highlights bloom without blowing out to white.
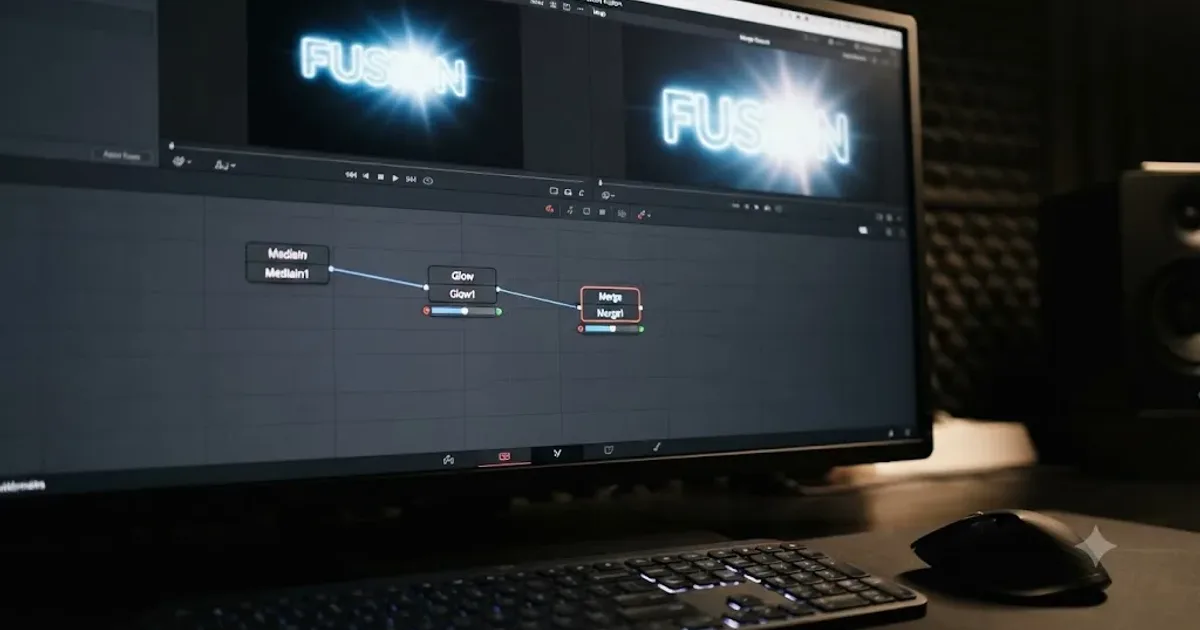
I've spent seven years cutting commercial video, and one node still gets more confused clicks than almost anything else on the Fusion page: Glow. Not because it's complicated. Because it has eleven visible controls, two of them look like they do the same thing, and the one that actually matters most, Apply Mode, is buried at the bottom where nobody looks first.
This is a settings-by-settings walkthrough of the Fusion Glow node as it exists in DaVinci Resolve 21.0.2, plus the Soft Glow variant, the separate Glow effect that lives on the Edit page under a confusingly identical name, and the handful of bugs and color-space quirks that make a glow look wrong for reasons that have nothing to do with your settings at all.
What settings does the DaVinci Resolve Fusion Glow node actually have?
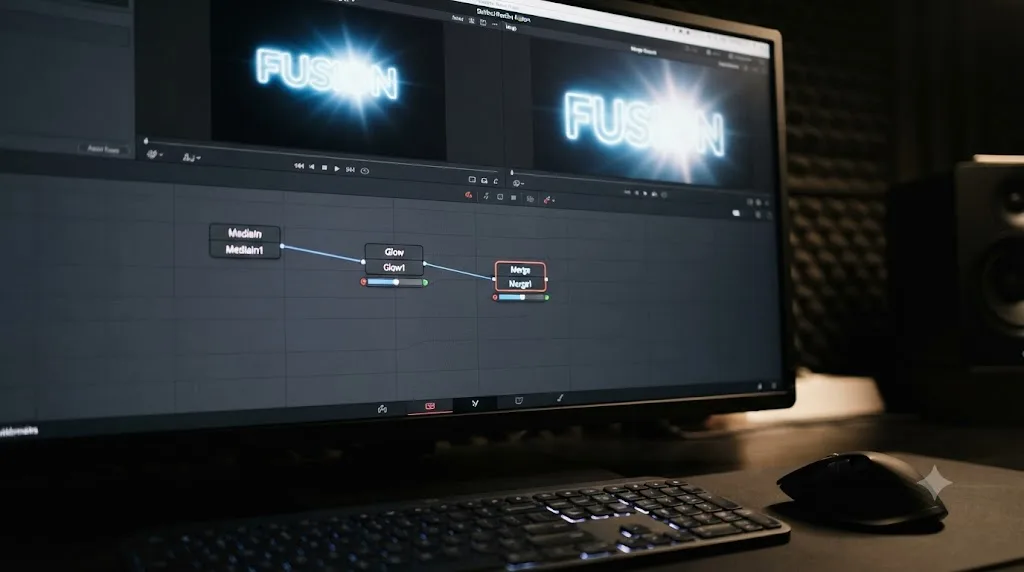
The Glow node's Controls tab holds nine groups of settings: a Filter Method menu, Color Channels checkboxes, a Lock X/Y toggle, Glow Size, Num Passes, a Glow gain slider, Clipping Mode, Blend, and Apply Mode with its own Threshold Range. A separate Color Scale section at the bottom lets you tint the glow per RGBA channel. A Settings tab below that holds the same shared controls every Fusion filter node has, motion blur and render range among them.
That's a lot of sliders for one effect, and Blackmagic's own reference manual describes the node's job in one sentence: a Glow is created by "blurring an image, and then brightening the blurred result and mixing it back with the original," per the DaVinci Resolve Reference Manual's Glow entry. Every control on the node exists to change one of those two steps: how the blur is calculated, or how the brightened result gets mixed back in.
Every setting on the Glow node does exactly one of two jobs: shape the blur, or control how that blur gets blended back into your original image. Once you sort a given slider into one of those two buckets, the node stops feeling like eleven unrelated dials and starts feeling like two decisions made eleven different ways.
The node also has three input connectors, not one, and beginners routinely only notice the first:
- Input (orange): the image the glow is calculated from.
- Effect Mask (blue): restricts which pixels of the source image feed the glow calculation at all.
- Glow Mask (white): a separate pre-mask that filters the image before the glow runs, but, critically, lets the resulting bloom spread past the mask's own edges rather than clipping hard against it.
That third input is the one most tutorials skip, and it's the difference between a glow that looks pinned to a shape and one that looks like light actually escaping it. More on that a few sections down.
How do you add a Glow node to your Fusion composite?
Open the clip on the Fusion page, right-click an empty spot in the Flow, and choose Filter from the Add Tool menu, then Glow. The faster route once you know the name: press Shift+Spacebar, type "glow," and hit Return. Either way, Fusion drops an unconnected Glow node into the Flow, exactly like any other tool.
From there:
- Connect your source image to the Glow node's orange Input, either by dragging from MediaIn's output or by dragging the Glow node onto an existing connection line to splice it in.
- Route the Glow node's output toward MediaOut. You can send the glow straight through if you want the whole frame affected, or into a Merge node's foreground input if you want to dial back how much of the glow shows through against the untouched background.
- Select the Glow node and press 1 or 2 to send it to a Viewer, so you can compare the glow against your unmodified source side by side while you dial in settings.
- Open the Inspector to see the Controls and Settings tabs. Everything covered in this guide lives on the Controls tab; the Settings tab is shared boilerplate you'll rarely touch for a glow specifically.
If you've never opened the Fusion page before, back up to our Fusion page tutorial for beginners first. It covers the Flow, the Viewers, and the Merge node fundamentals this guide assumes you already have.
What do the eight Filter Method options do, and which should you pick?
The Filter Method menu decides how the Glow node blurs your image before it brightens and mixes the result back in, and it's the first decision you make because every other control reads differently depending on which algorithm is running underneath it.
| Filter Method | What it does | Best for |
|---|---|---|
| Box | "A simple but very fast Box filter," per the Resolve reference manual | Quick previews, low-end machines, effects you'll refine later |
| Bartlett | A "softer, subtler glow with a smoother drop-off," slower to render than Box | Gentle highlight bloom, portraits, soft romantic looks |
| Multi-box | Layers a Box filter across multiple passes to approximate a Gaussian shape | High quality without full Gaussian render cost, adjustable via Num Passes |
| Gaussian | A soft, mathematically accurate blur | Reference-quality glows where render time isn't a constraint |
| Fast Gaussian | The default; a faster approximation of the Gaussian look | General-purpose glow work, the safest starting point |
| Blend | A nonlinear glow "evenly visible in the whites and blacks" | Stylized looks where you want glow in shadows too, not just highlights |
| Hilight | Glow "without creating a halo in the surrounding pixels" | Clean highlight bloom on text or graphics where a visible halo reads as a mistake |
| Solarize | Combines a glow with a solarization effect | Deliberately surreal, psychedelic, or experimental looks |
Fast Gaussian ships as the default for a reason: it's the closest thing to a neutral starting point, cheap enough to iterate on in real time and close enough to true Gaussian that most viewers can't tell the difference in a finished export. Start there. Only reach for Multi-box or full Gaussian once you've confirmed the shape of the glow is right and you're rendering a final pass where render time genuinely doesn't matter.
Num Passes only appears when Multi-box is selected, and it's a direct time-versus-quality trade. A higher pass count "increases smoothness" at the cost of "increased render times," according to the same manual entry. Four passes is a commonly cited sweet spot in Fusion tutorials generally, close to Gaussian quality without the full computational cost, though Blackmagic's own documentation doesn't publish that as an official recommended default.
Fast Gaussian is the default Filter Method for a reason: it's the one setting on this node you can leave alone on a first pass and trust. Everything else on the Controls tab is worth touching. This one usually isn't, at least not until the shape of your glow is already right.
What does Glow Size control, and how big is too big?
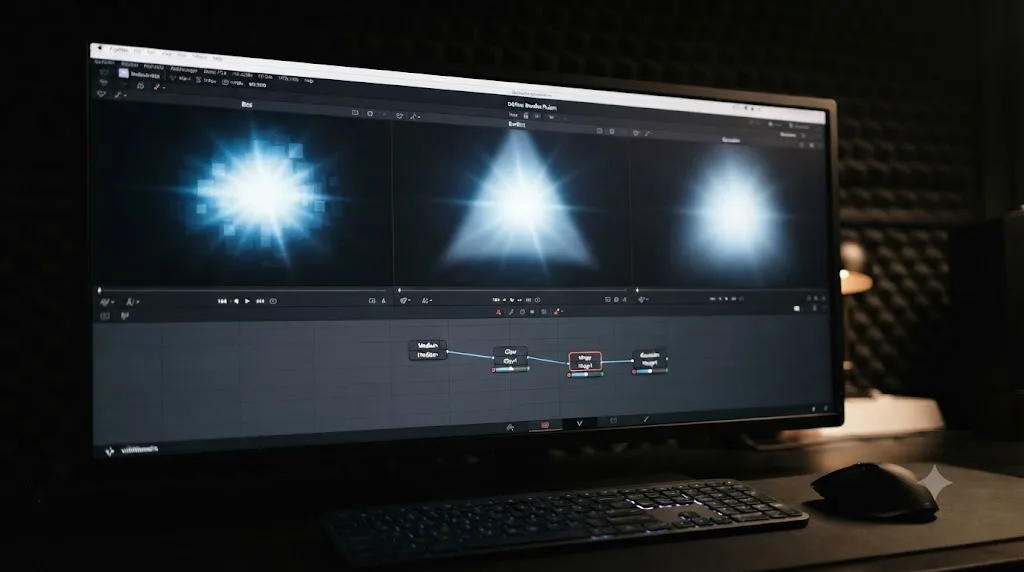
Glow Size expands the blur radius the Filter Method is calculating, in plain terms, how far the glow reaches outward from each bright pixel. It has nothing to do with brightness. A tiny Glow Size with a huge Glow gain value gives you a small, blinding hot spot. A huge Glow Size with a modest gain gives you a wide, soft wash of light that barely brightens anything directly.
Lock X/Y sits right above it, and it's easy to skip past. When enabled, "both the horizontal and vertical glow amounts are locked" together, per the manual, so a single Glow Size value controls a circular spread. Disable it and Fusion exposes separate horizontal and vertical size controls, useful for an anamorphic-style streak where light stretches sideways far more than it spreads vertically, a common look for lens flares and neon signage.
Color Channels, the RGBA checkboxes near the top of the Controls tab, decide which channels the blur calculation even runs on in the first place. That's a meaningfully different job from the Color Scale sliders near the bottom, which tint an already-calculated glow after the fact. Turn off a channel in Color Channels and that channel's data never enters the blur math at all; turn its Color Scale slider down and the blur still ran on it, but you're now dialing back how much of that channel's glow shows in the final mix.
There's no published numeric default for Glow Size in Blackmagic's own documentation, and that's worth saying plainly rather than inventing a number that sounds authoritative. What the manual does confirm is the direction: push it up, the halo spreads wider; push it down, the halo tightens toward the source highlight's actual shape. Judge it against your frame, not against a number a tutorial told you to type in.
What does the Glow (gain) slider do, and why does it blow highlights out to white?
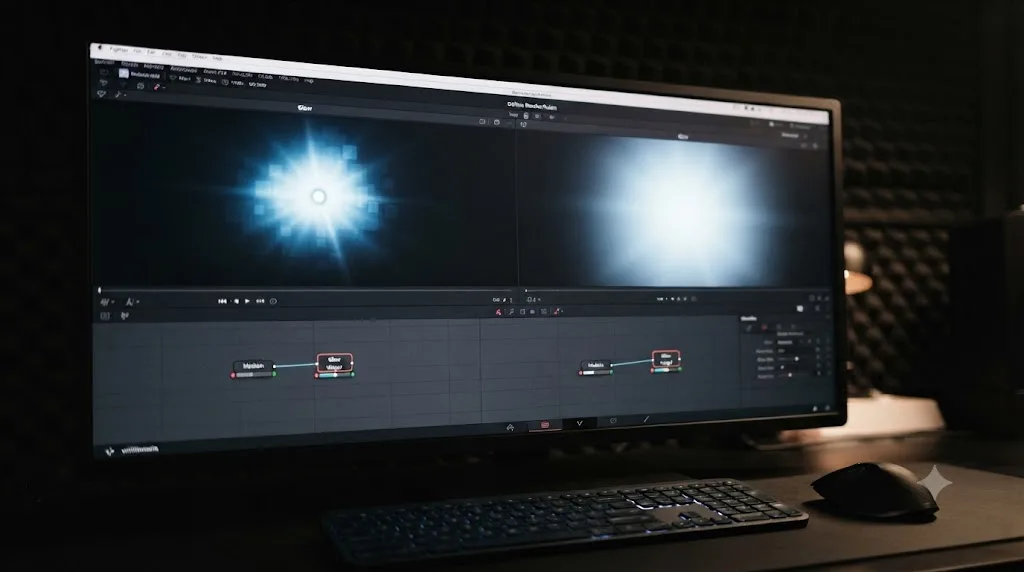
This is the control most people reach for first, and the one most responsible for a glow that reads as amateur rather than cinematic. The Glow slider sets the intensity of the effect, and Blackmagic's own reference manual is unusually direct about the failure mode: "larger values tend to completely blow the image out to white," per the Glow node's manual entry.
A glow that blows highlights to flat white isn't a stronger effect, it's a broken one, since every detail the light was supposed to be glowing around has disappeared along with the light itself. The instinct to push this slider until the effect is "visible enough" is exactly the instinct that ruins it.
Colorist Jason Bowdach frames the underlying temptation well in his tutorial breaking down Resolve's Glow controls: "Glows are an extremely popular effect. They are simple to use and extremely versatile. With a few simple adjustments, you can add just a touch of elegance or put the audience into a nightmarish hellscape," in his Mixing Light tutorial on the Glow ResolveFX. Bowdach's tutorial covers the Edit page's separate Glow plugin rather than this Fusion node, but the warning is identical in both places: a few simple adjustments is the whole job, and past that point you're not adding elegance, you're adding damage.
The practical fix isn't a lower ceiling on the slider, it's a different order of operations. Raise Glow Size first to establish the shape and reach of the effect at a low, barely-visible gain. Only once the shape reads correctly should you start nudging gain upward, watching your brightest highlight the entire time rather than the overall frame. The moment detail starts vanishing inside a flat white blob, back off two or three notches from where you stopped noticing it and leave it there.
Normal, Merge Under, or Threshold: which Apply Mode should you use?
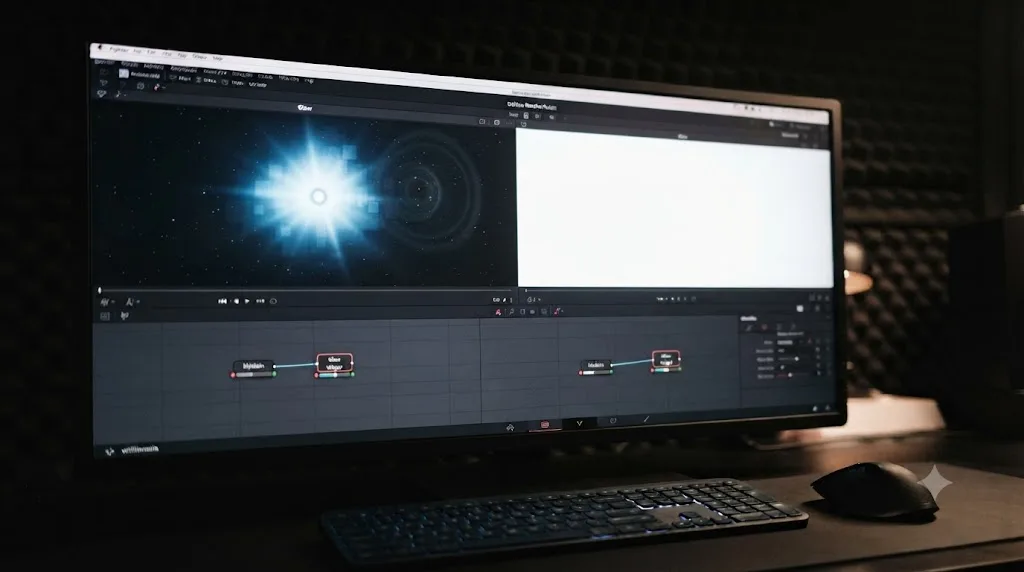
Apply Mode is the single most consequential setting on this node, and it's also the one buried furthest down the Controls tab, past Blend and just above Color Scale. Three options:
- Normal (the default) lays the calculated glow directly over the top of the original image. Simple, predictable, and the right choice for most everyday glow work.
- Merge Under places the glow beneath the image instead, composited based on the image's own Alpha channel. This matters when your source has transparency, a logo on a transparent background, a title with an alpha channel, since Normal would glow over the transparent areas too, while Merge Under keeps the glow tucked behind the opaque shape.
- Threshold clips the glow's effect to a specific brightness range, exposing a Threshold Range control that only appears in this mode. Anything outside that range doesn't contribute to or receive the glow at all.
Threshold mode is the one worth learning deliberately, because it solves the single most common Glow node complaint: a glow that's washing out midtones and shadows instead of staying confined to actual highlights. Set the Threshold Range so only the genuinely bright pixels, a practical light, a reflection, a lit window, feed the glow calculation, and the rest of the frame stays untouched by it. That's the difference between "this shot has a light source that glows" and "this entire shot looks hazy for no visible reason."
Blend, sitting just above Apply Mode, does a related but distinct job: it's a straightforward mix percentage between the glow-processed image and the original, unaffected image. Where Apply Mode changes how the glow composites, Blend changes how much of the composited result you actually see versus the clean source underneath. A Blend value near 0 mixes in more of the original untouched image regardless of what Apply Mode is doing; a Blend value near maximum shows you the fully processed result.
Apply Mode decides where the glow can go. Blend decides how much of it you actually keep. Confusing the two is the most common reason a Glow node produces a result that looks right in isolation but wrong once it's sitting in the middle of a real shot.
Clipping Mode, a smaller but genuinely useful control nearby, governs how the node handles pixels at the frame's edge. Frame, the default, "automatically sets the node's domain of definition to use the full frame." Domain "respects the upstream domain of definition." None "does not perform any source image clipping at all," letting the glow's calculated area expand freely past the visible frame boundary. That last option sounds harmless until it starts silently costing you render time, since a Glow node's Domain of Definition expanding past the frame edge means downstream nodes keep processing pixels nobody will ever see in the final export, one of the specific causes covered in our guide to fixing slow Fusion renders.
What's the difference between the Effect Mask and the Glow Mask inputs?
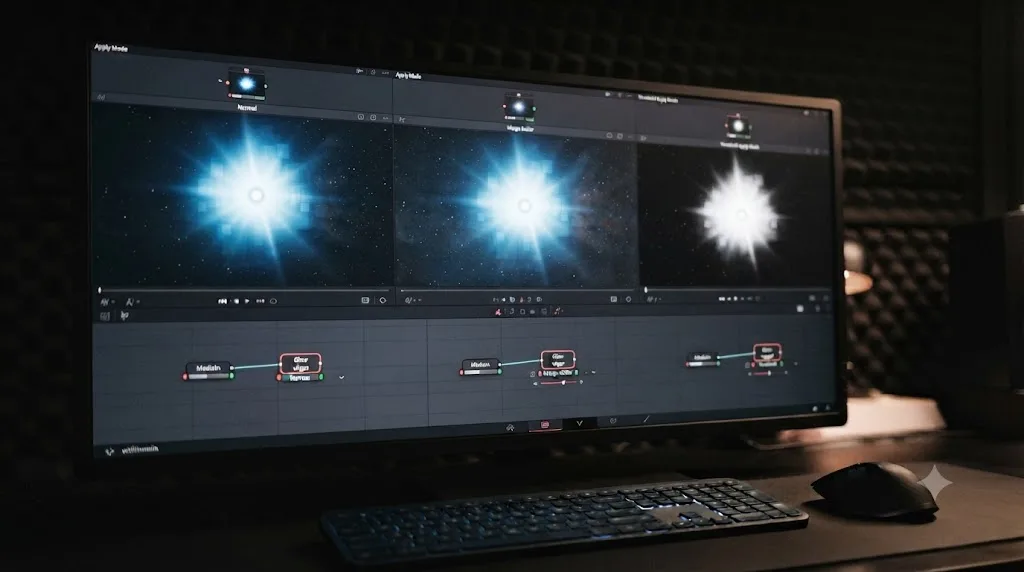
This is the single most misunderstood pair of controls on the node, because both inputs accept a mask and both visibly change where the glow shows up, which makes them look interchangeable. They aren't.
The Effect Mask (the blue input) restricts the region of the source image the glow calculation runs on at all. Mask out everything except a small window in a night shot, and the glow is calculated only from that window's pixels, then composited according to your Apply Mode setting. Pixels outside the mask never enter the blur math.
The Glow Mask (the white input) is different in a way that matters for anything with a hard edge, a logo, a sign, a practical light fixture. It filters the source image before the glow runs, the same basic idea, but it lets the resulting bloom expand past the mask's own boundary once the blur happens. In other words, the source of the light stays confined to the shape you drew, but the light itself is allowed to spill beyond that shape's edges, exactly the way real light does.
Use the Effect Mask when you want a hard, contained result, glow calculated from and confined to one region. Use the Glow Mask when you want a light source that visibly leaks past its own silhouette, which is nearly always what a realistic-looking practical light or neon sign actually needs. Get the two backward and the most common symptom is a glow that looks pasted on: crisp mask edges bleeding through a supposedly soft light, or a halo that stops dead exactly where a shape ends instead of tapering naturally outward.
A glow confined by an Effect Mask stays inside the lines. A glow filtered through a Glow Mask is allowed to spill past them, which is the one detail that separates a convincing practical light from an obvious effects layer. If your glow currently looks like a sticker instead of a light source, this is very likely why.
Glow node or Soft Glow node, which is right for your shot?
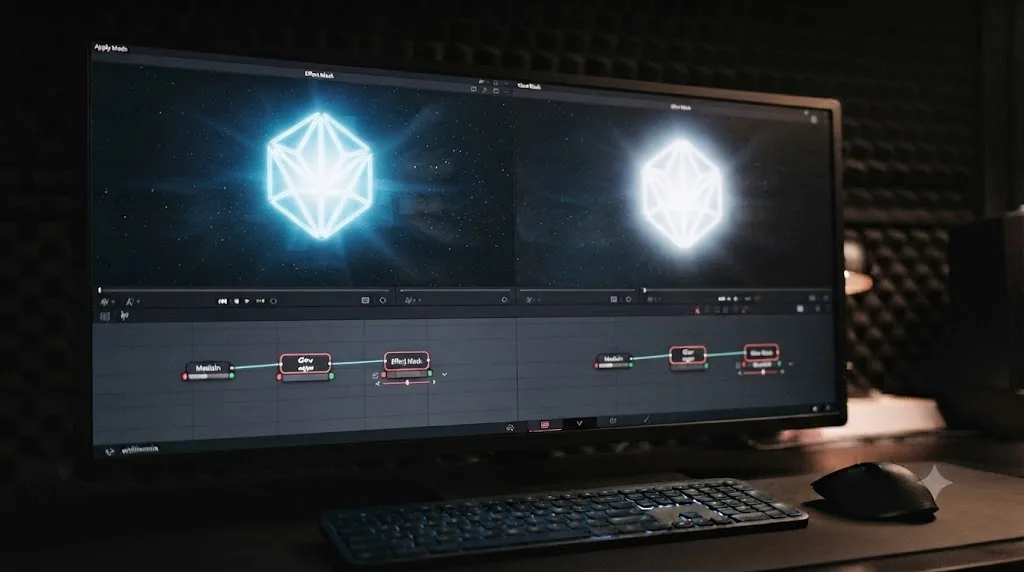
Fusion ships both a standard Glow tool and a separate Soft Glow tool, and they solve related but distinct problems. Soft Glow performs "additional processing of the image to create a much softer, more natural glow," according to JayAreTV's documentation of the node, and its Controls tab surfaces Threshold and Gain sliders directly, front and center, rather than requiring you to switch Apply Mode to Threshold the way the standard Glow node does.
| Glow | Soft Glow | |
|---|---|---|
| Filter Method options | Eight, including Blend, Hilight, Solarize | Four: Box, Bartlett, Multi-box, Gaussian |
| Threshold control | Only available inside Threshold Apply Mode | A dedicated, always-visible Threshold slider |
| Apply Mode options | Normal, Merge Under, Threshold | Not exposed the same way; the node's own processing handles blending |
| Typical use | Precise, stylized, or graphic glow work, titles, UI elements, logos | Atmospheric, natural-looking glow, skin tones, celestial objects, dreamlike scenes |
| Learning curve | More controls, more to misconfigure | Fewer decisions, easier to get a usable result quickly |
Both inputs, Effect Mask and Glow Mask, work the same way on Soft Glow as they do on the standard node. The real decision is intent. If you're building a graphic element, a title, a UI callout, a logo reveal, where you want deliberate, controllable bloom, reach for the standard Glow node and its full Apply Mode set. If you're trying to make an entire shot feel warmer, hazier, or more atmospheric, particularly around skin, fog, or a light source meant to feel diffuse rather than sharp, Soft Glow gets you there in fewer steps because its defaults already lean toward "natural" rather than "graphic."
Neither node replaces the other completely. A working habit worth adopting: try Soft Glow first on anything meant to feel like real, ambient light, and reach for the standard Glow node the moment you need Apply Mode's Threshold or Merge Under behavior, since Soft Glow doesn't expose that same three-way choice.
Which Glow settings should you actually use for a specific look?
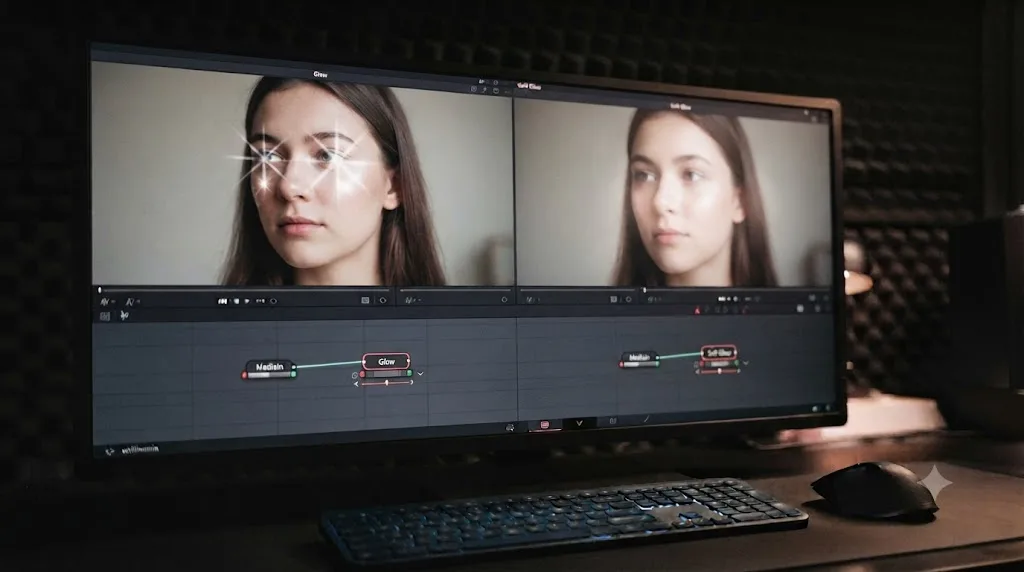
Everything above is the mechanics. Here's the cheat sheet version, the combination that gets you closest to a specific, common request on the first attempt, before you start nudging sliders by feel.
| Look you're going for | Filter Method | Apply Mode | Notes |
|---|---|---|---|
| Window light or a practical lamp in frame | Fast Gaussian | Threshold, tight range near clipping | Keep the glow centered on the light itself, not the whole window frame |
| Neon sign or storefront glow | Blend, or Fast Gaussian | Merge Under if the sign has alpha, otherwise Normal | Use the per-channel Color Scale sliders to keep the glow's color matched to the neon tube's own color |
| Muzzle flash, spark, or a single hot frame | Hilight | Normal | Small Glow Size, strong gain, animate Blend back to near 0 within a couple of frames so it reads as instantaneous |
| Sci-fi HUD or UI graphic | Hilight, or Fast Gaussian | Merge Under | Skip Threshold; a graphic's brightness is usually uniform by design, so there's nothing for a range to clip |
| Romantic soft skin or diffusion | N/A, use Soft Glow instead | Soft Glow's own blending | Wide spread, low gain, high enough Threshold that only genuine highlights bloom |
| Retro VHS or analog bloom | Box, or Bartlett | Blend | The softer, less exact falloff of Box reads as analog rather than digital; Blend lets a little glow creep into shadows too |
| Sun flare or a blown sky through a window | Gaussian, or Multi-box | Threshold, tight range | Only pixels genuinely near clipping should feed the glow, or the whole frame washes out |
None of these are settings you should type in and walk away from. A cheat sheet gets you to a reasonable starting point in one try, but the mechanics covered earlier, Threshold Range, Apply Mode, Glow Size, are still what you're judging against your own frame, the same way there's no published numeric default for Glow Size regardless of which look you're chasing.
Why does your Fusion glow look different in the Viewer than on the Edit page?
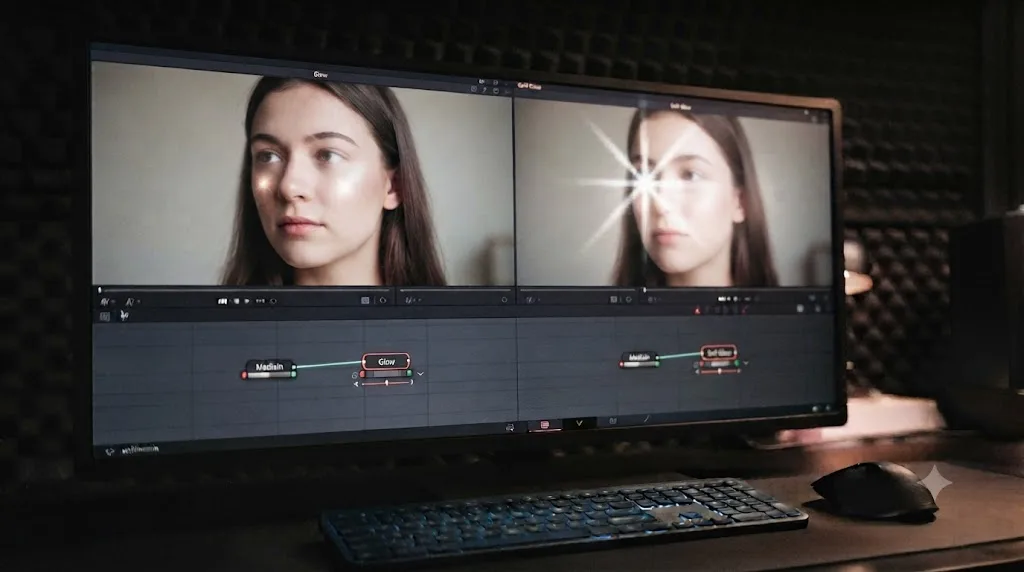
Because Fusion and the Edit page can disagree about color space, and a glow's brightness makes that disagreement obvious faster than almost any other effect. A user on Blackmagic's own forum reported exactly this: adding a Glow node after a Text+ title produced "very different results in the Fusion and Edit pages," a symptom specific enough that Blackmagic staff responded directly, according to the Blackmagic Forum thread on the exact issue.
The underlying cause: Fusion composites in a linear color space, and depending on your Resolve version, the Fusion Viewer and the Edit page's monitor may not automatically agree on how to display that linear result. In Resolve 18.5 specifically, the documented workaround required manually inserting a Gamut node before MediaOut, with its Source Space set to No Change and Output Space set to your project's actual output color space, so what you saw in the Fusion Viewer would match what the Edit page eventually showed. Community forum discussion on the topic indicates Resolve 19 addressed this specific viewport color space conflict without needing that manual workaround, though Blackmagic's own release notes are the authoritative source if you're troubleshooting a version-specific discrepancy on your machine.
If your glow looks fine in Fusion but wrong, usually flatter, dimmer, or shifted, once you switch to the Edit page, work through these in order:
- Check your project's color management setting in Project Settings > Color Management. A mismatch between DaVinci YRGB Color Managed mode and your Fusion composite's expectations is a separate, related report on Blackmagic's forum, where users found the glow simply failed to show up correctly under Color Managed projects, per a thread on the exact symptom.
- Insert a Gamut or Color Space Transform node right before MediaOut if you're on an older Resolve build, setting Output Space to match your delivery color space, so the Fusion Viewer reflects what you'll actually see downstream.
- Confirm you're comparing like for like. The Fusion Viewer and the Edit page's monitor sometimes apply different LUTs or scopes by default; a genuine color space bug looks identical to a simple viewing-mode mismatch until you rule the second one out first.
- Rule out a stale cache. One forum report described a Glow node rendering as 8-bit instead of the project's actual 16 or 32-bit depth when dragged to the timeline as a macro, a symptom that corrected itself after revisiting the Fusion page and returning to Edit, according to the same thread on glow node bugs in Fusion.
None of this means the Glow node is unreliable. It means a brightness-based effect is an unusually sensitive canary for a color pipeline mismatch that would otherwise go unnoticed on a normally graded shot.
How do you make a Fusion glow look realistic instead of fake?
Start by naming what makes most default glows look artificial in the first place: light in the real world falls off according to the inverse square law, and DaVinci Resolve's default glow falloff is not that. A discussion on Blackmagic's forum specifically addressing a "realistic glow effect" request lands on the same underlying point raised by third-party glow plugins built to compete with Resolve's native tools, that an optically correct falloff behaves differently from the Gaussian-style approximation most built-in glow tools, Fusion's Glow node included, actually use, per the Blackmagic Forum discussion on realistic glow effects.
You won't get a physically perfect inverse-square falloff out of the stock Glow node's Filter Method options, none of the eight are built to simulate it directly. What you can do is get closer with the pipeline around the node:
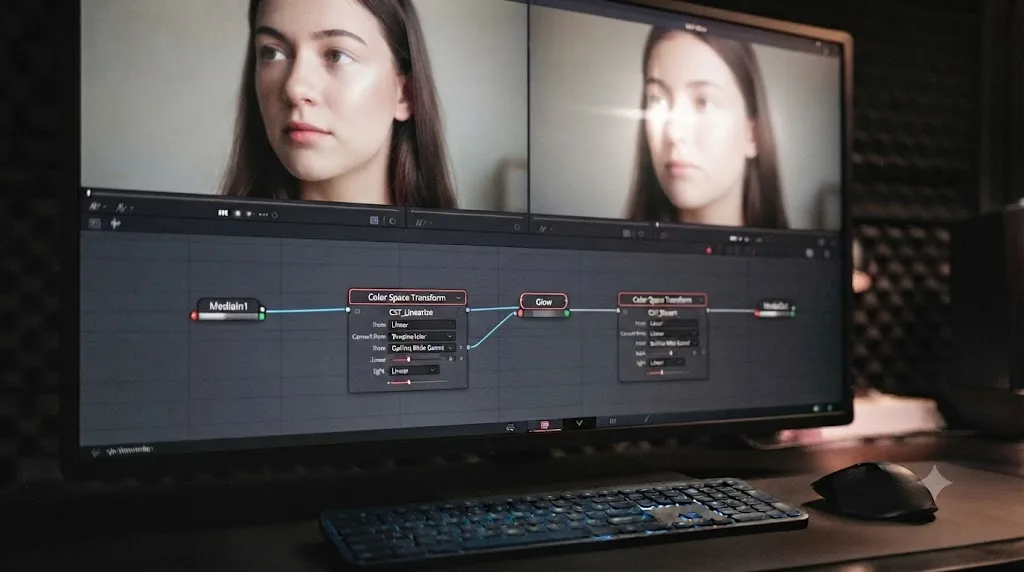
- Work in linear light, not log or display-referred gamma, while the glow is calculating. If your footage is in a log color space, insert a Color Space Transform node before the Glow node, setting it to convert from your log space to Linear gamma. Real light behaves additively in linear space; glow math run directly on log-encoded footage compresses highlights in a way that makes the resulting bloom look muddy and disconnected from the actual light source.
- Set Apply Mode to something additive-feeling rather than a flat overlay. Blend and Merge Under both read as more physically grounded than the flat Normal composite for a light source that's meant to feel like it's actually adding energy to the frame rather than sitting on top of it as a separate layer.
- Convert back out of Linear before MediaOut. Insert a second Color Space Transform after the Glow node, Source Space set to Linear, Output Space set back to your delivery color space, so the rest of your grade downstream isn't accidentally working with linear-encoded data.
- Layer two Glow nodes at different sizes rather than pushing one node's Glow Size value to an extreme. A tight, bright inner glow combined with a much wider, much dimmer outer glow reads as more realistic than a single node trying to do both jobs at once, because that's closer to how a real light source's brightness actually tapers across distance.
- Keep the Threshold Range tight. A realistic light source is bright relative to its surroundings, not merely "brighter than average." Set Threshold Apply Mode's range so only genuinely hot pixels, the ones actually near clipping, feed the glow, and the rest of your midtones stay clean.
None of this makes the Glow node behave like a dedicated optical simulation plugin. It gets you meaningfully closer without leaving Fusion or buying anything, which is the honest ceiling on what a general-purpose blur-and-brighten tool can do against a problem that's fundamentally about how light physically behaves.
Fusion's Glow node vs the Edit page's Glow ResolveFX: what's the difference?
Confusingly, DaVinci Resolve has two separate tools named "Glow," and mixing them up is one of the most common reasons someone searches for Fusion Glow settings and lands on documentation for the wrong tool entirely.
The Fusion page's Glow node is the one this entire guide covers: a node in the Fusion Flow, with Filter Method, Apply Mode, and the mask inputs described above. The Edit and Color pages' Glow is a completely separate ResolveFX plugin, applied from Effects > Open FX > Filters > Resolve FX Light > Glow, dragged directly onto a clip without ever opening the Fusion page, according to a walkthrough of that specific OFX panel's parameters. Its controls don't overlap with the Fusion node's at all: Shine Threshold, Spread, H/V Ratio, per-channel Relative Spread sliders, Gain, Gamma, Saturation, a Color Filter picker, and a Composite Type menu offering Normal, Add, Subtract, Multiply, and Overlay.
| Fusion Glow node | Edit/Color page Glow ResolveFX | |
|---|---|---|
| Where it lives | Fusion page node graph | Effects Library > Open FX > Filters > Resolve FX Light |
| Applied to | A node chain inside a Fusion composite | A clip directly on the Edit or Color page timeline |
| Key controls | Filter Method, Glow Size, Glow gain, Apply Mode, Effect/Glow Masks | Shine Threshold, Spread, H/V Ratio, Gain, Gamma, Composite Type |
| Masking | Two distinct mask inputs (Effect Mask, Glow Mask) | Standard Power Window or qualifier-based masking, same as any OFX |
| Free or Studio | Free in every Resolve tier | Free in every Resolve tier |
| Best for | Compositing work already happening in Fusion, titles, logos, tracked elements | Fast, whole-clip glow without leaving the Edit or Color page |
Both are free. Neither requires DaVinci Resolve Studio, unlike Halation, a related but visually distinct film-emulation glow effect that recreates "subtle light scatters, reflections, and analog blooms of light reflecting back through the dye layers of motion picture film," which Blackmagic reserves for Studio, per the Resolve manual's Halation entry. One user on Blackmagic's forum even reported not being able to find the Glow ResolveFX at all after a version update, only to learn it had simply been relocated into the Resolve FX Light category under a shorter name rather than removed, according to a forum thread on the exact confusion.
Two different tools inside DaVinci Resolve answer to the exact same name, Glow, and knowing which one you're actually looking at is the first troubleshooting step, not the last. If a tutorial's screenshot shows sliders called Shine Threshold or Spread, you're looking at the Edit page's ResolveFX, not the Fusion node this guide is about, and the settings simply won't transfer between the two.
For editors already working with an on-screen assistant rather than another browser tab full of documentation: TryUncle is the on-screen assistant for DaVinci Resolve on macOS, ask in plain words and Uncle points at the exact control on your screen, which matters more than usual here since half the confusion around Glow settings is simply not knowing which of two identically-named tools you're currently staring at.
Do you need DaVinci Resolve Studio for the Glow node?
No. Fusion's core node system, the Glow node and Soft Glow node included, has shipped in every free version of DaVinci Resolve for years, the same free tier that gained Resolve 21's full Krokodove template library at no extra cost, per CG Channel's coverage of the Resolve 21 release. Blackmagic's Studio-only line runs through the DaVinci Neural Engine's AI tools and specific ResolveFX like Halation, not through Fusion's built-in filter tools.
That said, the two tools this guide covers most closely, the Fusion Glow node and the Edit page's Glow ResolveFX, are both fully available in the free version. If you're weighing whether the $295 Studio license is worth it for your workflow generally, rather than for glow effects specifically, that decision comes down to features that genuinely are gated, Magic Mask, the nine Resolve 21 AI tools, Dolby Vision and HDR10+ delivery, none of which this particular effect touches at all. Our rundown of what's new in DaVinci Resolve 21 covers the full free-versus-Studio split for the current release if that's the decision you're actually trying to make.
Does DaVinci Resolve 21 change anything about the Glow node?
No, not directly. Fusion Studio 21.0's actual headline changes sit somewhere else entirely: Krokodove folded into the page as a motion graphics library of over 70 tools, a new Fairlight Animator modifier that lets an audio track drive a Fusion animation, a new dColorCorrector node for color correcting deep-compositing images natively, and Text+/MultiText tools that finally support colored fonts, emojis, and a built-in spell checker, according to CG Channel's coverage of the Fusion Studio 21.0 release. Search that release for "Glow" and you'll come up empty. The Filter Method list, the Apply Mode set, and the two mask inputs read identically to how Blackmagic's own reference manual described the node years earlier.
One change from that release is still worth knowing about, even though it never touches the Glow node's own Controls tab directly. Fusion Studio 21.0 introduced a MultiInspector that lets you select several nodes at once and edit their shared properties together. If you're running the layered-glow technique covered later in this guide, a tight inner Glow node and a wide, dim outer one, this is the first Resolve release where you can nudge both nodes' shared sliders, Glow Size, gain, whichever properties they have in common, from one panel instead of clicking back and forth between two separate Inspectors.
A feature list this long having nothing to say about Glow is itself useful information: the node you're learning in this guide is the same node that's been sitting in Fusion for years, not a moving target rewritten every release. Settings you learn today should still hold up next year, mask inputs included, Filter Method options included.
A worked example: glow a logo reveal without blowing it to white
This is the exact worked example the strategy behind this guide exists for: a glowing logo reveal, built entirely from tools already covered above, without a single third-party plugin.
- Bring your logo in as MediaIn, ideally with an alpha channel intact if it's a PNG or a title generated in Fusion itself.
- Duplicate the path. Connect the logo's output to a Merge node's foreground input, with your background plate on the background input, so you have a clean composite before any glow enters the picture.
- Branch a second copy of the logo into a Glow node. Set Filter Method to Fast Gaussian to start, and Apply Mode to Merge Under, since your logo has an alpha channel and you want the glow sitting behind the shape, not smeared across its transparent background.
- Set Glow Size first, watching how far the bloom reaches before you touch brightness at all. A logo reveal usually wants a moderate spread, wide enough to feel like light, tight enough that it doesn't wash out surrounding graphics.
- Raise Glow gain in small increments, stopping the instant the logo's edges start losing definition rather than waiting until the glow "looks strong enough" on its own.
- Add a second Merge node, combining your clean logo-over-background composite from step 2 with the glow layer from step 5, using an Add or Screen-style blend so the glow contributes light rather than replacing pixels outright.
- Animate Blend from 0 to your final value over the reveal's first several frames if you want the glow itself to bloom in as part of the animation, right-clicking the Blend parameter in the Inspector and choosing Animate, the same keyframing workflow covered in our Fusion page tutorial for beginners.
- Check the result on the Edit page, not just the Fusion Viewer, for exactly the color space reasons covered earlier in this guide.
The pattern generalizes past logos: any time you want a glow that respects a hard edge without smearing across transparent space around it, branch the glow off a separate copy of the element, keep Apply Mode set to Merge Under, and recombine with a second Merge node rather than trying to get one Glow node to do both the containment and the brightening in a single pass.
Why does a glow around a logo or cutout show a dark or bright fringe at the edge?
This shows up almost exclusively on the kind of alpha-channel element the logo reveal example above uses, a PNG logo, a Text+ title, anything with genuine transparency rather than a solid rectangular frame. Glow it directly and the edge where the shape meets transparency sometimes shows a visible dark ring, or occasionally a bright halo that doesn't match the color of anything else in the shot.
The cause is premultiplication, not the Glow node itself. Fusion's own manual defines a premultiplied image as "an RGB image that has each channel multiplied by its alpha channel before compositing," per the Fusion Reference Manual's chapter on premultiplication. Most rendered graphics, PNGs, and Fusion-generated titles arrive premultiplied already, RGB values scaled down toward black wherever the alpha channel says "mostly transparent." A blur-based filter like Glow doesn't know that scaling happened. It averages neighboring pixels as if they were full-strength color, and at a semi-transparent edge, that means averaging genuine color values against values that were already darkened by the alpha multiplication, exactly the kind of math that produces a visible dark fringe once the result gets brightened and blended back in.
The standard fix isn't specific to Glow. Any blur or blend-based filter in Fusion runs into the same failure mode on premultiplied alpha, and the fix is the same for all of them: unpremultiply before the filter runs, then repremultiply after. JayAreTV's documentation describes the two dedicated nodes built for exactly this: an Alpha Divide node that divides "an incoming image's color channels by its alpha channel," placed immediately before the filter, and an Alpha Multiply node that reverses the operation immediately after. Not every Fusion filter exposes a Pre-Divide/Post-Multiply checkbox on its own Settings tab the way some color correction tools do, so bracketing the Glow node manually with these two nodes is the fix that works regardless of what that particular node's Settings tab happens to expose.
Practically, for the logo reveal worked example above: insert an Alpha Divide node between the branched logo copy and the Glow node in step 3, then an Alpha Multiply node between the Glow node's output and the Merge node in step 6. Nothing else about the worked example changes. The glow itself looks identical in the middle of the shape and noticeably cleaner at the edge, no dark ring where the light stops.
A dark ring around a glowing logo isn't a Glow node bug, it's a premultiplication mismatch, and the fix lives in two small nodes bracketing the Glow node, not in any slider on the Glow node itself. If you remember one troubleshooting step from this section, remember that the fix is structural, not a setting.
A worked example: a soft cinematic haze over a full shot
Different goal, different settings entirely. Where a logo reveal wants contained, controllable glow, a full-shot cinematic haze wants something closer to Soft Glow's natural falloff spread thin across the whole frame.
- Connect your graded shot's output into a Soft Glow node, keeping Filter Method on Gaussian or Multi-box for the smoothest possible falloff, since a haze effect with visible box-filter banding reads as a bug, not a look.
- Set the Threshold slider high, close to where only your brightest practical lights and blown highlights, windows, streetlights, a sun flare, actually trigger the glow. A low threshold turns the whole shot hazy instead of adding atmosphere around specific light sources.
- Keep Gain modest. A cinematic haze is a whisper, not a statement; if a client or a collaborator notices the glow before they notice the shot, it's too strong.
- Route the Soft Glow node's output into a Merge node set to Screen or Add, background the original graded shot, foreground the glow layer, rather than replacing the shot outright with Normal Apply Mode.
- Dial Blend on the Merge node down until the effect is nearly invisible on its own but noticeably absent when you toggle it off. That's the actual target for atmospheric work: an effect the audience feels rather than sees.
- Check skin tones specifically. Soft Glow's natural falloff can flatter or flatten skin depending on threshold and gain, so scrub through any close-ups in the shot before locking the setting for the whole sequence.
A haze effect that's noticeable on its own is a haze effect that's set too strong, since the entire point of atmospheric glow is that it should only be missed once you turn it off. That's a genuinely different design goal from the logo reveal example above, and conflating the two is a fast way to end up with a shot that looks foggy for no narrative reason.
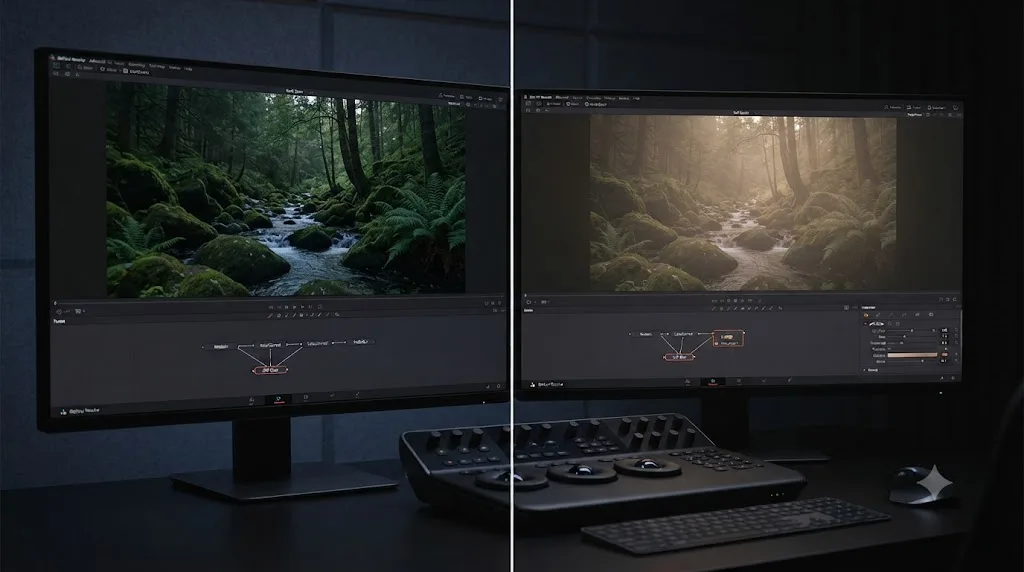
What mistakes make a Fusion glow look amateur, and how do you fix each?
Most bad glows share the same handful of causes, and every one of them traces back to a specific setting covered above.
- Blowing highlights to flat white. Covered in detail earlier: lower Glow gain before touching anything else, and consider switching to Threshold Apply Mode so the effect stays confined to genuinely bright pixels instead of creeping into midtones.
- A glow that looks pasted on top instead of part of the scene. Almost always an Apply Mode problem. Normal composites the glow flatly over everything; try Merge Under or a Screen-style Merge node blend instead for anything with defined edges.
- A glow with a visible hard edge where it shouldn't have one. This is the Effect Mask versus Glow Mask confusion covered above. If your light source has a shape, glow leaking past that shape needs the Glow Mask input, not the Effect Mask.
- A dark or bright fringe right at a logo or title's edge. Covered above: check whether the source is premultiplied before assuming the Glow node itself is at fault, and bracket it with Alpha Divide and Alpha Multiply nodes if it is.
- A wide, muddy haze covering the entire frame instead of specific highlights. Your Threshold Range, or your Filter Method's inherent behavior on the Blend option, is letting midtones and even shadows contribute to the glow. Tighten the threshold, or switch away from Blend's nonlinear method if you didn't choose it deliberately.
- Banding or blocky edges in the glow itself. A Filter Method mismatch for your resolution and delivery format. Box and Multi-box at a low pass count render fastest but show their seams first; switch to Fast Gaussian or true Gaussian for a final pass if banding shows up in the delivered file.
- The glow looking right in Fusion and wrong on the Edit page. Covered in full above: check color management settings and consider a Gamut or Color Space Transform node before MediaOut, especially on older Resolve builds.
- A glow that renders correctly but tanks playback and export speed. Covered in the next section: check Clipping Mode and confirm the node's Domain of Definition isn't silently expanding past the visible frame.
None of these are advanced failures. They're the seven or eight ways every working Fusion artist's early glow attempts went wrong, on the way to not going wrong anymore.
Why is your Fusion composite crawling after you add a Glow node?
Because a glow is real, frame-by-frame GPU work, not a cheap filter, and Fusion computes every composite at full timeline resolution regardless of your Proxy Mode setting, a detail our dedicated guide to fixing slow Fusion renders covers in depth for Fusion generally. Two things specific to Glow make it a worse offender than most nodes:
First, a Glow node's Domain of Definition can expand well past your frame's visible edges once Glow Size gets large, and if Clipping Mode is set to None rather than Frame, Fusion keeps calculating and passing along all of that off-screen data to every node downstream. Inserting a Crop node immediately after the Glow node, sized to your actual frame, stops that waste cold without changing how the glow looks at all.
Second, higher-quality Filter Methods cost real render time, and it compounds with Num Passes on Multi-box specifically. A Glow node set to Multi-box with a high pass count on 4K footage, feeding into a Merge node, feeding into more nodes downstream, is genuinely expensive work, not a light filter you can layer on without consequence. If you're iterating on a look, drop to Box or Fast Gaussian temporarily, then switch to your final Filter Method choice only once the shape, threshold, and apply mode are locked.
If your whole composite feels sluggish rather than just the Glow node specifically, the broader troubleshooting habits, checking GPU processing mode, caching finished sections with Saver and Loader nodes, confirming Resolve is using your dedicated graphics card, apply the same way here as they do to any heavy Fusion tool.
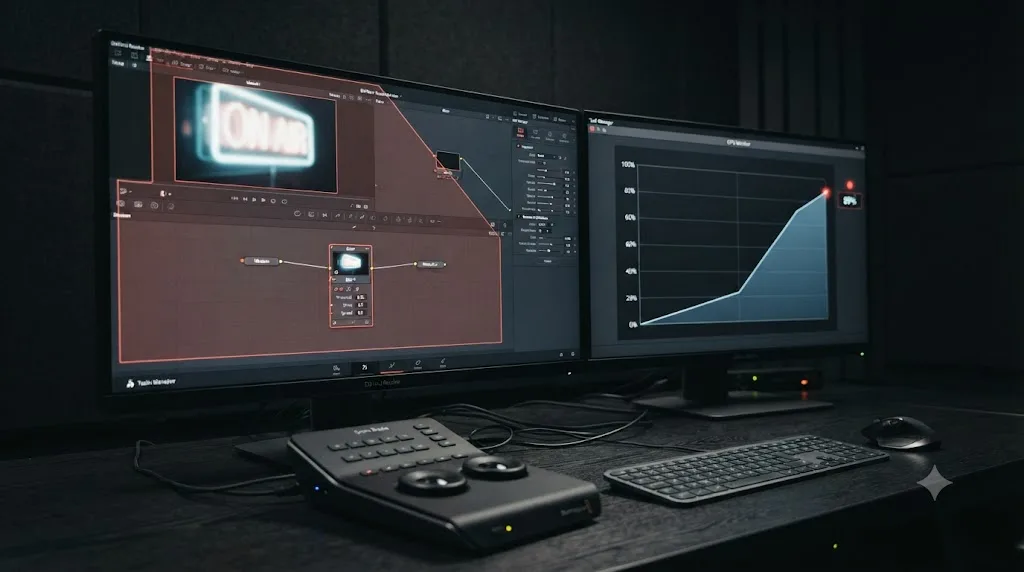
Why does a Glow node flicker from one frame to the next?
A glow that looks perfectly steady on a single paused frame but visibly pulses, brightens, or shifts shape across a handful of frames in playback almost always traces back to two things already covered in this guide: the Threshold Range, and whatever mask is feeding the node.
First, threshold flicker. Real footage carries noise, film grain, sensor noise, compression artifacts, and if your Threshold Range sits close to that noise floor rather than comfortably above it, individual pixels flicker in and out of "bright enough to glow" from one frame to the next simply because the noise itself is randomly distributed frame to frame. The fix isn't a lower gain, it's a wider margin: push the Threshold Range's lower bound further above your actual noise floor than feels necessary on a single still frame, then scrub several seconds of motion before judging whether it's stable, since a single frame genuinely cannot show you a flicker.
Second, mask flicker. A Glow Mask or Effect Mask that's tracked or animated rarely moves in perfectly smooth, sub-pixel-accurate steps, and a mask edge that jitters by even a fraction of a pixel between frames changes what the Glow node's Domain of Definition calculates on that frame, the same Domain of Definition covered earlier in the context of render performance. On a harder-edged Filter Method like Box, that tiny per-frame shift reads as visible flicker at the glow's edge. Smoother filter methods, Fast Gaussian, Bartlett, true Gaussian, hide the same jitter far better, since their falloff has no hard edge to begin with. If switching Filter Method alone doesn't fully solve it, stabilizing or smoothing the mask's tracking data upstream, rather than fighting the symptom downstream on the Glow node, is the more durable fix.
Worth separating from both of those: sometimes you want a glow to flicker, a candle, a campfire, a faulty neon tube. That's a different problem with a different solution. Animate the Glow gain slider directly, by hand or with a Fader node driven by a noise pattern you control, rather than letting an unstable mask or a noise-adjacent threshold produce flicker by accident. Deliberate flicker looks like a lighting choice. Accidental flicker looks like a rendering bug, even when the footage and the node graph are both technically correct.
A glow that flickers is rarely a broken Glow node. It's a threshold sitting too close to noise, or a mask that isn't as stable as it looks on a single frame. Test any glow across several seconds of real playback, never one paused frame, before deciding the settings are right.
What do you do when the Glow node itself misbehaves?
A handful of reported bugs show up repeatedly enough on Blackmagic's own forum to be worth naming directly, so you can tell a genuine bug from a settings mistake.
The glow renders at 8-bit instead of your project's actual color depth. One forum report described exactly this when a Glow-based macro was dragged onto the timeline directly, a symptom that corrected itself after revisiting the Fusion page and returning to Edit, per the same thread on glow node bugs in Fusion. If a glow looks unexpectedly banded or crushed immediately after adding a macro to a timeline clip, open the Fusion page once before judging the final look.
The glow doesn't appear at all under DaVinci YRGB Color Managed projects. A separate forum thread describes this exact symptom, glow simply not showing up as expected once color management is switched on, per a Blackmagic forum report on the issue. Check your project's Color Science setting in Project Settings before assuming your node graph itself is broken.
Two stacked Fusion compositions produce a glow with unexpected transparency on the Edit page that looked correct on the Fusion page itself. This points at a compositing-order interaction between multiple Fusion clips rather than the Glow node in isolation, worth testing by temporarily collapsing to a single Fusion composition to confirm whether the transparency issue follows.
A Fusion composition crashes specifically when a Glow node gets added. Rare, but reported. If it happens consistently and reproducibly, it's almost always a GPU driver or Fusion cache issue rather than something wrong with your settings, the same category of instability covered in the caching section of our Fusion title templates troubleshooting guide, even though that guide's specific symptom is titles rather than Glow.
If you've worked through this guide's settings explanations and something still looks wrong that doesn't match any description here, the honest next step is Blackmagic's own forum, searchable by the exact symptom, since Glow-specific bug reports tend to be both specific and, eventually, specifically answered by Blackmagic staff.
Where do you go from here?
You now know what every visible control on the Glow node does, when to reach for Soft Glow instead, which of two identically-named tools you're actually looking at, and the specific settings that separate a glow that reads as intentional from one that reads as a slider someone pushed too far. That's the complete toolkit for the effect, not a partial one.
The fastest way to make it stick is the same advice that applies to every other Fusion tool: build one small, deliberate composite with it. Glow a single title. Glow a single practical light in a single shot. Judge the result on the Edit page, not just the Fusion Viewer, and adjust from there. Do that two or three times before reaching for it as a default on every bright object in your timeline, since the honest lesson buried in every setting covered here is the same one: less gain, tighter threshold, and a clear sense of which of the two masks you actually need, gets you further than any single slider pushed to its limit ever will.
Frequently asked questions
- What settings does the DaVinci Resolve Fusion Glow node have?
- The Controls tab has a Filter Method menu (Box, Bartlett, Multi-box, Gaussian, Fast Gaussian, Blend, Hilight, Solarize), Color Channels checkboxes, Lock X/Y, Glow Size, Num Passes, a Glow gain slider, Clipping Mode, Blend, Apply Mode (Normal, Merge Under, Threshold), a Threshold Range, and per-channel Color Scale sliders. A separate Settings tab holds the standard blur controls shared with other Fusion filters.
- How do I add a glow effect in the Fusion page instead of the Edit page?
- Open a clip on the Fusion page, right-click an empty area of the Flow, and add the Glow tool from the Filter category, or press Shift+Spacebar and search for it. Connect your image into its orange Input, then route the Glow node's output toward MediaOut, directly or through a Merge node if you want to blend it back with the original.
- Why does my Fusion glow look different in the Viewer than on the Edit page?
- Fusion composites in a linear color space, and in DaVinci Resolve 18.5 the Fusion Viewer and the Edit page's monitor could disagree about that color space unless you manually added a color space transform after MediaOut, according to a Blackmagic Design forum thread on the exact symptom. Blackmagic's forum indicates Resolve 19 addressed the mismatch without that manual workaround, but if you're troubleshooting a similar-looking discrepancy, check your project's color management settings before assuming the Glow node itself is broken.
- What's the difference between the Glow node and the Soft Glow node in Fusion?
- Both blur an image and brighten the result, but Soft Glow adds Threshold and Gain controls the standard Glow node doesn't expose on its main Controls tab, aimed at a gentler, more natural falloff around highlights, per JayAreTV's documentation of both nodes. Reach for Soft Glow on skin tones, atmosphere, and dreamlike looks, and the standard Glow node when you want more direct control over apply mode and per-channel tinting.
- Do I need DaVinci Resolve Studio to use the Fusion Glow node?
- No. Fusion's core node system, including the Glow and Soft Glow tools, has shipped in every free version of DaVinci Resolve for years, the same free tier that now includes Resolve 21's Krokodove template library. Blackmagic's Studio-only line runs through Neural Engine AI tools and the Halation ResolveFX, not through Fusion's built-in filter nodes.
- Why is my Fusion composite rendering slowly after I added a Glow node?
- A Glow node blurs a copy of the whole frame, and if its Domain of Definition expands past the visible frame edge, downstream nodes keep processing pixels nobody will see. Fusion also computes at full timeline resolution regardless of Proxy Mode, so a Glow node on 4K footage is real GPU work, not a light filter.
- What's the difference between Fusion's Glow node and the Glow effect on the Edit page?
- They're two separate tools that happen to share a name. The Edit and Color pages' Glow is a ResolveFX plugin under Resolve FX Light, with its own Shine Threshold, Spread, and Composite Type controls, according to a walkthrough of that OFX panel. Fusion's Glow node lives on the Fusion page's node graph and uses entirely different controls, Filter Method and Apply Mode among them, even though both nodes brighten and blur highlights.
- How do I stop the Glow node from blowing highlights out to solid white?
- Lower the Glow gain slider before you touch anything else, since Blackmagic's own reference manual for the node warns that larger values on that control 'tend to completely blow the image out to white.' If you still want a strong glow without flattening detail, switch Apply Mode to Threshold and use the Threshold Range to clip which brightness levels the glow reacts to.
Sources
- DaVinci Resolve Reference Manual: Glow [Glo]
- JayAreTV: Glow Node
- JayAreTV: Soft Glow Node
- Blackmagic Forum: Glow Node Different On Edit and Fusion Pages
- Blackmagic Forum: A Realistic Glow Effect
- Blackmagic Forum: Bug with the glow node in Fusion?
- Blackmagic Forum: GLOW FX missing in OpenFX in 17.0 Release
- Blackmagic Forum: Glow fusion comp not showing in Edit page Color Managed
- Mixing Light (Jason Bowdach): Learning To Work Quickly Using The 'Glow' Resolve FX
- Mixing Light (Jason Bowdach): Revisiting Glow Effects With New DaVinci Resolve 20 Updates
- DaVinci Resolve Reference Manual: Halation (Studio Version Only)
- Blackmagic Design: DaVinci Resolve Fusion (product page, tool count, capabilities)
- BeginnersApproach: DaVinci Resolve Glow Effect (ResolveFX parameters and path)
- CG Channel: Blackmagic Design releases DaVinci Resolve 21.0 (Krokodove)
- Blackmagic Design: DaVinci Resolve product page (free vs Studio pricing)
- CG Channel: Blackmagic Design releases Fusion Studio 21.0
- Fusion Reference Manual: Understanding Premultiplication
- JayAreTV: Alpha Divide Node
- JayAreTV: Alpha Multiply Node
Keep reading
Guides · Jul 10, 2026 · 32 min
DaVinci Resolve Fusion Page Tutorial for Beginners
Learn the DaVinci Resolve Fusion page from zero: nodes, MediaIn/MediaOut, the Merge node, planar tracking, and keying a green screen, step by step.
Fixes · Jul 10, 2026 · 26 min
DaVinci Resolve Fusion Render Slow? The Real Fixes
Why DaVinci Resolve's Fusion page renders so slowly, and the real fixes: resolution passthrough, MediaIn vs Loader, node caching, and CPU-only nodes.
Fixes · Jul 17, 2026 · 22 min
DaVinci Resolve Fusion Title Templates Not Working: The Fix
DaVinci Resolve Fusion title templates fail for five distinct reasons, from missing files to locked macros to bad fonts. Here's the fix for each one.