Articles / Guidesupdated for DaVinci Resolve 21.0.3 (July 2026)
How to Create a Light Leak Overlay Effect in DaVinci Resolve
Quick answer
To create a light leak overlay effect in DaVinci Resolve, drop a free light leak clip on a track above your footage, then set its Composite Mode to Screen or Add in the Inspector so black turns transparent and the light blends through. Adjust Opacity to control intensity, or build one from scratch in Fusion.
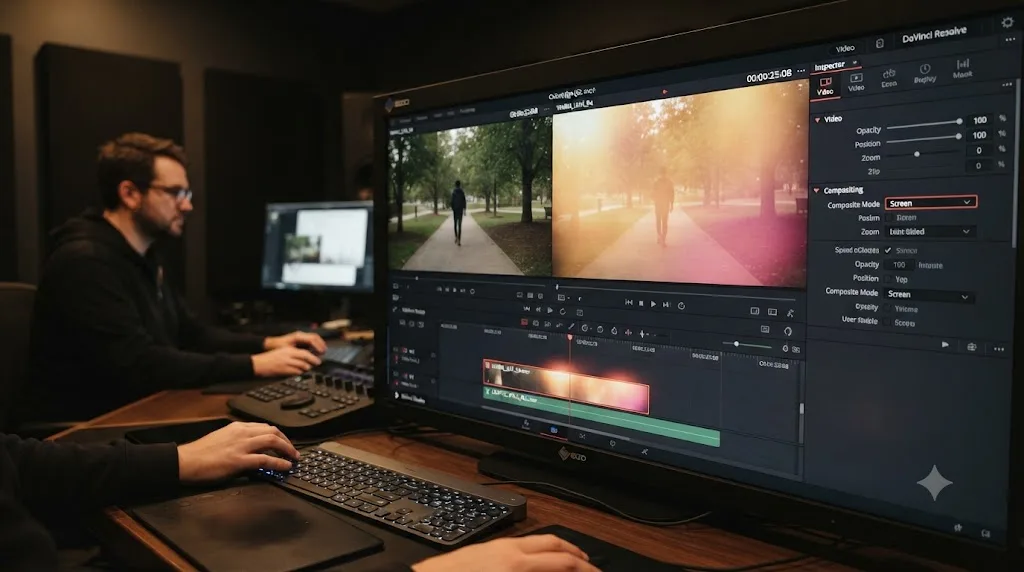
Seven-plus years cutting commercial work taught me that a light leak either sells a shot in half a second or announces itself as a downloaded asset in the same half second, and there's rarely a middle ground. It's one of the recurring requests in the 100,000+ member video-editing community we run: someone wants that warm, hazy flash of light drifting across a frame, the kind that reads as a memory rather than a preset, and instead they drag a random overlay onto their timeline and wonder why it just sits there as an opaque orange rectangle. As of August 2026, on DaVinci Resolve 21.0.3, the fix takes one setting most people never open.
This guide builds a light leak overlay effect from scratch, covers where to get real overlay footage for free, shows you how to shoot your own, and gives you a Fusion-built backup for when you don't want to download anything at all.
What is a light leak overlay effect in DaVinci Resolve?
A light leak overlay effect is footage or an image of a warm, drifting flare of light, usually shot against a black background, composited on top of your video using a blend mode that makes the black transparent so only the light shows through. It's the digital recreation of an accident: film cameras used to let stray light hit the film stock through a loose seal or a scratched case, exposing streaks and washes of color across the frame, and editors now recreate that accident on purpose because audiences read it as warmth, nostalgia, and authenticity.
A light leak overlay is footage of light, not a filter, and treating it like a filter is why so many overlays end up looking pasted on instead of lived in. A filter is a flat, uniform adjustment applied to an entire frame. A light leak is a specific, moving light source with its own color, its own speed, and its own reason for existing in the shot, and the moment you composite it, you're not decorating the image, you're adding a second light source to it. That distinction drives every technical decision in this guide, from which composite mode you choose to how you color-match the overlay to your scene.
Light leaks occur when light inadvertently enters a camera or film cartridge, exposing portions of the film to unwanted light, a flaw that became a deliberate artistic choice once digital cameras stopped producing it naturally, according to Videomaker's guide to shooting your own. Today, light leak overlays add emotion, depth, and personality to footage, helping soften cuts and give videos a warmth digital cameras don't produce on their own, per the same source.
The technical mechanism inside Resolve is a composite mode, sometimes called a blend mode, applied either as a track-level Composite Mode on the Edit page or as a node-level composite inside the Color page's Layer Mixer. Blackmagic's own reference manual documents more than two dozen of these modes, and per a breakdown from TourBox, DaVinci Resolve has as many as 27 composite modes available across the app. You need exactly one of them for a light leak: Screen, or occasionally Add for a hotter result. Everything else in this guide is about getting that one setting to look intentional.
How do you create a light leak overlay effect in DaVinci Resolve?
Get a light leak clip, drop it on a track above your footage, and change its Composite Mode from Normal to Screen in the Inspector, which makes the clip's black background transparent so only the light blends through your image. Adjust Opacity to control intensity, reposition it with the Transform tab if the light needs to land somewhere specific, and color-match it to your scene before calling it finished.
The full sequence, in order:
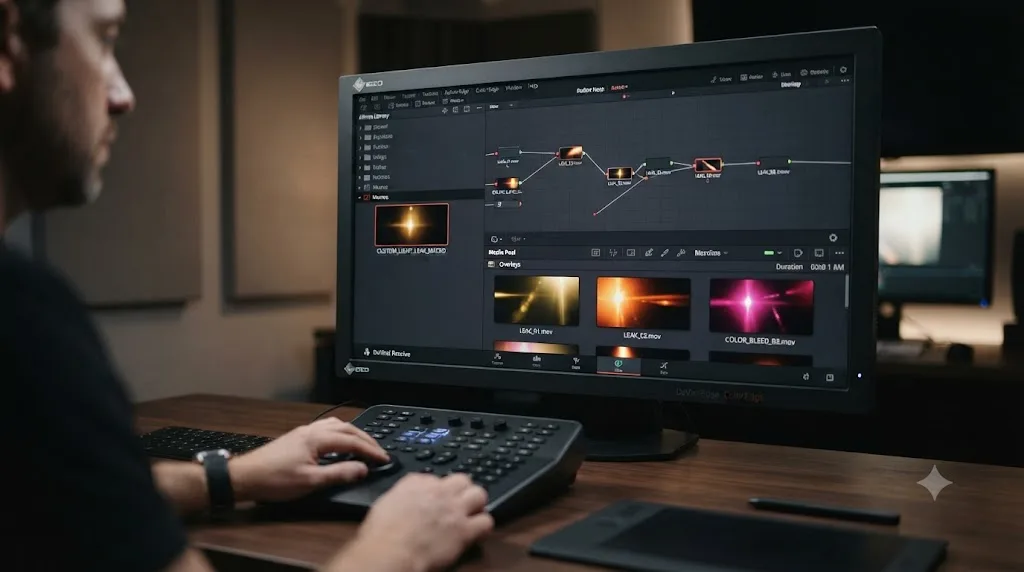
- Get a light leak clip. Download a free one, listed in the next section, or shoot your own footage of a light source overexposed against black, covered later in this guide.
- Import it into the Media Pool with File > Import Media, or Ctrl+I on Windows and Cmd+I on Mac.
- Drag the clip onto a video track above your footage, positioned so it overlaps the section of the timeline you want lit.
- Trim the overlay to match your clip's length, either by dragging its edges or right-clicking and using Change Clip Speed if the source clip is shorter than the section you need to cover.
- Select the overlay clip and open the Inspector's Composite section.
- Change Composite Mode from Normal to Screen. The black background disappears immediately, and only the bright light remains visible over your footage.
- Adjust Opacity below the Composite Mode dropdown until the intensity feels right for the shot. Full opacity often reads as too strong on a hero shot.
- Reposition or scale the overlay with the Transform tab in the Inspector if the light needs to sit in a specific part of the frame rather than wherever the source clip happened to place it.
| Step | Where it happens | What changes |
|---|---|---|
| Import overlay | Media Pool | Clip becomes available on the timeline |
| Place above footage | Edit page timeline | Overlay sits on a higher video track |
| Composite Mode: Screen | Inspector, Composite tab | Black background turns transparent |
| Opacity | Inspector, Composite tab | Overall intensity of the light |
| Position and scale | Inspector, Transform tab | Where the light sits and how large it reads |
| Color match | Color page or a Fusion Color Corrector | The leak's temperature agrees with the scene's |
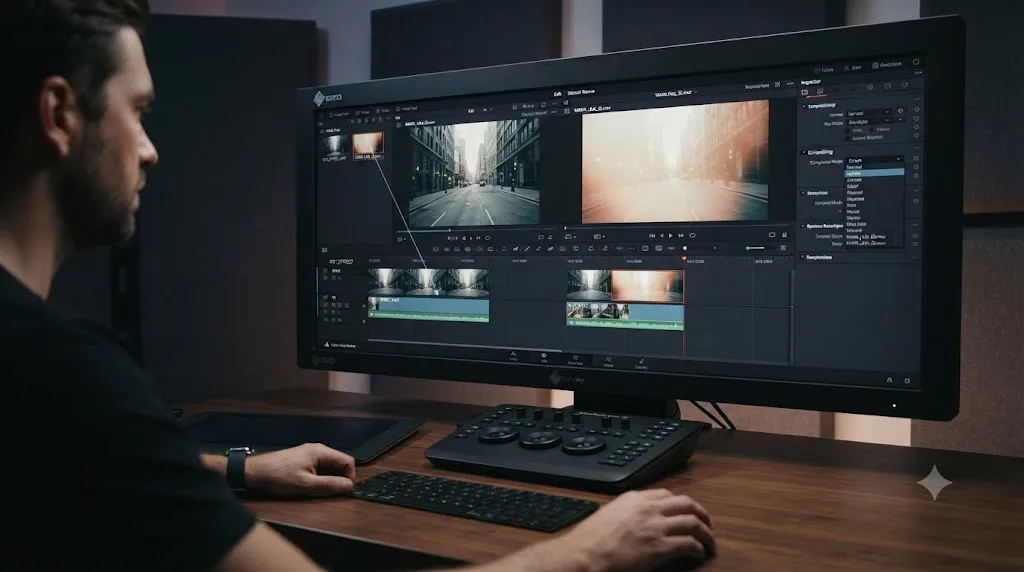
On the Edit page, you select the top clip on the timeline, open the Inspector on the right, find Composite, and use the dropdown to pick a blend mode, then adjust Opacity below it, per a walkthrough of the same workflow in PremiumBeat's guide to composite modes in DaVinci Resolve. That's genuinely the entire mechanical process. Everything past this point in the guide is about doing it well instead of doing it once.
Where do you get free light leak overlay footage?
Several sites publish genuinely free, royalty-free light leak clips as downloadable video files, and the honest answer to "which one" depends on how much footage you need and how strict your project's licensing requirements are. Every source below works with any editor, not just DaVinci Resolve, since the files are plain MP4 clips you composite yourself.
| Source | What's available | Format | License notes |
|---|---|---|---|
| Mixkit | 50 free light leak stock videos | 4K & HD | Mixkit License, no watermark |
| Videezy | 8,682 light leak clips at time of writing | Mixed HD/4K | Creative Commons and other licenses vary by clip, check each one |
| Vecteezy | 6,544+ light leak overlay clips | Mixed HD/4K | Free with attribution or paid without, per clip |
| Pixabay | 12,433+ light leak overlay clips | Mixed HD/4K | No attribution required |
| Enchanted Media | 20 bokeh loop-ready light leak overlays | 1920x1080 MP4 | Free, copyright-free for commercial use, requests a credit and asks you not to re-host the files |
| Film Bodega | 250+ free overlay elements including light leaks | Up to 4K for light leaks, 6K for some dust and fog overlays | Check the specific pack's terms |
A downloaded light leak is only as good as its black background, since Screen mode makes true black transparent and nothing else. Preview any clip before you commit to it. A background that reads as "black" on a phone screen but is actually a dark gray in the file itself won't fully disappear under Screen mode, and you'll see a faint rectangular haze around the light instead of a clean blend. This is the single most common reason a downloaded overlay looks worse in Resolve than it did in the preview player on the download page.
For traditional video overlay effects, select the Screen blend mode to make the black pixels transparent, an instruction that holds across Premiere Pro, Final Cut Pro, and DaVinci Resolve equally, per Film Bodega's guide to using overlays. These additive blend modes work in the same way as mixing projected light: the blacks are removed as more light is added, which is exactly the mechanism a light leak overlay depends on.
If you'd rather not manage a downloaded file at all, two later sections of this guide cover shooting your own footage in about five minutes and building a synthetic version entirely inside Fusion with no external assets.
Screen, Add, or Multiply: which composite mode do you actually need?
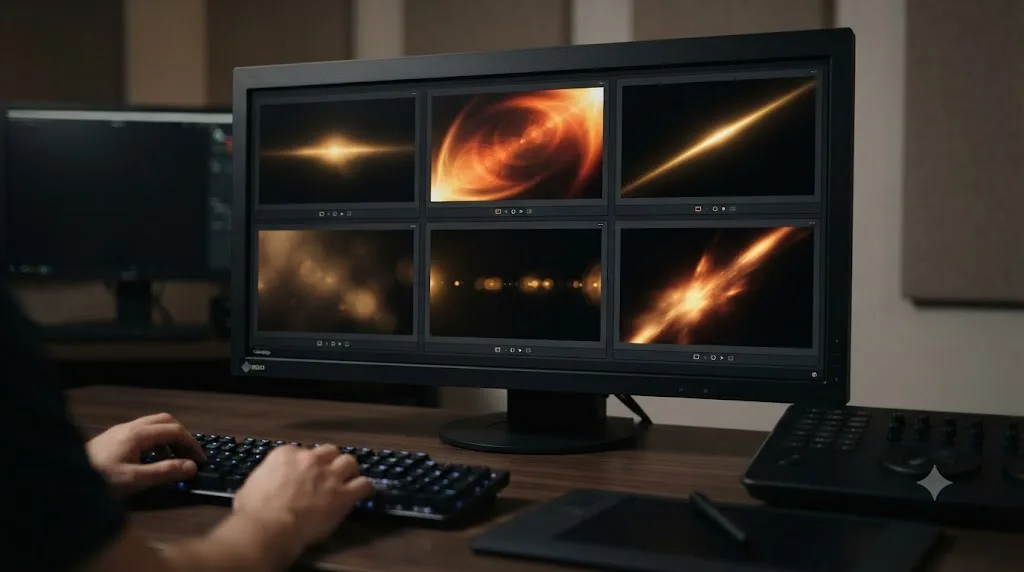
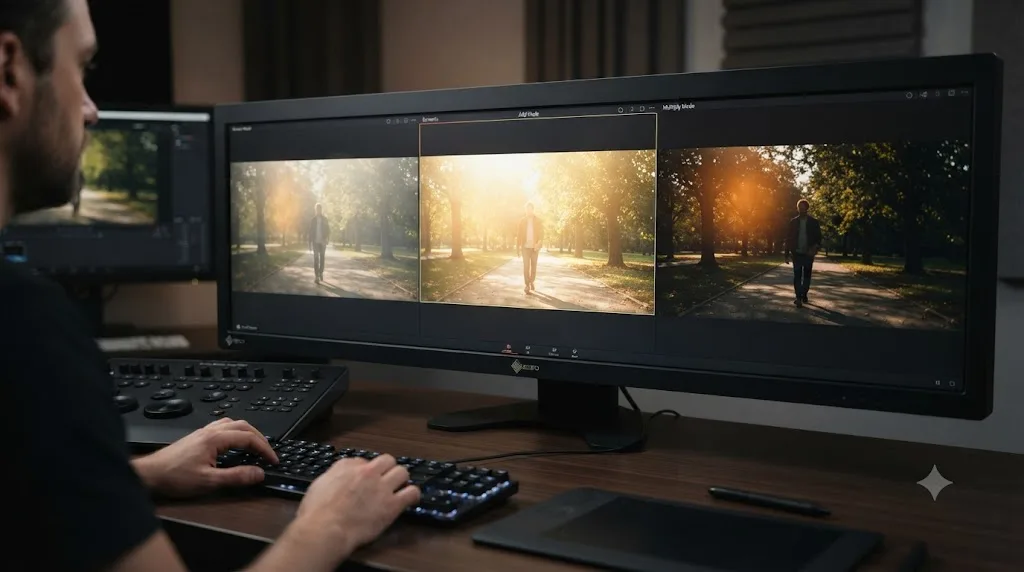
Screen, for nearly every light leak clip, because light leak footage is shot against black and Screen is built specifically to make pure black disappear while blending bright pixels additively. Add gives a hotter, more saturated version of the same result. Multiply is for the opposite kind of overlay, one shot against white, and using it on a light leak just darkens your frame instead of adding light to it.
Per Blackmagic's own reference manual, each composite mode has an exact mathematical definition:
- Screen: "The pixel values of each layer are inverted, then multiplied, and the result is itself inverted. Layer order does not matter," according to the DaVinci Resolve reference manual's composite modes page. In practical terms, this means black stays black, white stays white, and everything in between brightens, which is exactly the behavior a black-background overlay needs.
- Add: "Each pair of pixels in both superimposed layers is added together. Layer order does not matter. This can result in a dramatic brightening of light areas," per the same manual. Add pushes highlights further than Screen does, which reads as a hotter, more intense flash of light, useful when a leak needs to feel like a sudden burst rather than a gentle wash.
- Lighten: "Each pair of pixels in each color channel is compared, and the lighter of the two is the output. Layer order does not matter," per the same source. Lighten behaves similarly to Screen on a black-background clip but compares channels independently, which can shift color slightly compared to Screen's more even brightening.
A practical rule from a detailed walkthrough of adding overlays in Resolve settles the decision by background color rather than by trial and error: black background overlays call for Screen mode, white background overlays call for Multiply mode, and grey background overlays call for Overlay mode, according to Edits 101's guide to adding video overlays in DaVinci Resolve. Since almost every light leak clip you'll download or shoot is captured against black, that rule points you at Screen by default.
| Overlay background | Composite mode | Why |
|---|---|---|
| Black (most light leaks) | Screen | Makes true black transparent, blends brightness additively |
| Black, want a hotter result | Add | Brightens further than Screen, can clip to white if pushed hard |
| White (dust, scratches, some grain) | Multiply | Makes white transparent instead, darkens the frame if used on a black-background clip |
| Grey (some texture overlays) | Overlay | Increases contrast, brightens highlights and darkens shadows relative to the overlay's own midtone |
Screen and Add do the compositing work a chroma keyer would otherwise need, because both modes treat pure black as functionally invisible without a single key or matte. That's the entire reason light leak footage is shot against black in the first place, not against a green or blue screen. No keying software, no spill suppression, no edge refinement. The math of the blend mode does the isolation instead.
You can use the Add and Screen blending modes to create glows, texture, or light leaks on moving images, a use case broad enough that colorists reach for the same two modes across genuinely different effects, per Alli and Will's guide to blend modes and overlays in DaVinci Resolve. If Screen reads too subtle on a particular clip, try Add before you reach for anything more complicated. The two modes solve the same problem at two different intensities, not two different problems.
How do you apply a light leak overlay on the Edit page, step by step?
The Edit page is the fastest route for most projects, since it needs nothing beyond a second video track and the Inspector's Composite tab, no node graph and no Fusion composition required. This is the workflow most editors reach for first, and it covers the large majority of light leak use cases on its own.
Start by confirming your timeline has a free video track above the clip you want to affect. If it doesn't, right-click the track header area and choose Add Track > Video to create one. Drag your light leak clip onto that new track, positioned over the section of the timeline you want it to cover.
Trim the overlay to the right length. If your downloaded or shot light leak clip is shorter than the section you need covered, right-click it and use Change Clip Speed to slow it down slightly, or loop a short section using the Retime controls, rather than stretching a five-second clip to cover a thirty-second shot at a crawl that reads as unnaturally slow drifting light.
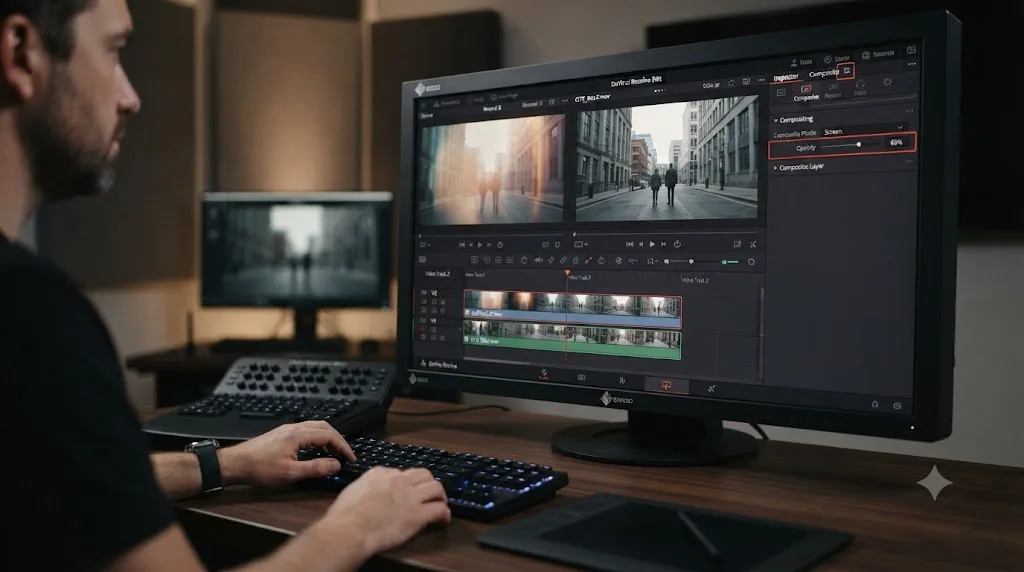
With the overlay clip selected, open the Inspector. The Composite section holds two controls that matter here: Composite Mode, defaulted to Normal, and Opacity, defaulted to 100%. Click the Composite Mode dropdown and choose Screen. You can hover your pointer over each mode in the list first to preview it live in the viewer before committing, a genuinely useful way to compare Screen against Add or Lighten on your specific footage without repeatedly opening and closing the dropdown.
All composite modes interact with the Opacity slider below Composite Mode to make a clip more or less transparent, on top of whatever blending the mode itself is already doing, per PremiumBeat's walkthrough of the same panel. Pull Opacity down if a full-intensity Screen blend reads as too aggressive for the shot. Most light leak overlays land somewhere between 40% and 80% opacity on a hero shot, though a brief transitional flash between two cuts can run at full intensity for its short duration without looking excessive.
If the light needs to sit in a specific part of the frame rather than wherever the source clip happened to place it, switch to the Transform tab in the same Inspector panel and reposition or scale the overlay. A light leak entering from the top-left corner of a downloaded clip can move to the bottom-right with a simple Position adjustment, without needing to find a different source clip.
A light leak overlay set to Composite Mode: Normal is just an opaque rectangle sitting on top of your shot, and that single unset dropdown is the most common reason a new editor's first attempt at this effect fails completely. If your overlay is showing as a solid black box instead of blending, this is almost always the cause. Check the dropdown before troubleshooting anything else.
How do you apply a light leak overlay on the Color page instead?
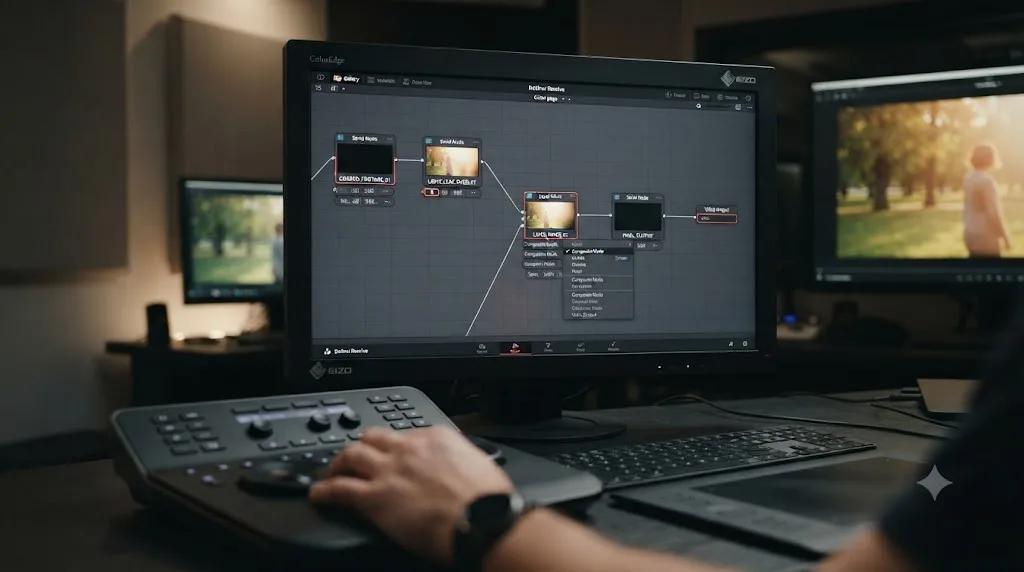
Through the Layer Mixer node, which combines multiple corrector nodes using the same composite modes available on the Edit page, useful when you're already deep in a grade and don't want to jump back to the Edit page timeline to add a track. The Layer Mixer is one of the few Color page nodes that accepts more than one input and produces a single combined output.
Add a Layer Mixer node to your existing node tree, then feed both your graded footage and your light leak clip into its two inputs. The Layer Mixer node combines multiple adjustments with priority given to the image adjustment in the lowest overlapping node input, according to Blackmagic's reference manual entry on Layer Mixer node structures. Right-click the Layer Mixer and choose Composite Mode, then select Screen from the list the same way you would on the Edit page's Inspector dropdown.
This route makes the most sense in one specific situation: you're already grading a shot node by node, you want the light leak baked into the same clip's color pipeline rather than living as a separate timeline layer, and you'd rather keep everything contained inside the Color page's node graph for a single clip instead of managing a second video track across your whole sequence.
For most projects, the Edit page's track-based Composite Mode is simpler, since it doesn't require importing your light leak clip as a second input to a node and it stays visible and adjustable directly on the timeline where you're already trimming and arranging cuts. Reach for the Layer Mixer route specifically when a colorist, not an editor, owns the shot and wants the leak to travel with the node tree rather than the timeline.
The Add and Overlay composite modes inside the Layer Mixer are useful for creating glow effects on the Color page, the same mechanism this guide uses for a light leak, according to the reference manual's broader coverage of composite modes and transparency effects. A glow, a light leak, and a double exposure are all the same underlying tool, a composite mode combining two images, aimed at three different creative results.
How do you shoot your own light leak footage?
Point a camera at a bright light source, lock exposure and focus, then deliberately overexpose the shot until the frame blooms with light, recording several short clips with an object briefly covering and uncovering the lens for variation. This takes under five minutes with equipment most people already own, and it produces footage with none of the licensing questions a downloaded overlay can raise.
The process, step by step, based on the method described by Stephen Mandel Joseph for Videomaker:
- Pick your equipment. A phone camera, an inexpensive camera, or even 35mm film all work. You don't need professional gear for this.
- Choose a light source. A flashlight, a spotlight, a softbox, direct sunlight through a window, or a string of fairy lights all produce usable results, each with a different character.
- Point the camera at the light source and fill your frame entirely with the light.
- Lock the exposure and focus. Once it's locked, turn the exposure up by opening your camera's aperture until the image is overexposed, per Videomaker's guide.
- Grab an object to cover the lens. A hand, a piece of black cardboard, or a scrap of dark fabric all work.
- Use your object to completely cover the lens of your camera and hit record, then slowly and irregularly move it away and back over the lens, letting light spill in and out unevenly rather than in one clean sweep.
- Record several clips with different variations of the effect. Different distances from the light, different speeds of covering and uncovering the lens, and different light sources all produce visibly different results, and you want options when you get back to the edit.
Real light leaks typically appear from the top or the sides of a frame rather than the center, a detail worth deliberately recreating if you want the footage to read as an authentic accident rather than a directly-lit source, per the same guide. Shoot at a resolution that comfortably exceeds your delivery resolution, since you'll likely crop, reposition, or slow the footage down in the edit, and a leak shot at exactly 1080p leaves you no room to reframe it later.
A light leak you shot yourself with a phone and a piece of cardboard costs nothing and carries zero licensing risk, and in five minutes of effort it's genuinely competitive with a downloaded clip. The technique doesn't require special gear, just a bright light and the patience to record a handful of variations. Import the resulting footage exactly the same way you'd import a downloaded overlay, and the same Screen composite mode workflow applies without any changes.
One practical note if you're shooting on a phone or a camera with automatic exposure: lock the exposure before you start recording, not during. An auto-exposing camera fights your attempt to overexpose the frame in real time, hunting to correct the very effect you're trying to create, and the result reads as a flickering malfunction rather than a deliberate light leak.

How do you build a synthetic light leak in Fusion with no overlay footage at all?
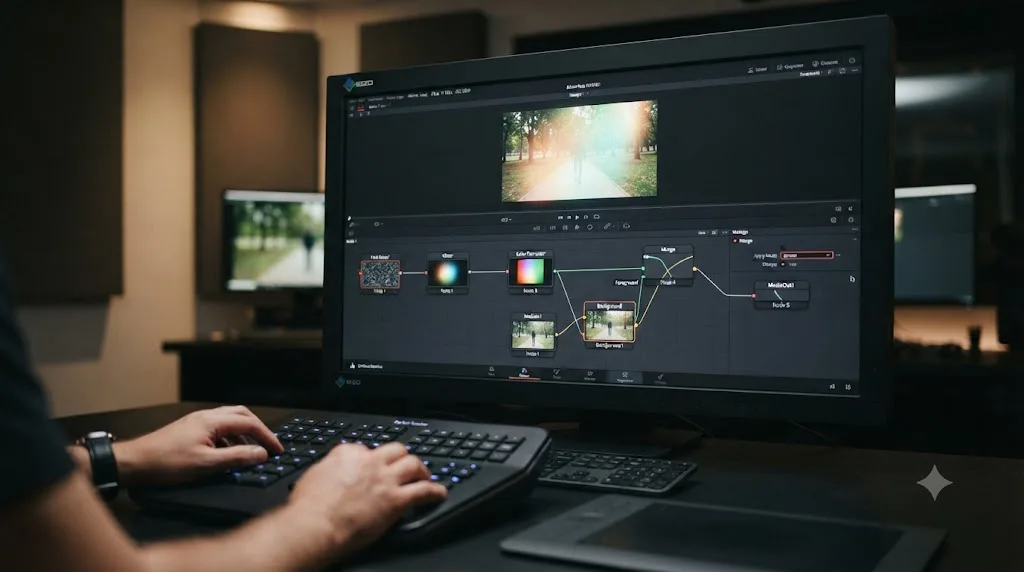
On the Fusion page, feed a soft gradient or a Fast Noise node into a Glow node to build a drifting patch of light, tint it warm with a Color Corrector node, then Merge it over your footage with Apply Mode set to Screen. This route needs zero downloaded or shot footage and works entirely with nodes native to Resolve's free version.
The build, step by step:
- Open your clip on the Fusion page, either directly or through an Adjustment Clip placed above your footage on the Edit page timeline.
- Add a Background node, set to black, sized to your frame, as your starting canvas.
- Add a second Background node set to white, or a Fast Noise node with a low detail setting, as your raw light shape. A soft, irregular cloud shape reads more like a real leak than a hard-edged circle.
- Feed that shape into a Glow node to soften and spread it. Glow's Filter Method, Glow Size, and Glow gain controls, the same parameters this site's Fusion Glow effect settings guide covers in depth, shape how far the light bleeds and how bright its core reads.
- Add a Color Corrector node after the Glow node and push the light warm, toward amber or gold, since an uncolored white glow reads as a lens artifact rather than a light leak. A faint secondary tint toward magenta or orange-red on one edge of the shape, mimicking real film's uneven color response, sells the effect further.
- Add a Merge node, connecting your original footage as the background input and the colored glow as the foreground input.
- Set the Merge node's Apply Mode to Screen in its Inspector controls, the same composite math the Edit page's Composite Mode dropdown uses, per JayAreTV's documentation of the Merge node. An Apply Mode pop-up lets you combine the foreground against the background using standard modes including Screen, Multiply, and Overlay, according to a detailed breakdown of merge and apply mechanics from DVResolve.com.
- Keyframe the glow's Center position and opacity across the clip's duration, drifting it slowly across the frame and fading it in and out, rather than leaving it static, which reads as a lens smudge rather than a moving light.
| Fusion node | Role in the synthetic light leak |
|---|---|
| Background (black) | Base canvas |
| Fast Noise or Background (white) | Raw light shape before softening |
| Glow | Spreads and brightens the shape into a soft bloom |
| Color Corrector | Tints the glow warm, matching real light leak color |
| Merge (Apply Mode: Screen) | Composites the finished glow over your footage |
A synthetic light leak built from a Glow node and a warm tint won't match a real optical leak's grain and texture exactly, but it clears the bar for a subtle background element without a single downloaded file. Save time reaching this result twice by grouping the Background, Fast Noise, Glow, Color Corrector, and Merge nodes together and exporting them as a Fusion macro, which then appears in the Effects Library as a drag-on effect for any future clip, the same reusable-macro workflow this site's VHS retro look guide uses for its own Fusion-built effects.
This route is also the practical answer when a client's usage terms or your own project's licensing requirements rule out any downloaded stock asset entirely, since every element of a Fusion-built synthetic leak originates from a node you control, not a third-party file with its own separate license.
How do you apply the same light leak look across an entire timeline?
Group the overlay clip and its Composite Mode settings into a Compound Clip, then drag that single Compound Clip across every cut in your sequence instead of placing and setting up a fresh overlay clip on each one. This is the fastest route when a project needs the same light leak treatment repeated across many shots in the same scene or sequence.
Select your light leak overlay clip on the timeline, right-click it, and choose Create Compound Clip. Give it a clear name, something like "Light Leak - Warm Screen," so you can identify it quickly later. The Compound Clip now behaves as a single unit, carrying its Composite Mode and any Transform adjustments with it, and you can copy and paste it across a whole sequence of cuts, trimming each instance to match the clip beneath it.
An Adjustment Clip is the other route worth knowing, especially if you want the light leak effect itself, rather than a specific piece of footage, to apply consistently across many different underlying clips. Add an Adjustment Clip above your sequence from Effects > Toolbox > Effects, build the light leak's color and composite settings inside it on the Fusion page, then stretch that single Adjustment Clip across as much of the timeline as needs the treatment.
The distinction between the two routes matters once you start scaling a technique across a real project instead of a single hero shot:
| Route | Best for | Limitation |
|---|---|---|
| Compound Clip | Reusing the exact same overlay footage and settings across several separate cuts | Each instance still needs individual trimming to match the clip beneath it |
| Adjustment Clip | Applying a built effect, especially a Fusion-built synthetic leak, uniformly across a continuous stretch of the timeline | Less useful if you want visibly different light leak footage on different shots |
A light leak that never changes speed, color, or position across an entire video reads as a texture loop, not a captured moment of light. Even when you're reusing the same Compound Clip or Adjustment Clip across many cuts, vary something, the trim point, the opacity, a slight reposition, from shot to shot. A single overlay repeated identically ten times in a row is the fastest way to make an audience consciously notice the effect instead of just feeling its warmth.
How do you save a light leak setup so you don't rebuild it next project?
Save the Fusion-built version as a macro, or save the Edit-page version as a Compound Clip you keep in a dedicated bin, so the next project starts from a finished tool instead of a blank Composite Mode dropdown. Which route fits depends entirely on whether your light leak lives on the Fusion page or the Edit page timeline.
For a Fusion-built synthetic leak, select the Background, Glow, Color Corrector, and Merge nodes together in the Fusion page's node graph, right-click, and choose Macro > Create Macro. Save the resulting .setting file into Resolve's Fusion Templates/Edit/Effects folder and relaunch the app. A saved macro shows up in Fusion's Insert Tool menu on any project on the same machine, and the .setting file itself is a genuinely portable, shareable file, drop it into a teammate's Macros folder and the same tool becomes available on their system too, according to Mixing Light's guide to building and reusing Fusion setups and macros.
For a downloaded or shot overlay clip applied through the Edit page's Composite Mode, keep the source clip itself in a dedicated Media Pool bin labeled something like "Overlays - Light Leaks," and consider building a small library of Compound Clips at different opacity presets, "Light Leak - Subtle," "Light Leak - Full," so future projects start from a tested starting point rather than re-guessing an opacity value from scratch.
If you're already grading a look on the Color page and want the light leak's color-matching move to travel with your other saved grades, our full PowerGrades guide covers grabbing a still into a PowerGrade album and applying it with Append Node Graph, which adds the saved node structure to a new clip without erasing its existing correction. This works well specifically for the color-matching Color Corrector step of a light leak build, not for the overlay footage itself, since a PowerGrade captures a node tree's grading instructions, not a separate video clip.
The fastest editors we've trained aren't guessing which composite mode a black-background overlay needs every single time. They tested it once, saved the result as a reusable tool, and now spend that saved time on the part of the shot that actually needed their judgment.
What mistakes make a light leak overlay look fake instead of cinematic?
A handful of specific habits separate a light leak that reads as a genuine accident of light from one that reads as a downloaded asset dragged onto a timeline and left there unadjusted.
| Mistake | Why it hurts | The fix |
|---|---|---|
| Composite Mode left on Normal | Overlay shows as a solid, opaque rectangle instead of blending | Set Composite Mode to Screen in the Inspector's Composite tab |
| Overlay's background isn't true black | A faint gray box haze remains visible around the light even under Screen mode | Preview the source file at 100% zoom before committing, or add a Gain/Lift adjustment to crush the overlay's blacks first |
| No color match to the scene | A cool-toned overlay on a warm sunset shot, or vice versa, reads as an obviously separate layer | Add a Color Corrector node or grade the overlay clip to agree with your scene's color temperature |
| Same overlay repeated identically across many shots | Reads as a texture loop instead of a captured moment | Vary opacity, trim point, or position between instances, or alternate between two or three different source clips |
| Applied to a shot with no light source in frame or nearby | Audience has no story reason for light to be hitting the lens | Reserve the effect for shots where a window, the sun, or a visible light source plausibly explains it |
| Opacity left at 100% on a shot the camera holds for a long time | Overwhelms the image and draws attention away from the subject | Lower opacity, especially on hero shots the audience examines closely |
| No variation in speed or timing | A leak that drifts at a perfectly even, mechanical rate looks like a shader effect, not a captured accident | Keyframe slight, irregular speed changes, or choose source footage that already has natural, uneven movement |
The fastest way to make a light leak look fake is to drop it on a shot with no story reason for light to be hitting the lens at all. A light leak works because the audience's brain accepts it as a plausible byproduct of the actual environment in the shot, a bright window, direct sun, a passing headlight. Strip that plausibility away, apply the same warm flare to an interior shot with no visible light source anywhere near the lens, and the effect reads as decoration rather than atmosphere, no matter how well you've matched the composite mode and color.
Two problems show up often enough in practice to call out individually, since they're less about a missing step and more about a step going subtly wrong:
The overlay looks correct in the Fusion Viewer but wrong on the Edit page, or the reverse. Fusion composites in a linear color space, and Fusion Viewer and Edit page monitors can disagree about that color space unless a color space transform sits after MediaOut, a known symptom discussed on a Blackmagic Design forum thread. If your synthetic Fusion-built light leak reads differently between the two pages, check your project's color management settings before assuming the Glow or Merge node itself is broken.
The light leak's edges show a hard, visible rectangle instead of fading naturally into the frame. This usually traces back to a downloaded overlay clip that was cropped or letterboxed with visible black bars baked into the file itself, rather than a true full-frame light shape. Check the source file at full resolution before compositing it, and if the bars are there, either crop them out with the Transform tab's Crop controls or find a source clip shot to fill the entire frame.
Should a light leak be a transition or texture over a whole shot?
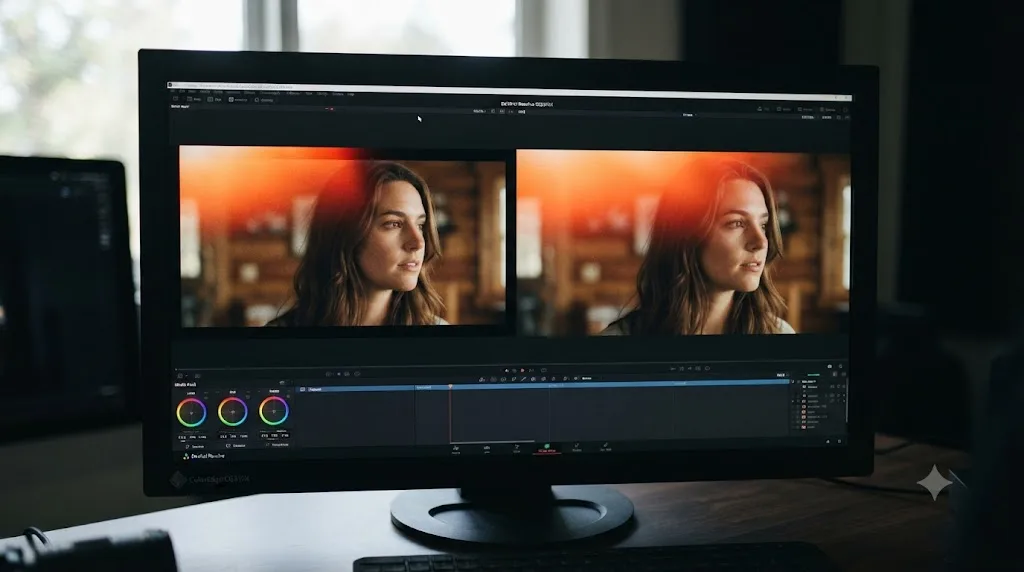
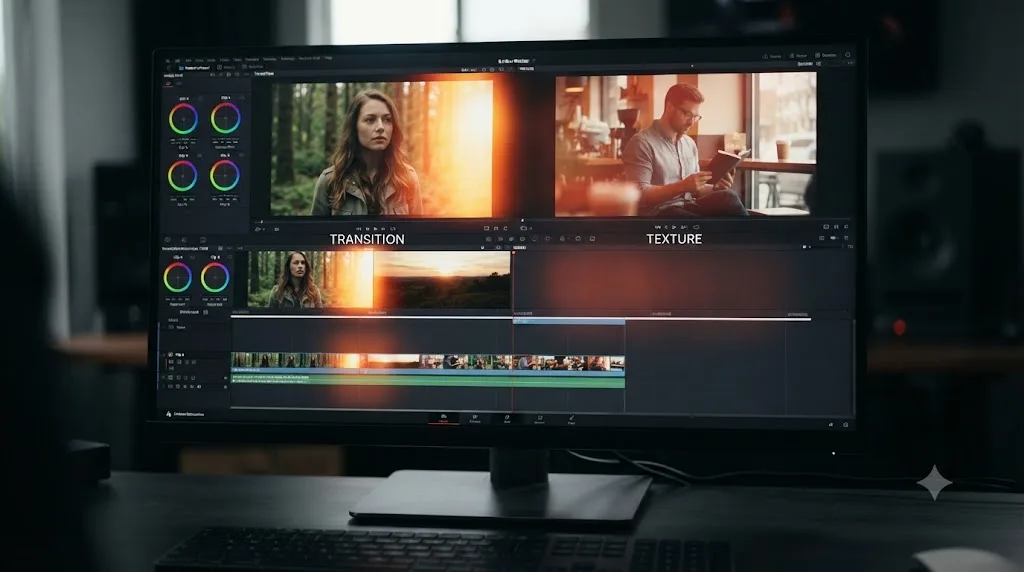
Either, depending on what the moment needs: a bright, fast light leak works as a transition covering a cut between two shots, while a subtle, low-opacity leak works as continuous texture drifting across a single shot's full duration. Confusing which one a scene calls for is a common reason a light leak feels like the wrong tool even when the technique itself was executed correctly.
As a transition, place a short light leak clip, typically one to two seconds, centered over the cut point between two clips, at high opacity, often close to 100%, so it briefly washes the frame in light and masks the edit underneath it. This works especially well for jumping forward in time, a location change, or any cut where a hard, direct edit would feel too abrupt for the pacing of the piece. Keyframe the overlay's opacity to ramp up quickly into the cut and fade back out just as fast, rather than holding at full brightness for the transition's entire duration.
As texture over a whole shot, apply a longer light leak, or a looped shorter one via Change Clip Speed, at a much lower opacity, often 20% to 50%, spanning a hero shot's entire length. This reads as ambient warmth rather than an event, adding character to a shot without calling attention to itself the way a full-opacity transitional flash does.
A worked example makes the distinction concrete. Picture a short documentary sequence: an interview subject describing a childhood memory, followed by a cut to archival-style footage illustrating that memory. A bright, fast light leak transition at the cut itself sells the jump into "memory mode" to the audience in under a second. Once inside the memory sequence, a much subtler, low-opacity light leak drifting slowly across the archival-style shots adds a consistent, warm texture that reinforces the nostalgic tone without repeating the same bright flash the transition already used.
| Use case | Typical duration | Typical opacity | Typical composite mode |
|---|---|---|---|
| Transition between two clips | 1 to 2 seconds, centered on the cut | 80% to 100%, ramped | Screen or Add |
| Texture over a full shot | Full shot length, looped if needed | 20% to 50%, steady or slowly varying | Screen |
| Establishing or opening shot | Full shot length | 40% to 70% | Screen |
A light leak overlay is cheap to get and expensive to get wrong, and the difference between the two comes down entirely to matching its intensity and duration to what the specific moment actually needs. The same source clip, used as a two-second transition at full brightness in one place and a thirty-second, low-opacity texture in another, can serve two completely different editorial purposes in the same project without ever feeling repetitive, as long as you treat opacity and duration as creative decisions rather than defaults left untouched.
How is a light leak different from a lens flare or a glow effect?
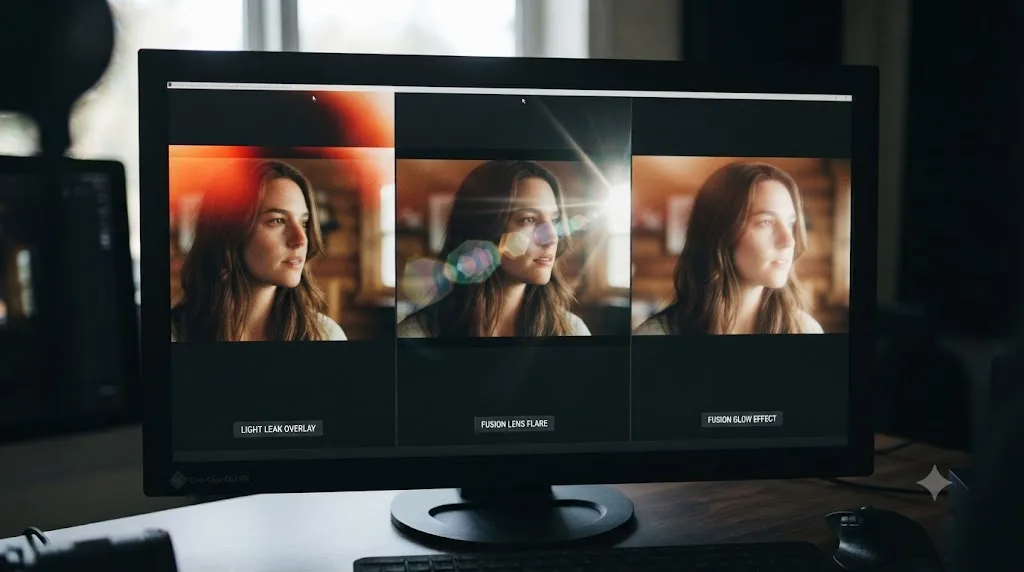
A light leak, a lens flare, and a glow effect are three distinct optical phenomena that editors frequently reach for with the same composite modes, which is exactly why they get confused, even though each one simulates a different physical cause and calls for a different tool inside Resolve.
A light leak simulates stray light hitting film stock directly, outside the lens entirely, producing a warm, drifting, often irregular wash of color with no defined geometric shape. A lens flare simulates light bouncing internally between a lens's glass elements, producing a defined pattern, rings, streaks, hexagonal artifacts from the aperture blades, radiating from a bright point source in frame. A glow simulates a highlight blooming past its own edges, a soft brightness spreading outward from something already bright in the shot, with no implied external light source at all.
| Light leak | Lens flare | Glow | |
|---|---|---|---|
| Physical cause | Stray light exposing film stock directly | Light bouncing between internal lens elements | A bright highlight's own light spreading past its edges |
| Visual shape | Irregular, drifting wash of color | Defined rings, streaks, or hexagonal artifacts | Soft, symmetrical bloom around an existing highlight |
| Typical Resolve tool | Composite Mode: Screen on an overlay clip, or Fusion Glow plus Merge | Fusion's Hot Spot node, or the Studio-only ResolveFX Lens Flare | Fusion's Glow node, or the Edit/Color page's ResolveFX Glow |
| Needs a defined light source in frame | No, works even implying an off-screen source | Usually yes, tracked to a visible point light | No, works on any existing bright area |
Our Fusion lens flare tutorial covers the free Hot Spot node in depth, including how to track a flare to a moving light source with a Tracker node, a technique with no equivalent in a standard light leak build, since a light leak doesn't need to track to anything, it drifts independently of whatever's happening in the shot. Our Fusion Glow effect settings guide breaks down every control on the Glow node this guide's synthetic light leak build depends on, Filter Method, Glow Size, and Apply Mode among them.
The practical tell, if you're not sure which of the three a shot actually needs: does the light in the shot come from something the camera can see, and does it need a defined point of origin? If yes, and the shot needs rings or streaks radiating from that point, build a lens flare. If a highlight already in frame just needs to bloom and spread, add a glow. If you want an ambient, unexplained wash of warm light with no specific point source, that's a light leak, and Screen mode on an overlay clip is the tool.
Does hardware, codec, or export change how a light leak overlay performs?
Somewhat, though a single light leak overlay is lightweight compared to most other compositing effects on this site, and the more relevant performance question is usually about your overlay footage's own codec and resolution rather than your GPU. A single Screen composite between two clips is genuinely cheap math, real-time on nearly any GPU that meets Resolve's minimum spec.
Per Blackmagic's tech specs page, Resolve's minimum GPU requirement sits at 4 GB of VRAM. A track-level Composite Mode blend between two standard video clips stays comfortably within that floor even at 4K. The Fusion-built synthetic route adds a little more render cost, since Glow and Merge nodes process every frame rather than reading a pre-rendered overlay clip, but a single glow-and-merge chain is still far lighter than a full compositing tree with tracking or keying involved.
Where performance actually matters is your downloaded overlay footage's own file size and codec. A 4K, high-bitrate light leak clip downloaded from a stock site can be a heavier file to decode in real time than your own project's footage, especially if it's delivered in a compressed codec like H.264 rather than an editing-friendly intermediate. If playback stutters after adding an overlay, the overlay clip itself, not your grade or your composite mode, is the likely cause.
A few habits keep playback smooth while you're working:
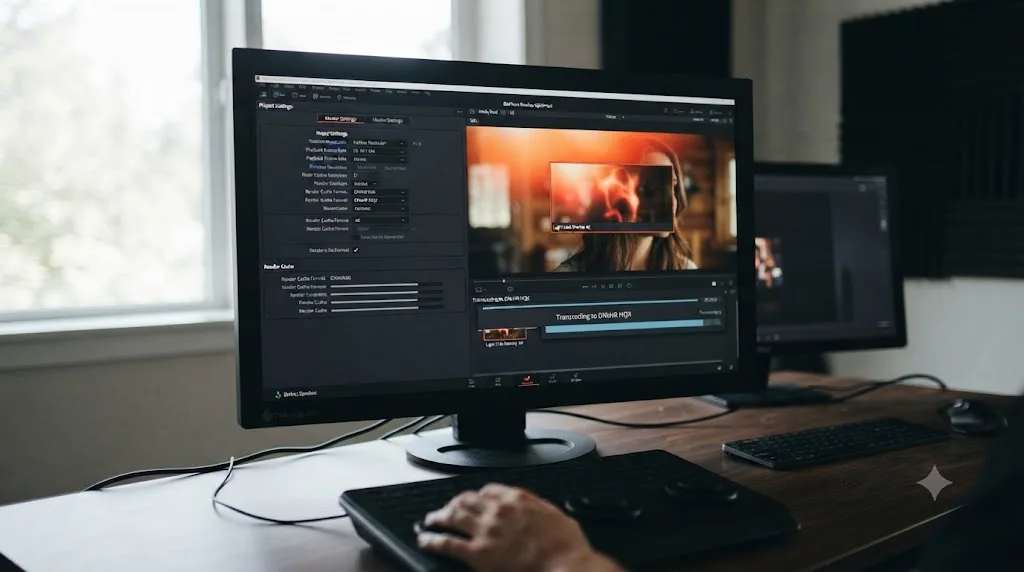
- Transcode a heavy downloaded overlay to an intermediate codec, ProRes or DNxHR, using Resolve's Media Management or a quick render pass, before dropping it onto your timeline, especially if the source download is a compressed H.264 or H.265 file.
- Switch Playback > Timeline Proxy Resolution to Half while you're positioning and adjusting the overlay, then switch back to Full to judge the final blend and color match precisely.
- Render Cache the section of your timeline containing the overlay once you've settled on its settings, using Smart cache so Resolve handles it automatically as you continue editing elsewhere in the project.
Mac decodes H.264, H.265, and ProRes in hardware on Apple silicon, which keeps a compressed downloaded overlay clip playing smoothly without extra transcoding in most cases, while Windows reserves some hardware-accelerated decode paths for Studio specifically, meaning free-version users on Windows working with a heavily compressed overlay file lean harder on the CPU during playback. None of this changes the visual result, just how responsive the timeline feels while you're dialing in opacity and position.
Does this work the same for vertical video on Reels, TikTok, or Shorts?
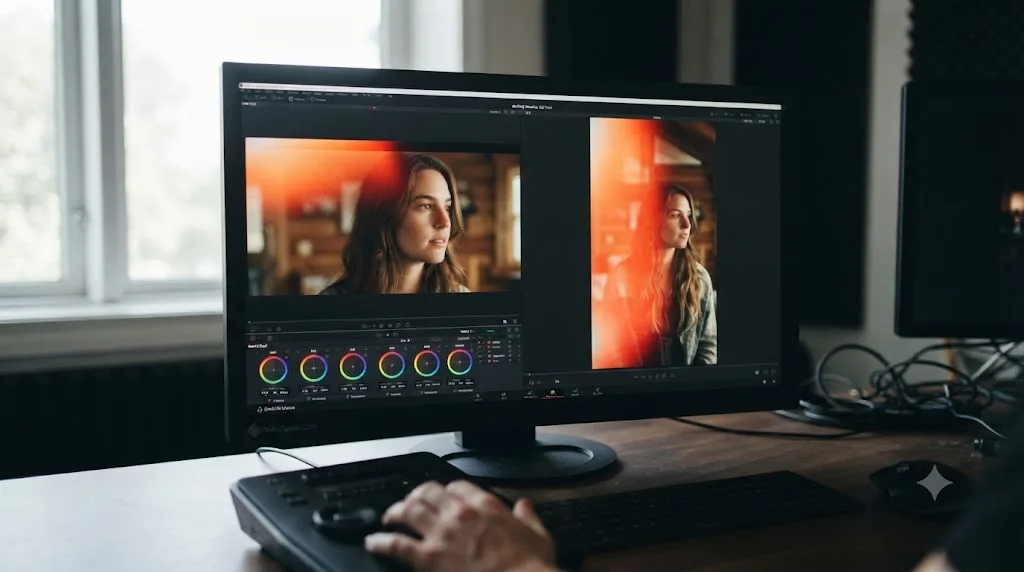
Yes, the Screen composite mode and every setting in this guide work identically regardless of aspect ratio, but most downloaded light leak overlays are shot or rendered in a horizontal 16:9 frame, and dropping one directly onto a 9:16 vertical timeline leaves empty space on the sides or forces an awkward crop that cuts off part of the light shape.
Two approaches handle the mismatch without changing the composite mode workflow itself:
- Scale the horizontal overlay up and crop it to fill the vertical frame. Use the Transform tab's Zoom control to scale the overlay until it covers the full 9:16 canvas, accepting that you'll lose some of the light shape off the left and right edges. This works well for overlays with a large, soft, centered light source, since cropping the edges barely changes the overall look, and poorly for overlays with a small, specific flare positioned near one edge of the original horizontal frame.
- Source or shoot overlay footage natively in a vertical or square aspect ratio. Several of the free sources listed earlier in this guide, particularly Pixabay and Vecteezy, include vertical-oriented light leak clips specifically tagged for social formats. If you're shooting your own with the DIY method covered earlier, simply hold your phone vertically while recording instead of horizontally, and the resulting footage needs no reframing at all.
A light leak overlay doesn't care about aspect ratio, but the footage feeding it does, and a horizontal clip forced into a vertical frame either loses its edges or leaves gaps a 16:9 timeline would never show. The composite math, Screen making black transparent and blending light additively, is identical in both formats. The only real adjustment is sourcing or framing footage that actually fits the canvas you're delivering to.
If you're building the synthetic Fusion version instead of using downloaded footage, aspect ratio is a non-issue entirely, since a Fast Noise or Background node generates its shape natively at whatever resolution and aspect ratio your Fusion composition is already set to, with no cropping or scaling required.
Do you need DaVinci Resolve Studio for a light leak overlay effect?
No. Every technique in this guide, the Edit page's Composite Mode dropdown, the Color page's Layer Mixer node, and every Fusion node used in the synthetic build, Background, Fast Noise, Glow, Color Corrector, and Merge, ships in DaVinci Resolve's completely free version.
| Tool used in this guide | Free version | Studio |
|---|---|---|
| Composite Mode dropdown (Edit page Inspector) | Yes | Yes |
| Layer Mixer node (Color page) | Yes | Yes |
| Compound Clips | Yes | Yes |
| Adjustment Clips | Yes | Yes |
| Fusion page and all nodes used in this guide | Yes | Yes |
| Fusion macros | Yes | Yes |
| PowerGrades | Yes | Yes |
This holds true across the whole comparison Blackmagic itself publishes between the two tiers, where the free-and-paid breakdown draws its lines around specific AI-driven tools, advanced noise reduction, and certain codec support, not around the composite mode system this effect depends on, per Blackmagic's own free and Studio comparison page.
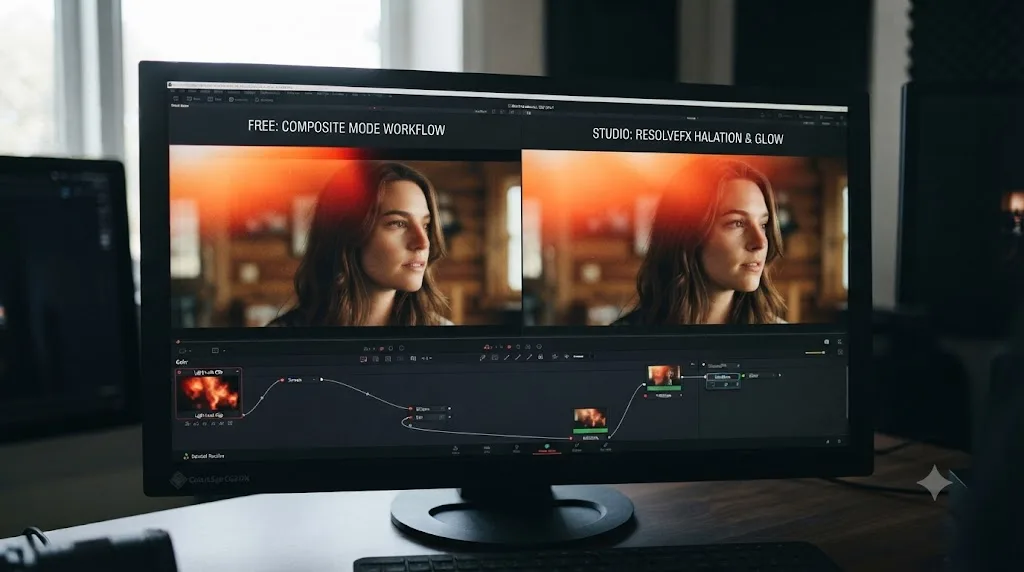
The one place Studio genuinely helps, though it's not required, is speed on a project that needs many different light leak looks across many different shots. Studio's ResolveFX Halation and Glow plugins offer additional stylized bloom options beyond Fusion's native Glow node, and DaVinci Neural Engine tools can occasionally simplify masking a light leak to a specific region of a complex shot. Neither replaces the core Screen composite mode technique this guide builds around; both are conveniences layered on top of it.
If you're building a light leak setup on Studio and can't remember where a specific ResolveFX Glow or Halation control lives, that specific kind of "I know this exists somewhere in this menu" moment is what TryUncle is built for. TryUncle is the on-screen assistant for DaVinci Resolve on macOS - ask in plain words and Uncle points at the exact control on your screen.
Where do you go from here?
Get a light leak clip, free from Mixkit or Videezy, shot yourself with a phone and a piece of cardboard, or built from scratch in Fusion. Drop it above your footage, switch Composite Mode from Normal to Screen, and adjust opacity until the light feels like it belongs in the shot instead of sitting on top of it. Color-match it to your scene, vary it if you're reusing it across several cuts, and save the setup as a macro or a Compound Clip before you move on to the next project.
Pick one clip from your own footage today, ideally something with a window, direct sun, or another plausible light source somewhere in frame, and run it through this workflow start to finish. Try Screen first, compare it against Add on the same clip, and notice how much a small opacity adjustment changes whether the effect reads as atmosphere or as decoration. Once that judgment clicks on one shot, the rest of a light-leak-styled project is the same handful of moves, repeated with a little restraint about how much light any given scene actually needs.
Frequently asked questions
- How do you create a light leak overlay effect in DaVinci Resolve?
- Place a light leak video clip on a track above your footage, select it, open the Inspector's Composite tab, and set Composite Mode to Screen so the black background disappears and only the light blends through. Trim the overlay to match your clip's length and adjust Opacity until the intensity feels right, then reposition or scale it with the Transform tab if the light needs to sit somewhere specific in frame.
- What composite mode should you use for a light leak overlay?
- Screen, for almost every light leak clip, because light leak footage is shot against black and Screen makes pure black fully transparent while letting bright areas blend additively. Add works for a punchier, hotter result on the same black-background footage. Multiply is for the opposite case, a white-background overlay like dust or scratches, and using it on a light leak just turns the frame dark.
- Where can you get free light leak overlay footage?
- Mixkit, Videezy, Vecteezy, Pixabay, and Enchanted Media all publish free, royalty-free light leak clips as downloadable MP4 files, and Film Bodega bundles light leaks into a larger free pack of over 250 overlay elements. Check each site's specific license before commercial use. Most require no attribution, though a few, including Enchanted Media's pack, ask for a credit.
- How do you apply a light leak overlay across an entire timeline instead of clip by clip?
- Group your overlay clip and its composite mode settings into a Compound Clip, then drag that single Compound Clip across an entire sequence of cuts the same way you would any other clip. For a look you want to reuse in future projects, build it in Fusion instead and save it as a macro, which then shows up as a drag-on effect in the Effects Library.
- Can you build a light leak effect without any overlay footage?
- Yes, on the Fusion page. Feed a soft gradient or a Fast Noise node into a Glow node, tint the result warm with a Color Corrector, and Merge it over your footage with Apply Mode set to Screen. It won't match a real optical light leak's texture exactly, but it gets close enough for a subtle effect and needs zero downloaded assets.
- Why does my light leak overlay show a black box instead of blending into my footage?
- The clip's Composite Mode is still set to Normal, which treats the overlay as an opaque layer instead of blending it. Select the overlay clip, open the Inspector's Composite tab, and change Composite Mode from Normal to Screen. If it still looks wrong after that, check that the overlay clip's own background is genuinely black and not a dark gray, since Screen only makes true black fully transparent.
- Does a light leak overlay work the same way in DaVinci Resolve's free version?
- Yes. Composite Mode, Opacity, Compound Clips, and every Fusion node used to build a synthetic light leak, Background, Fast Noise, Glow, Color Corrector, and Merge, are all included in the free version. Nothing in this guide requires DaVinci Resolve Studio.
Sources
- More About Composite Modes (Blackmagic Design Reference Manual, mirrored)
- Composite Modes and Transparency Effects (Blackmagic Design Reference Manual, mirrored)
- Layer Mixer Node Structures (Blackmagic Design Reference Manual, mirrored)
- DaVinci Resolve product page, free version (Blackmagic Design)
- DaVinci Resolve Studio product page (Blackmagic Design)
- DaVinci Resolve Free and Studio Comparison (Blackmagic Design)
- DaVinci Resolve - Tech Specs (Blackmagic Design)
- Color Correcting With Blending Modes: Using the Add & Screen Modes, by Dan Moran (Mixing Light)
- A Guide To Composite Modes in DaVinci Resolve, by Luke Ross (Mixing Light)
- Quick Tip: How to Use Composite Modes in DaVinci Resolve, by Michael Maher (PremiumBeat)
- DaVinci Resolve Composite Mode: A Beginner's Guide (TourBox)
- Adding Video Overlays In DaVinci Resolve 18, Detailed Tutorial (Edits 101)
- How to Use Video Overlays + Over 250 FREE Elements (Film Bodega)
- Here's How to Make Your Own Light Leaks in 5 Minutes, by Stephen Mandel Joseph (Videomaker)
- Free Light Leak Stock Videos (Mixkit)
- Free Light Leak Overlays Pack, 20 Clips (Enchanted Media)
- Free Light Leak Stock Video Footage (Videezy)
- Light Leak Overlay Stock Video Footage (Vecteezy)
- Light Leak Overlay Videos (Pixabay)
- Merge Node in Fusion (JayAreTV)
- Glow Node (JayAreTV)
- Merge & Apply, In-Depth Alpha Channel Operations and Blend Modes (DVResolve.com)
Keep reading
Guides · Jul 25, 2026 · 40 min
DaVinci Resolve Fusion Lens Flare Tutorial: The Hot Spot Node
Add a real lens flare in DaVinci Resolve's Fusion page with the free Hot Spot node or the Studio-only ResolveFX plugin, then track it to a moving light.
Guides · Jul 25, 2026 · 38 min
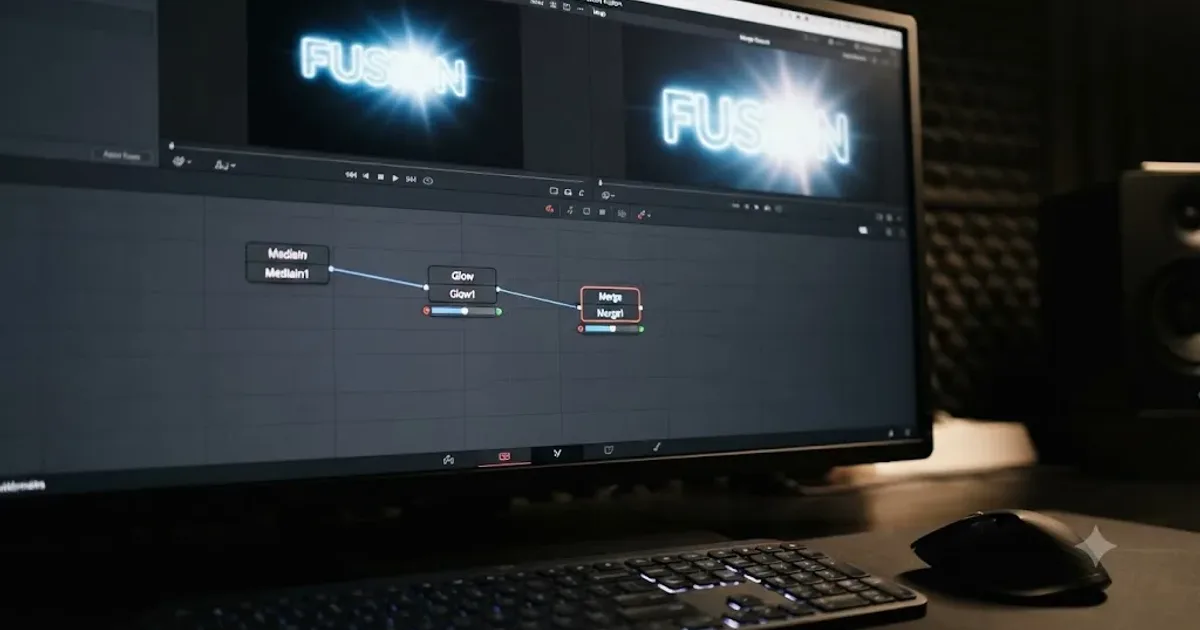
DaVinci Resolve Fusion Glow Effect Settings, Explained
Every setting on DaVinci Resolve's Fusion Glow node, from Filter Method and Glow Size to Apply Mode, and how to stop a glow from blowing out.
Guides · Aug 1, 2026 · 39 min
How to Create a VHS Retro Look in DaVinci Resolve
Build an authentic VHS look in DaVinci Resolve: 4:3 crop, chroma bleed, scan lines, tracking distortion, and the Studio-only Analog Damage shortcut.