Articles / Guidesupdated for DaVinci Resolve 21.0.2 (July 2026)
DaVinci Resolve Fusion Lens Flare Tutorial: The Hot Spot Node
Quick answer
To make a lens flare in DaVinci Resolve's Fusion page, add a free Hot Spot node, position it over your light source, and connect its Center to a Tracker node so it follows movement. Studio owners can also use the ResolveFX Lens Flare plugin. Add an occlusion matte so objects can pass in front of it.
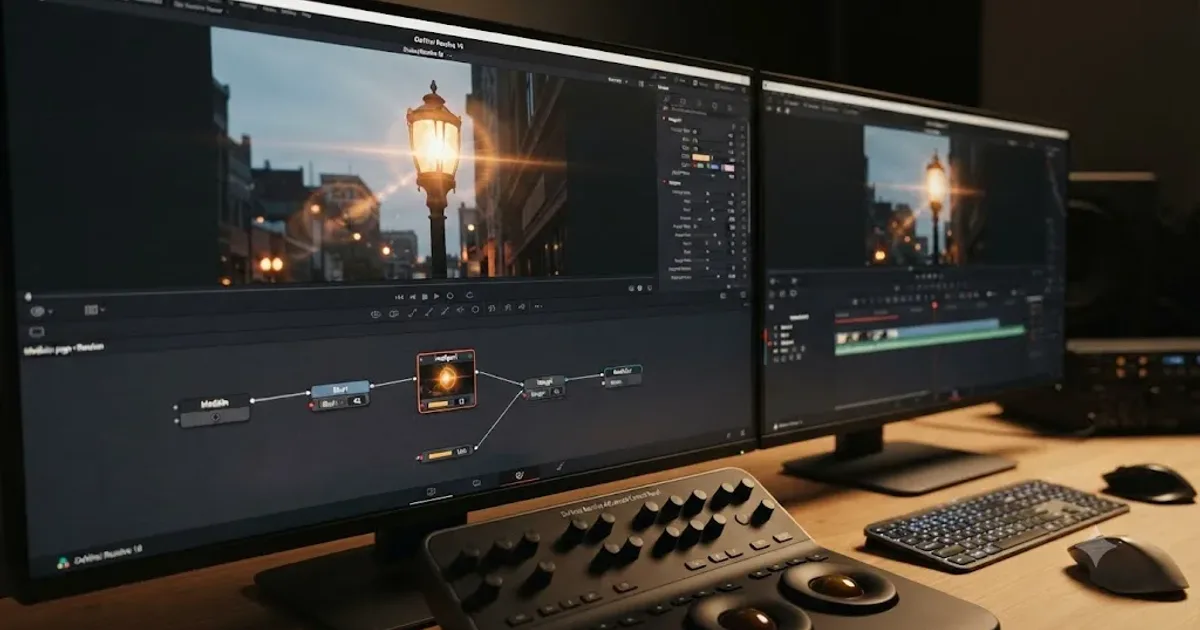
I've spent seven years cutting commercial work in DaVinci Resolve and running a 100,000+ member professional video-editing community, and "how do I add a lens flare in Fusion" is one of the recurring questions that shows up whenever someone tries to make a sunrise, a car headlight, or a phone screen look less flat. The honest answer is that Resolve has had a real, dedicated tool for this since long before Resolve 21, and most tutorials skip past it to sell you a plugin instead.
This guide builds a lens flare from nothing, using the free Hot Spot node that ships in every edition of DaVinci Resolve as of July 2026, then tracks it onto a moving light, hides it correctly behind foreground objects, and compares it honestly against the Studio-only ResolveFX Lens Flare plugin and the paid third-party packs people also reach for.
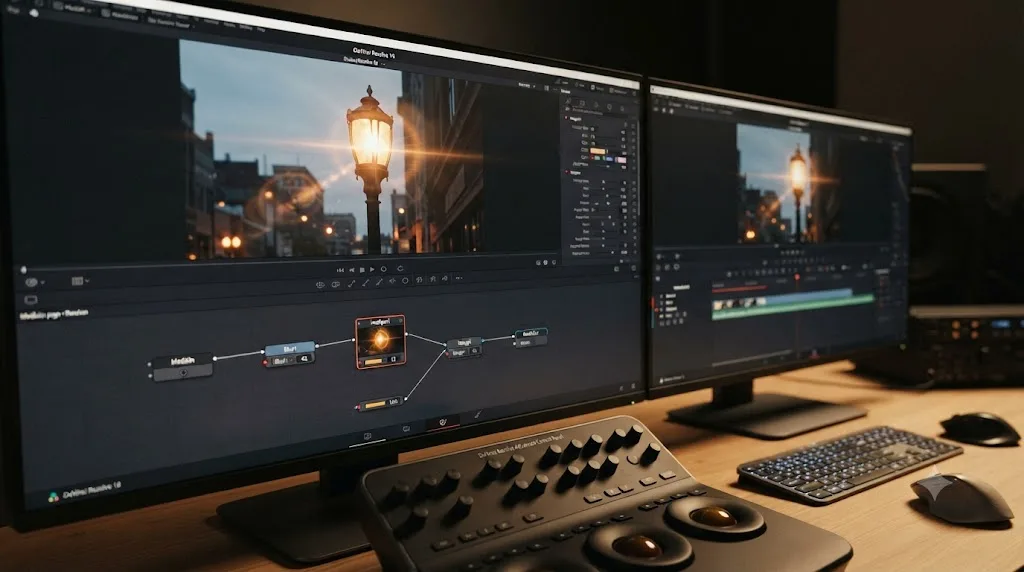
What tool actually makes a lens flare in DaVinci Resolve Fusion?
The Hot Spot node, added from Add Tool > Filter > Hot Spot inside the Fusion page, is Resolve's dedicated, free tool for building a lens flare from scratch. Per JayAreTV's documentation of the node, "the Hot Spot node is used to create lens flare, spotlight, and burn/dodge effects of various types," simulating how a bright light source scatters and reflects across the internal glass elements of a real camera lens.
That's the tool this guide centers on, and there's a reason most Fusion beginners never meet it: it's a Filter node, not something the toolbar surfaces up front the way Merge or Text+ are. You have to know to look for it, which is exactly the gap this post closes.
A second, separate route exists too. ResolveFX Lens Flare is an OpenFX plugin, accessed through OpenFX > ResolveFX Light > Lens Flare, that you can drop onto a node inside Fusion or apply directly on the Color and Edit pages. It's built around presets rather than a from-scratch flare, and it's locked to the $295 DaVinci Resolve Studio license, unlike Hot Spot, which needs nothing beyond the free version of Resolve.
A DaVinci Resolve lens flare is not one tool with one name; it's two different tools that happen to solve the same problem from opposite directions. Hot Spot builds a flare procedurally, node by node, with full control over every element. ResolveFX Lens Flare starts you from a finished-looking preset and lets you nudge it. Neither one replaces the other completely, and knowing which one you're actually looking at in a tutorial you find online saves you from hunting for a Studio-only feature on a free install, or vice versa.
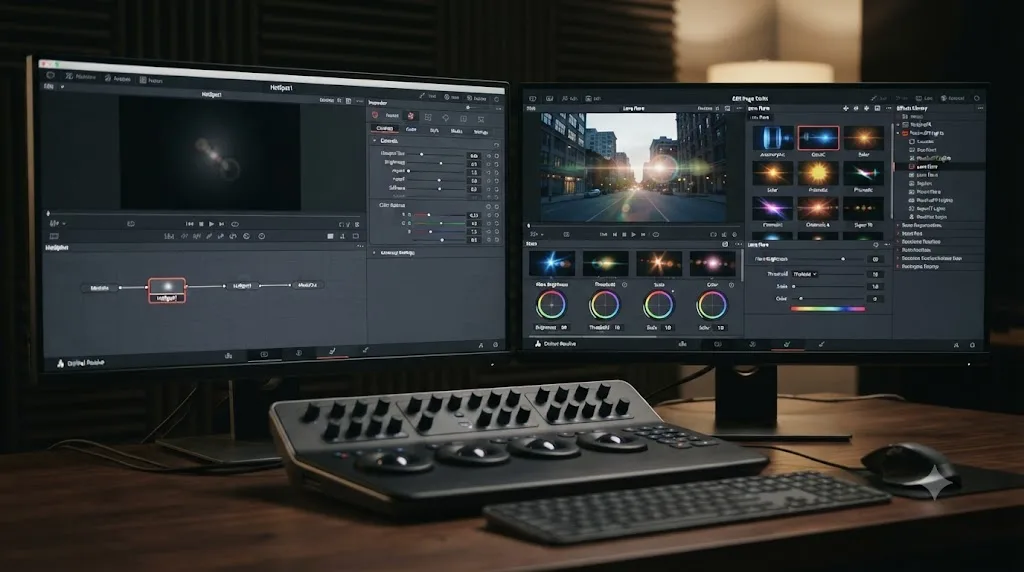
Should you use the Hot Spot node or the ResolveFX Lens Flare plugin?
Use the Hot Spot node if you're on the free version, want full manual control, or need the flare to sit and animate as a real node inside your composite. Use ResolveFX Lens Flare if you already own Studio and just want a fast, preset-driven glow without opening the Fusion page at all.
Here's the decision laid out plainly, since the two tools genuinely don't overlap as much as their shared name suggests:
| Hot Spot node (Fusion) | ResolveFX Lens Flare (OpenFX) | |
|---|---|---|
| Cost | Free in every Resolve edition | Studio only, $295 one-time |
| Where you build it | Fusion page, as a node in your Flow | Color, Edit, or Fusion page, as an OFX effect |
| Starting point | Blank, built element by element | Presets you customize |
| Preset count | None, it's a builder, not a preset picker | 7, including a blank option, per Jonny Elwyn's review |
| Components | Primary hot spot, secondary hot spot, radial ring, three lens-reflect layers | Full-screen glare, flare spot, starburst, up to 8 "Ghost" artifacts |
| Occlusion support | Yes, a dedicated third input | Only via a rough luma-key mask, per Elwyn's review |
| Tracking | Native, via Connect To on any parameter | Global position and scale only, on-screen |
| On-screen controls | Full node parameter access in the Inspector | "Limited to simply the global position and scale," per Elwyn |
Jonny Elwyn, a professional film editor who reviewed the plugin directly, sums up the honest state of ResolveFX Lens Flare this way: "It's great to have something built-in to DaVinci Resolve Studio for creating lens flares, but feels like a beginning rather than a fully featured and finished plugin," in his review of adding optical lens flares. That's not a knock on Resolve specifically. It's the same tradeoff every built-in flare tool makes against a dedicated third-party pack, and it's worth knowing going in rather than discovering it after buying Studio for this feature alone.
If a lens flare tutorial you're watching mentions "presets," it's using ResolveFX, not the Hot Spot node, and that distinction alone tells you whether you need DaVinci Resolve Studio to follow along. That single tell saves you from opening OpenFX menus that don't exist on the free version, or from missing the actual node-based tool because a video called it something else.
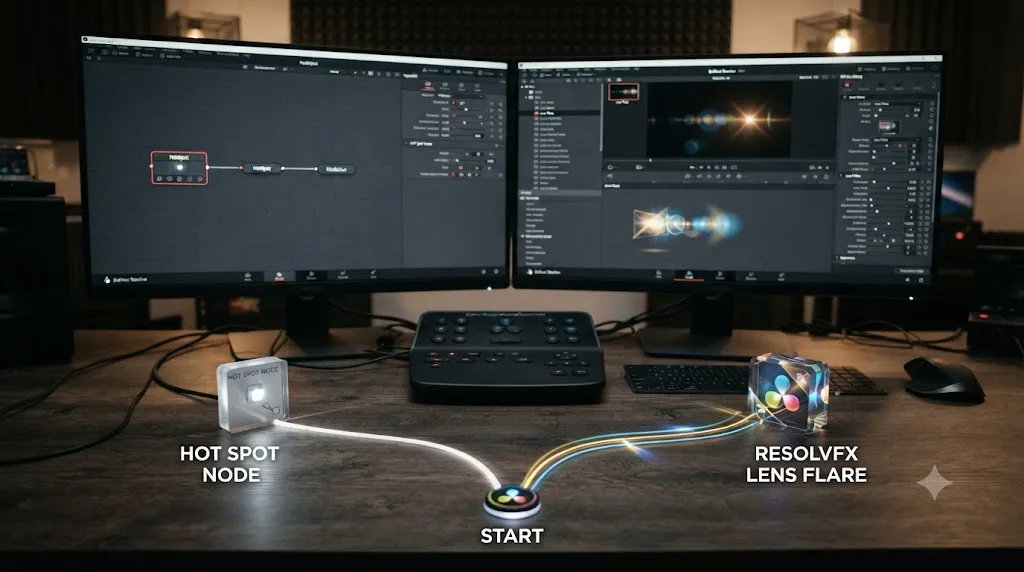
How do you add a Hot Spot lens flare in Fusion, step by step?
Here's the from-scratch build, assuming you already have a clip open on the Fusion page. If nodes, MediaIn, and MediaOut are still new territory, our Fusion page tutorial for beginners covers that ground first; this guide picks up from there.
- Select your clip on the Edit page and open the Fusion page. You'll see MediaIn connected directly to MediaOut, the smallest possible composite.
- Add a Hot Spot node. Right-click the Flow, choose Add Tool > Filter > Hot Spot, or press Shift+Spacebar and type "Hot Spot." Connect MediaIn's output into the Hot Spot's orange image input, and connect the Hot Spot's output toward MediaOut.
- Select the Hot Spot node and open the Inspector's Hot Spot tab. Find Primary Center X and Y, and drag them, or type coordinates directly, until the flare sits over the actual bright point in your footage, a window, a streetlight, the sun breaking through trees.
- Adjust Primary Strength and Size. Strength controls how bright the core of the flare reads; Size controls how far its glow spreads before fading out. Start subtle. It's far easier to push a flare up than to claw back an effect that's already blown out the shot.
- Set the Apply Mode. Add brightens the underlying image, Multiply behaves more like a spotlight, and Subtract dims, per JayAreTV's documentation of the node's controls. Add is the default choice for a standard flare over a bright source.
- Enable and position the secondary hot spot if you want it. Per JayAreTV, "the secondary hot spot is a reflection of the primary hot spot. It is always positioned on the opposite side of the image from the primary hot spot," which is exactly how a real lens's internal reflections behave, a faint ghost image on the far side of the frame from the source.
- Tune Lens Aberration if the flare looks too clean and geometric. The In and Out modes elongate the hot spot's shape, stretching toward the center of the frame in In mode and toward the corners in Out mode, which is what gives a flare that slightly stretched, imperfect-glass look real lenses produce.
- Add color with the Color tab. Real light sources aren't pure white, tungsten runs warm, an overcast sky runs cool, a phone screen runs blue-white, and matching that in the Color tab is one of the fastest ways to sell the effect as belonging to the shot instead of sitting on top of it.
- Layer in Radial and Lens Reflect elements only if the shot calls for it. The Radial tab adds a patterned ring of light around the hot spot's circumference, and the three Lens Reflect tabs (L1, L2, L3) each add an independent secondary lens element, circular, polygonal, or star-shaped, per JayAreTV's breakdown of the tool. A single, well-placed streetlight flare rarely needs all three; a stylized night driving shot might use two.
- Play the shot back at full resolution before calling it finished. A flare that reads correctly at a quarter-res proxy in the Viewer can look noticeably different once GPU processing runs at the timeline's actual resolution.
That sequence, position, strength, secondary, aberration, color, and optional extras, covers a static flare completely. The next section handles the part that actually sells the effect on moving footage: making it track.
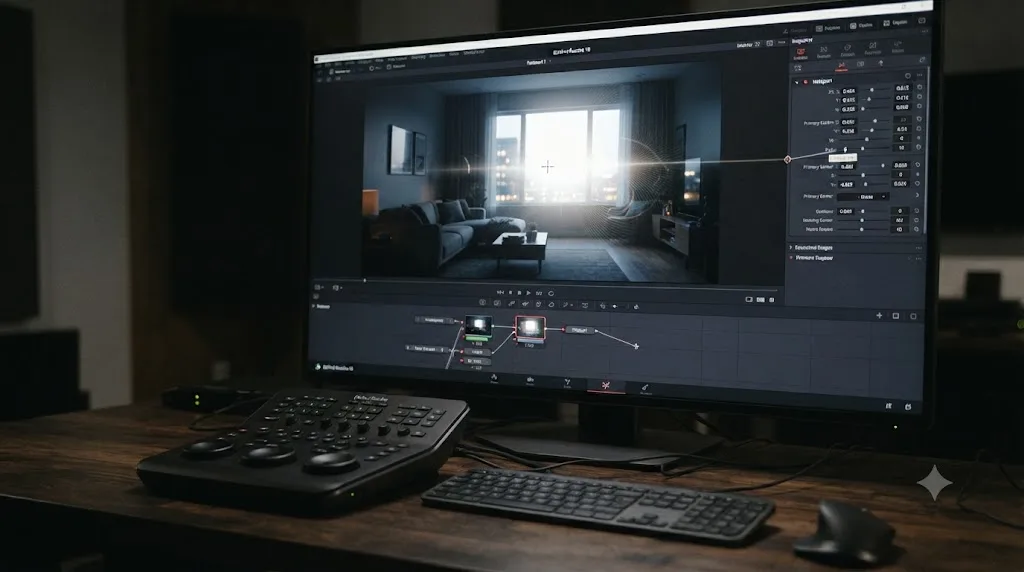
What do the Hot Spot node's tabs actually control?
The Hot Spot node's Inspector splits into four tabs, and knowing what each one owns turns a wall of sliders into four specific, learnable jobs.
| Tab | What it controls |
|---|---|
| Hot Spot | Primary and secondary center position, brightness, size, aspect ratio, Apply Mode (Add, Subtract, Multiply), Occlusion, and Lens Aberration |
| Color | Curve-based color adjustment of the primary and secondary hot spots across red, green, blue, and alpha, animated or static |
| Radial | Length and density splines that generate a repeating, rotating pattern of light around the hot spot's circumference |
| Lens Reflect (L1, L2, L3) | Three independent secondary lens elements, each with its own shape (circular, polygon, star), size, position, and color |
The Hot Spot node's three Lens Reflect tabs exist specifically so a single flare can carry three separate secondary reflections at once, without stacking three separate Hot Spot nodes. That matters for render efficiency as much as convenience; a night-drive composite with headlights, streetlights, and dashboard reflections can lean on one Hot Spot node's built-in layering instead of chaining several full nodes together for the same visual result.
The three inputs on the node itself matter just as much as the tabs. Per JayAreTV's documentation, the orange input takes your primary 2D image, the blue input takes an effect mask "created by polylines, basic primitive shapes, paint strokes, or bitmaps from other tools," restricting the hot spot to a specific area, and the green input takes an occlusion image that controls where the effect is allowed to show through. That third input is the one most tutorials skip, and it's the one that separates a flare that looks composited from one that looks shot.
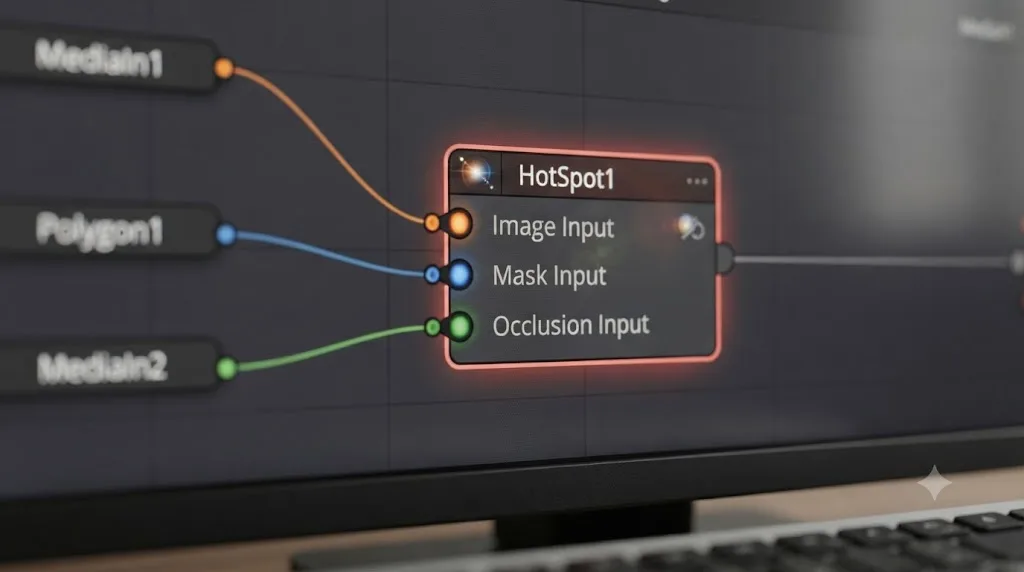
What does every Hot Spot parameter do, in plain terms?
The step-by-step build above and the tab breakdown before it cover the controls you'll touch on almost every flare. A handful of secondary parameters only come up occasionally, when a specific shot calls for them, and they're worth having a lookup for the day they do.
| Parameter | Lives in | What it actually does |
|---|---|---|
| Aspect | Hot Spot tab | Squashes or stretches the primary hot spot's circle; 1.0 stays perfectly round, per JayAreTV's documentation of the node |
| Aspect Angle | Hot Spot tab | Rotates that squashed shape, useful for a flare that should read as an anamorphic streak rather than a circle |
| Occlude | Hot Spot tab | Picks which channel of your occlusion input, Alpha, Red, Green, or Blue, actually drives the masking, so a matte built on a non-standard channel still works |
| Aberration | Hot Spot tab | A separate slider from the In/Out mode picker; it dials how hard the chosen aberration mode pushes the flare's shape |
| Lens Aberration modes | Hot Spot tab | Beyond In and Out, JayAreTV documents Flare In, Flare Out, and Lens modes, each distorting the hot spot's geometry differently; Lens mode reads closest to a literal glass-element simulation |
| Color Mode | Color tab | None keeps color static, Animated Points lets you keyframe color shifts over time, and Dissolve cross-fades between color states, useful for a flare that should shift hue as a light source changes, a car's headlight sweeping past a colored sign, for instance |
| Mix spline | Color tab | Blends how much influence the Radial tab's pattern has against the Color tab's tint, when both are active at once |
| Radial Repeat | Radial tab | Sets how many times the radial pattern repeats around the hot spot's circumference, the control that turns a single ring into a starburst-like pattern |
| NGon Sides / NGon Starriness | Lens Reflect tabs | Sets a lens-reflect element's polygon shape, a 6-sided NGon reads as a hexagonal aperture blade, and how sharply that polygon's points bend into a star |
None of these are controls you'll adjust on a first build. They're the ones you'll go hunting for later, once a client asks for "a bit more of an anamorphic streak" or "can the color shift as the car passes the sign," and it helps to know the parameter already exists rather than reaching for a second node to fake it.
Does the Hot Spot node work the same in the standalone Fusion Studio as it does in Resolve's Fusion page?
Yes. Fusion Studio, the standalone version of Blackmagic's compositor, uses the same node engine as the Fusion page built into DaVinci Resolve, per Blackmagic's Fusion product page. A Hot Spot node built inside Resolve's Fusion page behaves identically if you're compositing in the standalone app instead, and the reverse holds too: a flare macro built and saved in Fusion Studio drops into Resolve's Fusion page without modification, since both read the same .comp and .setting file formats.
That matters for two groups of readers specifically. Compositors who receive Fusion .comp files from a VFX pipeline built outside Resolve can open them directly in Resolve's Fusion page and expect every Hot Spot, Tracker, and Rays node inside to work exactly as documented in this guide. And anyone splitting their work between the two, editing inside Resolve on one project and doing pure compositing in standalone Fusion Studio on another, can move macro files between them freely; the Templates folder path differs by operating system, not by which app reads it.
A Hot Spot flare built in Resolve's Fusion page is a real Fusion composition, portable to Fusion Studio and back, not a Resolve-specific effect locked to one app. That portability matters if a client or collaborator works in the standalone tool while you work inside Resolve; the node graph this guide builds travels between both without changes.
How do you track a lens flare to a moving light source?
Connect the Hot Spot node's Center parameter directly to a Tracker node's Offset Position output, and the flare follows whatever the tracker follows, frame by frame, without a single manual keyframe. This is the single technique that separates a lens flare tutorial that works on a locked-off shot from one that survives a handheld pan or a moving car.
Per JayAreTV's documentation of the Tracker node, "the Tracker is used to detect and follow one or more pixel patterns across frames in moving video," and it automatically generates several position outputs, including a Stable Position for match-move work and an Offset Position built for exactly this kind of parenting. Here's the process:
- Add a Tracker node upstream of your Hot Spot node, Add Tool > Tracking > Tracker, connected to the same footage.
- Find a clean frame where the light source you want to track is clearly visible, high contrast against its surroundings, and not obscured.
- Position the tracker's pattern box directly over the light source. For a single point track, size the box down to just the bright area itself rather than a wide surrounding region.
- Click Track Forward (and Track Reverse if your light source is visible before your in-point) to generate motion data across the clip.
- Check the track for drift by scrubbing through the result. A tracker that slips off a moving headlight or a swinging lantern needs a tighter pattern box or a cleaner starting frame, not a different technique.
- Select your Hot Spot node, right-click the Center parameter in the Inspector, and choose Connect To > Tracker1 > Offset Position. The flare's position now updates automatically from the tracker's data for every frame of the clip.
Mixing Light colorist Jamie Dickinson, writing about Fusion's tracking tools generally, describes the broader value of this kind of parented connection directly in his tutorial on tracking tools and techniques in Resolve Fusion: a tracked point can drive "the center of a Light Rays node" exactly the way it drives a Hot Spot's center here, since Fusion treats any trackable parameter the same way regardless of which tool it belongs to.
Once a Hot Spot's Center is connected to a tracker's Offset Position, the flare stops being a static overlay and becomes a real part of the shot's motion, no keyframes required. That's the entire difference between a flare that reads as an editing trick and one that reads as something the camera actually captured.
If the connection doesn't seem to take, a small number of users have reported exactly this failure on the Blackmagic Forum, under the heading "Connecting center to Tracker not working," most often traced back to connecting the wrong tracker output (Stable Position instead of Offset Position) or connecting to a tracker that hasn't actually completed a track yet. Re-run Track Forward and confirm you selected Offset Position, specifically, before assuming the feature itself is broken.
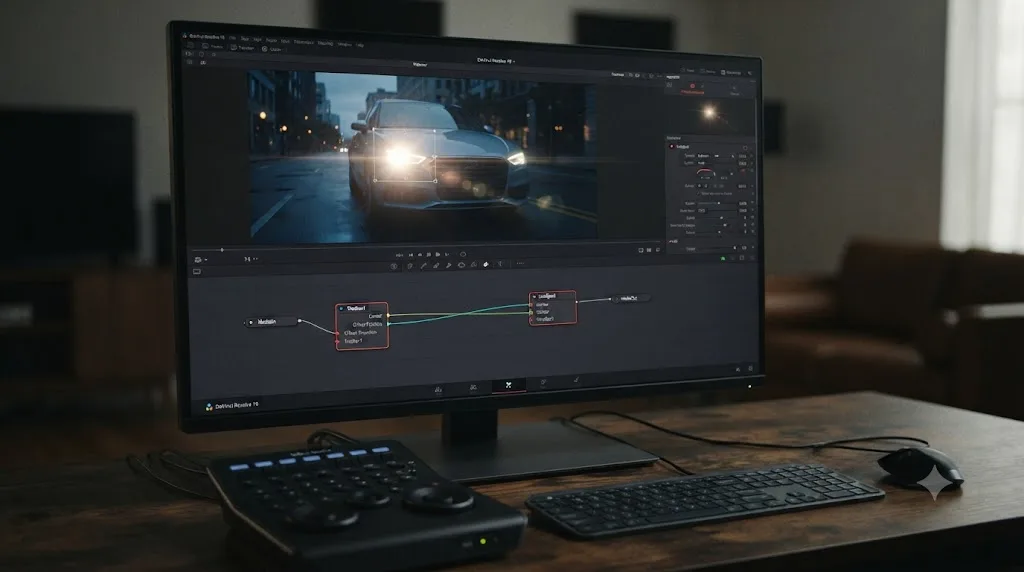
How do you use the ResolveFX Lens Flare plugin instead?
If you own DaVinci Resolve Studio and want a faster, preset-driven route, ResolveFX Lens Flare gets you a finished-looking result in a fraction of the time a from-scratch Hot Spot build takes, at the cost of less granular control.
- On the Color, Edit, or Fusion page, open OpenFX > ResolveFX Light > Lens Flare and drag it onto your clip or node.
- Choose a starting preset from the seven available, including a blank option if you'd rather build from nothing, per Jonny Elwyn's review of the plugin.
- Position the flare using the on-screen global position and scale handles, or the equivalent sliders in the Inspector. This is the plugin's most limited area; per Elwyn, on-screen control here is "limited to simply the global position and scale," with everything more detailed handled by sliders rather than a visual, drag-to-adjust interface.
- Adjust the three core components: full-screen glare, flare spot, and starburst, each with its own intensity and color controls.
- Enable Ghost elements if you want secondary artifacts, up to 8 of them, spanning aperture shapes, disc shapes, an anamorphic streak, a bubble shape, and corona rays, per Elwyn's breakdown of the plugin's structure.
- Use the light-source masking controls if the flare needs to sit behind an object in frame. Per the DaVinci Resolve manual's own description of this control, it lets you "create a quick and dirty luma key to create a mask... so that the lens flare appears to be behind the trees, as the sun would be," a rougher equivalent of the Hot Spot node's dedicated occlusion input.
- Track the plugin's position manually or via OpenFX tracking, since ResolveFX Lens Flare doesn't expose a Connect To option the way a native Fusion node does; matching it to a moving light source takes either a hand-keyframed path or an OFX tracker feeding position data into it.
Elwyn's overall verdict, after using both the built-in plugin and dedicated third-party tools, lands on a fair middle ground: it beats having nothing, and it falls short of a purpose-built product. Customizing a ResolveFX flare with sliders alone "isn't as intuitive as the other plugins' interfaces which have visual builder layouts," he writes, adding that "no visual previews and lots of sliders to control" make a more visual approach preferable, "but it's great to have something natively available in the app." That's the honest tradeoff: built-in convenience against a dedicated tool's polish.
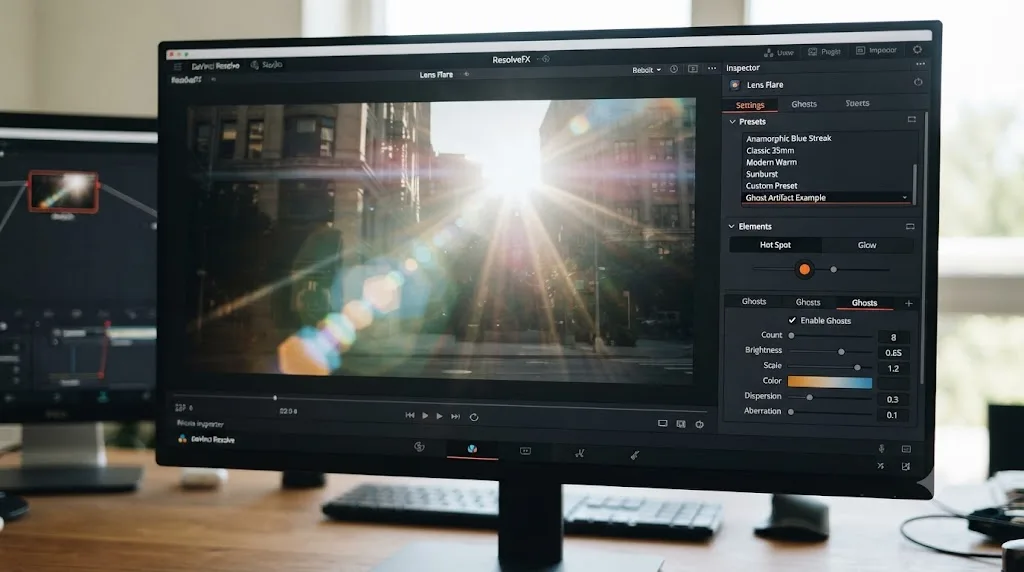
How do you make a lens flare look real instead of fake?
A lens flare reads as real when it respects three things a real lens actually does: it dims and shifts as the light source moves, it disappears correctly behind anything that passes in front of the light, and its color matches the actual source rather than a generic warm-white default.
A lens flare that never dims, shifts, or gets blocked by anything in the shot is the fastest way to make real footage look like a phone filter. That single sentence covers most of what separates a convincing flare from an obviously composited one, and every specific tip below is really just one facet of it.
- Match color temperature to the source, not to taste. A tungsten bulb reads warm, around 2700-3200K in real-world terms; an overcast sky or a phone screen reads cool, closer to 6000-7500K. Use the Hot Spot node's Color tab, or the equivalent in ResolveFX, to nudge the flare toward the actual light in your shot rather than defaulting to a generic golden-hour orange on every source.
- Keep intensity below the point where it draws the eye first. A flare's job in most shots is to sell the presence of a bright light, not to become the most interesting object in the frame. If a first-time viewer's eye goes straight to your flare before anything else, it's overdone.
- Use occlusion, always, on any shot with foreground movement. This is the single most skipped step in amateur flare work, and it's the one the next section covers in full.
- Add a small amount of Lens Aberration rather than none. A perfectly circular, perfectly symmetrical hot spot reads as synthetic because real lens elements are never perfectly clean. The In/Out stretch, even subtle, breaks that too-perfect symmetry.
- Vary intensity slightly with camera or subject motion, if the shot has any. Real flares brighten and dim as a lens's angle to the light source shifts even slightly, and a flare that holds a perfectly flat brightness through a pan reads as pasted-on the moment you compare it against a real optical flare.
- Don't flare every bright point in a shot. A scene with three visible lights and three matching flares looks like a demo reel for the tool, not a real environment. Pick the one or two sources that genuinely matter to the composition.
These aren't rules unique to Fusion. They're the same principles that separate convincing practical lighting from obvious CG in any compositing tool, applied here to the specific controls Hot Spot and ResolveFX give you.
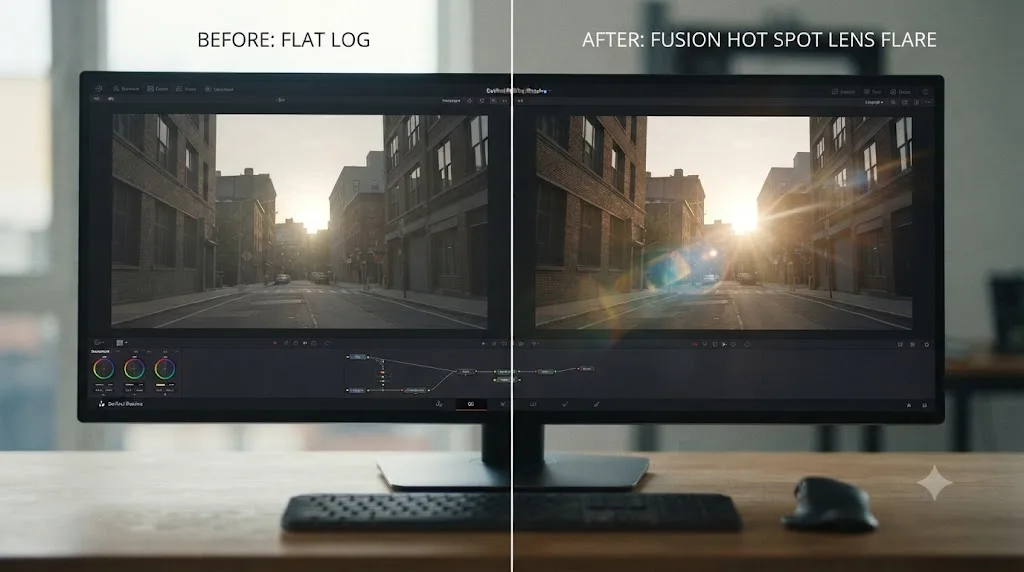
How do you hide a lens flare behind an object using occlusion?
Connect a matte of the foreground object, a tree, a person, a car pillar, to the Hot Spot node's green Occlusion input, and any white pixels in that matte will block the flare exactly where the object sits, frame by frame.
This is the mechanic behind the "winking" effect professional compositors talk about, where a flare disappears and reappears as something passes between the camera and the light source, exactly like a real lens does. Here's the worked build:
- Identify the foreground element that should block the flare, a tree trunk swinging past, a person walking through frame, a car's window pillar.
- Isolate that element as a matte. Depending on the shot, this might come from a simple luma or chroma key if the element has strong contrast against its background, a rotoscoped shape if it doesn't, or a Delta Keyer matte if you're already keying a subject for another reason, per the keying workflow covered in our Fusion page tutorial for beginners.
- Connect that matte's output to the Hot Spot node's green Occlusion input.
- Play the shot back and confirm the flare dims or vanishes at the exact moment the real object would block a real light source, not a frame early or late.
- Adjust the matte's edge softness if the transition looks too hard-edged. A slight blur on the occlusion matte, matching roughly what a real out-of-focus foreground element would look like, sells the effect better than a razor-sharp cutout.
The tracked light source from the previous section and the occlusion matte from this one are meant to work together. A flare that tracks a moving light and correctly disappears behind foreground objects as the camera moves is doing everything a $200 third-party flare plugin does, using tools that shipped free with Resolve.
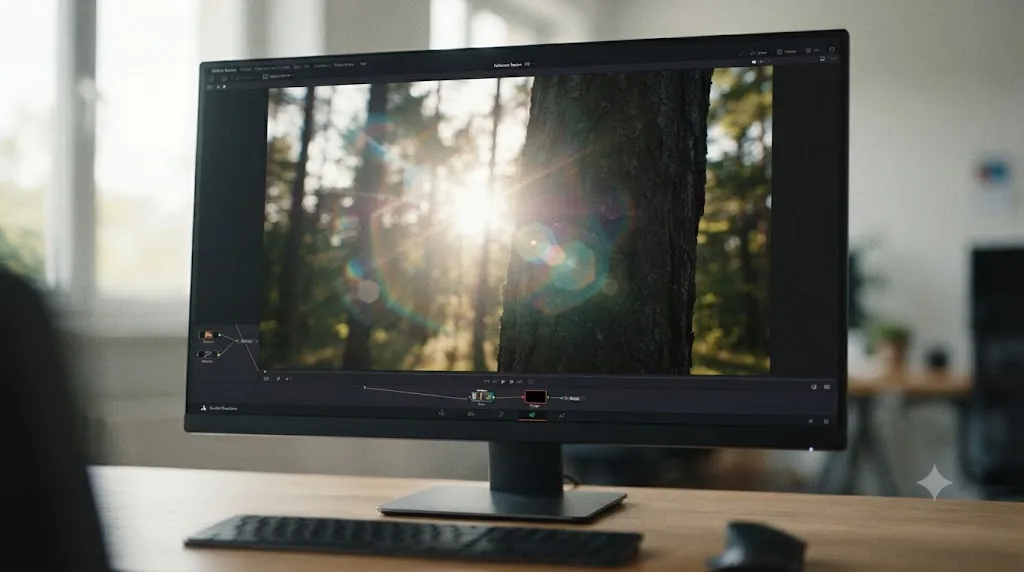
Can you combine Hot Spot with other Fusion nodes for a bigger, more atmospheric flare?
Yes, and it's the natural next step once a basic tracked, occluded flare feels routine. Hot Spot handles the flare itself, the bright core with its reflections and lens artifacts. It doesn't, on its own, produce the long shafts of light people mean when they say "god rays" or "sunbeams through the blinds." For that look, Fusion's Rays node picks up where Hot Spot leaves off.
Per JayAreTV's documentation of the tool, the Rays node "creates a modified zoom blur effect that radiates through an object from a specified point," and it works best fed an image with a real alpha channel, since that alpha is what the rays actually emanate from. A common stack for a sun-through-trees or sun-through-blinds shot looks like this:
- Build your Hot Spot flare over the sun or window as covered above.
- Add a Rays node downstream, feeding it either the same footage, masked so only the bright, high-contrast areas trigger rays, or a dedicated bright-pass built from the shot.
- Set the Rays node's Center to match the Hot Spot's Center, ideally connected to the same tracker if the light source moves, so the rays and the flare stay locked together instead of drifting apart.
- Raise Threshold until only the genuinely bright pixels, the sun itself, the gaps between blind slats, generate rays, rather than the whole midtone image.
- Dial Exposure and Decay until the rays read as present but don't wash out the shot; Decay controls how far the rays reach before fading, and a shorter decay usually looks more believable than rays that stretch edge to edge.
- Use the Rays node's blue Effect Mask input the same way you would on Hot Spot, to confine the effect to the window or gap it should be coming through, rather than letting it radiate from the whole frame.
A Glow node applied after both, set to a low, tight radius, sells the last few percent of "this was really overexposed by a bright light" without needing a heavier Hot Spot Size setting that would blow the core out.
None of this is required for a basic tracked, occluded flare, and a single Hot Spot node still covers most shots on its own. This is the layer above that: the difference between a flare that reads as a discrete effect and a shot that reads as genuinely hazy and sun-drenched.
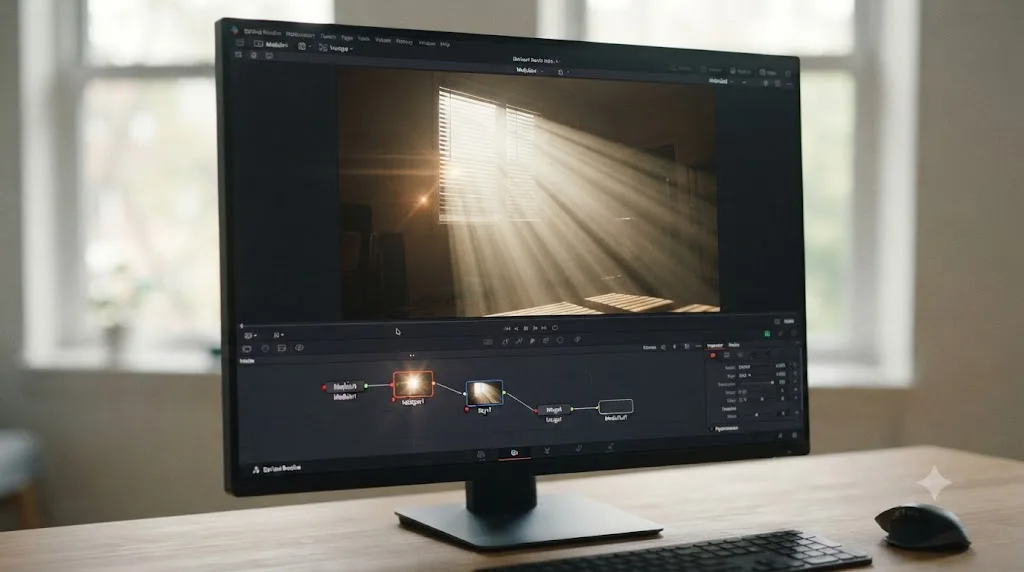
Which flare recipe fits which shot?
Every flare in this guide uses the same handful of controls, Center, Strength, Size, Color, Lens Aberration, and Occlusion. What changes is how you set them for the light source in front of you. Here's a starting point for the shots that come up most often:
| Shot | Primary tool | Starting recipe | Watch for |
|---|---|---|---|
| Sun through trees or blinds | Hot Spot + Rays | Tight Hot Spot core, Lens Aberration in Flare Out mode, Rays node with a high Threshold so only bright gaps generate shafts | Track both nodes to the same point if the camera or foliage moves, or the rays and the flare will drift apart |
| Streetlight or porch light at night | Hot Spot alone | Warm Color tab tint near 2700-3200K, moderate Size, one Lens Reflect element for a faint secondary ghost | Keep Strength low; a night streetlight flare that outshines the rest of the frame reads as a phone camera artifact |
| Car headlight, moving | Hot Spot + Tracker | Tight, bright core, cool white-blue for LED or warm white for halogen, Lens Aberration in Out mode | Occlusion matters most here, since headlights pass behind other cars and roadside objects constantly (the worked example below covers this shot in full) |
| Phone or laptop screen | Hot Spot, low intensity | Small Size, cool blue-white Color tint, no Lens Reflect elements | Screens are dim relative to the sun or a streetlight; an oversized flare here is the fastest way to make the shot look staged |
| Neon sign or colored practical light | Hot Spot, Color Mode set to Animated Points if the sign flickers or cycles color | Match the sign's actual color exactly, not a generic warm tone; enable one or two Lens Reflect elements shaped to echo the sign's geometry | A flare in the sign's true hue sells the shot; a warm-orange flare on a blue neon sign is an immediate tell |
| Window with direct sun, interior shot | Hot Spot + Rays + Glow | Hot Spot Center just outside the window frame's edge, Rays node reading the window's bright pixels, a light Glow pass over the whole composite | The Occlusion input should key off the window frame itself so the flare doesn't leak past the glass into the wall |
Every recipe in that table is the same six controls applied to a different light source, not six different techniques to learn. Once Center, Strength, Size, Color, Aberration, and Occlusion feel familiar on one shot, they transfer directly to the next.
A worked example: track a lens flare onto a moving car's headlight
Here's every piece of this guide combined into one complete build, the kind of shot a night driving scene or a car commercial actually needs: a headlight that flares, moves with the car, dims correctly as the angle changes, and disappears behind a foreground fence post partway through.
- Open the shot on the Fusion page and confirm MediaIn feeds directly into MediaOut, your starting point.
- Add a Tracker node right after MediaIn. Find the cleanest frame where the headlight is fully visible, size a tight pattern box around it, and Track Forward across the full clip. Track Reverse too if the headlight enters frame partway through rather than being visible from frame one.
- Add a Hot Spot node downstream of the Tracker, connected in the main image chain toward MediaOut.
- Position the Primary Center roughly over the headlight's starting position, then right-click Center and choose Connect To > Tracker1 > Offset Position, handing position control to the tracked data.
- Set Strength and Size for a headlight-appropriate flare, a tight, bright core rather than a huge, diffuse glow, since headlights are small, intense point sources.
- Set the Color tab to a cool white-blue for an LED headlight or a warmer white for halogen, matching whatever the actual vehicle uses in your footage.
- Add a touch of Lens Aberration in Out mode, stretching slightly toward the frame's corners as the car moves through the shot, which is how a real anamorphic or wide lens renders a bright point near the edge of frame.
- Isolate the foreground fence post as a simple matte, using a rotoscope shape if it's a static object relative to the moving background, and connect that matte to the Hot Spot's green Occlusion input.
- Scrub through the full clip and confirm three things: the flare tracks the headlight without drifting, it dims and brightens plausibly as the car's angle to camera changes, and it correctly disappears behind the fence post at the right frame.
- Render a short test section at full resolution before committing to the full shot, since GPU-heavy nodes like Hot Spot and Tracker sometimes behave differently in the Viewer's proxy resolution than in a real render.
That's a complete, professional-grade flare build: tracked, color-matched, aberrated, and correctly occluded, using two native Fusion tools that cost nothing beyond the free version of DaVinci Resolve.
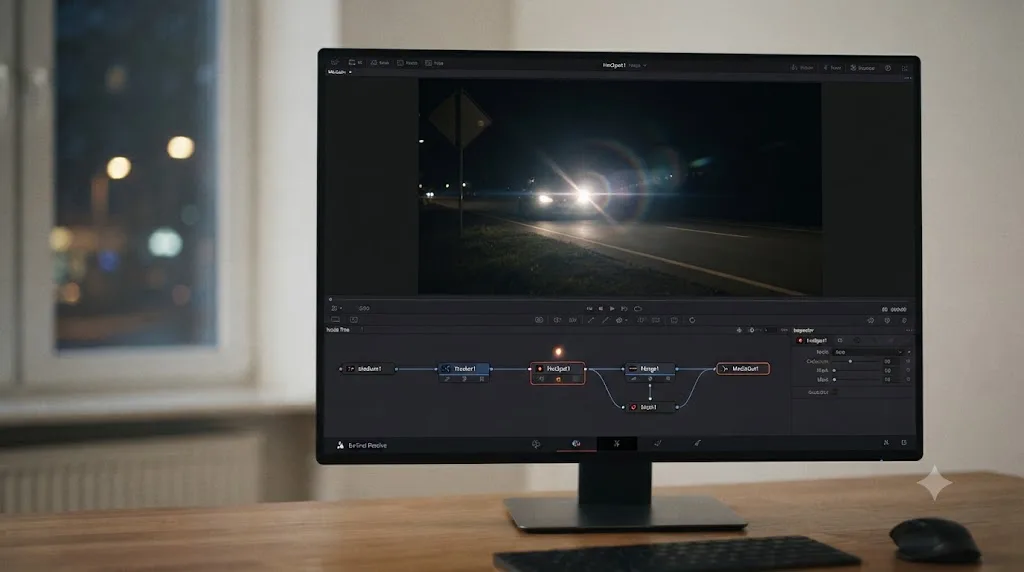
A second worked example: sun flare through window blinds with volumetric rays
Here's the recipe from the decision table above, worked through end to end, for an interior shot where sun cuts through window blinds and lands across a room.
- Open the shot on the Fusion page. Identify the window in frame and note where the sun itself, or its brightest visible point through the blinds, actually sits.
- Add a Hot Spot node and position its Primary Center just outside the window's frame edge, roughly where the sun would sit if the window weren't blocking direct view of it.
- Set Strength moderate and Size small. A window-filtered sun reads as a bright, contained source, not a huge diffuse wash; oversized Size here is the fastest way to blow out the whole window.
- Set Lens Aberration to Flare Out mode with a light touch, stretching the core slightly toward the frame's edges for a more optical, less computer-generated shape.
- Add a Rays node downstream of the Hot Spot, feeding it the same footage. If the shot has other bright areas that shouldn't generate rays, feed it a masked version instead, using the blue Effect Mask input to isolate just the window.
- Set the Rays node's Center to the same coordinates as the Hot Spot's Center. If the camera or the light shifts across the shot, connect both to the same Tracker node so the rays and the flare move together.
- Raise the Rays node's Threshold until only the brightest slivers, the gaps between the blind slats, generate visible shafts, rather than the whole window glowing uniformly.
- Tune Decay and Exposure on the Rays node until the shafts are visible crossing the room without overwhelming the rest of the shot; a shorter Decay generally looks more grounded than rays that stretch the full depth of the frame.
- Connect an occlusion matte of the window frame itself to the Hot Spot's green Occlusion input, so the flare's core doesn't leak past the actual glass and onto the wall beside the window.
- Add a light Glow pass over the finished composite, low radius, low intensity, to soften the transition between the rays and the rest of the room without turning the whole shot hazy.
- Check the result against a locked-off frame first, then, if the camera moves, confirm the tracked flare and rays hold their relationship to the window through the whole move before calling the shot finished.
That's the same six-control vocabulary from the recipe table, Center, Strength, Size, Color, Aberration, and Occlusion, extended with one more node, Rays, for the shafts of light a Hot Spot alone can't produce.
Can you save a Hot Spot build so you don't rebuild it on every clip?
Yes. Building a tracked, occluded Hot Spot flare from scratch, following the ten-step process above, takes a few minutes once you know it. Doing that ten more times across ten more clips in the same project gets old fast. Fusion has a built-in answer: turn the whole node chain into a macro.
- Select every node the flare depends on in the Flow: the Hot Spot node, the Tracker node feeding it, and any matte-generating nodes wired into the Occlusion input.
- Right-click one of the selected nodes and choose Macro > Create Macro, rather than the plain Group option, which bundles the same nodes but doesn't let you choose which controls surface in the Inspector.
- Pick which parameters stay editable. A macro built for reuse should expose the handful of controls you'll actually change per shot, Center position, Strength, Color, maybe Size, and hide the rest so the macro reads as one clean tool instead of every underlying node's full parameter set.
- Save the macro from the macro editor's File menu. Fusion writes it out as a
.settingfile into your local Macros folder by default. - Move that
.settingfile into Resolve's Fusion Templates folder if you want it to show up as a draggable effect in the Edit page's Effects Library rather than something you have to reopen inside Fusion each time. On macOS that'sLibrary/Application Support/Blackmagic Design/DaVinci Resolve/Fusion/Templates/Edit/Effects; on Windows it's the equivalent path underAppData/Roaming/Blackmagic Design/DaVinci Resolve/Fusion/Templates/Edit/Effects. - Relaunch DaVinci Resolve. Templates only get picked up on startup, so a macro you just saved won't appear in the Effects Library until you quit and reopen the app.
Once it's in there, your custom flare is just another effect: drag it onto a clip from the Edit page, and Resolve creates the Fusion node chain underneath automatically, pre-wired the way you built it.
Colorist Jamie Dickinson, covering this same workflow for Mixing Light, notes that Fusion actually gives you several different ways to carry a setup like this from project to project: "copy/paste, .setting files, macros, macro templates, standalone Fusion .comp files, and Group .setting files," each suited to a slightly different situation. A macro saved into the Templates folder is the right choice specifically when you want the flare to show up as a one-click Edit page effect; plain copy-paste between the Fusion pages of two clips in the same project is faster when you only need it once or twice more in the same timeline.
A Hot Spot flare built once and saved as a macro turns a five-minute Fusion build into a drag-and-drop effect for every future shot that needs the same look. That's the free version of exactly what a paid preset pack sells, minus the wider style variety a dedicated flare product ships with.
What third-party lens flare plugins exist for DaVinci Resolve and Fusion, and do you need one?
Several paid flare packs exist for Resolve and Fusion, and most of them sell the same pitch: more presets, a visual builder interface, and specialized looks like anamorphic streaks that the built-in tools don't replicate exactly.
| Plugin | Approach | Presets | Cost model |
|---|---|---|---|
| Hot Spot node (built-in) | Node-based, build from scratch | None, fully manual | Free, every Resolve edition |
| ResolveFX Lens Flare (built-in) | Preset-based, slider refinement | 7, including blank | Included with $295 Studio license |
| Video CoPilot Optical Flares | Preset-based, visual drag-and-drop builder | 60+ | Paid, sold separately (originally an After Effects plugin, used via third-party Fusion ports) |
| mFlare2 | Preset-based, visual builder | 100 | Paid, sold separately |
| LensMaster Flares | Preset-based, GPU-accelerated Fusion tool | Multiple flare styles bundled | Paid, sold on Gumroad |
A paid flare plugin buys you more presets and a friendlier visual builder, not a fundamentally different capability the Hot Spot node lacks. Optical Flares' 60-plus presets and mFlare2's 100, compared against ResolveFX's 7, explain most of why editors reach for a third-party option: browsing a gallery of finished looks is faster than building one from individual sliders. But every one of those presets is still, underneath, the same category of tool as Hot Spot: a simulated bright point with reflections, aberration, and color, positioned and tracked over a light source.
If you're building one or two specific flares for a specific shot, the free Hot Spot node with the worked process in this guide gets you there without spending anything. If you're producing flare-heavy content regularly, a car commercial house, a music video studio with a signature look, and want a large preset library to pull from fast under deadline, a paid pack's time savings can justify its price. Neither choice is wrong; they're solving different problems, one-off craftsmanship against production-line speed. And once your own Hot Spot recipes are saved as macros, the gap between "free" and "paid preset library" narrows further, since your saved macros become presets too, just ones you built yourself.
Krokodove, the large motion graphics toolset Blackmagic folded natively into Fusion starting in DaVinci Resolve 21, adds well over a hundred generators, modifiers, and 3D tools at no extra cost, per Digital Production's coverage of its arrival and the official Krokodove page. It doesn't ship a dedicated, separate lens flare generator distinct from Hot Spot, but its broader light and graphic tool additions sit in the same category of "more built-in options before you need to pay for a third-party pack," a pattern worth knowing if you're weighing whether Resolve 21 changed the calculus here. Our full rundown of what's new in DaVinci Resolve 21 covers Krokodove's complete tool list.
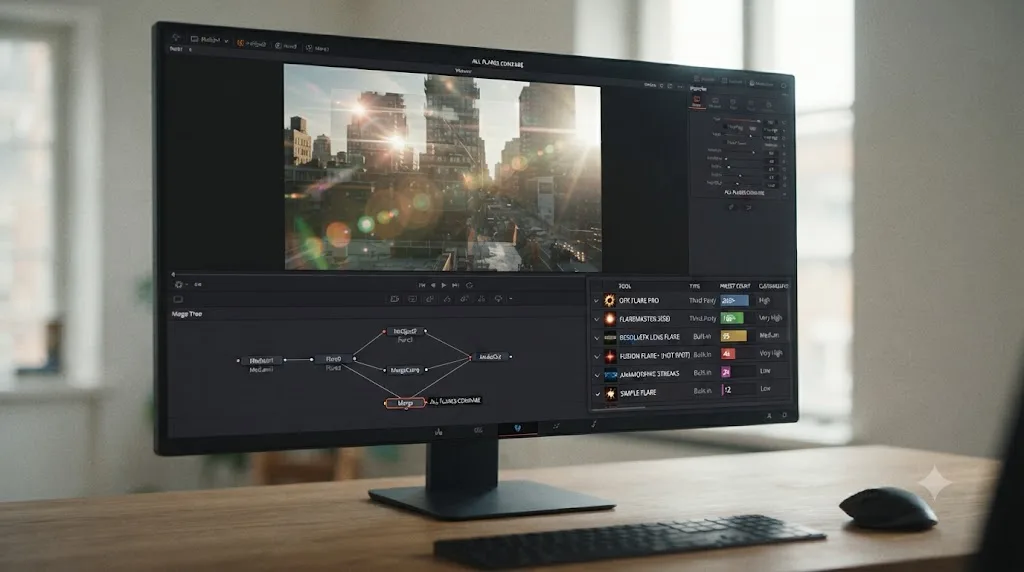
Why is your Fusion lens flare composition running slow?
A Hot Spot node with Lens Reflect layers enabled, combined with a Tracker node analyzing full-resolution footage, is genuinely GPU-intensive work, and Fusion computes every node in the chain at full timeline resolution regardless of your playback proxy settings.
That last part surprises a lot of editors coming from the Edit or Color page, where lowering Timeline Proxy Mode noticeably speeds things up. Fusion doesn't work that way. Our Fusion render slow fix guide covers the mechanics in depth, but the parts that matter specifically for a lens flare build:
- Disable Lens Reflect tabs you're not actively adjusting. Each active tab adds real computation per frame, and a flare with all three enabled costs noticeably more than one using a single tab.
- Lower the Viewer's proxy resolution while positioning the flare, then check the result at full resolution only once positioning and tracking are both locked.
- Track at the lowest resolution that still gives a clean pattern lock. A tracker doesn't need 4K source resolution to follow a bright, high-contrast headlight; a lower-resolution proxy often tracks just as reliably and finishes noticeably faster.
- Cache the finished flare composite once it's locked, using the Saver-and-Loader technique covered in the render-slow guide, so scrubbing the rest of your timeline doesn't keep recalculating a flare you're no longer adjusting.
- Skip the Rays node until the Hot Spot underneath it is locked. Rays reads the frame it's fed and recomputes every time that frame changes, so tuning a flare's Center or Size with a Rays node already attached means paying that render cost on every single adjustment.
Rough VRAM guidance, not an official Blackmagic per-tool specification since Blackmagic doesn't publish one for Hot Spot specifically, but a practical starting point based on how GPU-heavy Fusion's tracking and lighting tools generally run:
| What you're building | Realistic minimum | Comfortable |
|---|---|---|
| A single static Hot Spot flare, no tracking, HD footage | Any machine that runs Resolve at all | Same |
| A tracked flare on one HD clip with occlusion | 8 GB VRAM | 12 GB VRAM or Apple silicon |
| Multiple tracked flares with Lens Reflect layers, 4K footage | 12 GB VRAM | 16 GB+ VRAM |
| A Hot Spot plus Rays plus Glow stack, 4K footage | 12 GB VRAM | 16 GB+ VRAM |
If a GPU memory error shows up mid-build rather than just slow playback, the underlying cause and fix are the same as anywhere else in Resolve that leans hard on the GPU; our GPU memory full fix covers that specifically.
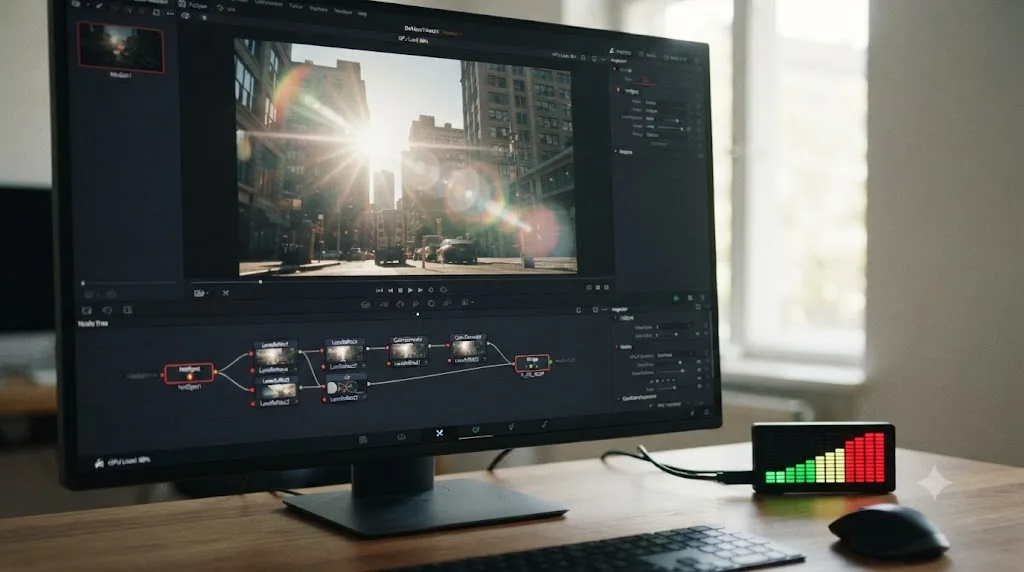
What mistakes wreck a lens flare effect?
A short list of habits accounts for most flares that look obviously fake or simply don't work, and every one has a specific fix already covered above.
- Skipping the occlusion input entirely. A flare that shines straight through a foreground object it should be hidden behind is the single most common tell that an effect was added in post rather than shot practically.
- Cranking Strength and Size until the flare dominates the frame. Restraint reads as realism. An oversized flare reads as a filter.
- Using a generic warm-orange color on every light source, regardless of whether the actual source is tungsten, LED, daylight, or a phone screen. Real light sources have real, different colors, and the Color tab exists specifically to match them.
- Forgetting to track a flare on any shot with camera or subject movement. A pinned, static flare on a moving shot is immediately obvious the moment the light source it's supposed to represent shifts position and the flare doesn't.
- Connecting to the wrong tracker output. Stable Position and Offset Position serve different purposes; Offset Position is the one built for parenting another parameter's motion to a tracked point.
- Building on a blurry or partially obscured tracking frame. As with the Planar Tracker covered in our Fusion beginners guide, a track is only as reliable as the reference frame it starts from.
- Leaving every Lens Reflect tab active "just in case." Beyond the visual clutter, each active tab costs real render time for an element that may not even be visible in the final shot.
None of these are advanced mistakes. They're first-attempt mistakes, and every one of them disappears the moment you've built two or three tracked, occluded flares and the workflow stops feeling unfamiliar.
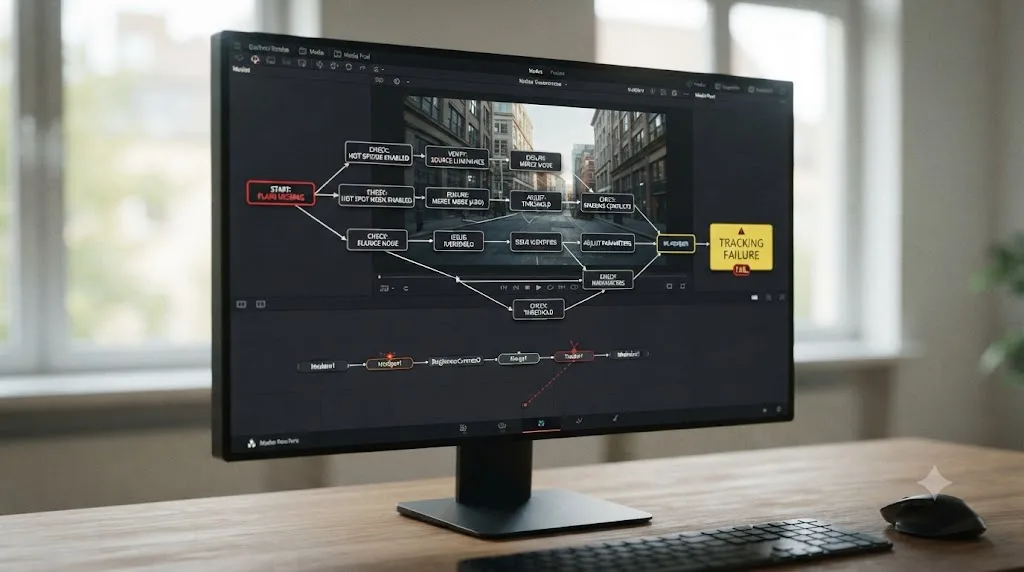
What do you do when the Hot Spot node isn't behaving as expected?
Most Hot Spot problems sort into a handful of predictable branches, faster to diagnose by symptom than by re-clicking every slider in the Inspector.
The flare doesn't show up in the Viewer at all. Confirm the node chain is unbroken from MediaIn through the Hot Spot and all the way to MediaOut, exactly the debugging habit that applies to every Fusion node. A disconnected Hot Spot, however carefully tuned, renders nothing, per the same logic our Fusion beginners guide covers for MediaOut generally.
The flare is visible but stuck in the wrong place. Check whether an Effect Mask is connected to the blue input and confining the flare to a small, unexpected shape, and confirm the Primary Center coordinates actually correspond to where you think they do; Fusion's coordinate space can read differently than expected if your composition includes an upstream crop or resize.
Connecting Center to the tracker doesn't seem to do anything. Confirm you chose Offset Position specifically, not Stable Position, from the Connect To menu, and confirm the Tracker node actually completed a track (a red or empty tracking path means nothing to connect to yet). This exact symptom has shown up often enough to get its own Blackmagic Forum thread, and in the reported cases it traced back to one of those two causes almost every time.
The secondary hot spot or lens-reflect elements look wrong or missing. Remember that the secondary hot spot's position isn't independently set; it's calculated automatically as a reflection on the opposite side of the frame from the primary. If your primary sits near the center of frame, the secondary has little room to separate from it, which can look like a missing effect rather than the correct, camera-accurate behavior it actually is.
Occlusion isn't blocking the flare correctly. Confirm the matte connected to the green input is genuinely white where you want the flare blocked and black elsewhere; a matte with soft, partial gray values in the wrong areas produces a flare that fades unevenly rather than cutting cleanly.
The whole composite runs painfully slowly the moment Hot Spot is added. That's a GPU load problem, not a broken node, and the performance section above, plus our dedicated Fusion render slow fix guide, covers the caching and resolution fixes that apply.
The composite looks right in Fusion but the clip goes back to looking flat on the Edit or Color page. Confirm you're viewing the clip's Fusion output and not a cut earlier or later in the timeline; a Hot Spot build only affects the specific clip it's applied to, so scrubbing past its in or out point on the Edit page naturally shows unflared footage on either side, which is correct behavior, not a bug.
A macro you saved doesn't show up in the Edit page's Effects Library. Confirm the .setting file actually landed in the Templates/Edit/Effects folder rather than the default Macros folder, and confirm you fully quit and relaunched Resolve afterward; templates load once at startup and won't appear in a session that was already running when you saved the file.
None of these require deep compositing expertise. They require knowing which of eight usual suspects you're looking at, which is exactly what this section maps out.
Do you need DaVinci Resolve Studio for lens flares?
No. The Hot Spot node that this entire guide is built around, primary and secondary flares, radial rings, three lens-reflect layers, occlusion, and native tracker connections, lives inside the Fusion page and is free in every edition of DaVinci Resolve. Studio's $295 one-time license, per Blackmagic's Studio product page, only gates the separate ResolveFX Lens Flare OpenFX plugin, which as this guide covered, actually offers less granular control than the free node it's often confused with.
That's a genuinely unusual case in Resolve's free-versus-Studio split, where the free tool is arguably more capable for this specific task than the paid one, simply because it's a full node with every parameter exposed rather than a preset plugin built for speed over depth. If you've been holding off on a lens flare project because you assumed it needed a Studio license, that assumption was wrong for this particular effect.
Every control this guide walked through, tracking, occlusion, color matching, lens aberration, works identically in the free version of DaVinci Resolve. The one thing Studio adds here is a second, faster, less flexible route to a similar-looking result, not a capability the free version lacks entirely.
Where do you go from here?
You now know the two real routes to a lens flare in DaVinci Resolve, the free, from-scratch Hot Spot node and the Studio-only ResolveFX preset plugin, how to track either one onto a moving light source, and how occlusion is the single detail that separates a flare that looks composited from one that looks shot. That's the complete toolkit, the same handful of controls a working compositor reaches for on a real car commercial or a stylized night scene.
The next step is one small, real build of your own: one tracked, occluded flare on a single clip, using the worked headlight example above as a template. Do that once end to end before trying a scene with three or four flares at once, or before reaching for the Rays node and a second worked example. Fusion rewards a finished small project far more than it rewards a half-built ambitious one.
If you get stuck mid-build and can't remember which Inspector tab a specific control lives in, that's exactly the kind of moment where a second set of eyes on your actual screen helps more than another ten-minute video. TryUncle is the on-screen assistant for DaVinci Resolve on macOS. Ask in plain words and Uncle points at the exact control on your screen. It's one option among several in this space; tools like Sottocut, PremiereCopilot, heyeddie.ai, and cutagent.ai mostly automate edits or answer chat questions about a project rather than watching your live Resolve window, while Uncle's approach stays narrower and more literal, pointing rather than automating. TryUncle runs on founder pricing for its first 100 seats; check TryUncle for the current rate before committing. And once tracked flares feel routine, our guide to labeling and coloring Fusion nodes is the natural next stop, since a composite with a Tracker, a Hot Spot, a Rays node, and an occlusion matte gets confusing fast without a naming system to keep it readable.
Frequently asked questions
- How do you add a lens flare in DaVinci Resolve's Fusion page?
- Open the Fusion page, add a Hot Spot node between your footage and MediaOut, and position its Center over the light source in your shot. The Hot Spot node is free in every version of Resolve and gives you a primary flare, a secondary reflection, and optional radial and lens-reflect elements, all adjustable in the Inspector.
- Why isn't my Hot Spot lens flare showing up in the Fusion Viewer?
- Usually one of three things: the node isn't wired all the way to MediaOut, its Center sits outside the visible frame, or an Effect Mask connected to the blue input is hiding it outside a small shape. Check the connection chain first, since a disconnected Hot Spot renders nothing, exactly like any other Fusion node.
- Do you need DaVinci Resolve Studio to add a lens flare in Fusion?
- No. The Hot Spot node that lives inside the Fusion page is free in every edition of Resolve. Only the separate ResolveFX Lens Flare plugin, which you apply through OpenFX rather than Fusion's native tool set, is limited to the $295 Studio license.
- Can you track a lens flare to a moving light source in Fusion?
- Yes. Add a Tracker node on your footage, track the light source across the clip, then right-click the Hot Spot node's Center parameter and choose Connect To > Tracker1 > Offset Position. The flare then follows the tracked point automatically for every frame.
- What's the difference between the Hot Spot node and the ResolveFX Lens Flare plugin?
- Hot Spot is a native Fusion node with a primary and secondary flare, a radial ring, and three lens-reflect layers, free in every Resolve edition. ResolveFX Lens Flare is a Studio-only OpenFX plugin with a full-screen glare, a flare spot, a starburst, and up to eight ghost artifacts, but only seven presets and coarser on-screen controls.
- How do you make a lens flare look realistic instead of fake?
- Keep the intensity below where it draws attention to itself, match its color temperature to the actual light source in the shot, and use the occlusion input so the flare disappears correctly behind anything that passes in front of the light. A flare that never gets blocked by foreground objects is the fastest way to make a real shot look like a phone filter.
- Are there free third-party lens flare plugins for DaVinci Resolve?
- The Hot Spot node itself is free and covers most of what a paid flare plugin does. Beyond that, most polished flare packs, including LensMaster Flares and various anamorphic flare sets sold on Gumroad, are paid add-ons; there isn't a widely used free third-party flare plugin as complete as the built-in node.
- Can you save a Hot Spot lens flare so you don't have to rebuild it on every clip?
- Yes. Select the Hot Spot node, its Tracker, and any matte nodes feeding its Occlusion input, then right-click one and choose Macro > Create Macro to bundle them into a single reusable tool. Save that macro's .setting file into Resolve's Fusion Templates/Edit/Effects folder and relaunch the app, and the flare appears as a drag-on effect in the Edit page's Effects Library from then on.
Sources
- JayAreTV: Hot Spot Node
- JayAreTV: Tracker Node
- JayAreTV: Rays Node
- Jonny Elwyn: How to Add Real Optical Lens Flares to Your Edit
- DVResolve: Resolve's Lens Flare & Lighting Effect Plugins
- Mixing Light (Jamie Dickinson): Introduction to Tracking Tools and Techniques in Resolve Fusion
- Mixing Light (Jamie Dickinson): Building and Re-using Fusion Setups and Macros in DaVinci Resolve
- Road Reality: Add Some FLARE to Your Video, Lens Flare Effect in DaVinci Resolve Fusion
- Digital Production: Krokodove, a Massive Expansion of Fusion and Resolve's Creative Arsenal
- Blackmagic Design: DaVinci Resolve Studio product page (pricing)
- Blackmagic Design: DaVinci Resolve Fusion product page
- Komkom Doorn: Krokodove official page
Keep reading
Guides · Jul 10, 2026 · 32 min
DaVinci Resolve Fusion Page Tutorial for Beginners
Learn the DaVinci Resolve Fusion page from zero: nodes, MediaIn/MediaOut, the Merge node, planar tracking, and keying a green screen, step by step.
Fixes · Jul 10, 2026 · 26 min
DaVinci Resolve Fusion Render Slow? The Real Fixes
Why DaVinci Resolve's Fusion page renders so slowly, and the real fixes: resolution passthrough, MediaIn vs Loader, node caching, and CPU-only nodes.
Guides · Jul 16, 2026 · 29 min
DaVinci Resolve Node Labels and Colors for Organized Grading
Rename and color-code DaVinci Resolve nodes so a six-node grade still makes sense months later. Labels, colors, badges, and a system that actually holds up.