Articles / Guidesupdated for DaVinci Resolve 21.0.2 (July 2026)
How to Reverse a Clip on the Timeline in DaVinci Resolve
Quick answer
To reverse a clip on the DaVinci Resolve timeline, right-click it, choose Change Clip Speed, and check Reverse Speed, or press Ctrl/Cmd+R for Retime Controls and pick Reverse Segment. Both flip the clip's speed value negative so it plays backward. Audio reverses too unless you unlink it first, and this works in the free and Studio versions alike.
You want a clip to play backward on your timeline, not the whole sequence, just that one shot. In DaVinci Resolve that's a right-click and one checkbox, and it takes less time to do than to read this sentence.
The part that actually trips people up isn't the reverse itself. It's the three or four things Resolve does quietly at the same time: it flips the audio too unless you stop it, it can choke on fast motion unless you pick the right processing mode, and it can reach into frames you didn't expect if the clip started life as a bladed-off piece of something longer. In our 100,000+ member DaVinci Resolve editing community, reversing a clip is one of the recurring questions total beginners ask in their first week, right alongside freezing a frame and splitting a section, because the button is easy to find and the side effects are easy to miss. This guide covers the whole thing: the fast way, the precise way, what goes wrong, and how to fix it.
How do you reverse a clip on the timeline in DaVinci Resolve?
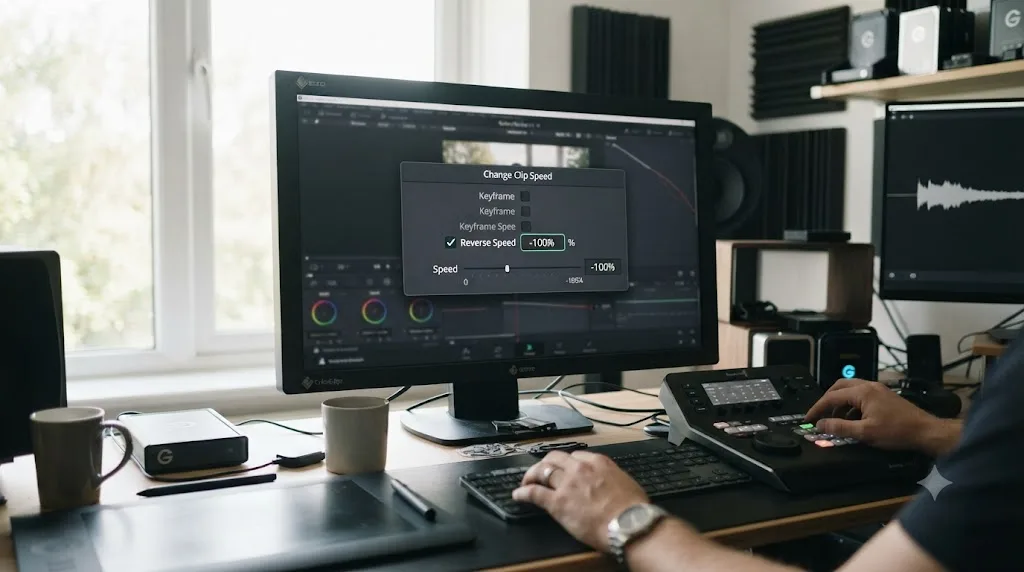
Right-click the clip, choose Change Clip Speed, check Reverse Speed, and click Change. That's the whole procedure for reversing an entire clip in one pass.
Here's the full sequence with nothing skipped:
- Select the clip on the Edit page timeline. Click it once so it's the active clip.
- Right-click it and choose Change Clip Speed from the context menu that appears.
- Check the Reverse Speed box in the dialog. Per Boris FX's coverage of the four ways to change clip speed in DaVinci Resolve, written by editor Marco Sebastiano Alessi, "The Reverse Speed checkbox will speed up the video playing backward. You'll notice the speed and Frames per Second values turn to negative." That's the entire mechanism: Resolve doesn't apply a separate reverse effect on top of the clip, it just flips the sign on the speed value it already tracks.
- Leave the speed percentage at 100 unless you also want it faster or slower. Reverse Speed and a changed percentage are independent settings, so a clip can play backward at 50%, 100%, or 200% depending on what else you type into the same dialog.
- Decide on Ripple Timeline. Checking it shifts every clip after this one to absorb any duration change; leaving it unchecked keeps the rest of your edit exactly where it is.
- Click Change. The clip flips direction immediately, no render or export needed to preview it.
A negative speed value is what a reversed clip actually is inside DaVinci Resolve, not a separate effect layered on top of it. That single fact explains almost everything else in this guide: why reversing and speed-changing share one dialog, why a reversed clip's badge looks identical to a sped-up clip's badge, and why undoing a reverse is just setting the number back to positive.
What does the Reverse Speed checkbox actually change on the clip?
It flips the sign of the clip's speed value from positive to negative, telling Resolve to step through the same source frames in the opposite order at the same, or an adjusted, rate.
Nothing about the source media on disk changes. Resolve's speed and retime tools, according to its own reference manual on speed effects and retiming, work by reinterpreting how the clip's instance on the timeline reads from the original file, not by writing a new file. In DaVinci Resolve, reversing a clip does not touch the original media file on disk, it only changes how the clip's speed value tells Resolve to read that file. That's why reversing is instant with no render wait, and why you can reverse and un-reverse the same clip a dozen times in one session without any quality loss or extra disk usage.
The practical upshot: a clip at -100% speed shows the exact same frames as one at +100%, just walked backward. A clip at -200% shows those same frames backward and twice as fast. A clip at -50% shows them backward and at half speed, a slow-motion rewind. MakeUseOf's guide to changing clip speed in DaVinci Resolve puts the checkbox's job simply: "Reverse Speed reverses your clip evenly," meaning the whole clip flips together rather than reversing frame-by-frame in some more complex, uneven way.
| Speed value | What it plays |
|---|---|
| +100% | Forward, normal speed |
| +200% | Forward, double speed |
| -100% | Backward, normal speed |
| -200% | Backward, double speed |
| -50% | Backward, half speed, a slow rewind |
One detail worth flagging before you move on: checking Reverse Speed after you've already dialed in a custom speed percentage doesn't reset that percentage, it just negates it. A clip you'd already slowed to 40% becomes -40% the moment you check the box, not -100%. If your reversed clip plays at an unexpected rate, that's usually why.
How do you reverse a clip using Retime Controls instead?
Turn on Retime Controls with Ctrl+R (Cmd+R on Mac), open the clip's speed dropdown, and choose Reverse Segment for a visual, in-timeline version of the same reversal.
This is the second of the two real methods, and it exists for a different reason than the Change Clip Speed dialog. The dialog is fast and applies to the whole clip in one click. Retime Controls is slower to set up but lets you see the speed bar directly above the clip, drag its edges, and add points, which matters once you want to reverse only part of a clip or combine a reverse with a ramp.
- Right-click the clip and choose Retime Controls, or select it and press Ctrl+R (Windows) or Cmd+R (Mac). A speed bar appears directly above the clip on the timeline.
- Click the small arrow next to the percentage readout on that speed bar to open the Clip Speed pop-up menu.
- Choose Reverse Segment. Per DaVinci Resolve's own reference manual on creating variable speed effects with the Retime Controls, you can "set any segment to play in reverse by choosing Reverse Segment." The phrasing matters: it operates on a segment, the stretch of clip between two speed points, not necessarily the entire clip.
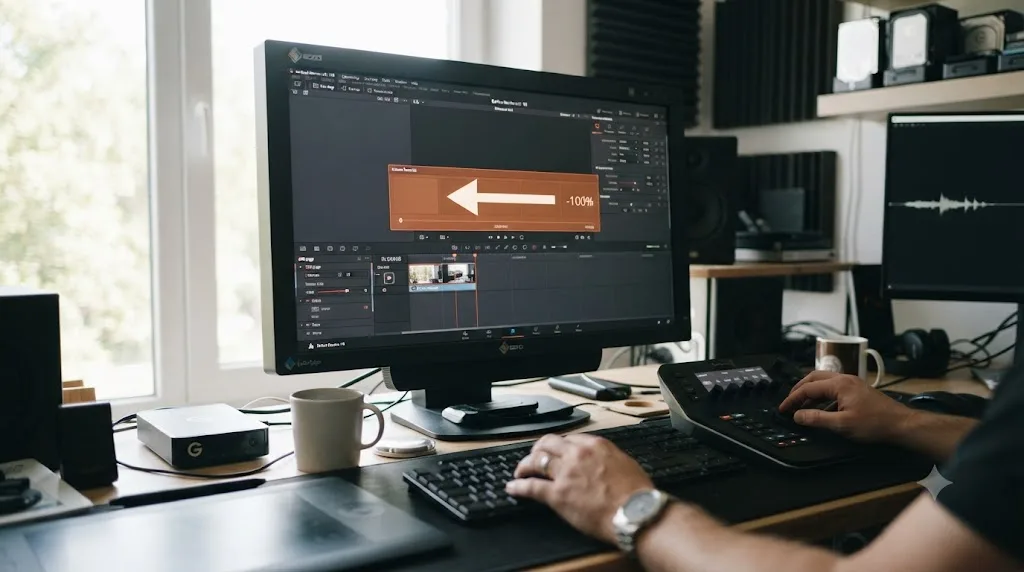
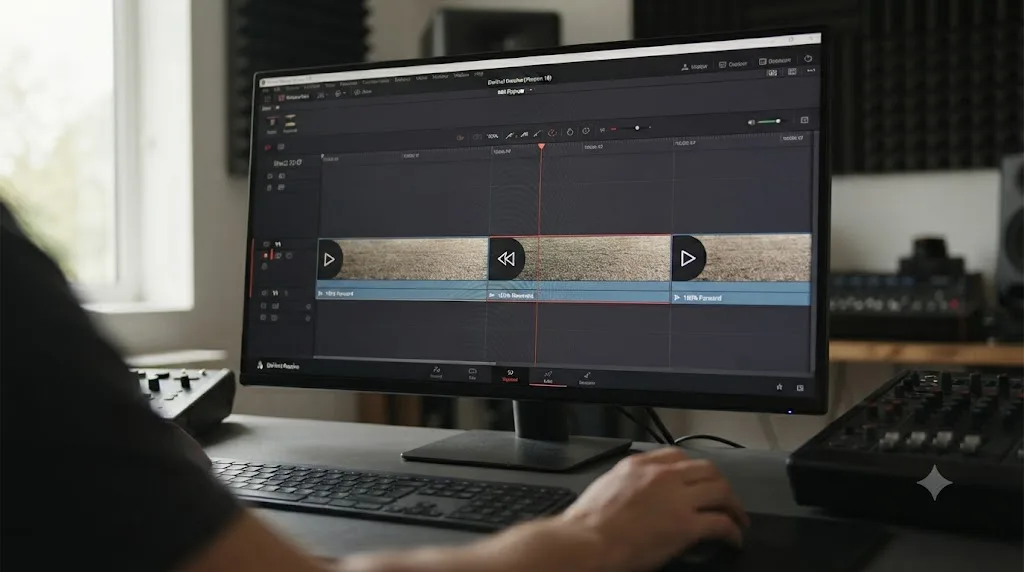
- Confirm the direction with the arrow icon on the speed bar itself. A rightward arrow means forward, a leftward arrow means reversed, and you can read the direction at a glance without opening any menu.
Retime Controls and the Change Clip Speed dialog aren't two competing features so much as two entry points into the same underlying speed system. Toggling Reverse Segment in Retime Controls changes the identical negative-speed-value mechanism the dialog's Reverse Speed checkbox uses; you're just working with the visual bar instead of a text field. Close the Retime Controls bar when you're done adjusting it (click the X at its upper left, press Escape, or press Cmd/Ctrl+R again) and, per the manual's note on closing Retime Controls, "Closing the Retime controls has no effect on the timing of the clip, it just ensures you cannot accidentally modify the speed of the clip with the mouse." The reverse stays applied either way.
What's the difference between Reverse Segment and Rewind in Retime Controls?
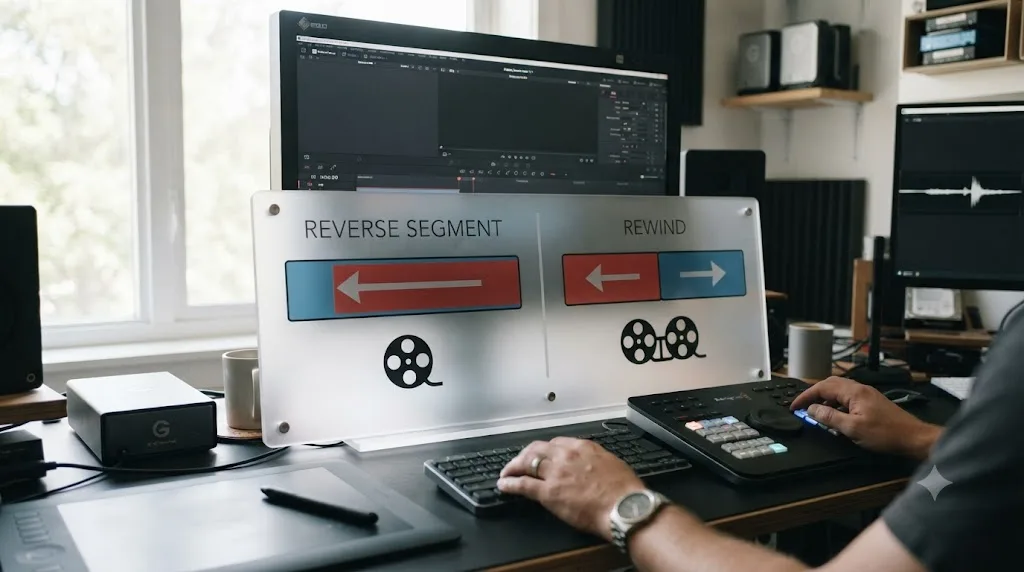
Reverse Segment flips the direction of the clip you already have. Rewind adds a second, separate segment that plays the clip backward and then resumes forward from the start, so you end up with two segments instead of one.
They look similar in a preview because both involve backward motion, but they solve different problems. The manual describes Rewind as something you reach for from the same Clip Speed pop-up menu: "Open any Clip Speed pop-up menu and choose a preset percentage from the Rewind submenu," which "creates the effect of the current segment playing in fast reverse for the chosen percentage" before the clip plays forward again from its start. That's a specific, opinionated effect: rewind-then-play, the visual grammar of a VHS tape being rewound and then pressed play, built as a one-click preset rather than something you'd construct by hand.
Reverse Segment is simpler and more general. It just plays the selected range backward, full stop, with no automatic return to forward playback afterward. If your goal is "this clip should play backward and stay that way," Reverse Segment is the tool. If your goal is a specific rewind-and-resume beat, like a comedic gag or a transition device, Rewind gets you there in fewer clicks because it's purpose-built for that exact shape.
| Tool | What it produces | Best for |
|---|---|---|
| Reverse Speed (Change Clip Speed dialog) | Entire clip reversed, one segment | Fast, whole-clip reversal |
| Reverse Segment (Retime Controls) | Selected range reversed, in place | Partial reversal, or reversal combined with other speed points |
| Rewind (Retime Controls) | Two segments: fast reverse, then forward from start | A deliberate "rewind and replay" transition effect |
A negative speed value is what a reversed clip actually is inside DaVinci Resolve, not a separate effect layered on top of it, and Rewind is the one exception worth remembering: it's a preset that builds two speed segments for you rather than a single flipped value, which is why it behaves differently from a plain reverse even though both involve the clip running backward at some point.
What happens to the audio when you reverse a clip?
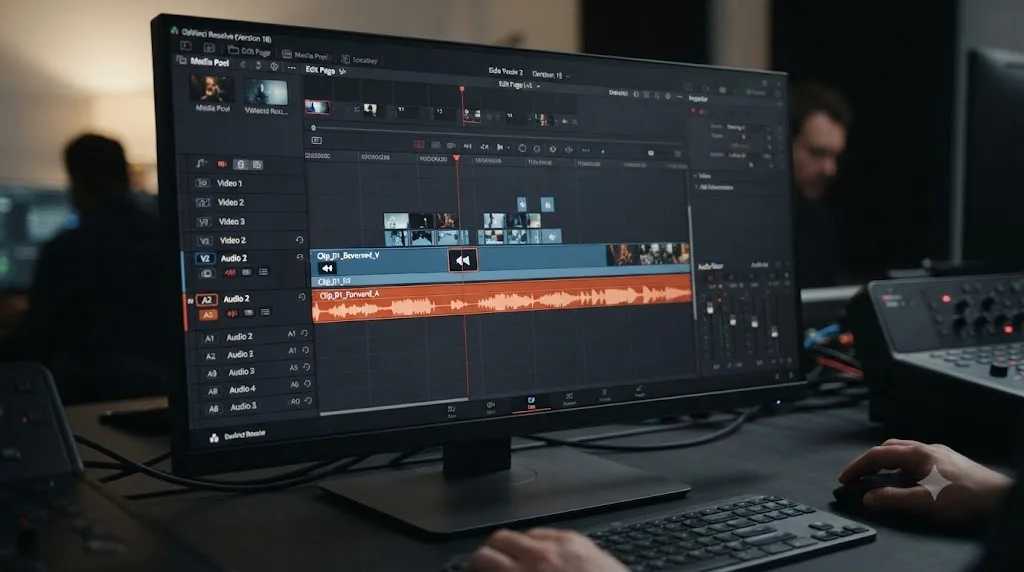
It reverses along with the video by default, because video and audio on a clip stay linked unless you separate them, and reversed speech or music plays back as unrecognizable noise, not slowed or pitched dialogue.
This catches people who only wanted the picture to run backward, a common move for a rewind gag, a product reveal, or an action beat that reads better in reverse. The audio comes along for the ride whether you want it or not, because Resolve treats a clip's video and audio components as one linked unit by default. Audio reverses along with video by default, and unlinking the two before you reverse is the only way to keep the original sound.
Here's the fix, done before you touch Reverse Speed or Reverse Segment:
- Click the Linked Selection icon (a small chain-link symbol above the timeline) to turn off linking globally, or right-click the specific clip and choose Unlink Clip to separate just that one.
- Select only the video portion and apply Reverse Speed or Reverse Segment to it.
- Leave the audio clip untouched, still playing forward at its original speed, sitting on the track below.
- Re-link if you need the two to move together again later in the edit, using the same Linked Selection toggle, though re-linking doesn't retroactively apply the speed change to whichever half you left alone.
If you do want reversed audio on purpose, for a specific creative effect like a backward vocal or a horror-movie whisper, that's the default behavior working as intended, no extra step needed. The only thing worth knowing there is that Pitch Correction, a separate checkbox in the same Change Clip Speed dialog, adjusts pitch to compensate for speed changes on the audio, not for direction. A -100% reversed clip at the same overall rate doesn't need pitch correction to sound normal-paced, because normal-paced was never the goal; a reversed clip changed to -200% does start pitching up the same way a forward clip sped to 200% would, and Pitch Correction is what keeps that from sounding like a chipmunk.
Can you reverse only the audio, and leave the picture playing forward?
Yes, and it's the mirror image of the audio problem above: unlink the clip, then apply Reverse Speed to the audio half alone while leaving the video at its original positive value.
Sometimes the picture is fine and it's the sound you want backward, a reversed vocal snippet, a scrambled line of dialogue for a horror beat, or an unsettling ambience under a flashback. Because Change Clip Speed and Retime Controls read whatever clip is selected, not specifically "video clips," the identical Reverse Speed checkbox and Reverse Segment option work on an audio-only clip exactly the way they work on a video clip. There's no separate "reverse audio" effect to dig for in the Fairlight FX library; it's the same speed-value mechanism covered throughout this guide, just pointed at the other half of a linked clip.
- Unlink the clip first, the same Linked Selection icon or Unlink Clip command used to protect audio from a video reverse, just applied for the opposite reason here.
- Select only the audio portion on its track, leaving the video clip above it untouched.
- Right-click and choose Change Clip Speed, check Reverse Speed, and click Change, exactly as you would for video.
- Preview against the picture. The video keeps playing forward at its original speed while the audio underneath runs backward beneath it.
You don't need to be on the Fairlight page to do this. The Edit page's context menu offers the same Change Clip Speed item on an audio track that it does on a video track, so isolating and reversing the sound is a page switch you can skip entirely. The Fairlight page is worth opening anyway if you want to see the waveform, since a reversed audio clip's waveform reads as a mirror image of the original, which makes it easy to line the reversed hit or swell up against a specific frame of picture. One honest caveat: reversed speech almost never comes out as intelligible words played backward, so treat it as texture and emphasis rather than a way to hide a message in the track, despite what internet folklore about backmasking might suggest.
Why does the reversed clip look stuttery, blocky, or choppy?
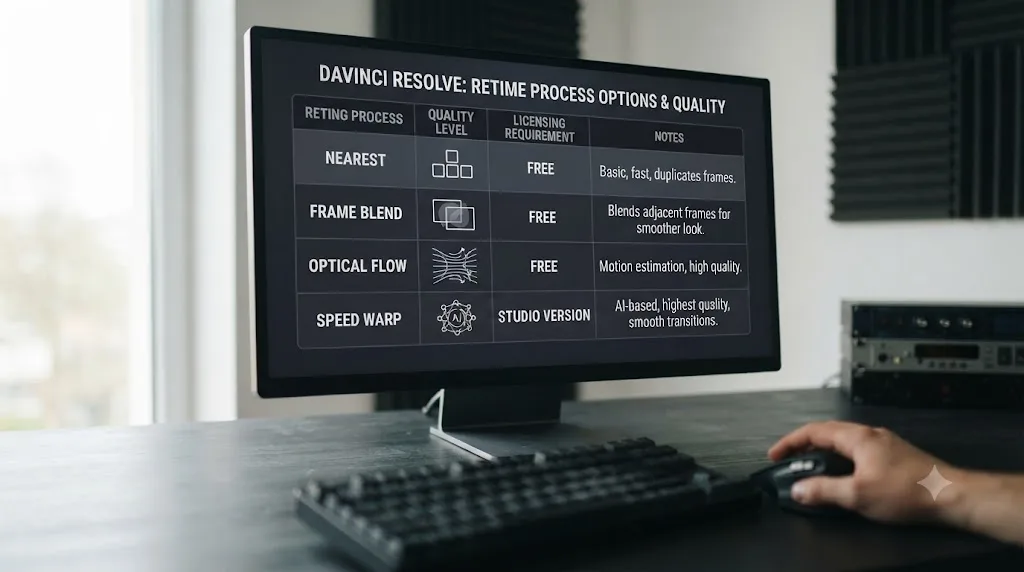
Because the default Retime Process, called Nearest, doesn't generate any new frames, it just replays the source frames you already have in reverse order, and that reads as juddery on anything with fast motion, handheld camera shake, or a low native frame rate.
Resolve gives you three quality tiers for this, controlled per-clip in the Inspector's Retiming and Scaling panel, and the manual's description of the Retime and Scaling group confirms the Retime Process parameter "lets you choose a default method of processing clips in mixed frame rate timelines and those with speed effects." Once Retime Controls are closed, the same processing choice is described as a choice between "Nearest (low quality), Frame Blending, or Optical Flow processing methods."
| Retime Process | How it works | Result on a reversed clip | Cost |
|---|---|---|---|
| Nearest | Replays existing frames in order, generates nothing new | Fastest to render, but choppy on fast motion | None, free and Studio |
| Frame Blend | Cross-dissolves adjacent frames into new in-between frames | Smoother, but soft or ghosted on hard motion | None, free and Studio |
| Optical Flow | Analyzes motion vectors to synthesize genuinely new in-between frames | Smoothest of the non-AI options, but GPU-intensive and can warp edges on complex motion | None, free and Studio |
| Speed Warp | Uses the Neural Engine's machine learning model to generate new frames | Best quality for extreme reversed slow motion | Studio only |
To switch it: select the clip, open the Inspector, find Retiming and Scaling, and change Retime Process from the default. There's no reason to leave a reversed clip on Nearest if it's stuttering and you have GPU headroom to spare; Frame Blend and Optical Flow cost you render time, not a license fee.
Frame Blend and Optical Flow smooth a reversed clip's motion, Speed Warp does the same job with DaVinci Resolve's Neural Engine, and only Speed Warp requires Studio. That distinction matters if you're on the free version and assumed a smooth reverse was locked behind a paywall. It isn't. What's locked behind Studio is specifically the AI-driven Speed Warp tier, which Blackmagic lists under the Neural Engine on its own free-versus-Studio comparison page, describing Studio as including "the DaVinci AI Neural Engine, dozens of additional Resolve FX, temporal and AI spatial noise reduction" beyond what the free version has.
Does render cache fix a reversed clip that stutters during playback?
Often, yes, for scrubbing and real-time review specifically, because Smart or User render cache pre-renders the interpolated frames Optical Flow or Speed Warp would otherwise have to compute on the fly every time the playhead crosses that clip.
Switching Retime Process to a smoother option fixes the motion itself, but it doesn't fix a slow machine choking on the extra math in real time. That's a separate, playback-side problem, and Resolve has a separate feature for it. Per the reference manual's description of Smart and User cache, cached frames "are cached either during playback in the Timeline, or automatically whenever you pause work," which lets Resolve deliver "smooth playback without the risk of dropped frames" on clips that would otherwise be too processor-intensive to play live.
- Choose Playback > Render Cache > Smart for the simplest option. Resolve automatically flags computationally heavy clips, including reversed clips on Optical Flow or Speed Warp, and caches them the next time you pause or scrub through.
- Choose Playback > Render Cache > User instead if you'd rather flag specific clips yourself, useful on a long timeline where you don't want every effect cached, just the reversed shots that are actually stuttering.
- Let the cache build once, indicated by a colored bar above the clip that changes as rendering completes, and playback from then on reads from the cached frames instead of recomputing Optical Flow or Speed Warp every pass.
- Clear the cache if you change the reverse later. Editing the speed value, the Retime Process, or the in and out points invalidates the cached frames for that clip, and Resolve rebuilds them the next time you play through it.
This doesn't replace picking a better Retime Process, it just makes whichever one you picked cheap to preview repeatedly. A reversed clip on Nearest was never choppy because of missing cache, it was choppy because Nearest generates no new frames to smooth the motion in the first place; caching a bad interpolation just makes the bad interpolation play back smoothly. Fix the Retime Process first, then cache it if scrubbing still feels sluggish on your machine.
Can you reverse just part of a clip, not the whole thing?
Yes, using Retime Controls, since the Change Clip Speed dialog always applies to the entire clip and has no partial option.
Split the difference between the two methods this way:
- Turn on Retime Controls for the clip (Ctrl/Cmd+R).
- Add a speed point where the reversed section should begin. Park the playhead there and add a point from the speed bar's controls.
- Add a second speed point where the reversed section should end, returning to forward.
- Select the middle segment's speed dropdown (the arrow specific to that range, not the clip as a whole) and choose Reverse Segment.
The result is one clip that plays forward, reverses for a defined stretch in the middle, and resumes forward again, all inside a single piece of media on the timeline rather than three separate clips you'd have to blade apart and stitch back together manually.
This is also the cleaner way to build a specific creative beat: a runner who trips, rewinds a beat, then continues forward, or a product shot that reverses briefly to loop back on itself before finishing its motion. Trying to build the same effect with three separately bladed and individually reversed clips works, but it multiplies your edit points and your chances of a visible jump where the segments meet. One retimed clip with internal speed points keeps the whole effect self-contained and easier to nudge later, since dragging a speed point's position adjusts the reversed section's length without re-cutting anything.
You can also layer a full speed ramp on top of this same reversed range instead of a flat percentage. Because a reverse is just a negative speed value, and a ramp is just multiple speed points with different values, a ramp between two negative numbers, say -25% easing into -200%, works the same way a forward ramp does, only every value involved stays negative. Apply the reverse first, open the Keyframes panel, and shape the transition between speed points with the Bezier handles exactly as you would on a forward ramp. If your retime curve isn't showing up when you go looking for it, that's a known location change covered in our guide to DaVinci Resolve's retime curve not showing, where it moved into the Keyframes panel starting in version 20. The one thing to watch on a reversed ramp specifically: crossing from a negative value to a positive one mid-clip, intentionally or by a typo, flips direction at that exact speed point, which is either exactly the effect you wanted or a mistake worth catching in preview before you export.
Why does my reversed clip start from a different point in the footage than I expected?
Because reversing works on the clip's existing in and out points, and if that clip was bladed out of a longer piece of source media, the reversed version can reach for frames just outside those original edges to fill out its new duration, showing you footage you didn't select.
This is a subtler gotcha than the audio or the choppiness, and it's specific to clips that started as a piece of a longer shot rather than the whole source file. Boris FX's guide to reversing a clip in DaVinci Resolve, also by editor Marco Sebastiano Alessi, flags exactly this risk when working with a segment cut from a bigger clip: "If you cut the clip into smaller clips and want to apply the effect to those sections, I suggest rendering each clip; otherwise, when you apply ReverseClip, it could use more frames from the footage." He's describing a third-party reverse plugin there, but the underlying cause is the same mechanism Resolve's own retime system relies on: a clip on your timeline is a reference to a range inside a longer source file, and a reverse or speed change can pull adjacent frames from beyond that reference range to fill its new timing.
The clip's in and out points are what get reversed, not just its playback direction, so a segment you bladed out of a longer shot can pull extra frames from beyond its original edges once you reverse it. The fix is to lock the range in first. Two ways to do it:
- Trim the clip to its exact final in and out points before reversing it, so there's no ambiguity about what range Resolve is working with.
- Render the segment in place first (right-click the clip and look for a render-in-place option, or export just that section and reimport it as its own standalone media), which bakes the exact frame range into a new, independent file before you apply Reverse Speed or Reverse Segment to it.
Neither step is necessary for a clip that already represents its entire source file. It only matters once you're reversing a piece that was split, trimmed, or bladed out of something longer, which is common enough in highlight reels and montage cuts that it's worth checking before you assume Resolve grabbed the wrong footage by mistake.
Should you reverse a clip before or after stabilizing it?
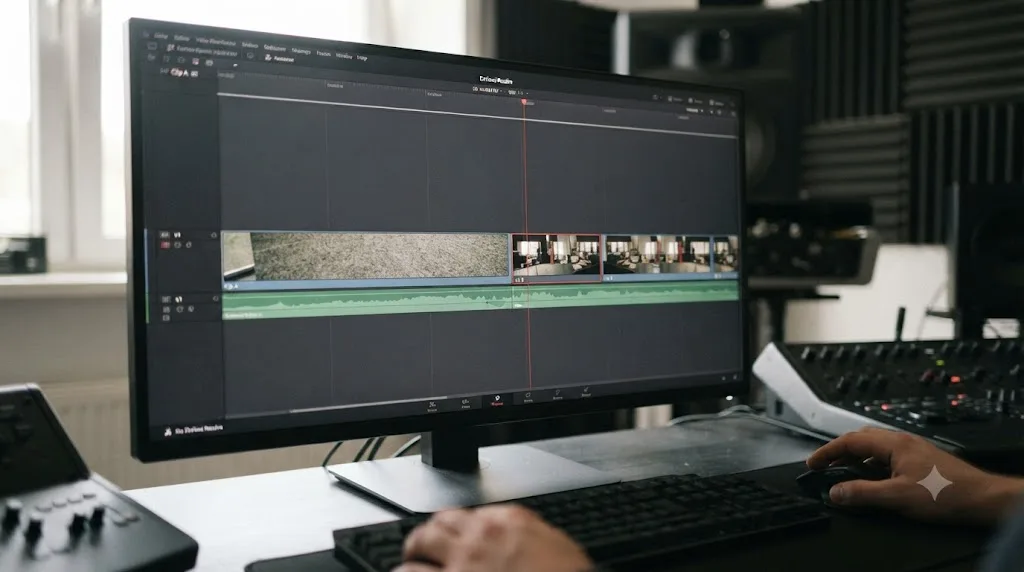
Reverse it first, then stabilize, if you have a choice, because a stabilized clip's smoothing is calculated against the frame order it sees at the moment you run it, and running the reverse afterward changes that order out from under the analysis.
We haven't benchmarked this across every stabilization mode Resolve offers, so treat this as a starting order to test on your own footage rather than a guaranteed result. The reasoning: Stabilizer, in either its Perspective or Similarity mode, tracks how the image moves from one frame to the next and builds a correction curve from that motion. If you reverse the clip's playback direction after Stabilizer has already analyzed and applied its correction, the correction curve was built for the original forward motion, not the reversed one, and the two don't necessarily line up the way you'd expect. Reversing first and then running Stabilize Motion on the already-reversed clip lets the analysis see the actual frame order that will end up on screen.
In practice: apply Reverse Speed or Reverse Segment, confirm the clip plays backward the way you want, then open the Inspector's Stabilization panel and run the analysis on that reversed result. If the shot was already stabilized before you decided to reverse it, re-run the stabilization analysis after flipping the direction rather than trusting the old pass to still be correct. Either way, scrub through the whole reversed, stabilized clip in the viewer before you commit, since this is exactly the kind of combination worth eyeballing rather than assuming.
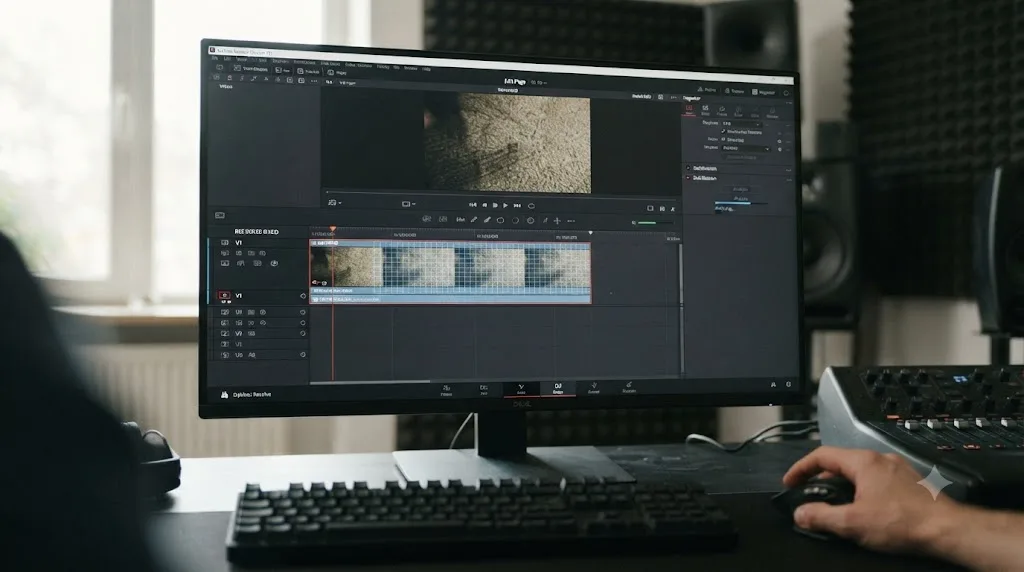
Does reversing a clip ripple the timeline or overwrite neighboring clips?
Neither, on its own, unless the reversal also changes the clip's duration, and then it depends on whether you were in Selection mode or Trim mode when you made the change.
A reverse that doesn't touch the speed percentage, just flips 100% to -100%, keeps the clip's duration identical, so neighboring clips don't move regardless of your active tool. The moment you combine a reverse with a speed change that alters duration, say reversing and slowing to -50% at the same time, the clip gets longer, and something has to give. Resolve's manual is specific about which tool controls the outcome: with the Selection tool active, "the Timeline won't ripple," meaning the clip's new length either gets trimmed to fit or overwrites into whatever's next to it. With the Trim tool active, "the Timeline will" ripple, pushing every clip downstream back to make room for the added duration.
| Active tool | What happens when a reverse changes duration |
|---|---|
| Selection | Timeline doesn't ripple; extra duration overwrites or gets clipped |
| Trim | Timeline ripples; downstream clips shift to make room |
Practically, this means the safest sequence for a reverse-plus-slowdown combo is to check which tool is active before you touch the speed value, not after. If you didn't mean to shift your entire downstream edit by two seconds, and it just happened, the Trim tool was probably active when you made the change. Undo, switch to Selection, and reapply.
Why is Reverse Speed grayed out, or Change Clip Speed missing from the menu?
Usually because the selected clip isn't a normal video or audio clip with its own frame data, or because you've selected more than one clip at once and their speed states don't match cleanly.
Titles, generators, adjustment clips, color bars, and other synthetic elements built inside Resolve rather than imported from a camera don't carry a native frame rate the way footage does, so a percentage-based speed change doesn't map onto them the same way, and Resolve often disables or limits the option accordingly. Selecting a mix of clip types, or several clips at once with different existing speed values, can also gray out the toggle even though each clip individually would let you open the dialog fine on its own.
- Select only one clip at a time if you selected a range. A multi-clip selection is the single most common reason the option looks unavailable when it worked a minute ago on an individual clip.
- Confirm the clip is actual footage or audio, not a title, generator, adjustment clip, or compound clip built from non-video sources. Reverse a clip inside a title-based compound clip at the source level instead, if there's real footage buried in there.
- Check whether Retime Controls opens instead. Occasionally the visual route succeeds where the dialog looks stuck, since they read the same underlying speed value through slightly different interface paths.
- Restart Resolve if neither works on a clip that should support it. A stuck toggle on an ordinary video clip that used to work is more often a UI glitch than a real limitation, and reopening the project usually clears it.
None of this applies to a normal camera clip you dragged onto the timeline yourself. If Reverse Speed is unavailable on plain footage that's never been touched by another speed effect, that's the edge case worth a closer look, not the routine one.
Why does pressing J just play the timeline backward instead of actually reversing my clip?
Because J is a playback shuttle key, not an edit command, and it only affects how you're scrubbing through the timeline in that moment, not what gets baked into the clip when you export.
This is a common mix-up specifically because both actions look identical on screen for a second: press J and the picture visibly runs backward in the viewer. The difference is permanence. J, K, and L are the standard three-key transport shortcuts, and repeatedly pressing J shuttles playback backward at increasing speed, purely for scrubbing and reviewing footage. The instant you let go and press space or K, playback resumes at normal forward speed from wherever you stopped, and nothing about the clip itself changed. Reverse Speed and Reverse Segment, by contrast, edit the clip's actual speed value, so the reversal is still there the next time you open the project, and it's still there in your final export.
If you're looking for the full list of playback and trimming shortcuts, including J/K/L shuttle behavior, our DaVinci Resolve keyboard shortcuts guide covers the complete reference, not just the ones relevant to speed and retime.
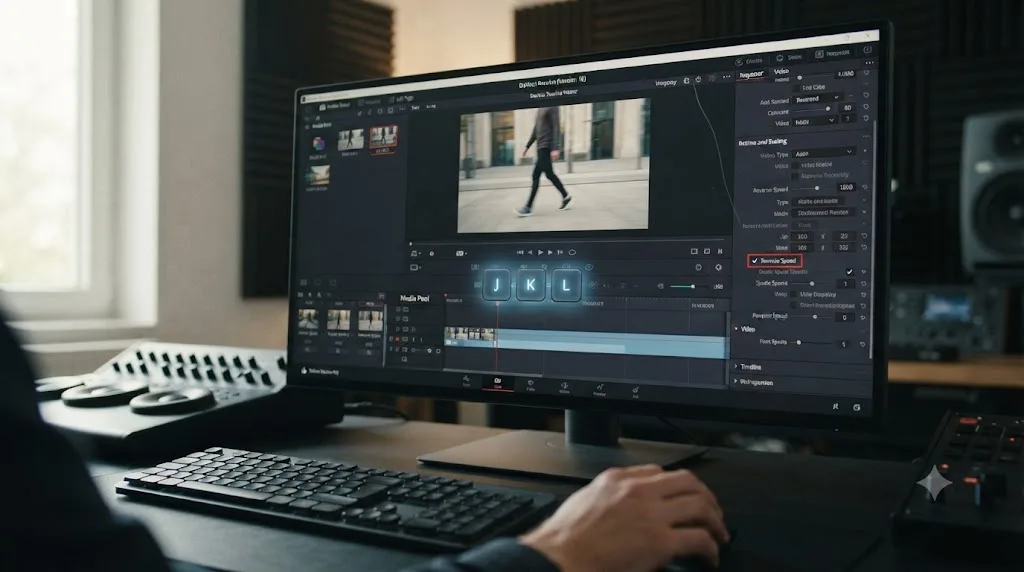
Can you assign your own keyboard shortcut to reverse a clip?
Not to the exact single action of "reverse," since Reverse Speed and Reverse Segment are checkbox states inside their dialogs rather than standalone commands, but you can bind a key to Retime Controls itself and to several of the speed-related commands sitting next to it, which shortens the same workflow considerably.
DaVinci Resolve's Keyboard Customization panel, opened with Cmd+Option+K on Mac or Ctrl+Alt+K on Windows, covers every command across the Edit, Color, Fairlight, and Fusion pages, not just the ones with defaults already assigned. Per the reference manual's instructions on searching for keyboard shortcuts, you "choose DaVinci Resolve > Keyboard Customization," then "type a term into the Search field, and the Command/Keystroke list will update to show whatever commands match the search criteria." Searching "retime" surfaces Retime Controls itself, which already defaults to Ctrl/Cmd+R, plus related commands you can remap if that default clashes with something else in your setup.
- Open Keyboard Customization (Cmd+Option+K / Ctrl+Alt+K).
- Type a search term like "retime" or "speed" into the search field to filter the full command list down to the relevant ones.
- Click into the keystroke field next to the command you want and press the new key combination you want to assign.
- Save the mapping as a named custom keyboard preset from the panel's Option menu, so it's easy to switch back to the default layout later if the new bindings don't stick.
This won't collapse "right-click, Change Clip Speed, check Reverse Speed, click Change" into one keystroke, since that specific checkbox isn't exposed as its own mappable command in the way a tool or a page switch is. What it does buy you is a faster route into Retime Controls itself, and if you reverse clips often enough that a few tenths of a second per click adds up, that's the lever DaVinci Resolve actually gives you to pull.
How do you tell if a clip on your timeline is already reversed?
Look for a small Retime badge next to the clip's name in the Timeline, and check the direction arrow on its speed bar if Retime Controls are open.
This matters most when you're picking up someone else's project, or your own project after a break long enough that you don't remember every speed change you made. A reversed clip carries a small badge next to its name in the Timeline, which is the fastest way to confirm a clip is reversed without opening any dialog. Per the manual's description of closing Retime Controls, once you close the controls on a retimed clip, "a Retime badge appears to the left of that clip's name in the Timeline," which persists as a visual marker whether the controls are open or not.
Three ways to check, in order of speed:
- Glance at the clip's name in the timeline for the small Retime badge icon. If it's there, some speed effect is applied, reverse or otherwise.
- Right-click the clip and choose Change Clip Speed to open the dialog directly and read the exact speed value. A negative number confirms it's reversed; a positive number under 100% means slow motion, forward.
- Open Retime Controls (Ctrl/Cmd+R) and look at the direction arrow on the speed bar itself, which points left for reversed and right for forward, giving you the answer without opening any dialog at all.
None of these require you to actually play the clip and watch which way the footage moves, which is slower and less certain, especially on a clip where the reversed motion isn't obviously directional, like a static shot or an abstract texture.
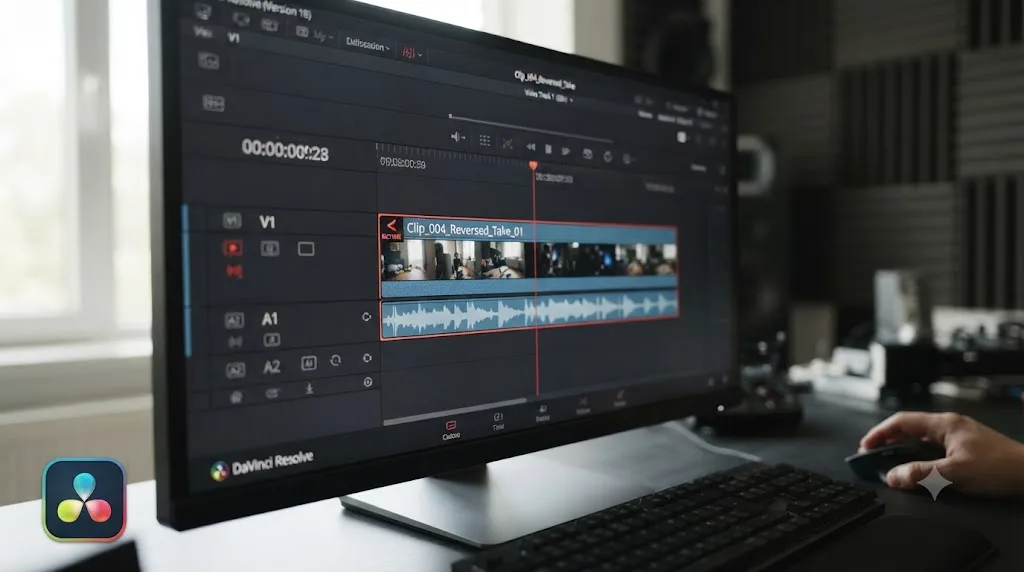
Do you need DaVinci Resolve Studio to reverse a clip?
No. Reverse Speed, Reverse Segment, and Rewind are all core Edit and Cut page features, and they're identical in the free version and the $295 Studio license.
This is worth stating plainly because Resolve genuinely does gate a long list of features behind Studio, and it's a reasonable first guess that a workflow this specific might be one of them. It isn't. Reversing a clip sits in the same category as freeze frame, splitting, and the retime curve itself: structural editing functionality that Blackmagic ships broadly rather than reserving for paying customers, confirmed by Blackmagic's own product page listing full speed and retime tools under the free version's core Edit page feature set.
What actually is Studio-only, adjacent to this topic, is narrower than people expect:
| Feature | Free | Studio |
|---|---|---|
| Reverse Speed checkbox | Yes | Yes |
| Reverse Segment (Retime Controls) | Yes | Yes |
| Rewind preset | Yes | Yes |
| Frame Blend / Optical Flow processing | Yes | Yes |
| Speed Warp (Neural Engine AI retiming) | No | Yes |
| Resolution above 4K/60fps for the final export of a reversed clip | No | Yes |
That last row is the one place Studio's absence could indirectly affect a reverse workflow: if your project's delivery resolution or frame rate exceeds the free version's caps, that's a project-wide limit, not something specific to reversing, and it applies whether the clip in question plays forward or backward. Full detail on where that line sits lives in Blackmagic's Studio product page.
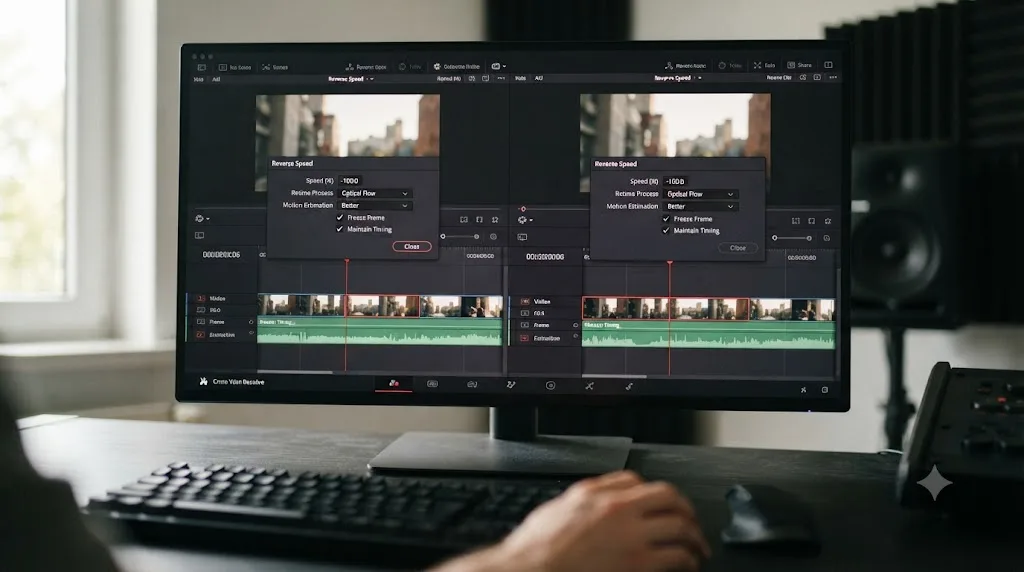
Does reversing work the same on the Cut page as the Edit page?
Mostly yes, with one meaningful gap: the Cut page doesn't expose the same right-click Change Clip Speed dialog path, so Retime Controls is the more reliable route there.
Both pages read from the same underlying timeline data, so a clip reversed on the Edit page shows as reversed if you switch to the Cut page, and vice versa. Where they diverge is in how you'd apply the reversal in the first place. The Edit page's right-click context menu reliably surfaces Change Clip Speed as a menu item. The Cut page's trim-focused, simplified toolset is built around fast assembly rather than exposing every dialog the Edit page has, and its context menus vary depending on which of the Cut page's dual timelines and tool modes you're in.
The practical guidance: if you're deep in a Cut page assembly and need to reverse a clip, either switch to the Edit page for that one action and switch back, or use Retime Controls (Ctrl/Cmd+R works identically on both pages) rather than hunting for a Change Clip Speed entry that may not be where you expect it on the Cut page's leaner menu structure. Neither page requires re-doing work the other page already did; the underlying retime data is shared, only the menu paths to reach it differ.
Can you reverse a clip inside Fusion instead of on the Edit page?
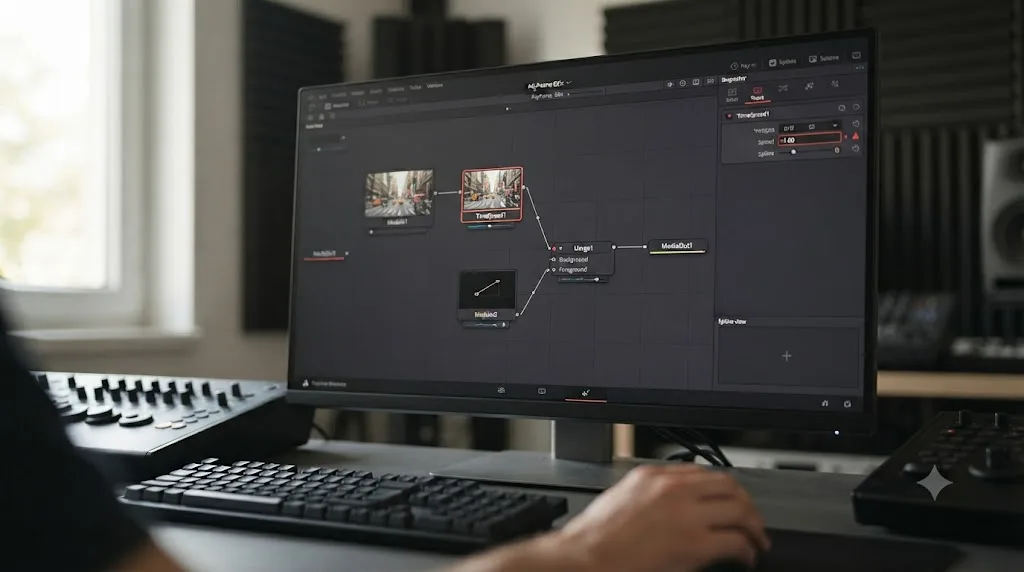
Yes, using the Time Speed node's Speed parameter, which reverses a composition's playback the same way a negative Change Clip Speed value reverses a timeline clip, just one page over and built from nodes instead of a checkbox.
This matters once a reversed shot needs to live inside a Fusion composition anyway, say a title animation timed against a rewinding background plate, or a compositing pass where the reverse needs to happen before other Fusion nodes process the frame. Building it in Fusion keeps the whole effect in one composition instead of splitting the work between the Edit page's speed tools and a separate Fusion pass. Per JayAreTV's breakdown of the Time Speed node, written by editor Justin Robinson, "Negative values reverse the image sequence," describing the node's Speed control directly.
- Open the clip on the Fusion page, or add a Fusion Clip/Fusion Composition from the Edit page's Effects Library.
- Add a Time Speed node to the node tree, connecting your source footage or upstream nodes into its input.
- Set the Speed parameter to a negative value. -1.0 reverses at the original rate, the same way -100% does on the Edit page's Change Clip Speed dialog; -2.0 reverses at double speed.
- Route the Time Speed node's output into whatever comes next in the composition, whether that's a title, a color node, or straight out to the Merge.
The two mechanisms aren't the same feature wearing different clothes the way Retime Controls and Change Clip Speed are; Time Speed is a Fusion node operating inside a composition's own timeline, independent of the Edit page's clip speed value. That independence is exactly why it's useful: you can reverse footage inside a Fusion composition without that reversal touching, or being touched by, whatever speed value the same clip carries back out on the Edit page timeline.
Can you reverse a compound clip or a nested timeline?
Yes, but where you apply the reverse changes what actually flips, and picking the wrong level is the most common reason a compound clip's reverse doesn't look right.
Reversing the compound clip or nested timeline itself, from the outside, flips the entire packaged sequence as one unit, playing its last frame first and its first frame last, exactly like reversing any single clip. Reversing a clip inside the compound clip, after opening it and stepping into its own internal timeline, flips only that individual piece, while everything else inside the compound clip and the compound clip's own position in your main timeline stay untouched.
Neither approach is wrong, they're just different tools for different intentions:
- Reverse from the outside when you want the entire packaged sequence, transitions and all, to play in reverse as a unit, useful when a compound clip represents something like a complete pre-built title sequence you want mirrored backward.
- Open the compound clip and reverse a clip inside it when only one component shot within that package needs to run backward while everything else inside stays as designed.
The badge that confirms a reverse is applied works at both levels too: a reversed compound clip on your main timeline shows the Retime badge next to its own name, and a reversed clip inside the compound clip shows the badge on its own name once you've opened that inner timeline to look. If you're unsure whether a nested timeline or a compound clip fits your workflow better in general, our guide to compound clips versus nested timelines covers that broader decision beyond just reversing.
A worked example: reversing a walk-in shot into a smooth rewind transition
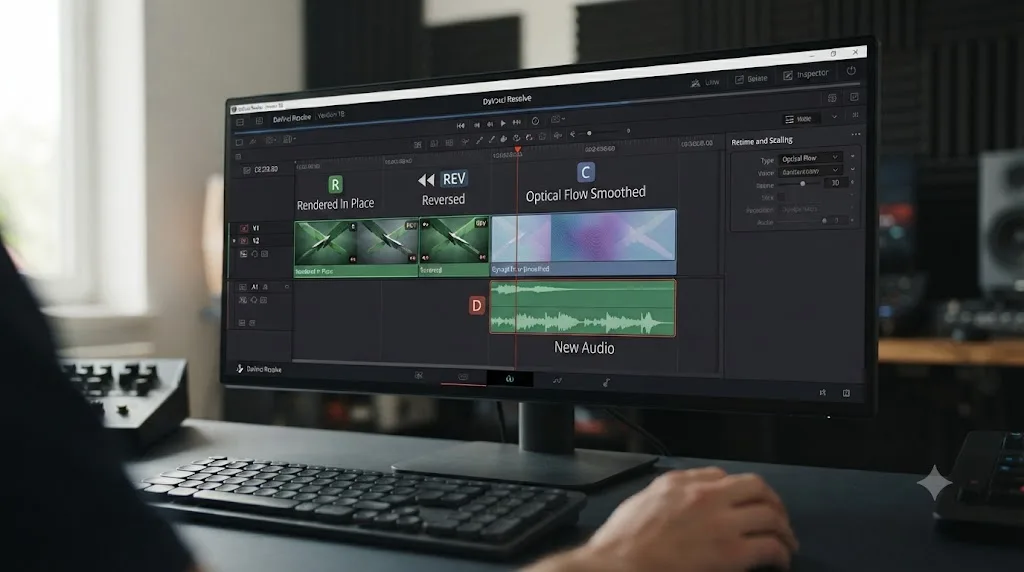
Put the pieces together on a realistic case: an editor cutting a short film, with a four-second shot of an actor walking into a doorway, wanting a smooth rewind of that same shot to use as a transition into a flashback scene, using DaVinci Resolve 21.0.2 on a Mac.
The clip was originally bladed out of a longer eight-second continuous take, so it's a segment, not the full source file. Reversing it directly, without any prep, produces a visible jump at the tail end where Resolve reaches slightly past the original out point for extra frames, since the actor's walk continues a beat further in the source media than the trimmed segment shows.
Working through the fix in order: first, the editor renders the four-second segment in place, baking its exact in and out points into an independent piece of media before applying any speed change. That removes the ambiguity about which frame range the reverse should draw from.
Second, right-click, Change Clip Speed, Reverse Speed checked, speed left at 100%, Ripple Timeline left unchecked since this clip sits at a fixed point relative to a music cue. The walk now plays backward at normal speed. Watching it back, the motion is passable but slightly juddery on the actor's arm swing, a fast-moving element against a mostly static background.
Third, the editor opens the Inspector, finds Retiming and Scaling, and switches Retime Process from the default Nearest to Optical Flow. The GPU fan spins up during the brief re-render, and the arm swing smooths out substantially, no longer visibly stepping between frames.
Fourth, the clip had linked audio, ambient street noise from the original take, which reversed along with the video and now sounds like a low, unnatural rumble. The editor unlinks the clip, deletes the reversed audio track entirely, and lays a short whoosh sound effect underneath the visual instead, timed to the rewind's four-second duration.
Total time from "reverse this shot" to a clean, smooth, correctly-scoped rewind transition with usable audio: about six minutes, most of it spent waiting on the Optical Flow render rather than making decisions.
Does the platform matter? Mac vs Windows
Barely, and only in the shortcut key itself. Reverse Speed, Reverse Segment, Rewind, and every Retime Process option behave identically on Mac and Windows, since none of this depends on GPU vendor, OS-level rendering, or platform-specific drivers.
The one difference worth naming: Retime Controls opens with Cmd+R on Mac and Ctrl+R on Windows, following DaVinci Resolve's usual Command-to-Control mapping across the entire application. Typing the wrong one out of habit, especially if you edit on both platforms in the same week, produces exactly the "nothing happens" symptom that sends people hunting for a broken feature that isn't actually broken.
Beyond that single shortcut, there's no platform-specific behavior to account for. If a reversed clip renders faster on one machine than an otherwise identical one, that's a GPU or CPU performance difference, particularly relevant to Optical Flow and Speed Warp since both are computationally heavier than Nearest or Frame Blend, not a difference in how Resolve handles the reverse itself.
Troubleshooting: match the symptom to the fix
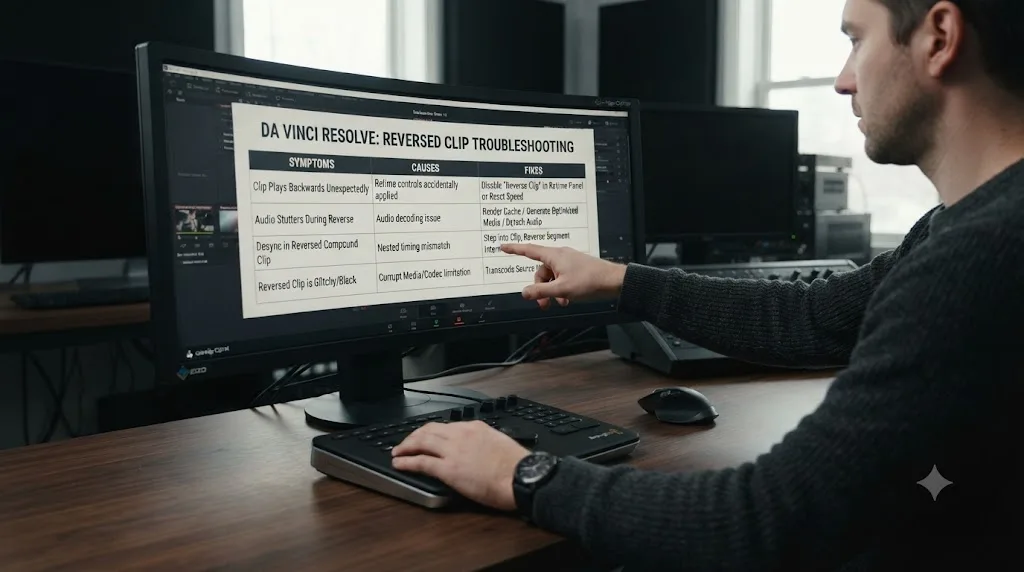
Work from this table when something about a reversed clip looks or sounds wrong and you'd rather diagnose than re-read the whole guide.
| Symptom | Likely cause | Fix |
|---|---|---|
| Audio sounds like garbled noise | Linked audio reversed along with video | Unlink the clip before reversing, or accept it if reversed audio was the goal |
| Motion looks choppy or stuttery | Retime Process set to Nearest | Switch to Frame Blend, Optical Flow, or Speed Warp in the Inspector |
| Playback of a smoothed reverse still stutters when scrubbing | Optical Flow or Speed Warp recomputing live | Turn on Smart or User render cache from the Playback menu |
| Extra unexpected footage appears near a clip's edges | Clip was bladed from a longer source and reversing reached past its edges | Trim to exact in/out points or render the segment in place before reversing |
| Downstream clips shifted after a reverse | Trim tool was active when a duration-changing reverse rippled the timeline | Undo, switch to the Selection tool, reapply |
| Reverse Speed toggle is grayed out | A title, generator, or multi-clip selection without matching speed states | Select a single video or audio clip and confirm it isn't a synthetic element |
| Reversed clip plays at an unexpected rate | A custom speed percentage was already set before Reverse Speed was checked | Open Change Clip Speed and check the exact negative value, not just the checkbox |
| Stabilized clip looks wrong after reversing | Stabilization analysis ran before the reverse, on the original frame order | Reverse first, then run or re-run Stabilize Motion on the reversed result |
Quick reference: every way to reverse a clip in DaVinci Resolve
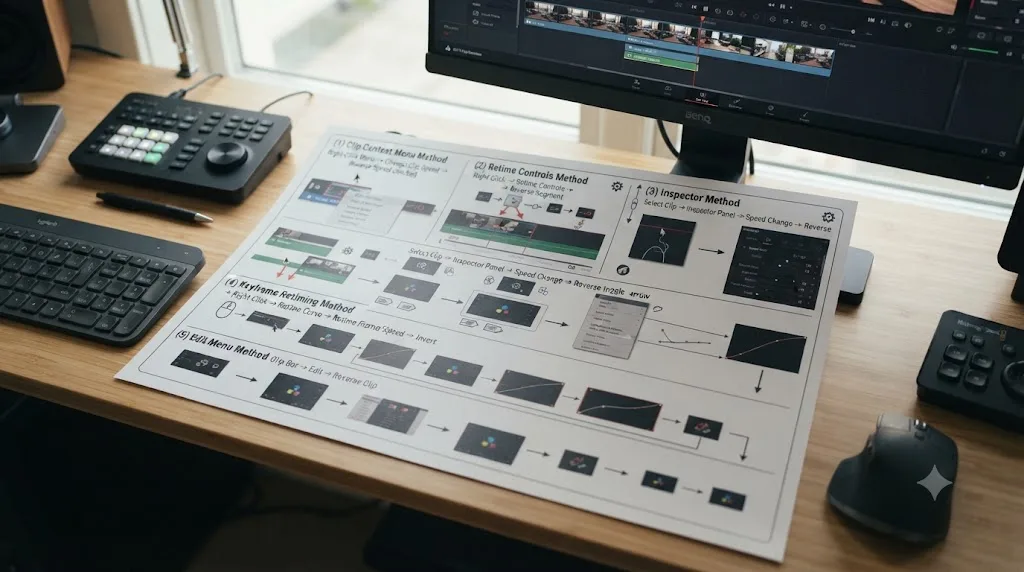
Work from this table when you already know roughly what you want and just need the fastest path to it.
| Goal | Method | Where |
|---|---|---|
| Reverse the entire clip, fast | Change Clip Speed > Reverse Speed | Right-click the clip |
| Reverse the entire clip, with visual feedback | Retime Controls > Reverse Segment | Ctrl/Cmd+R, then the speed dropdown |
| Reverse only part of a clip | Retime Controls, two speed points, Reverse Segment on the middle range | Ctrl/Cmd+R, then add speed points |
| A rewind-and-resume-forward beat | Retime Controls > Rewind preset | Ctrl/Cmd+R, then the speed dropdown |
| Reverse and ramp speed together | Retime Controls, negative values on multiple speed points | Ctrl/Cmd+R, then the Keyframes panel |
| Keep the original audio while reversing video | Unlink Clip, then reverse only the video portion | Right-click, Unlink Clip, before reversing |
| Reverse only the audio, keep the picture forward | Unlink Clip, then reverse only the audio portion | Right-click, Unlink Clip, before reversing |
| Smooth out a choppy reversed clip | Change Retime Process to Frame Blend, Optical Flow, or Speed Warp | Inspector > Retiming and Scaling |
| Fix stutter during scrubbing, not just motion quality | Turn on Smart or User render cache | Playback > Render Cache |
| Reverse inside a Fusion composition | Time Speed node, Speed set to a negative value | Fusion page node tree |
| Confirm a clip is already reversed | Check the Retime badge next to the clip's name | Timeline, clip name bar |
| Undo a reverse | Change Clip Speed, uncheck Reverse Speed, or set the value back to positive | Right-click the clip |
What's the fastest thing to try first?
Work through these in order, and most reversals need only the first two steps:
- Right-click the clip, choose Change Clip Speed, check Reverse Speed, and click Change.
- If you don't want reversed audio, unlink the clip first, before step one, and reverse only the video.
- If the motion looks choppy, open the Inspector's Retiming and Scaling panel and switch Retime Process to Frame Blend or Optical Flow.
- If you only need part of the clip reversed, use Retime Controls (Ctrl/Cmd+R) with two speed points instead of the Change Clip Speed dialog.
- If the reversed clip seems to show the wrong footage near its edges, check whether it was bladed from a longer source clip, and render it in place first if so.
- If you're not sure a clip is already reversed, look for the small Retime badge next to its name before touching anything.
We've spent seven-plus years cutting commercial video professionally, and reversing a shot for a transition or a comedic beat is still one of the most requested basic moves in any edit, precisely because it looks complicated the first time and takes ten seconds every time after that.
TryUncle is the on-screen assistant for DaVinci Resolve on macOS. Ask in plain words and Uncle points at the exact control on your screen, which beats digging through a right-click menu you've never opened before while a client waits on the other end of a call. Check TryUncle for its current founder pricing if that's a gap you run into often across more than just this one feature.
Reversing a clip in DaVinci Resolve is one checkbox and one negative number under the hood, nothing more exotic than that. Everything else in this guide, the audio, the choppiness, the extra frames at the edges, is what happens around that one flipped value once your specific clip's history and content get involved. Check the box, watch the audio, pick a smoother Retime Process if the motion needs it, and the reverse you were picturing shows up exactly where you expected it.
Frequently asked questions
- How do you reverse a clip in DaVinci Resolve?
- Right-click the clip on the timeline and choose Change Clip Speed from the context menu, then check the Reverse Speed box and click Change. Resolve flips the clip's speed value to negative, which plays the same frames back in the opposite order. You can also press Ctrl+R (Cmd+R on Mac) for Retime Controls and choose Reverse Segment from the speed dropdown for a more visual, in-timeline version of the same thing.
- What's the keyboard shortcut to reverse a clip in DaVinci Resolve?
- There's no single default key that reverses a clip on its own. Ctrl+R (Windows) or Cmd+R (Mac) opens Retime Controls, and from there you pick Reverse Segment from the clip's speed dropdown menu. The Change Clip Speed dialog itself opens from a right-click, not a dedicated shortcut, and its Reverse Speed checkbox is a mouse click, not a keystroke. If you reverse clips often enough that this bothers you, DaVinci Resolve's Keyboard Customization panel lets you search the full command list and bind a key of your own to whichever step you use most.
- Why does my audio sound garbled or reversed after I reverse a clip?
- Because DaVinci Resolve reverses linked audio and video together by default, and reversed speech or music plays back as noise. Before you reverse the clip, click the Linked Selection icon (the chain symbol above the timeline) to turn it off, or right-click the clip and choose Unlink Clip, so the audio stays untouched while only the video flips direction.
- Can you reverse a clip in the free version of DaVinci Resolve?
- Yes, completely. The Change Clip Speed dialog, the Reverse Speed checkbox, and Retime Controls with Reverse Segment and Rewind all live on the Edit and Cut pages, and none of them require a Studio license. The only reverse-adjacent feature that's Studio-only is Speed Warp, the Neural Engine's AI frame interpolation, which smooths motion but isn't required to reverse a clip at all.
- Why does my reversed clip look choppy or stuttery instead of smooth?
- Because the default Retime Process, Nearest, doesn't generate any new frames, it just plays the existing ones in reverse order, and that reads as juddery on footage with fast motion or a low frame rate. Open the Inspector's Retiming and Scaling panel and switch Retime Process to Frame Blend or Optical Flow, or Speed Warp if you're on Studio, and Resolve interpolates between frames for a smoother reversed motion. Turning on Smart or User render cache from the Playback menu also helps, since it pre-renders that interpolation once instead of computing it every time you scrub past the clip.
- How do you un-reverse a clip and get it back to normal in DaVinci Resolve?
- Right-click the clip, choose Change Clip Speed again, and uncheck Reverse Speed, or set the speed value back to a positive number and click Change. If you used Retime Controls instead, open the clip's speed dropdown and choose Change Speed to set it back to 100 percent forward. Either path restores the original playback direction without re-importing the source media.
- Can you reverse just one part of a clip instead of the whole thing?
- Yes, using Retime Controls rather than the Change Clip Speed dialog, which always applies to the entire clip. Add a speed point where the reversed section should start and another where it should end, then apply Reverse Segment to just that middle range. The parts of the clip before and after the speed points keep playing forward at their original speed.
Sources
- DaVinci Resolve Reference Manual: Creating Variable Speed Effects Using the Retime Controls
- DaVinci Resolve Reference Manual: Speed Effects and Retiming
- DaVinci Resolve Reference Manual: Retime and Scaling
- DaVinci Resolve Reference Manual: Rippling or Overwriting the Timeline When Using Retime
- DaVinci Resolve Reference Manual: Closing Retime Controls
- DaVinci Resolve Reference Manual: Searching for Keyboard Shortcuts
- DaVinci Resolve Reference Manual: Using the Smart or User Cache to Improve Effects Performance
- Boris FX: 4 Ways to Change Clip Speed in DaVinci Resolve (Marco Sebastiano Alessi)
- Boris FX: How to Reverse a Video in DaVinci Resolve, 2 Methods (Marco Sebastiano Alessi)
- JayAreTV: Change Clip Speed in DaVinci Resolve (Justin Robinson)
- JayAreTV: Time Speed Node (Justin Robinson)
- MakeUseOf: How to Change the Speed of Your Video Footage in DaVinci Resolve, 3 Ways (Bill Gonzalez)
- DaVinci Resolve Free and Studio Comparison (Blackmagic Design)
- DaVinci Resolve product page (Blackmagic Design)
- DaVinci Resolve Studio product page (Blackmagic Design)
- CineD: DaVinci Resolve 21.0.2 Released, Keyframe Fixes, Retime Curve Improvements
- Newsshooter: DaVinci Resolve 21.0.2 Update
Keep reading
Guides · Jul 9, 2026 · 32 min
How to Freeze Frame in DaVinci Resolve: Every Method
Freeze a frame in DaVinci Resolve with Change Clip Speed, Retime Controls, or Shift+R. Covers exporting stills, fixing audio pops, and timeline bugs.
Fixes · Jul 18, 2026 · 23 min
DaVinci Resolve Retime Curve Not Showing? Here's Where It Went
The DaVinci Resolve retime curve isn't broken, it moved into the Keyframes panel in version 20 and 21. Here's exactly how to find it and fix a flat curve.
Guides · Jul 8, 2026 · 16 min
DaVinci Resolve Keyboard Shortcuts: The Complete Reference
Every essential DaVinci Resolve keyboard shortcut, organized by page: Edit, Cut, Color, Fairlight, Fusion, and Deliver, plus how to customize and share your own.