Articles / Fixesupdated for DaVinci Resolve 21.0.2 (July 2026)
DaVinci Resolve Import After Effects Project: The Real Fix
Quick answer
DaVinci Resolve cannot open an After Effects .aep project file; no vendor supports that translation. Render your After Effects comp to ProRes 4444 or a PNG, TIFF, or EXR sequence with a straight alpha channel, then import that footage into Resolve's Media Pool or Fusion page. Rebuilding complex animation natively in Fusion is the only way to keep it fully editable.
You finished a title sequence in After Effects. Or your client sent you a .aep file and asked you to "just drop it into Resolve." You go looking for an import option, and there isn't one. No menu item, no plugin, no hidden setting. That's not a bug you're missing. It's a wall that isn't coming down.
I'll walk through why that wall exists, exactly what to render and how to set it up so nothing looks wrong on the other side, when a script can save you time and when it can't, and when you should stop trying to move the After Effects comp at all and just rebuild it inside Resolve's own compositor instead.
Can DaVinci Resolve open an After Effects project file?
No. Not partially, not with a plugin, not with a specific version pairing that happens to work. DaVinci Resolve has no code path that reads a .aep file, and it never has.
This comes up constantly enough that it has its own dedicated thread on Adobe's community forums, where editors ask some version of "how do I get my After Effects project into Resolve" every few months. Rick Gerard, a longtime Adobe Community Expert who's spent years answering exactly these questions, gave the answer in four words: "There is no way to transfer an AEP to resolve," he wrote, adding that "you'll have to render the elements you want to keep to a suitable production format and use them that way," in a thread on Adobe's community forums.
DaVinci Resolve cannot open an After Effects project file, and no software update is coming that will change that. That's not a limitation Blackmagic is working to fix. It's a consequence of two companies building competing products that were never designed to talk to each other at the project level, and understanding that up front saves you from searching for a setting that doesn't exist.
A second reply in that same thread, from the Adobe forum veteran known as Mylenium, gets specific about what actually survives the trip once you accept that the file itself won't transfer: "You have to render to lossless formats like PSDs, TIFFs, EXRs and import those into resolve and Fusion, respectively. Of course all editable data and parametric definitions will be lost. It will be just pixels," from the same thread. That's the entire workflow in one sentence, and the rest of this guide is the detail behind making that sentence work cleanly.
Why doesn't DaVinci Resolve support After Effects project files at all?
Because .aep is Adobe's own proprietary file format, and Adobe has never published a specification for it the way some vendors publish interchange formats for timelines.
Compare that to what does work between competing editors. Premiere Pro can export a Final Cut Pro XML file, an open interchange format both Adobe and Blackmagic support to different degrees, which is why our guide to fixing a broken Premiere XML import exists as a troubleshooting guide rather than a "this is impossible" post. AAF works the same way for audio. Both formats describe a timeline: clips, in and out points, basic effects, in a structure any NLE vendor can parse if they choose to write the code.
After Effects doesn't have an equivalent for its own project structure. There's no "Final Cut Pro Comp Exchange" format that describes layers, expressions, keyframe curves, and effect parameters in a way a third party could read. The .aep file is a binary blob that only After Effects itself, or a tool explicitly licensed to read Adobe's SDK, can interpret. Blackmagic was never given that key, and there's no public standard they could implement on their own even if they wanted to.
The .aep file format was never designed to leave Adobe's ecosystem, and Blackmagic was never handed a way in. That's the root cause underneath everything else in this guide. Every workaround below exists because the direct path doesn't, and won't.
What actually happens when you try to import a .aep file into Resolve?
If you've never tried it, here's what you'll see so you stop second-guessing yourself. Open Resolve's Media Pool, right-click, choose Import Media, and navigate to your .aep file. Depending on your file browser's settings, the file might not even be visible in the dialog, since Resolve's import filter often doesn't list extensions it has no reader for. If it is visible and you select it anyway, nothing happens. No error message, no partial import, no corrupted placeholder clip. Resolve simply doesn't recognize it as a file type it understands, so the import silently does nothing.
This trips people up because most failed imports in Resolve throw some kind of error: an unsupported codec warning, a "media offline" clip, something visible you can troubleshoot. A .aep file doesn't even get that far. There's no error to Google because there's no attempted operation to fail. If you've been searching for "DaVinci Resolve error importing After Effects file" and finding nothing that matches what you're seeing, that's why. You're not looking at an error. You're looking at Resolve correctly recognizing a file type it was never built to open.
The same is true in reverse, worth knowing if you ever need to hand a project the other way. After Effects can't open a .drp DaVinci Resolve project file either, for the identical reason: proprietary formats, no shared specification, no vendor cooperation. This isn't a one-directional gap that Blackmagic could close if they cared more. Neither company opened this door for the other.
What's the real workflow for moving After Effects work into DaVinci Resolve?
Render first, import second. That's the entire shape of it, and every variation below is a detail on top of that same two-step structure.
- Finish the comp in After Effects. Get it to the state you actually want, since nothing about the rendered output is editable once it crosses into Resolve.
- Add it to the Render Queue (Composition menu, or
Ctrl/Cmd + M). - Pick an output format Resolve reads natively, matched to whether the element needs transparency, covered in detail in the next section.
- Render to a folder you'll remember, named clearly enough that you're not hunting through a Downloads folder later.
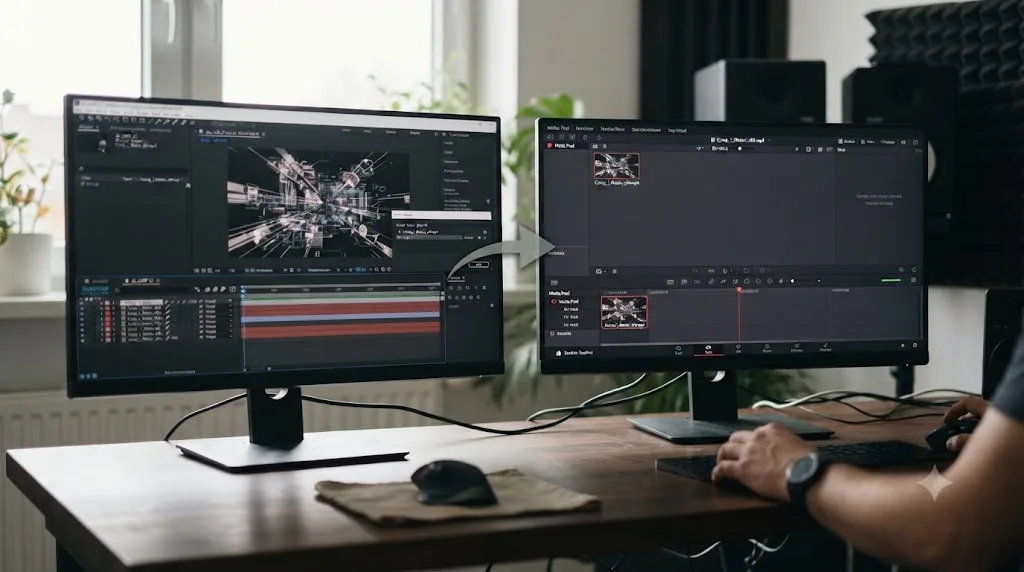
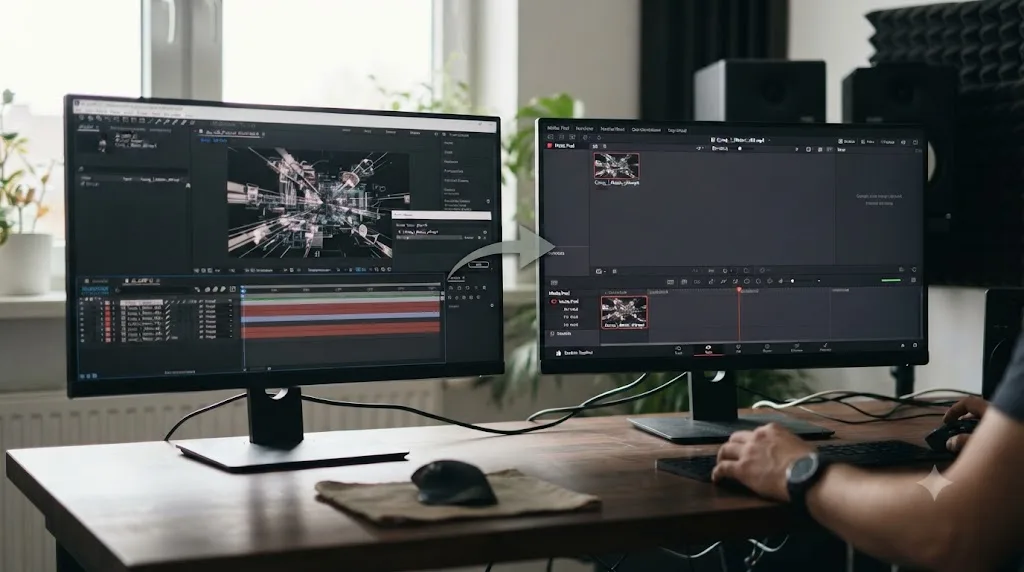
- Import that rendered file into Resolve's Media Pool like any other piece of footage, using Import Media or a simple drag and drop.
- Place it on your timeline or bring it into Fusion depending on whether you need it as a finished overlay or as raw material for further compositing.
Render first, import second: that's the entire workflow, and there is no shortcut around it. Every automation script covered later in this guide, including the one built specifically for this handoff, still runs through those same two steps under the hood. Nothing skips the render.
Which render format should you use, ProRes, PNG, TIFF, or EXR?
This decision comes down to two questions: does the element need transparency, and do you need to protect against a crash mid-render on a long or complex job.
| Format | Transparency support | Best for | Watch out for |
|---|---|---|---|
| Apple ProRes 4444 | Yes, full RGB + Alpha | Titles, lower thirds, animated overlays with soft edges | Large file sizes on long renders; needs a ProRes-aware encoder |
| GoPro CineForm | Yes, RGB + Alpha | A cross-platform ProRes alternative, especially useful on older Windows setups | Less universally supported outside NLEs than ProRes |
| QuickTime Animation | Yes, RGB + Alpha | Lossless intermediate work, hard mattes | Very large files; mostly superseded by ProRes 4444 |
| PNG sequence | Yes, per-frame alpha | VFX plates, single-frame graphics, anything you might need to re-touch frame by frame | One file per frame means thousands of files on a long sequence; easy to lose frames if you move folders carelessly |
| TIFF sequence | Yes, per-frame alpha | Similar to PNG, common in VFX pipelines that already standardize on TIFF | Larger per-frame file size than PNG |
| OpenEXR sequence | Yes, per-frame alpha, plus HDR and multi-channel data | High-end VFX handoffs needing more than 8-bit color, deep compositing data | Overkill for a simple animated title; larger learning curve to set up correctly |
| Standard MP4 (H.264/H.265) | No alpha | Anything meant to be a flat, final, background-filling clip with no transparency at all | Never carries an alpha channel regardless of settings; don't use it for overlays |
Both Blackmagic's own supported format documentation and independent breakdowns of this workflow agree on the shortlist. According to a detailed rundown on Storyblocks' primer on alpha channels, "media with embedded alpha channels is supported for formats including TIFF, OpenEXR image sequence formats, and four-channel QuickTime formats such as ProRes 4444, DNxHR 444, and QuickTime Animation." DNxHR 444 is worth adding to your options if you're already standardized on Avid-friendly codecs elsewhere in your pipeline; it behaves the same way as ProRes 4444 for this purpose.
For a straightforward animated title or lower third, ProRes 4444 is almost always the right call. It's a single file rather than thousands of numbered frames, it's broadly supported across Resolve on every platform, and it handles the alpha channel cleanly. Reach for an image sequence instead when you're handing off VFX plates to a colorist who might need to grade or key individual frames, or when you're worried about a render crashing partway through a very long or heavy composition. A crashed video render usually means starting over from the last checkpoint. A crashed image sequence render just means the missing frames are easy to spot and re-render individually.
Should you use straight or premultiplied alpha, and why does it matter?
This single setting causes more confusion than every codec choice above combined, because getting it wrong doesn't throw an error. It just looks slightly, quietly wrong.
An alpha channel is a mask, essentially a grayscale layer that tells the receiving app which pixels are opaque, which are transparent, and everything in between. How your RGB color values are stored at the semi-transparent edges (the soft border of a drop shadow, an anti-aliased text edge, motion blur on a moving graphic) depends on whether you chose Straight or Premultiplied.
Straight (Unmatted) alpha stores the true, unmixed RGB color at every pixel, completely independent of the alpha value. Premultiplied (Matted) alpha bakes a background color into the edge pixels before storing them, blending your RGB values toward whatever color you rendered against.
Premultiplied alpha looks perfectly fine as long as you composite the result over the exact same background color it was matted against. The moment you drop that same file over a different background in Resolve, the mismatch shows up as a faint dark or light halo around every soft edge, most visible on text, drop shadows, and any element with motion blur. It's subtle enough that it often gets blamed on the compositing settings in Resolve rather than the export setting back in After Effects where it actually originated.
A straight alpha channel keeps your edges clean; a premultiplied one leaves a fringe you won't notice until it lands on a background it wasn't built for. The fix is set once, in After Effects, before you ever open Resolve:
- In the Render Queue, click the Output Module settings for your comp.
- Set Channels to RGB + Alpha.
- Set Color to Straight (Unmatted).
- Confirm your chosen codec (ProRes 4444, PNG, TIFF, or EXR) actually supports an alpha channel; some presets default back to RGB-only without warning you.
Graham Quince's rundown of transparent export methods from After Effects backs up ProRes 4444 as the safest default here, describing it as "the best option" for editing and streaming workflows specifically because these files "work directly in Adobe Premiere Pro, DaVinci Resolve, and OBS" without a conversion step, in his Creative COW writeup on exporting transparent video from After Effects. The same piece is worth reading in full if you're exporting for the web instead of an NLE, since he covers WebM and HEVC alpha support too, both of which carry real platform-specific caveats that don't apply once the file is headed into Resolve.
What if you need the animation to stay fully editable?
Rendering solves the "get it into Resolve" problem. It does not solve the "still be able to adjust it" problem, and that's a different, harder ask.
Once you render, you have pixels. A rendered title with a typo baked into frame one means re-opening After Effects, fixing the text, re-rendering the whole thing, and re-importing, every single time a client asks for a change. For a one-off delivery, that's annoying but tolerable. For a template you'll reuse across dozens of episodes, it's a workflow that doesn't scale.
The actual fix, if you need ongoing editability inside Resolve itself, is to stop trying to move the After Effects comp at all and rebuild the effect natively on Resolve's Fusion page instead. Fusion is a full node-based compositor, free in every version of DaVinci Resolve including the non-Studio edition, and it can do most of what After Effects does: keyframed animation, text generators, tracking, keying, 3D compositing. It just does it with a fundamentally different structure than After Effects uses.
Lewis McGregor, writing a direct comparison of the two tools, describes the core structural difference plainly: "After Effects works on a layer-based system. This means each image element is stacked on top of each other, and are displayed in descending order," while Fusion's node approach means "you don't need to hunt through nested stacks of confusing layers and filters," in his PremiumBeat comparison of Fusion and After Effects. He's not neutral about which he prefers for complex work either, adding that "nodes are incredibly easy to use, especially as scenes become more complex," from that same piece.
Fusion can rebuild almost anything After Effects can, but it can't read anything After Effects saved. That distinction matters more than it sounds. You're not importing your old comp into a compatible tool. You're starting over, in a different paradigm, using the rendered version of your old comp as visual reference for what to recreate.
McGregor's honest conclusion is worth repeating rather than glossing over: he frames After Effects as the better fit for "motion designers, animators, and part-time VFX artists," largely because of its layer-based familiarity and its far larger plugin and template marketplace, while positioning Fusion as the stronger choice for "series compositors looking to advance in a VFX career path," where node-based thinking transfers directly to other professional VFX and 3D software. Neither tool is simply a worse version of the other. They're built around different mental models, and rebuilding in Fusion is a genuine tradeoff, not a free upgrade.
If you've never opened the Fusion page before and you're about to attempt a rebuild, our Fusion page tutorial for beginners covers the MediaIn and MediaOut nodes, the Merge node, and basic tracking and keying before you try to recreate anything more ambitious than a simple title.
Is there a script or plugin that automates this handoff?
There's exactly one purpose-built tool worth knowing about, and it comes with real limitations you should weigh before relying on it for a paid deliverable.
Igor Ridanovic's Send to Resolve.jsx is a free After Effects script, distributed on GitHub, built specifically to automate the render-then-import handoff described above. According to the project's GitHub repository, it automatically imports After Effects renders into a freshly created DaVinci Resolve project, using a configuration file that specifies render directories and bin names so you're not manually dragging files into the Media Pool every time.
Three things to know before you reach for it:
- It requires DaVinci Resolve Studio, not the free version. If you're running Resolve's non-Studio edition, this script isn't an option at all.
- It depends on a separate free tool, Meta Fide Projector, from a third-party developer, which the script needs installed to complete the handoff.
- The project describes itself as a proof of concept. That's not a knock on the developer's work; it's an honest label from the author about the maturity level you should expect. Treat it as a workflow accelerator for repetitive personal projects, not as infrastructure a studio should build a client pipeline around without testing it thoroughly first.
For a one-off title render, doing the render-and-import manually takes a few minutes and involves no dependencies at all. The script earns its setup cost on a job where you're repeating this handoff dozens of times, like a series with the same animated lower third rendered fresh for every episode.
Does Adobe Dynamic Link work between After Effects and DaVinci Resolve?
No, and it's worth explaining why clearly, because Dynamic Link is exactly the kind of feature that makes people assume there must be an equivalent for Resolve somewhere.
Dynamic Link is Adobe's own live-link system that lets you edit an After Effects composition and see the changes reflected instantly inside a Premiere Pro timeline, without ever rendering a file in between. It's genuinely useful, and it's the reason Adobe editors sometimes forget that this kind of connection isn't standard across the industry. Adobe's own documentation describes the feature as working specifically "between Premiere and After Effects and Premiere and Audition," letting an editor "build your main edit in Premiere Pro while linking to AE for your VFX and Audition for your sound editing," according to Adobe's help documentation on Dynamic Link.
Notice what's not on that list: DaVinci Resolve. Dynamic Link is an Adobe-exclusive feature, built to keep editors inside Adobe's own suite of applications rather than to interoperate with a competitor's tool. Blackmagic didn't build a competing live-link system either, and there's no reason to expect one, since a live link would require the same kind of deep, mutual format cooperation that a static project import does, and that cooperation doesn't exist between these two companies at any level.
If you're coming from a Premiere-and-After-Effects workflow and you're used to leaning on Dynamic Link, the mental adjustment for Resolve isn't "find the equivalent setting." It's accepting that every handoff into Resolve, whether from Premiere's timeline or After Effects' composition window, runs through a rendered intermediate file or an interchange format like XML, never a live connection.
Can you go the other direction, from Resolve to After Effects?
Yes, and this direction is actually easier, because it isn't asking two proprietary project formats to talk to each other. It's asking a timeline (something both apps have a shared vocabulary for) to move, not a composition (something only one of them understands).
There are two workable paths, both covered in a detailed writeup on the Mean State blog's guide to the Resolve-to-After-Effects workflow:
- Export an FCP7 XML from Resolve's timeline and import it into After Effects with Pro Import. This carries your cut, clip positions, and basic structure across without rendering anything, which is the same XML interchange format covered in our guide on fixing broken XML imports from Premiere Pro, just running the opposite direction into a different Adobe app.
- Render the Resolve timeline to a lossless intermediate (QuicktIme with a codec like DNxHD) and bring the rendered clips into After Effects alongside the accompanying XML for reference.
Mean State's own assessment of these two methods is refreshingly candid rather than promotional: "Neither one is perfect, and depending on your system, one or the other might have some issues as After Effects is not a perfect program," from that same Resolve-to-After-Effects writeup. The XML path is generally the better starting point since it skips rendering entirely, but expect to spend some time cleaning up whatever the translation doesn't handle gracefully, the same caveat that applies to every XML handoff in either direction between competing NLEs.
None of this changes the core fact from earlier in this guide. You're still moving a timeline, not a composition. If someone hands you a Resolve project and asks you to bring the whole thing, comps and all, into After Effects the way you'd import an XML, that request runs into the identical wall covered above, just from the other side of it.
Does Windows versus Mac change any of this?
Less than it used to, and it's worth knowing the recent history because a lot of older advice on this topic is now out of date.
For years, ProRes was effectively a Mac-only codec for encoding (not just decoding) inside Adobe's apps, which meant a Windows-based After Effects user rendering ProRes 4444 needed a workaround, often a third-party encoder plugin, to get a genuine ProRes file out at all. That's no longer true. Adobe worked directly with Apple to bring native ProRes encoding to Windows inside Premiere Pro, After Effects, and Media Encoder, a change covered when it shipped by CineD's report on Adobe adding ProRes export on Windows. If you're on a current version of After Effects on Windows, ProRes 4444 with an alpha channel is available to you directly in the Output Module, no separate plugin required.
On the Resolve side, decoding ProRes has been cross-platform for a long time regardless of edition, free or Studio. That symmetry is good news: whichever OS you're rendering on and whichever OS your editor runs Resolve on, ProRes 4444 with a straight alpha channel behaves the same way, and none of the advice in this guide changes based on that pairing.
Where OS differences genuinely still matter is Fusion performance if you go the rebuild route from the earlier section. Fusion leans hard on GPU compute for anything beyond simple 2D compositing, and heavier 3D work or large particle systems will feel different on integrated graphics versus a dedicated GPU regardless of platform. That's a hardware ceiling, not a Mac-versus-Windows format compatibility issue, and it applies equally to a Windows desktop with a weak GPU and an older Intel Mac with limited graphics headroom.
What if you're only moving a still graphic or a PSD, not an animated comp?
This case is simpler than everything above, and it's worth calling out separately because people sometimes over-engineer it after reading about the animated-comp workflow.
If the After Effects project holds a static graphic, a lower third background, a logo card, something with no keyframed animation at all, you don't need to render a video file through the Render Queue. Just export the composition as a single frame:
- Move the Current Time Indicator to the frame you want.
- Composition menu > Save Frame As > File (or Photoshop Layers if you need the layer structure preserved for further editing in Photoshop).
- Export as PNG or TIFF with transparency enabled if the graphic has any.
- Import that single image file into Resolve's Media Pool exactly like any other still.
Resolve treats a still image on the timeline the same way it treats a still image anywhere else: you can extend its duration, apply color correction, add Fusion effects on top of it, or use it as a texture inside a larger Fusion composite. If the original source was a layered Photoshop file rather than something built inside After Effects, Resolve can actually import a .psd directly and choose whether to flatten it or bring in individual layers, which is a genuinely different, more direct path than anything covered so far in this guide, precisely because PSD is an open, documented format that both Adobe and Blackmagic support natively, unlike .aep.
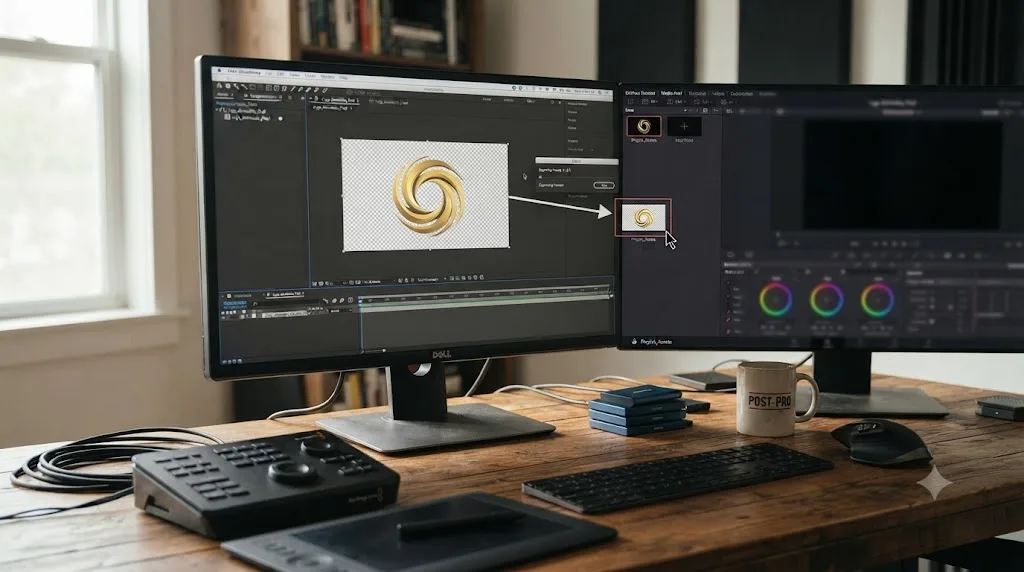
A full worked example: moving a client's lower third package into Resolve
Say a motion designer builds an animated lower third package in After Effects for a client's interview series: an entrance animation, a name and title card with an expression-driven typewriter effect, and an exit animation, all inside one comp with a control layer that lets the designer change the name and title text without touching the animation itself.
The client wants that lower third dropped into an interview cut you're finishing in Resolve. Here's the order that actually works:
- Decide upfront whether this is a one-time delivery or a reusable template. If it's a single interview, render and move on. If the client wants the same lower third reused across a dozen more episodes with different names, that changes step 3 significantly.
- Duplicate the comp for each name and title you need, since the expression-driven text will render exactly what's in the comp at render time, not something you can change after the fact without going back into After Effects.
- Render each duplicated comp to ProRes 4444, RGB + Alpha, Straight. One file per name/title combination, named clearly (
lowerthird_janedoe.mov, notComp 1_final_v3.mov). - Import all the rendered files into Resolve's Media Pool in a single pass, into a bin named for the package so they're easy to find later.
- Place each rendered lower third on a video track above your interview footage, timed to when that speaker appears.
If the client comes back a week later wanting a different font on the name card, you don't have a way to fix that inside Resolve. You go back into the original After Effects project, make the change once in the master comp, re-duplicate for each name, and re-render everything. That's the real cost of the render-based workflow, and it's exactly the tradeoff covered in the Fusion section above. For a one-time interview cut, it's a non-issue. For a recurring series where the client changes their mind about fonts, rebuilding the lower third natively in Fusion up front (accepting the one-time cost of translating the design by hand) saves you from re-rendering the whole package every time a preference changes.
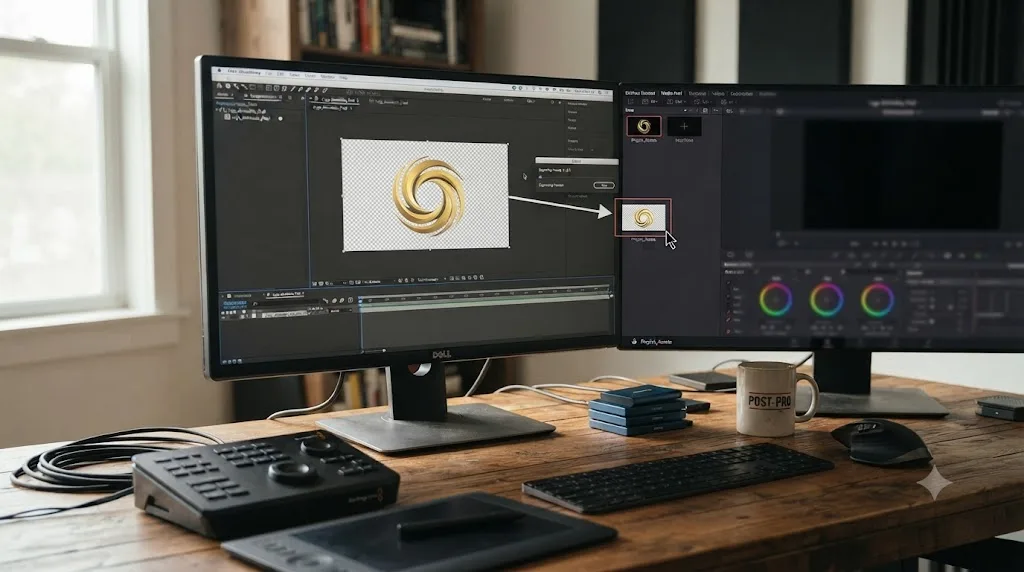
What goes wrong after you import the rendered footage?
Even with the format and alpha settings right, a few specific problems show up often enough to name individually.
| Symptom | Likely cause | Fix |
|---|---|---|
| A dark or light halo around text or graphic edges | Premultiplied alpha instead of straight | Re-render from After Effects with Color set to Straight (Unmatted) in the Output Module |
| The clip plays back at the wrong speed or drifts out of sync with your timeline | Frame rate mismatch between the After Effects comp and your Resolve project | Match comp frame rate to your Resolve Project Settings > Master Settings > Timeline Frame Rate before re-rendering, or conform on import |
| Colors look flatter or shifted compared to how they looked in After Effects | Color management mismatch; After Effects and Resolve don't share the exact same default color pipeline | Check your Resolve project's color science settings under Color Management, and confirm the render was tagged with the color space you intended in After Effects |
| The transparent background isn't transparent at all, it's solid black or white | Alpha channel wasn't included in the render, or the codec you picked doesn't actually support one | Re-check Output Module Channels is set to RGB + Alpha, and confirm your chosen codec (not every ProRes flavor carries alpha; only ProRes 4444 and 4444 XQ do) actually supports it |
| An image sequence imports with gaps or as a single static frame | Frames were skipped during export, or Resolve is reading the sequence starting from the wrong frame number | Re-render the missing frame range specifically, and confirm the sequence's file naming has no gaps in its numbering before importing |
| The rendered file plays but looks soft or lower quality than the After Effects preview | A render setting defaulted to a lower resolution or a lossy compression pass | Check the Render Settings tab (not just Output Module) for resolution and quality, since these are two separate dialogs that both affect final quality |
Most of these trace back to a setting that got missed in the Output Module or Render Settings dialogs rather than anything wrong on Resolve's side. After Effects splits render configuration across two separate panels, Render Settings and Output Module, and it's easy to get one right and forget the other, especially the alpha channel setting, which lives in Output Module and doesn't carry a warning if you skip it.
If the unsupported-format message actually shows up in Resolve rather than a silent quality issue, that's a different and more specific problem than anything in this table, and our guide to DaVinci Resolve saying unsupported file format covers every codec-level cause separately from the alpha and color issues covered here.
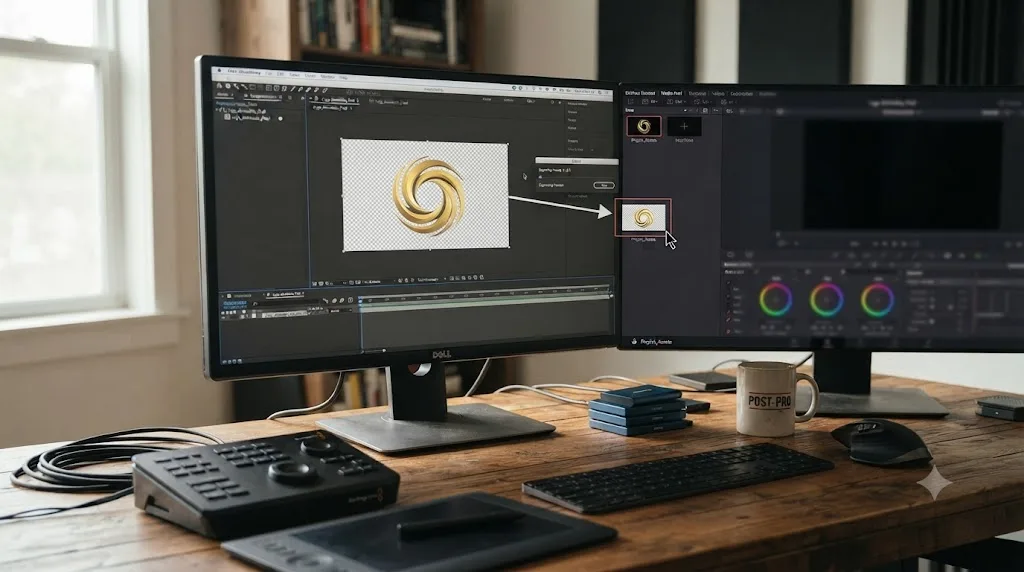
Should you rebuild your motion graphics workflow in Fusion instead of After Effects?
This is a bigger decision than any single project, and it's worth answering honestly rather than assuming one tool should simply replace the other.
Fusion has genuinely closed a lot of ground recently. DaVinci Resolve 21 folded in Krokodove, a large third-party toolset originally built as a free Reactor plugin for standalone Fusion over roughly two decades, adding well over a hundred generators, modifiers, and 2D/3D tools directly into Fusion at no extra cost in either the free or Studio edition, a change covered in detail by Digital Production's review of Krokodove's integration into Resolve 21. That's a meaningfully larger built-in toolset than Fusion had even a year earlier, and it narrows the gap on template variety that used to be one of After Effects' clearest advantages.
But the gap isn't closed everywhere. After Effects still has a much larger third-party plugin and template marketplace, built up over decades of a dominant market position in motion graphics specifically, and a workforce of freelance motion designers who learned layer-based compositing first, not nodes. Storyblocks' direct comparison of the two tools frames the split along similar lines to what's covered in this guide: layer-based versus node-based, with each approach carrying real strengths depending on the kind of work you do most, according to their comparison of DaVinci Resolve and After Effects.
The practical answer for most editors and studios isn't "replace one with the other." It's "use each where it's strongest, and accept that moving work between them always means rendering, never a live link." If your job is mostly live-footage compositing, keying green screens, tracking objects into shots, or 3D integration, Fusion is a legitimately strong, free tool and you may not need After Effects for that work at all. If your job is mostly flat motion graphics, animated infographics, or template-driven social content built on top of a huge library of existing After Effects assets, the switching cost of abandoning that ecosystem is real, and rendering a finished piece into Resolve for final color and delivery, rather than trying to migrate the whole workflow, is usually the better call.
This is also a fair place to be direct about something adjacent to this decision: getting fluent in either tool, especially Fusion's node-based logic if you're coming from years of layer stacks, takes real practice, not just reading a comparison chart. TryUncle is an AI tutor for DaVinci Resolve on macOS — ask in plain words and Uncle points at the exact control on your screen. It's built for exactly the moment covered throughout this guide: staring at a node graph you've never built before, unsure which control does what, and needing an answer faster than a forum search provides. It's a paid app, currently on founder pricing, and it's macOS only, so check TryUncle for the current rate and platform details before assuming it fits your setup.
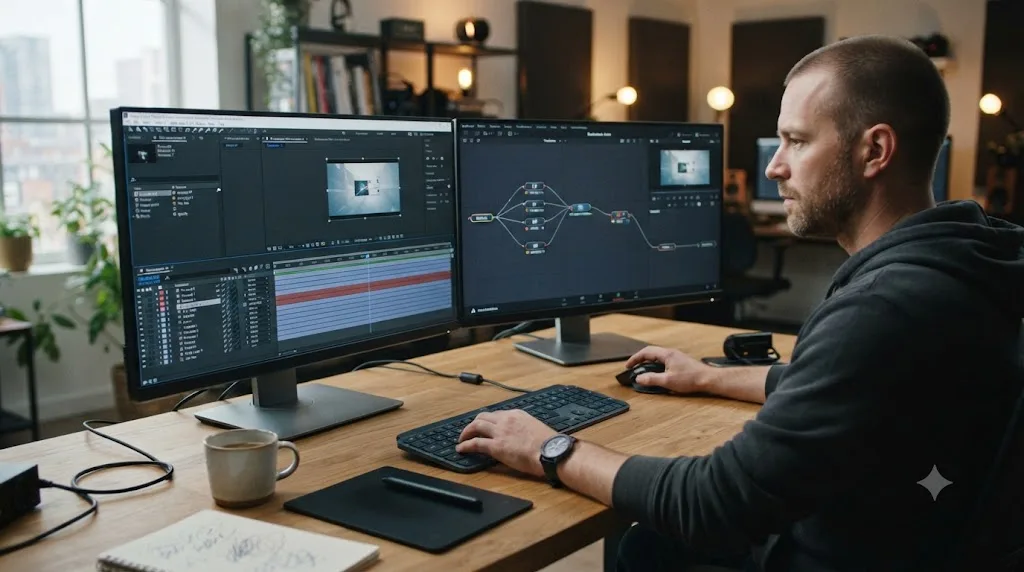
What if you're moving an entire project, not just one graphic?
Everything above assumes one comp, or a handful of them. A full project migration, where a client hands you an entire After Effects project with dozens of comps, precomps nested three deep, and a shared asset library, is the same problem at a larger, more time-consuming scale, not a fundamentally different one.
The practical approach:
- Catalog every top-level comp that actually needs to reach Resolve. Not every precomp inside a large After Effects project is destined for the final edit; some exist purely as intermediate building blocks for other comps. Rendering all of them wastes time and clutters your Media Pool.
- Render each final, top-level comp separately, following the format and alpha guidance from earlier in this guide, rather than trying to render the entire project as one giant flattened file.
- Name your render outputs to match a clear system, ideally mirroring however you're already organizing bins inside Resolve, since a large batch of correctly named files imports and sorts itself far faster than a batch of
Comp 1,Comp 2,Final_v2files that need manual renaming and refiling. - Import in batches, by bin, rather than all at once into a single flat Media Pool folder. A hundred loose clips in one bin is its own kind of chaos, distinct from the import problem itself but just as capable of costing you an afternoon.
- Flag anything that needs to stay editable, separately, before you start rendering. If part of the project is a reusable template rather than a one-time delivery, decide before you render whether that specific piece is worth rebuilding in Fusion instead, since retrofitting that decision after you've already rendered everything means redoing organizational work twice.
The bottleneck on a large migration is almost never the technical render-and-import mechanics covered throughout this guide. It's organization: knowing which comps matter, naming things consistently, and deciding upfront which pieces are one-time deliveries versus reusable assets. Get that decided before you start rendering, not after, and a project with fifty comps takes barely longer per-comp than a project with five.
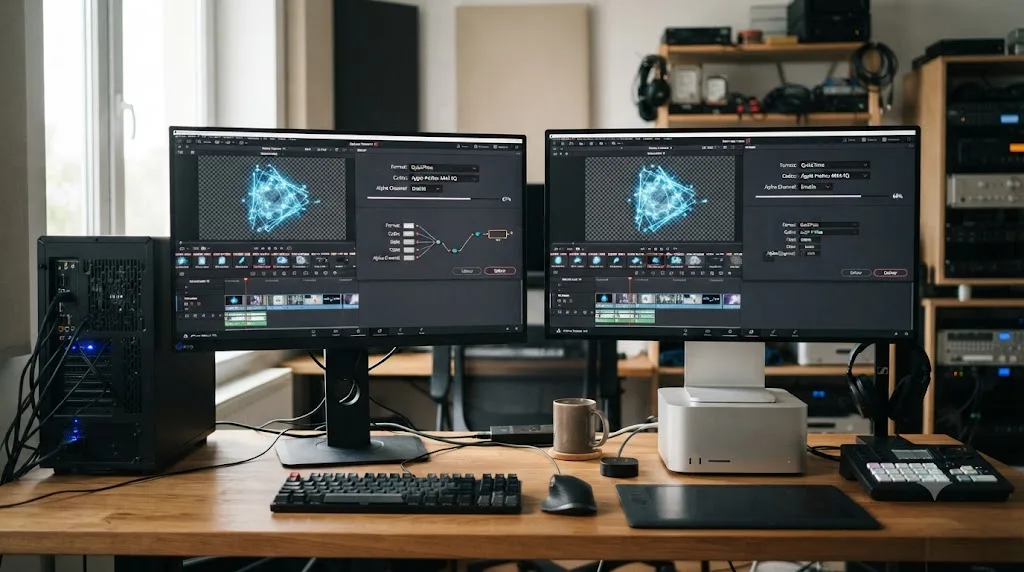
What's the fastest path if you're doing this for the first time?
Stop looking for an import setting. It doesn't exist, and every minute spent searching for one is a minute not spent rendering.
Decide whether the element has transparency. If it does, render ProRes 4444 with RGB + Alpha and Straight color in the Output Module. If it doesn't, a standard high-quality codec is fine. Confirm your frame rate matches your Resolve project before you render, not after, since that single mismatch causes more downstream confusion than almost anything else on this list. Import the result into Resolve's Media Pool like any other piece of footage, and treat it exactly like footage from that point forward, because that's precisely what it now is.
If you need the animation to stay adjustable long-term rather than treating this as a one-time delivery, accept that rendering alone won't get you there. Rebuilding the effect natively in Fusion is slower up front and genuinely worth it the moment a client asks for a second round of changes. Every animated After Effects comp becomes a flat video file the moment it crosses into Resolve, unless you rebuild it node by node in Fusion. That's not a limitation to work around. It's the actual shape of how these two tools connect, and once you plan for it instead of fighting it, the whole handoff stops being a mystery and starts being a five-minute step in a bigger project.
Frequently asked questions
- Can DaVinci Resolve open an After Effects .aep file directly?
- No. DaVinci Resolve has no import path for After Effects project files, and Blackmagic has never added one because Adobe's .aep format is proprietary and undocumented outside Adobe's own apps. You have to render the elements you need out of After Effects first, then import the rendered files into Resolve.
- What's the best format to export from After Effects for use in DaVinci Resolve?
- Apple ProRes 4444 for anything with transparency, since it carries a full alpha channel and imports natively into Resolve on Mac, Windows, and Linux. For stills, VFX plates, or anything you might need to composite further, a PNG, TIFF, or OpenEXR sequence works just as well and survives a render crash without losing the whole file.
- Should I use straight or premultiplied alpha when exporting from After Effects?
- Straight, in almost every case. Premultiplied alpha bakes the background color into the edges of your transparent areas, which shows up as a faint dark or light fringe once you composite the clip over a different background in Resolve. Straight alpha keeps the true, unmixed color at every edge pixel.
- Is there a script that automatically imports After Effects renders into DaVinci Resolve?
- Igor Ridanovic's Send to Resolve.jsx is the closest thing, a free After Effects script that automates creating a new Resolve project and importing your renders into it. It requires DaVinci Resolve Studio (not the free version), a separate free tool called Meta Fide Projector, and its own author labels it a proof of concept rather than a polished production tool.
- Does Adobe Dynamic Link work between After Effects and DaVinci Resolve?
- No. Dynamic Link only connects Adobe's own applications to each other, specifically After Effects, Premiere Pro, and Audition, letting them share a live, unrendered link to the same composition. Resolve is not an Adobe product and was never part of that system, so there's no dynamic, editable connection between the two apps at all.
- Can Fusion inside DaVinci Resolve fully replace After Effects?
- For compositing live footage, tracking, keying, and 3D work, Fusion is genuinely competitive and it's free in every version of Resolve. For flat motion graphics, template-driven work, and tapping into After Effects' much larger plugin and template ecosystem, After Effects still has the edge, and most studios that use both keep them for different jobs rather than replacing one with the other.
- What happens to my After Effects expressions and keyframes when I render for Resolve?
- They're gone the moment you render. A rendered video file or image sequence is just pixels; none of the parametric data, expressions, layer relationships, or keyframe curves survive the trip. If you need that animation logic to stay adjustable, you have to rebuild it by hand inside Resolve's Fusion page rather than trying to bring the original comp across.
Sources
- Adobe Community: Getting AEP into Resolve (Rick Gerard, Mylenium)
- GitHub: IgorRidanovic/AfterEffects_to_DaVinci_Resolve (Send to Resolve.jsx)
- Creative COW: Every way to export transparent videos from After Effects (Graham Quince)
- Storyblocks: A Primer on Alpha Channels
- Adobe Help: Use Dynamic Link with After Effects
- Mean State: DaVinci Resolve to After Effects Workflow
- PremiumBeat: Fusion vs. After Effects: Which One Is Right for You? (Lewis McGregor)
- Storyblocks: Comparing DaVinci Resolve vs After Effects
- Digital Production: Krokodove, a massive expansion of Fusion and Resolve's creative arsenal
- Blackmagic Design: DaVinci Resolve Fusion product page
- CineD: Adobe Adds ProRes Export on Windows for Premiere, After Effects
- CGChannel: Blackmagic Design releases DaVinci Resolve 21.0
Put this guide to work with TryUncle.
Ask about the step you’re on. TryUncle sees your screen and points at the control you need, so you can keep learning in your own project.
Get TryUncle for Mac or WindowsKeep reading
Fixes · Jul 12, 2026 · 29 min
DaVinci Resolve XML Import from Premiere Pro Not Working
Every reason DaVinci Resolve rejects, empties, or offlines an XML timeline exported from Premiere Pro, and the exact fix for each failure mode.
Guides · Jul 10, 2026 · 32 min
DaVinci Resolve Fusion Page Tutorial for Beginners
Learn the DaVinci Resolve Fusion page from zero: nodes, MediaIn/MediaOut, the Merge node, planar tracking, and keying a green screen, step by step.
Fixes · Jul 17, 2026 · 22 min
DaVinci Resolve Fusion Title Templates Not Working: The Fix
DaVinci Resolve Fusion title templates fail for five distinct reasons, from missing files to locked macros to bad fonts. Here's the fix for each one.