Articles / Fixesupdated for DaVinci Resolve 21.0.2 (July 2026)
DaVinci Resolve Renders Black Video With No Error: Every Cause
Quick answer
A black export with no error usually traces to a disconnected Fusion node, a bad GPU driver or processing mode, a corrupted render cache, or a Data Levels mismatch crushing the image toward black. Check the Fusion MediaOut node first, then GPU settings in Preferences, then clear the render cache, then your Deliver page color settings.
Your render finished. No red text, no error dialog, no stalled progress bar. You open the file and it's black, start to finish, while the timeline sitting right behind it plays perfectly. That gap between "Resolve says it worked" and "the file is unusable" is the whole problem this guide is built to close, and it's more common than the silence around it suggests.
What causes DaVinci Resolve to render black video with no error?
A short list of causes accounts for nearly every report of this exact symptom, and they split into two families that matter for how you troubleshoot them: the file is genuinely 0-across-the-board black, or it's crushed so hard toward black that it might as well be, depending on what plays it back.
| Cause | What it looks like | Fastest fix |
|---|---|---|
| Fusion composition disconnected from MediaOut | One clip or title fully black, rest of timeline fine | Reconnect the final node to MediaOut1 |
| Adjustment Clip stacked with Optical Flow or Vector Motion Blur | Entire frame black under that clip specifically | Clear cache, restart Resolve |
| Wrong GPU selected or a broken driver | Whole export black, especially on a dual-GPU laptop | Preferences, Memory and GPU, select the discrete card |
| Corrupted render cache reused on export | Black section that wasn't there before a crash or interruption | Delete Render Cache, export without cached images |
| AMD hardware H.264 encoder bug with interlaced source | Random black sections scattered through the export | Disable hardware H.264 encoding for that render |
| Data Levels or Color Space Tag mismatch | Crushed, high-contrast image, not always literally 0 black | Set Data Levels to Video, match the Color Space Tag |
| Missing HDR10 metadata | TV stays in SDR or rejects the signal, not the same as a black SDR file | Enable Embed HDR10 Metadata on the Deliver page |
| Blanking or format mismatch | A few pixels of black edge, not the whole frame | Check Source Blanking and Output Blanking |
A render that finishes with no error and a render that finishes correctly are two completely different claims, and DaVinci Resolve only checks the first one. The render engine confirms it wrote a file of the expected length to the expected location. It does not check whether that file contains a picture. That single fact is why this entire class of problem exists, and it's the idea every section below builds from.
Is the file actually 100% black, or just crushed almost to black?
Answer this before you touch a single setting, because the two problems live in entirely different parts of the application and share almost nothing except how they look at a glance.
Play the exported file in VLC or QuickTime, not Resolve's own viewer. Resolve's viewer and its render pipeline don't always agree, which is part of why this bug is so disorienting: a UI glitch or a stale preview can make Resolve's own player show something wrong while the actual file is fine, and the reverse happens too. If your external player shows a picture with no detail anywhere, blown-out highlights crushed flat and shadows crushed flat, check a waveform or histogram if your player has one. A genuinely 0-black frame reads as a flat line at the bottom of a waveform monitor. A crushed-but-not-zero image usually shows some compressed detail bunched near the bottom, even if it looks black to your eye on an uncalibrated laptop screen.
This distinction determines which half of this guide applies. A frame that's truly 0-black across the entire image, for the entire duration, points at a connection problem: Fusion, the GPU pipeline, or the render cache never actually received or produced real image data. A frame that's crushed hard but not literally 0 points at a color management problem: Data Levels, a Color Space Tag mismatch, or a display calibration issue making an otherwise-correct file look wrong on your specific screen.
Confusing a connection problem with a color management problem wastes more time on this specific bug than any other mistake you can make. Fusion node tracing won't fix a Data Levels mismatch, and adjusting Data Levels won't reconnect a disconnected MediaOut node. Read the pattern first.
Is a disconnected Fusion node producing a black clip?
If the black section lines up exactly with a title, generator, or effect built on the Fusion page, start here, because it's the single most mechanical cause on this list and the easiest to confirm.
A Fusion composition builds its output by passing an image through a chain of connected nodes that starts at MediaIn and has to end at MediaOut1. If that chain breaks anywhere along the way, most often because a Merge node's Background input has nothing feeding it, the composition produces nothing, and the clip renders black on both the Edit page and in your final export. One breakdown of this exact failure explains it plainly: "MediaOut1" is the result of your compositing work in Fusion which is transferred back to the Edit page, and it "needs to be the last node of your composition work, and it needs to be connected if you want your FX to appear," per Cutsio's guide to Fusion effects not rendering.
Open the Fusion page for the affected clip and look at the far right side of your node tree. If your final effect node isn't visibly wired into MediaOut1's yellow input triangle, that's your answer, and reconnecting it is the entire fix. If the wiring looks correct but the clip is still black, check every Merge node in the chain specifically. As one detailed walkthrough of this exact error puts it, when the Background input of a Merge node has no video going into it, "it results in a black screen," and the standard fix is adding a transparent Background node ahead of that Merge to give it something to composite against, according to a breakdown of the MediaOut1 no-frame error. That same source notes something worth knowing before you assume you've ruled this out: even when a composition previews correctly inside the Fusion page's own viewer, the Edit page and your export can still fail to receive that image if the data handoff between the two pages breaks down, which is a subtler version of the identical problem.
A Fusion clip that's black in your export and black in the Fusion page's own viewer is a wiring problem, but a Fusion clip that previews fine in Fusion and still renders black afterward is a handoff problem, and only one of those two gets fixed by reconnecting a node. If you're building compositions from scratch rather than starting from a template and want the node system this section assumes you already know, our Fusion page tutorial for beginners covers how MediaIn and MediaOut actually connect.
Is this the Adjustment Clip and GPU effect bug?
If the black section covers everything under an Adjustment Clip specifically, and that clip is carrying a heavier GPU effect like Optical Flow or Vector Motion Blur, you may be looking at a documented, narrow bug rather than something in your control.
A thread on Blackmagic's own forum, titled "Adjustment Clip yields black screen," describes exactly this: applying a blur effect built on Optical Flow and Vector Motion Blur to an Adjustment Clip stacked above other clips turns the frame black, while applying the identical effect manually to each individual clip works fine, per that forum thread. That asymmetry, the same effect behaving differently depending on whether it sits on an Adjustment Clip or a regular clip, is the tell that this is a rendering path issue specific to how Adjustment Clips composite, not a mistake in your grade.
The workaround reported in that thread is blunt but real: restarting DaVinci Resolve clears the black screen, at least until you build a new Adjustment Clip later in the same session, at which point it can recur. Clearing the cache and re-rendering the affected frame is worth trying first, since it's faster than a full restart and sometimes clears it on its own. If you hit this repeatedly on a project with heavy Adjustment Clip use, one contributor in that same thread mentioned using a Fusion composition with MediaIn set to background mode as a more stable substitute for an Adjustment Clip entirely, which sidesteps the specific compositing path where this bug lives.
A bug that clears with a restart and comes back later isn't a stable fix, it's a workaround, and treating it as anything more will cost you a render at the worst possible moment. If Adjustment Clips with heavy GPU effects are a regular part of your workflow, build in a test render before your real export rather than assuming last week's success means this week is safe too.
Is DaVinci Resolve using the wrong GPU or a broken driver?
If the black export covers the entire timeline rather than one specific clip, and nothing about your Fusion nodes or Adjustment Clips explains it, the GPU itself is the next and often the actual suspect.
DaVinci Resolve's entire processing pipeline runs on the GPU, including the viewer, which is a deliberate architectural choice and also the reason this bug family exists at all. As one breakdown of black-screen causes in Resolve puts it, "unlike consumer video editing software that falls back to CPU rendering when a GPU issue occurs, DaVinci Resolve will simply stop displaying frames because the entire processing pipeline, including the viewer, is designed to run on the GPU," per Cutsio's explanation of black screen preview causes. Render output depends on the same pipeline, which is exactly why a GPU problem can produce a completed, error-free export that's simply black rather than a failed render with a visible complaint.
Laptops with both an integrated GPU and a discrete card are the single most common setup behind this. If Resolve's GPU selection defaults to Auto and picks the weaker integrated chip, or your operating system routes the app to the wrong graphics processor after a driver update, the render can complete on hardware that never actually produced a usable frame. Open Preferences, then System, then Memory and GPU, and confirm the discrete card is selected manually rather than left on Auto. While you're there, check GPU Processing Mode too: CUDA for NVIDIA cards, Metal on a Mac, and OpenCL only as an older AMD fallback, since the wrong mode for your hardware causes the identical symptom as a driver failure.
Driver requirements aren't vague either. On Windows, an NVIDIA GPU needs to support CUDA 11.0 with "a minimum Nvidia driver version of 451.82," and DaVinci Resolve 16.2.7 and later requires a "compute capability version" of at least 3.5, according to a breakdown of common GPU issues in Resolve. Fall short of either number and you're not looking at a bug, you're looking at hardware or a driver that was never going to run the pipeline correctly in the first place. Update to the vendor's latest Studio-branch driver, not the Game Ready branch, since Studio drivers are validated specifically against creative applications rather than games.
On a dual-GPU laptop, DaVinci Resolve can render an entire export on the weak integrated chip while the powerful discrete card sits completely idle, and nothing about that failure throws an error, because the integrated chip is still technically doing the job, just badly. Confirm which GPU actually did the work before you look anywhere else, especially if this started right after a Windows update, a driver update, or plugging into a different display.
Is a corrupted render cache poisoning the export?
If the black section wasn't there in an earlier version of the same export, especially after a crash, an interrupted render, or moving the project to a different drive, the render cache is worth checking before anything more complicated.
Resolve's render cache stores pre-computed frames on disk so playback and export don't have to recompute expensive effects work every time. That's a genuine performance win when the cache is healthy, and a genuine liability when it isn't, because the render pipeline trusts the cache rather than re-verifying it. One breakdown of common export failures names this directly: "corrupted cache files and unstable effects are common causes of DaVinci Resolve exports that freeze, fail at the same percentage, or stop on a specific frame," per Position Is Everything's guide to fixing export errors, and a black section instead of a frozen one is simply the same corruption showing up differently.
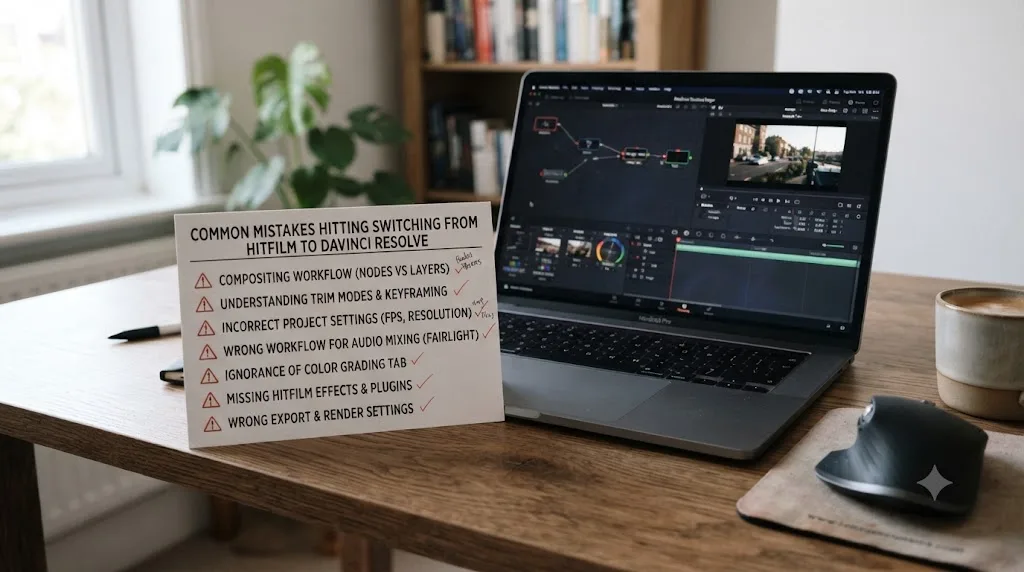
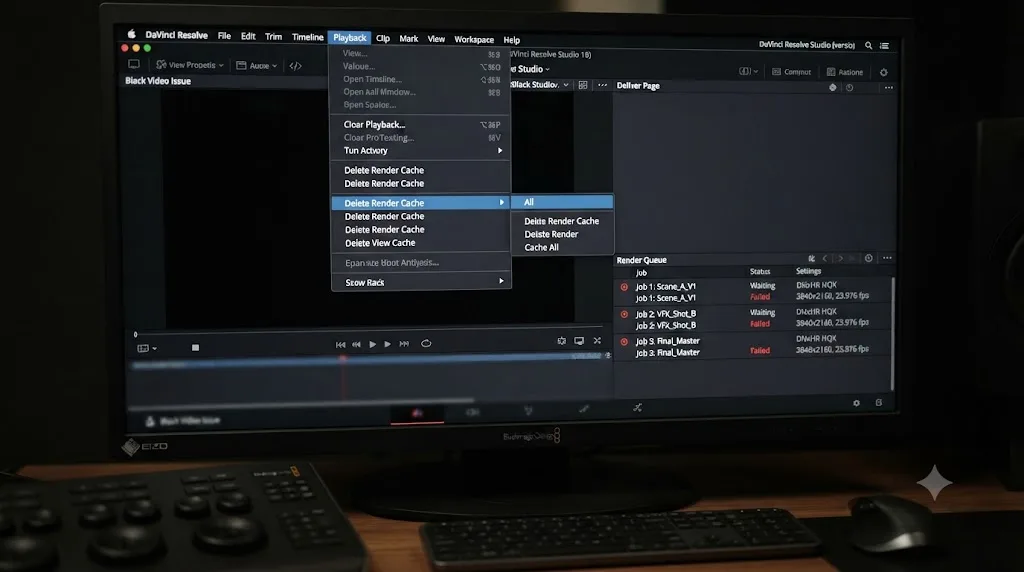
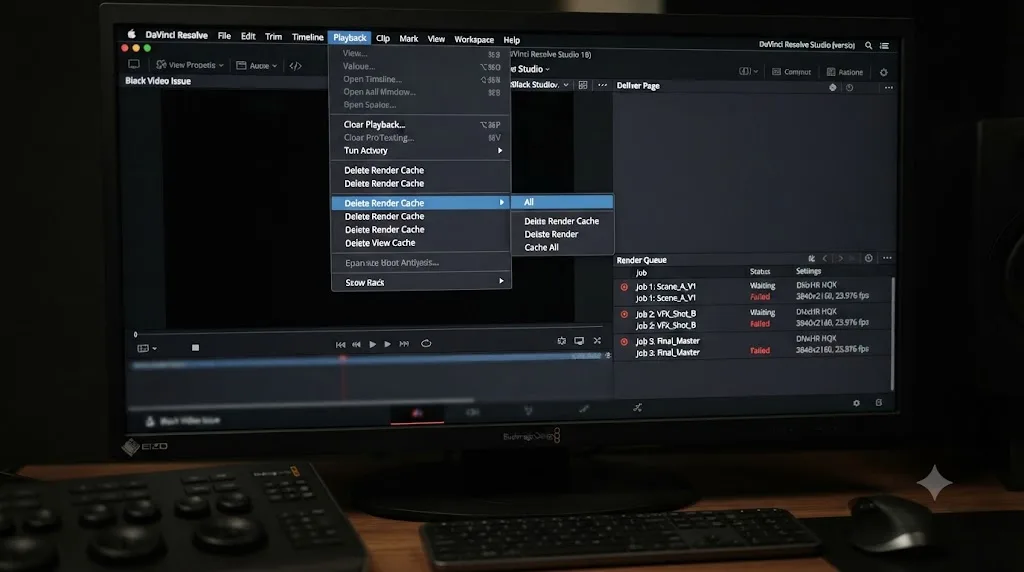
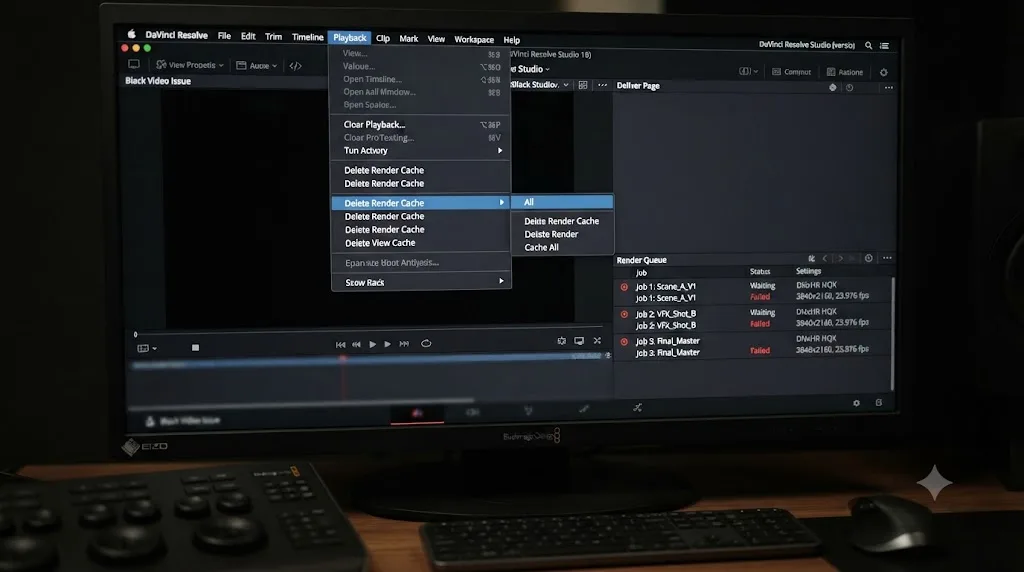
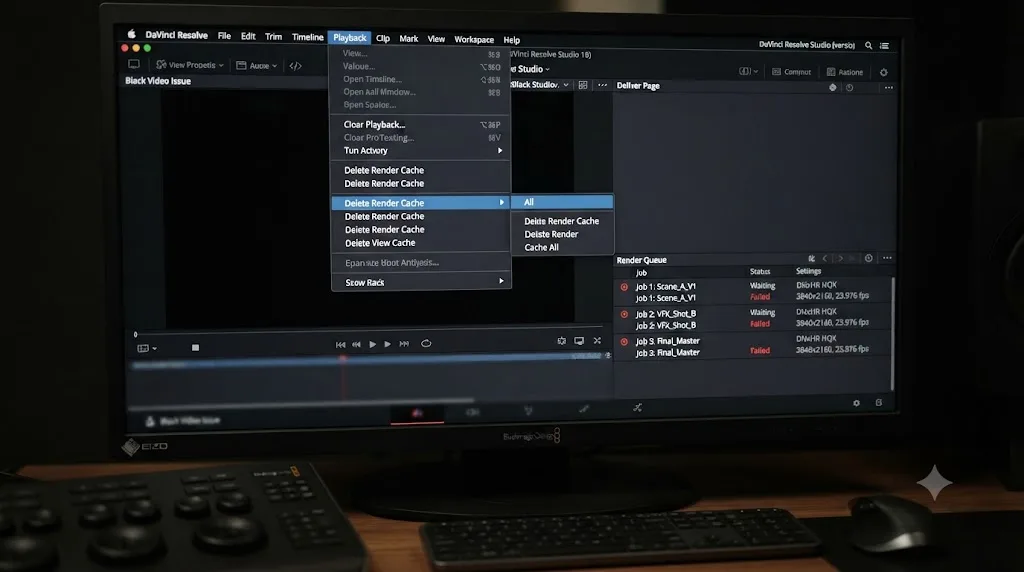
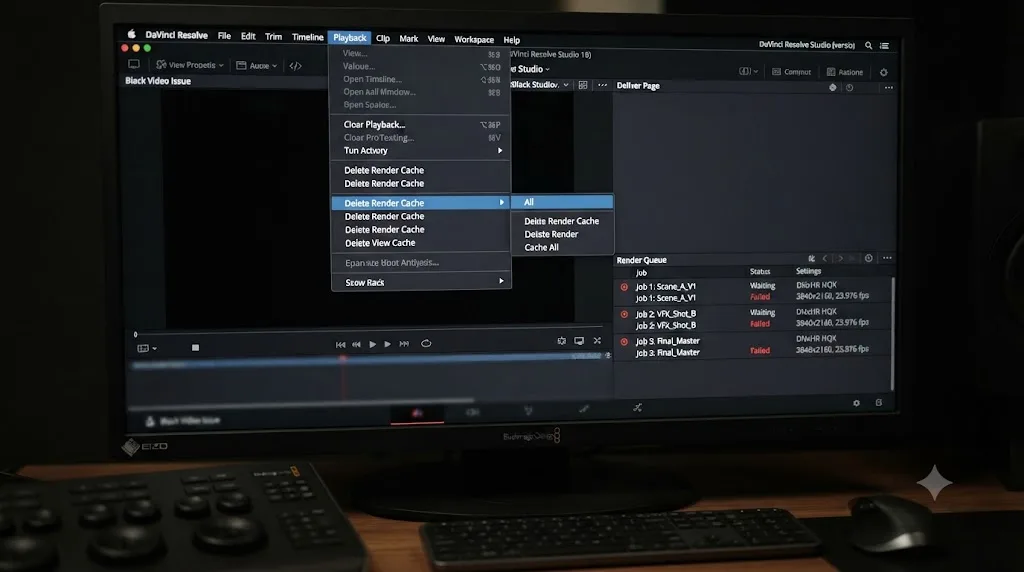
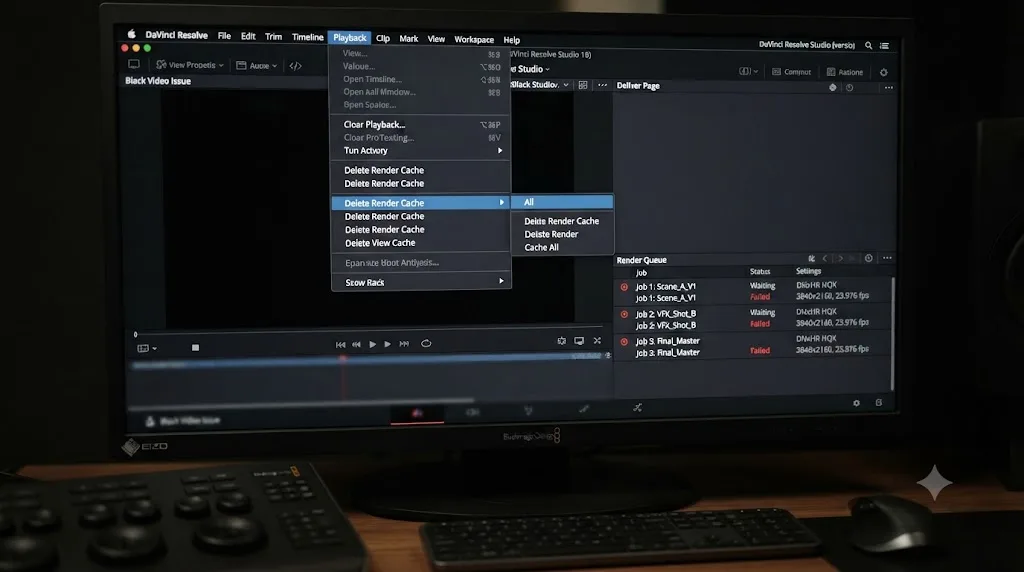
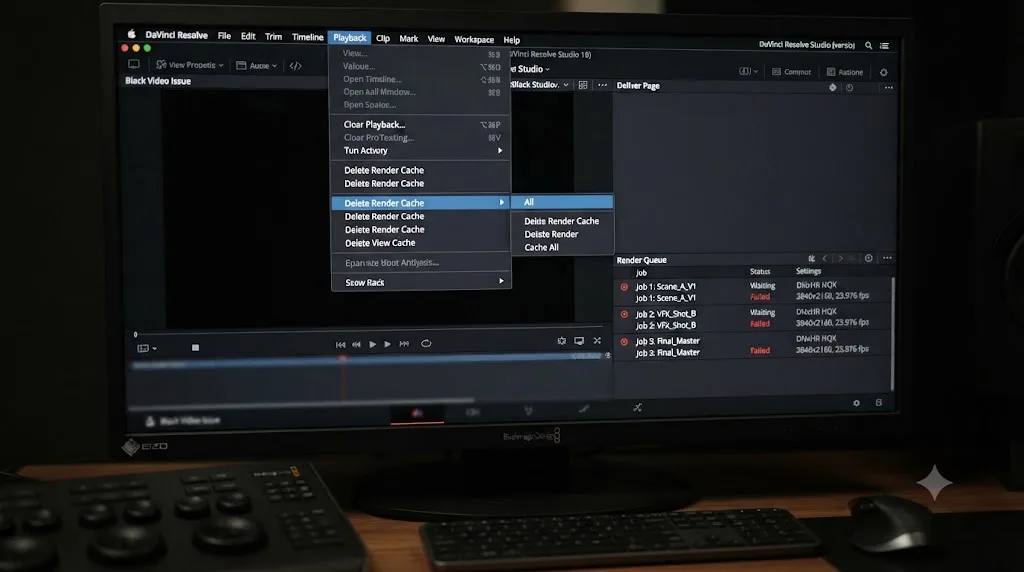
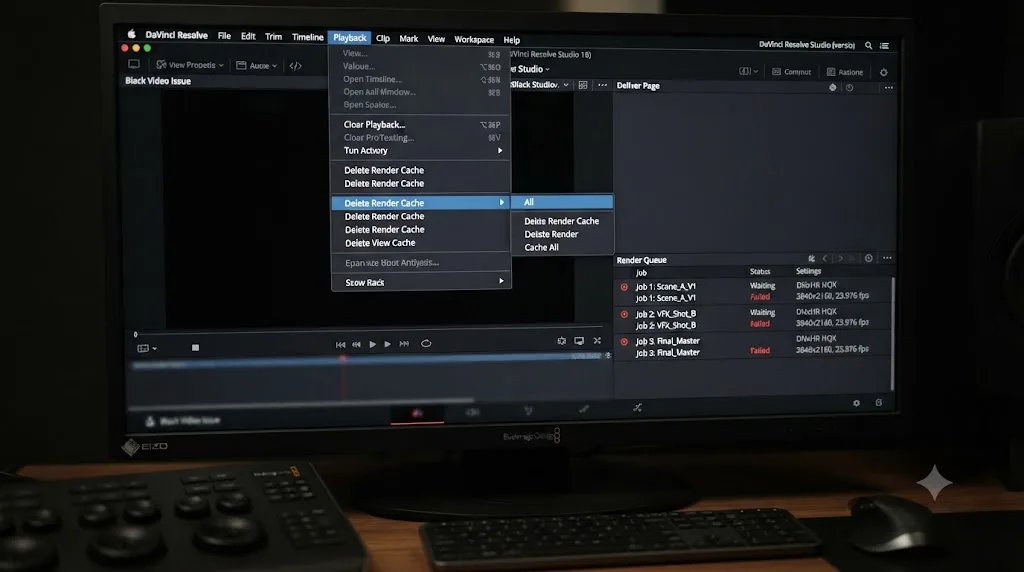
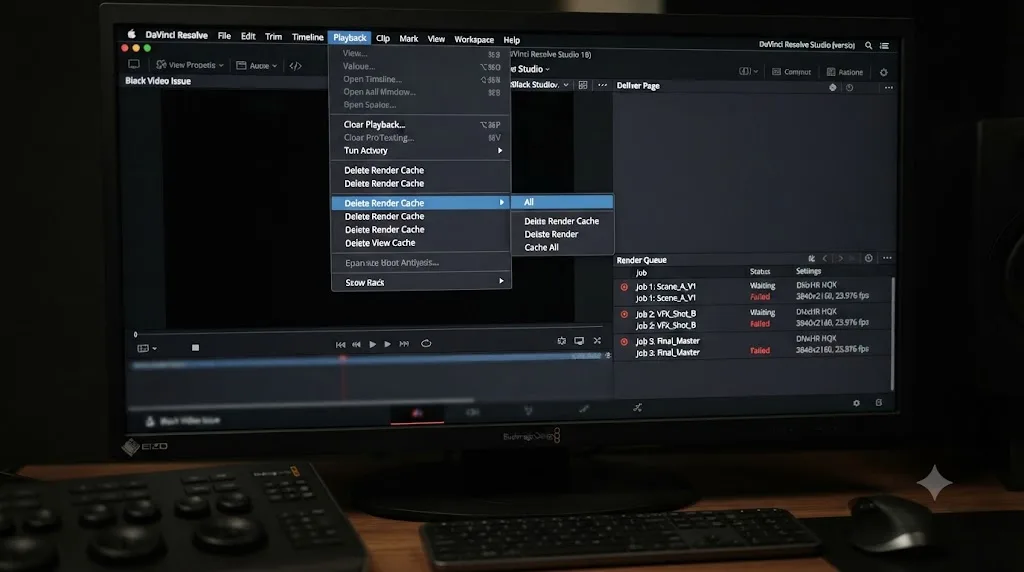
Open the Playback menu and choose Delete Render Cache, then All, rather than trying to guess which specific section is corrupted. On the Deliver page, uncheck "Use render cached images" for your next export as well, which forces Resolve to recompute every frame fresh instead of pulling anything from disk. It's slower, but a slow export that's actually correct beats a fast one that isn't. If this fixes it, the cache was never a permanent record of your work, it was a convenience that broke, and rebuilding it costs you render time, not any actual footage or grading.
A corrupted render cache is one of the few causes in this entire guide that has nothing to do with your footage, your effects, or your hardware, which is exactly why it's worth ruling out with one menu click before you go chasing a GPU driver or a Fusion node that was never actually broken. Delete Render Cache first if your black section is new and your project hasn't changed.
Is this an AMD hardware encoder bug with interlaced footage?
If your black sections are scattered randomly through the export rather than confined to one clip or one effect, and you're on an AMD GPU working with interlaced source material, there's a known compatibility gap worth ruling out specifically.
A thread on Blackmagic's forum titled "Random Black Screen on Exported Video" describes users hitting random blank or black sections in an exported file even though the same footage plays back correctly on the timeline, with the pattern shifting to a different location on each re-export rather than staying fixed, according to that forum thread. Reported workarounds from that same discussion include dropping Render Speed to 10 or 25 fps rather than Maximum, since some hardware simply can't keep up at full speed, and, specific to interlaced material on AMD hardware, disabling hardware-accelerated H.264 processing entirely.
This is a narrower fix than it sounds, and it's worth being precise about when it applies. It's specific to AMD GPUs, specific to interlaced source footage, and specific to the H.264 hardware encoder path. If you're progressive scan, on NVIDIA or Apple Silicon, or exporting a different codec entirely, this particular bug almost certainly isn't your cause, and you should look at the GPU selection and render cache sections above instead. Where it does apply, the fix lives on the Deliver page: switch the Encoder from your GPU's hardware option to Native, which routes the encode through the CPU in software and sidesteps the specific hardware path where this bug lives.
A black frame pattern that moves to a different location on every re-export, rather than landing at the same timecode each time, points at a resource or hardware problem rather than anything deterministic in your timeline. That distinction matters more than the specific AMD detail: a repeatable failure point is worth investigating in your project, and a moving one is worth investigating in your hardware.
Are your Data Levels or Color Space Tag crushing the image toward black?
If your export isn't literally 0-black but looks crushed, high-contrast, or wrong in a way that reads as "basically black" on a casual look, you've moved out of connection-problem territory and into color management, which is a completely different fix.
DaVinci Resolve works internally in full data levels regardless of what your source footage carries, and converts back to video levels on the way out during export. When your Deliver page settings don't match what your footage and project actually need, the result crushes: shadows collapse toward zero, highlights blow out, and the overall image reads as significantly darker and more contrasty than what you graded. A thread on Blackmagic's forum titled plainly "Data Levels: Full or Video?" exists because this exact confusion is common enough to need its own discussion, as the thread title itself suggests.
This isn't always a simple "pick the right setting and you're done" fix, either, and it's worth knowing why before you chase a false match. Setting Data Levels to Full on the Deliver page can make an export match what Resolve's own player shows you, which feels like confirmation you've found the right setting. But desktop players read levels inconsistently, and making a file look right in one specific player by adjusting Data Levels can make that same file look wrong somewhere else entirely, including YouTube or a broadcast QC pass. The only verification that actually tells you the truth: export the file, reimport it into a brand new project, and see if it matches your original timeline. If it does, your settings are correct regardless of how any single external player renders it.
Real-world reports back up how bad this can look when it's wrong. On Creative COW's forums, user Paul Guarri described the symptom bluntly: "blacks are horribly crushed and the video has a strong contrast," in his account of the problem. In that specific case, the root cause turned out to be a macOS ColorSync conflict with a custom monitor calibration profile rather than Resolve's export settings themselves, and switching away from a custom calibrated display profile back to the system default resolved it. That's a useful reminder on its own: not every "my export looks wrong" report is actually about the export file. Sometimes it's about the screen you're judging it on.
Color space tagging compounds the same problem from a different angle. If you're working in a wide gamut intermediate color space, your Output Color Space setting on the Deliver page has to match what you're actually delivering for, not what you happened to leave selected. Colorist Cullen Kelly, writing a color management setup guide, recommends switching "the Timeline color space to Da Vinci Wide Gamut Intermediate" and then setting "the Output color space to Rec.709 Gamma 2.4," explaining he chose that pairing "because it is the standard that my reference monitor is calibrated to," per his color management cheat sheet. Kelly's broader philosophy on the raw footage side is just as direct: "don't do anything. Don't tone map, don't compress, and don't change anything about the dynamic range of the image" until you've deliberately chosen your output transform. Skip that deliberate choice and leave a mismatched tag on the Deliver page instead, and the crushed, near-black result you're troubleshooting is often just that mismatch playing out exactly as designed.
This isn't confined to native Resolve exports either. On the Voukoder forum, a plugin used for exporting through other applications, user S1LENCE reported the identical family of symptom coming out of Resolve specifically: "when I export video through voukoder, the black colors become very contrasty," while the same source footage exported cleanly from a different NLE, as described in that thread. The fix that resolved it, confirmed directly by the reporter with "yes, that helped and solved the problem," traced back to a color space setting mismatch, reinforcing that this family of bug lives in Resolve's color management tagging rather than being specific to any one delivery pipeline.
Crushed blacks and a genuinely black file look similar at a glance but come from opposite directions: one is a picture that's actually missing, and the other is a picture that's present but mis-tagged on its way out the door. Check Data Levels and your Color Space Tag on the Deliver page's Advanced settings before you assume anything about your grade is actually wrong.
Is your HDR export just failing to trigger HDR mode, not actually black?
If you're delivering HDR and a TV or player shows something wrong, it's worth being precise about what "wrong" actually means here, because it's a genuinely different failure from anything covered above.
Consumer HDR displays rely on embedded metadata, specifically MaxCLL, the maximum content light level across your entire program, and MaxFALL, the maximum frame-average light level of the single brightest frame, both measured in nits, to decide whether to switch into HDR mode at all and how to map your PQ content to that specific screen's brightness range, per a breakdown of generating this metadata in DaVinci Resolve. When that metadata is missing or incomplete, displays fall back to default mastering values rather than the values your actual grade used, which can mean a TV stays in SDR mode entirely rather than switching to HDR, or maps your image incorrectly once it does switch.
On the Deliver page, this is fixable directly. Enable HDR10+ in Project Settings under Color Management, run Analyze All Shots on the Color page's HDR10+ panel to generate accurate per-shot metadata, and check "Embed HDR10 Metadata" in your export settings. That gets the metadata into the file. Whether a specific TV or platform actually reads and honors it is a separate question you can't fully control from inside Resolve, since consumer hardware varies in how strictly it checks for and responds to this metadata.
This genuinely isn't the same bug as a fully black SDR export, and treating it as one wastes time in the wrong menu entirely. A missing MaxCLL/MaxFALL tag affects how an HDR-capable display interprets brightness, not whether Resolve's own render pipeline produced a picture. If your file plays correctly inside Resolve and in a computer media player but a specific TV won't switch modes or looks washed out, this section is your answer. If the file itself is black in every player including a computer, it isn't, and you're back in the Fusion, GPU, or cache sections above.
HDR metadata problems and a genuinely black render live in completely separate parts of the pipeline, and confusing "my TV won't switch to HDR mode" with "my file is actually black" sends you looking for a fix in a menu that was never going to help. Confirm the file plays correctly in a plain computer media player before you spend time in the HDR10+ panel at all.
Are black bars or black edges a different problem than a fully black frame?
Yes, and it's worth its own short section because it's easy to mistake for a milder version of everything above when it's actually a completely separate setting.
On Creative COW's forums, user Spazz Nielsen described this precisely: "when I export from Davinci my graded clips exports has a 2-3 pixels black edge in both top, bottom and left right and I will have to crop the final project to get rid of this," in the original report. That's not a rendering failure or a missing frame. It's blanking, the small border some formats and camera profiles reserve around the visible image, showing up in a delivery where it shouldn't.
Two fixes were confirmed effective in that same thread, and they live in different menus depending on which side of your pipeline is adding the border. Kevin Cannon's suggestion: "Try going into Format > Input > Source blanking OFF," per his reply, addresses blanking baked into your source footage on the way in. Colorist Marc Wielage offered the output-side fix in the same thread: "Check to see if the blanking controls in Output Sizing have shifted beyond the defaults. Also, under Color -> Output Blanking, you'll see various presets. Choose the one applicable to your specific aspect ratio, and the blanking should go away," as he described it. Spazz Nielsen confirmed the source-side fix resolved the specific case in that thread.
Not every black-adjacent report in this space has a confirmed resolution, and it's worth being honest about that rather than implying every forum thread ends in a fix. A separate Creative COW thread, "Black screen rendering problem," shows user Flynn Anderson describing the more severe version of this whole guide's core symptom directly: "when I go to view the rendered video it just plays through showing black," per that report. Marc Wielage responded asking for the operating system, source file details, and hardware specs, standard diagnostic questions, but the thread doesn't show a confirmed fix. That's a useful data point on its own: this symptom family is real, well-documented, and genuinely doesn't always resolve to one universal cause, which is exactly why this guide walks through several distinct branches instead of promising a single checkbox fix.
A black edge of a few pixels around an otherwise normal picture and a completely black frame are different bugs wearing similar-sounding descriptions, and Format blanking settings will do nothing for a Fusion node that's actually disconnected. Match your actual symptom to the right section rather than assuming a mild version of one problem explains a severe version of another.
Is this a known bug Blackmagic has already fixed?
Check your version before you spend real time on any section above, since Blackmagic ships fixes touching exactly this part of the pipeline regularly, and troubleshooting a bug that no longer exists in the current build wastes the most time of any mistake on this list.
DaVinci Resolve 21.0.2, released July 1, 2026, addressed H.264 and H.265 NVIDIA decode performance, according to Newsshooter's coverage of the update, with No Film School's report on the same release describing improved H.265 playback performance on NVIDIA GPUs specifically. Decode performance work and the GPU-driven pipeline covered earlier in this guide sit close enough together that a release actively touching this territory is worth being on before you chase a workaround it might have already resolved.
None of the causes in this guide are exclusively tied to one specific Resolve version, and that's an honest limit worth stating plainly. Fusion node handling, render cache behavior, GPU driver interaction, and Data Levels conversion are ongoing characteristics of how the application is built, not single bugs with a single patch each. Checking your version and updating is always a reasonable first move, but treat it as a filter that clears the easy cases, not a guarantee that covers everything above.
Every fix in this guide assumes you're already on the current point release, because a black export you've spent an evening diagnosing might simply not exist anymore on the build Blackmagic shipped last week. Check the About screen against current release notes before you touch anything else.
Does the free version behave differently than Studio here?
Yes, in ways that shift both how often you'll hit certain causes on this list and which fixes are even available to you.
Hardware-accelerated H.264 and H.265 encoding is gated to DaVinci Resolve Studio on Windows and Linux, per Blackmagic's own Supported Formats and Codecs documentation, while macOS gets hardware H.265 through Apple's VideoToolbox on both editions equally. That means free version users on Windows and Linux fall back to software encoding automatically, which is slower but structurally shields them from the AMD hardware encoder bug and similar GPU-encoder-specific failures covered earlier, simply because they never had access to the buggy hardware path in the first place.
GPU hardware decode acceleration follows a related pattern. It's a Studio-specific feature, meaning free version users decode source footage in software by default across every platform, per Puget Systems' breakdown of hardware decoding support in DaVinci Resolve Studio. If a GPU decoder bug were behind your black export, free version users would never encounter it, since the decode never touches that hardware path to begin with.
| Question | Free version | Studio |
|---|---|---|
| Hardware H.264/H.265 encode on Windows/Linux | No, software only | Yes, GPU vendor's encoder |
| Hardware H.264/H.265 encode on macOS | Yes, via VideoToolbox | Yes, via VideoToolbox |
| Hardware source decode | No, software only, all platforms | Yes, if enabled in Preferences |
| Exposed to AMD hardware encoder bugs | Lower on Windows/Linux, same as Studio on macOS | Full exposure wherever hardware encode is active |
| Fusion node and render cache bugs | Same exposure, unrelated to license tier | Same exposure, unrelated to license tier |
| HDR10 metadata embedding | Available | Available |
The free version's biggest speed limitation, no hardware-accelerated encode on Windows and Linux, doubles as a quiet shield against exactly the encoder-driven black export bugs covered in this guide. If you're on Studio and fighting a black export tied to your encoder, you have more render speed and more places for a hardware bug to hide than a free version user working the identical project would.
Do Windows, macOS, and Linux fail differently?
The underlying causes are the same across platforms, but each operating system adds its own specific wrinkle worth checking first.
| OS | Specific trigger | What to check first |
|---|---|---|
| Windows | Laptop defaulting to integrated GPU; driver regression after an update | Windows Graphics settings, High Performance; confirm GPU selection in Resolve Preferences |
| macOS | ColorSync conflicts with custom monitor calibration profiles; Apple Silicon media engine quirks | Switch to the system default display profile before troubleshooting Data Levels; confirm current point release |
| Linux | Narrower hardware encoder and decoder support overall | Confirm your GPU and driver combination is actually validated for your build before troubleshooting further |
Windows carries the most moving parts, mostly through hybrid graphics. A laptop with both an integrated chip and a discrete GPU can silently route Resolve's entire render pipeline through the weaker chip unless you force it otherwise, both in Windows' own Graphics settings and inside Resolve's Memory and GPU preferences, covered in full earlier in this guide.
macOS adds a wrinkle that's easy to misdiagnose as a Resolve bug when it's actually a system-level display setting. Paul Guarri's crushed-blacks report traced back to a ColorSync conflict with a custom monitor calibration profile rather than anything in Resolve's export settings, which is worth remembering before you spend an hour adjusting Data Levels on a file that was correct all along. Apple Silicon's dedicated media engine is fast and generally reliable, but confirming you're on the current point release before assuming a black export is a hardware limitation is still the cheaper first move.
Linux trails both platforms on hardware encoder and decoder validation, so a black export tied to a specific codec there is more often a genuine support gap than a bug with a named fix. If you're hitting this on Linux with a specific delivery codec, switching the Encoder to Native or rendering a ProRes or DNxHR master and transcoding it afterward sidesteps the gap entirely rather than fighting it.
What's the right order to try these fixes in?
Work through this list top to bottom. Each check costs less time than the one after it, and matching your specific symptom to the table earlier in this guide should already point you toward one or two of these before you start.
- Confirm the file is actually 100% black, not just crushed, by playing it in VLC or QuickTime and checking a waveform if you have one.
- If a specific clip or title is black, open the Fusion page and confirm your final node connects to MediaOut1, checking every Merge node's Background input.
- If an Adjustment Clip with Optical Flow or Vector Motion Blur is involved, clear the cache and restart DaVinci Resolve.
- Open Preferences, System, Memory and GPU, and confirm the correct discrete card is selected, not an integrated GPU on Auto.
- Delete the render cache from the Playback menu and export again with "Use render cached images" unchecked.
- If black sections are scattered and you're on an AMD GPU with interlaced footage, switch the Encoder to Native.
- If the image is crushed rather than literally black, check Data Levels and the Color Space Tag in the Deliver page's Advanced settings.
- If you're delivering HDR and a TV won't switch modes, check Embed HDR10 Metadata separately from anything above.
- Update your GPU driver to the current Studio branch and confirm DaVinci Resolve is on its latest point release.
Each step here isolates one specific layer of the pipeline, and that ordering is deliberate. Confirming the pattern first costs nothing and prevents you from fixing the wrong half of the problem. Fusion and the Adjustment Clip check are both fast, specific tests. GPU selection and the render cache are one layer deeper but still cheap. Data Levels and HDR metadata only apply if your earlier check showed a crushed image rather than a truly black one, which is exactly why confirming that distinction first saves you from working through sections that were never going to apply to your case.
How do you stop this before your next export?
Every fix above has a cheaper version that happens before you ever click Render, and it's worth building into your workflow if this has cost you a deadline once already.
Test-render before you commit to a full export. Set In and Out points around the busiest sixty seconds of your timeline, the section with the most Fusion titles, Adjustment Clips, or effects stacking, and export just that range with your real delivery settings. A disconnected Fusion node or a GPU selection problem shows up in two minutes this way instead of forty.
Keep your GPU driver updates deliberate, not automatic, especially mid-project. A working export pipeline includes the specific driver version it's working on as part of that pipeline, and an unplanned driver update the night before a delivery is how a working render becomes a black one with zero warning.
Verify color management once per project, not once per export. Pick your Timeline color space and Output Color Space deliberately at the start, confirm the Deliver page's Color Space Tag and Data Levels match that choice, and reimport a test export into a fresh project to check it actually matches before you commit to delivering dozens of files against the same, possibly wrong, settings.
Clear your render cache on a schedule for long projects, not only after something breaks. A cache that's accumulated through several crashes, drive changes, or interrupted renders is exactly the kind of cache that eventually poisons an export silently, and a deliberate Delete Render Cache before a big delivery costs you rebuild time on your terms instead of discovery time on a client's deadline.
And if you're shooting or delivering HDR regularly, build the Analyze All Shots and Embed HDR10 Metadata steps into your normal Deliver page routine rather than treating them as an afterthought only when a specific TV complains.
The fastest path to a visible export
Start by confirming what you actually have: play the file outside Resolve and check whether it's genuinely 0-black or just crushed, because that one distinction sends you down completely different paths. For a fully black clip or title, check the Fusion node tree first, then your GPU selection, then the render cache, in that order, since those three cover the overwhelming majority of connection-style failures. For a crushed, high-contrast image that only reads as "basically black," Data Levels and the Color Space Tag on the Deliver page are where the actual problem lives, and no amount of Fusion troubleshooting will touch it. If you're on an AMD GPU with interlaced source footage and black sections that move on every re-export, that's a narrower, specific bug with its own fix. And if a TV won't switch into HDR mode, that's not the same failure as any of the above at all.
If the part that's actually eating your afternoon is finding these settings in the first place, not knowing what they do once you find them, that's a narrower problem than a rendering bug. TryUncle is an AI tutor for DaVinci Resolve on macOS — ask in plain words and Uncle points at the exact control on your screen. It's a paid app at founder pricing, not a substitute for knowing your export pipeline, but it's built for exactly the moment you're staring at the Deliver page's Advanced settings wondering which checkbox a forum thread from two versions ago was actually describing. Other tools in this space, like Sottocut, PremiereCopilot, heyeddie.ai, and cutagent.ai, mostly automate edits or answer chat questions about your footage; TryUncle instead watches your actual screen and points at the live control, which is a different job than any of them are doing. Ask TryUncle for the current founder rate if that's the gap you're stuck on. For everything else, work through the order in this guide from the top, and you'll almost certainly find your actual cause before you reach the bottom of the list. If the black frames turn out to be H.265-specific rather than a whole-file problem, our dedicated H.265 black frame export guide picks up exactly where the codec-specific version of this problem lives, and if audio is playing while only the viewer goes black rather than the export itself, that's the mirror-image problem our plays audio but no video guide covers in full. For renders that fail outright instead of finishing black, our render troubleshooting guide covers that earlier half of the same overall pipeline.
Frequently asked questions
- Why does my DaVinci Resolve export come out completely black when the timeline plays fine?
- Most often a Fusion composition disconnected from its MediaOut node, a corrupted render cache being reused during export, or DaVinci Resolve rendering on the wrong GPU. None of these throw an error, because the render engine only checks that it wrote a file, not that the file has an actual picture in it. Check the Fusion node tree first, then Delete Render Cache, then confirm your GPU selection in Preferences.
- Why is my export crushed and contrasty instead of fully black?
- That's a Data Levels or Color Space Tag mismatch, not the same bug as a fully black file. DaVinci Resolve works internally in full data levels and converts to video levels on export. If your Deliver page tags don't match your actual footage, blacks crush down and highlights blow out, which can look close to black on a badly calibrated display even though the file itself isn't 0 across the board.
- Does turning off hardware acceleration fix a black DaVinci Resolve render?
- Sometimes, yes. If Resolve is decoding your source footage or encoding your delivery codec through a GPU path that's failing, disabling hardware acceleration forces the same job through the CPU in software, which is slower but sidesteps the broken hardware path entirely. Try it on both sides: Preferences, System, Decode Options for source footage, and the Encoder dropdown on the Deliver page for the output codec.
- Why does an Adjustment Clip cause a black screen in DaVinci Resolve?
- It's a documented, if narrow, bug: stacking certain GPU-heavy effects, particularly Optical Flow and Vector Motion Blur, on an Adjustment Clip above other clips can render the frame black, according to a thread on Blackmagic's own forum. Clearing the cache and restarting Resolve reportedly resolves it, though it can recur when you build a new Adjustment Clip later in the same session.
- Should Data Levels be set to Full or Video on the DaVinci Resolve Deliver page?
- Video, for almost everyone delivering a standard file for playback, YouTube, or broadcast. Full data levels can make an export match what you see inside Resolve's own player, but that match is often an illusion caused by how desktop players read levels, and it can make the same file look wrong everywhere else, including YouTube and broadcast QC. Export a file, reimport it into a fresh project, and confirm the levels match before you trust either setting.
- Why does my HDR export from DaVinci Resolve look wrong or won't switch a TV into HDR mode?
- This isn't the same bug as a black SDR export. Consumer HDR displays need embedded MaxCLL and MaxFALL metadata to switch into HDR mode at all, and Resolve only writes some of that metadata at the container level, which isn't always enough. On the Deliver page, enable HDR10+ metadata generation and check Embed HDR10 Metadata, and confirm your TV or player actually reads that flag before assuming the grade itself is broken.
- Can a corrupted render cache really make an entire export come out black?
- Yes. Resolve's render cache stores pre-computed frames so playback and export don't have to recompute expensive effects every time. If a cached frame gets corrupted, most commonly after a crash or an interrupted render, the export can inherit that corruption as a black frame or section instead of throwing any error, since the render engine trusts the cache is valid. Delete Render Cache and export fresh before you chase anything else.
- Is a black bar or black edge around my exported frame the same problem as the whole video being black?
- No, and it has a completely different fix. A black edge of a few pixels around an otherwise normal picture is a blanking or format mismatch, not a rendering failure. Check Format, then Input, then Source Blanking, and separately check Output Blanking under the Color menu for a preset that matches your actual aspect ratio.
Sources
- Blackmagic Design Forum: Random Black Screen on Exported Video
- Blackmagic Design Forum: Adjustment Clip yields black screen
- Blackmagic Design Forum: Data Levels: Full or Video?
- Creative COW Forum: Black screen rendering problem
- Creative COW Forum: Crushed blacks in QuickTime
- Creative COW Forum: Black bars on edges of exported clips
- Voukoder Pro Forum: Problem with black color output on DaVinci Resolve
- Cutsio: How to Fix Black Screen Preview in DaVinci Resolve
- Cutsio: How to Fix Fusion Effects Not Rendering in DaVinci Resolve
- Eduardo Oroz: Fix 'MediaOut1 No Frame Available' Error in DaVinci Resolve Fusion
- Position Is Everything: How to Fix Export Errors in DaVinci Resolve
- Beginners Approach: Most Common DaVinci Resolve GPU Issues (& How to Fix Them)
- Frame.io: A Cheat Sheet for DaVinci Resolve Color Management Setup (Cullen Kelly)
- Daejeon Chronicles: Generate MaxCLL and MaxFALL HDR10 Metadata in DaVinci Resolve
- Puget Systems: What H.264 and H.265 Hardware Decoding is Supported in DaVinci Resolve Studio?
- Puget Systems: Hardware Recommendations for DaVinci Resolve
- DaVinci Resolve - Tech Specs (Blackmagic Design)
- DaVinci Resolve Supported Formats and Codecs, July 2025 (Blackmagic Design)
- Newsshooter: DaVinci Resolve 21.0.2 Update
- No Film School: DaVinci Resolve 21.0.2 Update Adds Faster Image Bypass Switching, Improved H.265 Playback, and More
Put this guide to work with TryUncle.
Ask about the step you’re on. TryUncle sees your screen and points at the control you need, so you can keep learning in your own project.
Get TryUncle for Mac or WindowsKeep reading
Fixes · Jul 18, 2026 · 25 min
DaVinci Resolve H.265 Export Shows Black Frames: The Fix
Why H.265 exports in DaVinci Resolve show black or corrupted frames, and the exact fix order: frame reordering, decode acceleration, CPU fallback.
Fixes · Jul 18, 2026 · 26 min
DaVinci Resolve Plays Audio But No Video: The Full Fix List
Timeline plays sound but the viewer is black? Check the video track, GPU decode, codec support, and clip opacity, in that order. Full fix list.
Fixes · Jul 7, 2026 · 24 min
DaVinci Resolve Not Exporting? Fix a Stuck or Failed Render
Why DaVinci Resolve renders get stuck at 0% or 99%, or fail with no error, and the exact checks that get a stalled export moving again.