Articles / Fixesupdated for DaVinci Resolve 21.1 (October 2026)
DaVinci Resolve Replace Clip Ignores In and Out Points
Quick answer
DaVinci Resolve Replace Edit ignores In and Out marks in the source viewer. It aligns the source and timeline playheads, then uses the timeline target or timeline marks to determine the replacement area. To use a marked source range, use Overwrite or Fit to Fill instead.
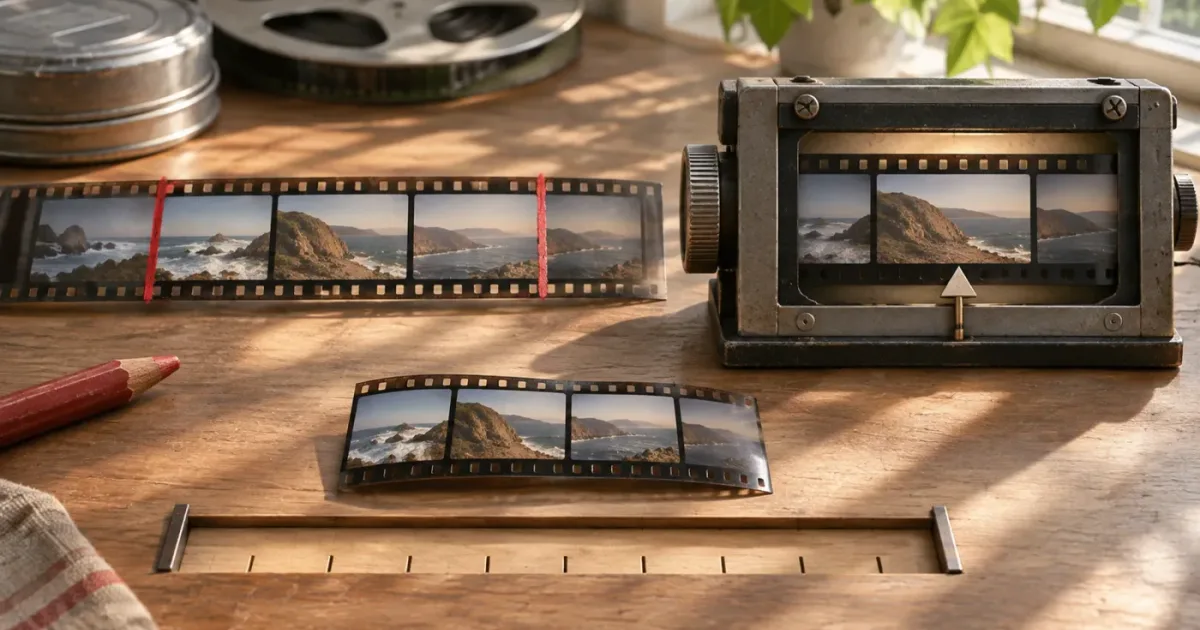
I’ve seen Replace Edit look like it ignored the work someone just did in the source viewer. The marks are still there, but this command doesn’t use them to choose the incoming range. Once you separate source marks, source playhead, and timeline target, the behavior makes sense.
Why does DaVinci Resolve Replace Edit ignore In and Out points?
In DaVinci Resolve 21.1, Replace Edit ignores source viewer In and Out marks by design. Instead, it uses the source and timeline playheads to align the incoming picture or sound with the timeline. The target clip’s edges define the duration when no timeline In or Out marks narrow the operation.
That distinction is easy to miss because In and Out marks are visible in the source viewer, and they usually define the part of a clip you want to edit. But the marks don’t control every edit command in the same way. Blackmagic’s DaVinci Resolve 20 Beginner’s Guide says that Replace Edit ignores source viewer marks. The DaVinci Resolve 20 Editor’s Guide explains the playhead alignment and the role of timeline marks.
Replace Edit ignores source In and Out marks, but it does use the source and timeline playhead positions.
A Replace Edit is useful when you want to substitute different media while keeping the timeline’s timing. For example, you may want another take of a line, a different camera angle, or a shot with a better expression. You move the source playhead to the important moment, place the timeline playhead on the moment it should align with, and run Replace. Resolve works out what source frames fill the destination.
The incoming duration is not simply whatever duration you marked in the source viewer. With no timeline In or Out marks, the timeline clip’s start and end provide the duration. If timeline marks define a smaller replacement area, those marks can limit what changes. That’s why it’s more accurate to say “Replace uses the timeline target and playheads” than “Replace always uses the whole selected clip.”
This isn’t a Resolve 21.1 bug, and clearing the source marks won’t change the command’s rule. The current version listed on Blackmagic Design’s support page is DaVinci Resolve 21.1. The guides cited here document the same standard Replace behavior in Resolve 20, while Blackmagic’s current Edit page overview distinguishes Replace from Overwrite and Fit to Fill. If a later version changes the behavior, check its manual before relying on the older description.
How does Replace Edit choose the source frames?
Think of Replace as an alignment operation. The source playhead identifies a reference frame in the incoming material. The timeline playhead identifies the frame where that source reference should line up. The target clip’s bounds, or the timeline’s In and Out marks, tell Resolve how much of the destination is involved.
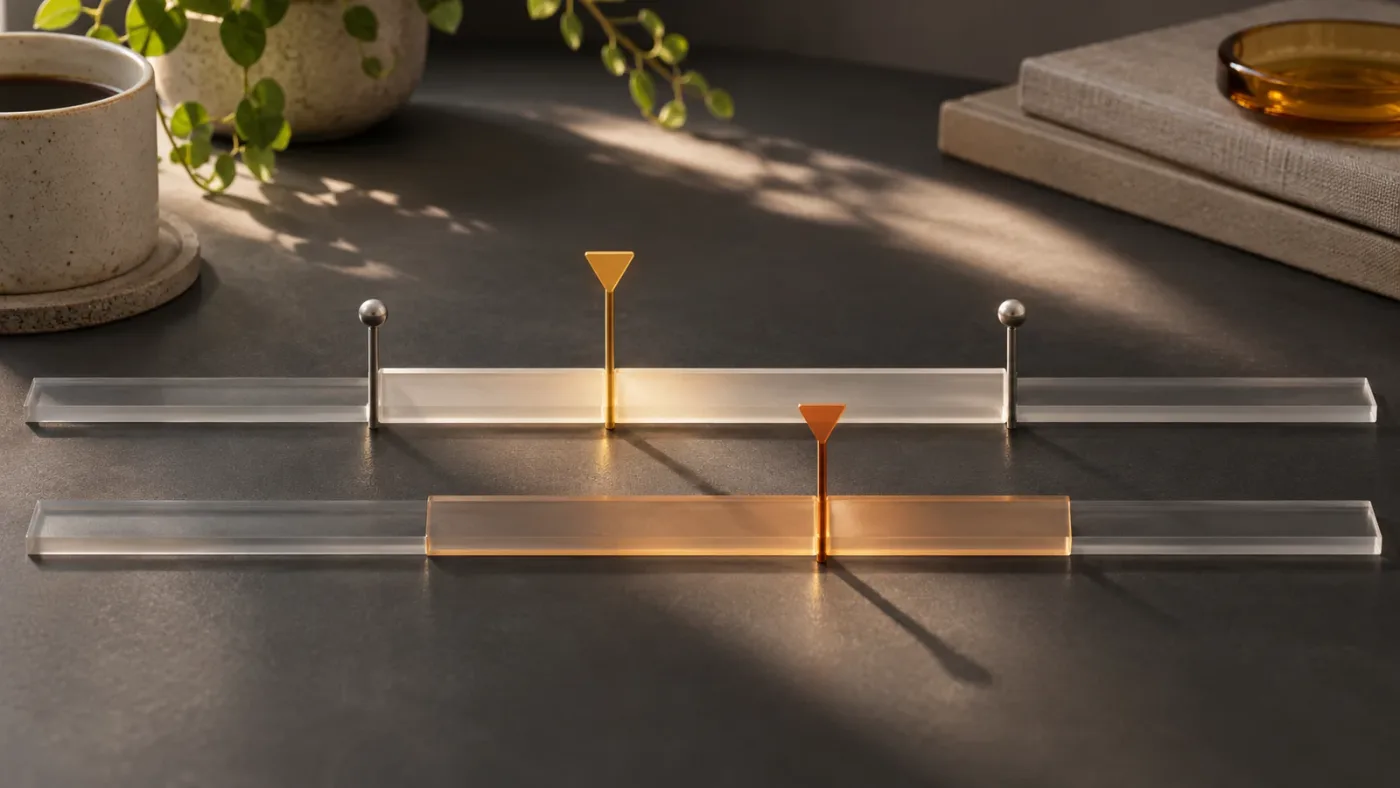
The source and timeline playheads act like two matching pins. Put one pin on the useful moment in the source. Put the other on the timeline moment that should match it. Resolve then selects the surrounding source frames needed to cover the timeline destination.
That calculation can produce source footage before or after the frame under the source playhead. It depends on where the source reference lands relative to the destination and how long the destination is. So if the source playhead is on a blink, a spoken word, or a hand movement, that moment can align with the timeline playhead while the rest of the clip fills around it.
Here’s how each control contributes:
| Control or timeline state | What it contributes to Replace Edit |
|---|---|
| Source viewer In and Out marks | Not used as boundaries for the incoming source range |
| Source viewer playhead | Identifies the source reference frame for alignment |
| Timeline playhead | Identifies the timeline frame aligned with the source reference |
| Target clip start and end | Define the replacement duration when timeline marks don’t limit it |
| Timeline In and Out marks | Can limit the area affected on the timeline |
| Track destination controls | Determine which tracks receive video or audio |
This helps explain a result that seems random. If Resolve used the source playhead as intended, the marked source range might still be ignored and footage outside that range may appear. It may also seem to begin at an unexpected point because the playheads were not aligned on the moments you had in mind.
For Replace Edit, the source playhead is the alignment reference; source marks are not the incoming range.
Use this short mental checklist before pressing the command:
- What source frame should line up with the timeline?
- Where is the timeline playhead?
- What exact timeline region should change?
- Is there a timeline In or Out mark affecting that region?
- Which tracks are targeted?
If you can answer all five, the edit is easier to predict. If you can’t, take a moment to check the viewers and timeline before you edit.
How do I replace the intended clip without using source In and Out marks?
Set the source playhead to the frame you want to align, verify the timeline target, and check track destinations before running Replace. Then inspect the edited range in context. Those checks matter more than the source marks.
-
Load the original media item into the source viewer. Select the intended source clip in the Media Pool and open it in the source viewer. Check the clip name and the image. Don’t assume that double-clicking a timeline clip has loaded the original source media; the viewer can show the timeline edit instance instead.
-
Move the source playhead to the useful reference frame. Scrub to the moment you want aligned with the timeline. If you already marked a source In and Out, leave them alone or clear them if they’re distracting. Either way, don’t treat those marks as instructions to Replace.
-
Position the timeline playhead. Put it on the moment that should match the source reference. If you’re changing a line in an interview, for instance, use the timeline moment where the key word or action should land, not an arbitrary point near the middle of the shot.
-
Confirm the target clip or marked timeline region. Check the active timeline and make sure the clip under consideration is the one you mean to change. If a timeline In or Out mark is active, decide whether the replacement should affect only that region or the whole clip.
-
Check track destination controls. Confirm which video and audio tracks are targeted. If you want to change picture but keep the existing sound, ensure you’re not also sending incoming audio to a destination that would alter it. Track targeting is separate from source mark behavior.
-
Run Replace Edit. In the Resolve 20 guide’s workflow, F11 performs Replace Edit. If F11 does something else on your system, the keyboard mapping may differ. Use the menu command or check your keyboard customization rather than guessing.
-
Review the result before continuing. Play across the edited area. Check the incoming image, the alignment point, the duration, and any audio or linked material you intended to preserve. If the wrong clip or track changed, Undo immediately, then diagnose the target before trying again.
A worked example: suppose a four-second timeline shot shows a presenter beginning a sentence, but you want to use another take. The alternate take is longer than four seconds. You place the source playhead on the word that should land at the same point in the timeline, then place the timeline playhead on that word in the existing edit. Replace uses the source playhead as its alignment reference and the timeline destination to determine the replacement. The source In and Out marks do not force Resolve to use only the interval between them.
That is a conceptual example, not a measured test result. The source section depends on the precise playhead positions and timeline range. After the edit, review the line from before the alignment point to after it. Confirm the word lands correctly, and check that the start and end of the shot still work with adjacent edits.
A second example uses action instead of dialogue. Imagine an existing shot where a door opens at a particular timeline frame. You want to replace it with another take where the door opens at a different source time. Place the source playhead on the door opening and the timeline playhead on the existing opening. Replace can align those events while keeping the destination timing. If the replacement source does not have enough usable material on one side of the reference frame, the result may not fill as you expected. In that case, choose a different source reference frame or use another edit type.
Avoid relying on clip duration alone as proof that Replace worked. A replacement can keep the timeline duration and still use the wrong source moment. The visible result at the alignment point is the useful check.
How do I make Resolve use my source In and Out points?
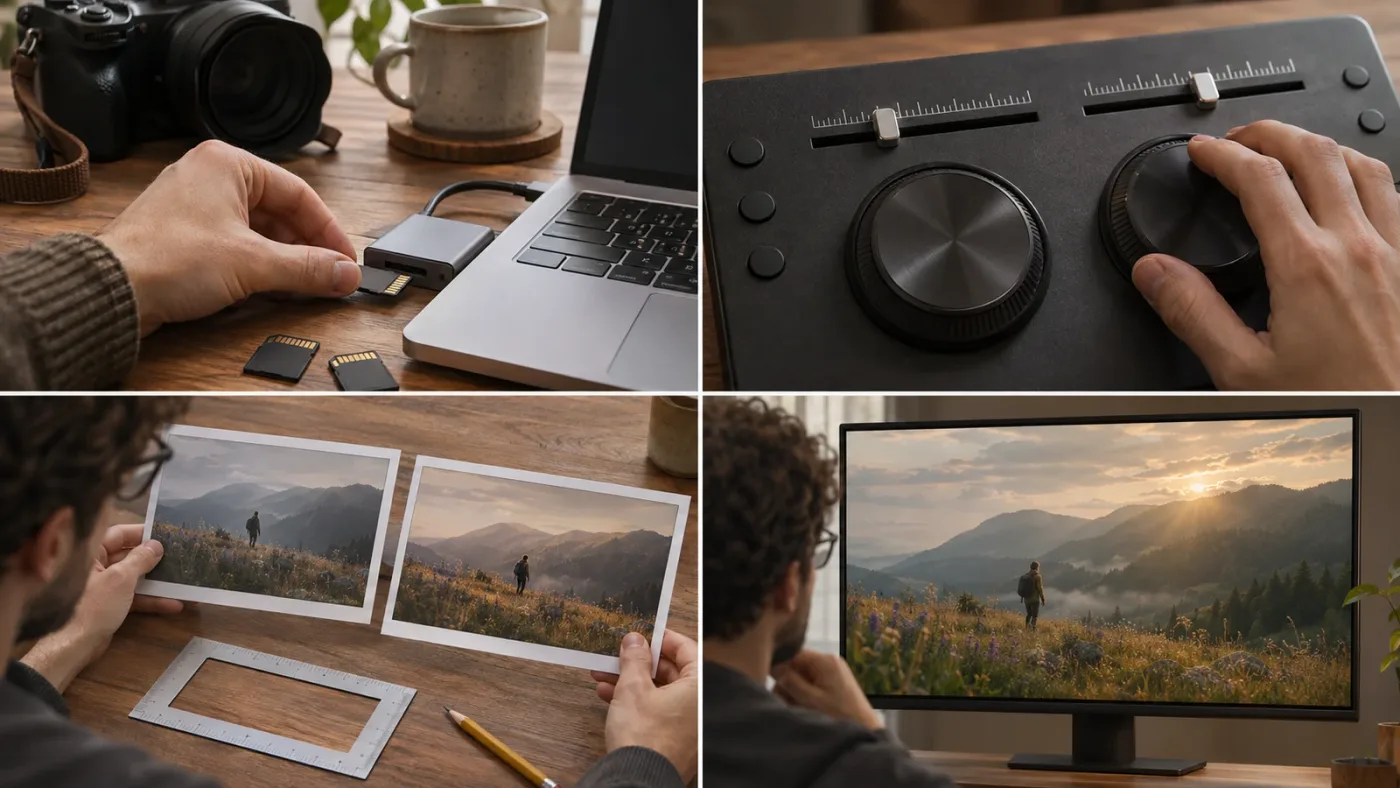
Use Overwrite when you want the marked source range placed at the timeline playhead. Use Fit to Fill when you want the marked source range to occupy a chosen timeline duration. Replace is the wrong command when your requirement is “use exactly the source section I marked.”
The commands solve different problems. Blackmagic’s Edit page overview describes Replace as substituting a single timeline clip with one of the same length. It describes Fit to Fill as using a marked source portion and calculating a speed change so it fits the selected timeline space. Its overview describes Overwrite as placing the new clip at the playhead and writing over existing timeline material.
| Your goal | Edit type to consider | What controls the result |
|---|---|---|
| Swap a shot while keeping the destination timing | Replace | Source and timeline playheads, plus timeline target |
| Place a marked source range at a timeline position | Overwrite | Source In and Out marks and timeline playhead |
| Fit a marked source range into a chosen duration | Fit to Fill | Source marks and selected timeline duration; speed may change |
| Add a clip and move later timeline material to make room | Insert | Source range and insertion position |
| Replace material with a different duration and adjust surrounding timeline content | Ripple Overwrite | Incoming duration and target area |
When should I use Overwrite instead?
Choose Overwrite when the source range is the important thing and you want to keep its marked duration. The edit begins at the timeline playhead and writes over material on the targeted track or tracks. If the marked source range is longer than the visible shot you intended to replace, it can overwrite neighboring timeline content too.
Before you run it, look at both the source marks and the destination. Check how much of the timeline will be covered. If you need to preserve a particular clip boundary, move the timeline playhead or make an appropriate timeline selection first. Then review nearby clips after the edit.
Overwrite is a good choice for placing a precisely trimmed sound effect or a short B-roll moment at a chosen point. It is not automatically a safer version of Replace. The destination material can be overwritten, and the resulting timeline may not have the same structure as before.
When should I use Fit to Fill instead?
Choose Fit to Fill when both ranges matter: the marked source range and a specific destination duration. Resolve changes the playback speed to make the source fit the timeline space. That can be useful when the action must begin and end inside a fixed slot, but the speed change may look unnatural or change the feel of a performance.
Before using it, ask whether the source action can tolerate a speed adjustment. A slow pan might be acceptable at a different speed. A spoken line, a rhythmic performance, or a movement that needs to feel natural may not be. If the source must play at normal speed, avoid Fit to Fill unless you’ve confirmed that the calculated change is acceptable.
The main decision is which duration should control the edit. Replace follows the timeline target. Overwrite follows the marked source range. Fit to Fill tries to match source and destination durations, changing speed as needed.
Use Replace when the timeline timing should govern; use Overwrite or Fit to Fill when the marked source range should govern.
Does Replace Edit use timeline In and Out points?
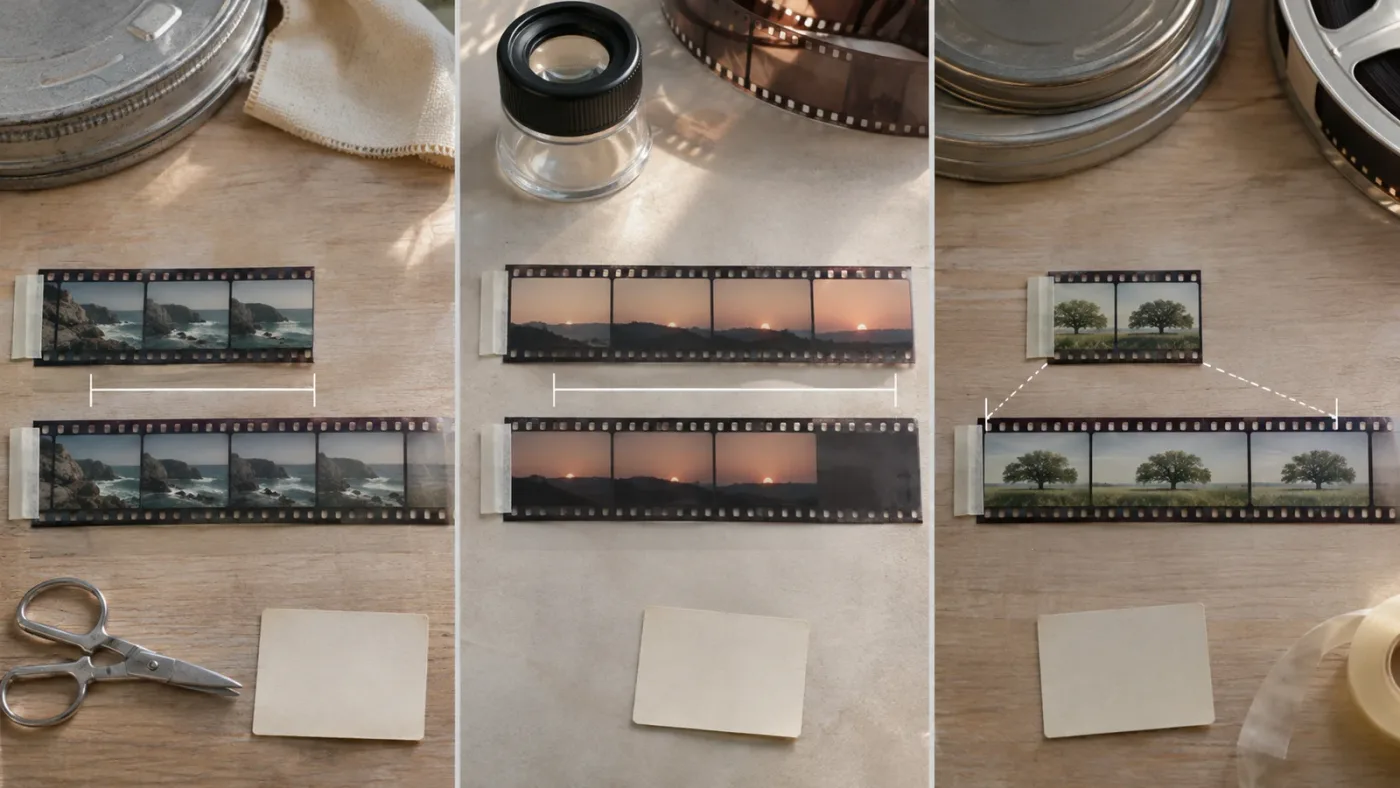
Yes. Timeline In and Out marks can limit the area affected by Replace Edit. The source viewer marks still don’t define the incoming range, but the source and timeline playhead positions continue to determine how the source aligns with the destination.
That combination can be confusing. An In and Out range may be visible in both viewers, but a Replace command doesn’t treat both ranges as equivalent instructions. Source marks are ignored for this edit. Timeline marks can constrain its destination.
If only part of a clip changed, check the timeline marks before concluding that Replace failed. If a larger or unexpected area changed, check whether the timeline marks were active, whether the playhead sat on the target you expected, and which track destinations were enabled.
Use this diagnostic sequence:
- Check whether the timeline has an In mark, an Out mark, or both.
- Confirm that the timeline playhead is on the frame you want aligned.
- Check the source playhead’s position in the original media.
- Determine whether the intended destination is a whole timeline clip or only a marked section.
- Check track destinations to see whether audio, video, or both were included.
- Review the timeline after the edit before making another change.
The Resolve 20 Beginner’s Guide states that timeline marks can limit the amount replaced while source viewer marks are ignored. The Editor’s Guide adds context about aligning the source and timeline playheads. Together, those rules explain why changing the source In point may have no visible effect while changing a timeline mark changes the destination.
If your goal is to replace only part of a timeline shot, a timeline range may be the right constraint. But don’t assume that setting the source marks to a matching duration will make the incoming source range match them. If exact source boundaries are essential, use Overwrite or Fit to Fill and set the destination separately.
One useful check is to temporarily remove uncertainty from the operation. If you don’t intend to use timeline marks, clear them or otherwise confirm that none are active. If you do intend to use them, note their start and end before editing. That makes it easier to see whether the result matches the destination you selected.
Why does the source viewer show the wrong clip or unexpected marks?
The source viewer can show original Media Pool media or a timeline clip instance. Those are different editing contexts. Confirm what’s loaded before you use Replace, because marks on an edit instance may describe the instance rather than the full original source.
Blackmagic Design product manager Shrinivas Ramani explained the distinction in a Blackmagic Design forum reply: “If you double click an edit on the timeline, it loads that edit - not its media - to the source viewer.” He adds that the viewer is then showing the edit instance, which can make its marks and related actions reflect the timeline edit.
If the source viewer’s title includes the timeline name, or the visible range seems limited to the portion already used in the edit, pause before replacing. Find the original media item in the Media Pool and open that item directly. Blackmagic’s forum reply recommends using the timeline clip’s Find in Media Pool command to locate its source, then opening the source clip to check its marks.
An edit instance and its source file are related, but they aren’t interchangeable. The timeline instance has an existing position and used range. The original source item represents the underlying media and may contain additional footage before or after the timeline section.
Check these three things in the source viewer:
- Name: Does it identify the original media, or does it include the name of a timeline?
- Image: Is the displayed frame from the intended alternate shot?
- Playhead: Is it parked on the reference moment you want aligned?
A correctly loaded source with the playhead on the wrong moment can produce the wrong-looking replacement. Likewise, the right playhead position won’t help if the viewer contains a different source item than you thought.
If the clip is part of a multicam setup, take an extra moment to check which angle or item the source viewer contains. Don’t assume a source-range mark on one view means another angle or underlying media item will be used. First establish the source context, then choose the edit type based on whether the timeline timing or marked source range should control.
What should I check if Replace changes the wrong timeline clip?
If Replace changes the wrong material, Undo first. Then inspect the active timeline, target area, both playheads, timeline marks, source viewer contents, and track destination controls. These checks help separate a targeting mistake from Replace’s expected treatment of source marks.
| What you see | First thing to inspect | Safer next step |
|---|---|---|
| A different shot changed | Active timeline and target selection | Undo, switch to the intended timeline, and identify the target clearly |
| Only part of the target changed | Timeline In and Out marks | Decide whether the partial destination was intentional before trying again |
| The wrong source moment appears | Source viewer playhead | Set the reference frame and check the timeline alignment point |
| The viewer shows an unexpected source range | Whether it contains original media or an edit instance | Find and open the original Media Pool item |
| Audio changed along with picture | Audio destination controls | Undo and target only the tracks you mean to change |
| The replacement plays at an unexpected speed | Whether Fit to Fill was used | Undo and choose the edit type that matches your duration requirement |
| A neighboring shot was overwritten | Source range, destination position, and targeted tracks | Undo, then choose an operation with the intended duration and range |
Don’t make another edit until the timeline looks as it did before the mistake. A second attempt made on top of the first can make the project harder to diagnose. Use Undo, confirm the result has returned to its prior state, then check one condition at a time.
For the wrong shot, check which timeline is active before focusing on marks. Resolve can have multiple timelines open, and it’s possible to target the wrong one if you switch between them. The guide to DaVinci Resolve timeline tabs covers that interface state.
For an unexpected track change, distinguish track destination controls from source selection. Destination controls determine where video and audio are sent. They don’t make Replace honor source marks. If you need help separating the timeline’s track targeting from its source selection behavior, see the guide to DaVinci Resolve source auto select.
For a partial change, look at timeline marks. For a wrong source moment, look at the source playhead. For the wrong target, look at the active timeline and destination. That order keeps the troubleshooting focused rather than encouraging you to clear every mark or reset every control without knowing why.
If the result still doesn’t match the documented behavior, note your exact Resolve version and build, the source type, the target, the timeline marks, and the track destinations. Blackmagic’s support page lists current software information and links to support resources. The sources here describe normal Replace behavior; they don’t establish a specific Resolve 21.1 bug.
What changes when I replace multicam, compound, or nested timeline media?
When the source or target is more complex than a single media clip, first identify what the source viewer contains and what the timeline item represents. Replace’s source-mark rule is still the starting point, but multicam angles, compound clips, and nested timelines add decisions about which object you are editing.
With a multicam clip, the timeline item may represent a multicam source rather than a plain camera file. Confirm which shot or angle you intend to use. If you want to change the angle inside an existing multicam edit, check that you’re using the multicam controls for that task rather than replacing the outer timeline item with unrelated media. Source In and Out marks don’t turn Replace into an angle-selection command.
With a compound clip, the selected timeline item can represent a container of multiple elements. Replacing that container with a regular source clip changes the outer timeline item. If you mean to change one shot inside the compound clip, open and edit the compound structure in its own context instead. Before you act, ask whether your target is the container or an item inside it.
With a timeline loaded as a source, make sure that’s what you intended. You may be editing from another sequence rather than an original media clip. A source timeline can be useful for assembling material from one edit into another, but Replace still uses the source and timeline playheads for alignment. If you expected a camera file, return to the Media Pool and load that file.
These are context checks, not exceptions that make source marks control Replace. When the operation feels inconsistent, write down the source viewer item, destination timeline, target clip, timeline marks, and track destinations. That simple inventory often reveals that the command was acting on a different object or region than you intended.
For a nested edit, it’s also useful to ask whether you really want a replacement at all. You may instead want to trim the timeline instance, change the internal edit, or switch a multicam angle. The shortest route is the command that matches the object you’re trying to change, not necessarily the command whose name sounds closest to “swap this.”
Which command should I choose: Replace, Overwrite, or Fit to Fill?
Choose Replace when the timeline timing should stay in control, Overwrite when the marked source range should land at the timeline playhead, and Fit to Fill when that marked source range must occupy a selected duration. Decide which range matters before you choose the command.
| Decide this first | Replace | Overwrite | Fit to Fill |
|---|---|---|---|
| What should control the incoming duration? | The timeline target | The marked source range | The selected destination duration |
| Do source In and Out marks define the incoming range? | No | Yes | Yes |
| Does the command align source and timeline playheads? | Yes | The source range is placed at the timeline position | Source range is fit to the destination |
| Can playback speed change to make it fit? | Not the defining behavior | Not the defining behavior | Yes |
| Typical reason to choose it | Substitute a shot without changing the cut’s timing | Place an explicit source selection | Fit an explicit source selection into a fixed slot |
A quick decision rule:
- If you say, “Keep this cut the same length,” start with Replace.
- If you say, “Use exactly the section I marked,” start with Overwrite.
- If you say, “Make this marked section fit this exact gap,” consider Fit to Fill, then review speed.
These are decision aids, not guarantees about every project setup. Timeline marks, track destinations, linked audio, and complex sources still matter. Check the destination and review the result before moving on.
The everyday word “replace” can mislead you. It sounds as if Resolve should take whatever range you marked and put it in place of the old clip. But Replace Edit is a specific editing operation with its own playhead-alignment logic. If you want a marked source range to drive the edit, choose an edit type that uses that range.
The first question is not “Why did Replace ignore my marks?” It’s “Which range should control this edit?”
Can on-screen guidance help me find the right control?
On-screen guidance can help when a tutorial and your current workspace look different, but it won’t change what Replace Edit does. The useful task is locating the source viewer, track destinations, or edit command you need, then making the choice yourself.
If you want help finding those controls while you work, TryUncle is an on-screen assistant for Mac and Windows. You can ask a question about the Resolve screen in front of you and get step-by-step guidance. You still perform the edit, and the technical choice remains yours: Replace for playhead alignment and timeline timing, Overwrite or Fit to Fill when the marked source range should drive the edit.
What should I do next?
If Replace ignored your source In and Out marks, treat that as expected behavior. Put the source playhead on the frame you want aligned, put the timeline playhead on its matching moment, and confirm the target and track destinations before running Replace.
If the source range itself matters more than the timeline timing, choose Overwrite or Fit to Fill instead. Then review the changed frames, speed, duration, and neighboring edits before continuing. Decide which range should control the edit, and the right command follows.
Frequently asked questions
- Why does DaVinci Resolve Replace Edit ignore my source In and Out points?
- That is the intended behavior. Replace Edit ignores source viewer In and Out marks. It uses the source and timeline playhead positions to align the incoming media, while the timeline clip or timeline marks define the area to replace.
- How do I make Replace Edit use my source In and Out points?
- You can't make the standard Replace Edit use source marks as the incoming range. Use Overwrite to place the marked source range at the timeline playhead, or Fit to Fill to fit that source range into a selected timeline duration.
- Does Replace Edit use timeline In and Out points?
- Yes. Timeline In and Out marks can limit the area affected by Replace Edit. Source viewer marks are ignored, but the source and timeline playhead positions still help determine which source frames align with the timeline.
- What should I check if Replace Edit changes the wrong clip?
- Check the active timeline, the source viewer contents, both playheads, timeline marks, and track destination controls. Undo if the wrong material changed, then confirm the target and source before trying again.
- Does Replace Edit change the speed of the source clip?
- Replace Edit is not the speed-fitting command. Fit to Fill is the edit type that calculates a speed change to make a marked source range fit a chosen timeline duration.
Sources
Put this guide to work with TryUncle.
Ask about the step you’re on. TryUncle sees your screen and points at the control you need, so you can keep learning in your own project.
Get TryUncle for Mac or WindowsKeep reading
Fixes · Sep 29, 2026 · 37 min
DaVinci Resolve Source Auto Select Not Working? Fix It
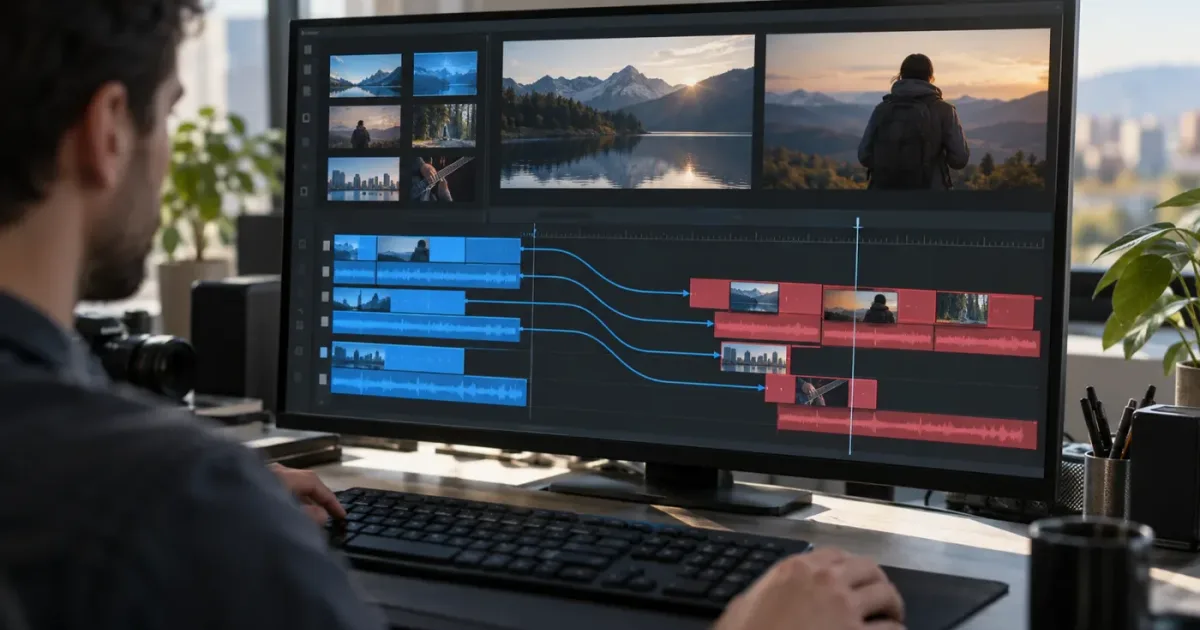
Fix DaVinci Resolve source auto select not working by separating blue source patching, red track destinations, Auto Track Selector, and Sync Lock.
Fixes · Sep 29, 2026 · 18 min
DaVinci Resolve Selection Follows Playhead: Fix It in 21
Make DaVinci Resolve selection follows playhead work in Resolve 21.1. Fix the menu, wrong-track selection, audio behavior, and stacked clips.
Guides · Nov 17, 2026 · 32 min
DaVinci Resolve: Keep Crop Position With Paste Attributes
Copy crop settings in DaVinci Resolve 21 without replacing framing by accident. Learn what Crop, Transform, and Retain Image Position actually control.