Articles / Guidesupdated for DaVinci Resolve 21.0.2 (July 2026)
DaVinci Resolve Fusion Camera Tracker Tutorial (3D Tracking)
Quick answer
DaVinci Resolve's Fusion Camera Tracker analyzes a moving shot, solves the real camera's 3D path, and builds a virtual camera plus point cloud you can lock text, objects, or patches to. It's Studio-only ($295): add the node, run Auto Track, Solve until Average Solve Error stays under 1.0 pixel, then Export the scene.
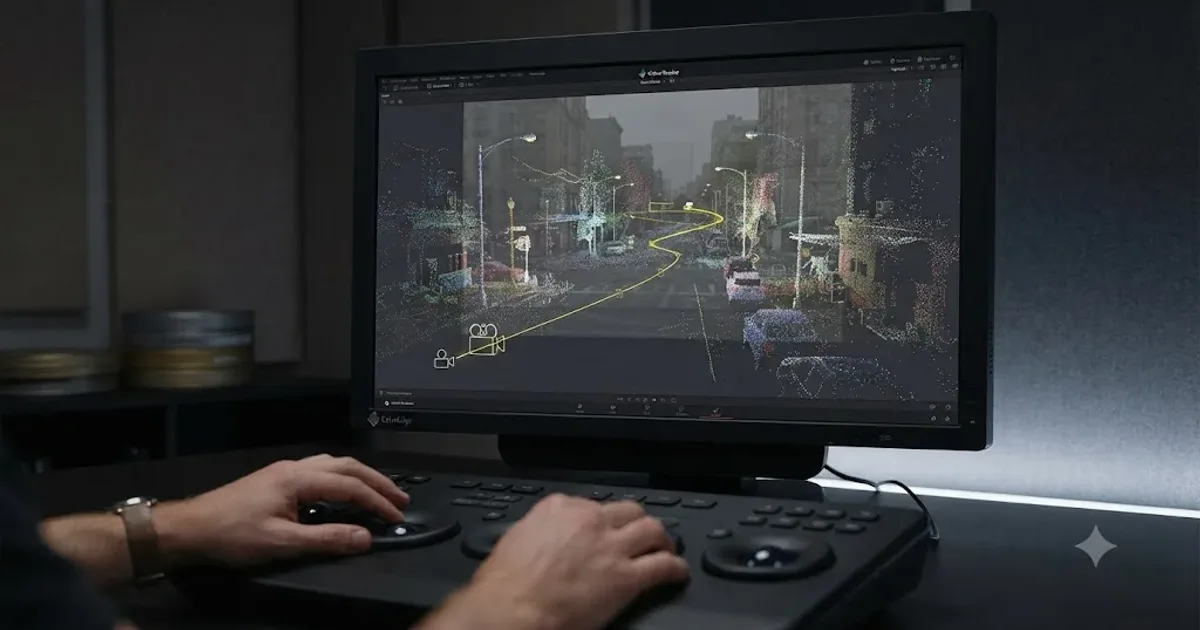
I've spent seven years cutting commercial work in DaVinci Resolve and running a 100,000+ member professional video-editing community, and "how do I track a moving camera in Fusion" is one of the recurring questions that shows up the moment someone tries to pin a title to a wall, patch out a boom mic, or drop a 3D logo into a walking shot. Most tutorials show you the Auto Track button and stop. They skip the part that actually matters: judging whether your solve is any good, and what to do when it isn't.
This guide builds a real camera track from nothing, using the Camera Tracker node that ships in DaVinci Resolve Studio as of July 2026, reads the solve error the way Fusion's own documentation and a working colorist both read it, and locks a 3D object to the result without it drifting off a wall three seconds later.
What is the Camera Tracker in DaVinci Resolve's Fusion page, and what does it actually solve?
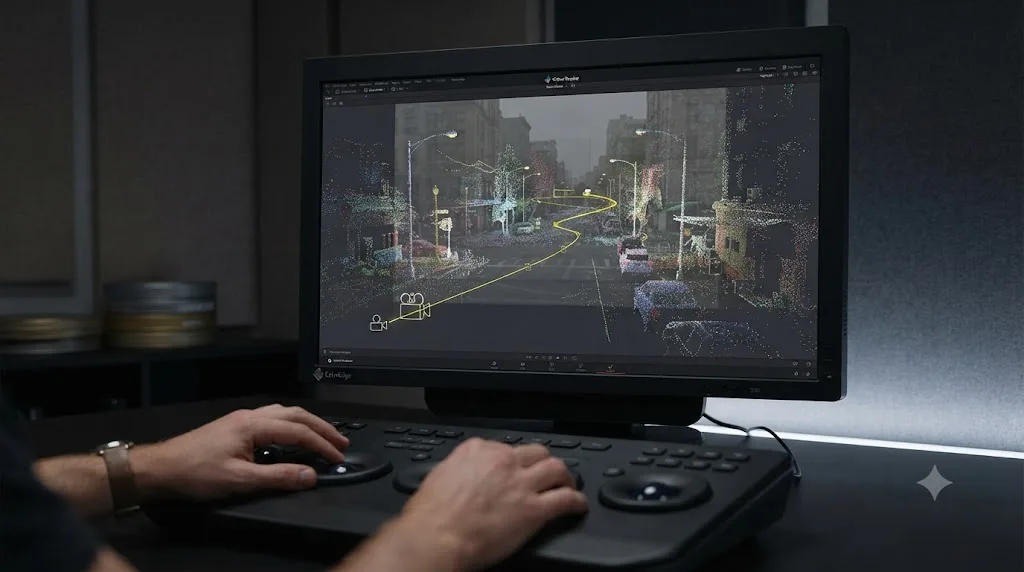
The Camera Tracker is the Fusion node that performs match moving: it analyzes a shot filmed with a moving camera and calculates that camera's real path through 3D space. Per Blackmagic's own Fusion Reference Manual, "camera tracking is used for match moving, and it's a vital link between 2D scenes and 3D scenes, allowing compositors to integrate 3D CGI elements into live-action clips," according to the manual's definition of 3D camera tracking.
The node's job, stated as plainly as Blackmagic states it: "the Camera Tracker node calculates the path of a live-action camera and generates a virtual camera in 3D space," per the same manual page. That virtual camera isn't a rough approximation. "This virtual camera is intended to be identical to the actual camera that shot the scene, not only in terms of motion but in matching the lens focal length as well," the manual continues. Once that virtual camera exists, anything you attach to the same 3D scene, a title, a logo, a replacement screen, a patch to paint out a boom mic, inherits the real camera's motion automatically. It moves exactly like the real footage moves, because it's sitting in the same mathematical space the real camera was solved into.
That's the entire reason this tool exists. Without it, pinning a graphic to a moving, shaky, handheld shot means keyframing position, rotation, and scale by hand, frame by frame, and guessing at perspective the whole way. With it, you solve the camera once and every object you attach afterward just rides along.
A camera track doesn't fake motion. It reconstructs the real motion the camera actually had, so anything locked to the result moves the way the original footage moved, not the way you approximated it by eye. That distinction is what separates a composite that survives scrutiny from one that quietly slides half a pixel every few frames until a client notices.
Do you need DaVinci Resolve Studio to use the Camera Tracker?
Yes. The Camera Tracker node is one of a short list of Fusion tools gated behind DaVinci Resolve's paid Studio license, which costs $295 as a one-time purchase, per Blackmagic's own Studio product page. CineD's detailed comparison between the free and Studio editions names the Camera Tracker directly: "Fusion Camera Tracker" is exclusively available in the Studio version, alongside the "Fusion VR Toolset" and the ability to "Control Scripts from local or remote machines," per CineD's free-versus-Studio breakdown.
That's a short, specific list, which matters because Fusion overall is one of the more generous parts of the free-versus-Studio split. CineD's broader verdict on Fusion is worth knowing before you assume you're missing more than you are: "you can do nearly everything that Fusion offers for free." Nodes, keying, the Planar Tracker, 3D compositing, Text+, hundreds of filters, all of it works identically on the free download. The 3D Camera Tracker is a genuine exception, not the rule.
Here's the tracking-tool split, laid out plainly:
| Tool | What it does | Free or Studio |
|---|---|---|
| Tracker node | Follows one or more single points across frames | Free, every edition |
| Planar Tracker | Follows a whole flat surface's translation, rotation, and perspective | Free, every edition |
| Camera Tracker | Solves the real camera's full 3D path and builds a virtual camera and point cloud | Studio only, $295 |
| Fusion VR Toolset | Spherical/360 compositing tools | Studio only, $295 |
| Remote script control | Running Fusion scripts from other machines | Studio only, $295 |
If you're weighing whether the $295 is worth it for tracking alone, our full breakdown of DaVinci Resolve's free-versus-Studio price gap covers the rest of what that license unlocks beyond Fusion, since Camera Tracker is rarely the only reason someone upgrades. For this guide specifically, the practical takeaway is simple: if you've opened the free version and can't find a Camera Tracker option in Add Tool > Tracking, that's not a bug. It genuinely isn't there.
Camera Tracker vs Planar Tracker vs Tracker: which one do you actually need?
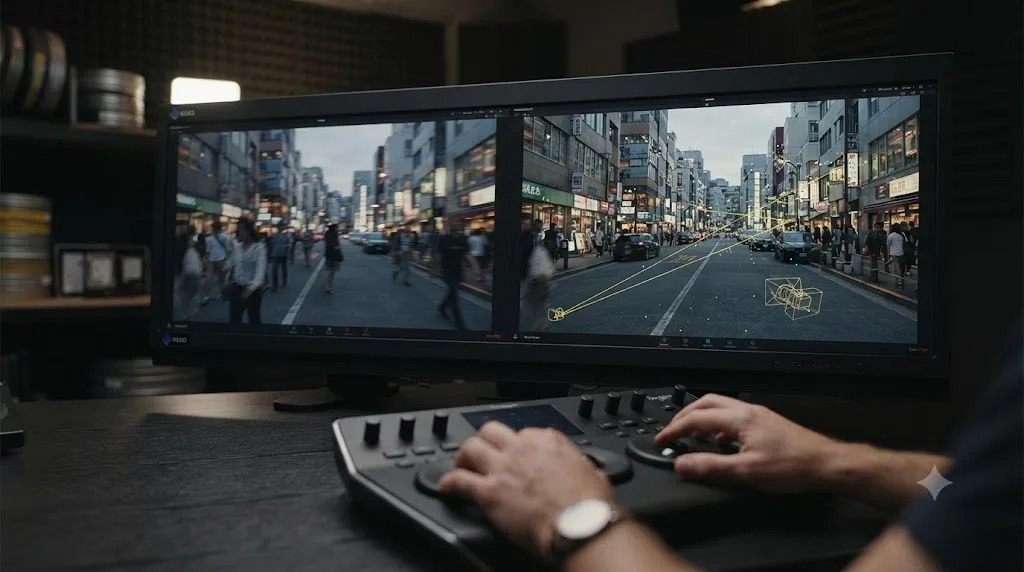
Start with the shot, not the tool. If you're pinning a graphic to one flat, visible surface, a phone screen, a laptop lid, a street sign, the free Planar Tracker almost always does the job faster and with less setup than a full camera solve. Reach for the Camera Tracker only when the effect needs to exist somewhere in 3D space that isn't tied to a single flat surface, a floating title, a set extension, an object resting on the floor of the shot.
Per JayAreTV's overview of Fusion's tracking nodes, all three tools share the same underlying tracking engine at a technical level, since "internally, all the Trackers use the Optical Flow Tracker to follow features over time" before refining results with either the Fusion Tracker or Planar Tracker method. What differs is what each node does with that tracked data once it has it.
| Tracker node | Planar Tracker | Camera Tracker | |
|---|---|---|---|
| Follows | One or a few single points | A whole flat surface's translation, rotation, and perspective | Hundreds of points across the entire scene at once |
| Output | 2D position/rotation/scale data | A warpable 2D transform | A full 3D camera path plus a point cloud |
| Good for | Basic 2D pins, simple stabilization data | Screen replacements, signs, flat surfaces | 3D objects, set extensions, patches, anything not confined to one surface |
| Cost | Free | Free | Studio only, $295 |
| Setup effort | Low | Low to moderate | Higher, requires masking, solving, and cleanup |
Reaching for the Camera Tracker on a shot that only needs a Planar Tracker is the single most common way to waste an afternoon in Fusion. If your effect lives entirely on one surface that stays roughly flat through the shot, a phone screen, a picture frame, a car window, the Planar Tracker gets you there in minutes and costs nothing. Save the full camera solve for shots where the thing you're adding needs to exist in the actual 3D space of the scene, not glued to a single plane within it.
What do you see the first time you add a Camera Tracker node?
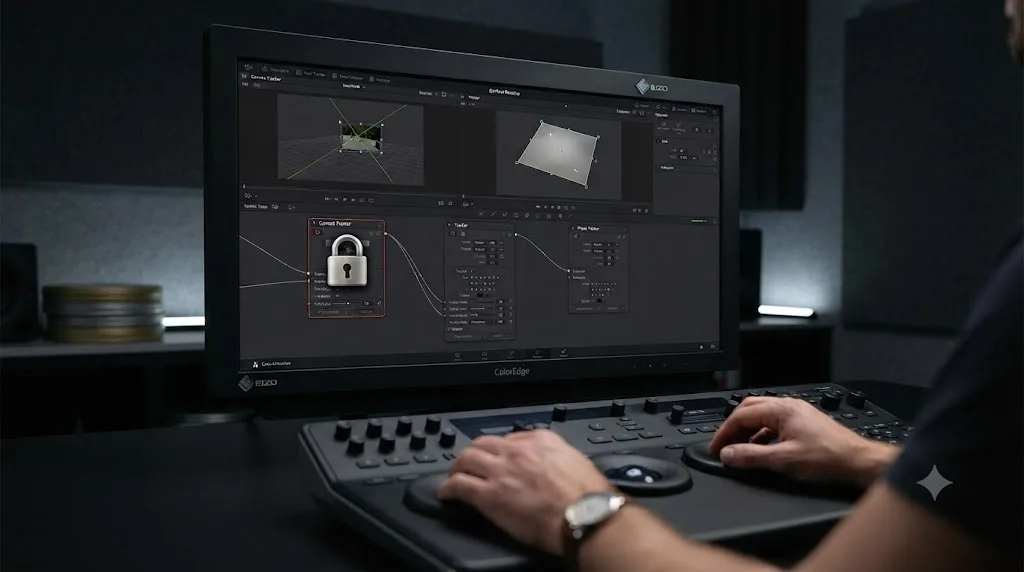
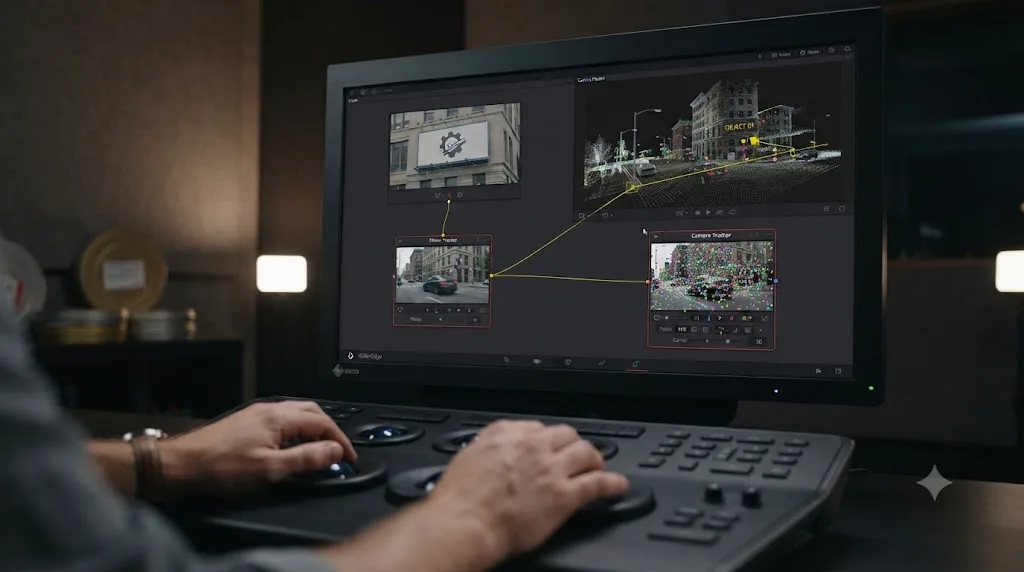
Add the node from Add Tool > Tracking > Camera Tracker, or press Shift+Spacebar and type "Camera Tracker," and connect it into your chain right after the clip you want to track. Per JayAreTV's documentation of the node, it has two inputs: an orange Background input for the 2D footage you're tracking, and a white Occlusion Mask input that tells the tracker which areas to ignore entirely, white pixels excluded from tracking altogether.
The Inspector splits into four tabs, and each one owns a specific stage of the process:
| Tab | What it owns |
|---|---|
| Track | Auto Track, Detection Threshold, Minimum Feature Separation, Bidirectional Tracking, and the settings that generate your raw tracking points |
| Camera | Focal Length, Film Gate, Resolution Gate Fit, and lens properties the solver uses to reconstruct the camera |
| Solve | The Solve button, Average Solve Error, cleanup filters, seed frame selection, and lens distortion modeling |
| Export | Builds the actual 3D scene, Camera3D, Point Cloud3D, ground plane, Merge3D, and Renderer3D, from your finished solve |
That order, Track, Camera, Solve, Export, is also the order you work through the node in practice. Nothing in the Export tab does anything useful until Solve has produced a track worth exporting, and nothing in Solve matters until Track has generated a reasonable spread of points to solve from.
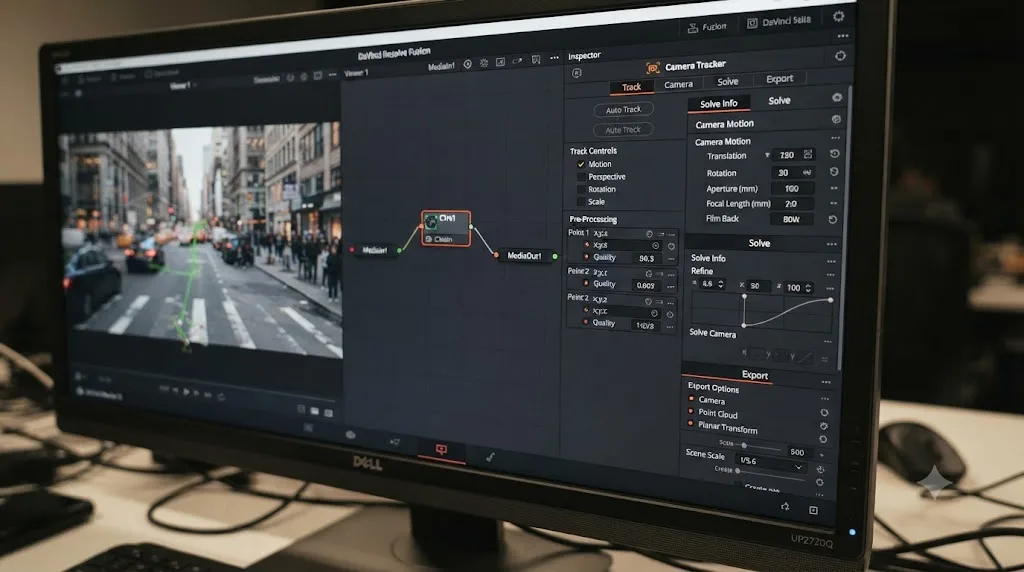
How do you track a shot step by step, from Auto Track to Solve?
Here's the from-scratch build, assuming you already have a clip open on the Fusion page. If nodes, MediaIn, and MediaOut are still unfamiliar territory, our Fusion page tutorial for beginners covers that ground first; this guide picks up from there.
- Mask out anything that moves independently of the background. Before tracking anything, connect a matte of any people, vehicles, or moving reflections to the Camera Tracker's white Occlusion Mask input. Colorist Jamie Dickinson is direct about why this matters: "it's a good idea to mask out any moving objects, such as people or vehicles, as these will make the tracking and subsequent solve more difficult," in his 3D Camera Tracker tutorial for Mixing Light.
- Check your Track tab settings before running anything. Detection Threshold "determines the sensitivity to detect features," and Minimum Feature Separation "determines the spacing between the automatically generated tracking points," per JayAreTV's documentation of the node. A reasonable starting point for Detection Threshold sits around 2.2, which "works for most footage" according to Storyblocks' walkthrough of the tool, though a low-contrast shot may need it lowered to find enough features at all.
- Enable Preview AutoTrack Locations first. This shows where points will land before you commit to a full track, so you can judge whether coverage looks even across the frame or clumped in one high-contrast corner, per JayAreTV's breakdown of the same setting.
- Turn on Bidirectional Tracking. This "force[s] the tracker to track backward after the initial forward tracking," extending existing tracks further back in time instead of only forward, per JayAreTV's documentation. Longer tracks give the solver more perspective information to work with, which matters more than raw point count.
- Click Auto Track. Fusion generates tracking points automatically, terminating and replacing tracks as their error grows, and building the raw dataset the Solve tab will work from.
- Resist the urge to maximize point count. Jamie Dickinson's warning here is specific and worth repeating verbatim: "the temptation is to set the tracking parameters to have many thousands of points, hoping for better results. However, too many tracked points will actually just slow the solving process to a crawl and may yield less accurate results," per the same Mixing Light tutorial. Fewer, longer, higher-quality tracks beat a dense scatter of short, noisy ones.
- Move to the Camera tab and set what you actually know. If you know your lens's real focal length, enter it directly. If you don't, leave Refine Focal Length enabled in the Solve tab and let the solver estimate it from the tracking data itself.
- Click Solve in the Solve tab. Per JayAreTV, "pressing Solve will launch the solver, which uses the tracking information and camera specifications to generate a virtual camera path and point cloud." This is the moment Fusion turns a scattering of 2D tracked points into an actual reconstructed 3D scene.
That's the full track-to-solve loop. What happens next, reading whether the solve is any good, is where most tutorials stop and where the real skill actually lives.
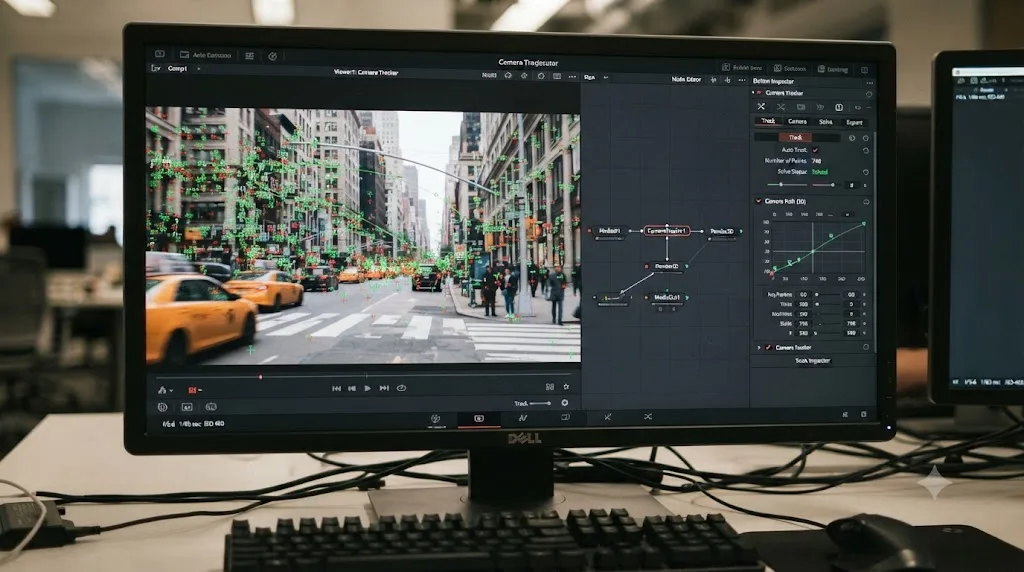
What does "Average Solve Error" mean, and what number should you aim for?
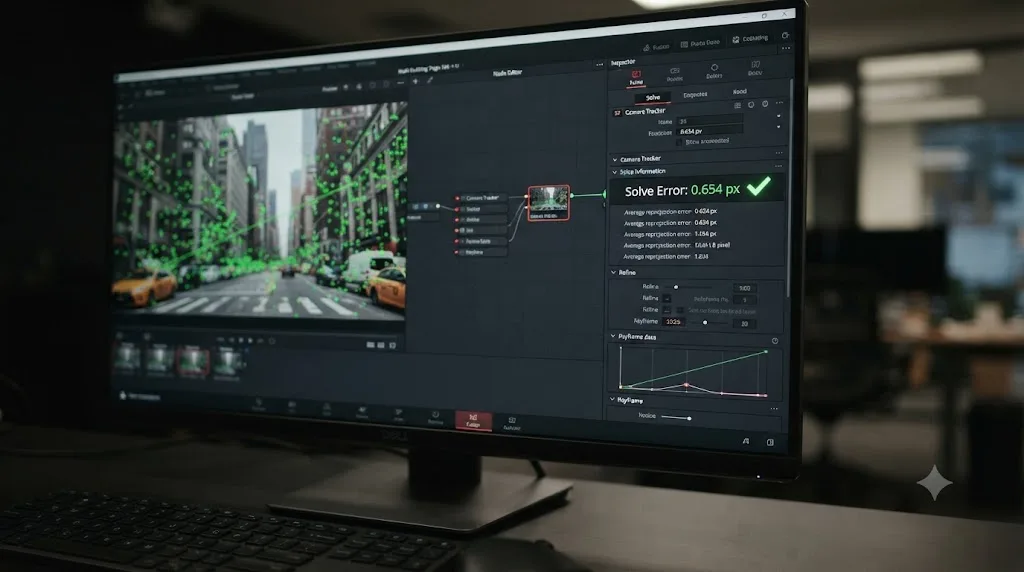
Average Solve Error is the single number that tells you whether a solve is trustworthy, and it measures something specific: the difference, in pixels, between where your 2D tracked points sit and where the reconstructed 3D points land when projected back through the solved camera. A low number means the math and the footage agree closely. A high number means they don't, and anything you attach to that camera will drift.
Per JayAreTV's documentation, Fusion's own guidance is explicit: "any value less than 1.0 pixels will generally result in a good track. A value between 0.6 and 0.8 pixels is considered excellent." Jamie Dickinson, writing from a working colorist's perspective rather than a spec sheet, sets a slightly tighter personal bar: "under 1 pixel is OK and under 0.5 pixels error is good," in his Mixing Light tutorial. Both numbers point at the same conclusion from two different angles: treat 1.0 pixel as the ceiling, not the target, and treat anything from 0.5 to 0.8 as the zone where you can stop second-guessing the track.
| Average Solve Error | What it means in practice |
|---|---|
| Above 1.0 pixel | Untrustworthy. Clean up tracks and re-solve before doing anything else. |
| 0.8 to 1.0 pixel | Usable for a background patch or subtle effect, risky for anything closely scrutinized |
| 0.6 to 0.8 pixel | Excellent, per Fusion's own documentation |
| Below 0.5 pixel | The bar a working colorist sets for a track they'd trust without hesitation |
An Average Solve Error under 1.0 pixel is the line between a track you can build on and one that will drift the moment you lock a real object to it. The number sits in the Solve tab, updates every time you re-solve, and should be the first thing you check before spending time on anything downstream of it, ground plane alignment, object placement, rendering.
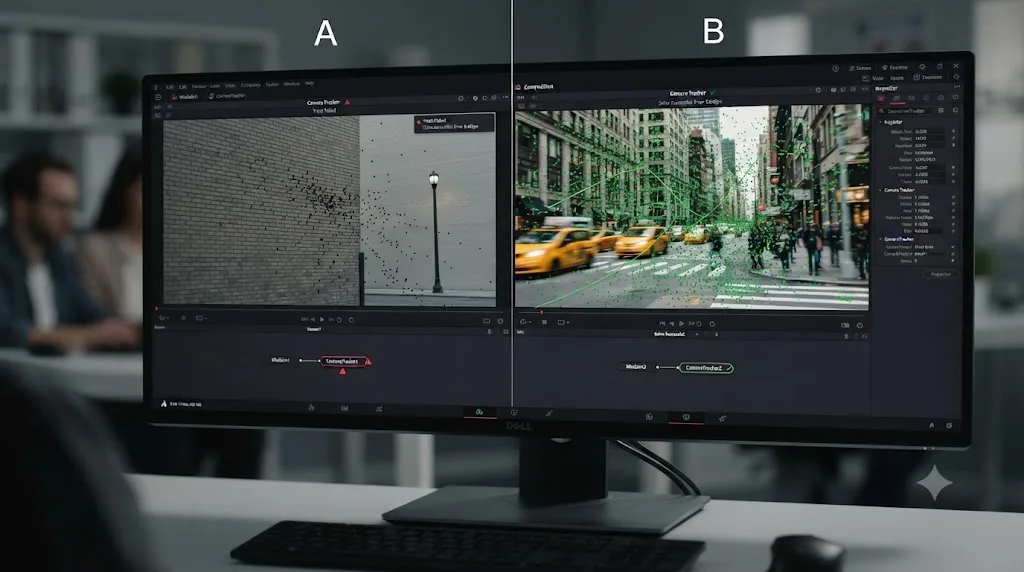
Why does a camera track fail or produce garbage?
Most failed tracks trace back to the shot itself, not a wrong setting. Blackmagic's own Fusion manual lists the specific shot types that sabotage a solve before you ever open the Solve tab, and it's worth checking your footage against this list before assuming your settings are wrong.
Per the manual's list of clips that don't work well for camera tracking:
| Shot problem | Why it breaks tracking |
|---|---|
| Locked-off tripod shot | "If the camera does not move, there is no way to calculate which objects are closer and which are nearer" |
| A pan that stays centered on a locked tripod | Same lack-of-parallax problem as a locked-off shot, just rotating instead of static |
| No depth variation in frame | "Camera tracking requires parallax in a clip in order to work. You must be able to identify objects further away and objects that are nearer as the camera moves" |
| Green screen with no markers | "Clips like green screens without tracking markers lack enough detail to track" |
| Heavy motion blur | "Fast camera motion or slow shutter speeds can introduce motion blur, which will make it difficult to find patterns to track" |
| Rolling shutter distortion | CMOS sensors "sometimes introduce distortion due to the shutter capturing different lines at slightly different times" |
| Overlapping objects at different depths | The overlap "can be misinterpreted as a corner," confusing the tracker's feature detection |
| Moving foreground subjects | "People, cars, animals, or other object may move in and out of a shot," and untracked, they poison the solve |
A locked-off tripod shot gives the Camera Tracker nothing to solve, because a camera that never moves produces no parallax for the tool to calculate depth from. This is the single most common reason a first attempt fails completely rather than just tracking poorly: the shot was never a candidate for 3D camera tracking in the first place, and no amount of settings tweaking changes that.
MotionVFX's help center adds a practical wrinkle that trips up editors who chose the right shot but still get a bad track: "make sure you don't have any extra effects on your footage, like Noise reduction, AI Super Scale, Lens Correction, Speed ramps," and "some effects applied on the Color Page also impact Fusion, so disable your grading before you track," per their tracking troubleshooting guide. Their suggested workaround is to use an Adjustment Clip as the tracker's source so it sees clean footage without your downstream effects baked in.
How do you clean up a messy track before re-solving?
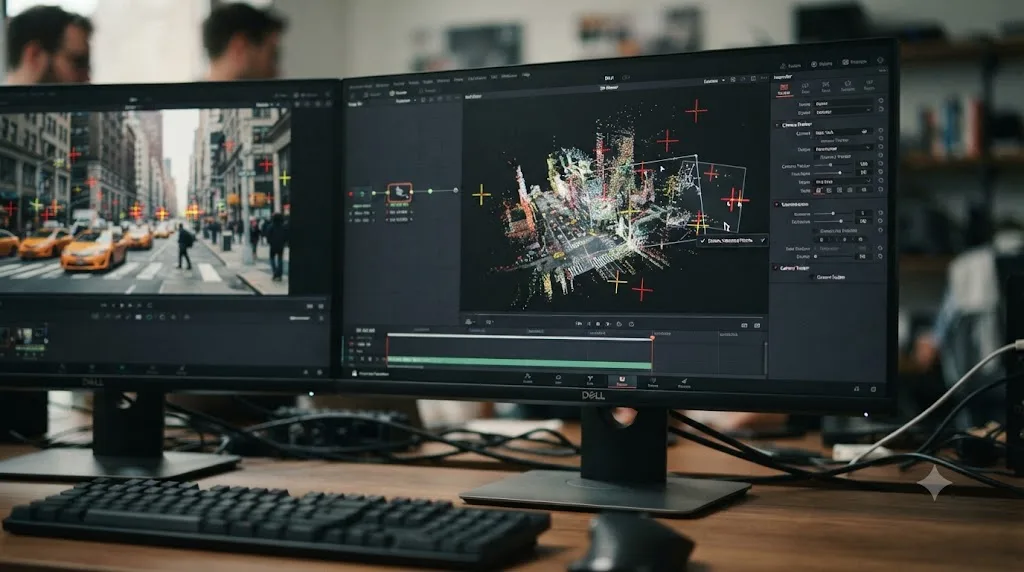
A first solve rarely comes back excellent on the first pass, and Fusion's own recommended workflow assumes iteration rather than a single one-shot solve. Per JayAreTV's documentation, the process is: "Track > Solve > Refine Filters > Solve > Cleanup tracks > Solve > Cleanup from point cloud > Solve > Repeat."
Here's what that looks like in practice, working through the Solve tab's cleanup tools:
- Run Clean Foreground Tracks first. This "makes a selection of the tracks on fast-moving objects that would otherwise cause a high solve error," per JayAreTV, catching the moving-object problem even if your initial mask missed something.
- Use Maximum Track Error to catch noisy foliage and reflections. Tracks on moving leaves, water, or reflective surfaces tend to cluster at the high end of this filter.
- Sort by Maximum Solve Error and cut the worst offenders. JayAreTV's documentation states plainly that "one of the easiest ways to increase accuracy of camera solve is to select the 20% of tracks with highest solve error and delete them." This single step often does more for your Average Solve Error than any settings adjustment.
- Check Minimum Track Length. Short tracks "usually don't get a chance to move very far" and therefore carry less perspective information, per JayAreTV; a suggested range is 5 to 10 frames minimum for typical shots, tightened closer to 3 only if you don't have enough long tracks to work with otherwise.
- Re-solve, then scrub through the result on-screen. JayAreTV's guidance here: set Trail Length in the Options tab to display trails, scrub the footage, and manually delete any points visibly drifting off their real-world target before solving again.
- Check the point cloud in the 3D viewer, not just the number. A solve can post a passable Average Solve Error while a handful of clearly misplaced points float in obviously wrong positions. Delete those directly from the 3D point cloud and re-solve.
Deleting the twenty percent of tracks with the highest solve error is usually a faster route to an excellent solve than adding more tracking points. That single habit, cut the worst performers rather than dilute them with more data, is the difference between a track that takes three solves to get right and one that takes ten.
One more detail worth knowing before you re-solve repeatedly: Auto Select Seed Frames picks two reference frames the solver builds outward from, and per JayAreTV, "the choice of seed frames strongly affects the entire solve." Good seed frames "should have lots of tracks in common yet be far apart in perspective." If your solve keeps coming back poor despite clean-looking tracks, manually picking different seed frames, rather than trusting the automatic choice, is worth trying before you conclude the shot itself is unusable.
How do you export the solve into a usable 3D scene?
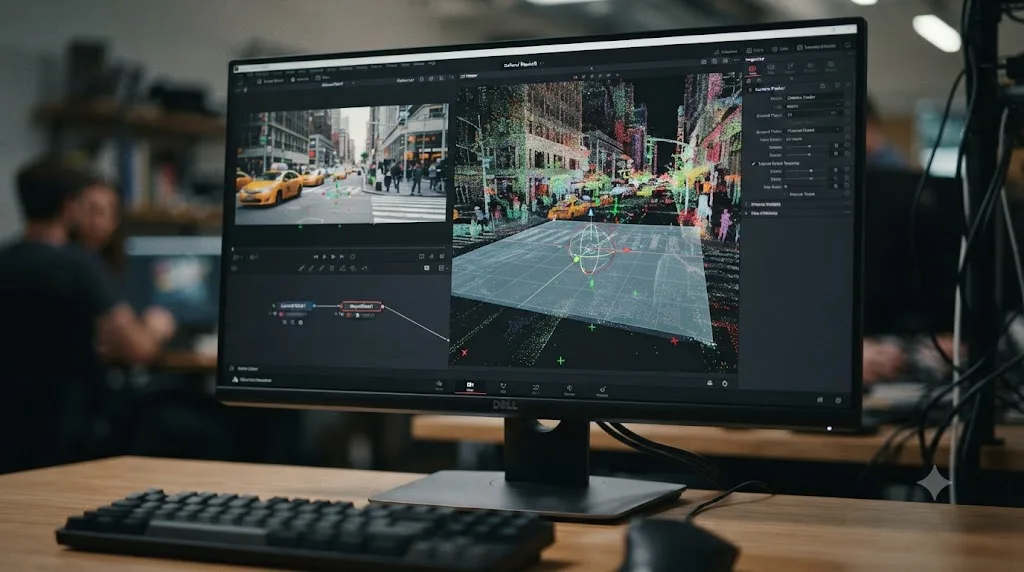
Once your Average Solve Error sits where you want it, the Export tab turns the abstract solve into an actual, usable 3D scene, real nodes you can build a composite on top of.
Per JayAreTV's documentation, clicking Export generates:
| Exported node | What it is |
|---|---|
| Camera3D | An animated camera with translation and rotation matching the real camera's solved motion |
| Point Cloud3D | The reconstructed 3D positions of every tracked feature, as a cloud of locators in space |
| Shape3D (ground plane) | A flat plane generated to represent the floor of the scene |
| Merge3D | Combines the camera, point cloud, and ground plane into one connected 3D scene |
| Renderer3D | Set to match your input footage's resolution and settings, so the 3D scene renders back at the right size |
The Camera Tracker has no idea, on its own, which way is up or where the center of the scene should sit. As JayAreTV puts it plainly: "although the camera is solved, it has no idea where the ground plane or center of the scene is located." You have to tell it, and this is the step almost every first-time tutorial-follower skips.
Here's how to set it correctly:
- Switch 3D Scene Transform to Unaligned first. This unlocks manual positioning of the ground plane and origin.
- Select three or more point cloud locators that sit on a real flat surface in your shot, a floor, a tabletop, the ground outside.
- Click Set From Selection. This orients the ground plane and scene origin based on where those selected points actually sit in the reconstructed 3D space.
- Switch back to Aligned to lock that orientation in.
The Camera Tracker never tells Fusion where the ground is; you have to set it yourself, every single time, before anything you place will sit flat instead of floating at an arbitrary tilt. Skip this step and a title that should sit flush against a wall instead hangs at a subtle, wrong angle that reads as obviously off even to a viewer who can't say exactly why.
How do you lock a 3D object or title to a tracked scene?
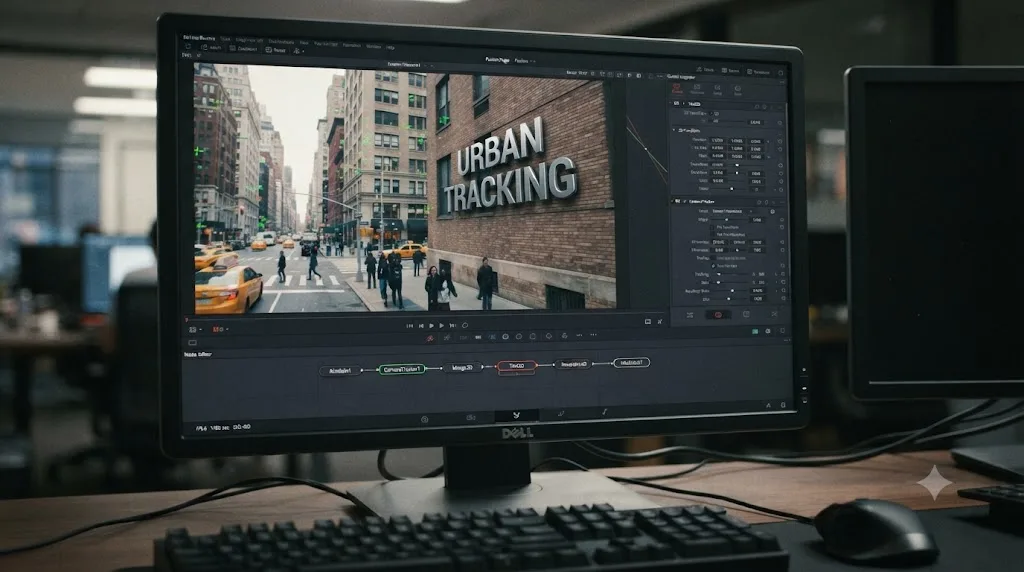
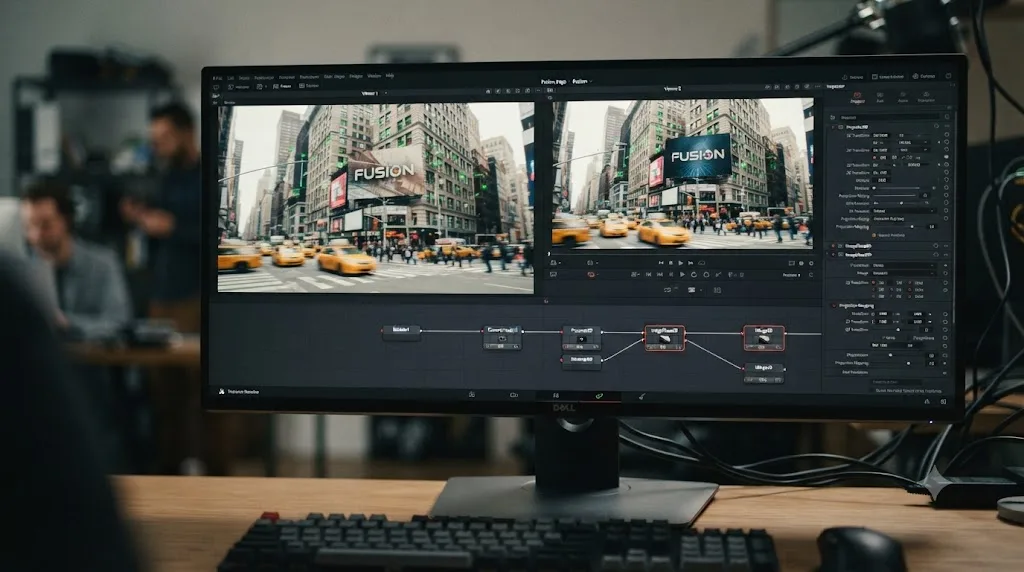
This is the payoff step, and it's simpler than the tracking and solving that came before it. Once your Camera Tracker has exported a Camera3D and Merge3D, anything connected into that same Merge3D shares the solved camera's 3D space automatically.
Here's the worked process, following the approach detailed by Alli and Will's tutorial on adding 3D-tracked text in DaVinci Resolve:
- Add a Text+ node, or bring in a 3D object, and connect its output into the exported Merge3D alongside the camera and ground plane.
- Set your text or object's content, font, and material the same way you would anywhere else in Fusion.
- Position it using the Transform tab's X and Y values only. This is the step the tutorial flags as the single most important warning in the whole workflow: "if you play around with the third option, this is the z-depth, and that will push your text further away from the camera or closer to the camera, and that in most cases will mess up the tracking."
- Use a point cloud locator as your visual reference for where to place the object, snapping roughly to a tracked point that sits where you want the graphic to appear.
- Add a light if the object needs to receive shading. A 3D Light node, spotlight or ambient, connected into the same Merge3D and enabled on the Camera Tracker's own lighting toggle, lets a 3D object pick up shading consistent with the rest of the scene rather than sitting flat and un-lit.
- Play the full clip back and watch for drift, especially through the frames where the camera's motion was fastest or the parallax was most extreme, since those are exactly the frames where a marginal solve shows its weakest points first.
A 3D object locked to a solved camera holds its position because the camera moves under it in the same reconstructed space, not because the object is doing anything clever on its own. That's the whole trick, and it's also why a bad solve ruins every object you try to lock afterward: the object was never the problem, the camera underneath it was.
How do you use the tracked camera to patch or paint out an unwanted object?
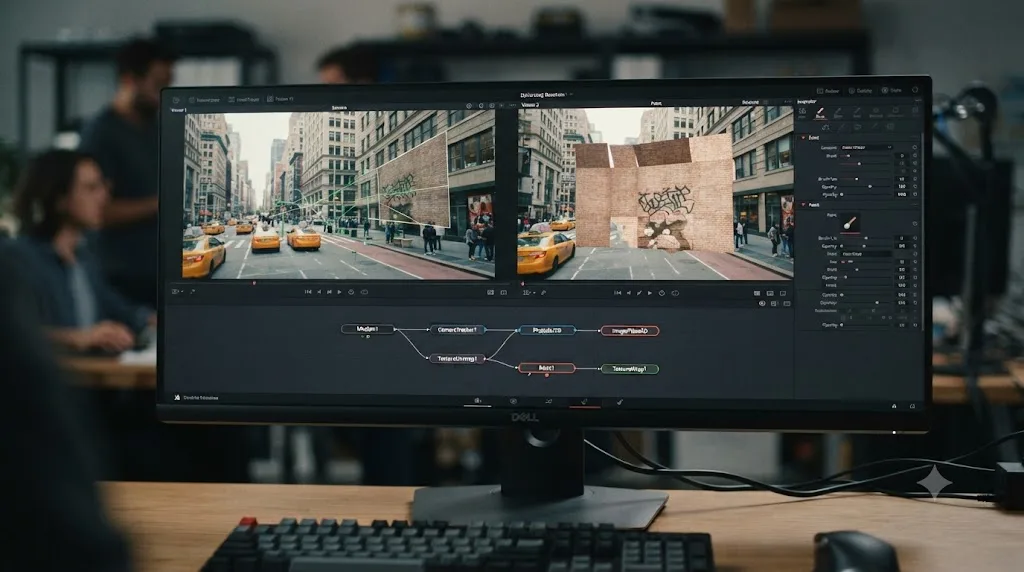
Camera tracking isn't only for adding things to a shot. It's just as commonly used to remove things, a boom mic that dips into frame, a crew reflection in a window, a stray sign in the background, and the technique leans on the exact same solved camera from the sections above.
Per Jamie Dickinson's Mixing Light tutorial on patching and object placement, the workflow uses the solved camera as a projector rather than just an anchor point:
- Solve the camera exactly as covered above, including a clean ground plane alignment.
- Set the exported Camera3D to project the original footage as a texture, using a frozen, duplicated copy of the camera for the projection so the live camera stays free for viewing.
- Connect a Catcher material to a 3D plane or shape placed at the surface you need to patch, which "catches" the projected texture onto that surface.
- Switch the Renderer3D to UV Render mode. This unwraps the projected texture flat, giving you a clean, static image you can paint on directly, rather than trying to paint a moving shot frame by frame.
- Paint out the unwanted object on that unwrapped UV render, using Fusion's paint tools on the flattened, static version of the surface.
- Add a ReplaceMaterial3D node to swap your painted fix back onto the object in the actual 3D scene, in place of the original projected texture.
- Switch the Renderer3D back to normal camera view and confirm the patched surface tracks correctly through the whole shot, since it's now riding the same solved camera as everything else in the scene.
This is a genuinely different use of the same underlying tool, and it's worth knowing it exists even if your first project is adding a graphic rather than removing one. The projection-and-catch technique is also how professional VFX artists fix continuity errors, remove crew and equipment from wide shots, and paint out temporary set dressing that shouldn't be in a final shot, all without ever leaving Fusion for a dedicated paint application.
How do you replace an object entirely in a tracked shot?
A step beyond patching a static surface is replacing an object that has its own shape and depth, a sign, a screen, a piece of set dressing, with something else entirely. Compositor Bernd Klimm walks through this exact scenario in a Mixing Light tutorial, tackling a shot where door reflections and a foreground beam complicate an otherwise straightforward replacement.
Klimm's approach starts from a messy point cloud and works toward a clean, aligned surface: select the reliable reference points from the noisy cloud, build a Shape3D plane aligned to those points using the same Set From Selection technique covered in the ground plane section above, then set up a frozen camera copy with a Catcher node, the same projection technique used for patching. Once the replacement material is composited using that projection, foreground elements crossing in front of the target get masked out with a Planar Tracker running in parallel, so the replacement correctly disappears behind anything that should occlude it.
Klimm sums up the underlying appeal of doing this work in Fusion rather than a dedicated 3D application directly: "we can do things in 3D in Fusion without even going through a 3D application just by positioning" planes and transforming them into the right place, per his object replacement tutorial for Mixing Light. For a shot with genuine depth, a real gap between the surface being replaced and the camera, adding a Displace3D node with a grayscale depth map onto the replacement plane gives it a sense of real dimension instead of reading as a flat card pasted into 3D space.
This is advanced territory, and it's worth attempting only once the basic lock-an-object workflow from earlier in this guide feels comfortable. But it's the natural next step for anyone doing regular VFX work inside Resolve rather than one-off graphics: the camera solve is the same tool underneath every one of these techniques, adding, patching, and replacing.
Why is your Camera Tracker so slow, and how do you speed it up?
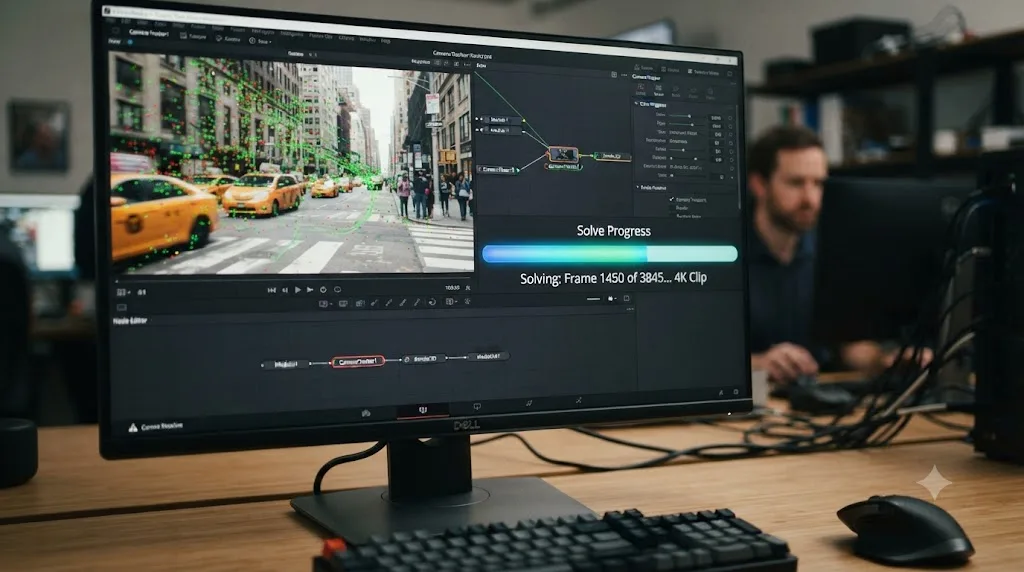
A Camera Tracker solve on a long, high-resolution clip is genuinely demanding work, and it gets slower in ways that surprise editors coming from the Edit or Color page. MotionVFX's troubleshooting guide notes plainly that "the longer, higher resolution video the tracking process will take longer and will cause more strain on your machine," per their tracking troubleshooting article.
A few habits meaningfully cut that cost down:
- Track a fragment, not the whole clip, when you can. MotionVFX recommends using a Compound Clip to isolate the specific section you need tracked, so the tracker works on that fragment rather than the full source duration.
- Confirm you're viewing at full resolution, not a proxy, while judging track quality. Per MotionVFX, "if you want to use Tracker, make sure you have full viewport resolution," set through Playback > Timeline Playback Resolution, since a downscaled preview can misrepresent how well points are actually locking onto detail.
- Try disabling GPU acceleration if a track behaves inconsistently. It runs roughly 50 percent slower, per MotionVFX's guidance, but has resolved outright tracking failures for some users where GPU-accelerated tracking produced unreliable results.
- Check Legacy Fusion Composition Frame Count in Project Settings > Fusion, available since Resolve 20, if a track behaves unexpectedly around frame numbering; this setting affects how Fusion counts frames relative to the timeline and can quietly cause a track's reference frames to land somewhere unexpected.
- Track on a higher-contrast, higher-sharpness channel if the source footage is flat or soft. MotionVFX suggests you "can track different channels of your video or increase contrast/sharpness on source footage, just to get more accurate input for tracking data" before the solver ever sees it.
Once a solve is locked and exported, our Fusion render slow fix guide covers the broader mechanics of why the Fusion page ignores Timeline Proxy Mode and computes everything at full resolution regardless, along with the caching techniques that keep a heavy composite from recalculating itself on every single scrub.
What hardware do you need for smooth camera tracking in Fusion?
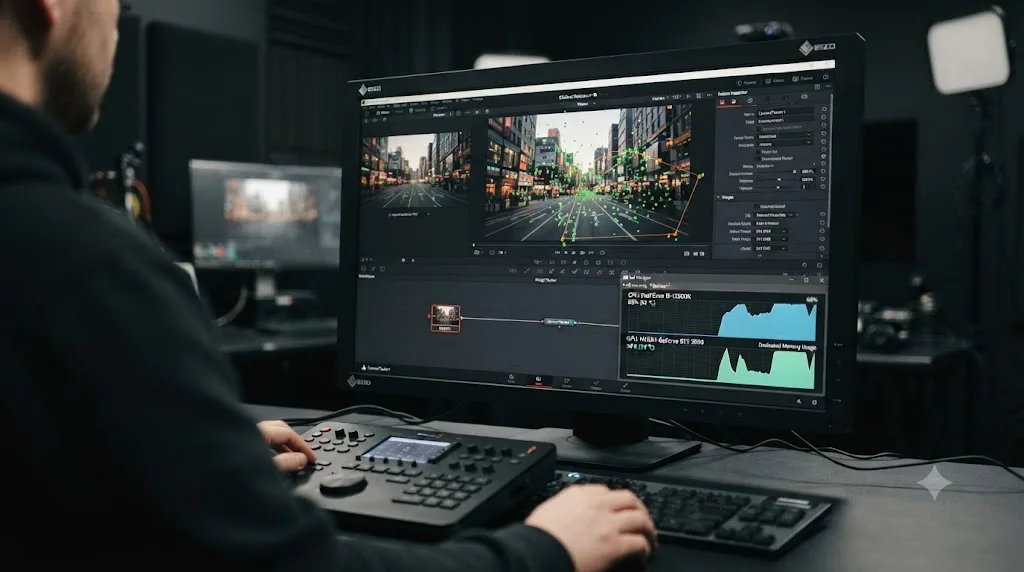
Camera tracking leans on both CPU and GPU differently than most other Fusion work: the initial Auto Track pass is feature-detection work that scales with resolution and clip length, while the Solve itself is a comparatively short, math-heavy burst, and everything downstream, patching, painting, rendering the final composite, goes back to being GPU-bound like the rest of Fusion.
The guidance below is a practical rule of thumb, not an official Blackmagic specification for the Camera Tracker itself, since Blackmagic doesn't publish per-tool hardware minimums.
| What you're doing | Realistic minimum | Comfortable |
|---|---|---|
| Tracking a short HD clip, simple background | Any machine that runs Resolve Studio at all | Same |
| Tracking a full-length HD handheld shot with masking | 8 GB VRAM, a modern multi-core CPU | 12 GB VRAM or Apple silicon |
| Tracking 4K footage, or a long clip with heavy detail | 12 GB VRAM, fast multi-core CPU | 16 GB+ VRAM |
| Camera projection, patching, and paint cleanup on 4K | 16 GB+ VRAM | A workstation-class GPU with 24 GB or more |
Two habits matter more than raw specs for most editors doing occasional tracking work rather than daily VFX. First, track on the smallest resolution or shortest fragment that still locks reliably, since the solver doesn't need 4K source resolution to find and follow high-contrast features. Second, if a solve genuinely maxes out your GPU during a heavy patch-and-paint pass, the same underlying causes and fixes covered in our GPU memory full guide apply directly, since the Camera Tracker's downstream 3D rendering leans on the same GPU resources as everything else in Fusion.
What mistakes wreck a camera track?
A handful of habits account for most failed or unusable tracks, and every one of them has a specific, learnable fix covered earlier in this guide.
- Choosing the wrong shot in the first place. A locked-off tripod shot, a pure pan with no depth variation, or a green screen with no markers was never going to solve well, no matter how carefully you tune the Track tab afterward.
- Skipping the Occlusion Mask on moving foreground subjects. People, cars, and animals moving through frame poison a solve if they're not masked out before tracking begins.
- Chasing point count instead of point quality. Thousands of short, noisy tracks slow the solver down and often produce a worse Average Solve Error than a smaller set of long, high-confidence tracks.
- Tracking footage with grading, noise reduction, or stabilization already applied. These effects change what the tracker actually sees, and disabling them, or tracking from a clean Adjustment Clip source, avoids problems that look like tracking bugs but are really pipeline order problems.
- Skipping ground plane alignment entirely. A solve with an excellent Average Solve Error can still produce a tilted, wrong-feeling composite if nobody ever told Fusion where the floor actually is.
- Adjusting Z-depth on a locked object after the fact. Moving an object's depth relative to the solved camera, rather than only its X and Y position, is the single fastest way to break a lock that looked correct a moment earlier.
- Giving up after one solve instead of iterating. Fusion's own documented workflow, track, solve, refine filters, solve, cleanup, solve again, assumes multiple passes. A first solve landing above 1.0 pixel isn't a failure; it's the starting point for cleanup.
None of these are advanced mistakes. They're first-attempt mistakes, and every working compositor made every one of them on the way to not making them anymore.
What do you do when the Camera Tracker won't cooperate?
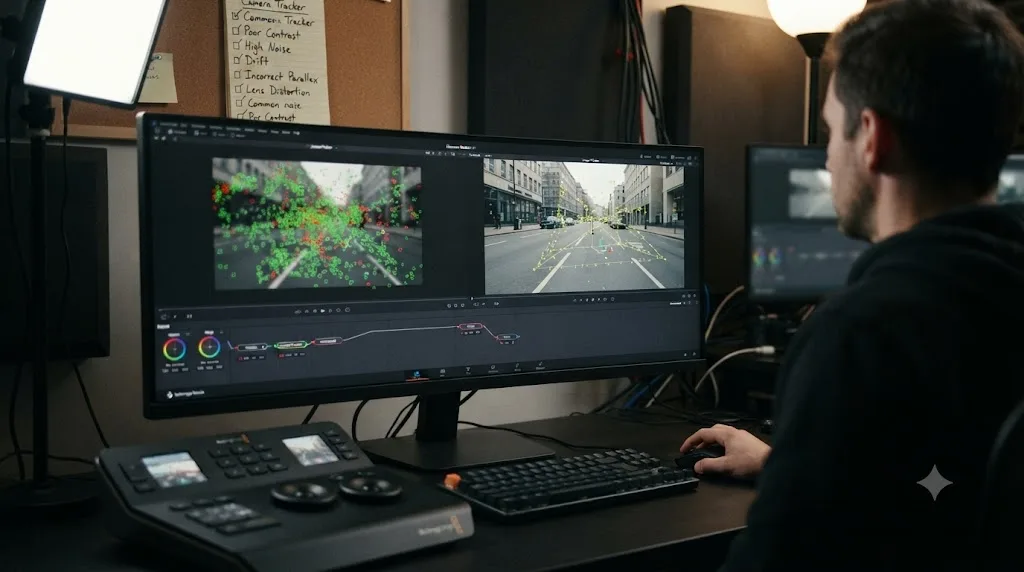
Most Camera Tracker problems sort into a handful of predictable branches, faster to diagnose by symptom than by re-clicking every slider in the Inspector.
Auto Track generates almost no points, or clumps them all in one corner. Lower Detection Threshold to pick up more subtle contrast, and check Preview AutoTrack Locations before running a full track to confirm coverage looks even across the frame rather than concentrated on one high-detail object.
The solve completes but Average Solve Error stays stubbornly above 1.0 pixel. Work through the cleanup sequence in order: Clean Foreground Tracks, then Maximum Track Error, then sort by Maximum Solve Error and delete the worst 20 percent, then re-solve. If it's still high after that, manually scrub the footage and delete visibly drifting points by eye.
The track looks clean but the exported ground plane sits at an obviously wrong angle. This almost always means 3D Scene Transform was never switched from its default state and aligned using Set From Selection on real floor or wall points. A perfect camera solve with an unaligned ground plane still produces a composite that looks subtly, undeniably wrong.
A locked 3D object drifts or slides during the fastest camera movement in the shot. Check whether you adjusted the object's Z-depth transform value at any point; per the object-locking section above, that's the single most common cause of drift that appears only during the shot's most demanding frames.
Tracking works fine on a locked-off test clip but fails on your actual handheld footage. That's backwards from what it should tell you: a locked-off shot doesn't need the Camera Tracker to begin with, and testing on one doesn't validate anything about how the tool handles genuine camera motion. Test on a short clip that has the same kind of movement as your real footage.
Effects applied earlier in your pipeline seem to be confusing the tracker. Per MotionVFX's guidance, disable Color Page grading and remove noise reduction, Super Scale, lens correction, or speed ramps from the tracked clip, or track from a clean Adjustment Clip source instead, before assuming the tracker itself is broken.
The whole process runs painfully slowly the moment you add masking or start patching. That's a GPU and resolution load problem, not a broken node, and the performance section above, plus our dedicated Fusion render slow fix guide, covers the caching and resolution fixes that apply.
None of these require deep VFX expertise to work through. They require knowing which of seven usual suspects you're looking at, which is exactly what this section maps out.
Is there a free way to do camera tracking for DaVinci Resolve?
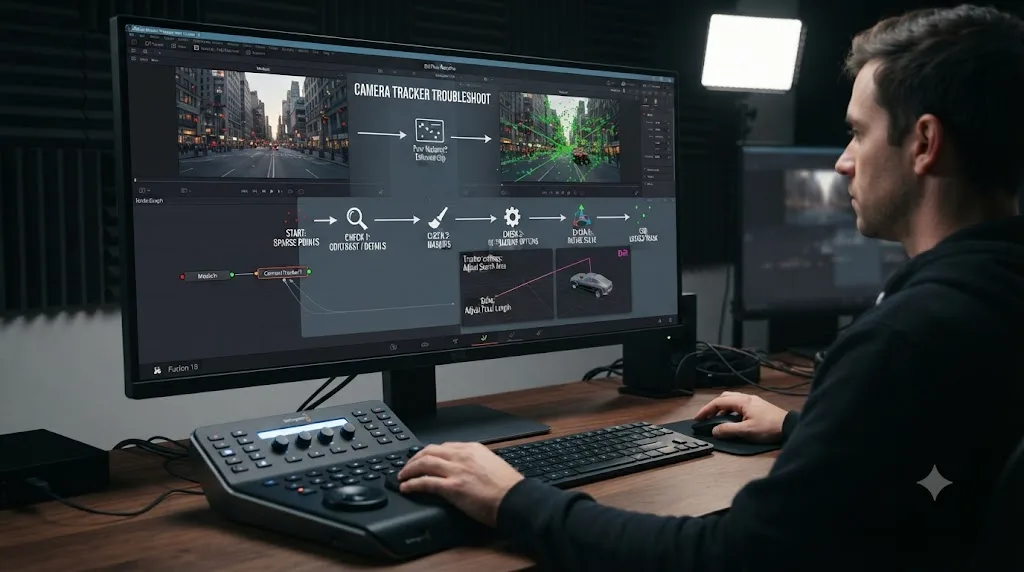
Not inside Resolve itself. As covered earlier, the Camera Tracker node needs the $295 Studio license, and there's no free equivalent built into the free edition of Resolve. If the surface you're tracking is genuinely flat, the free Planar Tracker covers a real chunk of what people reach for a full camera solve to do, and it's worth ruling that out first before assuming you need Studio at all.
For a genuine 3D camera solve without paying for Studio, the realistic path runs outside Resolve entirely: track the shot in a separate application that offers free camera tracking, most commonly SynthEyes's free tier or Blender's built-in Motion Tracking workspace, solve the camera there, then import the resulting camera data into Fusion using a matchmove import script or a compatible file format. That's a real workflow some VFX artists use, and it's exactly what our earlier reference to advanced external-tracker workflows touches on.
It's also a genuinely different tradeoff than a single built-in node, worth stating honestly rather than glossing over. You gain a $0 tracking tool. You lose the tight, one-application pipeline this entire guide is built around, round-tripping a solve through a second program, exporting and importing camera data, and hoping the two applications agree on coordinate space and units. For a single one-off shot, that round trip might be worth the time it costs to avoid $295. For anyone doing this kind of work regularly, the Studio license pays for itself in avoided friction alone, well before you count everything else it unlocks.
A worked example: lock a floating title to a wall in a handheld walk-and-talk shot
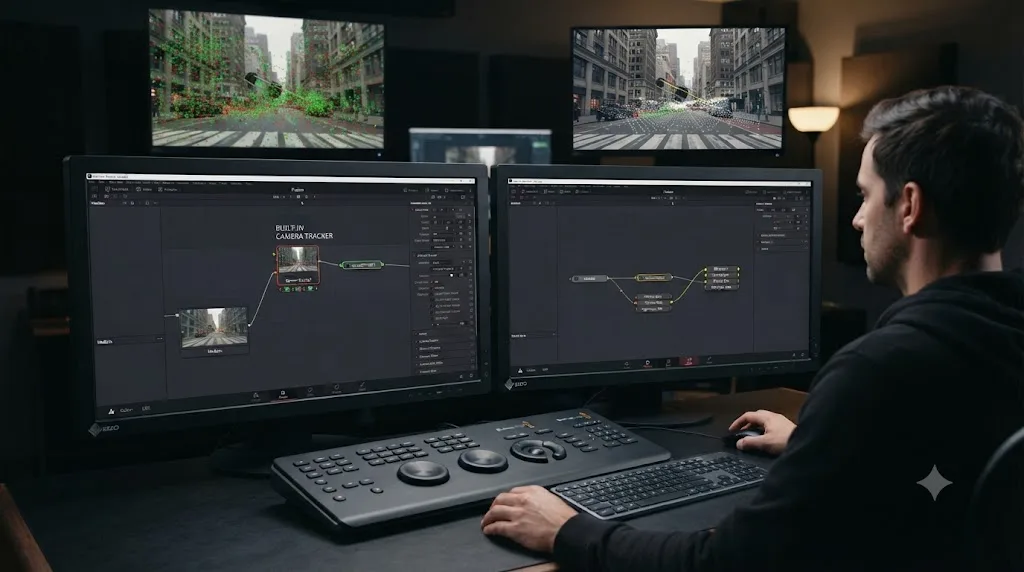
Here's every piece of this guide combined into one complete build, the kind of shot a documentary interview intro or a real estate walkthrough actually needs: a handheld shot walking down a hallway, with a title that needs to sit flush against a wall and hold its position as the camera moves past it.
- Open the shot on the Fusion page and add a Camera Tracker node between MediaIn and MediaOut.
- Mask out the walking subject if a person is in frame, connecting a rough matte, a Planar Tracker-driven shape is often enough for this, into the Occlusion Mask input.
- Enable Preview AutoTrack Locations, confirm coverage looks reasonably even across the hallway's walls, floor, and any furniture, and adjust Detection Threshold if the points cluster too heavily around one bright window or doorway.
- Turn on Bidirectional Tracking and click Auto Track.
- Click Solve, check the Average Solve Error, and if it sits above 1.0 pixel, run Clean Foreground Tracks, delete the worst 20 percent by Maximum Solve Error, and solve again until it lands in the 0.6 to 0.8 range or better.
- Select three or four point cloud locators sitting flat against the target wall, use Set From Selection under 3D Scene Transform, and switch to Aligned so the ground plane and scene orientation match the hallway's real geometry.
- Click Export, generating the Camera3D, Point Cloud3D, ground plane, Merge3D, and Renderer3D.
- Add a Text+ node with your title text, and connect it into the exported Merge3D.
- Position the title using only X and Y transform values, referencing a point cloud locator on the wall as a visual guide, and resist adjusting Z-depth even if the scale looks slightly off; fix apparent scale issues with the Text+ node's own size controls instead.
- Add a spotlight if the title needs shading consistent with the hallway's lighting, connecting it into the same Merge3D and enabling lighting on the Camera Tracker node.
- Play the full walk back at full resolution, watching specifically the moments where the camera passes closest to the wall, since that's where parallax is most extreme and a marginal solve shows drift first.
- Render a short test section before committing to the full shot, confirming the title holds its lock through the hardest parallax moment in the walk before trusting the composite for the entire clip.
That's a complete, professional-grade camera track: masked, cleaned, solved under 1.0 pixel, ground-aligned, and locked to a real wall using tools that ship with DaVinci Resolve Studio and nothing beyond it.
Where do you go from here?
You now know what the Camera Tracker actually solves, why it needs Studio while the Planar Tracker doesn't, how to read an Average Solve Error instead of guessing, and how to clean up a messy track before it wastes an afternoon. That's the real starting toolkit: the same sequence, track, solve, clean up, export, align, lock, a working compositor reaches for on a documentary interview, a real estate walkthrough, or a commercial with a floating logo.
The next step isn't a bigger shot. It's one small, real track of your own, the walk-and-talk worked example above, or something close to it from your own footage, taken all the way from Auto Track to a locked, rendered title. Do that once before reaching for patching, projection, or object replacement. Fusion's camera tracking rewards one finished small project far more than it rewards reading about an ambitious one.
If you get stuck mid-solve and can't remember which Inspector tab a specific control lives in, that's exactly the kind of moment where a second set of eyes on your actual screen helps more than another ten-minute video. TryUncle is the on-screen assistant for DaVinci Resolve on macOS. Ask in plain words and Uncle points at the exact control on your screen. It's one option among several in this space: tools like Sottocut, PremiereCopilot, heyeddie.ai, and cutagent.ai mostly automate edits or answer chat questions about a project rather than watching your live Resolve window, while Uncle's approach stays narrower and more literal, pointing rather than automating. TryUncle runs on founder pricing for its first 100 seats; check TryUncle for the current rate before committing. And once a basic locked object feels routine, our guide to what makes Resolve's Stabilizer fail on shaky footage is worth reading next, since stabilization and camera tracking solve related but genuinely different problems, and knowing which one a given shot actually needs saves you from reaching for the heavier tool when the simpler one would do.
Frequently asked questions
- What is the Camera Tracker in DaVinci Resolve's Fusion page?
- It's the node that solves match moving: it analyzes a moving shot and calculates the real camera's 3D path, then builds a virtual camera in Fusion's 3D space that matches it, according to Blackmagic's Fusion manual. That virtual camera is what lets you lock 3D text, objects, or paint fixes to a shot that was never locked off.
- Do you need DaVinci Resolve Studio to use the Camera Tracker?
- Yes. The Camera Tracker node is one of a short list of Fusion features gated behind the $295 Studio license, alongside the Fusion VR Toolset and remote script control, per CineD's free-versus-Studio comparison. The Tracker and Planar Tracker nodes, which handle 2D and surface tracking, stay free in every edition.
- What's the difference between the Camera Tracker and the Planar Tracker?
- The Planar Tracker follows a single flat surface in 2D, a phone screen or a sign, and is free in every Resolve edition. The Camera Tracker solves the entire camera's motion through 3D space from hundreds of tracked points at once, which is what lets you place an object anywhere in the scene, not just on one tracked surface, but it needs Studio.
- What counts as a good camera track in DaVinci Resolve Fusion?
- An Average Solve Error under 1.0 pixel, per Fusion's own documentation, with 0.6 to 0.8 pixels considered excellent. Colorist Jamie Dickinson puts the practical bar at under 0.5 pixels for a track he'd trust. Anything consistently above 1.0 pixel needs cleanup, not more tracking points.
- Why won't my Camera Tracker solve, or why is the solve error too high?
- Usually the shot itself, not your settings. A locked-off tripod shot, a pure pan with no parallax, a green screen with no markers, heavy motion blur, or people and cars moving through frame all sabotage a solve before you ever touch the Solve tab, per Blackmagic's own manual on clips that track poorly.
- How do you lock a 3D object or title to a tracked scene in Fusion?
- Export the solve to get a Camera3D and Merge3D, connect a Text+ or 3D object to that Merge3D, and position it using only its X and Y transform values. Adjusting Z-depth after the fact is the single fastest way to break a lock that looked perfect a second ago.
- Is there a free way to do camera tracking for DaVinci Resolve?
- Not inside Resolve itself; the Camera Tracker node needs Studio. Free workarounds exist outside the app, most commonly tracking in the free version of SynthEyes or Blender and importing the solved camera into Fusion, but that adds a second application to your pipeline instead of one node inside the one you're already using.
Sources
- Blackmagic Design: DaVinci Resolve Fusion product page
- Blackmagic Design: DaVinci Resolve Studio product page (price)
- Blackmagic Fusion Reference Manual (VFXPedia mirror): What Is 3D Camera Tracking?
- Blackmagic Fusion Reference Manual (VFXPedia mirror): Clips That Don't Work Well for Camera Tracking
- JayAreTV: Camera Tracker Node
- JayAreTV: Tracker Nodes in Fusion
- Mixing Light (Jamie Dickinson): Using Fusion's 3D Camera Tracker for Patching and Object Placement
- Mixing Light (Bernd Klimm): How Do I Replace Objects in 3D Camera-Tracked Shots in Fusion?
- CineD: DaVinci Resolve, an in-depth comparison between the free and Studio version
- Alli and Will: How To Use 3D Camera Tracker In DaVinci Resolve To Add Text Anywhere
- MotionVFX Help Center: Tracking troubleshooting in DaVinci Resolve
- Storyblocks: How to use DaVinci Resolve Fusion for compositing
Keep reading
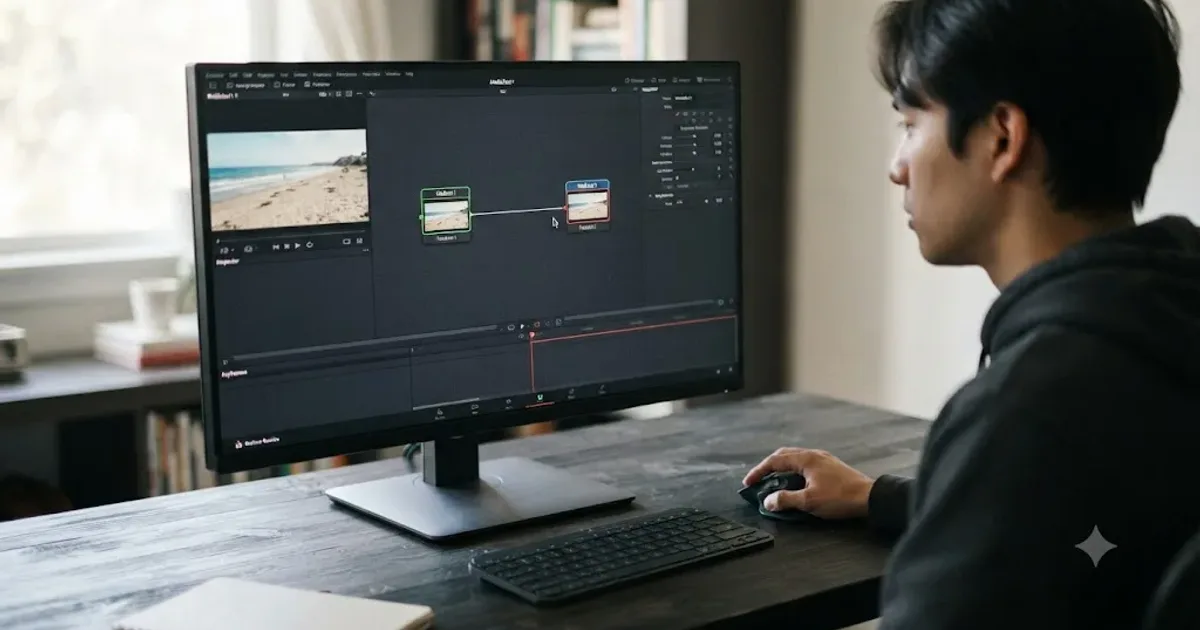
Guides · Jul 10, 2026 · 32 min
DaVinci Resolve Fusion Page Tutorial for Beginners
Learn the DaVinci Resolve Fusion page from zero: nodes, MediaIn/MediaOut, the Merge node, planar tracking, and keying a green screen, step by step.
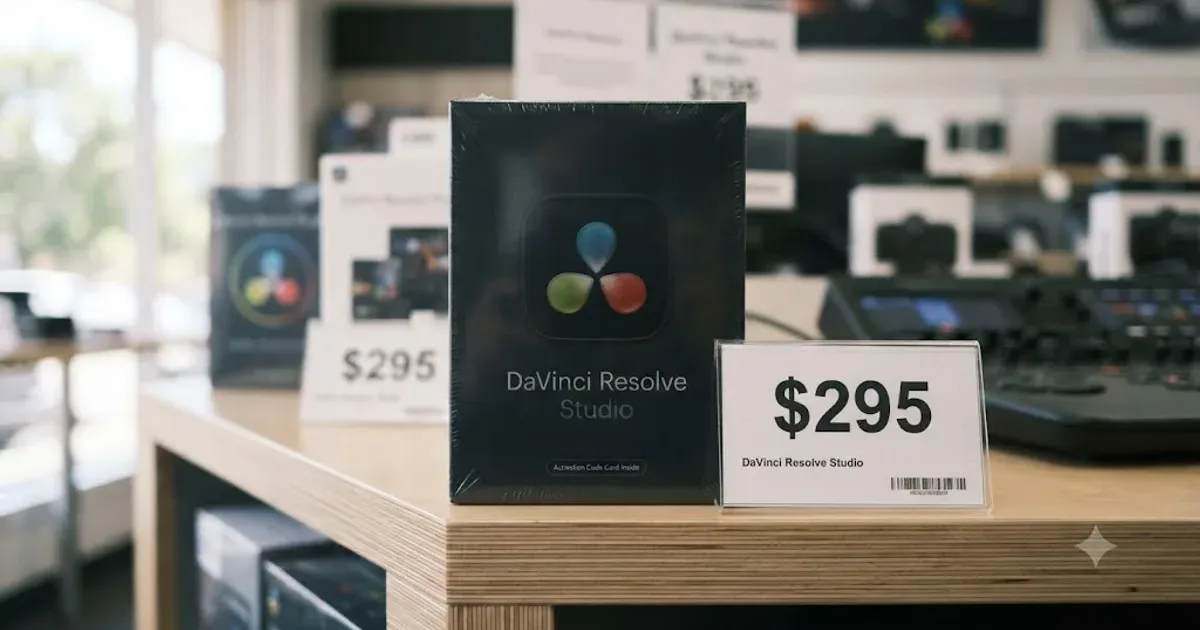
Comparisons · Jul 7, 2026 · 28 min
DaVinci Resolve Studio Price: Free vs. Studio Cost, Explained
DaVinci Resolve Studio costs $295, paid once, not monthly. Here's exactly what that buys, how it stacks up against Premiere Pro and Final Cut Pro, and who needs it.
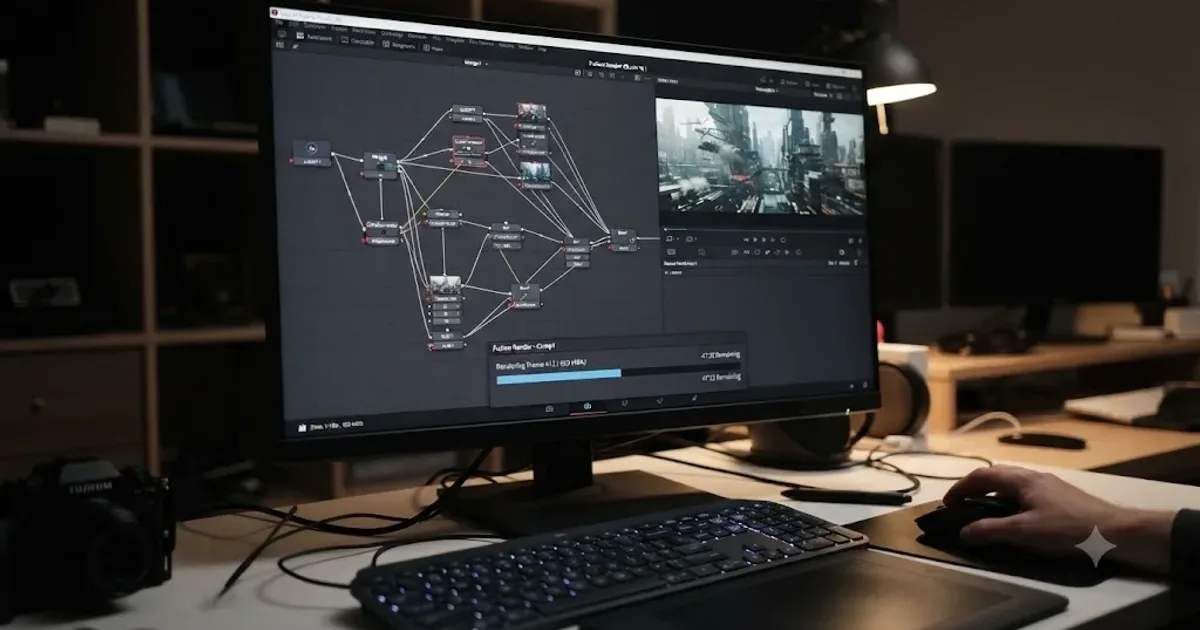
Fixes · Jul 10, 2026 · 26 min
DaVinci Resolve Fusion Render Slow? The Real Fixes
Why DaVinci Resolve's Fusion page renders so slowly, and the real fixes: resolution passthrough, MediaIn vs Loader, node caching, and CPU-only nodes.