Articles / Guidesupdated for DaVinci Resolve 21.0.3 (July 2026)
How to Do a Zoom Transition in DaVinci Resolve Without Plugins
Quick answer
Keyframe the Transform tool's Zoom on the outgoing clip's last frames and the incoming clip's first frames so both accelerate through the same point, then add the free Zoom Blur or Directional Blur ResolveFX filter at the cut line to hide the seam. Works in DaVinci Resolve's free version, no plugin needed.
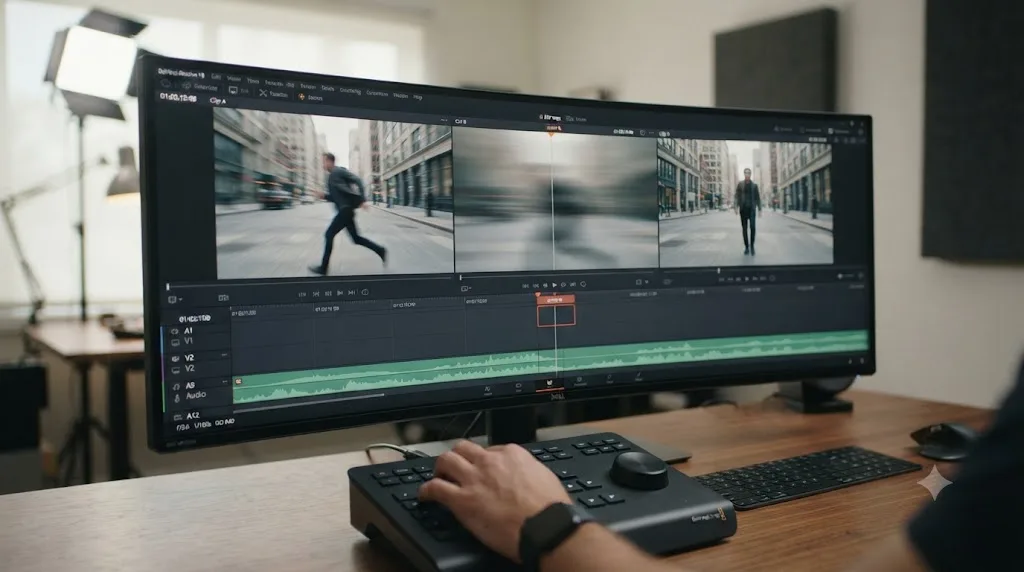
You don't need a plugin for a zoom transition in DaVinci Resolve. You need two Transform keyframes, an Ease curve, and a blur filter that already ships in the free version. That's the whole trick, and once you've built it once, it takes about ninety seconds every time after that.
I know that sounds like it should be harder, because half the internet is selling you a transition pack that promises to make it easier. It doesn't need to be easier. It needs four minutes of your attention the first time, and then it's a habit.
As of August 2026, DaVinci Resolve sits at version 21.0.3, and every tool this guide uses, Transform, Zoom Blur, Directional Blur, and the Fusion page, has worked exactly the same way since long before this release. In seven years of cutting commercial video and social content professionally, the zoom whip is one of maybe four transitions I've rebuilt from scratch in more edit sessions than I can count, and it's never once needed anything beyond what Resolve ships with on day one.
What is a zoom transition, and why do editors want one without plugins?
A zoom transition, sometimes called a zoom whip, crash zoom, or punch transition, is a cut disguised as a fast camera zoom: the outgoing shot appears to accelerate toward the viewer right as the incoming shot picks up the same motion, and a burst of motion blur covers the exact frame where one clip actually ends and the other begins. Done well, the audience reads it as one continuous, aggressive camera move instead of two separate pieces of footage stitched together.
Editors want it without a plugin for three practical reasons, not just stubbornness. A plugin is a dependency: it has to be installed on every machine that opens the project, it can break on a Resolve point release before the developer patches it, and it usually costs money for something a handful of keyframes already does. A zoom transition built from Transform keyframes travels with the project file itself, with nothing to install on the next machine that opens it. That portability matters more than it sounds like it should the first time you hand a project to a client, a co-editor, or your own future self on a different computer.
One of the recurring questions in our 100,000+ member editing community is some version of "what's the plugin everyone uses for that TikTok zoom cut," and the honest answer surprises people every time: there usually isn't one, because the effect is four native controls stacked in the right order.
What are the two different things people mean by "zoom transition" in DaVinci Resolve?
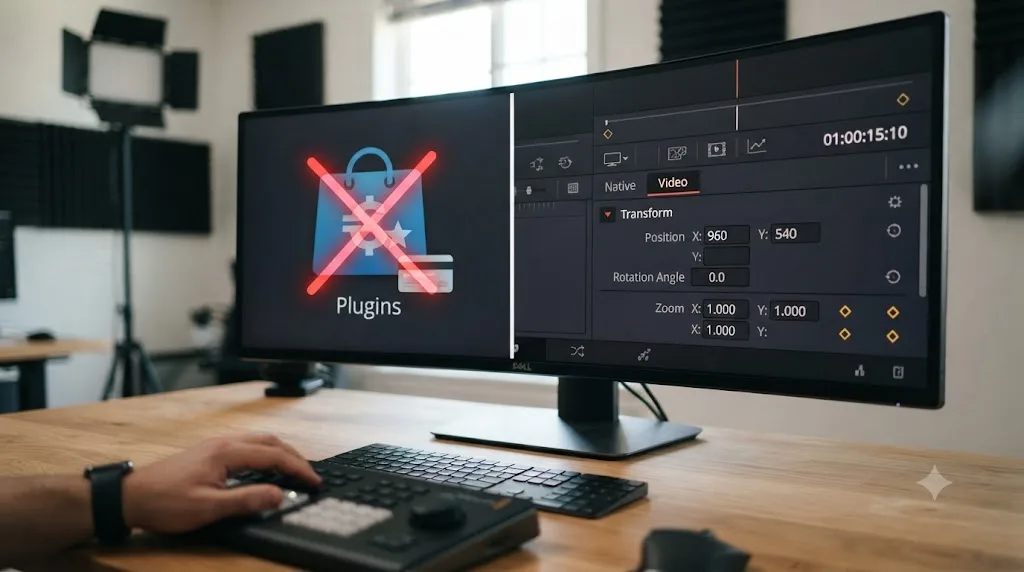
Before touching a single keyframe, it's worth separating two effects that get called the same name and aren't the same thing. A single-clip zoom, the slow push in or out on one photo or one shot, is a Ken Burns move. A zoom transition is a cut effect built across two clips at an edit point, where the zoom's job is specifically to disguise the moment the footage changes.
The confusion matters because the tools overlap but the goals don't. Resolve's Dynamic Zoom tool, covered in detail further down, animates the first kind beautifully and isn't built for the second at all. If you came looking for a way to slowly zoom into a still photo, you want Dynamic Zoom, and this guide will point you to it. If you came looking for the fast whip-cut effect popularized by travel vloggers and short-form editors, keep reading, because that's a Transform-and-blur build, not a single-button tool.
| What you want | The right tool | Why |
|---|---|---|
| A slow push in or out on one clip or photo | Dynamic Zoom | Built for exactly this, no manual keyframing needed |
| A fast whip-zoom disguising a cut between two clips | Transform keyframes + a blur filter | This is a compositing effect, not a preset |
| An optical-flow blend hiding a small jump cut on a talking head | Smooth Cut | A different transition entirely, meant for interview footage, not a zoom look |
| Precise control over the blur's direction, shape, or timing curve | Fusion, Transform and Merge nodes | Gives frame-accurate control the Edit page tools can't match |
A zoom transition and a zoom effect solve two completely different editorial problems, even though both use the word "zoom" and both live under the same Transform tool. Keep that distinction in your head before you open the Inspector, because it decides which section of this guide you actually need.
Does DaVinci Resolve have a built-in zoom transition?
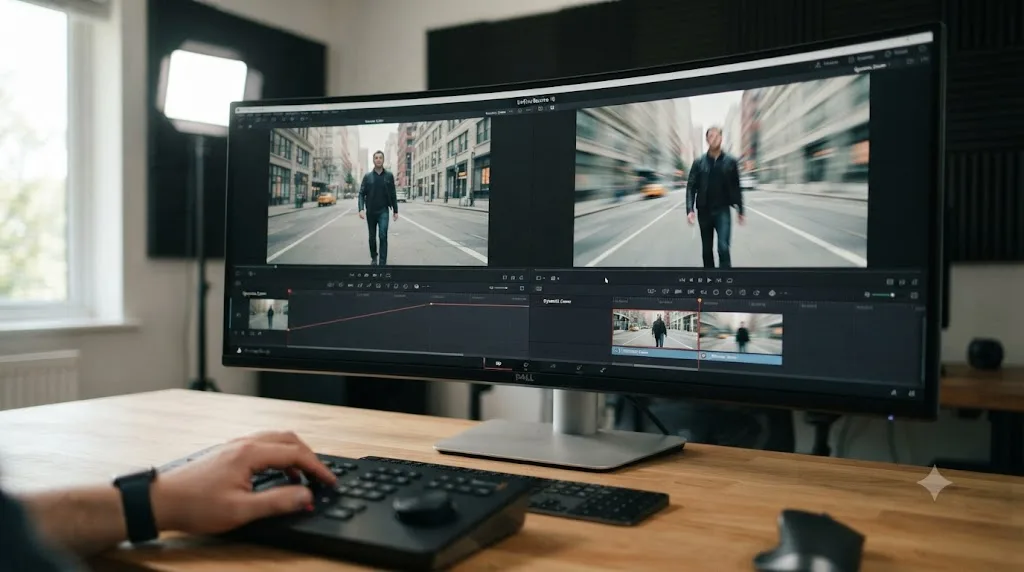
No, and that's the reason this whole guide exists. Resolve's Video Transitions toolbox, the drag-and-drop panel you open under Effects Library > Toolbox > Video Transitions, ships with roughly 44 presets: Cross Dissolve, Dip to Color, Additive Dissolve, a handful of directional wipes, several iris shapes, Smooth Cut, and a few more. None of them is a zoom.
That's a deliberate gap, not an oversight. A dissolve, a wipe, or an iris is a fixed mathematical blend between two frames that Resolve can compute the same way every time, which is exactly what a drag-and-drop transition needs to be. A zoom whip depends on the specific footage: how fast the subject is moving, what's in the frame at the cut point, and how much blur reads as natural rather than smeared. Baking that into a one-size-fits-all preset would produce a worse result on most footage than four minutes of manual keyframing does.
The absence of a built-in zoom transition in DaVinci Resolve isn't a missing feature, it's the reason the technique in this guide has stayed the standard approach for years instead of getting replaced by a menu option. Every third-party plugin selling "one-click zoom transitions" is automating the same Transform-and-blur combination this guide teaches you to build by hand, just with less control over the exact footage in front of you.
What's the fastest way to build a zoom transition using only the Transform tool?
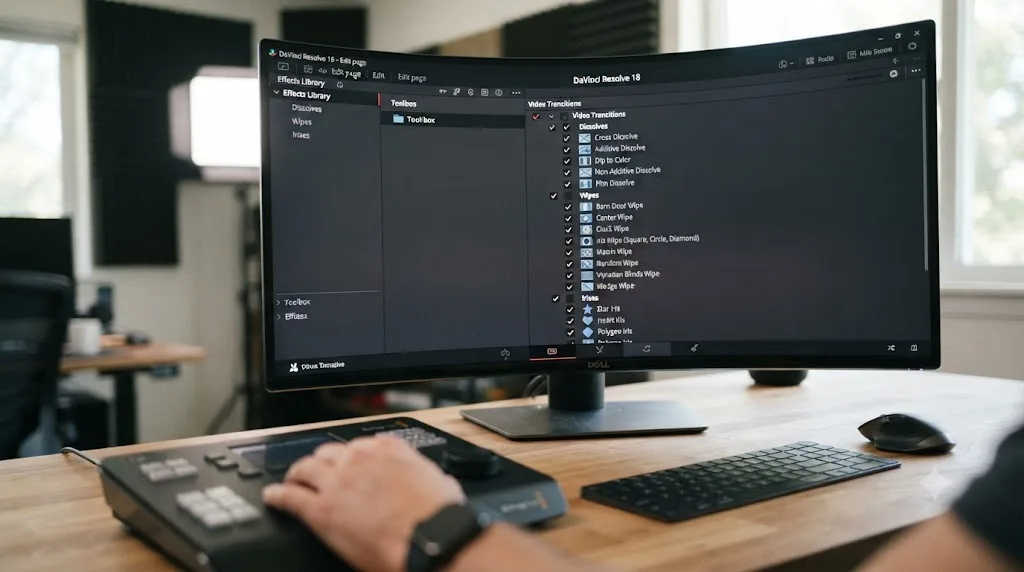
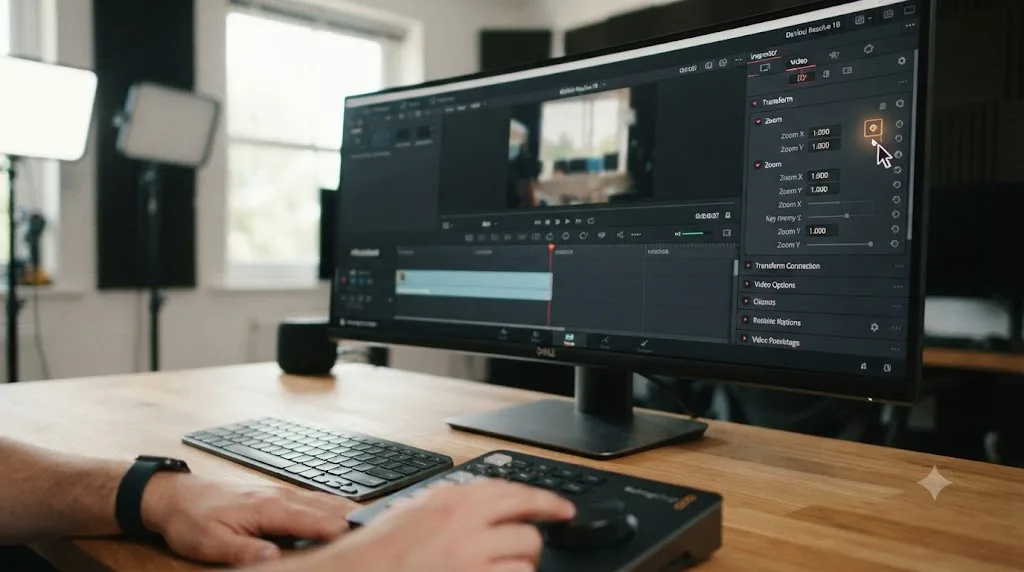
Keyframe the Zoom parameter on the outgoing clip's last few frames, then keyframe it again on the incoming clip's first few frames, so the two form one continuous acceleration across the cut. That's the entire mechanic underneath every zoom transition you've ever seen, before any blur gets added.
Here's the full sequence:
- Blade both clips at your chosen cut point. If your outgoing and incoming footage aren't already separate clips at the exact frame you want the whip to land on, use the Blade Edit tool (B) to cut them there first.
- Select the outgoing clip and open the Inspector's Video tab. The Transform section, with Zoom, Position, and Rotation, sits at the top of the same panel you'd use for a split screen or a picture-in-picture.
- Set your first keyframe a few frames before the cut. Move the playhead to roughly 6-8 frames before the clip's out point, click the small diamond icon next to Zoom to create a keyframe at 100%.
- Move the playhead to the very last frame and push Zoom up. A common starting point is 250% to 400%, enough that the frame is clearly rushing toward the viewer without going so far that the image dissolves into unrecognizable pixels.
- Select the incoming clip and repeat the process in reverse. Set a keyframe at the same elevated zoom percentage on the clip's very first frame, then move a few frames later and keyframe it back down to 100%.
- Right-click each keyframe and set the easing. Ease In and Out on the appropriate keyframes turns a flat, linear zoom into one that accelerates and decelerates the way a real fast zoom actually moves.
- Play it back at normal speed. A zoom whip only reads correctly in motion, not while scrubbing, so hit play rather than dragging the playhead back and forth to judge it.
The CapCut editorial team describes the same core mechanic in its own walkthrough of the technique: "Click the small diamond near the zoom input, move the playhead to the endpoint and adjust the zoom to auto-create a second keyframe," then use the right-click menu's easing options to smooth the motion between them. That's the entire native method, described without a single plugin in the sequence, because there isn't one in it.
How do you match the zoom on both clips so the cut disappears?
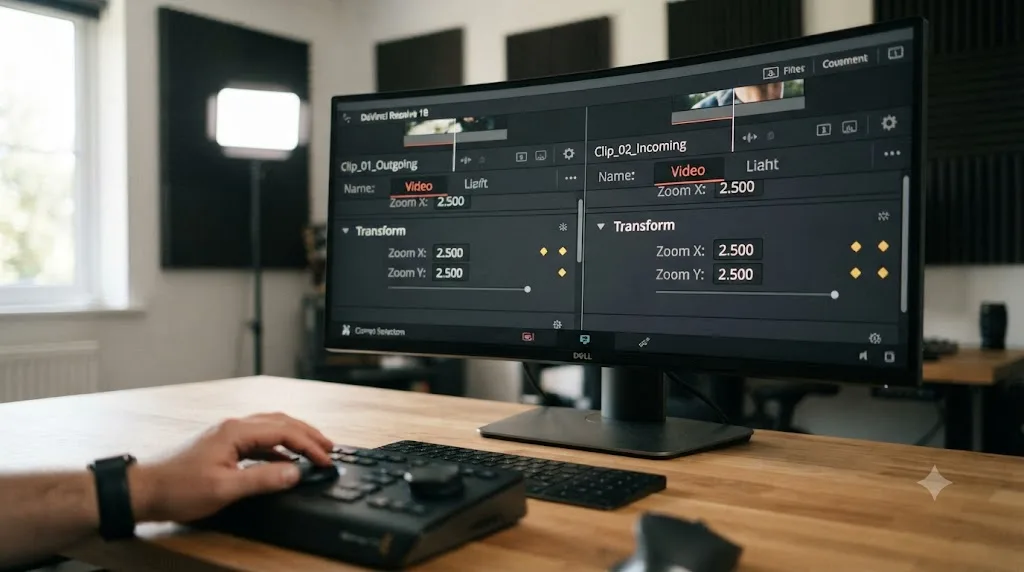
The outgoing clip's zoom value at its very last frame has to equal the incoming clip's zoom value at its very first frame, exactly, or the audience will see a visible pop right at the cut, no matter how much blur you throw on top of it.
This is the single detail that separates a convincing zoom whip from an obviously two-part effect. If your outgoing clip ends at 320% zoom and your incoming clip starts at 280%, the frame size jumps by 40 percentage points in a single frame, and a blur filter can soften that jump but it can't hide it, because blur only smears motion that's actually continuous. Type the exact same number into both Zoom fields rather than eyeballing two separate drags of the parameter slider, and confirm it by checking the Inspector's numeric readout on both clips before you move on to the blur step.
A second, subtler matching problem shows up with Position. If your outgoing clip's subject sits slightly left of center and your incoming clip's subject sits slightly right of center, the zoom accelerates toward two different points in space, and even a perfectly matched zoom percentage will feel like it jumps sideways at the cut. A zoom transition only disappears when the zoom's target point and its exact scale match on both sides of the cut, not just when the percentages happen to look similar. Before you touch the blur filter, park the playhead on the very last frame of the outgoing clip and the very first frame of the incoming clip, side by side if your Resolve layout allows it, and confirm both the framing and the exact zoom number line up.
If your two clips have a genuinely different subject position, a talking head that moves between angles, adjust the Position X and Y values alongside Zoom on whichever clip needs it, so the visual target of the whip is consistent even though the underlying footage isn't.
How do you add blur to sell the zoom whip, using effects that already ship with Resolve?
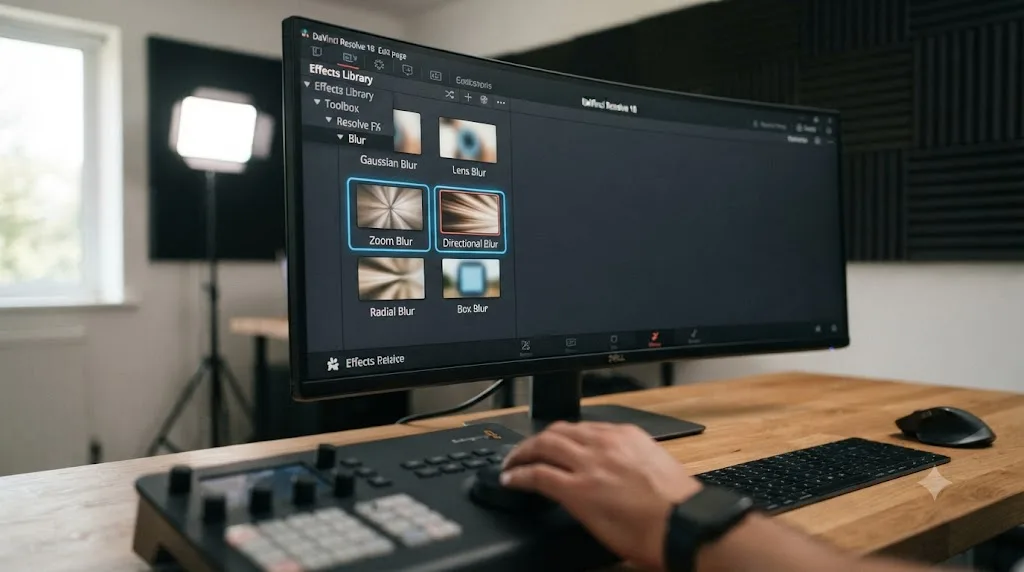
Drag the Zoom Blur or Directional Blur filter from the Effects Library onto both clips at the cut, then keyframe its Amount from zero, up to a peak right at the cut frame, and back to zero. Both filters live in the ResolveFX Blur category and are available in DaVinci Resolve's free edition, not just Studio.
That last part matters more than it might seem. According to the DaVinci Resolve reference manual's Resolve FX overview, the Blur category includes Box Blur, Directional Blur, Gaussian Blur, Lens Blur, Mosaic Blur, Radial Blur, and Zoom Blur, and only Lens Blur carries the "(Studio Version Only)" label in that listing. Zoom Blur and Directional Blur, the two filters that actually matter for a whip transition, are free.
Here's the process:
- Open the Effects Library and search "Zoom Blur" or "Directional Blur." Both live under Open FX > Filters > Resolve FX Blur.
- Drag the filter onto the outgoing clip, positioned over the same last few frames you keyframed the Zoom parameter on.
- Open the filter's controls in the Inspector. Zoom Blur gives you an Amount slider and a Center point; Directional Blur gives you a Blur Strength slider and a Blur Angle.
- Keyframe the Amount or Strength value at zero a few frames before the cut, then keyframe it up to a peak right on the last frame, matching where your Zoom keyframe also peaks.
- Repeat the same keyframed blur on the incoming clip, starting at the peak value on its first frame and easing back down to zero over the following few frames.
- Match the blur's Center point (for Zoom Blur) to the same spot you matched Position to in the previous step, so the blur radiates from the same point the frame is scaling toward.
A zoom whip's blur has to peak at the exact same frame the zoom itself peaks, or the effect reads as two separate things happening near each other instead of one motion. That single alignment, blur amount and zoom percentage hitting their maximum on the same frame, is what makes the cut genuinely disappear instead of just getting fuzzy.
Zoom Blur vs Directional Blur vs Fusion Motion Blur vs Studio's Motion Blur: which should you use?
Each of the four blur options available for this technique produces a visibly different look, and picking the wrong one is the most common reason a zoom transition looks "off" without the editor being able to say exactly why.
| Blur method | Where it lives | Look it produces | Free or Studio |
|---|---|---|---|
| Zoom Blur | Edit page, Resolve FX Blur | Streaks radiate outward from a center point in every direction, matching a real camera zoom | Free |
| Directional Blur | Edit page, Resolve FX Blur | Streaks run in one straight direction only, closer to a whip pan than a zoom | Free |
| Fusion Motion Blur (on a Transform node) | Fusion page | Calculated from the node's actual keyframed motion, the most physically accurate of the four | Free |
| Resolve FX Temporal Motion Blur | Edit page, Resolve FX Temporal | Reads real motion vectors from the footage itself and applies GPU-accelerated blur automatically | Studio only |
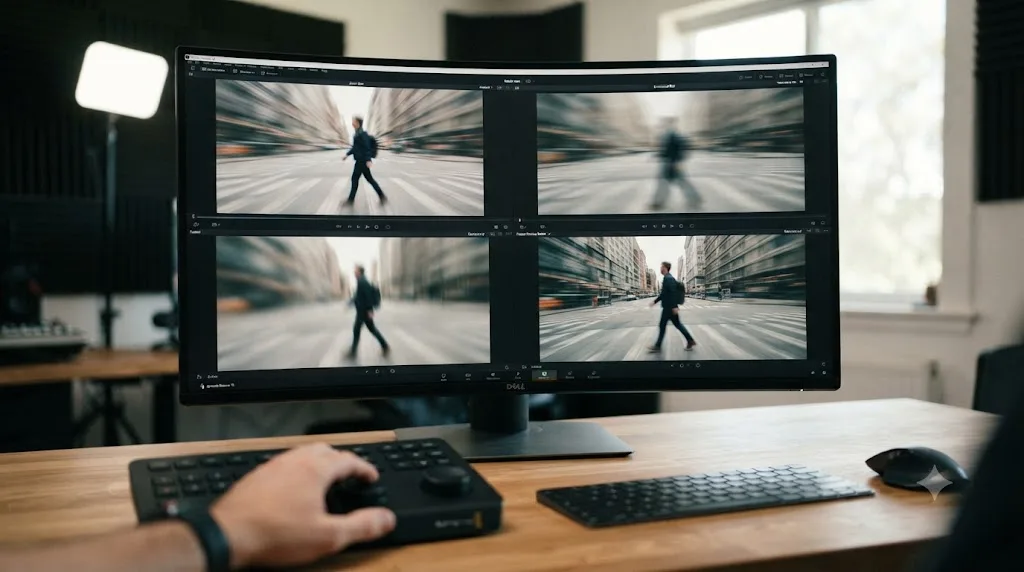
Zoom Blur is the right default for most zoom transitions, because its radiating streak pattern matches what a real fast zoom actually looks like: everything pulling away from or toward a single point. Directional Blur produces straight parallel streaks instead, which reads more like a fast pan or a whip, and it's the better choice when your transition is combined with a sideways motion rather than a pure push.
Fusion's built-in Motion Blur, available on any node capable of introducing motion including a Transform node, calculates blur from the node's actual keyframed movement rather than from a separate Amount slider you keyframe by hand. According to Boris FX's own comparison of DaVinci Resolve's motion blur methods, the free version's path to genuinely accurate motion blur runs through Fusion's Optical Flow and Vector Motion Blur nodes, while Studio users get a dedicated, GPU-accelerated Motion Blur effect directly on the Edit page under Resolve FX Temporal, confirmed as Studio-exclusive by the reference manual's own listing.
None of the three free options require Studio, and the Studio-only Motion Blur effect is a convenience, not a capability gap, since Fusion's node-based Motion Blur produces an equally physically accurate result for free. The trade-off is setup time: a Zoom Blur keyframe takes thirty seconds on the Edit page, while a proper Fusion Transform-and-Merge setup takes several minutes the first time you build it.
What is the Dynamic Zoom tool, and why isn't it the same as a zoom transition?
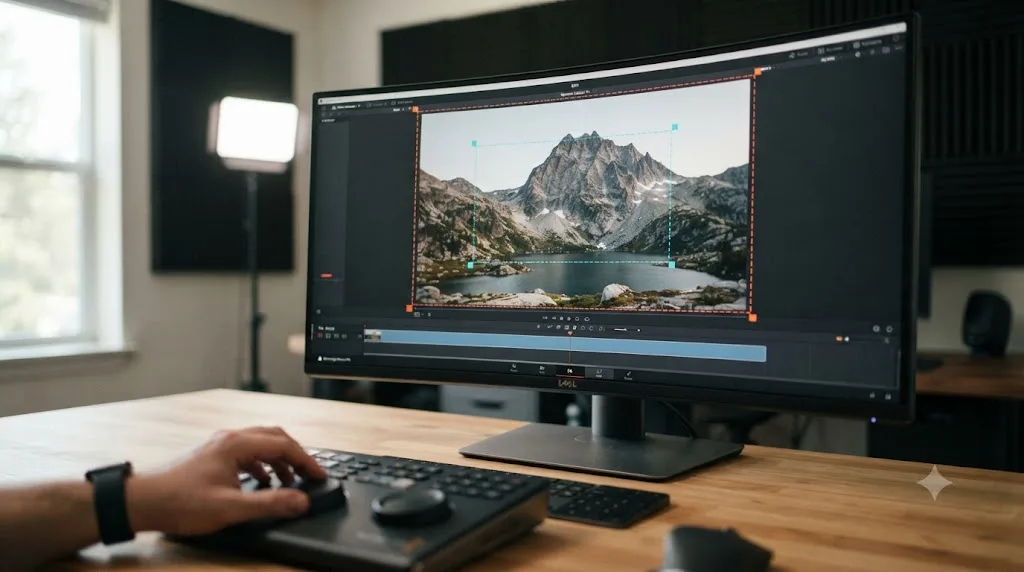
Dynamic Zoom is a single-clip effect that automatically animates a zoom between an in-point and an out-point you set on one piece of footage or one still image, without requiring you to hand-set individual keyframes. It solves the "Ken Burns effect" problem, not the "cut disguised as a zoom" problem this guide is about.
Lewis McGregor, a certified Blackmagic Design DaVinci Resolve trainer, put his finger on exactly why this tool exists in his own walkthrough of Dynamic Zoom for PremiumBeat: "If you do this often enough, I'm sure it'll shock you how many hours you've spent animating a slight zoom into a still." That's the tool's entire pitch. Instead of manually keyframing Zoom and Position on a photo for a documentary-style pan-and-scan, you set your start and end framing with the Dynamic Zoom overlay, and Resolve interpolates the motion automatically, complete with the same four easing options, Linear, Ease In, Ease Out, and Ease In and Out, you'd otherwise set by hand.
Where people get tripped up is expecting Dynamic Zoom to help with a two-clip whip transition. It won't, because it's built to animate motion within a single clip's duration, not to coordinate matched acceleration across an edit point between two different pieces of footage. Turning on Dynamic Zoom on your outgoing clip and your incoming clip separately produces two independent zooms that happen to sit next to each other, not one continuous whip, because nothing links their timing or their peak zoom value across the cut.
Dynamic Zoom automates the zoom you'd otherwise keyframe on one clip; a zoom transition requires two clips to agree on exactly where their zoom starts and ends, which is a coordination problem no single-clip automation tool solves. Use Dynamic Zoom for photo montages and slow push-ins. Use the manual Transform method from the sections above for a cut-disguising whip.
How do you build the same effect in Fusion for more control?
Fusion earns the extra setup time the moment you need a blur that follows the zoom's actual acceleration curve instead of an Amount value you're keyframing by eye, or a transition that needs to interact with other composited elements at the same cut.
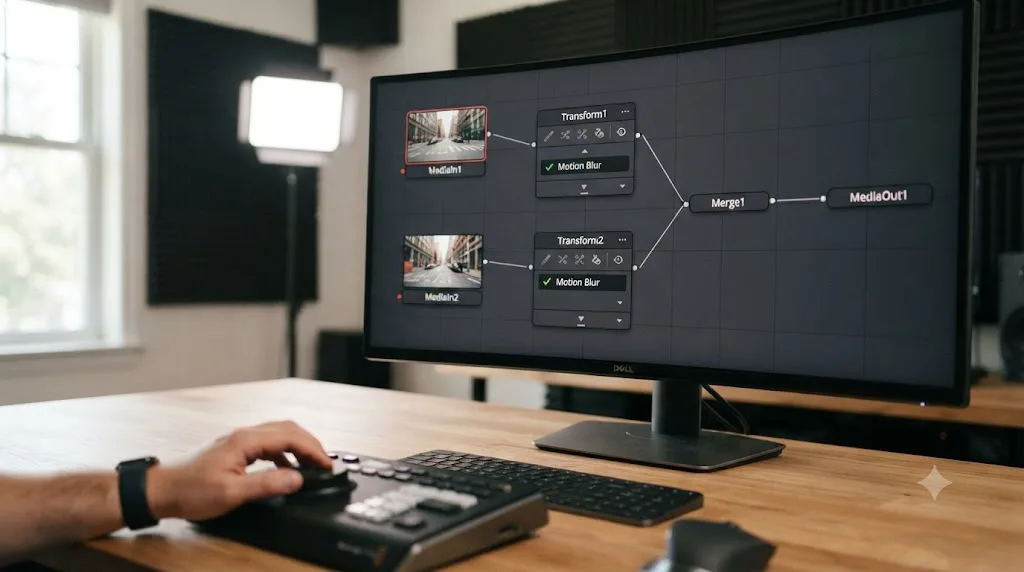
To get in with your clips loaded, select both the outgoing and incoming clips on the Edit page timeline, right-click, and choose New Fusion Clip. That bundles them into a single Fusion composition with their MediaIn and MediaOut nodes already created, rather than starting from an empty node graph. If you haven't spent time in Fusion before, our Fusion page tutorial for beginners covers the MediaIn/MediaOut structure and the Merge node this build depends on.
The node chain for a zoom transition:
- A Transform node on each clip's Loader, with Zoom animated across the cut exactly the way you'd keyframe it on the Edit page, just as spline points on the node's Center or Size parameter instead of Inspector diamonds.
- Motion Blur enabled directly on that Transform node, using the checkbox built into any Fusion node capable of introducing motion. Because Fusion calculates blur from the node's actual keyframed movement rather than a separately-set Amount, the blur automatically matches however fast or slow your zoom accelerates, with no manual syncing required between two different keyframe tracks.
- A Merge node combining the two Transform outputs, using a Dissolve or Over operation timed to the exact frame where the whip should complete, so the incoming footage takes over cleanly once the blur peak has passed.
- Shutter Angle and Quality controls on the Transform node's Motion Blur settings, where a higher Shutter Angle (closer to 360) produces a stronger, more exaggerated blur, and a higher Quality setting produces smoother results at the cost of render time.
The advantage over the Edit page method isn't cosmetic, it's mathematical: Fusion's Motion Blur reads the actual velocity of your keyframed Transform, so a zoom that eases in slowly and accelerates hard at the very end produces a blur that's faint at first and intense right before the cut, automatically, without you keyframing a separate blur curve to match it by hand. On the Edit page, that same result requires you to eyeball the blur's own keyframes against the zoom's easing curve and hope they line up.
Fusion's Motion Blur is calculated from real keyframed motion, which means it's physically accurate by construction, while an Edit page Zoom Blur or Directional Blur is an approximation you're keyframing to match by eye. For a quick social cut, the approximation is more than good enough. For a hero transition in a piece you're going to watch on a big screen, Fusion's version holds up to closer scrutiny.
Worked example: building a whip zoom transition on a vlog cut
Concrete beats abstract, so here's the full build applied to a common case: a travel vlog cut between a wide establishing shot and a close-up reaction shot, both at 24fps, where the creator wants an energetic whip instead of a plain cut.
Step one, pick the cut frame. Scrub to the point in the wide shot where the energy should spike, usually right before a beat of dialogue or music, and blade both clips there so you have two clean edit points to keyframe against.
Step two, keyframe the outgoing clip's zoom. Select the wide shot, open Transform, set a keyframe at 100% eight frames before the cut, then move to the last frame and push Zoom to 300%, roughly the midpoint of the 250-400% range that reads as energetic without disintegrating into unrecognizable pixels at 1080p or 4K.
Step three, keyframe the incoming clip's zoom. Select the close-up, set its first-frame keyframe to 300%, matching the outgoing clip's ending value exactly, then keyframe back down to 100% over the following eight frames.
Step four, ease both pairs. Right-click each keyframe on the outgoing clip and select Ease In, so the zoom starts gently and accelerates hard into the cut. On the incoming clip, select Ease Out on the matching keyframes, so the zoom decelerates smoothly out of the cut instead of stopping abruptly.
Step five, add Zoom Blur to both clips. Drag the filter onto the same eight-frame ranges on each side, keyframe Amount from 0 to a peak of roughly 60-70 (on Zoom Blur's typical 0-100 scale) right at the cut frame, and back to 0 by the end of the incoming clip's ramp.
Step six, play it back. At 24fps, an eight-frame ramp on each side is a third of a second per clip, fast enough to read as a whip rather than a slow zoom. Watch it in context with the audio playing, since a whip's timing often needs to land on a specific beat or word rather than an arbitrary frame count.
Step seven, adjust the blur peak if the cut still shows through. If a hard edge is still visible at the peak frame despite the blur, that's almost always the sign the Zoom or Position values don't match exactly between clips, the matching problem covered earlier, not a sign you need more blur.
Step eight, save it for reuse. Select both clips and their Transform and filter attributes, copy them, and paste onto the next matching pair of clips in the same edit, adjusting only the specific zoom percentage if the new shots need a different intensity.
That's the complete loop: cut, keyframe out, keyframe in, ease both, blur both, watch it, fix the seam if needed, reuse it. Every other section in this guide is a deeper look at one of these eight steps.
How do you make a zoom transition work for vertical video, Reels, TikTok, or Shorts?
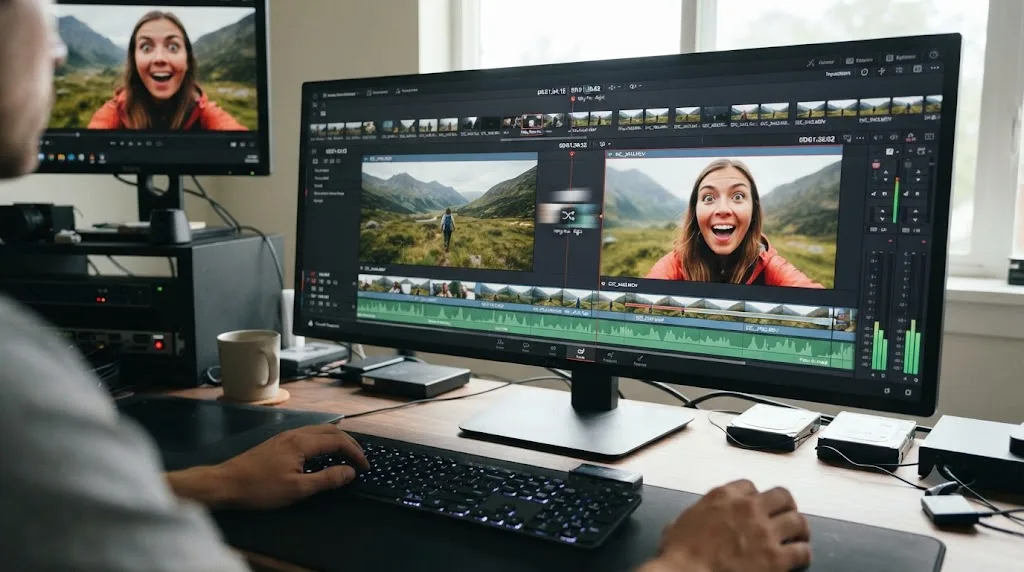
The keyframe mechanic is identical on a 9:16 vertical timeline, but the choice between Zoom Blur and Directional Blur changes because of how little horizontal room a tall frame actually gives a directional streak to work with.
Directional Blur produces long, straight streaks running in one specific angle across the frame. On a wide 16:9 timeline, those streaks have plenty of horizontal space to read clearly. On a narrow 9:16 vertical frame, the same streak either gets visually cramped against the frame's edges or has to run vertically instead, which looks less like a zoom and more like a vertical wipe. Zoom Blur, by contrast, radiates outward from a center point in every direction simultaneously, and that radial pattern doesn't care how narrow the frame is, since it's built around a point rather than a line.
On a vertical timeline, Zoom Blur reads as a cleaner match for the zoom's own motion than Directional Blur does, precisely because both effects are built around a center point instead of an edge-to-edge direction. If you're cutting primarily for Reels, TikTok, or YouTube Shorts, default to Zoom Blur over Directional Blur unless your specific shot also has strong sideways motion the directional streak is meant to reinforce.
One additional consideration for vertical edits specifically: phone footage shot handheld often already carries visible motion blur or rolling shutter artifacts near fast pans, and stacking a strong Zoom Blur on top of footage that's already slightly soft from capture can push the peak frame further toward looking like a mistake than an intentional effect. Check your peak frame at 100% zoom in the viewer before committing to a blur amount above 70-80% on already-soft source footage.
Should the zoom go the same direction on both clips, or reverse?
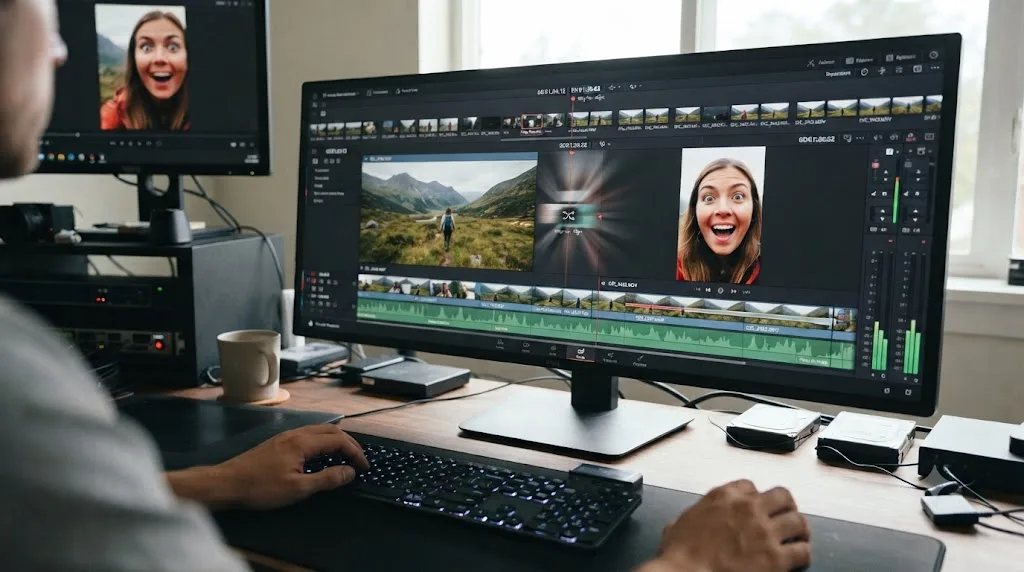
Same direction, almost always. Both clips should push toward the viewer, meaning both Zoom values increase toward the cut, because a real fast zoom is a single continuous motion, and reversing direction across the cut breaks the illusion of one unbroken movement.
The version that actually works: the outgoing clip zooms in (100% climbing to 300%), and the incoming clip continues by zooming back out from that same elevated value (300% falling to 100%), landing on its normal framing after the whip passes. From the viewer's perspective, this reads as a single push toward the screen followed by the camera settling back to a normal view, which is exactly the sensation a real crash zoom produces.
A less common but valid variant reverses the pattern for a "zoom out then back" effect: the outgoing clip zooms out from 100% to some fraction below it, and the incoming clip zooms back up to 100% from that same reduced value, useful when you want the transition to feel like it's pulling back to reveal a wider new scene rather than punching into a closer one. What breaks the effect is mixing the two logics arbitrarily, zooming in on the outgoing clip and then also zooming in from a fresh 100% start on the incoming clip instead of continuing from the matched peak, since that produces two separate zoom movements with a hard reset between them instead of one flowing motion.
The zoom transition's entire illusion depends on the incoming clip picking up exactly where the outgoing clip's motion left off, in both scale and direction, which is a continuity requirement, not a stylistic preference. Get the direction logic backward and no amount of blur fixes it, because blur hides a scale mismatch, not a motion that visibly reverses itself.
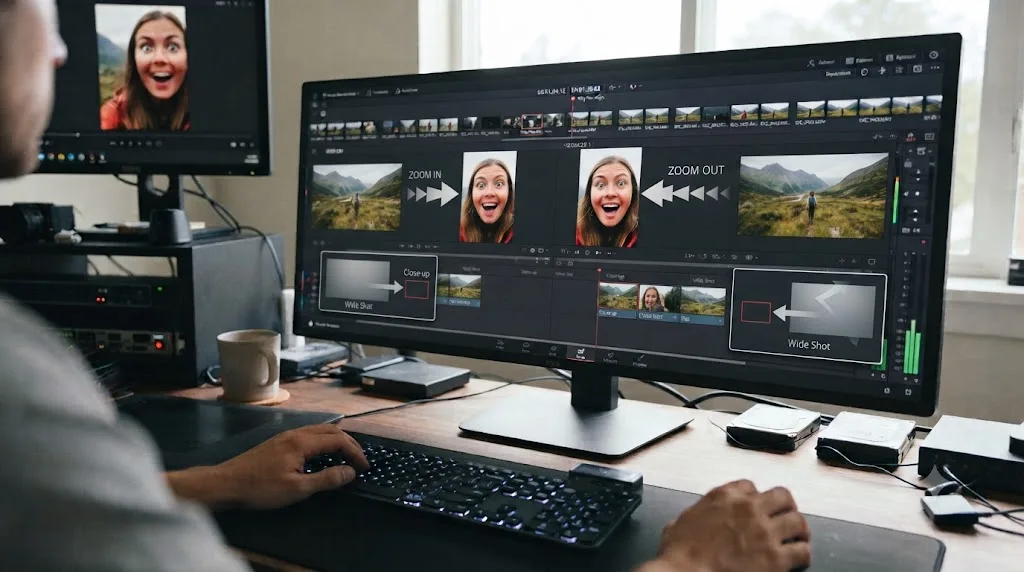
How many frames should a zoom transition last?
Most zoom whips land somewhere between 6 and 15 total frames, split roughly evenly across the outgoing and incoming clip, but the right number depends more on your project's frame rate and the energy around the cut than on any single universal rule.
At 24fps, an 8-frame total ramp, 4 frames on each side, is a third of a second, fast enough to read as a punchy whip in a high-energy montage. The same 8-frame count at 60fps is only about 0.13 seconds, which will feel noticeably snappier and more aggressive on the same footage, because the wall-clock duration shrinks even though the frame count stays identical. If you're cutting a project at 60fps and copying a frame count you saw recommended for a 24fps tutorial, expect the result to feel faster than intended until you adjust.
| Project frame rate | 8-frame total ramp (seconds) | 15-frame total ramp (seconds) | Feel |
|---|---|---|---|
| 24fps | 0.33s | 0.63s | Punchy at 8, deliberate at 15 |
| 30fps | 0.27s | 0.50s | Slightly faster than 24fps at the same frame count |
| 60fps | 0.13s | 0.25s | Very fast at 8, still snappy at 15 |
A longer ramp, 20 frames or more per side, stops reading as a transition and starts reading as an intentional zoom move with a cut buried somewhere inside it, which isn't wrong, it's just a different effect with a different editorial purpose. Reserve the longer version for moments where you want the audience to consciously register the camera move, and keep the short version for cuts where the zoom's whole job is to be felt rather than watched.
There's no single correct frame count for a zoom transition, only a range that matches your project's frame rate and the energy the cut needs to carry, and the fastest way to find it is testing the same cut at two or three different durations before committing.
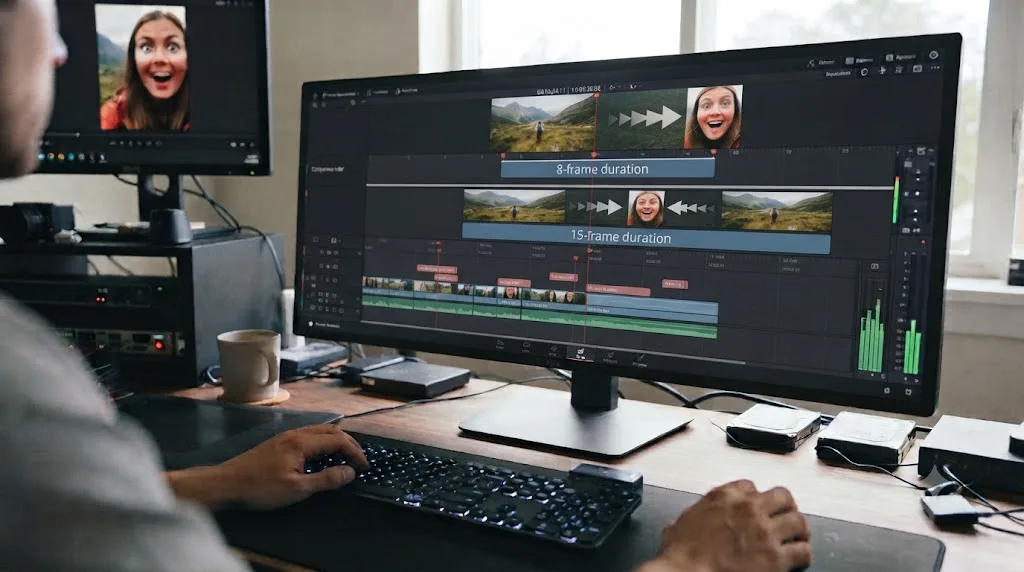
How do you add a whoosh sound effect to match the zoom?
A zoom whip almost always pairs with a whoosh, swipe, or impact sound placed exactly on the peak blur frame, and getting that placement right matters as much as the visual timing does.
The mechanical part is simple: drop your sound effect clip on an audio track, and slide it until its transient, the sharp attack of the whoosh sound, lines up with the exact frame your Zoom and blur keyframes peak on. Zoom into the audio waveform in the timeline to see the transient precisely rather than eyeballing it from the clip's start point, since a whoosh sound effect file often has a short lead-in of quiet air before the actual impact.
Where editors go wrong is picking a whoosh whose length doesn't match the visual ramp's speed. A slow, half-second whoosh sound effect laid under a snappy 6-frame zoom whip creates a mismatch the ear catches even if the eye doesn't immediately place why the cut feels off, because the audio implies a slower motion than the picture actually shows. Match the whoosh's own duration roughly to your total ramp length, and if your sound library only has longer options, trim the sound effect's tail rather than stretching a short one to fit, since time-stretching a whoosh usually introduces an audible pitch shift.
A second detail worth building as a habit: duck the underlying music or dialogue slightly under the whoosh, even by just a couple of decibels, so the sound effect reads clearly instead of getting buried in a busy mix. This is a standard automation move on the Fairlight page, a quick volume keyframe dip and recovery around the whoosh's exact frame range, not a separate technique specific to zoom transitions.
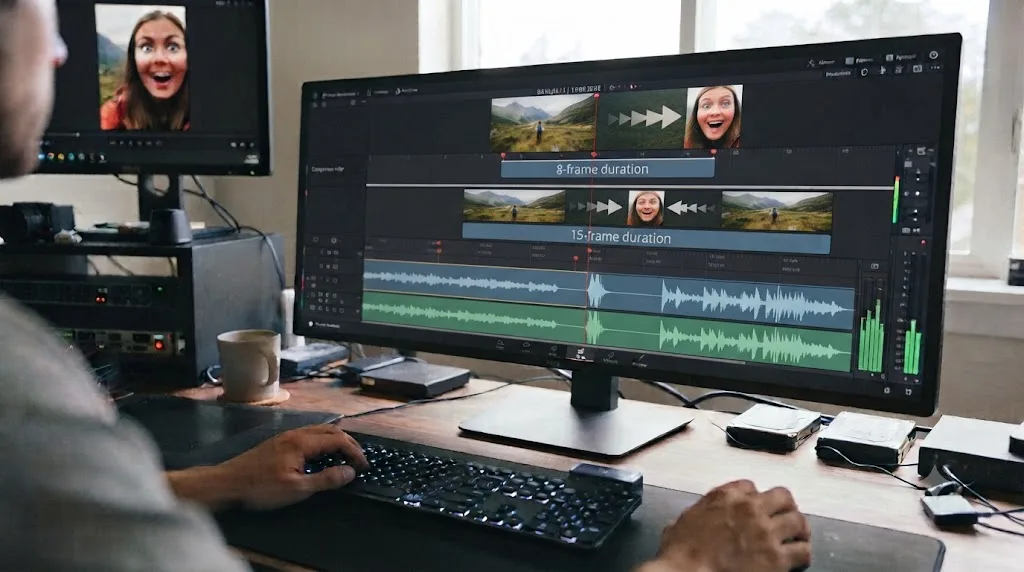
Do you need DaVinci Resolve Studio for any part of this?
No. Every technique in this guide, Transform keyframing, Zoom Blur, Directional Blur, Fusion's Transform and Merge nodes with their own Motion Blur controls, works in DaVinci Resolve's free edition without a Studio license.
Per Blackmagic Design's own product page, the free version "works with virtually all 8-bit video formats at up to 60fps in resolutions as high as Ultra HD 3840 x 2160," while DaVinci Resolve Studio adds 10-bit color, frame rates up to 120fps, and resolutions beyond 4K, none of which have anything to do with the zoom transition technique itself. Studio's one genuine convenience for this specific effect is the dedicated Resolve FX Temporal Motion Blur filter, which reads real motion vectors from your footage automatically instead of requiring you to keyframe an Amount value by hand, but it's a shortcut, not a capability the free version lacks entirely.
| Feature used in this guide | Free version | Studio |
|---|---|---|
| Transform tool (Zoom, Position, keyframes) | Yes | Yes |
| Zoom Blur (Resolve FX Blur) | Yes | Yes |
| Directional Blur (Resolve FX Blur) | Yes | Yes |
| Fusion page, Transform and Merge nodes | Yes | Yes |
| Fusion node Motion Blur checkbox (Shutter Angle, Quality) | Yes | Yes |
| Dedicated Resolve FX Temporal Motion Blur | No | Yes |
| Resolution above 3840x2160, frame rates above 60fps | No | Yes |
If you're weighing the Studio upgrade for reasons beyond this one effect, our free versus Studio guide breaks down the full $295 decision. For a zoom transition specifically, there's no meaningful gap between the two editions to weigh.
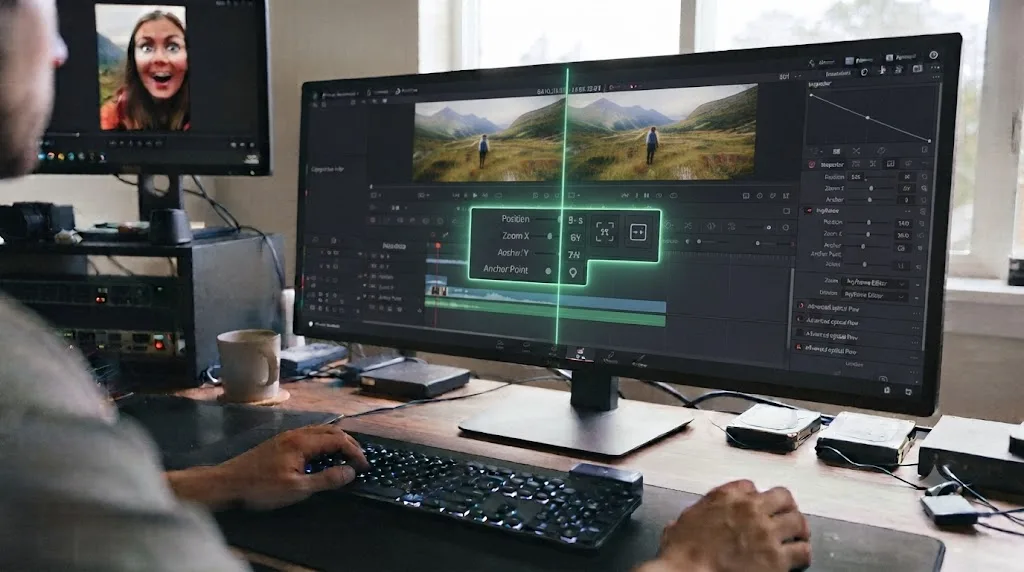
Why does your zoom transition look jittery, stuttery, or wrong?
Four distinct symptoms, four distinct causes, and almost none of them trace back to the blur filter itself.
The zoom speed jumps or stutters right at the cut. This is almost always a mismatched zoom value: the outgoing clip's last frame and the incoming clip's first frame are at different percentages. Reopen the Inspector on both clips and confirm the numeric Zoom readout is identical, not just visually similar, on the two frames adjacent to the cut.
The transition looks like two separate zooms instead of one continuous motion. Check your easing. If the outgoing clip's final keyframe is set to Ease Out (decelerating into the cut) instead of Ease In (accelerating into it), the motion slows down right before the cut instead of speeding up, which reads as the zoom finishing rather than continuing. Set the outgoing clip's approach to Ease In and the incoming clip's departure to Ease Out.
The blur looks smeared or fake rather than like a fast zoom. This usually means the blur's peak frame doesn't land on the same frame as the zoom's peak value. Scrub to the exact frame where Zoom hits its highest number on each clip and confirm the blur's Amount or Strength keyframe peaks on that same frame, not a frame or two off from it.
Playback stutters specifically around the transition, even though the rest of the timeline plays smoothly. Two stacked keyframed filters, Transform and a blur, on a high-resolution clip add real GPU cost for on-screen preview. Drop Playback > Timeline Proxy Resolution to Half while you're building and adjusting the transition, then check the final result at full resolution before exporting.
| Symptom | Likely cause | Fix |
|---|---|---|
| Visible pop or jump right at the cut | Zoom or Position values don't match exactly between clips | Confirm identical numeric values on the last/first frame of each clip |
| Reads as two zooms, not one whip | Easing set backward (Ease Out going in, Ease In coming out) | Set outgoing to Ease In, incoming to Ease Out |
| Blur looks smeared instead of like real motion | Blur peak frame doesn't align with zoom peak frame | Match both keyframe peaks to the exact same frame |
| Playback stutters near the transition only | GPU load from stacked keyframed filters at full resolution | Drop Timeline Proxy Resolution to Half while editing |
Nearly every zoom transition problem traces back to two keyframes disagreeing with each other, either in value or in timing, not to a limitation in DaVinci Resolve's Transform or blur tools. Fix the alignment, and the effect works exactly as designed.
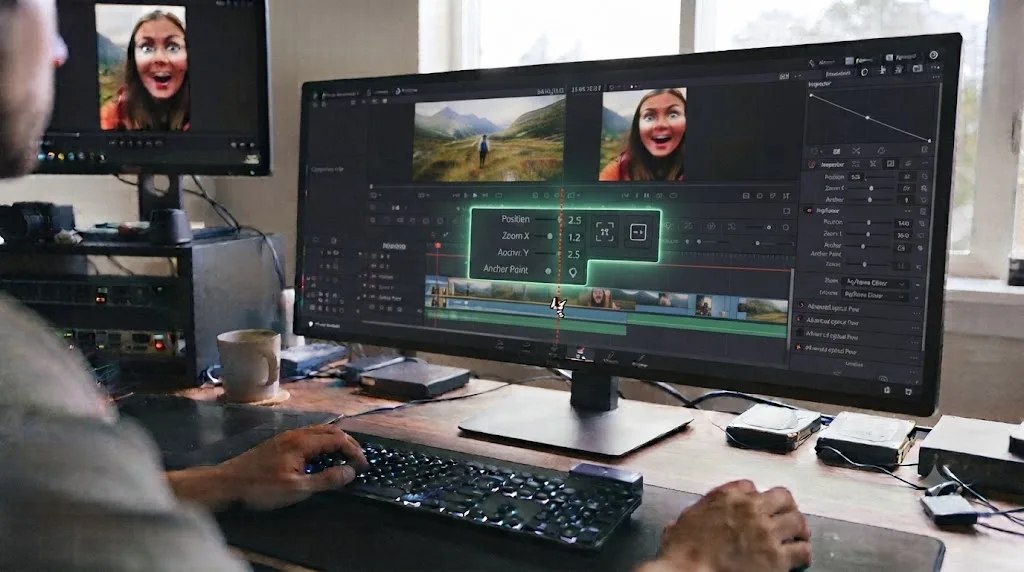
Why does the ease curve or keyframe behave unexpectedly?
If right-clicking a keyframe doesn't show the easing options you expect, or a curve you set looks flat, linear, or missing entirely, that's usually a version-specific interface change rather than a broken keyframe.
DaVinci Resolve 21 rebuilt keyframe curve editing around a unified 4-point Bezier system used across the whole application. Per JayAreTV's writeup of the new keyframe and curves editor, this update lets editors "keyframe and add curves across multiple selected clips at once," adds new ease animation modes including loop, pingpong, and relative behaviors, and extends keyframing to Fusion effects, generators, and text in addition to standard edit effects, with subframe support added throughout. The point release that followed, DaVinci Resolve 21.0.3, released July 21, 2026, specifically added "configurable keyframe ease actions" and fixed issues with "adding a keyframe at a subframe," according to Newsshooter's coverage of that update.
None of that changes the mechanics this guide teaches, Zoom keyframes still live in the same Transform section of the Inspector, and easing is still a right-click away, but it explains why a screenshot from an older tutorial might show a slightly different curve editor layout than what's currently on your screen. If your curve editor looks unfamiliar compared to an older guide you're following alongside this one, that's the interface update, not a sign you're doing something wrong.
If you're building a zoom transition on a clip that already has other retiming applied, a speed ramp leading into the whip, for instance, and the retime curve specifically seems to have vanished rather than the Transform keyframe curve, that's a related but separate issue covered in our retime curve troubleshooting guide, since retime curves and Transform keyframe curves moved to different parts of the interface at different points in Resolve's recent history.
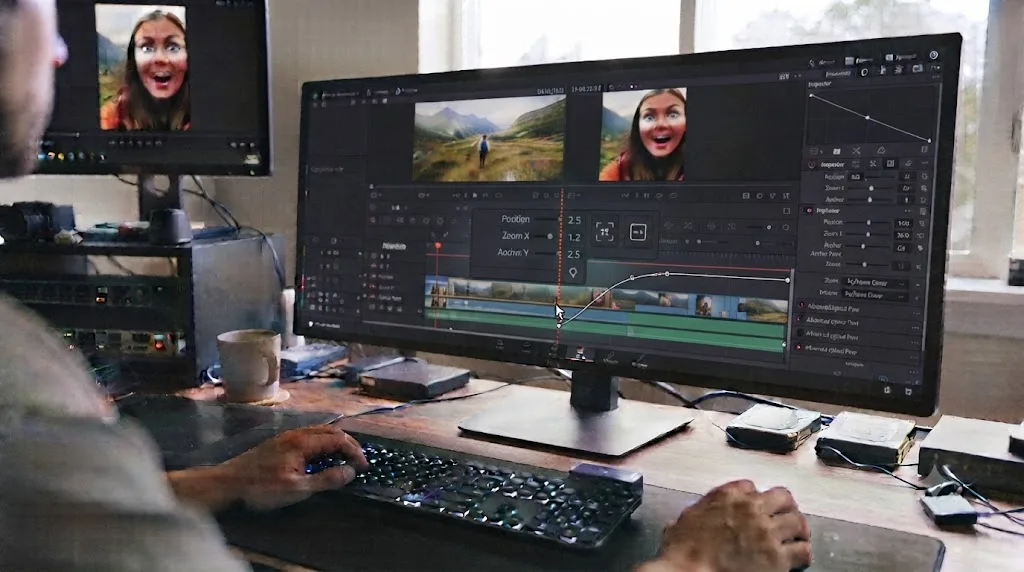
How do paid zoom transition plugins compare to the native method?
Honestly, and mostly in convenience, not capability. A paid transition pack trades setup time for a drag-and-drop preset; it doesn't do anything the Transform tool and a free blur filter can't already do on your specific footage.
MotionVFX sells mTransition Zoom DVR, a pack of dynamic footage transitions built specifically for DaVinci Resolve, and Motion Array offers a Zoom Transitions template pack sized by studio size, both aimed at editors who want a pre-built look without touching a single keyframe. These are real, functioning products, and for an editor cutting a high volume of similar content on a deadline, a preset that's already tuned and ready to drop onto a cut has genuine value.
What a preset can't do is adapt itself to footage it wasn't tuned on. A zoom transition pack built around a generic Amount and Duration slider will apply the same blur curve and zoom percentage regardless of whether your specific shot has fast-moving background elements, a subject near the frame edge, or unusual lighting that makes an aggressive blur look muddy rather than clean. The manual method's entire advantage is that every value, the zoom percentage, the blur peak, the easing curve, gets tuned to the actual pixels in front of you, not to whatever footage the plugin's demo reel happened to use.
Worth knowing if you're comparing plugin ecosystems across editing platforms: FilmImpact, one of the most recognized transition-plugin brands among Premiere Pro editors, doesn't currently list DaVinci Resolve among its supported platforms at all. Its own homepage advertises integration exclusively with Adobe Premiere Pro, with no mention of Resolve, Final Cut Pro, or any other NLE. If you're coming to Resolve from Premiere expecting the same transition-plugin ecosystem to be waiting for you, some of the biggest names in that space simply aren't there yet, which is one more practical argument for learning the native keyframe method rather than assuming a familiar plugin brand will eventually show up.
A paid zoom transition pack buys you speed on generic footage; the native Transform-and-blur method buys you a result tuned to the specific shot you're actually cutting, and the second one costs nothing. Once you've built the effect manually a few times, most editors find the preset's time savings weren't worth losing that control.
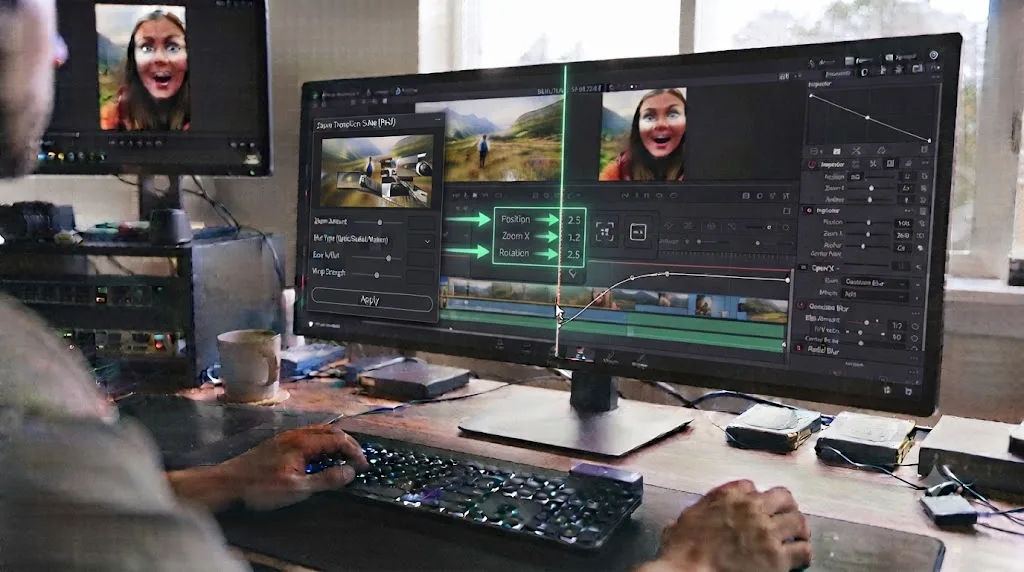
How do you reuse a zoom transition across many cuts without rebuilding it every time?
Build it once, then copy the attributes onto every other pair of clips that needs the same effect, adjusting only the specific values that genuinely need to change per cut.
Select both the outgoing and incoming clips that make up your finished transition, then use Edit > Copy, or right-click and choose Copy. Select your next pair of clips, right-click, and choose Paste Attributes, making sure both the Video (Transform) and Filters (Zoom Blur or Directional Blur) checkboxes are included in what you're pasting. Resolve applies the exact same keyframe structure, easing curves, and blur values to the new pair, and you're left adjusting only the specific zoom percentage or frame timing that this particular cut actually needs different from the last one.
For a project with many identical whip cuts, a montage sequence built entirely from the same transition style, this is dramatically faster than rebuilding the keyframes from scratch on every edit point. It's also more consistent, since a copied set of attributes guarantees the exact same easing curve and blur peak alignment every time, removing the small human-error drift that creeps in when you're eyeballing keyframe values by hand on the fifteenth cut of the day.
If you're using the Fusion method instead of the Edit page keyframes, the equivalent move is saving your node tree as a Fusion Macro or Template, called up from the Effects Library's Fusion Titles and Generators category once saved, which lets you drop the entire node graph, Transform, Motion Blur settings, and Merge, onto a new pair of clips as a single reusable tool rather than rebuilding four nodes by hand.
A zoom transition you've tuned once is worth turning into a reusable template the moment your edit needs a second one, because the manual build time only pays off once; every repeat after that should be a paste, not a rebuild.
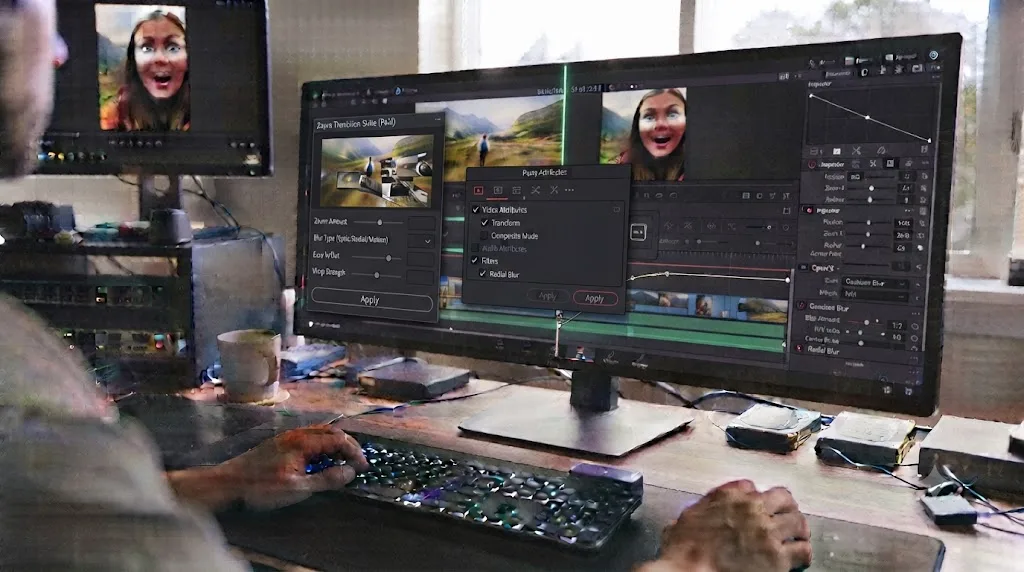
Does your OS or hardware change how a zoom transition performs?
The keyframe mechanics and the blur filters themselves behave identically on Windows, Mac, and Linux, there's no platform-specific menu or missing control to account for. Where hardware matters is real-time playback while you're building and previewing the effect, not the final rendered result.
A stacked Transform-plus-blur effect on a 4K clip is more GPU-intensive to preview in real time than a plain cut, because Resolve has to composite the zoom and calculate the blur live every time the playhead crosses those frames. On a lower-powered GPU, or when working with several zoom transitions clustered close together in a montage sequence, that can show up as dropped frames or stutter specifically around the transitions rather than across the whole timeline. Dropping Playback > Timeline Proxy Resolution to Half or Quarter while you're fine-tuning the keyframes removes that friction without touching your actual export quality, since proxy resolution only affects the on-screen preview.
Codec also plays a role here in a way that's easy to overlook. If your source footage is a heavily compressed format like camera-original H.264 or H.265, the GPU is already spending decode cycles on the footage itself before it ever gets to the Transform and blur math on top of it. Converting particularly heavy source clips to an edit-friendly intermediate codec, or generating Optimized Media specifically for the clips carrying your zoom transitions, often resolves playback stutter faster than troubleshooting the transition's own settings.
None of this changes whether the technique works, every OS and every reasonable hardware configuration can build and export a zoom transition using nothing but the free Transform and blur tools. It only changes how smoothly the timeline plays back while you're adjusting the keyframes to get the timing right.
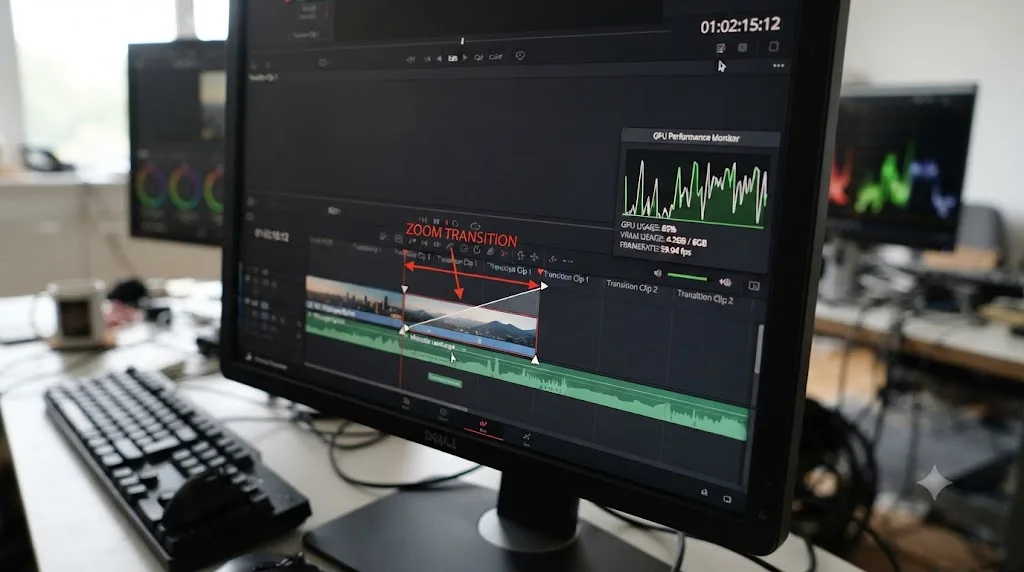
What's new in DaVinci Resolve 21 that affects zoom transitions and keyframing?
The Transform tool, Zoom Blur, and Directional Blur haven't changed in DaVinci Resolve 21, but the keyframing environment they all sit inside has, and it's worth knowing what changed if you're returning to Resolve after a version or two away.
DaVinci Resolve 21 shipped as a final release in June 2026, per PetaPixel's coverage of the launch, and the current point release as of August 2026 is 21.0.3, released July 21, 2026. The headline change relevant to this guide is the unified 4-point Bezier keyframe curve system covered in the troubleshooting section above, which now applies consistently to Transform parameters, retime curves, and Fusion effects alike, instead of each having its own slightly different curve behavior the way earlier versions did.
For someone building zoom transitions specifically, the practical upside is finer control over the ease shape between two keyframes. Where older versions offered a fixed set of ease presets, the current curve editor lets you drag the Bezier handles on a Zoom keyframe directly, which means a zoom's acceleration into a cut can be tuned to a specific curve shape rather than picked from a short list of fixed options. If your zoom transition still feels slightly too mechanical after matching values and blur peaks correctly, pulling the ease handle on the Zoom keyframe manually, rather than relying on a preset Ease In or Ease Out, is the next level of control the current curve system unlocks.
If you graded or edited on Resolve 19 or earlier and haven't opened the keyframe curve editor on a project since, it's worth doing exactly that on a test cut before building your first zoom transition in the current version, just to see where the Bezier handles live now compared to wherever the old curve controls used to sit.
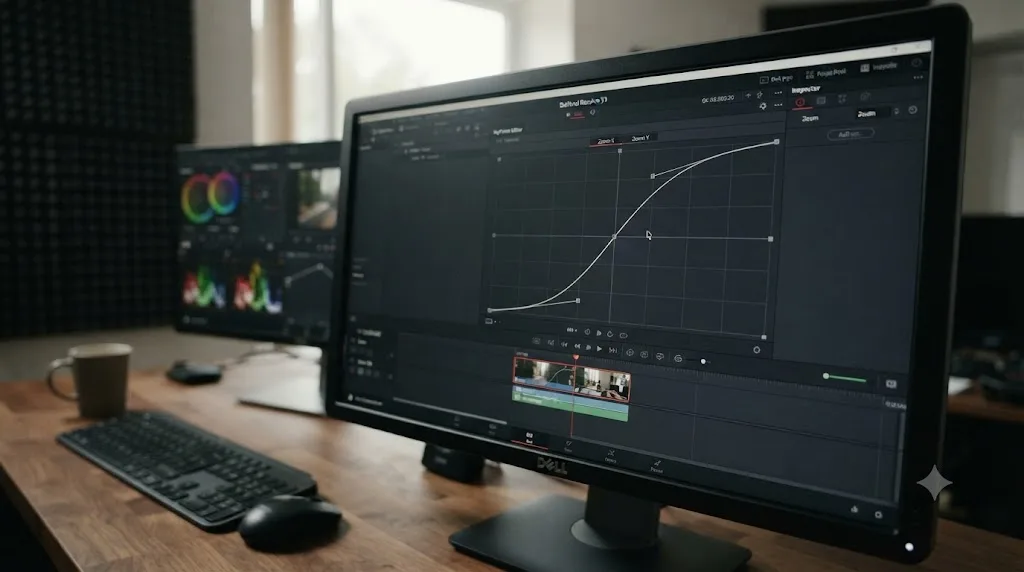
What are the most common zoom transition mistakes editors make?
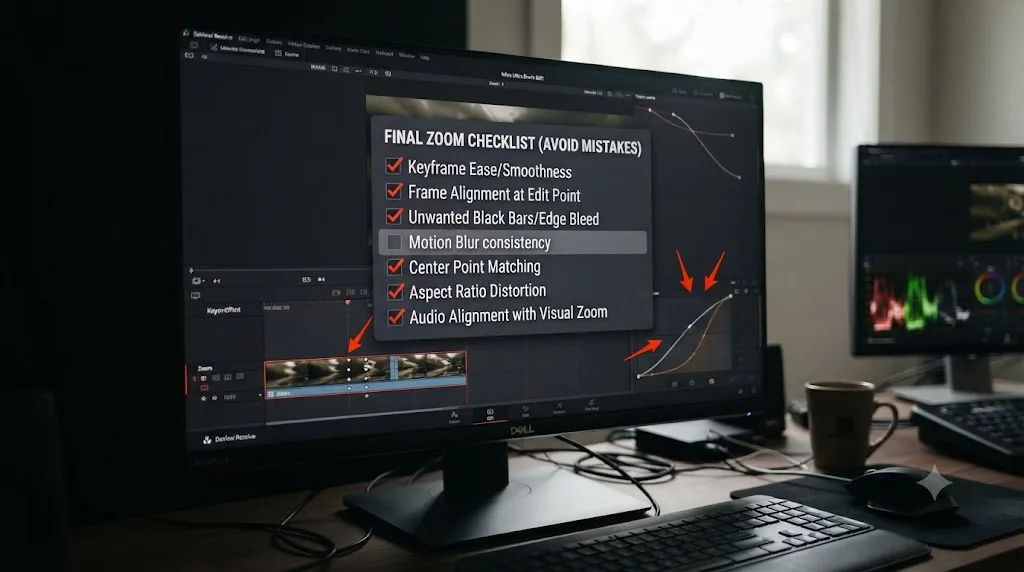
Most of the problems editors run into trace back to one of a small handful of repeatable habits, worth naming directly so you can check your own build against them.
| Mistake | Why it hurts | The fix |
|---|---|---|
| Zoom values don't match exactly at the cut point | Produces a visible pop no amount of blur can hide | Type the same numeric value into both clips' Zoom fields, don't eyeball a drag |
| Easing set backward on one or both clips | The motion decelerates going in and accelerates coming out, reading as two zooms | Ease In on the outgoing clip, Ease Out on the incoming clip |
| Blur peak doesn't align with the zoom's peak frame | The blur looks smeared rather than like real fast motion | Scrub to the exact peak frame on each clip and align the blur keyframe to it |
| Using Directional Blur on a vertical timeline | Streaks read as a wipe rather than a zoom in a narrow 9:16 frame | Default to Zoom Blur for vertical edits |
| Whoosh sound effect length doesn't match the visual ramp speed | The audio implies a different speed than the picture shows | Trim the sound effect to match the ramp length rather than time-stretching it |
| Frame count copied from a tutorial at a different frame rate | The same frame count feels faster or slower than intended depending on fps | Calculate the ramp's actual duration in seconds, not just its frame count |
| Rebuilding the transition from scratch on every cut | Wastes time and introduces small inconsistencies between transitions | Copy Attributes or save a Fusion Macro once the first one is tuned |
| Reaching for a plugin before trying the native method | Costs money and time for something four keyframes and a filter already do | Build it manually once; most editors never look back |
Nearly every zoom transition mistake is a mismatch between two numbers that should be identical, not a limitation in what DaVinci Resolve's native tools can produce. Check the numbers first, every time, before assuming the effect needs more blur, a different filter, or a plugin.
Where do you go from here?
Blade the cut, keyframe Zoom up on the outgoing clip and back down on the incoming one, match the values exactly, ease both directions correctly, and add Zoom Blur or Directional Blur peaking at the same frame. That's the entire technique, and every section above is a deeper look at one part of it.
Build it once on a real cut from your own footage before you trust it on a client deadline. The mechanics take about ten minutes to learn completely; the judgment, how much blur reads as intentional versus how much reads as a mistake, how long a ramp fits the pacing around it, is the part worth practicing on your own timeline rather than a tutorial clip, because that's the half of this skill no keyframe value can teach you by itself.
TryUncle is the on-screen assistant for DaVinci Resolve on macOS: ask in plain words and Uncle points at the exact control on your screen. If matching two Zoom values across a cut or finding the right easing option in the current curve editor is the part that eats your afternoon, that's exactly the kind of question TryUncle is built to answer, watching your actual Resolve window and pointing at the specific field instead of sending you back to a forum thread to guess which one it means.
Frequently asked questions
- How do you do a zoom transition in DaVinci Resolve without plugins?
- Keyframe the Transform tool's Zoom parameter so the outgoing clip accelerates into the cut and the incoming clip continues that same acceleration out of it, then drop the free Zoom Blur or Directional Blur ResolveFX filter over the cut frames to blur the seam. Everything needed lives in the Inspector and the Effects Library, in both the free and Studio editions.
- Why doesn't DaVinci Resolve have a built-in zoom transition?
- Resolve's Video Transitions toolbox ships with roughly 44 presets, dissolves, wipes, irises, and Smooth Cut among them, but none of them are a zoom. Zoom whips are a compositing effect built from Transform keyframes plus a blur, not a single drag-and-drop transition, which is exactly why the technique in this guide exists.
- Do you need DaVinci Resolve Studio for a zoom transition, or does the free version work?
- The free version works completely. Transform, Zoom Blur, Directional Blur, and the Fusion page's Transform and Merge nodes with their own Motion Blur controls are all available without a Studio license. Studio's dedicated Resolve FX Temporal Motion Blur effect is a nicer shortcut, but it's not required for a convincing zoom transition.
- How many frames should a zoom transition last in DaVinci Resolve?
- Most zoom whips land between 6 and 15 frames total, split roughly in half across the outgoing and incoming clip. Shorter reads as a fast, punchy cut common in social edits; longer starts to feel like a deliberate zoom move rather than a transition. Match it to your project's frame rate and the energy of the cut before and after it.
- Why does my zoom transition look jittery or stutter instead of smooth?
- The most common cause is a linear ease on both keyframes instead of matched acceleration, which makes the zoom speed jump instead of flow across the cut. The second most common cause is mismatched zoom values at the cut point, where the outgoing clip ends at a different percentage than the incoming clip starts at, creating a visible pop under the blur.
- Can you do a zoom transition without any blur at all?
- Yes, and it's a valid stylistic choice, but it reads as two separate zooms rather than one continuous whip, because a real fast zoom always produces motion blur and the eye expects to see it. Skipping the blur works best on already-fast, high-energy edits where a sharp cut fits the rest of the pacing.
- What's the difference between Dynamic Zoom and a zoom transition in DaVinci Resolve?
- Dynamic Zoom animates a slow, single-clip push in or out between two points you set, the classic Ken Burns move for a still or a static shot. A zoom transition is a fast, blurred whip built across two separate clips at a cut. They use overlapping mechanics, Zoom and Ease keyframes, but solve different editorial problems.
- Does a zoom transition work the same way in a vertical video for Reels or TikTok?
- The keyframe mechanic is identical regardless of aspect ratio, but a 9:16 vertical frame has less horizontal room for the blur streaks a Directional Blur produces, so Zoom Blur, which pulls outward from a center point in every direction at once, usually reads cleaner on vertical timelines than a horizontal directional streak does.
Sources
- DaVinci Resolve product page (Blackmagic Design)
- DaVinci Resolve Free and Studio Comparison (Blackmagic Design)
- DaVinci Resolve Studio product page (Blackmagic Design)
- DaVinci Resolve Reference Manual - Resolve FX Overview
- DaVinci Resolve Reference Manual - Motion Blur (Studio Version Only)
- DaVinci Resolve Reference Manual - Adding Smooth Cuts
- Get to Know The Dynamic Zoom Tool In Resolve 14 (PremiumBeat, by Lewis McGregor)
- New Keyframe and Curves Editor in DaVinci Resolve 21 (JayAreTV)
- DaVinci Resolve 21.0.3 Update (Newsshooter)
- DaVinci Resolve 21 Officially Released With New Photo Editing, AI Tools, and Much More (PetaPixel)
- How to Add Motion Blur in DaVinci Resolve in 3 Methods (Boris FX)
- mTransition Zoom DVR - Dynamic Footage Transitions for DaVinci Resolve (MotionVFX)
- Zoom Transitions by Studio Size - DaVinci Resolve Templates (Motion Array)
- Film Impact - Premium Video Effects and Transitions for Adobe Premiere
- DaVinci Resolve Zoom Transition: Create Stunning Zoom Effects (CapCut)
Keep reading
Guides · Jul 9, 2026 · 32 min
How to Freeze Frame in DaVinci Resolve: Every Method
Freeze a frame in DaVinci Resolve with Change Clip Speed, Retime Controls, or Shift+R. Covers exporting stills, fixing audio pops, and timeline bugs.
Guides · Jul 9, 2026 · 35 min
How to Do a Split Screen in DaVinci Resolve (Step by Step)
Build a split screen in DaVinci Resolve three ways: manual Transform and Crop, the Video Collage filter, or Fusion. Includes fixes for misalignment and lag.
Guides · Jul 10, 2026 · 32 min
DaVinci Resolve Fusion Page Tutorial for Beginners
Learn the DaVinci Resolve Fusion page from zero: nodes, MediaIn/MediaOut, the Merge node, planar tracking, and keying a green screen, step by step.