Articles / Fixesupdated for DaVinci Resolve 21.0.2 (July 2026)
DaVinci Resolve iPhone Log Footage Import Problem: Every Fix
Quick answer
DaVinci Resolve almost always imports iPhone Log footage successfully; the 'problem' is color, not the file. Apple Log looks grey and flat until you add a Color Space Transform (Apple Log to DaVinci Wide Gamut), and Apple Log 2 from iPhone 17 Pro needs a different, unlabeled Apple Wide Gamut setup since Resolve has no built-in preset for it yet.
You shot Apple Log on your iPhone because everyone said it would give you room to grade. You import it into DaVinci Resolve, and the clip sits there grey, flat, and lifeless, or worse, it doesn't show up at all. Nothing in the interface tells you which of those two very different problems you're looking at.
That's the whole trap with iPhone Log footage in Resolve. Most of what looks like an import problem is actually a color problem wearing an import problem's clothes. The file usually made it in just fine. What's missing is the one piece of math that turns flat log data into something watchable, and which piece of math you need depends on exactly which iPhone shot the clip.
What's actually going wrong when iPhone Log footage misbehaves in Resolve?
Before you touch a single setting, figure out which of these four things is happening. Each one has a different cause, and confusing them wastes hours.
| What you see | What's actually happening |
|---|---|
| Clip imports and plays, but looks grey, flat, and low-contrast | Normal. Apple Log is designed to look like this until you grade it |
| Clip imports and plays, but colors look wrong even after grading, oversaturated or hue-shifted | You're grading Apple Log 2 footage with the Apple Log color space preset, or vice versa |
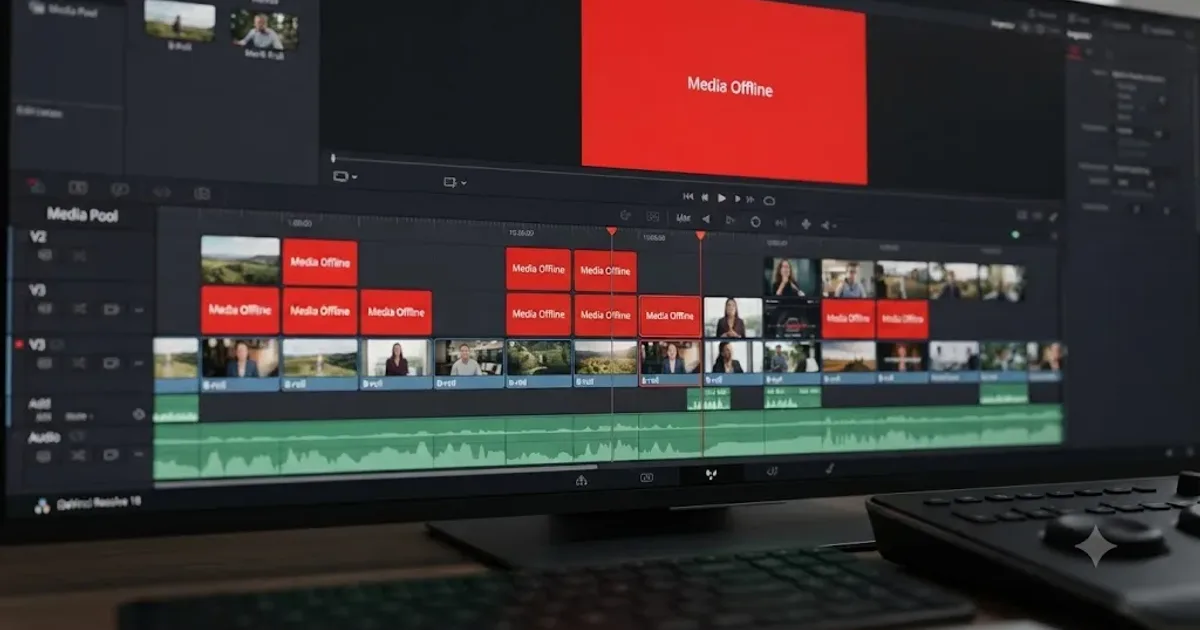
| Clip shows red or "Media Offline" | The source file Resolve is pointing at isn't the real file, often an iCloud placeholder |
| Clip imports, but video and audio drift apart over the length of the clip | Variable frame rate, unrelated to Log or color at all |
| Clip won't import at all, silently | Either a ProRes RAW file on a Resolve build older than 20.2, or a genuinely corrupted transfer |
Notice what's missing from that list: a file that Resolve simply refuses to open because it doesn't understand the container. That happens sometimes with any phone footage, and our guide to DaVinci Resolve's Unsupported File Format error covers the general codec causes. But with iPhone Log specifically, the far more common story is a clip that imports without complaint and then looks wrong, offline, or desynced for reasons that have nothing to do with the file being broken.
Which iPhones can even shoot Log, and is it actually turned on?
This sounds basic, but it trips up more people than you'd expect, because Apple's naming makes it easy to think you're shooting Log when you aren't.
Apple Log first shipped on the iPhone 15 Pro and iPhone 15 Pro Max, running iOS 17, and it's since carried forward to the 16 Pro and 17 Pro lines. Regular iPhones, and the non-Pro 15, 16, and 17 models, don't have it at all; ProRes and Log both require the Pro-line camera hardware and image pipeline. On a supported phone, Log doesn't record by default. You enable it under Settings, Camera, Formats, where you turn on Apple ProRes, or inside the Camera app's own format controls, and a distinct Log toggle sits alongside it. Skip that step and you're recording standard HEVC, not Log, no matter how new your phone is.
That distinction matters because standard HEVC footage and Log footage should be treated completely differently in Resolve. Standard iPhone video is meant to look correct straight out of the camera, while Apple Log is meant to look wrong until you fix it. Grading normal HEVC footage as though it were Log crushes contrast in the wrong direction. Leaving Log footage ungraded, thinking it's just how your phone shoots, throws away the entire reason you turned Log on in the first place.
Colorist and filmmaker Stu Maschwitz, who has covered Apple Log's arrival closely on his Prolost blog, put its significance in professional terms most reviewers didn't: "Apple Log has catapulted the iPhone into filmmaking legitimacy," he wrote after Apple shot its own October 2023 keynote video on an iPhone 15 Pro Max. That keynote footage went through Company 3, graded by colorist Stefan Sonnenfeld, precisely because Log gave the file enough latitude to survive a real color pipeline instead of just looking like a phone video with a filter on it.
If you're not sure whether a clip in your Media Pool is actually Log, check the FPS and codec columns, or right-click and look at Clip Attributes. A true Log file usually carries "Log" in its format description, and it will look conspicuously flat next to a normally-shot clip sitting right beside it in the same bin.
Should you shoot HEVC Log or ProRes Log for editing in Resolve?
This decision happens before you ever open Resolve, and it quietly determines how much trouble you'll have later, so it's worth getting right at the shoot.
Apple Log records over H.265 (HEVC) at 10-bit color depth with 4:2:0 chroma subsampling by default, the same codec family as standard iPhone HDR video, just with the Log gamma curve applied. Pairing Log with ProRes instead steps up to 10-bit 4:2:2, doubling your chroma information, but the file sizes change dramatically: HEVC Log runs roughly 200 MB per minute at 4K30, while Log plus ProRes climbs to 6 to 12 GB per minute depending on the ProRes variant and frame rate. ProRes recording, with or without Log, also requires enough free internal storage or, for 4K60 and above, an external SSD, since Apple's own support documentation specifies a minimum sustained write speed of 220 MB/s for 4K60 ProRes and 440 MB/s for 4K120 ProRes, formatted exFAT, connected over a USB 3 cable rated at least 10 Gbit/s.
HEVC Log gives you nearly all of Apple Log's grading latitude at roughly a thirtieth of ProRes Log's file size, which makes it the right default for almost everyone. Reserve ProRes Log for paying commercial work where the extra chroma resolution genuinely earns its keep in a heavy grade, or where a client's delivery spec requires it outright. If you're mixing ProRes and DNxHR intermediate formats downstream of your iPhone footage, our ProRes vs DNxHR comparison covers which flavor to pick for your actual pipeline, Mac, Windows, or mixed.
There's a real-world wrinkle worth knowing before you commit to Log plus ProRes on a shoot day. A user posting as Caoj514 on Apple's own community forum reported Apple Log video recording at 8-bit 4:2:0 instead of the expected 10-bit 4:2:2, producing visible "blocking and color banding" confirmed in both DaVinci Resolve and Sony Catalyst Browse, despite recording with ProRes selected, which Apple's own ProRes specification requires to be at least 10-bit. Apple's support staff on that thread didn't resolve the technical question, pointing the user to a Genius Bar appointment instead. The lesson isn't that ProRes Log is unreliable. It's that assuming your codec settings are being honored, on a specific iPhone, a specific iOS version, or through a specific camera app, is a real risk worth a quick test clip before a shoot that matters.
| Format | Chroma | Typical size (4K30) | Best for |
|---|---|---|---|
| HEVC Log | 10-bit 4:2:0 | ~200 MB/min | Everyday shooting, fastest edit, smallest files |
| ProRes Log | 10-bit 4:2:2 | 6-12 GB/min | Paying commercial work, spec requires ProRes |
| ProRes RAW (iPhone 17 Pro only) | RAW sensor data | Largest of the three | Maximum post flexibility, needs Resolve 20.2+ |
Why does Apple Log footage look grey and flat the moment it lands in Resolve?
This is the single most common report tied to this topic, and it's also the one with the simplest explanation: nothing is broken.
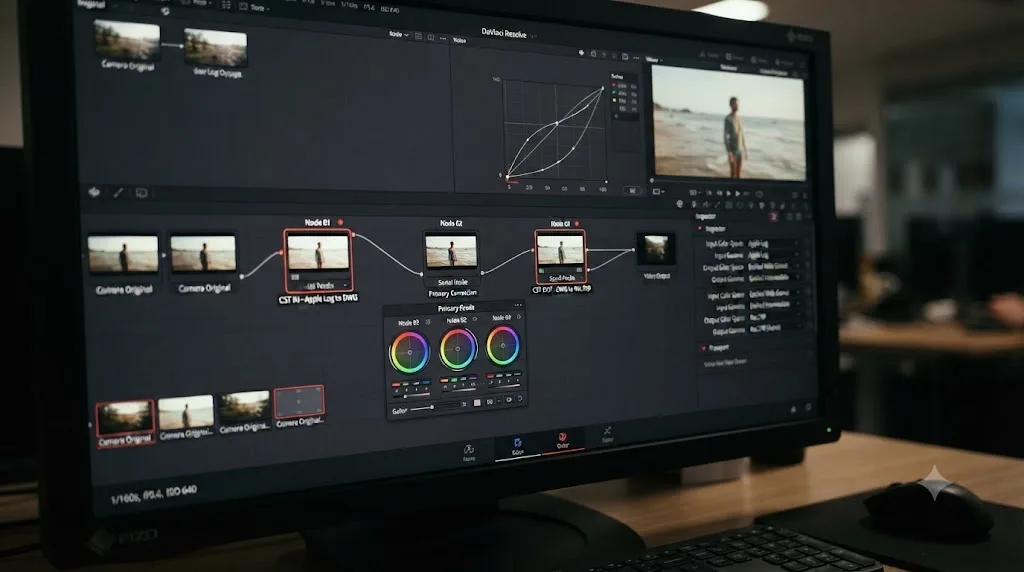
Apple Log deliberately compresses contrast and desaturates color on capture so the file can hold more highlight and shadow detail than a normally-processed video could. That flat, grey, low-contrast look isn't a preview glitch or a rendering bug. It's the raw log encoding, exactly as intended, waiting for a color transform to unpack it into something that looks like a picture again. Apple Log shoots in the Rec.2020 color space using the Apple Log gamma curve, and Resolve has no way to know that unless you tell it, either by hand with a Color Space Transform node or by setting up Resolve Color Management to recognize it automatically.
A grey, flat Apple Log clip in your Media Pool isn't an import failure. It's an unfinished conversion, and the finishing step is a Color Space Transform, not a bug report. Skip that step and every clip in your project will look identical: washed out, low contrast, and unusable straight to air, regardless of how well it was shot or how correctly it imported.
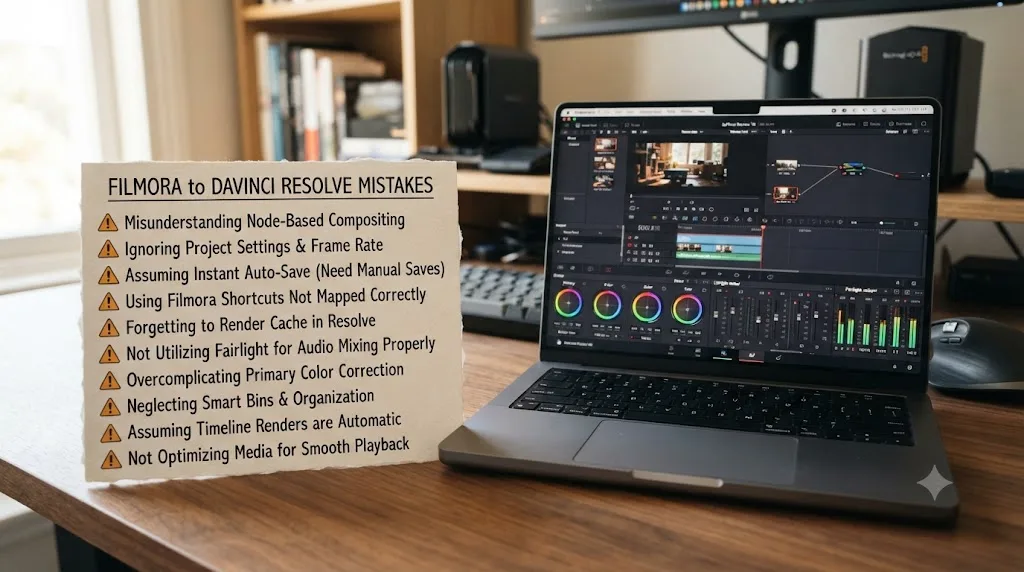
A user posting as friday04 on Apple's own community forums worked this out for a whole thread of confused Log shooters and posted the fix plainly: "there is an 'Apple Log' baked into Davinci Resolve 18.6 (possibly earlier too), I just saw it in the Input Gamma color space," and after a follow-up question, added the practical detail: "In that panel, I left Input Color Space as Use Timeline and then changed Input Gamma to Apple Log. Instantly transforms the log footage closer to useable." Another poster on the same thread, analoguejunkie, clarified the distinction that trips people up first: "It is not a LUT, so no. It is Resolve's color management." That distinction matters. A LUT is a fixed lookup table baked for one specific input and output; Resolve's built-in Apple Log support is closer to a documented mathematical transform, which is more accurate and more flexible across different lighting conditions than any single downloaded LUT can be.
How do you set up DaVinci Resolve's Apple Log color management correctly?
There are two ways to apply this fix, and picking the right one for your project matters more than most tutorials let on.
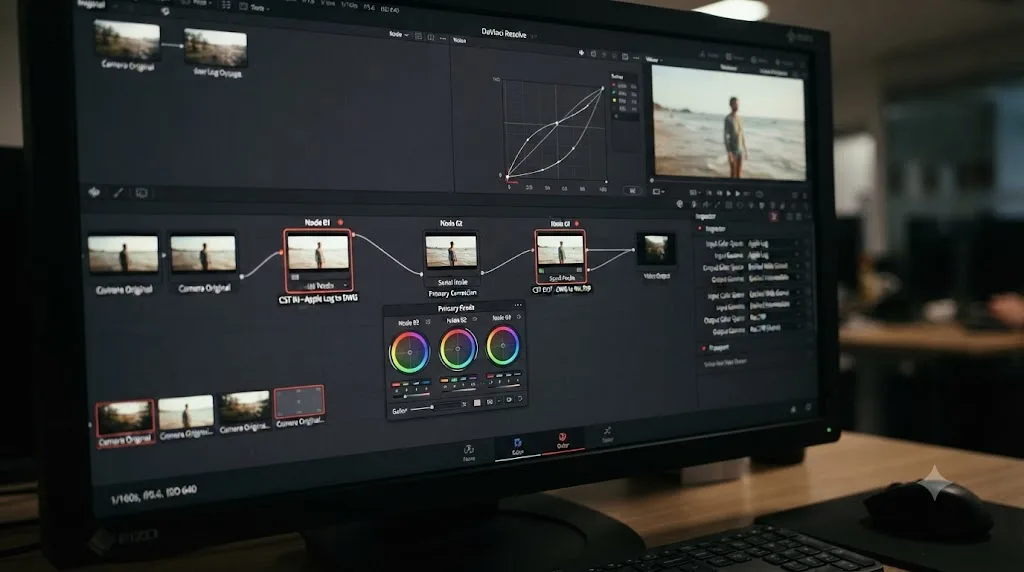
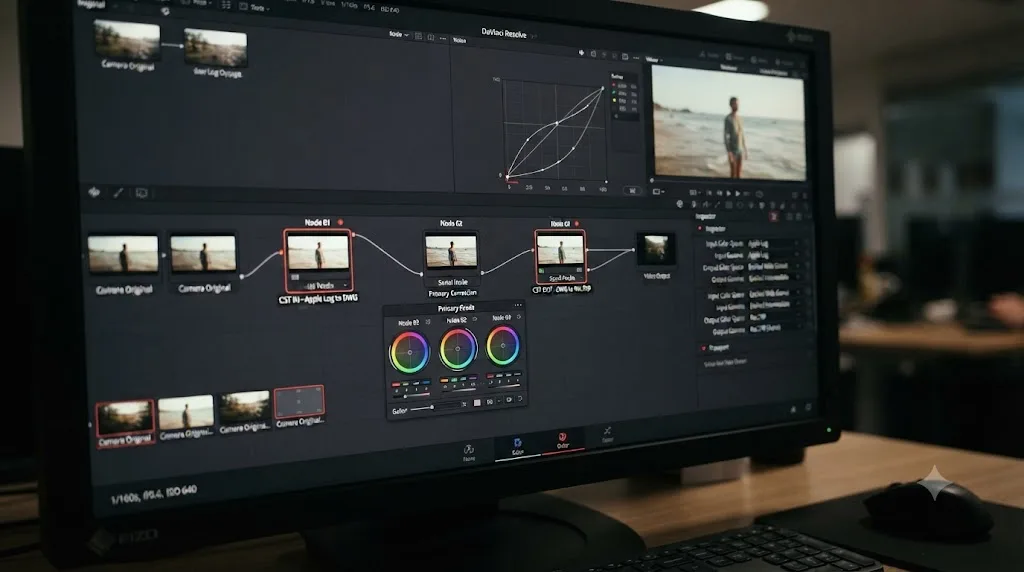
Option one, Resolve Color Management. In Project Settings, Color Management, set Color Science to DaVinci YRGB Color Managed, turn on Automatic Color Management, and set Processing Mode to HDR if you're grading Apple Log 2's HDR variant. With automatic tagging on, Resolve reads each clip's own metadata and applies the correct input transform without you touching a node for every single clip, which is the right approach for a project with a lot of iPhone footage from a consistent source.
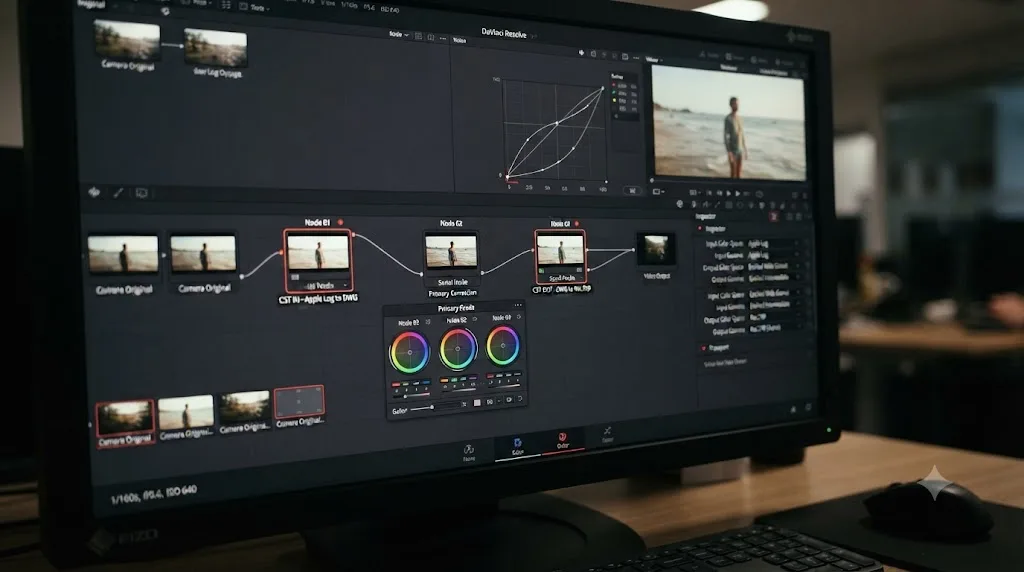
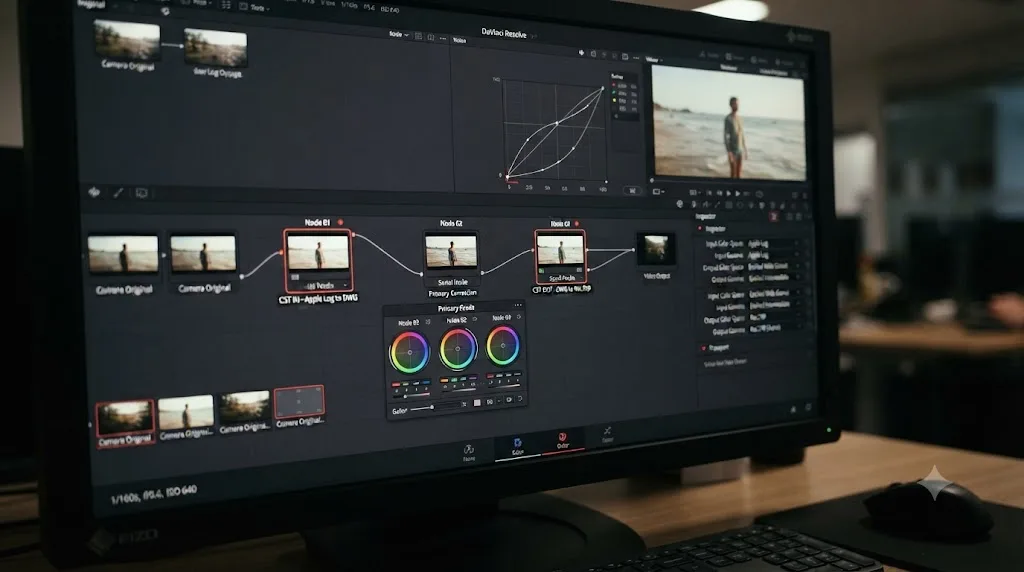
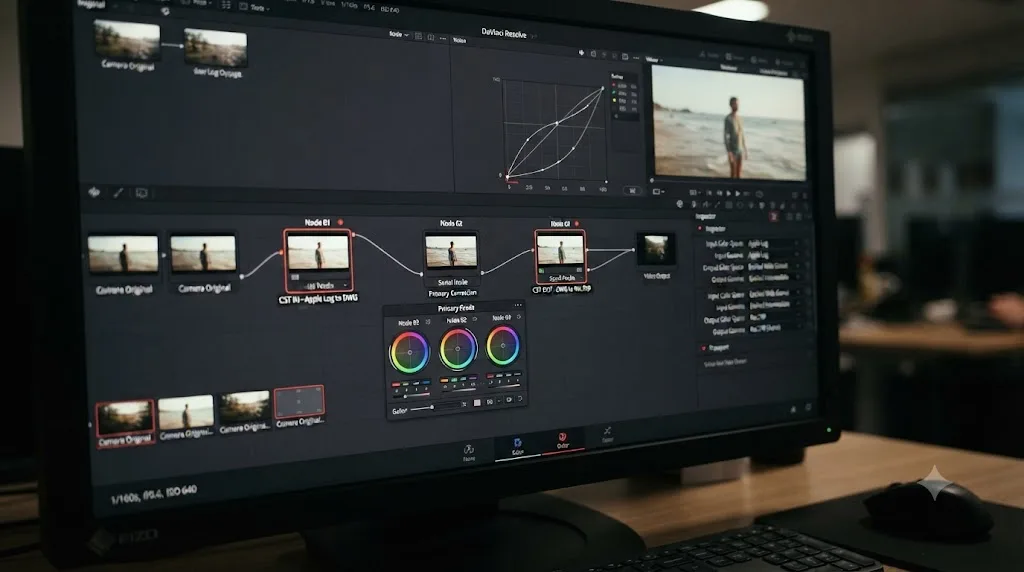
Option two, a manual Color Space Transform node. This gives you more control per-clip or per-group and is the better choice when you're mixing iPhone footage with other cameras in the same timeline. Add a Color Space Transform effect to your Pre-Group node (or a dedicated node right after your source clip) and set:
- Input Color Space: Rec.2020
- Input Gamma: Apple Log
- Output Color Space: DaVinci Wide Gamut
- Output Gamma: DaVinci Intermediate
That takes your flat Log source into Resolve's own intermediate working space, where you do your actual grading. On your Post-Group node, or right before your final output, add a second Color Space Transform:
- Input Color Space: DaVinci Wide Gamut
- Input Gamma: DaVinci Intermediate
- Output Color Space: Rec.709 (or Rec.709-A if you're delivering to an Apple-native audience and want QuickTime files to look consistent in Apple's own software)
- Output Gamma: Rec.709 (or Rec.709-A, matching)
Two Color Space Transforms, one in and one out, is the entire mechanism. Everything else in a Log grading workflow is creative choice sitting on top of that plumbing. Once both transforms are in place, the clip stops looking flat and grey and starts looking like a normal image you can push further with the color wheels, curves, and any creative LUT you choose to layer on top, the same way you would with footage from any other Log-capable camera.
If you're on a Mac and exporting to viewers who'll watch primarily in Apple software, QuickTime Player, Photos, or an Apple TV, remember Resolve's own Rec.709-A option exists specifically to keep those exports looking consistent with how Apple's own apps interpret Rec.709 tags. It's a small setting that avoids a second, unrelated round of "why does my export look different everywhere" confusion layered on top of the Log conversion you just fixed.
Why does the exact same setup break on iPhone 17 Pro footage?
If you built the workflow above on 15 Pro or 16 Pro footage and it suddenly stops working on new clips, you're not losing your mind. Apple changed something, and it's easy to miss because the new format shares a name with the old one.
Apple Log 2 arrived with the iPhone 17 Pro line in September 2025, delivered through Final Cut Camera 2.0 and the native Camera app alike. CineD's coverage of the announcement is specific about what's new: Apple Log 2 "enables an even wider color gamut in both ProRes and HEVC modes," and the same software update brought ProRes RAW recording to a smartphone for the first time, exclusive to the 17 Pro line. Apple Log 2 keeps the exact same gamma curve as the original Apple Log. What changes is the color space underneath it. Instead of Rec.2020, Apple Log 2 introduces a new, wider space Apple calls Apple Wide Gamut, built specifically to hold more saturated blues, reds, and magentas than Rec.2020 can represent.
That single substitution is enough to break the workflow you set up earlier. Resolve's built-in Apple Log preset assumes a Rec.2020 input. Point that same preset at Apple Log 2 footage, and it applies the wrong color-space math on top of a gamma curve that happens to be identical, which produces oversaturated, hue-shifted color rather than a clean conversion. The file imports without complaint. The clip plays. It just grades wrong in a way that's easy to blame on your color wheels instead of the transform underneath them.
You can check this yourself with Resolve's own chromaticity scope. Pull it up on a known Apple Log clip and a known Apple Log 2 clip side by side: Rec.2020 shows as a noticeably smaller triangle on the scope, while Apple Wide Gamut expands well past it, especially through the blue range, a difference Gamut.io's comparison of the two formats documents directly. If you apply an older LUT built for the original Apple Log's Rec.2020 input to Apple Log 2 footage, that same source explains why the result skews wrong: Resolve isn't remapping Apple Wide Gamut into the space that LUT was built to expect, so every color shifts.
Matthew Allard ACS, a working cinematographer who covers camera technology for Newsshooter, summed up how thin the tooling support still is as of early 2026: "Apple Log2 to Rec 709 conversion LUTs have been notoriously hard to find, and even the built-in color space transformation offered in Final Cut Pro leaves a lot to be desired," he wrote in a piece covering a third-party CINECOLOR LUT built to fill that gap. If Apple's own editing app doesn't have a fully satisfying native answer for this yet, don't be surprised that DaVinci Resolve's tooling lags too.
How do you actually set up Apple Log 2 correctly in Resolve, if there's no preset for it?
Here's the part that's specific to this exact moment in iPhone hardware history. As of the versions discussed on Blackmagic's own user forum through late 2025 and into 2026, DaVinci Resolve doesn't ship a labeled "Apple Log 2" entry in the Color Space Transform's Input Color Space dropdown the way it does for the original Apple Log. On the Blackmagic forum thread titled "[20.2.3] Apple log2 HDR Which settings?", a user testing iPhone 17 Pro Max footage recorded in Apple ProRes 422 HQ with Apple Log 2 in HDR asked exactly the question this section answers: what settings actually get you a correct result when there's no matching preset. The workable approach discussed on that thread sets Color primaries to ITU-R BT.2020, Color transfer function to SMPTE ST 2084 (PQ), and Color space to ITU-R BT.2020 Range, a manual approximation rather than a single labeled preset click.
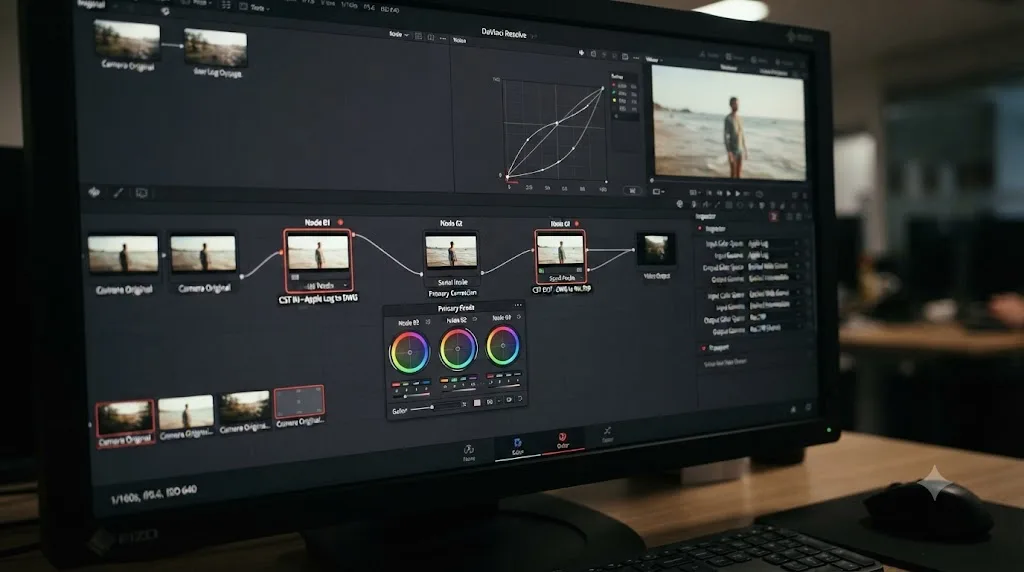
Colorists working through this gap have converged on what's become known as the Sandwich Method: instead of one Color Space Transform straight from Apple Log 2 to Rec.709, use two CST nodes with an intermediate stop in between. The first CST brings Apple Log 2 footage into a flexible wide working space like DaVinci Wide Gamut, with tone mapping enabled, Max Output set around 1000 nits, and Saturation Compression turned on for a smoother roll-off in saturated color. The second CST takes that intermediate result down to Rec.709 for delivery. Trying to do both jobs in a single transform is exactly what produces the fringing, hue shifts, and odd tone mapping that a single-step conversion from Apple Log 2 tends to create, since one transform is being asked to do the work of two.
If building a manual CST feels like more setup than you want on every project, a growing set of third-party LUTs built specifically for Apple Log 2 exist as a shortcut, including free options from Rodrigo Polo and CINECOLOR referenced above. Rodrigo Polo, releasing his own free conversion set, put the underlying frustration plainly: "As is now Apple tradition, they've released iPhones that can record in Apple Log 2, yet they still don't provide an official, easy-to-download LUT," he wrote when publishing his Apple Log 2 to Rec.709 LUTs, which ship in versions built specifically for Adobe Premiere and DaVinci Resolve. A missing preset in Resolve's dropdown isn't a Resolve failure so much as the entire industry, Apple's own apps included, still catching up to a color space Apple shipped less than a year ago. Treat any Apple Log 2 workflow you build today as something to revisit the next time you update Resolve, since built-in support for genuinely new camera color spaces tends to land in a point release rather than being announced ahead of time.
Why does an iPhone Log clip show Media Offline instead of importing at all?
If your problem isn't color at all, and the clip genuinely won't load, this is almost always where to look first, and it has nothing to do with Log specifically.
iCloud Photo Library, when Optimize iPhone Storage or a similar setting is active, replaces local video files with small placeholder stubs once they've synced to iCloud, freeing up space on your phone. Those placeholders look like real files in Finder or Explorer, complete with the correct filename and thumbnail, but they hold none of the actual video data until iCloud finishes downloading the original back down, which can take a while over a slow connection or with a large ProRes file. Point Resolve at a placeholder instead of the real file, and you get exactly the "Media Offline" flag this symptom describes, since there's nothing there for Resolve to decode.
The fix is a transfer method, not a Resolve setting. Move Log footage off your iPhone with a Lightning or USB-C cable through the Photos app or Image Capture, or AirDrop it directly to your editing machine, both of which pull the genuine full-resolution original rather than routing through iCloud's optimized copy. If you're already editing from a folder that's synced through iCloud or a similar service, mark that folder to always keep originals on-device rather than optimizing storage, or better, keep active project media entirely outside any synced folder. Our full guide to DaVinci Resolve's Media Offline error covers the relink workflow and the render cache side of this problem in more depth if placeholders aren't your specific cause.
A file that looks completely normal in Finder can still be worthless to DaVinci Resolve, because a cloud-sync placeholder and a real video file are indistinguishable by name, icon, and thumbnail alone. That's precisely why this cause gets misdiagnosed as corruption so often. Nothing about the file's appearance tells you it's hollow until Resolve tries, and fails, to actually decode it.
Why does iPhone Log video drift out of sync with its own audio in Resolve?
This one shows up after the color and the offline issues are both handled, and it has a completely separate cause from either of them: frame rate, not color science, not file transfer.
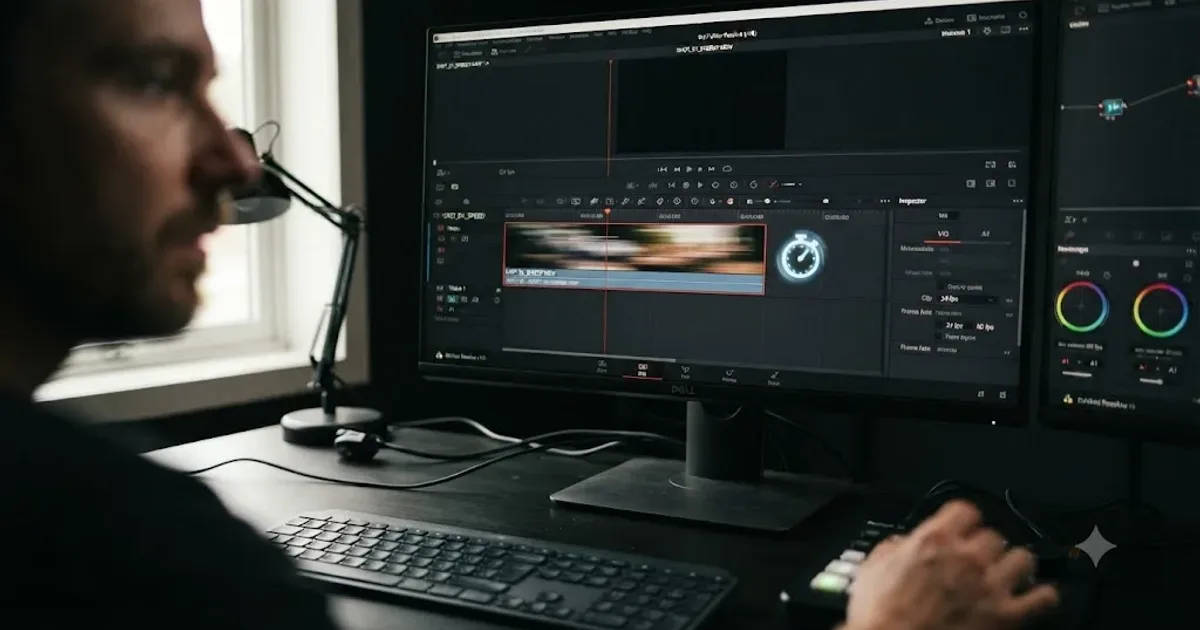
iPhone video, Log or not, can be written with a variable frame rate, where the gap between frames shifts slightly depending on scene complexity and processing load at capture time, rather than staying perfectly constant. DaVinci Resolve expects a constant frame rate and can misread a variable-rate file's timing, which shows up as video and audio drifting apart over the length of a clip, playback that races or lags unpredictably, or a clip that looks fine for the first few seconds and falls apart later. This is exactly the same underlying mechanism our guide to a DaVinci Resolve clip playing at the wrong speed covers in detail for other footage sources, and it applies to iPhone Log clips just as often as it does to screen recordings and action-cam footage.
Confirm this with the free MediaInfo utility before you touch a single Resolve setting. Check the Frame Rate Mode field specifically. If it reads Variable rather than Constant, don't reach for Clip Attributes at all, since a variable-rate file has no single true frame rate for that field to correctly hold. Transcode to a constant frame rate matching your project, with HandBrake or Shutter Encoder, and bring the converted file in as your working source instead of the original. A variable frame rate file doesn't have a wrong number waiting to be corrected. It has no single correct number at all, which is exactly why Clip Attributes can only ever approximate a fix instead of solving it outright.
If you're specifically finding that HEVC Log clips run slow, stutter, or eat CPU during playback rather than drifting out of sync, that's a decoding-load problem, not a frame rate problem. HEVC decoding runs on your system's CPU in Resolve unless your machine has dedicated hardware decode support, which can strain an older laptop working with heavy 4K60 Log footage even when every color and sync setting is correct.
Why does graded Apple Log footage show banding or blocky color?
If your color transform is set up correctly and the shot still looks chunky in gradients, skies especially, this points to bit depth and chroma subsampling rather than the Log conversion itself.
Apple Log's default HEVC recording is 10-bit 4:2:0, which is genuinely enough color information for most grading work, but it's meaningfully less than ProRes Log's 10-bit 4:2:2, and a heavy grade, an aggressive push on shadows or a strong secondary color correction, will reveal that gap faster than a light one. The Apple Community thread referenced earlier, where Caoj514 documented Apple Log recording at 8-bit 4:2:0 instead of the expected 10-bit 4:2:2, describes exactly this symptom: visible blocking and banding that showed up under color correction and was confirmed independently in both DaVinci Resolve and Sony Catalyst Browse, not just imagined in one app's preview.
Before you assume your specific footage has this problem, check what you're actually looking at. Banding on a low-bitrate preview render, a proxy, or a heavily compressed export is a completely different, far more common issue than banding baked into your actual 10-bit source, and it disappears the moment you view the full-quality file instead of a compressed intermediate. Banding that survives in your full-resolution graded output, after ruling out proxies and compressed previews, points at genuinely insufficient source bit depth or chroma, not a mistake in your Color Space Transform. If that's confirmed, the fix isn't a Resolve setting at all. It's shooting ProRes Log instead of HEVC Log for shots you know will take a heavy grade, accepting the storage tradeoff covered earlier in exchange for real 4:2:2 chroma to work with.
Do you need DaVinci Resolve Studio to grade iPhone Log footage?
No, not for the core workflow this page covers. The Color Space Transform effect, the built-in Apple Log input gamma preset, and Resolve Color Management's automatic tagging all work in the free version of DaVinci Resolve, with no watermark and no functional restriction on the color math itself.
Where Studio genuinely matters is Apple Log 2's HDR variant, if your delivery target is a real Dolby Vision or HDR10+ master rather than a standard Rec.709 grade. Studio adds Dolby Vision metadata authoring and its Content Mapping Unit, HDR10+ dynamic metadata analysis and export, and the professional HDR scopes that read PQ and HLG values with full precision, none of which the free version includes. If your endpoint is a normal Rec.709 export, the far more common case for a personal project, a client edit, or a YouTube upload, none of that gap applies to you. Our full guide to grading HDR video in DaVinci Resolve covers the PQ and HLG side of this in depth if Apple Log 2's HDR mode specifically is where you're headed, and where free-versus-Studio actually starts to matter for real delivery work.
The Apple Log import problem this whole page is about is a color management problem, and color management is not a Studio-gated feature. Don't let an unrelated Studio-vs-free feature comparison talk you into believing you need to pay $295 just to make your iPhone footage look correct. You don't, unless your actual delivery spec is Dolby Vision or HDR10+.
How do you transfer iPhone Log footage without wrecking it before you even open Resolve?
Everything above assumes the file that lands in your project is the genuine, full-quality original. That's worth confirming deliberately, since the transfer step is where a surprising amount of damage happens before Resolve ever sees the clip.
Cable transfer through the Photos app or Image Capture, and AirDrop between an iPhone and a Mac, both preserve the original file untouched. Any path that routes through iCloud's optimized storage, a messaging app's compression, or a cloud backup service's own re-encoding step risks handing Resolve a smaller, re-encoded copy instead of your actual Log footage, which can silently strip bit depth, alter the frame rate, or replace the file with a placeholder entirely, as covered in the Media Offline section above.
If you're recording ProRes, with or without Log, straight to an external SSD rather than internal storage, Apple's own support documentation is specific about the requirements: the drive must be formatted exFAT, password-encrypted drives aren't supported, and you need a genuine USB 3 cable rated at least 10 Gbit/s, not just any USB-C cable that happens to fit. Sustained write speed matters too: at least 220 MB/s for 4K60 ProRes, and at least 440 MB/s for 4K120 ProRes, with Apple recommending you reformat the drive before each 4K120 session specifically to keep performance from degrading as the drive fills and fragments. Cinematographer Iain Anderson, writing a detailed Q&A on shooting ProRes Log on the 15 Pro line for ProVideo Coalition, put the real-world risk in plain terms: "Most SSDs should be fine, but smaller devices and older, nearly full SSDs can fall short. Using a hub can sacrifice some of its potential speed too," he warned, which is exactly the kind of quiet failure that produces dropped frames or an incomplete recording you won't notice until you're already back at your desk trying to import it.
A dropped external SSD write speed doesn't just slow your recording down. It can produce a genuinely incomplete or corrupted file that no Color Space Transform will ever fix, because the problem happened before Resolve ever saw the footage. Test any new SSD, cable, or hub combination with a short throwaway clip before you trust it on a shoot day that matters, the same discipline that pays off with any new camera or firmware update.
What about ProRes RAW from the iPhone 17 Pro? Is that a different import wall entirely?
Yes, and it's worth calling out separately, because it's the one true hard rejection on this whole page, the kind where updating a color setting does absolutely nothing.
The iPhone 17 Pro line can record ProRes RAW directly, the first time any smartphone has shipped that capability, through Apple's own Final Cut Camera 2.0 app. That's genuinely raw sensor data, not a compressed intermediate, meant for maximum flexibility in a professional grading pipeline. DaVinci Resolve, however, only added native ProRes RAW decoding starting with version 20.2, released in September 2025. Resolve 21 carries that support forward, but any installation still running Resolve 20.1 or an older build, common on a rented workstation, an older lab machine, or a computer nobody's updated in a while, will reject those files outright, the same version-mismatch pattern that affects Blackmagic RAW on older Resolve builds.
If you're bringing iPhone 17 Pro ProRes RAW footage onto an unfamiliar machine, check Help, About DaVinci Resolve, before you import anything. A DaVinci Resolve installation that opened your ProRes Log footage perfectly last month can still flatly refuse a ProRes RAW file from the exact same iPhone, and updating Resolve, not troubleshooting your file, is the entire fix. There's no transcode or workaround that substitutes for the decoder itself simply not existing yet in an older build.
What does the full fix look like on a real clip, start to finish?
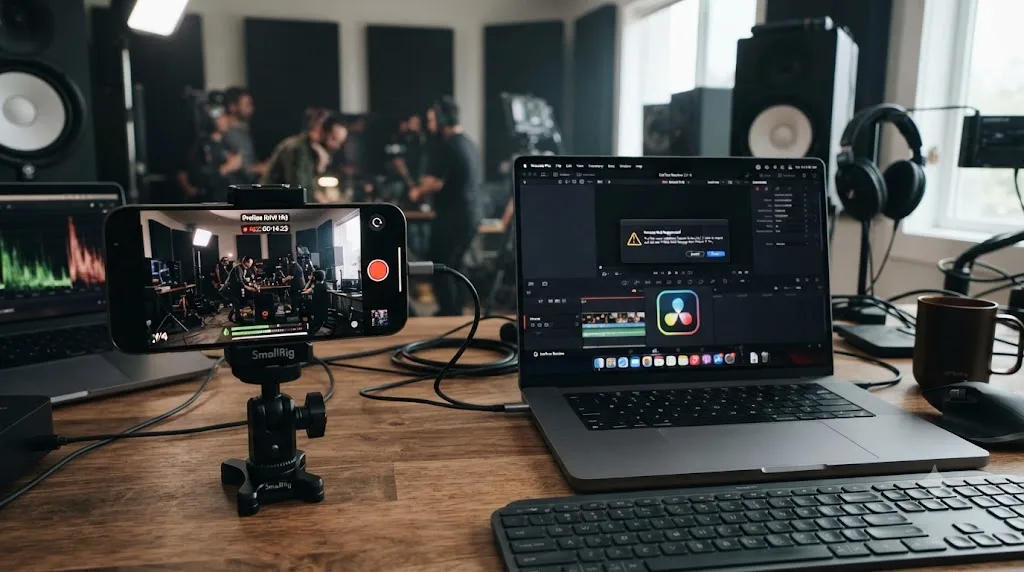
Here's the whole diagnosis applied to a scenario that comes up constantly: a wedding videographer shoots B-roll on an iPhone 16 Pro in Apple Log, alongside a mirrorless main camera, then imports everything into a single Resolve project the next morning.
First, confirm the transfer. The footage came over by cable through the Photos app, not iCloud, so there's no placeholder risk to check for. Good start.
Second, check the Media Pool. The iPhone clips sit there playing correctly, but every one of them looks grey and flat next to the punchy, already-normal mirrorless footage in the same bin. That's the expected Apple Log look, not a fault.
Third, apply the color fix. A Color Space Transform goes on the Pre-Group node for the iPhone clips specifically: Input Color Space Rec.2020, Input Gamma Apple Log, Output Color Space DaVinci Wide Gamut, Output Gamma DaVinci Intermediate. A second CST on the Post-Group node brings everything, iPhone and mirrorless alike, from DaVinci Wide Gamut back down to Rec.709 for the final grade and delivery, so both cameras land in the same working space before any creative color work happens.
Fourth, one clip plays back a half-second of jittery audio drift near the end. MediaInfo confirms Frame Rate Mode reads Variable on that specific file, a known quirk on a couple of the longer handheld shots. That one clip gets transcoded to a constant frame rate in HandBrake and swapped back in, while every other clip, which reads Constant, is left alone.
Fifth, and last, a quick pass through the graded footage on a full-quality viewer, not a compressed proxy, confirms no banding survives in the shadows of the darkest reception shots. The iPhone footage now cuts convincingly against the mirrorless camera, and nothing about the process required guessing at settings twice.
The full decision table: match your exact symptom to the fix
Work through this top to bottom and stop at the first row that matches what you're actually seeing.
| Your exact situation | Root cause | Fix |
|---|---|---|
| Clip imports and plays, looks grey and flat | Normal, uncorrected Apple Log | Add Color Space Transform: Rec.2020 / Apple Log input, DaVinci Wide Gamut output |
| Same setup worked before, now colors look wrong on newer footage | You're grading Apple Log 2 (iPhone 17 Pro) with the Apple Log preset | Use manual BT.2020/ST2084 CST or the Sandwich Method for Apple Log 2, or a dedicated third-party LUT |
| Clip shows red or "Media Offline" | Pointing at an iCloud placeholder, not the real file | Transfer by cable, AirDrop, or Image Capture; disable Optimize iPhone Storage for editing folders |
| Video and audio drift apart over the clip | Variable frame rate | Check Frame Rate Mode in MediaInfo; transcode to constant frame rate before import |
| Graded footage shows banding in gradients | Insufficient bit depth or chroma for the grade applied | Confirm it's not a proxy or compressed preview first; shoot ProRes Log instead of HEVC Log for heavy grades |
| ProRes RAW file from iPhone 17 Pro rejects entirely, no color issue | Resolve build older than 20.2 | Update DaVinci Resolve to 20.2 or later |
| Playback stutters or the CPU maxes out on HEVC Log footage | HEVC decode load on an older or lower-power machine | Generate Optimized Media, or transcode to ProRes/DNxHR as a working proxy |
How do you avoid losing an afternoon to this on your next shoot?
A short list of habits catches nearly everything on this page before it turns into an editing-day problem.
- Confirm you're actually shooting Log, and which Log, before you rely on it. Check Settings, Camera, Formats for the ProRes and Log toggles, and note whether your iPhone is a 17 Pro shooting Apple Log 2 or an older Pro model shooting the original Apple Log, since they need different color transforms.
- Transfer footage by cable, AirDrop, or Image Capture, never through a synced Photos library you haven't checked for storage optimization. A file that looks fine in Finder can still be a hollow iCloud placeholder.
- Test a short throwaway clip through your full pipeline, transfer, import, color transform, before a shoot that actually matters. That's a five-minute check that catches a wrong SSD, a bad cable, or a missing preset on a Tuesday afternoon instead of mid-edit with a client watching.
- Keep DaVinci Resolve reasonably current, especially if you're shooting on the newest iPhone hardware. ProRes RAW support on Resolve arrived in version 20.2, well after ProRes RAW itself existed elsewhere, and Apple Log 2 support is still visibly catching up across the entire editing industry, Resolve included.
- Run MediaInfo on anything that plays back oddly before you touch a single Resolve setting. Frame Rate Mode alone tells you in seconds whether you're chasing a color problem or a frame rate problem, and conflating the two wastes real time.
What if you're mixing iPhone Log with footage from a completely different camera?
This is common enough to flag on its own: a hybrid shoot with an iPhone for B-roll or a second angle, and a proper cinema or mirrorless camera for the main coverage.
The mechanism is exactly what the worked example above walked through. Normalize every camera's footage into the same working color space, DaVinci Wide Gamut with DaVinci Intermediate gamma, before you apply any creative grade, using a Color Space Transform tuned to each camera's actual native color science, Apple Log or Apple Log 2 for the iPhone clips, whatever your main camera's own log profile calls for on the rest. Grading two ungraded log sources against each other without normalizing them first is how you end up chasing a color mismatch that isn't really about either camera individually, it's about comparing two different flat starting points as though they were already equivalent.
Once both sources sit in the same intermediate space, ordinary tools, Color Match against a shared chart shot, or a manual scope-based balance pass, work the same way they would on any multi-camera project. The iPhone stops being a special case the moment its Log footage has been converted correctly, and starts being just another camera in the timeline.
What if you're new to Resolve and this is your first hardware-adjacent wall?
If color management, chroma subsampling, and frame rate diagnostics are a lot to take in on top of just learning where things live in DaVinci Resolve, that's an entirely normal place to be. Log workflows are one of the more technical corners of the app, and there's no shame in wanting a faster way through them than piecing it together from forum threads and comparing your exact symptom against a table like the one above.
TryUncle is an AI tutor for DaVinci Resolve on macOS, ask in plain words and Uncle points at the exact control on your screen. It watches your actual Resolve window on the Color page and points at the exact node, dropdown, or setting you need for your specific footage, iPhone Log included, instead of sending you back to a forum thread shot on a different camera with different settings than yours. Check TryUncle for current founder pricing if guided, on-screen help sounds like the faster path through your next Log-heavy edit.
What's the fastest path to a fix?
Confirm what actually shot the clip first: Apple Log, Apple Log 2, or plain HEVC, and how it got onto your editing machine. If it's flat and grey, that's expected; add the matching Color Space Transform, Rec.2020/Apple Log for 15 and 16 Pro footage, a manual BT.2020/ST2084 setup or the Sandwich Method for Apple Log 2 on the 17 Pro. If it's offline, check for an iCloud placeholder before you suspect the file itself. If it drifts out of sync, check Frame Rate Mode in MediaInfo before you touch Clip Attributes. If a ProRes RAW file won't import at all, check your Resolve version before anything else.
Nine times out of ten, your iPhone Log footage isn't broken and Resolve isn't malfunctioning. Either the color math hasn't been applied yet, the file you're pointing at isn't the real one, or your Resolve build hasn't caught up to whatever your iPhone shipped most recently. Match the symptom to the cause, and the fix is usually a single node, a different transfer method, or an update, not another afternoon of drag-and-drop guessing.
Frequently asked questions
- Why does my iPhone Log footage import into DaVinci Resolve but look grey and washed out?
- Because that's exactly what Apple Log is supposed to look like before grading. Apple Log compresses contrast and color into a flat, low-saturation image so it can hold more dynamic range for later correction. Resolve imported the file correctly. What's missing is a Color Space Transform telling Resolve the clip's Input Color Space is Rec.2020 and Input Gamma is Apple Log, so it can convert that flat data into something you can grade.
- Does DaVinci Resolve support Apple Log natively?
- Yes, since around Resolve 18.6, Apple Log has shipped as a built-in Input Gamma option inside the Color Space Transform effect, and it also appears as a preset inside Resolve Color Management. Neither is a LUT; both tell Resolve's own color engine how to interpret the log data mathematically, which is more accurate than a generic third-party LUT.
- What's the difference between Apple Log and Apple Log 2, and does it matter for import?
- Apple Log 2, introduced with the iPhone 17 Pro line, shares Apple Log's gamma curve but replaces its Rec.2020 color space with a new, wider space called Apple Wide Gamut. Resolve's built-in Apple Log preset assumes Rec.2020, so pointing it at Apple Log 2 footage produces oversaturated, hue-shifted color rather than a clean conversion. The file imports fine; the color math is simply wrong for the newer format.
- Why does my iPhone video show Media Offline in DaVinci Resolve?
- Most often because the file you're pointing at isn't the real file. iCloud Photo Library and other cloud-sync tools replace local originals with small placeholder stubs to save space, and Resolve can't decode a placeholder. Transfer Log footage by cable, AirDrop, or Image Capture instead of through a synced Photos library, and disable Optimize iPhone Storage for any drive you're editing from.
- Should I shoot ProRes Log or HEVC Log on my iPhone for editing in DaVinci Resolve?
- HEVC Log for almost everything: it's 10-bit 4:2:0, runs around 200 MB per minute at 4K30, and Resolve decodes it natively on a modern Mac or PC. Reserve ProRes Log, which is 10-bit 4:2:2 and 6 to 12 GB per minute, for paid commercial work where the extra chroma information and editing performance are worth the storage cost and the external SSD ProRes 4K60 recording requires.
- Do I need DaVinci Resolve Studio to grade Apple Log footage?
- No. The Color Space Transform effect, the Apple Log preset, and Resolve Color Management all work in the free version. Studio adds Dolby Vision metadata authoring, HDR10+ analysis and export, and the Content Mapping Unit, which matter if you're delivering Apple Log 2's HDR variant to a Dolby Vision or HDR10+ spec, not for a standard Rec.709 grade from Log footage.
- Why does iPhone Log footage drift out of sync or play at the wrong speed in Resolve?
- Almost always variable frame rate, not a color problem. iPhones can write video with a frame rate that shifts slightly moment to moment, which Resolve reads as an unstable clip. Check the file's Frame Rate Mode in MediaInfo; if it says Variable, transcode to a constant frame rate with HandBrake or Shutter Encoder before you import it, rather than fighting Clip Attributes on a file that has no single true frame rate to enter.
Sources
- Apple Support: About Apple ProRes on iPhone
- Apple Support: Record ProRes video with your iPhone camera
- ProVideo Coalition: Q&A: Shooting in ProRes Log on the iPhone 15 Pro and Pro Max (Iain Anderson)
- Prolost: Log is the 'Pro' in iPhone 15 Pro (Stu Maschwitz)
- Prolost: What Does and Doesn't Matter about Apple Shooting their October Event on iPhone 15 Pro Max (Stu Maschwitz)
- Prolost: iPhone ProRes Log in Peru and Taiwan (Stu Maschwitz)
- Apple Community: Apple LUTs for iPhone 15 Pro video (friday04, orbitalpunk, analoguejunkie, combi06)
- Apple Community: Apple Log video on iPhone 15 Pro is recording only in 8 bit (Caoj514)
- Gamut.io: Apple Log vs. Apple Log 2: What's Actually Different?
- Gamut.io: The Sandwich Method: Proper CST for Apple Log 2 in DaVinci Resolve
- Blackmagic Forum: [20.2.3] Apple log2 HDR Which settings?
- Blackmagic Forum: Apple Log Color Space Transform not working?
- Newsshooter: CINECOLOR's Apple Log2 LUT (Matthew Allard ACS)
- Rodrigo Polo: Apple Log 2 to Rec.709 Conversion LUT
- CineD: Apple Final Cut Camera 2.0, Open Gate, Apple Log 2 and ProRes RAW, Genlock for iPhone 17 Pro (Nino Leitner)
- Newsshooter: DaVinci Resolve 20.2 adds ProRes RAW support
- TimeBolt: Why is my audio out of sync with video? Probably Variable Frame Rate
Put this guide to work with TryUncle.
Ask about the step you’re on. TryUncle sees your screen and points at the control you need, so you can keep learning in your own project.
Get TryUncle for Mac or WindowsKeep reading
Fixes · Jul 7, 2026 · 26 min
DaVinci Resolve Media Offline: Every Cause and the Fix
Every reason DaVinci Resolve marks a clip media offline, and the exact relink, cache, and codec fixes for each cause, in order of how often they happen.
Fixes · Jul 12, 2026 · 27 min
DaVinci Resolve Clip Plays Too Fast? Fix the Wrong Frame Rate
A DaVinci Resolve clip playing too fast is almost always a wrong frame rate. Fix Clip Attributes, Mixed Frame Rate Format, and Playback Frame Rate step by step.
Guides · Jul 11, 2026 · 36 min
How to Grade HDR Video in DaVinci Resolve (PQ and HLG)
Set up Resolve Color Management for HDR, grade with the HDR palette, and export correct PQ or HLG settings for HDR10, Dolby Vision, and YouTube.