Articles / Guidesupdated for DaVinci Resolve 21.0.2 (July 2026)
DJI Osmo Action 5 Footage Import Settings for DaVinci Resolve
Quick answer
DaVinci Resolve imports Osmo Action 5 Pro's H.265 MP4 files natively on Mac; free Resolve on Windows may need Microsoft's HEVC Video Extensions first. Shoot D-Log M for grading, HLG for HDR, or Normal for quick turnaround. D-Log M looks flat until you apply DJI's official Rec.709 LUT. Generate proxies for 4K120 or 960fps slow-motion clips that stutter.
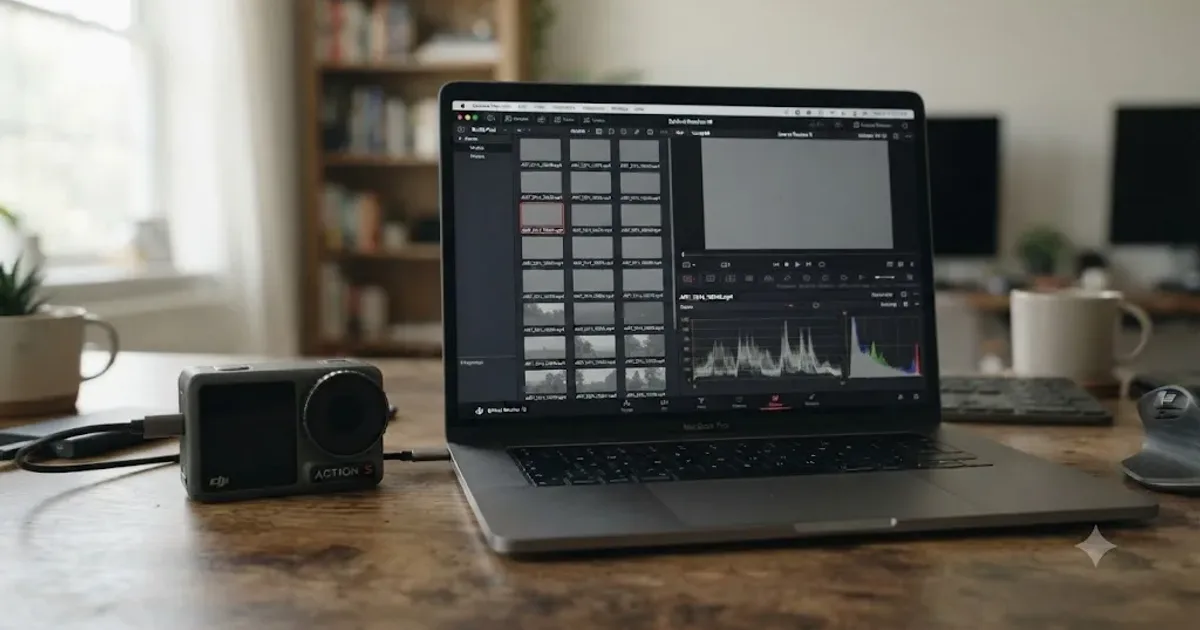
I picked up an Osmo Action 5 Pro for the same reason most people do: it survives what a phone can't, it's small enough to forget you're wearing it, and DJI finally gave it 10-bit color. Then the footage lands in DaVinci Resolve looking flat, refusing to play, or stuttering every time you scrub past a 4K120 clip, and none of that feels like what a modern action camera importing into a modern editor should look like.
None of those symptoms mean your footage or your install is broken. The Osmo Action 5 Pro is a genuinely capable little camera, and Resolve handles its files well once you match the right fix to the right cause instead of guessing your way through settings that don't apply to your specific problem.
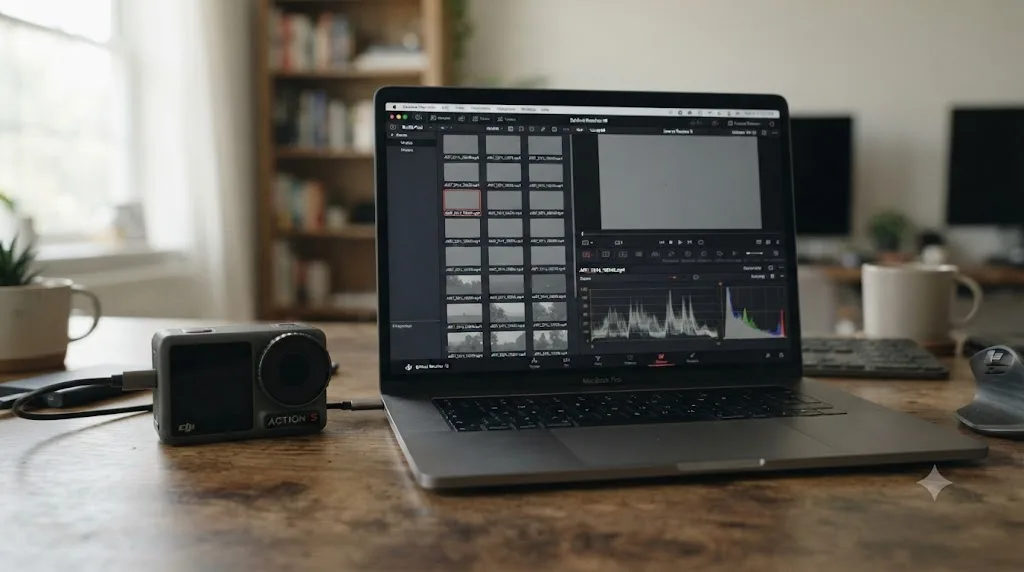
What's actually going wrong when Osmo Action 5 Pro footage misbehaves in Resolve?
Work through this table before you touch a single setting. Each row is a different root cause, and treating two of them as the same problem burns an editing session you don't have to lose.
| What you see | What's actually happening |
|---|---|
| Clip imports and plays, but looks grey, flat, and desaturated | Normal. D-Log M is meant to look like this before grading |
| Clip grades with wrong, oversaturated color, blues especially | You applied Resolve's built-in D-Log preset to D-Log M footage, a mismatched profile |
| Clip won't play at all, stutters heavily, or Resolve reports it can't decode the file | H.265 decode limitation, mostly on the free version of Resolve on Windows |
| 4K120 or interpolated slow-motion clips choke playback even with color and codec sorted | Decode load from a high-bitrate H.265 stream, not a project setting problem |
| Vertical (9:16) clip behaves oddly in a 16:9 project, or subject tracking disappears | Native vertical mode has its own resolution and feature limits DJI documents directly |
| A clip from a shutdown mid-record won't open, or shows a short black duration | Likely a truncated write from an overheating shutoff or dead battery, not a corrupted card |
Notice what's missing from that list: a file DaVinci Resolve simply refuses to acknowledge as video at all. That does happen occasionally with action-cam and phone footage, and our guide to DaVinci Resolve's Unsupported File Format error covers those general codec causes in more depth. With the Osmo Action 5 Pro specifically, the far more common story is a file that imports cleanly and then looks wrong, plays poorly, or behaves unexpectedly for reasons that have nothing to do with a damaged transfer.
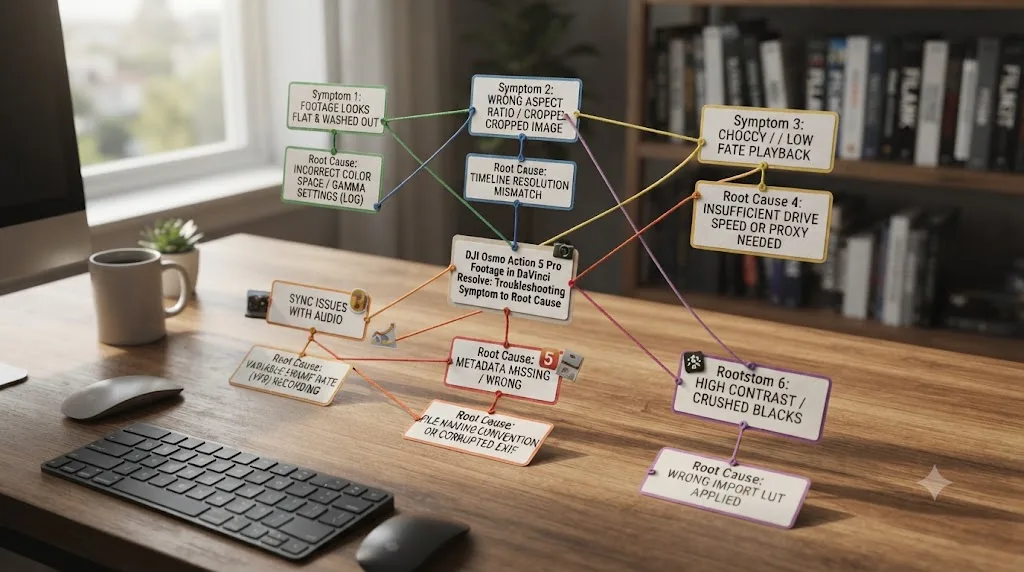
What format does the Osmo Action 5 Pro actually record, and does Resolve support it?
Start here, because nearly every downstream problem on this page traces back to one of two facts about the file itself: its codec and its bit depth.
According to DJI's own specs page for the Osmo Action 5 Pro, the camera records exclusively as "MP4 (HEVC)," meaning every clip, in every color mode, at every resolution, is H.265 wrapped in an MP4 container, with audio as "48 kHz 16-bit; AAC." There's no H.264 fallback mode hiding in a menu somewhere the way some competing action cameras still offer one. If you're shooting on this camera, you're shooting HEVC, full stop, and every fix on this page assumes that starting point.
Resolution and frame rate scale together, and DJI's specs list a wider range than most editors expect from a camera this size. The headline modes are 4K at 16:9, 3840x2160, up to 120fps, and a newer 4:3 mode at 3840x2880, also up to 120fps, aimed at editors who want extra vertical frame to reframe or crop after the fact without losing resolution. Below that sit 2.7K and 1080p modes running up to 240fps for in-camera slow motion. Maximum bitrate, per DJI's own specs page, reaches 120 Mbps in the most demanding modes. Matthew Allard, writing for Newsshooter at the camera's original announcement, reported a slightly lower figure at review time: "The action camera also comes with 10-bit and D-Log M color support. The max. bitrate is 100 Mbps and recordings are done in MP4 (HEVC)," he wrote. Both numbers can be true at once. Bitrate scales with resolution and frame rate, and the ceiling DJI now lists on its specs page reflects the heaviest mode the camera supports, which may sit slightly above what Allard measured or was quoted at the time of his initial coverage.
A camera that records exclusively in H.265 hands DaVinci Resolve a file it can read everywhere, but not necessarily a file it can play back smoothly everywhere. That distinction between "Resolve recognizes this container and codec" and "your specific machine can decode it in real time" is the single most useful thing to understand before you troubleshoot anything else on this page. It's also exactly the distinction that trips up editors moving from a phone or an older 8-bit camera, where that gap barely exists.
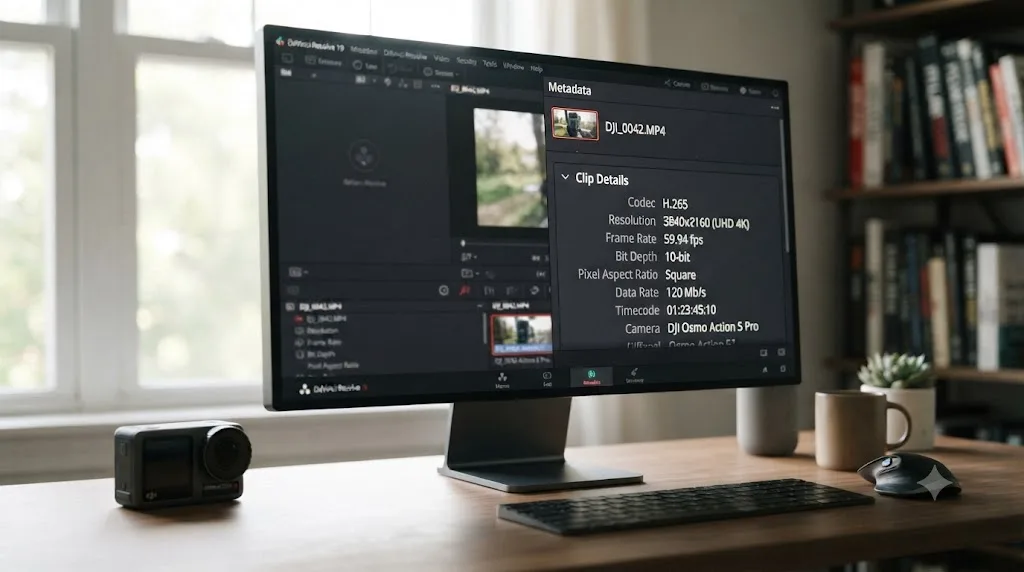
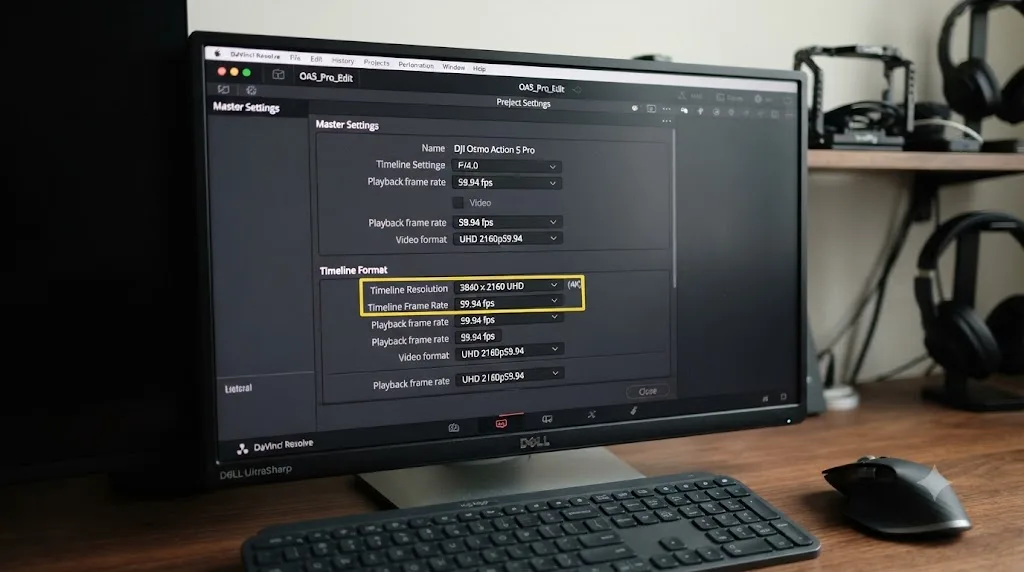
What DaVinci Resolve project settings should you use for Osmo Action 5 Pro footage?
Get this right before you import anything, since Resolve reads your first clip's properties to suggest project settings automatically, and accepting the wrong suggestion quietly creates problems you won't notice until later in the edit.
| Setting | Recommended value | Why |
|---|---|---|
| Timeline Resolution | 3840x2160 for 16:9 4K footage; 3840x2880 if you shot the 4:3 mode | Matching resolution avoids unwanted scaling on your dominant footage |
| Timeline Frame Rate | Match your most common clip's native frame rate (commonly 24, 25, or 30fps) | Slow-motion clips should conform down to this rate, not the other way around |
| Video Format | Match your project delivery target (NTSC 23.976/29.97 vs PAL 25/50) | The Action 5 Pro offers both NTSC- and PAL-family frame rates in its menu; mixing them in one project without matching creates the exact frame-rate mismatch covered in our clip plays too fast guide |
| Color Science | DaVinci YRGB, with a manual Color Space Transform or DJI's official LUT applied per clip | Resolve Color Management doesn't currently auto-detect D-Log M as a distinct input color space the way it does for some cinema cameras |
| Optimized/Proxy Media Format | DNxHR (Windows) or ProRes (Mac) | Both decode far more cheaply than H.265 during scrubbing and playback |
The one setting worth double-checking manually, every time, is Timeline Frame Rate. Because the Action 5 Pro shoots 4K120, 1080p240, and standard rates like 24, 25, and 30fps all from the same camera, and often within the same folder of footage from one shoot, it's easy to let Resolve auto-set your project to whatever your first imported clip happens to be, even if that clip is a slow-motion outlier rather than your main footage. Set your timeline frame rate to match your dominant clips before you import anything, not to whatever clip happened to land in the Media Pool first. Getting this backward is exactly how a genuinely well-shot 120fps clip ends up looking like it's simply playing back too fast instead of dropping into slow motion, a mismatch our dedicated guide to wrong frame rate playback covers in full if you've already hit it.
Which color profile should you shoot for editing in Resolve: Normal, HLG, or D-Log M?
This decision happens before you ever open Resolve, and it quietly sets how much correction work is waiting for you afterward.
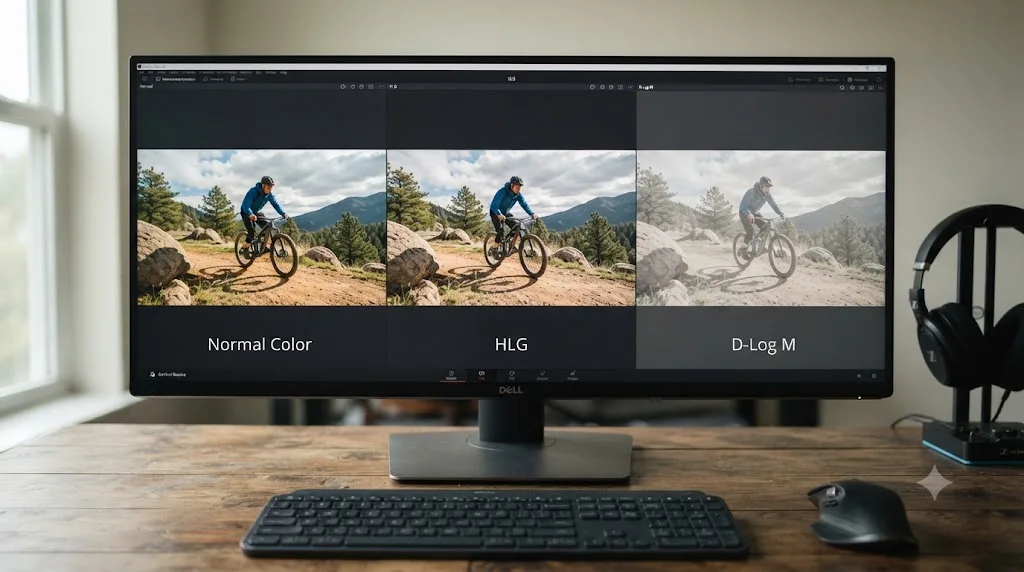
The Osmo Action 5 Pro records in one of three color modes, selected in-camera before you start recording and locked for the length of that clip. Normal color is meant to look acceptable straight off the card, with the least dynamic range and correction latitude if exposure or white balance is off. HLG targets HDR delivery without a heavy manual grading pass, but needs an HDR-aware pipeline to display correctly and looks flat on a standard SDR monitor without conversion. D-Log M is the flat, 10-bit profile built specifically for grading, and per DJI's own FAQ page, is designed to "capture a wide dynamic range from the sensor" so that "the bright and dark parts of the video have greater fidelity and clarity."
| Mode | Best for | Tradeoff |
|---|---|---|
| Normal color | Quick turnaround, social clips, zero grading time available | Least dynamic range and correction latitude if exposure or white balance is off |
| HLG | HDR delivery to platforms and displays that support it | Needs an HDR-aware delivery pipeline; looks flat on SDR displays without conversion |
| D-Log M | Anything you plan to color grade, or mixing with other log or RAW sources | Requires the color conversion step covered below before it looks like a finished image |
DJI's own specs list the D-Log M mode alongside a claimed 13.5 stops of dynamic range from the camera's 1/1.3-inch sensor, a genuinely large figure for a camera this small. D-Log M isn't automatically the "better" mode for every shoot. It's the mode that trades a mandatory color-correction step for the most latitude to fix problems you haven't shot into the frame yet. If a clip is headed straight to a vertical social post with no grading pass planned, Normal color removes an entire step from your workflow at the cost of the correction headroom D-Log M provides on a shot that goes sideways in-camera.
Why does D-Log M footage look flat and grey the moment it lands in the Media Pool?
If this is your exact symptom, the good news is that nothing failed in the transfer and there's nothing to troubleshoot at the import stage itself.
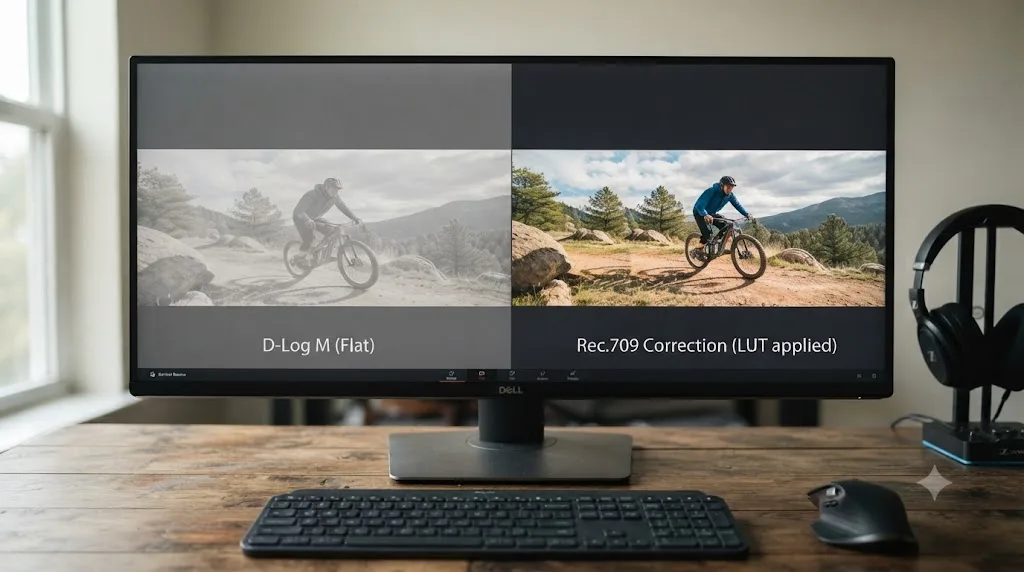
D-Log M deliberately compresses contrast and desaturates color at capture, the same underlying strategy Apple Log, Sony S-Log, and every other flat log-style profile uses, so that highlight and shadow detail survive to be shaped later instead of clipping in-camera. That flat, low-contrast image is the correct, expected result of importing an ungraded D-Log M clip. It isn't a preview bug, and it isn't evidence the footage arrived damaged.
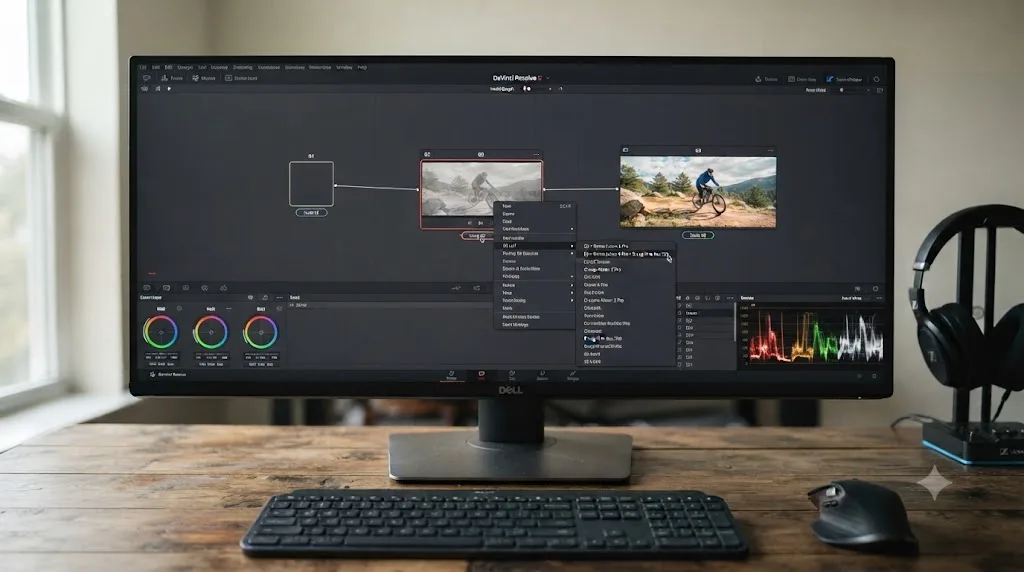
DJI's own D-Log M to Rec.709 LUT exists specifically to reverse this. DJI's Download Center hosts the official conversion, free, built and tuned specifically for the Action 5 Pro's D-Log M output. Apply that conversion, and the flat grey clip turns into a normal-looking image you can push further with color wheels, curves, or a creative LUT layered on top, exactly the workflow you'd use with log footage from any other camera brand.
A flat, grey D-Log M clip in your Media Pool isn't a failed import. It's an unfinished conversion. Confusing the two costs editors real time, either chasing an import problem that doesn't exist or, worse, grading directly on top of unconverted log data and producing a crushed, muddy result that never needed to happen.
Why does D-Log M grade with oversaturated or wrong-hue color even after you apply a LUT?
This is the symptom that costs the most lost hours, because Resolve's own interface offers a setting that looks like exactly the right tool and isn't.
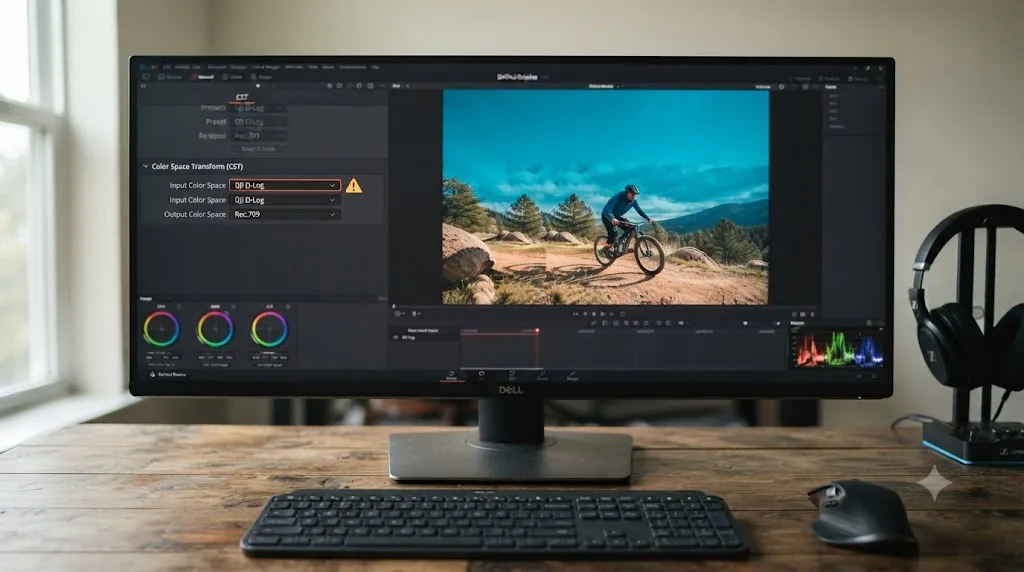
DaVinci Resolve's Color Space Transform effect ships with a built-in Input Gamma option labeled D-Log, paired with a DJI D-Gamut color space, sitting in the same dropdown as options for other manufacturers. It's tempting to select it for any DJI footage on the assumption that DJI-branded log footage is DJI-branded log footage. It isn't. According to DJI's own support documentation on which models support D-Log mode and official LUT files, D-Log and D-Log M are documented as distinct profiles tied to different camera generations, even though the names sit one letter apart in the same menu.
That preset built into Resolve was designed for the original D-Log profile used on older DJI drones, a genuinely different color characteristic from D-Log M. Applying it to D-Log M footage instead of using DJI's own dedicated LUT produces an image with correct-looking overall exposure but visibly wrong hue, blues especially, that no amount of secondary color correction fully untangles, because the fundamental color math underneath the transform is wrong for the footage it's being applied to.
Resolve's built-in D-Log preset was built for a different DJI color space than D-Log M, and applying it anyway is exactly what turns clean footage into oversaturated blues. This is the same category of mistake covered in our iPhone Log footage import guide, where Apple Log and Apple Log 2 look almost identical in a dropdown menu but need different conversions entirely. Manufacturer naming conventions inside Resolve's own presets are not a reliable guide to which transform actually matches your footage; the camera manufacturer's own documentation for that specific model and profile is.
How do you correctly set up D-Log M color in DaVinci Resolve?
There are two workable paths here, and picking the one that matches how you're actually working matters more than either individual step in isolation.
Option one, and the one to reach for first: DJI's official D-Log M to Rec.709 LUT. DJI publishes this LUT specifically for the Action 5 Pro's D-Log M output, free to download from its Download Center. Grab the .cube file, drop it into Resolve's LUT folder, and refresh the LUT list so Resolve picks it up, the same process our full guide to installing LUTs in DaVinci Resolve covers in more depth if you've never added a custom LUT before. Apply it to a node on your D-Log M clips rather than reaching for Resolve's built-in D-Log Color Space Transform preset, since that preset is the wrong tool for this exact profile, as covered above.
Option two: a manual Color Space Transform, if you want node-based control instead of a fixed LUT. This is the better choice when you're mixing Action 5 Pro footage with other cameras in the same timeline and want everything normalized into a shared working space before you grade. Because D-Log M doesn't yet have a dedicated, clearly labeled preset of its own in Resolve's Color Space Transform dropdown, treat DJI's official LUT as your ground-truth reference: build your manual CST, then compare the result against the same clip run through the official LUT side by side on the scopes. If your manual settings drift noticeably from what the official LUT produces, trust the LUT over a guessed CST configuration.
- Apply DJI's D-Log M to Rec.709 LUT to a node right after your source clip, or
- If building a manual CST, set your Output Color Space and Output Gamma to Rec.709 and compare the result against the official LUT on a shared reference clip before committing to that setup across a whole project
The official DJI LUT is free, it's built for this exact profile, and it beats guessing at manual Color Space Transform settings almost every time. Once the base conversion is in place, whichever method you used, the clip stops looking flat or wrong and becomes a normal starting point you can push further with wheels, curves, and any creative LUT layered on top.
Why won't Resolve import or play Osmo Action 5 Pro footage at all on Windows?
If color isn't the issue at all, and clips genuinely stutter, refuse to decode, or won't preview, this is almost always a Windows-specific codec gap that has nothing to do with D-Log M or a defective camera.
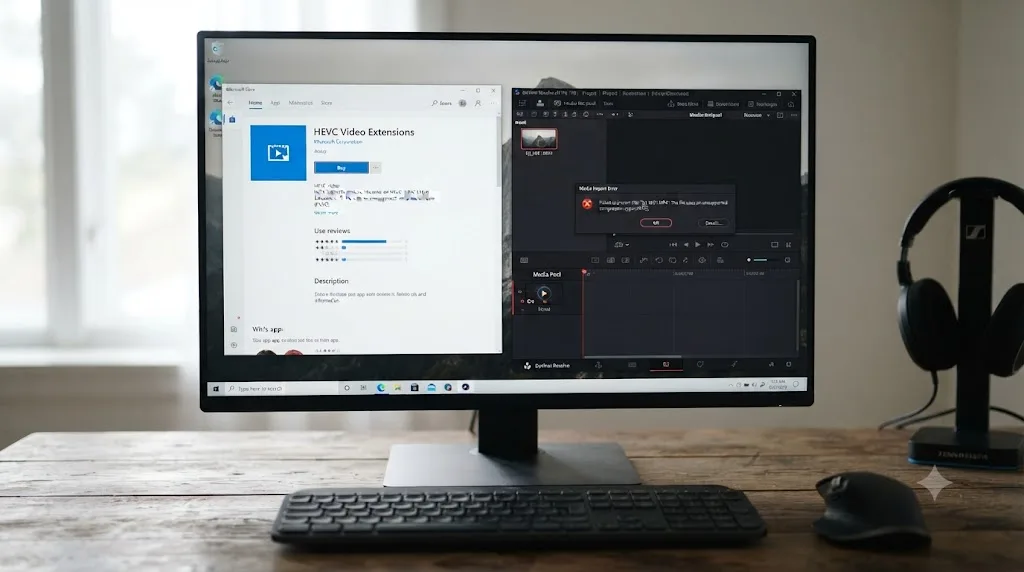
Every color mode on the Action 5 Pro, Normal, HLG, and D-Log M alike, records in H.265 inside an MP4 container. Windows doesn't ship a native HEVC decoder by default the way macOS does, and the free version of DaVinci Resolve doesn't implement one internally on Windows either. That combination means a Windows machine running free Resolve can genuinely fail to preview, or fail to import at all, footage that a Mac running the exact same free version opens without complaint, because macOS provides HEVC decoding at the operating system level that free Resolve leans on, while Windows doesn't include that support by default.
Richard Lackey, writing a detailed technical breakdown of AVC and HEVC handling in Resolve, put the underlying risk plainly: "Just because Resolve will read your AVC or HEVC encoded camera files, doesn't mean it will play them back at full resolution in real-time," he wrote, and his broader recommendation for exactly this kind of footage is to transcode AVC and HEVC media to an intermediate codec, ProRes on Mac or DNxHD/DNxHR on Windows, before editing, rather than fighting the original camera codec through an entire project.
The practical fix on Windows is straightforward. Install the "HEVC Video Extensions" from the Microsoft Store, a small paid add-on typically under a dollar, and restart your PC completely, not just Resolve, before you try importing again. A Windows PC running the free version of DaVinci Resolve can refuse to even preview an Action 5 Pro clip until you install a codec Microsoft charges about a dollar for. It's an easy fix once you know to look for it, and an infuriating one to stumble into blind, since nothing in Resolve's own error messaging points toward a Microsoft Store purchase as the actual solution.
Why does a clip still stutter after you've already installed the HEVC extension?
Here's the part that trips up editors who did everything right and are still stuck. Installing the Windows HEVC extension isn't the end of the road for 10-bit footage, it's the halfway point.
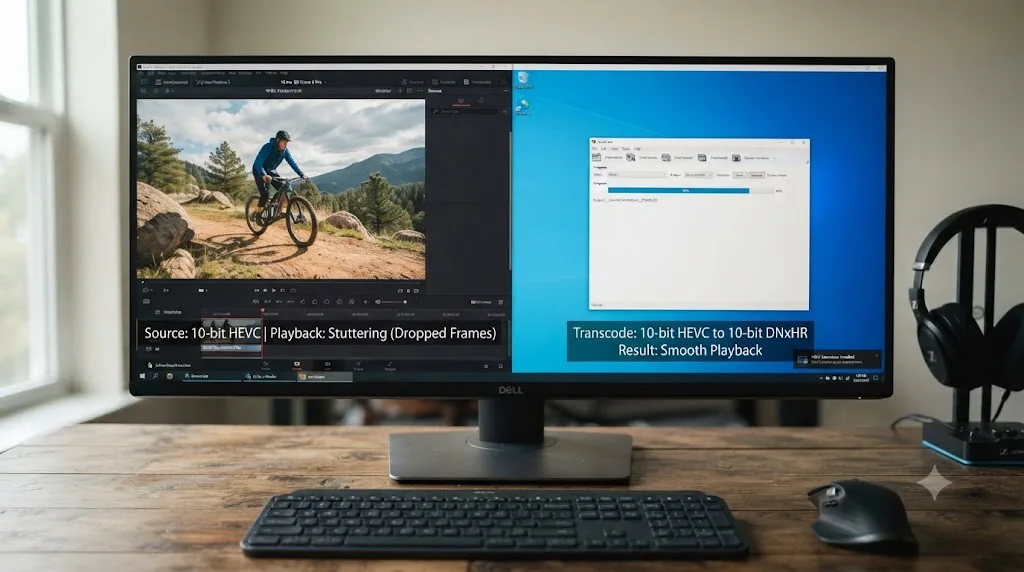
The extension buys you standard, 8-bit HEVC decoding. Whether 10-bit HEVC, the exact depth D-Log M and HLG both record in, decodes cleanly on top of that depends on your specific GPU generation and driver version, which is exactly the kind of variable that makes this inconsistent between two editors running what looks like an identical setup on paper. Robin Parmar, covering exactly this limitation in a breakdown of Resolve's codec restrictions, put it plainly: "Resolve (free) restricts you to 8-bit colour," he wrote, even when a 10-bit source file sits directly in the timeline.
Puget Systems' breakdown of hardware HEVC decoding in DaVinci Resolve, written by performance analyst Matt Bach, documents which GPUs Resolve Studio can hardware-decode H.264 and H.265 on, spanning AMD Radeon 5000 through 7000 series, Nvidia GTX 10-series through RTX 40-series and newer RTX 50-series cards, Intel Arc, and several generations of integrated graphics from AMD Ryzen and Intel Quick Sync. Critically, that hardware decode path belongs to Resolve Studio, not the free version, and Bach's article notes directly that "not all 'flavors' of these codecs are supported depending on the bit depth and chroma subsampling used," meaning even a compatible GPU on Studio doesn't guarantee every 10-bit variant decodes in hardware.
Installing the HEVC extension and still getting rejected on the exact same codec isn't a sign the extension failed. It's a sign you've hit a second wall stacked directly behind the first one. Standard HEVC decoding and 10-bit HEVC decoding are not the same capability, and having one doesn't guarantee the other on a given Windows machine, free version or Studio.
| Layer | What it controls | Typical fix |
|---|---|---|
| Container | .mp4 wrapper | Rarely the actual problem |
| Codec | H.265 (the only option on this camera) | HEVC Video Extensions (Windows) |
| Color depth | 8-bit Normal vs 10-bit HLG/D-Log M | Transcode to ProRes/DNxHR, edit on Mac, or upgrade to Studio with a compatible GPU |
| Bitrate | Up to 120 Mbps in the heaviest 4K120 mode | Not an import blocker on its own, but slows scrubbing on weaker hardware |
If you'd rather avoid this fight entirely and you're editing on a Windows machine without a recent GPU or a Studio license, three real paths exist once 10-bit is confirmed as the cause: edit on a Mac instead, where the free version doesn't carry the same Windows-specific limitation; upgrade to Resolve Studio, which includes broader native HEVC handling on supported hardware; or transcode before you import, converting to DNxHR or ProRes with a free tool like Shutter Encoder, sidestepping the GPU-dependent decode path entirely.
Why do 4K120 or interpolated slow-motion clips choke playback even after color and codec are sorted?
This shows up specifically on the Action 5 Pro's heaviest modes, and it's a decode-cost problem, separate from everything above.
Recording at up to 120 Mbps in 10-bit H.265 is a codec setup designed to compress efficiently for storage, not to decode cheaply for real-time playback. Without hardware-accelerated decode, your CPU handles that decompression frame by frame, which strains even a fairly capable laptop once you're scrubbing 4K120 footage in a full timeline rather than previewing a single clip in isolation. Puget Systems' testing on Resolve Studio's HEVC hardware decode support documents exactly this scenario for Windows, where compatible GPUs can offload decode work that the free version, lacking that hardware acceleration path on Windows, otherwise leaves entirely to the CPU.
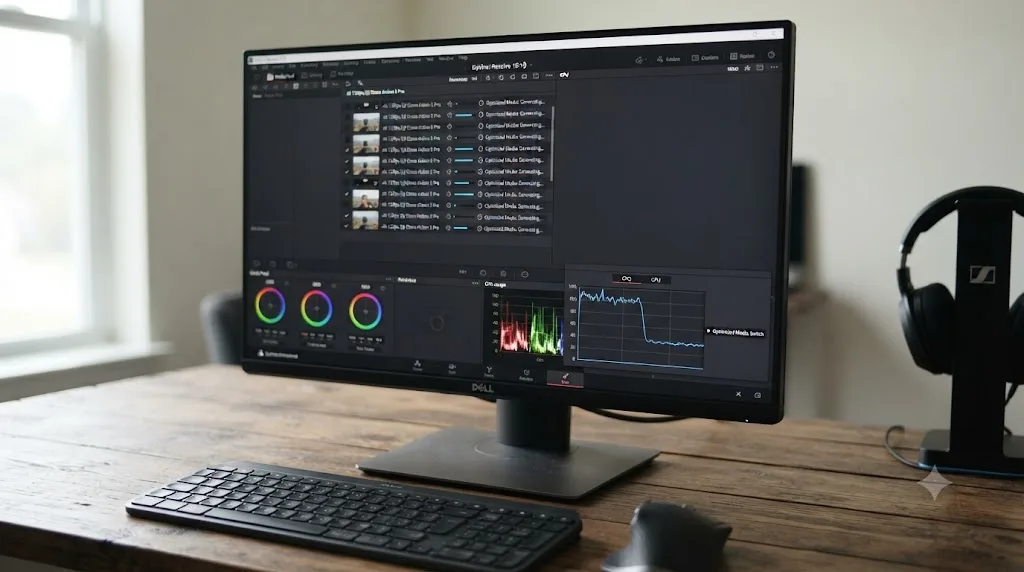
The fix isn't a color setting or a codec extension at all. Generate Optimized Media inside Resolve, or transcode your Action 5 Pro footage to ProRes or DNxHR proxies before you start a heavy multi-clip edit, the same approach our guide to setting up proxy media on a slow laptop walks through in detail. Editing against a lighter proxy codec, then relinking to the original H.265 files only for your final render, sidesteps the decode bottleneck entirely instead of asking your machine to brute-force real-time 10-bit H.265 decode on every scrub.
A 4K120 clip that plays smoothly for three seconds and then hitches isn't a corrupted file. It's your CPU losing the race against a 120 Mbps decode load it wasn't built to sustain. Proxies fix exactly this, without touching a single color value or codec setting you've already correctly configured.
Does 960fps super slow motion actually import as 960fps footage?
This is a question worth asking before you build an entire timeline assuming your slow-motion math will match what the camera advertised on the box.
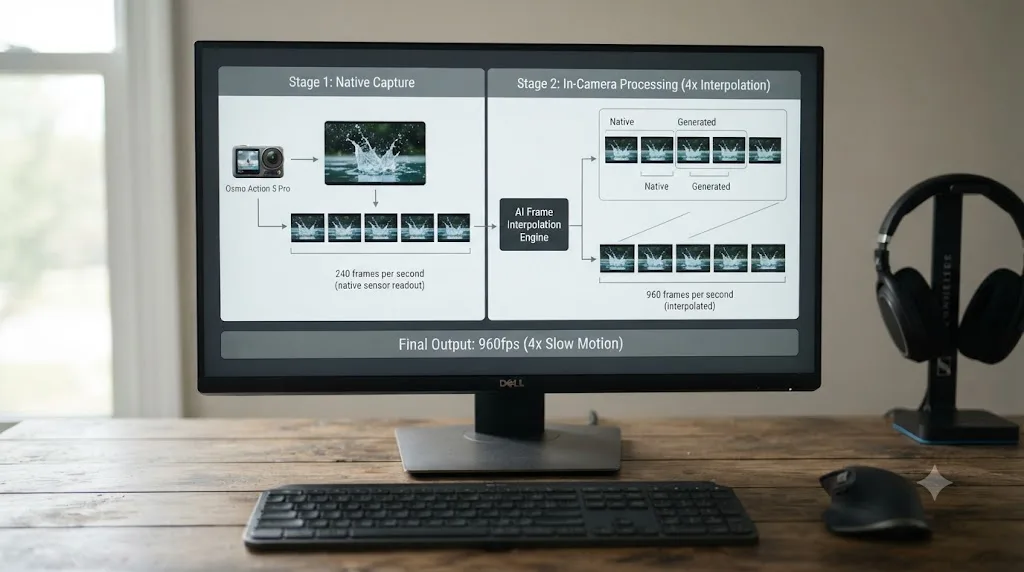
The Action 5 Pro's native slow-motion ceiling, shot optically off the sensor, tops out at 1080p240, an 8x slow-motion factor against a 30fps timeline. The camera's marketed 960fps figure sits on top of that. According to reporting on DJI's announcement covering the Action 5 Pro's slow-motion capability, reaching 960fps applies "4x frame interpolation to achieve up to 1080p/960fps, creating 32x super slow-motion video (from 1080p/240fps to 1080p/960fps)," meaning the camera's own processor generates additional interpolated frames between the genuinely captured 240fps images rather than the sensor physically reading out 960 frames every second.
That distinction matters directly for how you handle the file in Resolve. The interpolation happens in-camera, before the file is ever written to the memory card, so the .mp4 that lands in your Media Pool already contains the interpolated frame count DJI's firmware produced, not raw 240fps data you'd need to interpolate yourself in post. Marketing copy describing "960fps" isn't describing what your camera's sensor captured. It's describing what DJI's onboard processor built from genuinely captured 240fps footage. Check the clip's actual frame rate in Resolve's Media Pool or Clip Attributes rather than assuming the number from the spec sheet is what you'll see reflected there; per the DaVinci Resolve Reference Manual's coverage of Video Attributes, that field is what actually controls playback speed and duration inside your project, regardless of what number appeared on the camera's settings menu when you shot it.
If a slow-motion clip plays back at the wrong speed once it's on your timeline, faster or slower than you expected given the mode you shot, that's very likely a Clip Attributes mismatch rather than anything wrong with the interpolation itself, and our full guide to clips playing too fast from a wrong frame rate walks through fixing that mismatch step by step.
What about audio on high frame rate and slow-motion clips?
Audio handling on slow-motion footage catches editors moving from a phone camera, where slow-motion clips often carry no usable audio at all, or audio that's been silently pitch-shifted along with the picture.
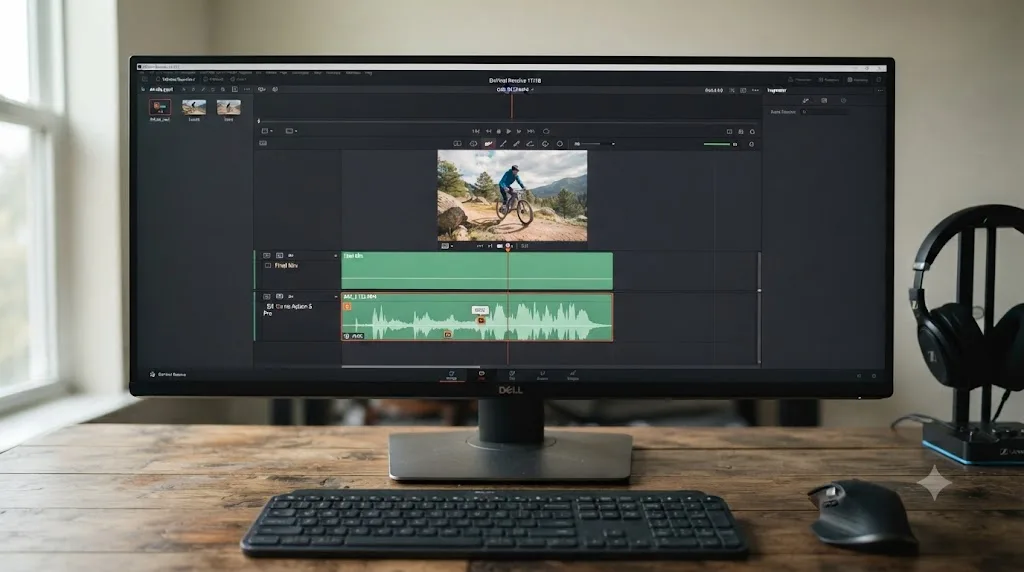
DJI's own specs page lists a single audio configuration for the Action 5 Pro across its recording modes, 48 kHz 16-bit AAC, without listing a separate degraded audio spec specifically for the 240fps or interpolated 960fps modes the way some cameras document. In practice, treat audio captured during any extreme slow-motion mode as a reference track for syncing purposes rather than a polished final mix; run-and-gun action footage shot in a slow-motion mode is rarely the shot you're building your primary dialogue or ambient audio bed around anyway. If a slow-motion clip's audio sounds sped up, slowed down, or oddly pitched once placed on your timeline, check that Clip Attributes' Video Frame Rate matches what the clip actually recorded before assuming the audio track itself is broken; frame rate overrides in Resolve only touch video timing, never audio, so a mismatch between the two can make an otherwise normal audio track sound wrong purely because the picture around it is running at the wrong speed.
Slow-motion footage from any action camera is built to look good, not to sound good, and treating its audio as a scratch track rather than your final mix saves you from chasing a problem that was never really about the audio at all. Sync a clean reference take separately if the shot needs usable sound, the same approach most run-and-gun editors already default to regardless of camera brand.
How do you handle native vertical (9:16) Osmo Action 5 Pro footage in Resolve?
This comes up constantly for creators shooting directly for TikTok, Reels, or Shorts, since the Action 5 Pro can capture true vertical frame rather than only cropping horizontal footage after the fact.
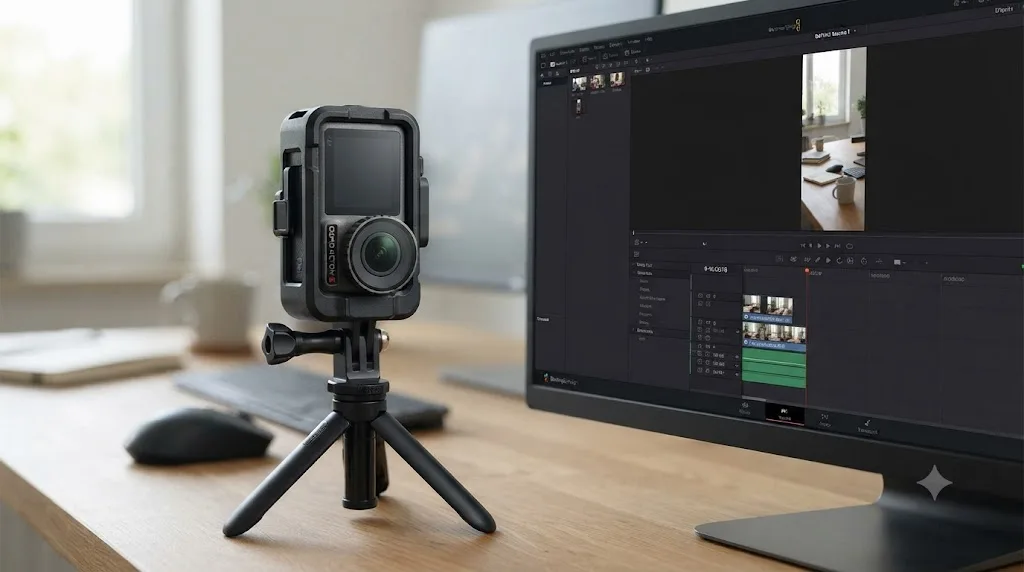
DJI's own beginner's guide to the Osmo Action 5 Pro documents a dedicated vertical shooting workflow using a horizontal-vertical protective frame accessory, letting the camera mount rotated for genuine native 9:16 capture rather than a crop of a wider frame. That native vertical footage tops out lower than the camera's full horizontal resolution, running at 2.7K and 1080p in the 9:16 aspect ratio rather than the full 4K available shooting horizontally, a tradeoff similar to what other DJI cameras with rotating or vertical shooting modes also accept. One functional limitation worth knowing before a shoot: DJI's own documentation notes that Subject Tracking isn't available while shooting natively in vertical mode, so a shot that depends on the camera's automatic subject-following autofocus needs to be captured horizontally and cropped afterward instead.
Inside Resolve, the practical handling is straightforward once you know the resolution ceiling going in. Drop native vertical clips into a project with a matching vertical Timeline Resolution if your whole edit is vertical-first, or use Resolve's standard reframing and Dynamic Zoom tools within a 16:9 project if you're mixing vertical Action 5 Pro clips alongside horizontal footage from other angles in the same cut. Native vertical footage from an action camera isn't a lower-quality afterthought crop. It's the camera genuinely reading a different portion of its own sensor, at its own resolution ceiling, and that ceiling is worth knowing before you plan a shoot that needs full 4K vertical delivery. If 4K vertical output matters more than native capture convenience, shoot horizontally at full 4K and crop to your target aspect ratio in the edit instead.
Does in-camera stabilization change the file Resolve receives, or is it just metadata?
This matters because it changes what you can and can't undo later, and it's a genuinely different answer than what a gimbal-mounted camera like the Osmo Pocket line gives you.
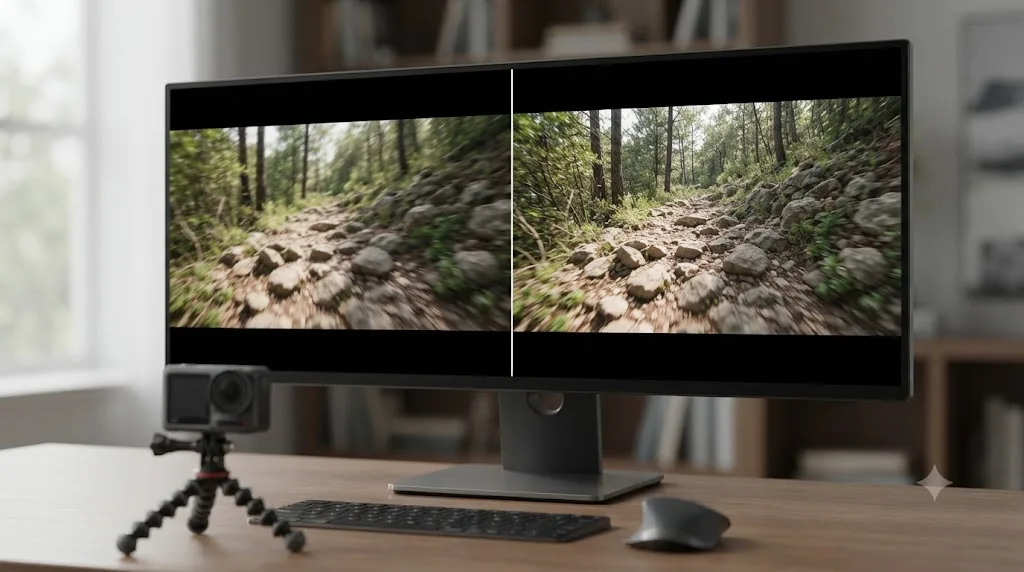
The Action 5 Pro's stabilization, branded RockSteady 3.0 and RockSteady 3.0+ alongside HorizonSteady and HorizonBalancing, is purely electronic image stabilization, applied to the frame during recording rather than through a mechanical gimbal correcting the sensor's physical position the way the Osmo Pocket series does. DJI's FAQ page for the Action 5 Pro lists specific mode limits for these features: HorizonSteady supports 1080p and 2.7K at frame rates up to 60fps, while HorizonBalancing extends that support up to 4K at the same frame rate range. Once you've recorded a clip with any of these stabilization modes active, the correction is already baked into the pixels you receive in Resolve. There's no separate raw, unstabilized version sitting underneath that you can pull back out later, and there's no gyroscopic metadata sidecar file the way some drone and gimbal footage carries for post-stabilization in dedicated software.
Electronic stabilization on an action camera is a decision made at the moment of capture, not a layer you can peel back or intensify afterward in Resolve. If you need to reframe a heavily stabilized clip, Resolve's own Stabilizer effect can still smooth out residual motion on top of what the camera already applied, but it's working with an already-processed frame, not raw sensor data, which is worth knowing if a shot looks slightly "swimmy" or over-processed at the frame edges; that's a known tradeoff of aggressive electronic stabilization on any action camera, not something specific to a bad Resolve import.
What if a clip won't open after an overheating shutoff or dead battery mid-recording?
Action cameras get pushed harder physically than most cameras ever do, strapped to helmets, mounted on bikes, run in direct sunlight for long stretches, and that occasionally produces a clip that stops recording mid-write rather than ending cleanly.
If a recording session ends because the camera powered off unexpectedly, whether from heat, a depleted battery, or a hard knock that jarred the power button, the file being written at that exact moment can end up with an incomplete index, similar in principle to the moov atom problem that affects footage from other cameras and phones cut off mid-write. The practical sign in Resolve is a clip that won't open at all, or one that opens with a much shorter duration than what you actually shot, rather than a codec rejection. This is a genuine file-integrity issue, not a color or codec-decode problem, and treating it as either wastes time chasing the wrong fix.
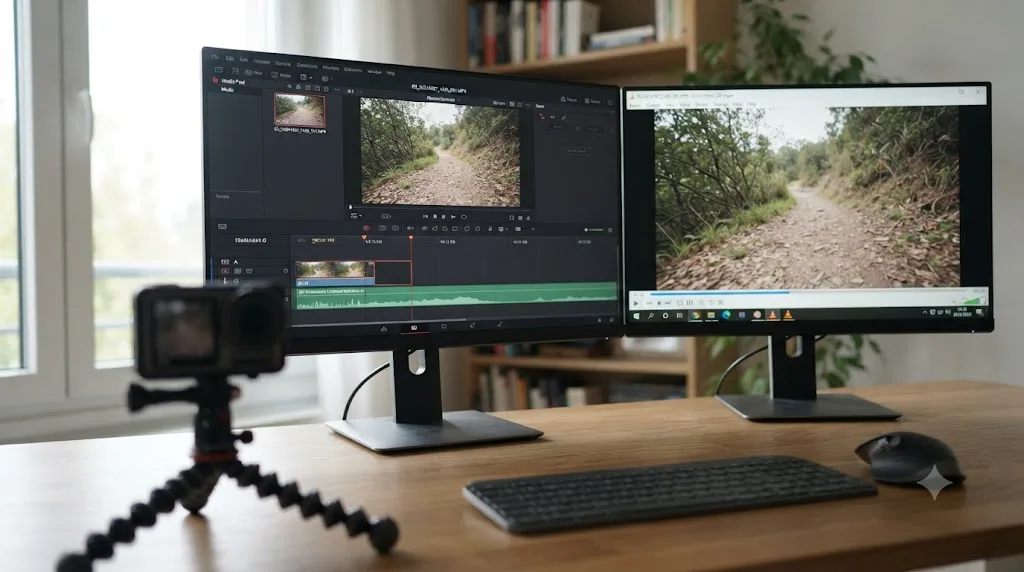
Before assuming the footage is a total loss, check whether the clip plays in VLC, which tolerates malformed file indexes far better than Resolve does in many cases. If VLC opens it and shows more footage than Resolve does, a repair pass with a dedicated MP4 recovery tool, or a straightforward re-wrap through a tool like Shutter Encoder, can sometimes recover playable frames that Resolve's stricter parser rejects outright. If VLC also can't open it or shows the same short duration, the recording genuinely ended at that point and there isn't additional footage to recover past it. A clip cut short by an overheating shutoff isn't automatically an unrecoverable file. It's often a file with a broken index wrapped around perfectly intact video data, and the two problems need very different fixes.
Should you use DJI Mimo's wireless transfer or pull the microSD card directly?
If a clip imports cleanly and plays fine but looks noticeably softer or more compressed than what you remember shooting, the problem likely happened before Resolve ever saw the file, during transfer rather than during recording.
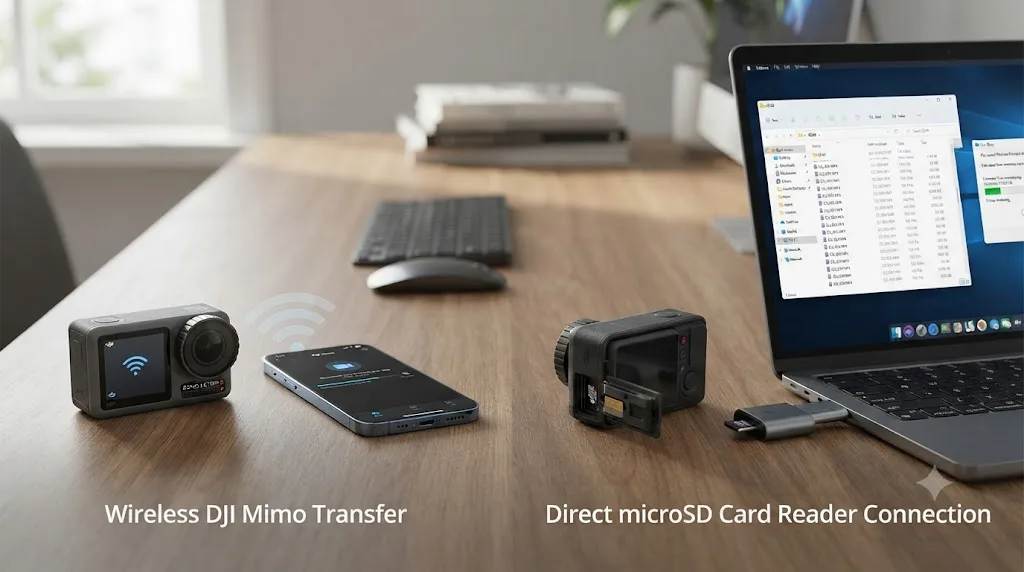
DJI's Mimo app can download footage wirelessly from the camera to a phone, a genuinely convenient option for a quick social post shot and shared from the field without ever touching a computer. DJI's own Osmo Series Footage Export Guide documents this workflow directly. Wireless transfer speed and reliability depend heavily on your specific phone's background app policies, which vary by manufacturer, and a slow or interrupted wireless session is a plausible source of an incomplete or degraded copy landing on your phone before it ever makes its way to your editing machine.
For any footage you're actually planning to grade and deliver rather than just share quickly, skip the wireless step entirely. Pull the microSD card directly, using either the Action 5 Pro's own internal 64GB of storage, of which DJI's specs page lists 47GB actually available, or a dedicated card reader connected to your editing machine. That path pulls the original recorded file at full bitrate and resolution with nothing in between to introduce compression, connection drops, or a background transfer app quietly working against a phone manufacturer's power-saving policy. Wireless convenience has a real cost on footage headed for a proper edit, and that cost is a transfer path with more points where quality or completeness can quietly degrade. For anything more demanding than a same-day social clip, the card reader is the safer default.
Do you need DaVinci Resolve Studio for Osmo Action 5 Pro footage?
Not for the color correction workflow this page mostly covers. Color Space Transform, LUT application on a node, and Resolve Color Management all work identically in the free version, with no functional restriction on the color math for D-Log M or HLG footage.
Where Studio genuinely earns its keep with Action 5 Pro footage specifically is Windows playback performance on heavier clips. Resolve Studio can hardware-decode H.264 and H.265 on compatible GPUs on Windows, per Puget Systems' testing, while the free version has no equivalent hardware acceleration path on that platform and falls back to CPU-only decoding of the same files. That gap widens noticeably on longer 4K120 clips or interpolated slow-motion footage, and narrows to almost nothing on a Mac, since macOS's own native HEVC decoding is already available to the free version there.
The D-Log M color problem covered through most of this page is a color management problem, and color management is not a Studio-gated feature. Don't let a real, separate Windows performance gap talk you into thinking you need Resolve Studio just to make Action 5 Pro footage look correct. You don't, unless your specific bottleneck is Windows playback stutter on heavy 4K120 or interpolated slow-motion clips, in which case Studio's hardware decode path on a compatible GPU, or a proxy workflow in the free version, are the two ways forward.
What if you're mixing Osmo Action 5 Pro footage with a GoPro or a main camera in the same timeline?
This is the normal way an action camera actually gets used: a mirrorless or cinema camera for primary coverage, and the Action 5 Pro strapped somewhere a bigger camera can't go, for a POV angle, a mount shot, or a B-roll insert.
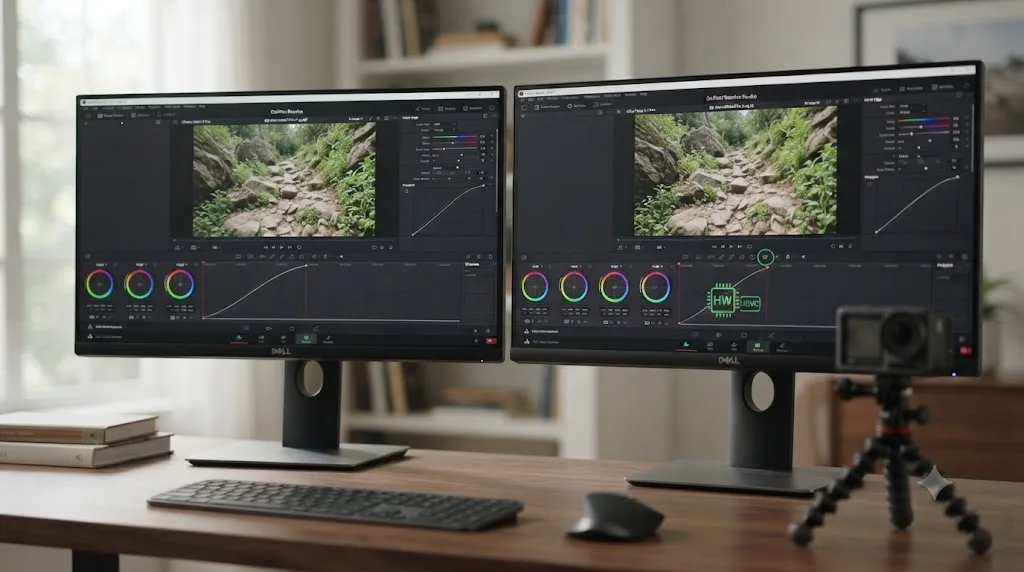
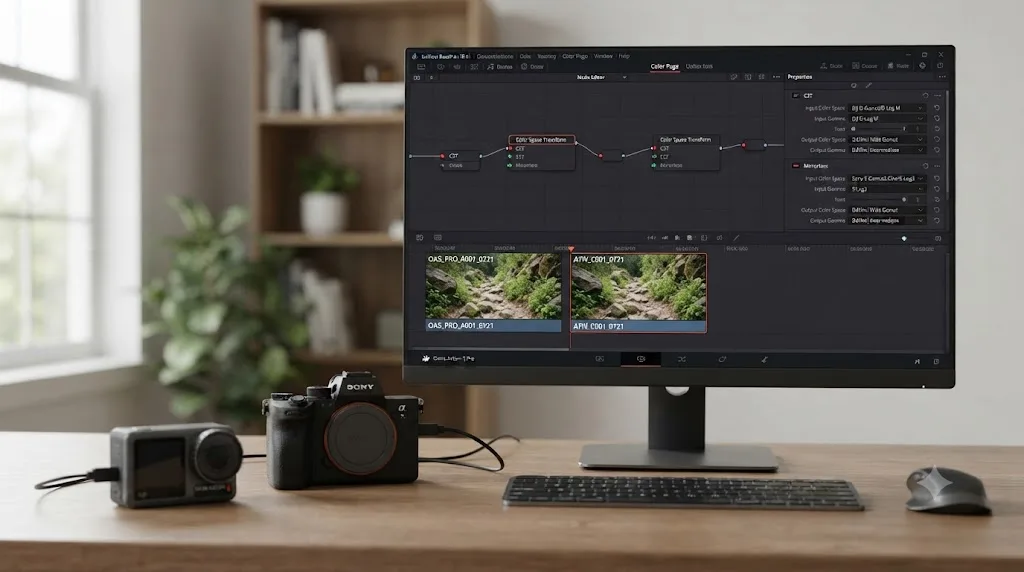
Normalize every camera into the same working color space before you apply any creative grade. Convert the Action 5 Pro's D-Log M footage with DJI's official LUT or a matching Color Space Transform, and convert your other camera's own log or RAW profile with whatever transform that camera actually calls for, before comparing the two side by side. Our full guide to color matching different cameras in DaVinci Resolve covers Color Match and Shot Match for the fine-tuning pass once both sources are sitting in a shared, correctly converted space. Trying to eyeball a match between two ungraded log sources from entirely different sensors is how editors end up chasing a color mismatch that isn't really about either camera. It's about comparing two different flat starting points as though they were already equivalent.
Once both cameras are normalized, the Action 5 Pro stops being a special case in the timeline. Ordinary matching tools work the same way they would on any two cameras shot on the same job, whether the second camera is a GoPro, a mirrorless body, or a cinema camera shooting RAW.
What does the full fix look like on a real clip, start to finish?
Here's the full diagnosis applied to a scenario that comes up often: a mountain biker shoots a morning trail run on an Action 5 Pro in D-Log M, mixing 4K60 helmet-mount footage with a few 4K120 slow-motion inserts for jump shots, then imports everything into a Resolve project on a Windows laptop that evening.
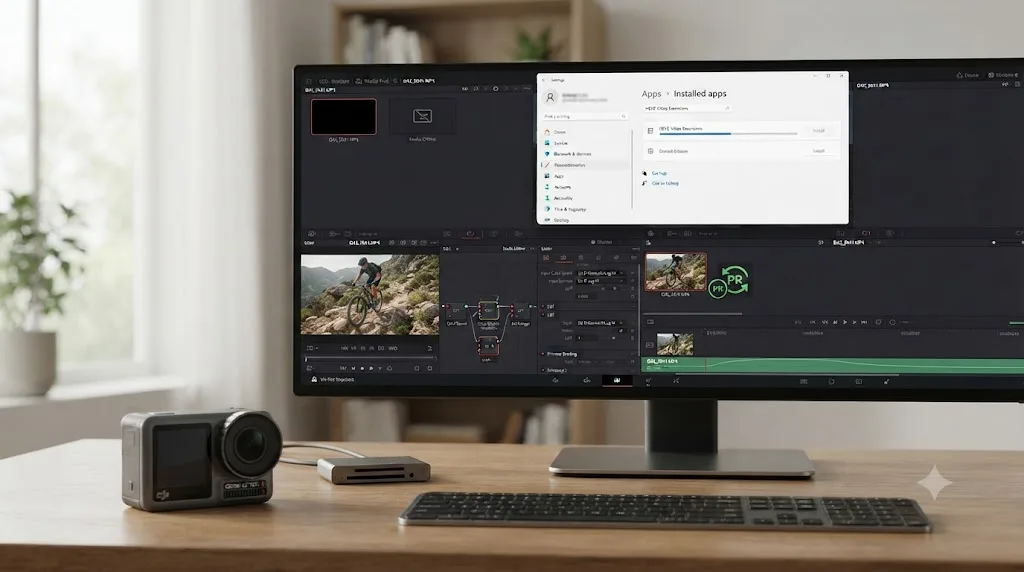
First, the import half-fails. Several clips won't even preview, sitting with a spinning indicator instead of a thumbnail. That's the free-Resolve-on-Windows HEVC gap, not corrupted files. Installing the HEVC Video Extensions from the Microsoft Store and restarting the PC clears it completely; every clip now plays.
Second, the Media Pool shows every D-Log M clip looking correctly flat and grey. That's expected, not a fault, so no time gets wasted assuming the transfer went wrong.
Third, the color fix goes on. DJI's official D-Log M to Rec.709 LUT, already downloaded and dropped into Resolve's LUT folder earlier, gets applied to a node on every D-Log M clip. The footage stops looking flat and starts looking like a normal, gradeable image.
Fourth, the four 4K120 jump clips stutter badly on scrub even with color and codec both sorted. The laptop's integrated GPU has no hardware HEVC decode path on Windows in the free version. Optimized Media gets generated for just those four clips, and playback smooths out immediately, with the full-resolution originals swapped back in only for the final render.
Fifth, and last, one clip from earlier in the ride opens with a noticeably shorter duration than the rider remembers recording. Checking it in VLC shows the same short duration, confirming the camera's battery genuinely died mid-clip rather than a Resolve-specific problem, so the missing footage simply isn't there to recover, and the edit moves on without it.
The full decision table: match your exact symptom to the fix
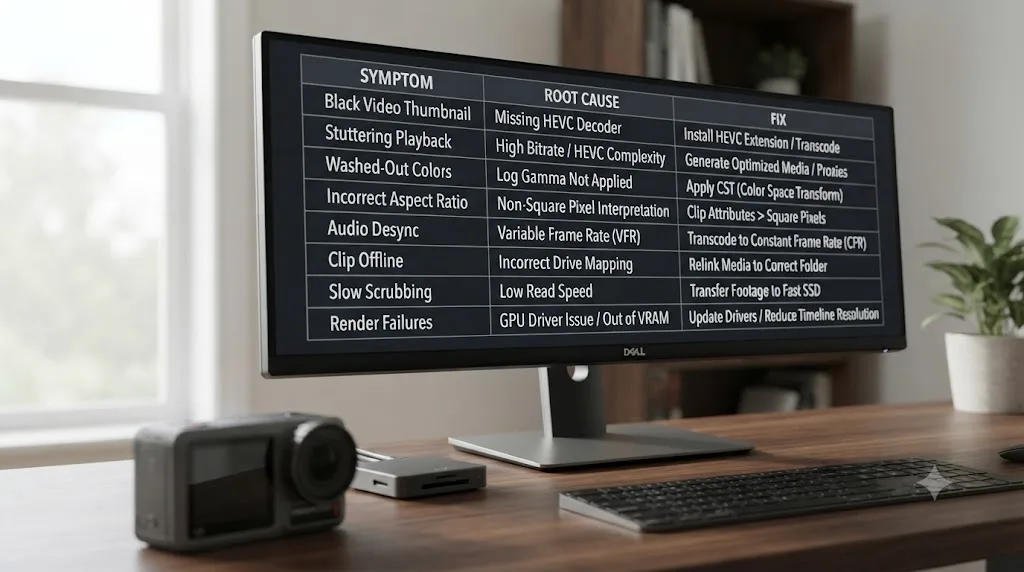
Work through this top to bottom and stop at the first row that matches what you're actually seeing.
| Your exact situation | Root cause | Fix |
|---|---|---|
| Clip imports and plays, looks grey and flat | Normal, uncorrected D-Log M | Apply DJI's official D-Log M to Rec.709 LUT, or a matching manual Color Space Transform |
| Clip grades with wrong, oversaturated color, blues especially | You applied Resolve's built-in D-Log preset to D-Log M footage, a mismatched profile | Use DJI's official D-Log M LUT instead of the built-in D-Log Color Space Transform preset |
| Clip won't preview or import at all on Windows | Free Resolve lacks native HEVC decode on Windows | Install Microsoft's HEVC Video Extensions from the Microsoft Store, then restart your PC |
| Clip still stutters after the HEVC extension is installed | 10-bit HEVC decode depends on your specific GPU and driver | Transcode to ProRes/DNxHR, edit on a Mac, or upgrade to Studio with a compatible GPU |
| 4K120 or interpolated 960fps clips choke playback with color already correct | Decode load from a high-bitrate H.265 stream | Generate Optimized Media, or transcode to ProRes/DNxHR proxies |
| Vertical clip behaves oddly or lacks subject tracking | Native 9:16 mode's documented resolution and feature limits | Not an error; shoot horizontal 4K and crop if you need full resolution and tracking together |
| Clip won't open, or opens with a much shorter duration than expected | Truncated write from an overheating shutoff or dead battery | Check in VLC for recoverable frames; accept the cutoff point if VLC also can't open it |
How do you avoid losing an afternoon to this on your next shoot?
A short list of habits catches nearly everything on this page before it becomes an editing-day problem.
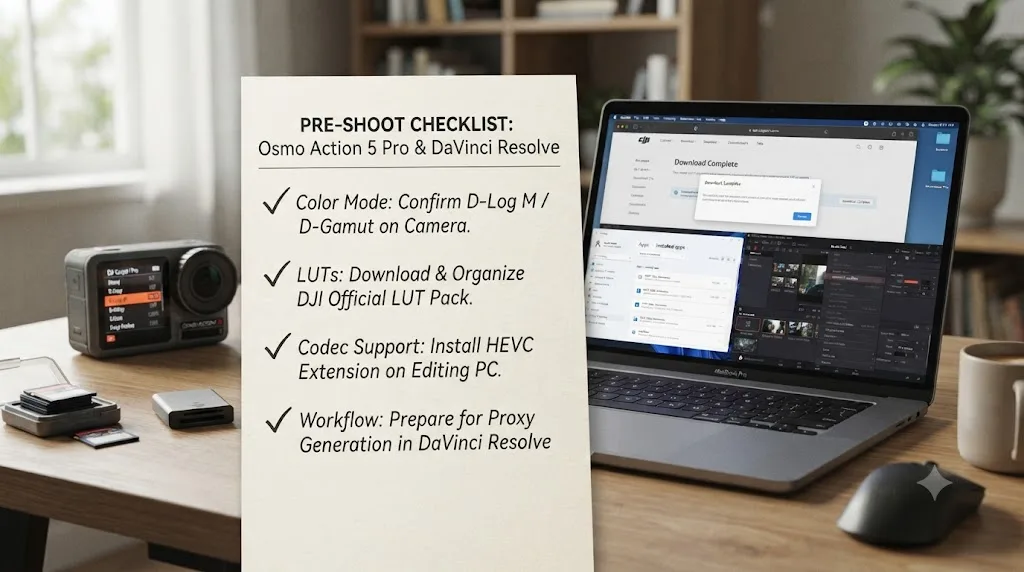
- Confirm which color mode actually recorded, not which one you meant to select. Normal, HLG, and D-Log M all need different treatment, and the camera locks whatever mode you chose for the length of that clip.
- Download DJI's official D-Log M to Rec.709 LUT before your shoot, not during your first edit session. It's free, built specifically for this camera and profile, and a safer default than Resolve's built-in D-Log preset, which is tuned for a different DJI color space entirely.
- If you edit on Windows with the free version of Resolve, install the Microsoft HEVC Video Extensions once, ahead of time. It's a small purchase that resolves a wall that otherwise looks like a corrupted card or a broken app.
- Set your project's Timeline Frame Rate to match your dominant footage, not whatever clip Resolve auto-detects first. A 4K120 or 1080p240 outlier setting your whole project's frame rate is the single most common cause of clips playing back at the wrong speed.
- Generate proxies before a long editing session on 4K120 or interpolated slow-motion footage, especially on an older machine. Decode load, not your project settings, is almost always the real cause of stutter once color is already sorted.
- Pull the microSD card with a reader for anything you're actually grading and delivering. Save wireless Mimo transfer for quick, disposable social shares.
What if you're new to Resolve and this is your first hardware-specific wall?
If juggling color modes, LUT installation, Windows codec extensions, frame rate matching, and proxy generation feels like a lot on top of just learning where things live in DaVinci Resolve, that's a completely normal place to land. Camera-specific import workflows are one of the more technical corners of the app, and there's no faster way through them than knowing exactly which setting your specific footage needs, right when you need it.
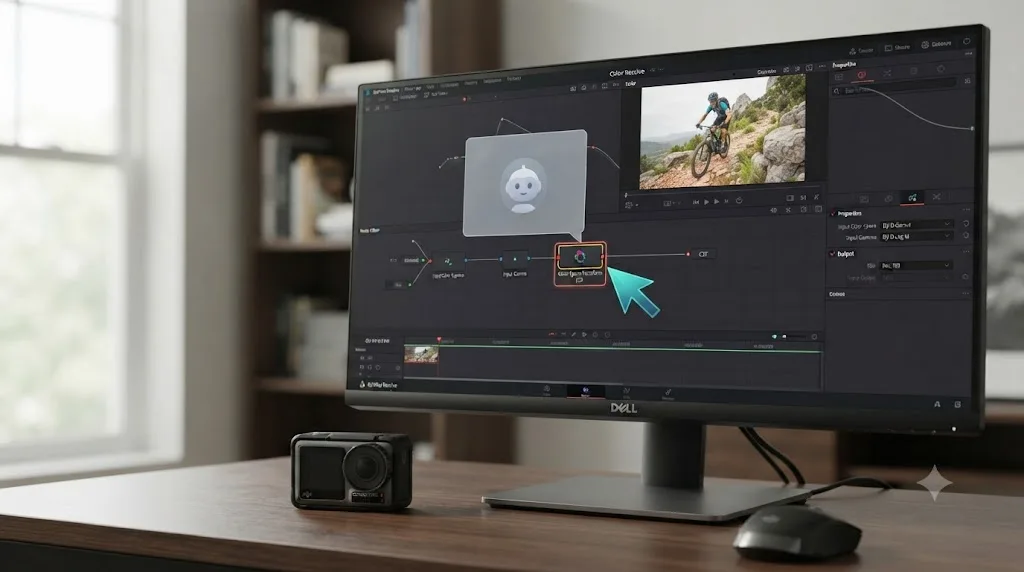
TryUncle is the on-screen assistant for DaVinci Resolve on macOS, ask in plain words and Uncle points at the exact control on your screen. Instead of pausing your edit to search a forum thread written by someone flying a different camera on a different operating system, Uncle watches your actual Resolve window and points at the specific node, dropdown, or setting your footage actually needs. It sits in a growing category alongside tools like Sottocut, PremiereCopilot, heyeddie.ai, and cutagent.ai, though most of those automate edits or answer chat questions in a separate window rather than watching your live screen; Uncle points at the exact control while you're the one making the decision, on the Edit, Color, and Fusion pages. It's a paid app, currently in founder pricing at $29.99 a month for the first 100 seats, and it's macOS only, so Windows editors working through the HEVC decode issue above won't find it useful for that specific wall. Guided help inside Resolve beats pausing a tutorial video to compare your settings against someone else's camera. Check TryUncle for current founder pricing if that sounds like the faster path through your next action-cam-heavy edit.
What's the fastest path to a fix?
Confirm which color mode actually recorded first: Normal, HLG, or D-Log M. If it's flat and grey, that's expected; apply DJI's official D-Log M to Rec.709 LUT rather than Resolve's built-in D-Log preset, which is built for a different DJI camera generation. If it won't preview at all on Windows, install the Microsoft HEVC Video Extensions before you suspect the file itself. If it still stutters afterward on a 10-bit clip, that's a GPU-dependent second wall, and a transcode, a Mac, or Studio on compatible hardware clears it. If 4K120 or interpolated slow-motion clips choke playback with everything else sorted, generate proxies before you blame your project settings. If a clip won't open or ends early, check it in VLC before assuming a total loss.
Nine times out of ten, your Osmo Action 5 Pro footage isn't damaged and DaVinci Resolve isn't malfunctioning. Either the color conversion hasn't been applied yet, the wrong DJI preset got used instead of the right one, a codec extension is missing on Windows, your machine needs a lighter proxy to decode a high-bitrate clip smoothly, or a shutdown mid-record genuinely ended the recording where it ended. Match the symptom to the cause, and the fix is usually one LUT, one small purchase, or one proxy pass, not another afternoon of guessing.
Frequently asked questions
- Does DaVinci Resolve support DJI Osmo Action 5 Pro footage natively?
- Yes, in terms of container and codec. The Action 5 Pro records MP4 (HEVC/H.265) files, a format Resolve reads on every platform. Whether it plays smoothly depends on your OS and license: macOS decodes H.265 at the system level even in the free version, while free Resolve on Windows often needs Microsoft's HEVC Video Extensions installed before clips will even preview.
- Why does my Osmo Action 5 Pro D-Log M footage look grey and flat in DaVinci Resolve?
- That's D-Log M working correctly, not a broken import. DJI's own documentation describes the profile as a lower-contrast, flat color mode built to preserve dynamic range for grading, not a finished look. Apply DJI's official D-Log M to Rec.709 LUT, downloadable free from DJI's Download Center, and the flat clip turns into a normal starting image.
- Why does D-Log M footage turn out oversaturated or hue-shifted after I grade it?
- You most likely applied Resolve's built-in Color Space Transform preset labeled D-Log, which is tuned for the older D-Log profile used on DJI's drones, not D-Log M. The two share a name but not a color characteristic. Use DJI's official D-Log M LUT instead of that built-in preset.
- Why won't my Osmo Action 5 Pro clips import or play on Windows?
- Almost always a missing HEVC decoder on the free version of Resolve on Windows. Install the HEVC Video Extensions from the Microsoft Store, restart your PC, and reopen Resolve. If clips still stutter or refuse to decode after that, you've hit a separate 10-bit decode wall tied to your specific GPU and driver combination.
- What DaVinci Resolve project settings should I use for Osmo Action 5 Pro footage?
- Match your timeline resolution to the clip: 3840x2160 for standard 16:9 4K, or 3840x2880 if you shot the 4:3 mode for reframing flexibility. Match timeline frame rate to your dominant clips, not your slow-motion footage. Apply DJI's D-Log M LUT on a node rather than relying on Resolve Color Management to guess the profile automatically.
- Does 960fps super slow motion actually record at 960fps in the file DaVinci Resolve imports?
- No. The Osmo Action 5 Pro's 960fps mode is 4x in-camera frame interpolation applied on top of native 1080p240 footage, according to reporting on DJI's own announcement. The file Resolve imports carries the interpolated result, not a genuine 960-frames-per-second sensor capture, and Resolve's Clip Attributes should reflect whatever frame rate DJI's firmware actually wrote to that file.
- Do I need DaVinci Resolve Studio to edit Osmo Action 5 Pro footage?
- Not for the D-Log M color workflow itself. Color Space Transform, LUT application, and Resolve Color Management work identically in the free version. Studio's real advantage is Windows playback performance, since Resolve Studio can hardware-decode H.265 on compatible GPUs while free Resolve on Windows falls back to CPU-only decoding of the same footage.
- Should I shoot Normal, HLG, or D-Log M on the Osmo Action 5 Pro for editing in Resolve?
- D-Log M for anything you plan to color grade, since it captures the camera's full claimed 13.5 stops of dynamic range and matches DJI's official LUT. HLG if you're delivering HDR without a heavy grading pass. Normal color if you need footage that looks acceptable straight off the card with zero post-production time.
Sources
- DJI: Osmo Action 5 Pro Specs
- DJI: Osmo Action 5 Pro FAQ
- DJI Support: A Beginner's Guide to Osmo Action 5 Pro
- DJI Download Center: OSMO Action 5 Pro D-Log M to Rec.709 vivid LUT
- Newsshooter: DJI Osmo Action 5 Pro (Matthew Allard ACS)
- DIYPhotography: DJI Osmo Action 5 Pro can shoot ultra slow motion footage at 960fps
- Puget Systems: What H.264 and H.265 Hardware Decoding is Supported in DaVinci Resolve Studio? (Matt Bach)
- Richard Lackey: AVC / H.264 / HEVC and DaVinci Resolve, Why You Need to Transcode
- Robin Parmar, Theatre of Noise: Codec limitations of DaVinci Resolve: HEVC, 10-bit, and RAW
- Microsoft Store: HEVC Video Extensions
- DJI Support: Osmo Series Footage Export Guide
- DJI Support: What models support D-Log mode? What models have the official LUT files?
- Blackmagic Forum: Imported video is rotated by 90 degrees
- DaVinci Resolve Reference Manual: Video Attributes (Clip Attributes, Video Frame Rate)
Put this guide to work with TryUncle.
Ask about the step you’re on. TryUncle sees your screen and points at the control you need, so you can keep learning in your own project.
Get TryUncle for Mac or WindowsKeep reading
Fixes · Jul 20, 2026 · 23 min
DaVinci Resolve DJI Osmo Pocket 3 Log Footage Import: Every Fix
DJI Osmo Pocket 3 D-Log M footage imports into DaVinci Resolve looking flat, wrong-colored, sideways, or refuses to play at all. Match your symptom to the cause.
Fixes · Jul 15, 2026 · 25 min
DaVinci Resolve Proxy Media Setup for a Slow Laptop
Set up proxy media in DaVinci Resolve on a slow laptop: resolution, codec, the Blackmagic Proxy Generator, and the exact settings that stop the stutter.
Fixes · Jul 12, 2026 · 23 min
DaVinci Resolve Says Unsupported File Format: The Real Fix
DaVinci Resolve's Unsupported File Format error almost always means a codec problem, not a broken file. Match your exact symptom to the cause and fix it.