Articles / Guidesupdated for DaVinci Resolve 21.0.2 (July 2026)
DaVinci Resolve Export Settings for Vimeo: The Full Sheet
Quick answer
Export MP4 with H.264 (or ProRes 422 HQ for a review-quality master), matched to your timeline's resolution and frame rate. Follow Vimeo's own bitrate table: 10-20 Mbps for 1080p, 30-60 Mbps for 4K. Set audio to AAC-LC at 320 kbps, 48kHz. Resolve's built-in Vimeo preset covers 720p/1080p/2160p and can upload directly, but caps out below Vimeo's full 8K ceiling.
What settings actually matter when you export a DaVinci Resolve timeline for Vimeo? Five things: MP4 with H.264 (or ProRes 422 HQ if quality matters more than upload speed), your timeline's real resolution and frame rate, a bitrate pulled from Vimeo's own published table, and AAC-LC audio at 320 kbps. Get those right and Vimeo's transcoder has the best possible source to work from.
Most Vimeo export guides recycle the same H.264-only advice written for YouTube, with the platform name swapped. That misses the one thing Vimeo actually does differently: it names ProRes and DNxHR-class codecs as first-class recommended options, publishes an honest bitrate target range instead of a bare-minimum floor, and ships a client review tool built around frame-accurate, timestamped notes. Below is what Vimeo's own compression guidelines say, what Blackmagic's manual says about the built-in Vimeo preset, and exactly where every field goes on the Deliver page.
What are the exact DaVinci Resolve export settings for Vimeo?
Container and codec first. MP4 wrapper, H.264 video at High Profile, AAC-LC audio, a pixel aspect ratio of 1:1. That's the baseline Vimeo's own compression guidelines describe, and it's close enough to YouTube's baseline that if you've built a YouTube export before, the shape of this one will feel familiar. What's different is the bitrate table and the codec list, and both are worth reading directly rather than assuming they match YouTube's numbers.
Here's Vimeo's own bitrate table, straight from its compression guidelines:
| Quality | Bitrate (Mbps) |
|---|---|
| SD | 2-5 |
| 720p | 5-10 |
| 1080p | 10-20 |
| 2K (2560x1440) | 20-30 |
| 4K (3840x2160) | 30-60 |
| 8K | 50-80 |
Those numbers come straight from Vimeo's own video and audio compression guidelines, which also recommends variable bitrate over constant, and two-pass encoding for both CRF-based and bitrate-based H.265 exports, with CRF set to 18 or below for HEVC deliveries.
Audio is simpler and more fixed than YouTube's scaled table. AAC-LC, 320 kbps, CBR, 48kHz sample rate, per the same guidelines page. Vimeo's own recommended Adobe Premiere Pro export settings for Vimeo uploads page repeats the identical 320 kbps AAC figure and adds that mono, stereo, 5.1/7.1 surround, and ambisonic channel layouts are all accepted, which matters if you're delivering anything beyond a simple stereo mix.
On the Deliver page, that maps to: Format MP4, Codec H.264, resolution and frame rate matched to your timeline, a bitrate typed explicitly from the table above rather than left on a default, and Audio Codec AAC at 320 kbps, 48kHz. Everything else in this guide is the reasoning behind those fields, plus the codec choice that makes a Vimeo export genuinely different from a YouTube or TikTok one.
Does DaVinci Resolve actually have a built-in Vimeo preset?
Yes, and it's sat in the render settings preset strip since long before this guide was written, right alongside the stock YouTube, Twitter, TikTok, and Dropbox presets. Selecting it gives you a resolution dropdown with three choices, 720p, 1080p, or 2160p, and configures Format MP4, Video Codec H.264, Encoding Profile Auto, Audio Bus 1, Audio Codec AAC, and Data Burn-in set to match your project automatically, according to Blackmagic's own manual.
Two extra fields set this preset apart from a plain custom export. First, Use Proxy Media, which lets your final render use proxy files instead of the original source camera files, useful for a fast rough-cut review upload where full-resolution source media isn't necessary. Second, Upload Directly to Vimeo, which, once checked, sends the finished render straight to your Vimeo account with a Title field, a Description field, and a Visible To control that "you can change how your video will be accessible on Vimeo, including password protection," per the same manual page.
That password protection option is worth pausing on, because it's the field that makes the built-in preset genuinely useful for client work, not just convenient. A password-protected direct upload skips exporting a file, opening a browser, uploading manually, and then going back to set privacy after the fact. It's set at render time, in one panel.
| Vimeo preset field | Default value | What it does |
|---|---|---|
| Resolution | 720p/1080p/2160p dropdown | Sets the render resolution; no manual entry for 2K or 8K |
| Format | MP4 | Correct as shipped |
| Video Codec | H.264 | Correct as shipped, no ProRes option inside this panel |
| Encoding Profile | Auto | No manual bitrate field exposed here |
| Audio | Bus 1, AAC | Confirm it's routed to your finished mix |
| Data burn-in | Same as Project | Matches whatever burn-in you've configured elsewhere |
| Use Proxy Media | Unchecked | Check for a fast, lower-resolution review upload |
| Upload directly to Vimeo | Unchecked | Check to skip the manual upload step entirely |
| Visible To | Set at upload time | Includes password protection, a genuine advantage over a plain file export |
Unlike the TikTok preset, which ships defaulted to landscape and needs a manual fix, the Vimeo preset doesn't have an equivalent trap field. Its real limitation is different: it's a three-choice resolution dropdown with no exposed bitrate control and no ProRes option, which is exactly what the next section walks through.
Should you use the built-in preset, or build custom export settings?
Depends on what the export is for. The built-in preset is fast, it's native, and its direct-upload option with password protection genuinely saves a real step for client review work. That's a meaningful advantage over exporting a file and uploading it separately through Vimeo's website.
It has two concrete limits. First, no exposed bitrate field, since Encoding Profile sits on Auto with nothing in the preset panel to override it with a specific kbps target from the table earlier in this guide. Second, the resolution dropdown tops out at 2160p (4K), with no path to Vimeo's 2K (2560x1440) tier specifically or its full 8K ceiling, both of which Vimeo's own guidelines document as supported resolutions.
| Situation | Use the built-in preset | Build custom settings |
|---|---|---|
| Quick client review upload with password protection | Yes, it's fast and the direct upload plus Visible To control save real steps | Optional |
| A finished, heavily graded piece meant for public embedding | Not ideal, no manual bitrate control | Yes, set bitrate explicitly from the table earlier in this guide |
| A high-value archival master or a ProRes deliverable | No, the preset locks Codec to H.264 | Yes, ProRes 422 HQ isn't available inside this panel |
| Targeting Vimeo's 2K or true 8K tiers | No, the dropdown stops at 2160p | Yes, set resolution manually |
| A fast proxy-resolution rough cut for early feedback | Yes, Use Proxy Media is built for exactly this | Optional |
The custom path is what the rest of this guide walks through in detail: Format MP4, Codec H.264 or ProRes 422 HQ depending on the job, resolution and frame rate set manually, and a bitrate typed into the Restrict To field instead of trusted to Auto. Both paths produce a file Vimeo re-encodes on arrival, so this is mostly a workflow and control choice, not a hard quality one, except at the resolution ceiling where the preset's three-option dropdown genuinely can't reach where a custom export can.
What resolution should you actually export at for Vimeo?
Whatever your timeline is, same rule as every export covered on this site, but Vimeo's actual ceiling is worth knowing because it's higher than most creators assume. Vimeo accepts uploads "between 240p and 8K," per a summary of its file preparation guidance, though its own compression guidelines note that "videos should typically have a resolution of 720p or 1080p" for most everyday content.
Where Vimeo publishes something YouTube doesn't in the same form is a set of documented pixel-dimension thresholds that determine which playback resolution tiers actually become available for a given upload. Per Vimeo's guidelines for determining playback resolution, the platform checks either the larger or the smaller dimension of your source file against a threshold for each tier:
| Resolution tier | Larger dimension needed | Smaller dimension needed |
|---|---|---|
| 240p, 360p, 540p | Applies to all uploads | Applies to all uploads |
| 720p | 1216px or more | 684px or more |
| 1080p60 | 1824px or more | 1026px or more |
| 2K (2560x1440) | 2432px or more | 1368px or more |
| 4K (3840x2160) | 3648px or more | 2052px or more |
Notice that's an "or" condition, not an "and": a source only needs to clear one of the two dimension checks to unlock a given tier, which matters for anything shot or delivered at an unusual aspect ratio rather than a clean 16:9 frame.
Vimeo checks either the larger or the smaller dimension of your source file against each resolution tier's threshold, so a vertical or unusually cropped export can still unlock 4K playback even if one dimension falls short. That's a real, useful detail buried in a support page most editors never read, and it's the reason a slightly odd aspect ratio doesn't automatically demote your upload to a lower playback tier the way you might expect.
| If you're delivering | Export at | Why |
|---|---|---|
| A standard talking-head, vlog, or corporate piece | 1080p | The de facto standard for most Vimeo content, per Vimeo's own guidance |
| A client review copy that will be watched paused, frame by frame | Your full source resolution, never downscaled | Reviewers zoom and pause; a downscaled review copy hides real detail issues |
| A finished narrative or commercial piece for public embedding | 4K if your source supports it, 1080p otherwise | 4K unlocks Vimeo's higher bitrate tier and a sharper embedded player |
| An 8K master or a specialty high-resolution deliverable | 8K, using H.265 rather than H.264 | H.264 supports resolutions up to 4K on Vimeo; 8K requires H.265 |
That last row deserves its own callout, because it's a genuine platform-specific fact worth knowing before you pick a codec: H.264 "only supports resolutions up to 4K," while H.265 "also supports resolutions up to 8K," per Vimeo's own compression guidelines. If you're delivering true 8K to Vimeo, H.264 isn't an option at all, which the next section on codec choice covers in full.
What bitrate should you use for a Vimeo export?
Follow the table directly. Unlike TikTok, which publishes only an ad-approval floor, or YouTube, whose table lives on a separate Google support page from its actual codec guidance, Vimeo puts codec, resolution, and bitrate target on one page, its own video and audio compression guidelines:
| Resolution | Bitrate range | Encoding notes |
|---|---|---|
| SD | 2-5 Mbps | Rare for modern deliveries; mostly legacy content |
| 720p | 5-10 Mbps | The floor for content meant to look genuinely good |
| 1080p | 10-20 Mbps | The most common target for standard Vimeo uploads |
| 2K (2560x1440) | 20-30 Mbps | A step up for higher-detail masters below full 4K |
| 4K (3840x2160) | 30-60 Mbps | Roughly double YouTube's comparable 4K range at matched frame rates |
| 8K | 50-80 Mbps | Requires H.265; H.264 doesn't support this resolution on Vimeo |
Vimeo's own published 4K bitrate range runs 30 to 60 Mbps, noticeably higher than the comparable figures on some other major platforms at the same resolution and standard frame rate. That gap is real and worth internalizing before you reuse a YouTube-tuned export preset for a Vimeo upload without checking the numbers first; a bitrate that looked generous for YouTube's 4K row can sit at the bottom, or even below, Vimeo's own recommended range for the same resolution.
Vimeo's guidance goes a level deeper than a flat number, too. It recommends "variable" bitrate over constant whenever the option is available, and for H.265 exports specifically, sets a target of "CRF set to 18 or below," with two-pass encoding recommended for both CRF-based and standard bitrate-based deliveries, per the same compression guidelines page. On Resolve's Deliver page, that's the Encoding Profile or Quality dropdown set away from a flat Constant Bitrate value, toward whatever two-pass VBR option your chosen codec exposes.
Vimeo's own Premiere Pro export settings guide repeats these same numbers for 1080p and 4K and states plainly that "VBR, 1 Pass is faster but lower quality," steering toward two-pass whenever render time allows it. That's a real trade-off, not a formality: two-pass encoding takes roughly double the render time of one-pass, since the encoder analyzes the full file once before it ever starts writing the compressed output, but it distributes bits more intelligently across scenes of varying complexity than a single pass can.
Independent forum discussion among working editors backs the same range from a different angle. In a Blackmagic Forum thread on export settings, one poster recommended encoding "at 10,000bts. 5,000 is often way too low, especially for 1080," using two-pass VBR rather than constant bitrate, in a discussion on the Blackmagic Design forum, landing comfortably inside Vimeo's own 10-20 Mbps published range for that resolution.
Should you export H.264, ProRes, or DNxHR for Vimeo?
This is where a Vimeo export genuinely diverges from a YouTube or TikTok one, and it's the detail most generic "best settings" articles miss entirely. Vimeo's own compression guidelines name three recommended video codecs side by side: "H.264, Apple ProRes 422 (HQ), or H.265 (HEVC)," per Vimeo's video and audio compression guidelines. Neither YouTube's nor TikTok's consumer-facing upload guidance names an intermediate codec like ProRes as a first-class recommended option the way Vimeo does.
That matters practically, not just as trivia. ProRes and DNxHR are intraframe codecs built for editing and mastering, not delivery; they carry far more data per second than a comparably-sized H.264 file, and Vimeo's own transcoder has more information to work with when it re-encodes a ProRes source than it does starting from an already-compressed H.264 file. If you're finishing a project where quality genuinely matters more than upload time, ProRes 422 HQ is a legitimate delivery format to Vimeo directly, not just an intermediate step before a final H.264 export.
| Codec | When to use it for a Vimeo upload | Why |
|---|---|---|
| H.264 | Standard public uploads, embedded players, quick turnarounds | Smaller file, faster upload, matches Resolve's built-in Vimeo preset exactly |
| ProRes 422 HQ | Client review masters, archival copies, quality-critical finished pieces | Vimeo names it directly as a recommended codec; less lossy source for Vimeo's own transcoder |
| H.265 (HEVC) | True 4K-and-above deliveries, especially 8K, and HDR masters | The only Vimeo-recommended codec that supports resolutions above 4K |
| DNxHR HQX | Same use case as ProRes on a Windows- or Avid-centric pipeline | Not explicitly named by Vimeo, but functionally equivalent to ProRes 422 HQ for this purpose |
Since DaVinci Resolve 19.1.4, released in March 2025, ProRes encodes natively on Windows and Linux as well as macOS, in both the free and Studio versions, per Digital Production's coverage of that update. Before that release, a Windows editor wanting to deliver a ProRes master to Vimeo had to route through DNxHR and a third-party transcode, or a plugin. That's no longer necessary; the Deliver page's codec dropdown offers ProRes directly regardless of platform now. Our ProRes vs DNxHR guide covers the full picture of when each family makes more sense for your specific pipeline, including the exact bitrates and platform history behind that 2025 change.
Vimeo names ProRes 422 HQ as a directly recommended delivery codec, something neither YouTube's nor TikTok's official upload guidance does. That single fact is the clearest signal that Vimeo, more than the short-form and mass-consumer platforms covered elsewhere on this site, is built with a professional and semi-professional delivery audience in mind, one where a higher-quality intermediate file uploaded directly is a genuinely reasonable choice, not overkill.
One honest caveat about file size: a ProRes 422 HQ master runs dramatically larger than an equivalent H.264 file, often ten times the size or more at the same resolution and duration. Vimeo's own upload ceiling is 200 GB per file, per its file preparation guidance, which covers the overwhelming majority of ProRes deliveries short of a full feature-length master, but it's worth checking your expected file size against that ceiling before committing render time to a ProRes upload on a slow connection.
What frame rate should you export at for Vimeo?
Whatever your timeline actually is, matched exactly, with a constant frame rate rather than a variable one. Vimeo's own compression guidelines are direct on this point: "Keep the native frame rate and choose a constant frame rate," adding that "if your footage exceeds 60 FPS, we will automatically reduce the frame rate," per Vimeo's video and audio compression guidelines. Supported native frame rates listed on that same page run 23.98, 24, 25, 29.97, 30, 50, 59.94, and 60fps, covering essentially every standard delivery rate a camera or timeline would use.
That "constant, not variable" instruction is worth taking literally. A variable frame rate file, the kind some phone cameras or screen recording tools produce by default, can play back with subtle timing drift once it goes through a platform's transcoder, since the encoder is built to expect a steady, predictable interval between frames. If your source footage came from a device known to record VFR, Resolve's own import and conform process typically normalizes it to a constant rate on the timeline, but it's worth double-checking your render settings confirm a fixed frame rate before you export, rather than assuming the source file's quirk didn't carry through.
The mismatch that actually costs quality isn't 24 versus 30fps as a stylistic choice; it's exporting at a rate that doesn't match what you shot and cut. Film and edit at 24fps, export at 24fps. Force a 24fps timeline out at 30fps and Resolve has to invent or duplicate frames to fill the gap, producing a faint, hard-to-name judder in motion, the same problem covered in every export guide on this site regardless of destination platform.
| Your timeline is | Export at | Read this bitrate row |
|---|---|---|
| 1080p24 or 1080p30 | 1080p, matched frame rate | 10-20 Mbps |
| 4K24 or 4K30 | 2160p, matched frame rate | 30-60 Mbps |
| Any timeline over 60fps | Vimeo automatically reduces to 60fps on ingest | Match your render to 60fps to avoid surprises |
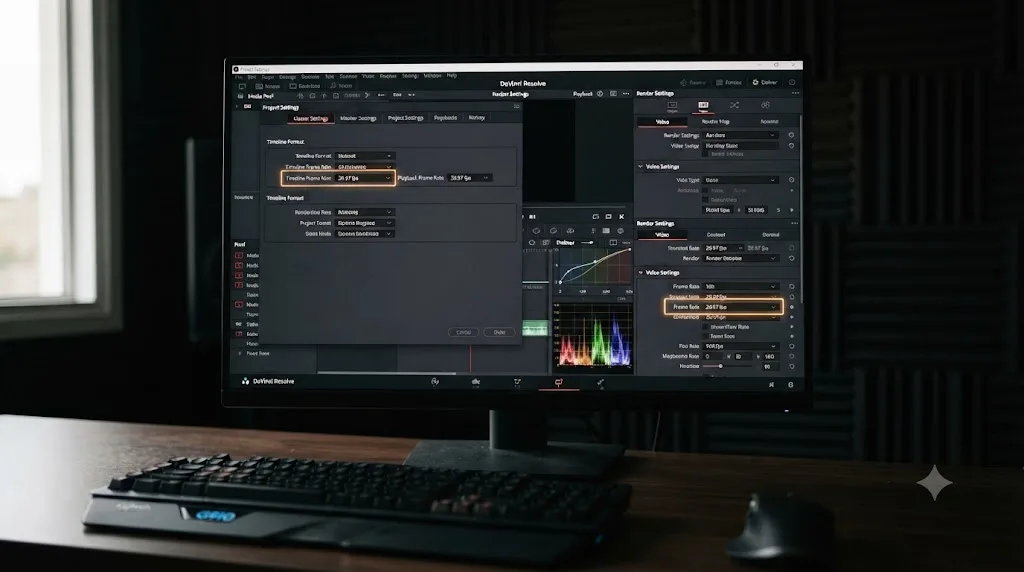
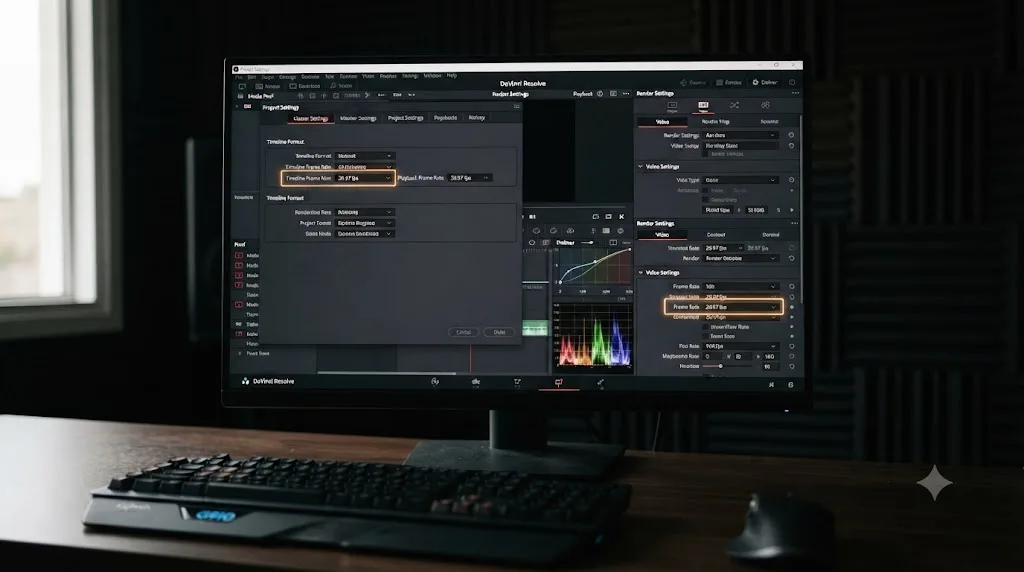
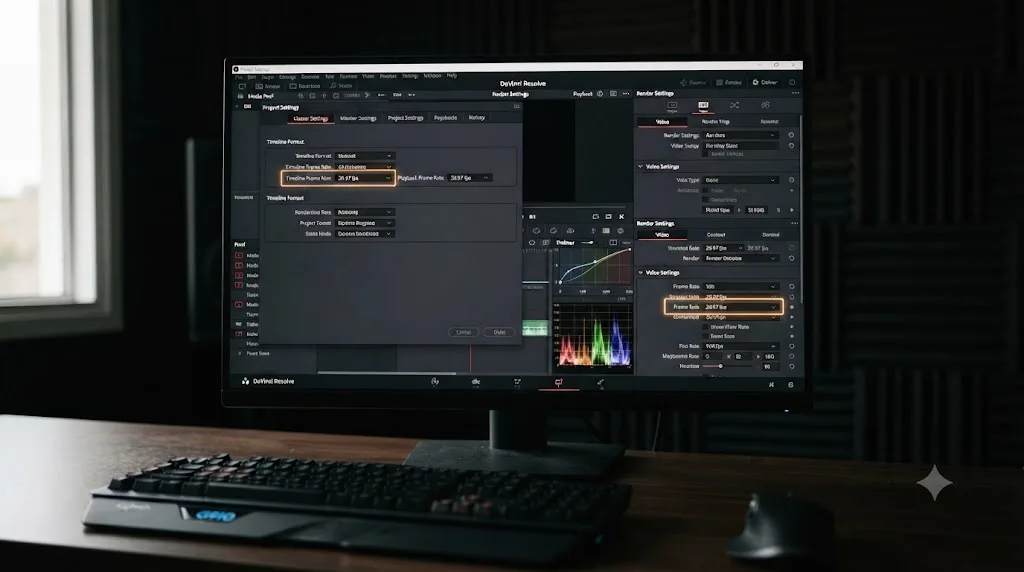
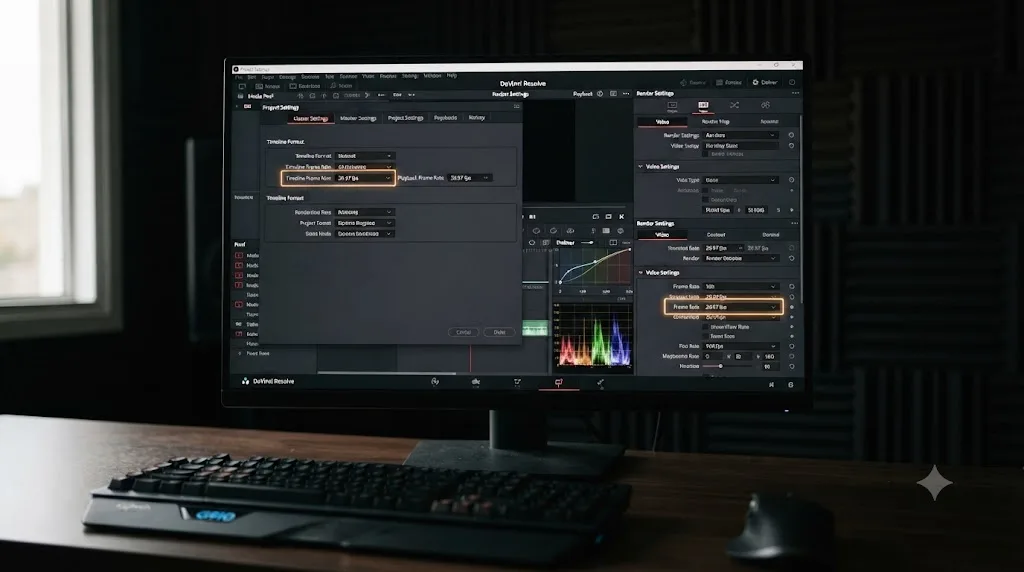
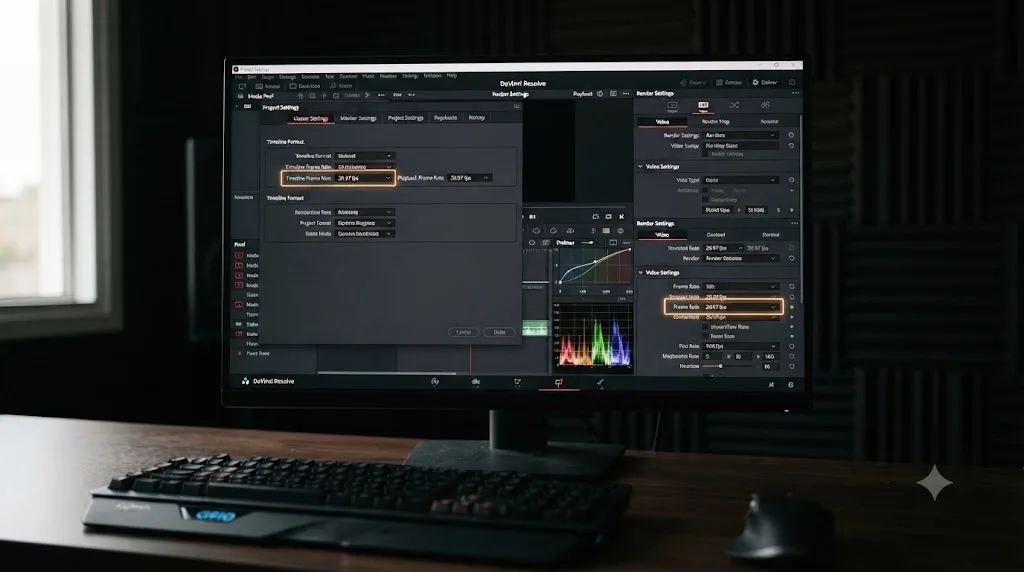
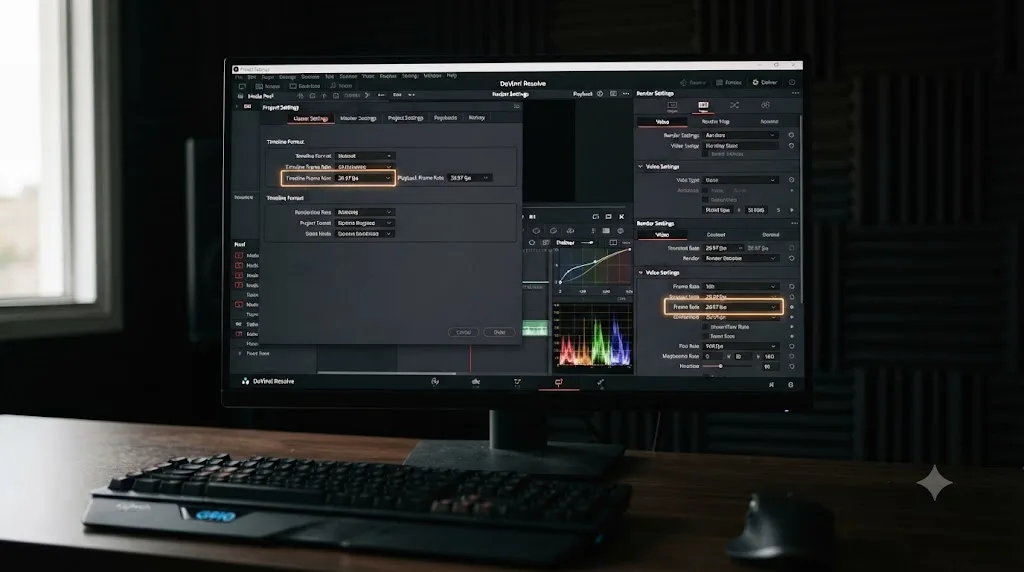
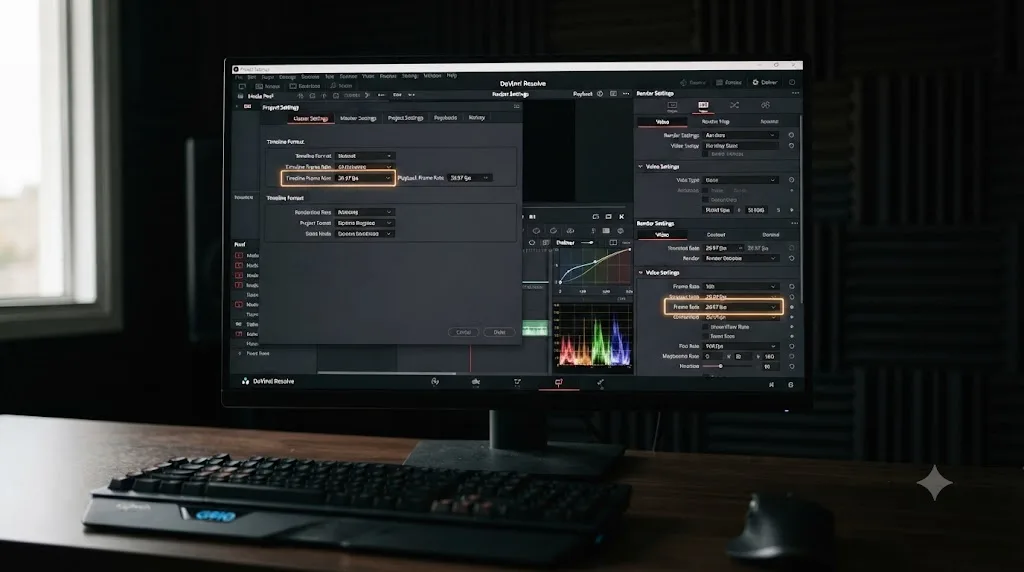
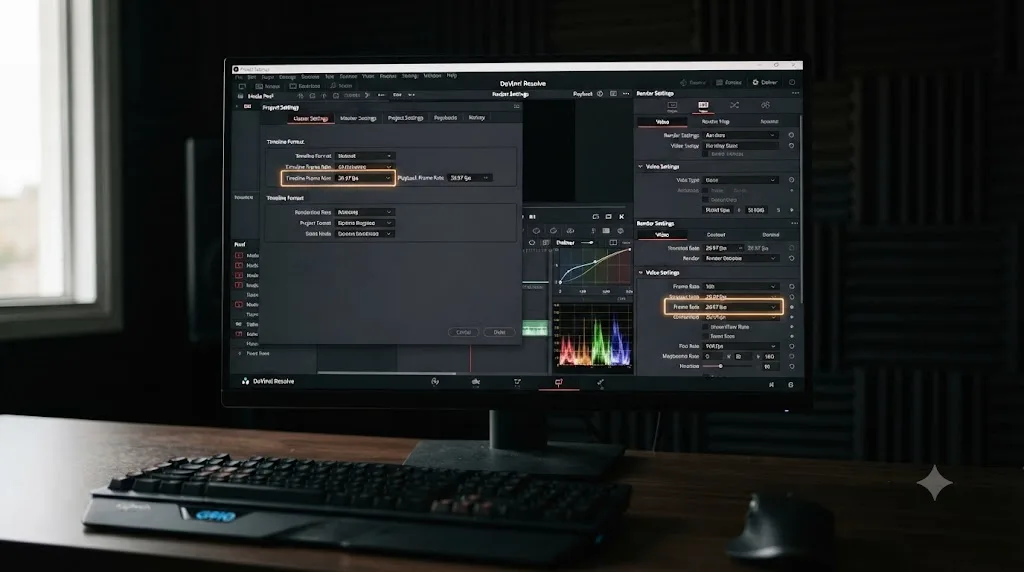
Before you render, open your timeline settings and compare the frame rate against your Deliver page render settings, whether you're using the built-in Vimeo preset or a custom export. It's a fifteen-second check that catches the single most common invisible export mistake before a client or an audience ever sees it.
Does your color grade survive Vimeo's re-encode?
Mostly, if the two usual failure points, gamma tagging and bitrate starvation, are handled before you render, the same two issues that trip up a YouTube or TikTok export.
Gamma tagging is the sneakier one, and it's a genuinely contested detail among working editors, worth covering honestly rather than picking one side and pretending it's settled. Sareesh Sudhakaran, a cinematographer and colorist writing at Wolfcrow, tested this specifically for a film going to both platforms and concluded that "the Gamma expected for YouTube and Vimeo is supposed to be Gamma 2.2," and separately advised, "in the Delivery Page, ensure the exported levels are Video and not Auto or Full. That's all you have to do, really," in his writeup on the best DaVinci Resolve settings for YouTube and Vimeo uploads. That video-levels detail is the one worth checking on every export regardless of which side of the gamma-tagging debate you land on: Auto or Full levels on a Rec.709 delivery is a real, common export mistake that shifts contrast and crushes or clips detail the moment a platform's player reads the file at the wrong range.
Setting your export levels to Video rather than Auto or Full is a one-field fix that prevents a shifted-contrast, crushed-shadow look on both Vimeo and YouTube. That's a small setting most editors never touch because the default usually works, but it's worth confirming explicitly on anything where the grade genuinely matters, since Auto behaves differently depending on your project's internal color management settings.
Bitrate starvation is the more universal issue, and Vimeo's own numbers actually work in your favor here compared to some other platforms: a 4K export sitting at 30-60 Mbps has real headroom for smooth gradients in skies, fog, and lifted shadows, the exact regions where a starved encoder shows visible banding first, since those are long runs of nearly identical values a low-bitrate pass can't afford to preserve precisely. A heavily graded, moody piece needs the top of that range, not the bottom.
A Vimeo upload isn't the file viewers watch; the platform re-encodes what you send, the same way every platform covered on this site does. Your export is a source file for Vimeo's own compression pass, not the final image a viewer sees, which is exactly why the codec choice covered in the previous section matters as much as the bitrate number itself. Handing Vimeo's transcoder a ProRes source instead of an already-compressed H.264 file gives it more information to work from, even though both eventually produce a streamable file on Vimeo's end.
For HDR specifically, Vimeo's guidelines require a bit depth of "10 or greater" and support only "PQ (SMPTE 2084) or HLG" as transfer functions for content to be recognized as HDR, per its compression guidelines, the same PQ/HLG requirement covered in more depth in our HDR grading guide. If you're grading HDR footage and Vimeo is one of several delivery targets, that guide covers building a compliant master without regrading from scratch for each platform.
What audio settings does Vimeo actually want?
AAC-LC at a fixed 320 kbps CBR, 48kHz sample rate. That's the whole answer, and it's notably simpler than YouTube's channel-scaled table, per Vimeo's own compression guidelines. Resolve's built-in Vimeo preset routes audio through Bus 1 with the codec set to AAC automatically, per Blackmagic's manual, confirming AAC as the codec Vimeo's own consumer pipeline expects, though the preset doesn't expose the specific 320 kbps figure as a manual field.
On a custom export, that's the Deliver page's Audio tab: Codec AAC, Bitrate 320 kbps, sample rate 48kHz, Output Track pointed at your finished mix. Vimeo's Premiere Pro export guide additionally confirms mono, stereo, 5.1/7.1 surround, and ambisonic channel configurations are all accepted at that same 320 kbps figure, per Vimeo's own guidance, so a more complex mix doesn't need a different bitrate strategy the way a mono podcast feed does on other platforms.
The single most commonly missed setting on this entire page, on every platform this site covers, is the Export Audio checkbox at the top of the Audio tab. It's on by default, but it's also the first thing that gets unchecked accidentally while troubleshooting something unrelated, and a silent Vimeo upload is a far worse outcome than a slightly conservative bitrate choice. If your export comes out silent, our no audio troubleshooting guide runs the deeper checklist beyond this one checkbox, covering muted buses, disabled clips, and I/O Engine mismatches.
Loudness deserves an honest note here, because Vimeo's own compression guidelines don't mention a target LUFS figure anywhere, unlike Apple Podcasts or Spotify, which publish explicit numbers. That silence is worth taking at face value rather than assuming an unpublished standard exists behind it. The safest practical target is still the same -14 to -16 LUFS integrated range that's become the de facto standard across web video generally, since a mix with reasonable headroom holds up better across inconsistent platform-side handling than one already pushed to the ceiling. Our loudness normalization guide covers exactly how to set and confirm that target on the Fairlight page, including where the Target Loudness Level field lives in Project Settings.
Does the free version of DaVinci Resolve limit Vimeo exports?
In one specific way, yes, and it's a genuine boundary worth knowing before you commit to an 8K delivery plan. Per Blackmagic's own tech specs, the free version renders up to Ultra HD 3840x2160 at 60fps in 8-bit color. Vimeo's own resolution ceiling runs all the way to 8K, so if a project genuinely needs to deliver at that top tier, the free version's 4K cap becomes the actual limiting factor, not anything about Vimeo itself.
| Free | Studio | |
|---|---|---|
| Max export resolution | Ultra HD 3840x2160 | Beyond 4K, up to 8K |
| Max export frame rate | 60fps (8-bit) | 120fps (10-bit) |
| Vimeo's 1080p and standard 4K ceilings reached? | Yes, both fit comfortably | Yes |
| Vimeo's 8K ceiling reached? | No | Yes |
| Built-in Vimeo preset available? | Yes, presets aren't a Studio-only feature | Yes |
| ProRes export (Mac and Linux) | Available, no restriction | Available |
| ProRes export (Windows) | Available since DaVinci Resolve 19.1.4 | Available since DaVinci Resolve 19.1.4 |
| H.264/H.265 hardware encoding (Windows, Linux) | CPU-based | GPU-accelerated |
For the overwhelming majority of Vimeo uploads, 1080p corporate videos, 4K narrative pieces, client review copies, portfolio reels, the free version's ceiling never comes close to being a limiting factor. The one genuine trigger is true 8K delivery specifically, a niche but real use case for high-end commercial and broadcast-adjacent Vimeo clients. The other free-version gap, hardware-accelerated encoding on Windows and Linux being Studio-only, affects render speed rather than output quality; a free-version CPU export of a ProRes or H.264 master for Vimeo still finishes in a reasonable window on most modern hardware, just slower than the Studio-and-GPU combination would manage. Our free vs Studio comparison covers the full boundary between the two tiers if you're weighing the upgrade for reasons beyond Vimeo delivery specifically.
How does exporting for Vimeo actually differ from exporting for YouTube or TikTok?
The Deliver page mechanics are nearly identical across all three: MP4, H.264, AAC, a matched resolution and frame rate, a bitrate typed into the Restrict To field. What genuinely differs is the philosophy behind the numbers, the codec options on offer, and what happens to the file after upload.
| YouTube | TikTok | Vimeo | |
|---|---|---|---|
| Published bitrate guidance | Explicit table by resolution and frame rate | No target for organic uploads, only an ad-approval floor | Explicit table by resolution, generally higher than YouTube's at matched tiers |
| Codecs explicitly recommended | H.264 for SDR, H.265/VP9/AV1 for HDR | H.264 only for consumer uploads | H.264, ProRes 422 HQ, and H.265, named together as equal options |
| Resolution ceiling | Up to 8K | 1080x1920 standard; wider bounds via the API | Up to 8K, with documented pixel-dimension thresholds per tier |
| Re-encodes after upload? | Yes, into a multi-resolution adaptive ladder | Yes | Yes |
| Built-in Resolve preset quirks | Verify against YouTube's current guide; presets don't auto-update | Defaults to landscape; must check Use Vertical Resolution | Resolution dropdown capped at 2160p; no manual bitrate or ProRes option |
| Native review/feedback tool | No built-in equivalent | No built-in equivalent | Vimeo Review, with timestamped, frame-accurate, no-login-required comments |
| Loudness target published | No official figure, -14 LUFS is the de facto web standard | No official figure | No official figure |
Vimeo is the only one of the three major platforms covered across this site's export guides that names an intermediate delivery codec like ProRes as a directly recommended option rather than treating H.264 as the only real answer. That single difference reflects who each platform is actually built for: YouTube and TikTok optimize for mass upload volume from consumer devices, while Vimeo's guidance reads like it was written with editors, agencies, and production companies delivering finished work in mind.
If you're building one master file to cover multiple platforms, the practical approach is to export your highest-quality version first, ProRes 422 HQ or a top-of-range H.264, then derive platform-specific files from that master rather than re-exporting from the timeline each time. That single high-quality master approach protects you from ever handing a platform's transcoder a file that's already been through one lossy compression pass. Our general export settings guide covers how the Deliver page's Individual Clips versus Single Clip workflow supports exactly this kind of multi-target render queue.
Should you use Vimeo Review for client feedback, and does that change your export settings?
Yes to using it if you're delivering client work, and yes, it changes how you should think about the export feeding it. Vimeo rebuilt its Review tool with a specific focus on removing friction: "all comments on a review link now have a timestamp, so every note lands at the exact moment it's referring to," and reviewers "no longer need an account to access or comment on a review link," per Vimeo's own announcement of the simplified Review experience. Neither YouTube's unlisted-link workflow nor TikTok's private-draft option offers frame-accurate, timestamped commenting without requiring the reviewer to sign in first.
That workflow difference has a direct consequence for your export settings. A client scrubbing through a review link is far more likely to pause on a single frame and zoom in than a casual viewer scrolling a public feed, which means banding, softness, or compression artifacts that would pass unnoticed in normal playback become exactly the thing a paused frame reveals. For a review upload specifically, lean toward the top of the bitrate range for your resolution, or reach for ProRes 422 HQ if the project and your upload bandwidth allow it, rather than the most compressed file you can produce quickly.
Password protection through the Visible To field, available both in the built-in Vimeo preset's direct-upload option and after a manual upload through Vimeo's site, is the other piece worth setting deliberately for client work. An unlisted link is a weak form of privacy since anyone with the URL can view it indefinitely; a password-protected review link adds a real access control that matters more the further a cut is from a public release.
| Upload purpose | Resolution and bitrate approach | Privacy setting |
|---|---|---|
| Early rough cut for internal notes | Proxy resolution or a modest bitrate is fine; speed matters more than polish | Private or password-protected |
| Client review copy for detailed, frame-level notes | Full source resolution, top of the bitrate range, or ProRes if bandwidth allows | Password-protected |
| Final delivered piece for public embedding | Standard bitrate from the table earlier in this guide | Public, or unlisted for a soft launch |
| Portfolio reel meant to be discovered | Standard bitrate, public visibility | Public |
If you're new to structuring a Vimeo-based review workflow around a delivery timeline, this is also where our general export settings guide is worth a look, since it covers the Deliver page's queue and versioning conventions that make repeated review-and-revise rounds less error-prone than re-exporting from scratch each time.
What's the fastest way to fix a bad-looking Vimeo upload?
Work through these in order before you assume Vimeo's own compression ruined a good export.
- Banding or blockiness in skies, shadows, or skin tones. Your bitrate is under Vimeo's recommended figure for your resolution. Check it against the table earlier in this guide, and lean toward the top of the range for anything graded or gradient-heavy.
- The video looks softer than it did in Resolve, even at a reasonable bitrate. You may be starting from an already-compressed H.264 source instead of a ProRes or high-bitrate master. Vimeo's transcoder produces a cleaner result from a higher-quality source, the same logic covered in the codec section earlier.
- Colors look flat, washed out, or contrasty compared to your grade. Check that your export levels are set to Video, not Auto or Full, on the Deliver page, the specific fix covered in the color grade section above.
- The upload took much longer than expected, or the file is enormous. You likely exported ProRes or DNxHR instead of H.264 for a standard public upload. That's the right call for a review master or archival copy, but it's overkill for a quick public share; switch to H.264 at the bitrate table's numbers for a faster, smaller file.
- 8K footage won't hit the resolution you expected. Confirm your codec is H.265, not H.264, since Vimeo's own guidelines cap H.264 at 4K and require H.265 for anything above it.
- No audio in the upload. Export Audio was unchecked on the Deliver page's Audio tab. It's the single most common export mistake beginners make across every platform, not just this one. Our no audio troubleshooting guide runs the deeper checklist if it's checked and the file is still silent.
- A client reviewer says the picture looks worse than what you sent them internally. Check whether the link they're viewing is a lower-resolution proxy export meant for a fast rough cut, left over from an earlier round, rather than your latest full-resolution upload.
- The render itself won't finish or errors out. That's a resources problem, most often GPU memory or a single corrupted clip the render hits, not a Vimeo-specific setting. Our render failed guide walks the full diagnosis.
For hunting down the exact checkbox behind a specific export problem in your own project, that's a gap worth knowing a real fix exists for. TryUncle is an AI tutor for DaVinci Resolve on macOS: ask in plain words and Uncle points at the exact control on your screen. It watches your actual Resolve window on the Edit, Color, and Fusion pages and points at the control you're asking about, instead of sending you hunting through a ten-minute video for a setting you needed twenty seconds ago. TryUncle runs on founder pricing right now, a limited early rate for the first 100 seats; check TryUncle for the current price before signing up, since founder pricing won't last forever.
How do you save a customized Vimeo export preset?
Resolve's built-in Vimeo preset already saves you the first setup pass for a quick H.264 upload, but it doesn't expose a manual bitrate field or a ProRes option, and if you're regularly delivering both a fast public H.264 file and a higher-quality ProRes review master, rebuilding either one by hand every time wastes time you don't need to spend.
- Start from the built-in Vimeo preset to get Format, resolution, and Audio configured correctly in one click, or build the fields manually: Format MP4, Codec H.264 or ProRes 422 HQ, resolution matched to your delivery target.
- Set your bitrate explicitly if you're on the H.264 path. Type your chosen number from the bitrate table earlier in this guide into the Restrict To field under Advanced Settings rather than leaving it on Auto.
- Set frame rate to match your timeline, and audio to AAC-LC at 320 kbps, 48kHz.
- Click the three-dot options menu at the top right of the Render Settings panel.
- Choose Save As New Preset and name it specifically, something like "Vimeo 1080p H264" or "Vimeo Review ProRes," not a generic label you'll have to reverse-engineer in six months.
- The preset appears in the strip alongside Resolve's stock Vimeo, YouTube, and TikTok presets, ready for any project on this machine.
Two presets cover almost every Vimeo workflow: a fast H.264 preset at the table's bitrate for public and embedded uploads, and a ProRes 422 HQ preset for client review masters and archival copies. Build both once, and the settings sheet in this guide becomes background knowledge you rarely need to reopen.
Remember that a preset is a snapshot of a spec sheet on the day you built it, and Vimeo has revised its own compression guidance before with no advance individual notice. Revisit your saved presets occasionally against Vimeo's current help center pages rather than trusting a preset saved once to stay accurate forever.
Which settings should you actually memorize?
MP4 with H.264 for a standard public upload, or ProRes 422 HQ when quality genuinely outranks upload speed, matched to your timeline's real resolution and frame rate. A bitrate from Vimeo's own table: 10-20 Mbps for 1080p, 30-60 Mbps for 4K, higher still for 2K and 8K. AAC-LC audio at a fixed 320 kbps, 48kHz. Export levels set to Video, not Auto or Full, so your grade's contrast survives the trip.
Vimeo is the one major platform covered on this site that treats an intermediate codec like ProRes as a legitimate delivery format, not just an editing intermediate, and that single fact should shape how you think about every export you send it. For a fast public share, H.264 at the bitrate table's numbers does the job well. For anything a client will scrub frame by frame, or anything you're archiving as a true master, the extra render time and file size ProRes costs you is a real trade worth making. Check your codec against your delivery purpose before you render, not after a client asks why the review copy looks softer than the cut felt in the room.
Frequently asked questions
- What resolution should I export from DaVinci Resolve for Vimeo?
- Whatever your timeline actually is, up to Vimeo's real ceiling of 8K. Resolve's built-in Vimeo preset only offers a 720p/1080p/2160p dropdown, so if you're delivering true 8K or want Vimeo's 2K (2560x1440) tier specifically, build a custom export instead of relying on the preset's three fixed choices.
- What bitrate should I use for a Vimeo export from DaVinci Resolve?
- Follow Vimeo's own published table: 10-20 Mbps for 1080p, 20-30 Mbps for 2K, 30-60 Mbps for 4K, and 50-80 Mbps for 8K, using variable bitrate with two-pass encoding where Resolve offers it. Vimeo publishes this as an actual target range, not just an approval floor the way TikTok's ad specs do.
- Does DaVinci Resolve have a built-in Vimeo export preset?
- Yes. It sits in the render settings preset strip on the Deliver page next to YouTube, Twitter, TikTok, and Dropbox, and offers a 720p, 1080p, or 2160p resolution dropdown plus a direct upload option with title, description, and privacy fields, per Blackmagic's own manual. It sets Format to MP4, Codec to H.264, and Audio to AAC automatically.
- Should I export H.264 or ProRes to DaVinci Resolve for Vimeo?
- H.264 for a standard upload meant for public or embedded playback, since Vimeo re-encodes everything anyway and H.264 is smaller and faster to upload. ProRes 422 HQ for a client review master, an archival copy, or any delivery where Vimeo's own transcoder benefits from a higher-quality source, since Vimeo names ProRes as a recommended codec directly alongside H.264 and H.265.
- What audio settings does Vimeo actually want?
- AAC-LC at 320 kbps CBR, 48kHz sample rate, per Vimeo's own compression guidelines. That's a fixed target, not a scaled range like YouTube's mono/stereo/surround table, so it applies whether you're delivering a simple stereo mix or something more complex.
- Does the free version of DaVinci Resolve limit Vimeo exports?
- Yes, in one specific way. The free version caps exports at Ultra HD 3840x2160 at 60fps in 8-bit, per Blackmagic's own tech specs. Vimeo accepts uploads up to 8K, so if you're delivering true 8K content, you need Studio. Everything from SD through standard 4K sits comfortably inside the free version's ceiling.
- What's the real difference between exporting for Vimeo and exporting for YouTube from DaVinci Resolve?
- Vimeo publishes an actual bitrate target range for every resolution tier instead of YouTube's similar but separately-sourced table, explicitly recommends ProRes and DNxHR-class codecs alongside H.264, and its Review tool gives clients frame-accurate, timestamped, no-login-required feedback that neither YouTube nor TikTok offers in the same form. The Deliver page mechanics are otherwise nearly identical: MP4, H.264, AAC, matched resolution and frame rate.
Sources
- Vimeo Help Center: Video and audio compression guidelines
- Vimeo Help Center: About preparing video file for upload
- Vimeo Help Center: Recommended Adobe Premiere Pro export settings for Vimeo uploads
- Vimeo Help Center: Guidelines for determining playback resolution
- DaVinci Resolve Manual: YouTube, Vimeo, Twitter, TikTok, and Dropbox Presets (Blackmagic Design)
- Wolfcrow: The Best Settings in DaVinci Resolve to Upload Your Film to YouTube or Vimeo (Sareesh Sudhakaran)
- Vimeo Blog: Introducing the New, Simplified Vimeo Review
- Vimeo Blog: Video Encoding & Codecs, How to Export & Compress a Video
- DaVinci Resolve - Tech Specs (Blackmagic Design)
- DaVinci Resolve - What's New (Blackmagic Design)
- DaVinci Resolve 19.1.4: ProRes Support Now on Windows and Linux (Digital Production)
Put this guide to work with TryUncle.
Ask about the step you’re on. TryUncle sees your screen and points at the control you need, so you can keep learning in your own project.
Get TryUncle for Mac or WindowsKeep reading
Guides · Jul 7, 2026 · 25 min
DaVinci Resolve Export Settings for YouTube: The Right Numbers
The exact DaVinci Resolve export settings for YouTube: resolution, bitrate, codec, and audio numbers pulled straight from YouTube's own encoding guide.
Guides · Jul 13, 2026 · 35 min
DaVinci Resolve Export Settings for TikTok: Exact Numbers
Exact DaVinci Resolve export settings for TikTok: the built-in preset, 1080x1920, H.264, bitrate, safe zones, and duration, sourced from TikTok's own specs.
Comparisons · Jul 12, 2026 · 32 min
ProRes vs DNxHR in DaVinci Resolve: Which Should You Use?
ProRes vs DNxHR in DaVinci Resolve: real bitrates, the Windows export fix, HDR and alpha support, and a decisive pick for Mac, Windows, and mixed teams.