Articles / Guidesupdated for DaVinci Resolve 21.0 (June 2026)
DaVinci Resolve Overwhelming for Beginners? Ignore This First
Quick answer
DaVinci Resolve feels overwhelming because it crams editing, color, audio, and visual effects into one app with seven pages. Ignore Fusion, Fairlight's deeper mixing tools, node-based secondaries, HDR grading, and the Studio upgrade at first. Learn only Media, Cut or Edit, and Deliver to finish a real project, then add Color once that feels routine.
I've watched people open DaVinci Resolve for the first time and just stop. Not confused exactly, more like someone handed them the cockpit of a plane and told them to fly it. Seven pages. A node graph. An audio console with more faders than a real mixing desk. Nobody tells them which parts they're actually allowed to skip.
So let's fix that. This isn't another tour of everything Resolve can do. It's a list of what you can leave alone on day one, why leaving it alone is the right call and not a shortcut you'll regret, and exactly when each ignored thing earns its way back onto your plate.
Why does DaVinci Resolve feel overwhelming for beginners?
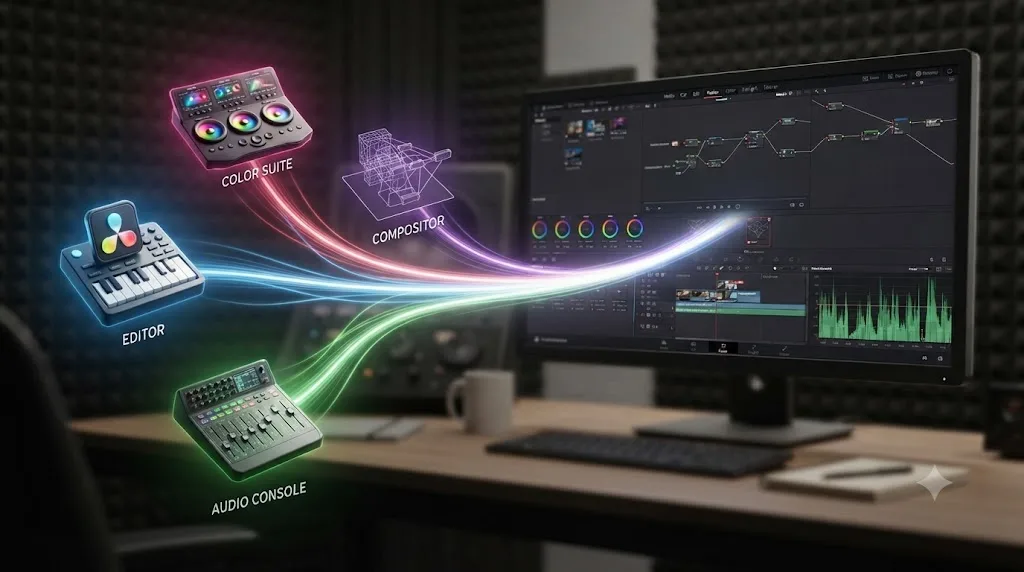
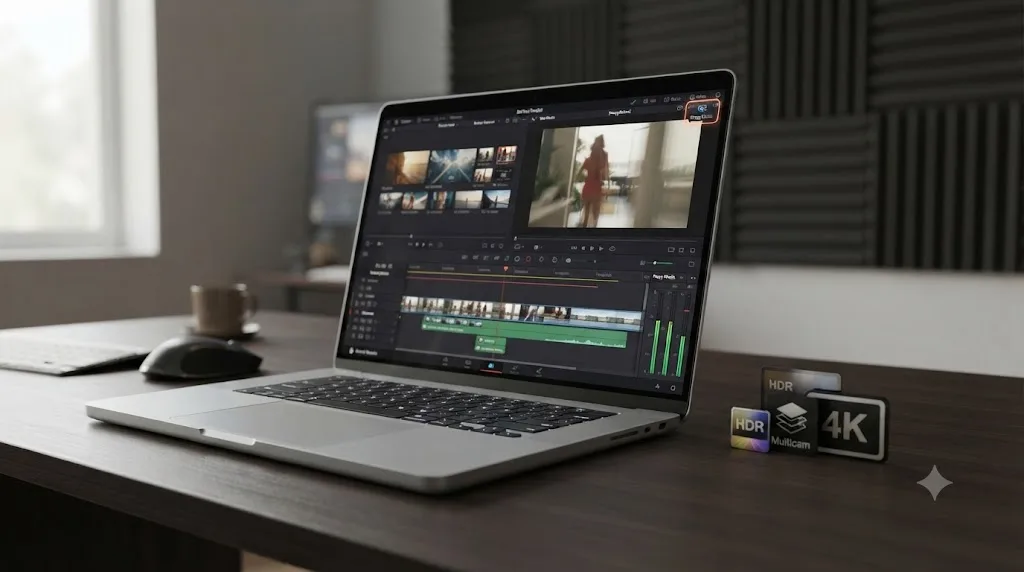
Because it isn't one app pretending to be simple. It's four professional applications wearing one interface: an editor, a color grading suite, a full digital audio workstation, and a node-based visual effects compositor. Most software you've used picked one job and did it. Resolve picked four, and it shows you all four the moment you open it.
Jason Miller, writing a beginner's walkthrough on DaVinci Resolve Club, described his own first minutes with the software plainly:
"The first time I opened DaVinci Resolve, I stared at it for about 11 minutes before touching anything. Seven pages along the bottom of the screen, a Media Pool that made no sense yet, and a Color page that looked like it belonged in a spaceship."
Read that again. Eleven minutes, staring, before touching a single button. That's not a beginner doing something wrong. That's the honest, ordinary reaction to an interface that front-loads every capability the software has, whether or not you need any of it yet, according to Jason Miller's account on DaVinci Resolve Club.
DaVinci Resolve overwhelms beginners for a structural reason, not a skill reason: it shows you four professional applications at once instead of one. That single sentence explains almost every confused first session anyone has ever had with this software, and it's worth remembering the next time the interface makes you feel behind. You're not behind. The app just refuses to hide anything.
Here's the part that actually matters for what comes next: none of those four applications need to be learned together, and most projects only ever touch two of them seriously. The rest of this post is about which two, and exactly what you get permission to leave closed.
What can you safely ignore in your first week with DaVinci Resolve?
More than you'd guess, and ignoring it isn't cutting a corner. It's correctly recognizing that a first project doesn't need it yet. Here's the full list, at a glance, before the rest of this post explains each one.
| Ignore this first | Why it's safe to skip | Come back when... |
|---|---|---|
| The Fusion page | Text+ titles already use Fusion without you opening it | A project needs a tracked graphic or a composite effect |
| Fairlight beyond clip volume | The Edit page's volume line and fades cover a first project's needs | You want a real mix: EQ, ducking, loudness metering |
| Color's qualifiers, power windows, and HDR palette | One node with Lift, Gamma, Gain, and Saturation is 90 percent of what most footage needs | You're isolating a specific object or grading for HDR delivery |
| Memorizing every keyboard shortcut | About fifteen shortcuts cover a beginner's whole workflow | Editing feels slow specifically because of menu-hunting |
| The $295 Studio upgrade | The free version has no watermark, no time limit, and covers editing, color, audio, and Fusion in full | A specific Studio-only feature blocks a real deliverable |
| Multicam syncing | Most first projects are a single camera anyway | You're actually shooting with two or more cameras |
| HDR grading and color science depth | Most beginner deliverables are standard dynamic range for YouTube or social | A client or platform specifically asks for HDR |
| Advanced scopes beyond the waveform | The waveform alone judges exposure well enough to start | You're color-matching multiple cameras or chasing a specific broadcast spec |
That's eight things, and every one of them is a real Resolve feature that real editors use every day. None of them are useless. They're just not first-week problems, and treating them like first-week problems is exactly what turns a manageable app into an eleven-minute stare.
Every feature in DaVinci Resolve was built for someone's real workflow, and almost none of those workflows are yours yet. Keep that sentence nearby the next time a menu you don't recognize makes you feel like you're falling behind a curriculum that doesn't actually exist.
Which of the seven pages do you actually need on day one?
Three: Media, Cut or Edit, and Deliver. That's the floor a finished project sits on, and it's a much smaller floor than the seven-page toolbar suggests.
Media is where footage comes in. Drag files from Finder or Explorer into the Media Pool, or use File > Import > Media, and you're done with that page for a first project. Cut and Edit are two different ways to reach the same timeline, Cut faster and simpler, Edit fuller and more familiar if you've used another editor before, and either one is a legitimate choice, not a placeholder until you graduate to the "real" page. Deliver is the export counter: pick a preset, name the file, click Render All.
That's the whole required list. Color, Fairlight, and Fusion sit outside it entirely, and here's the detail that matters most: a cut with no color grade and no audio mix is still a finished, shareable video, while a grade or a mix with no cut underneath it isn't anything at all. Color and Fairlight both work on footage that's already positioned and trimmed. Fusion doesn't even factor into a normal edit unless you go looking for it. The three-page floor isn't a beginner's compromise, it's the actual dependency order the software runs on.
Our full DaVinci Resolve beginner's guide walks through everything each of the seven pages does in more depth, including the three you're ignoring this week, so you know what's waiting for you later rather than wondering. Read this post first if the interface itself is the problem right now. Read that one once you're ready to actually start adding pages back.
| Page | Required for a first project? | What you'd be ignoring |
|---|---|---|
| Media | Yes | Nothing, this is import and organizing |
| Cut | One of these two, not both | Nothing, it's a full workflow on its own |
| Edit | One of these two, not both | Nothing, it's a full workflow on its own |
| Color | No, for now | Node-based grading, secondaries, HDR |
| Fairlight | No, beyond clip volume | The full mixing console, buses, EQ, metering |
| Fusion | No | Node-based compositing and motion graphics |
| Deliver | Yes | Nothing, this is export |
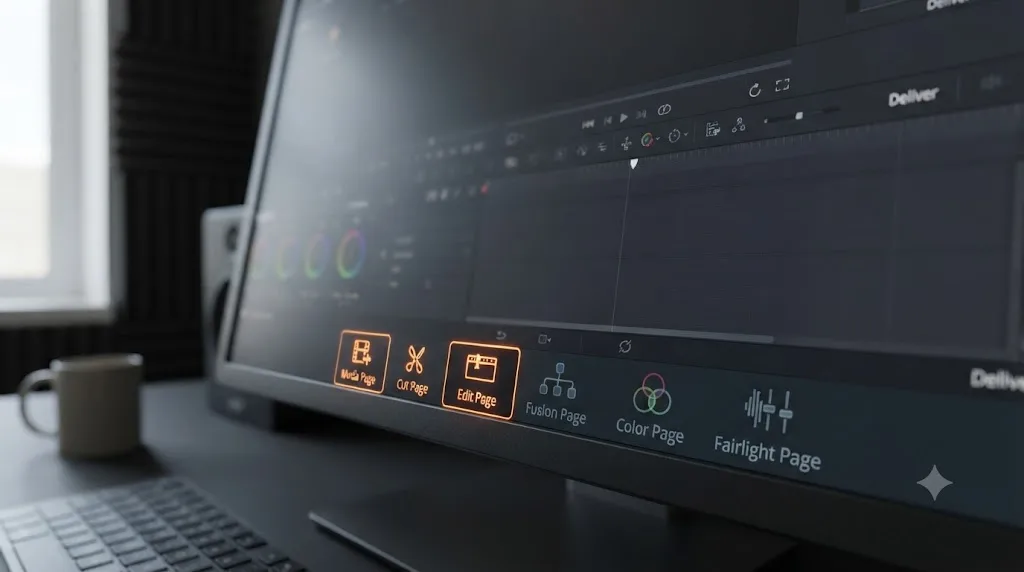
Should you ignore the Fusion page completely at first?
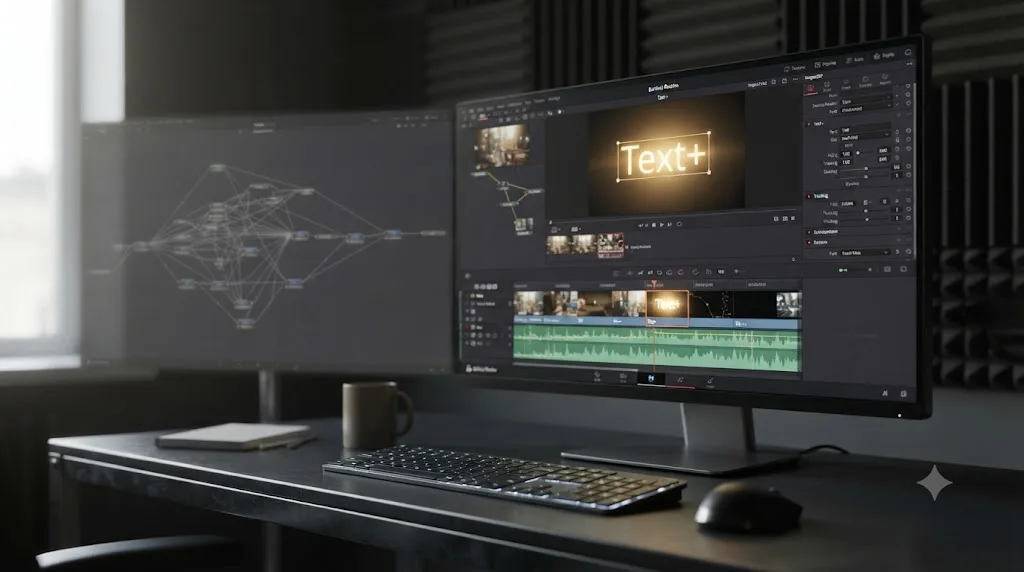
Yes, completely, and this is the easiest permission to grant in this whole post. Fusion is node-based visual effects and motion graphics, the deepest, most specialized page in Resolve, and it's built around a mental model, images flowing left to right through connected nodes, that has almost nothing in common with the timeline you're learning to cut on.
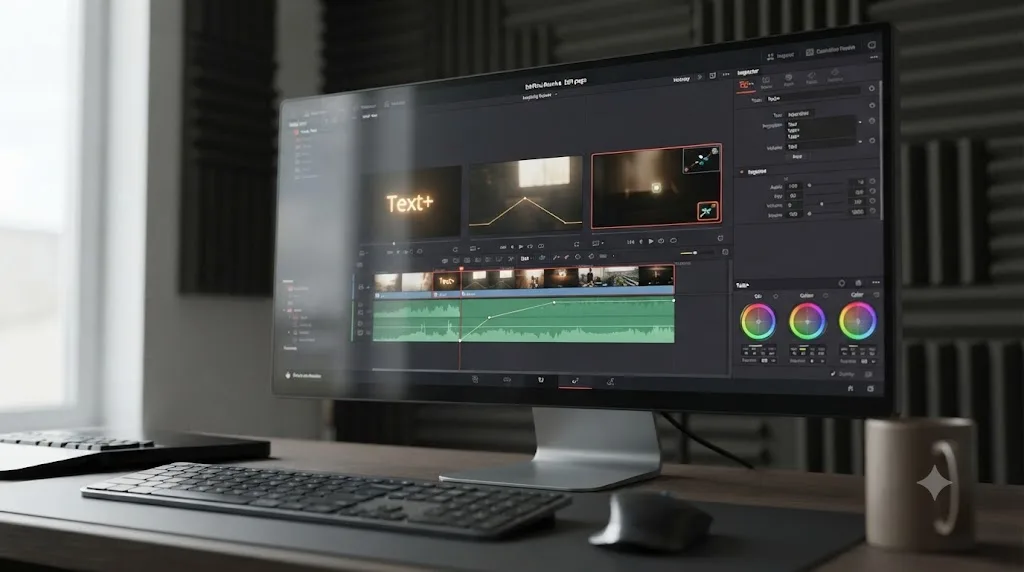
Here's the detail that makes skipping it painless instead of risky: you already benefit from Fusion without ever opening it. The Text+ title tool on the Edit page, the one you'll use for every lower third and title card in your first several projects, is a Fusion template running quietly behind a simple Inspector panel. You get Fusion's output with zero of its interface, which is exactly the deal a beginner wants.
Fusion is the one page in DaVinci Resolve you can ignore for months without it costing you a single finished project. Plenty of working editors ship client work for years touching Fusion only through Text+, never opening the node graph itself. That's not a limitation of their skill. It's a correct read of what most video actually needs.
The moment Fusion earns its way back onto your list is specific and easy to recognize: a project asks for something a static Text+ title can't do. A logo that tracks onto a moving surface. A callout that follows a person walking across frame. A composite where two shots need to blend into one. Until one of those shows up in a real project you're trying to finish, the Fusion tab can sit there unopened, and nothing about your editing is worse for it.
Should you ignore Fairlight and just use the Edit page for audio?
For your first project, yes, and this one surprises people because "audio matters" gets repeated so often that beginners assume it means "learn the whole audio page immediately." It doesn't. It means don't skip audio entirely, which is a different instruction from "master Fairlight in week one."
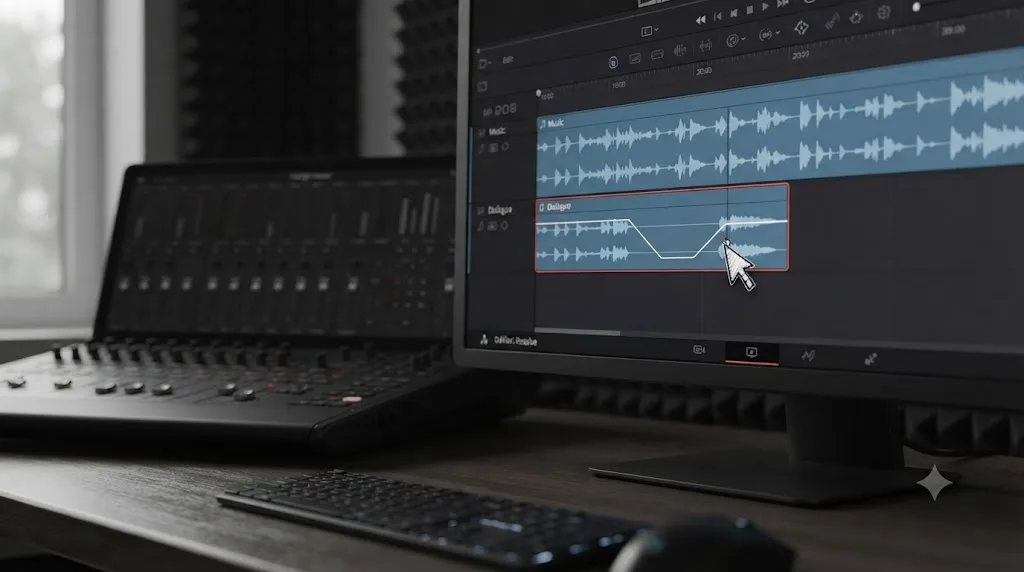
Fairlight is a full digital audio workstation built into Resolve, buses, sends, automation, a proper mixer, per Blackmagic's own Fairlight product page. That's genuinely more console than a first project needs. The honest beginner move is smaller and lives entirely back on the Edit page: every audio clip shows a horizontal volume line, and dragging that line down where music competes with dialogue, plus dragging the small fade handles at each clip's ends, covers the actual audio problem most first projects have.
Two Fairlight visits are worth making even in week one, because they're quick and they catch real mistakes: the loudness meters, glanced at before you export so nothing's wildly too quiet or clipping, and a light EQ pass if a specific voice sounds muffled or boxy. Everything past those two things, buses, sends, automation lanes, the full mixer workflow, waits.
A dragged volume line and a fade handle fix more of a beginner's first audio problem than the entire Fairlight mixer does. That's not a permanent state of affairs. It's accurate for exactly the project you're working on this week.
When you're ready to go further, and "further" here means real gain-staging, a proper ducking setup, and reading a loudness meter instead of guessing, our guide to what to learn first between editing, color, and audio walks through exactly when audio deserves to be your second real skill instead of your third or fourth. For most YouTube, podcast, and social projects, that's sooner than color, which is a detail worth knowing before you assume grading is automatically next.
Should you ignore the Color page's deeper tools at first?
Mostly, and this one needs the most nuance in this whole post, because unlike Fusion, Color isn't something you can skip entirely if you want your footage to look intentional rather than accidental. The move here isn't ignoring Color. It's ignoring almost everything Color offers past one specific, simple move.
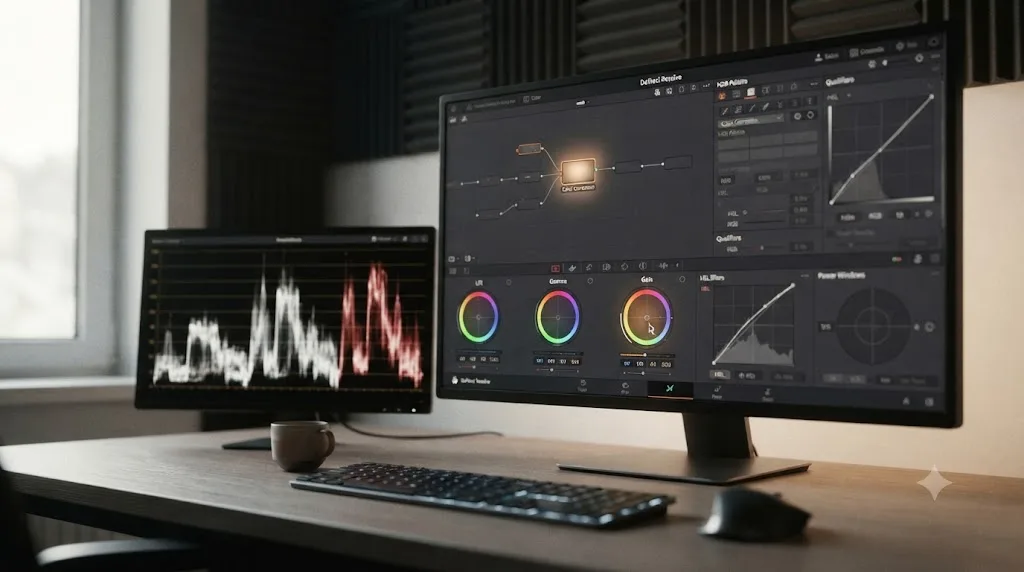
Here's the move: a single node, using Lift for shadows, Gain for highlights, Gamma for the midtones, and the Saturation control below the wheels. Judge it against the waveform scope instead of your monitor, since a monitor can lie about what's actually in your signal. That one node, worked in that order, corrects exposure and white balance on the overwhelming majority of ordinary footage.
Everything past that single node is what you're ignoring for now: qualifiers, which isolate a specific color or area, power windows, which mask a region of the frame, the tracker, which follows a power window across moving footage, and the HDR palette, which grades for displays with a wider brightness range than most beginners are delivering to yet. None of those four things are hard exactly. They're just unnecessary for a correction that a single node already handles.
Color correction makes footage accurate, and one node with three wheels and a saturation slider gets you there for almost everything a beginner shoots. Save the word "grading," which means giving footage a deliberate creative look on top of an accurate base, for later, once correction itself feels automatic rather than like translation.
One genuine exception deserves naming here instead of a blanket "ignore Color": log footage. If a clip from a camera or drone arrives grey, flat, and washed out, and the camera was set to something with "Log" in its profile name, that's not a problem the one-node move fixes on its own. Log profiles deliberately flatten the image to protect dynamic range for grading later, and they need a conversion LUT or a Color Space Transform applied first, before the one-node correction makes sense. If that sentence feels heavy right now, shoot a standard color profile instead of log until correction feels routine, and revisit log footage once it does. Our color grading basics guide picks up exactly where this section leaves off, with the full wheel order and where saturation and secondary work fit once you're past the basics.
Can you ignore keyboard shortcuts, scopes, HDR, and multicam too?
Yes, all four, and each one for a slightly different reason worth knowing so you're not just taking this post's word for it blind.
Keyboard shortcuts. You don't need fifty. You need about fifteen: Space to play, J-K-L to shuttle, I and O to mark in and out, A for selection mode, Ctrl+\ (Cmd+\ on Mac) to split a clip, and Shift+Delete to ripple delete without leaving a gap. Memorizing a full shortcut sheet before you've cut anything is backwards. Learn the fifteen by using them on a real timeline, and the rest arrive naturally as specific frustrations teach them to you. Our DaVinci Resolve keyboard shortcuts guide has the fuller list once these fifteen feel automatic.
Advanced scopes. The waveform alone, toggled on under Workspace > Video Scopes, judges exposure well enough for a first correction. The vectorscope, which reads hue and saturation, and the parade scope, which splits red, green, and blue into separate traces, both matter more once you're matching shots between different cameras or chasing a specific broadcast delivery spec. Neither one is required to fix a single clip's exposure by eye and waveform.
HDR grading. Most beginner deliverables, a YouTube upload, an Instagram Reel, a client's social cutdown, are standard dynamic range, and SDR is what the free version of Resolve already grades in full. HDR is also a Studio-only feature for advanced work, per Blackmagic's product comparison. Unless a client or a platform has specifically asked for an HDR master, and few do at the beginner stage, this entire topic can wait.
Multicam syncing. Multicam clips let Resolve sync and cut between two or more camera angles automatically, which is a genuinely useful skill the moment you're actually shooting with multiple cameras. Most first projects, a talking-head video, a vlog, a short narrative scene, are shot on one camera, which makes multicam a feature with nothing to do yet rather than a feature you're behind on.
| Skip this | The beginner-safe substitute | When it stops being optional |
|---|---|---|
| Full shortcut memorization | About fifteen core shortcuts, learned by using them | Editing itself feels slow specifically because of menu-hunting |
| Vectorscope and parade scope | The waveform alone | You're matching multiple cameras or a specific broadcast spec |
| HDR grading | Standard dynamic range delivery | A client or platform specifically requests HDR |
| Multicam syncing | A single-camera edit | You're actually shooting with two or more cameras at once |
None of these four skills are hard. They're just not relevant yet, and relevance, not difficulty, is what should decide your first month. Keep that distinction handy, because it's the same test worth running against anything new in Resolve that tempts you to explore before a project asks for it.
Should beginners ignore the $295 Studio upgrade?
Yes, until a specific feature blocks a specific project, and this is one of the clearest ignore-it-first calls in the entire app because the free version isn't a trial with training wheels. It's the full editor.
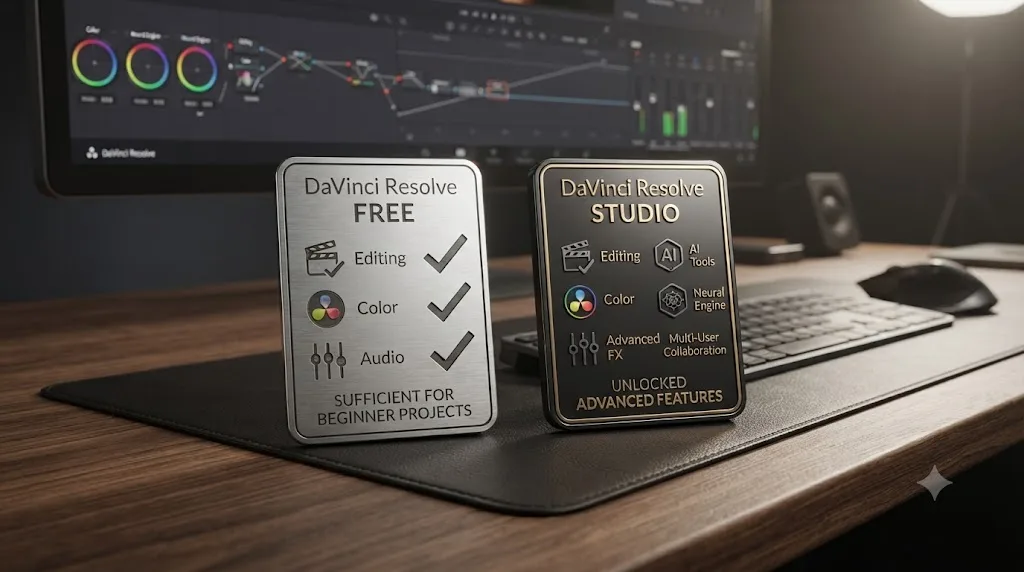
According to Blackmagic's own product page, the free version handles virtually all 8-bit video formats at up to 60fps in resolutions as high as Ultra HD 3840 x 2160, with no watermark and no time limit. Editing, color, audio, and even Fusion are fully present in the free version. What Studio's one-time $295 purchase adds on top, per the same product page, is the DaVinci Neural Engine's AI tools, stereoscopic 3D, advanced HDR grading, and resolutions and frame rates beyond 4K at up to 120fps in 10-bit.
Look at that list again and notice what's missing from it: nothing about basic editing, nothing about basic color correction, nothing about basic audio. Every skill in this post's minimum viable skill set runs identically in the free and Studio versions of DaVinci Resolve. The $295 is a purchase for a specific, named feature you've actually hit a wall on, not an entry fee for competence.
The wall, when it arrives, tends to look like one of these: you need a Neural Engine tool like Magic Mask or Voice Isolation for a client deliverable, you're delivering HDR or a resolution above 4K, you need multi-GPU rendering for turnaround speed, or on Windows and Linux specifically, you want hardware-accelerated H.264/H.265 playback instead of leaning on your CPU to decode it. None of those four things describe a first project, which is exactly why this upgrade decision belongs on the ignore list alongside Fusion and Fairlight's mixer. Our free vs Studio comparison breaks down the full feature table line by line for the day you actually reach one of those walls.
What if your first project actually can't skip Fusion or Fairlight?
Sometimes it can't, and pretending otherwise would make this post less useful, not more. The trick is knowing which "I need Fusion" moments are real and which ones are actually solved somewhere simpler, because beginners guess wrong in both directions more often than you'd expect.
Start with the false alarms, because there are more of them than genuine exceptions. Green screen work feels like a Fusion job because compositing sounds like Fusion's whole identity, but a straightforward key doesn't need the node page at all. Search "Ultra Key" in the Effects Library and drop it directly onto a clip on the Edit page, or onto a node on the Color page, and you've keyed a background without ever opening Fusion. Blurring a face or a license plate feels like it needs tracking software, and it does, but the tracker lives inside Color's power windows too: draw a window, attach a blur, hit track, and Color follows the motion on its own. Both of these are genuine "I thought I needed Fusion" moments that resolve themselves one page earlier than beginners expect.
The real exceptions are narrower. A project that needs several image layers composited together, a screen replacement inside a shot, a title sequence with elements animating in relation to each other rather than sitting in one static block, or a 3D camera track that has to match a moving shot, those are Fusion jobs with no shortcut. If your first project is genuinely one of those, and for most beginners it isn't, learn the specific node chain that project needs and nothing more. You don't have to earn a Fusion diploma to drop a tracker node and a merge node into a graph someone showed you once.
Fairlight has a similar honest exception. A single-camera talking-head video never needs it. A podcast recorded on two or three separate microphones does, because each mic usually needs its own gain staging and a touch of noise reduction before anything gets mixed together, and that kind of per-channel work is what Fairlight's mixer exists for. If you're producing a video podcast from day one, open Fairlight's mixer for exactly that job, level each channel, add noise reduction if the room is noisy, bus them to a master fader, and leave everything else in Fairlight, automation lanes, sends, the full EQ suite, closed until a later project asks for it specifically.
An exception to "ignore this first" is still narrow: it's the one specific tool your one specific project needs, not a green light to explore the whole page. Learn the tracker for the blur job, or the channel strip for the podcast mix, and then go back to closing the rest of that page the same way you would have if the exception had never come up.
Which pages does your specific project actually need?
The three-page floor and the ignore list above both describe an average beginner project. Your actual first project probably isn't average, so here's the same advice split out by what people are usually shooting when they open Resolve for the first time.
| Your project | Beyond the three-page floor, you also need | You still don't need |
|---|---|---|
| Talking-head video or vlog | Nothing extra, the floor is enough | Fusion, Fairlight's mixer, Color's deeper tools |
| Screen-recording tutorial | Light Fairlight, one clean mic track's gain and a noise reduction pass | Fusion, multicam, HDR |
| Multi-mic podcast or interview video | Fairlight's mixer for per-channel leveling, multicam if shot on two cameras | Fusion, Color's HDR palette |
| Event highlight reel or wedding edit | One-node Color, run across every clip so mismatched lighting reads as one video | Fusion, unless titles need to feel more built-out |
| Short scripted or narrative piece | Color, since intentional look matters more here, and careful Fairlight dialogue leveling | Fusion, unless a specific effect shot demands it |
| Client or brand marketing video | Color for brand-consistent grading, Studio only if HDR delivery is contractually required | Fusion for most cuts, multicam unless multi-camera shot |
Notice what doesn't change across any row: Fusion stays optional in five of the six, and the full Fairlight mixer only becomes necessary the moment more than one microphone enters the picture. The floor really is the floor for most people reading this. What shifts by project type is which single feature, if any, gets added on top of it, not the whole shape of what you're allowed to ignore.
Does this ignore list change if you're switching from Premiere, Final Cut, or iMovie?
A little, and mostly in what kind of overwhelm you're actually feeling. A total beginner stares at Resolve wondering what a node even is. Someone coming from Premiere Pro, Final Cut Pro, or iMovie already knows what a timeline, a cut, and an export are. Their overwhelm is different: it's "why doesn't this work the way my old app worked," not "what is any of this."
That distinction matters because the fix is different too. If you already edit, you don't need this post's permission to ignore Fusion or Fairlight's mixer, you already have editing instincts telling you those are specialist tools. What actually trips up switchers is smaller and more mechanical: Resolve's page-based layout instead of one panel-heavy window, different default shortcuts for split and ripple delete, and a Media Pool and bin structure that behaves a little differently from what you're used to. None of that is a reason to learn Fusion or Fairlight any sooner. It's a reason to spend day one specifically on Resolve's version of things you already know how to do, rather than assuming your existing muscle memory transfers automatically.
Resolve's Keyboard Customization panel, found under the DaVinci Resolve menu on Mac or the File menu on Windows, includes alternate keyboard mapping presets modeled on other editors' shortcut conventions, which can soften some of that muscle-memory gap if a specific shortcut keeps tripping you up. It's worth a look once you notice yourself reaching for a key that does something different than it used to, rather than something to configure on day one before you've felt the friction firsthand.
One practical note on page choice: if you're coming from Premiere or Final Cut, start on the Edit page rather than Cut. Edit's track-based timeline and multi-panel layout will feel closer to what you already know, while Cut's single-timeline, source-tape-driven design is a genuinely different editing paradigm that's worth learning on its own terms later, not while you're also trying to map old habits onto a new app. If you're coming from a simpler consumer tool like iMovie, Cut's more guided, fewer-decisions layout is usually the gentler landing spot.
Prior editing experience changes which page you start on, not which pages you're allowed to ignore. Fusion and Fairlight's mixer stay closed for the same reasons they stay closed for a total beginner: your first project here doesn't need them yet, regardless of what software taught you to edit in the first place.
Does a slower or older computer change what you should ignore?
Yes, and in a way that reinforces this whole post's advice rather than complicating it. DaVinci Resolve leans on your GPU harder than most editors, especially for anything happening on the Color page and for playback of high-resolution or high-bitrate footage, so the features this post already tells you to ignore, HDR grading, multicam, and full 4K-and-above delivery, also happen to be the most demanding ones on modest hardware. Ignoring them for now isn't just about keeping the interface simple. It keeps your timeline actually playing back instead of stuttering every time you scrub.
If your machine is a few years old or wasn't built for video work, two built-in Resolve features are worth knowing about even in week one, because they solve real playback problems rather than asking you to buy new hardware. Proxy Mode, in the Playback menu, plays a lower-resolution stand-in for your footage while you edit, then switches back to full resolution for the actual export, so a laptop that chokes on 4K source footage can still cut smoothly. Optimized Media, generated by right-clicking clips in the Media Pool, does something similar by creating easier-to-decode versions of camera formats that are heavy to work with directly, like some highly compressed 4K codecs. Neither feature changes anything about the finished video. They just make editing it less painful on hardware that isn't top of the line.
On modest hardware, the features this post already tells beginners to ignore are usually the same features that would slow your machine down the most anyway. That's not a coincidence so much as a useful overlap: the mental-bandwidth argument for ignoring HDR, multicam, and heavy grading points the same direction as the performance argument. If your computer struggles even on the three-page floor, reach for Proxy Mode or Optimized Media before assuming you need new hardware, and keep everything else on the ignore list exactly where this post already put it.
What's the minimum skill set to actually finish one real project?
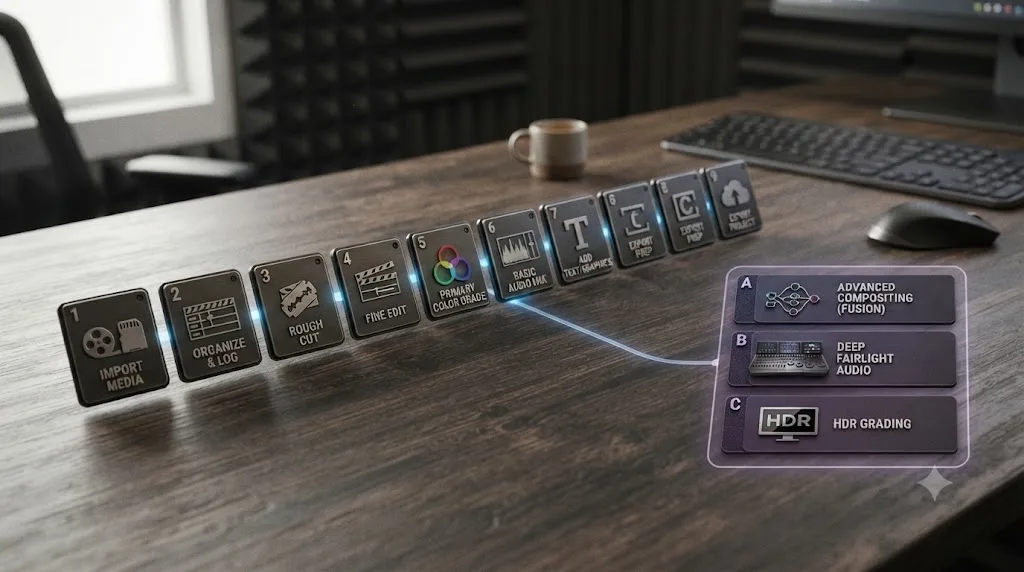
Smaller than the interface makes it look, and naming it precisely is the whole point of this post. Here it is, with nothing hidden and nothing assumed:
- Import footage. Drag files into the Media Pool on the Media page, or use File > Import > Media.
- Build a timeline. Drag a clip from the Media Pool onto an empty timeline area in Cut or Edit.
- Watch and mark. Play with Space or J-K-L, mark in and out points with I and O.
- Assemble the rough cut. Drag marked sections to the timeline, or press F10 to overwrite and F9 to insert.
- Trim it. In selection mode, press A, drag any clip edge, and use Shift+Delete to ripple delete a bad section.
- Add one title if you need one. Effects Library > Toolbox > Titles > Text+, dragged onto a track above your footage.
- Fix the volume, if needed. Drag a clip's volume line and its fade handles rather than opening Fairlight.
- Do one color pass, if needed. A single node with Lift, Gamma, Gain, and Saturation, judged against the waveform.
- Export. Pick a preset on Deliver, name the render, click Add to Render Queue, then Render All.
Nine steps. No Fusion, no full Fairlight mixer, no qualifiers or power windows, no HDR, no multicam, no Studio license. A finished, exportable video needs nine steps from DaVinci Resolve, and every ignored feature in this post sits outside all nine of them. That's not an approximation, it's the literal dependency chain the app runs on: everything past step nine is refinement a specific later project might ask for, not a requirement this one has.
If step-by-step practice sounds more useful than a list read once and forgotten, our DaVinci Resolve practice projects for beginners turns this nine-step list into ten small, real projects, starting with a three-clip hard cut that touches exactly steps one through five and nine, nothing else, on purpose.
A worked example: your first three-clip cut, click by click
Abstract lists are easy to nod along with and hard to actually follow at the keyboard, so here's the nine-step list above applied to one specific, small project: three clips, thirty to forty-five seconds, start to finish.
Say you've got three phone clips: a wide shot of a street, a medium shot of someone talking, and a close-up of their hands doing something with their hands. Before you import anything, check what frame rate those clips actually are, right-click one in Finder or Explorer and look at its properties, or check it inside Resolve's Media page after import via right-click > Clip Attributes. Set your project's timeline frame rate to match in File > Project Settings, before you drag a single clip onto a timeline. Resolve locks that setting the moment the first clip lands, and mismatched frame rates are the single most common reason a beginner's first cut looks subtly wrong without knowing why.
With that set, drag all three clips into the Media Pool on the Media page. Switch to Edit. Drag the wide street shot onto the timeline first, then the talking shot, then the close-up, in whatever order tells the small story you want. Play through with Space, and mark rough in and out points on each clip with I and O before you commit them, trimming out the shaky first second of each phone clip and any dead air at the start of the talking shot.
Now trim properly. Press A for selection mode, and drag the edge of any clip that runs too long. If a clip needs a chunk removed from its middle rather than its edge, split it with Ctrl+\ (Cmd+\ on Mac) at both points and select the middle piece, then Shift+Delete to ripple it out cleanly, closing the gap instead of leaving a black hole in your timeline.
If the talking shot needs a name on screen, open the Effects Library, find Text+ under Toolbox > Titles, and drag it onto a video track above that clip. Type the name, adjust the size and position in the Inspector panel, and leave the rest of Text+'s controls, which go deep, alone.
Check the audio. If the street shot's ambient noise buries the talking clip that follows it, click on the street clip and drag its volume line down a little, then drag the small fade handle at its tail so the transition into the talking clip isn't a hard cut in loudness. Do one color pass if the phone auto-exposed a clip too dark: open Color, add a single node, and nudge Gain up slightly while watching the waveform scope, not your phone's tiny preview.
Switch to Deliver. Pick the YouTube or a similar H.264 MP4 preset from the preset list on the right, confirm the file name and destination, click Add to Render Queue, then Render All. That's it. Three clips, one title, one volume adjustment, one color pass, and an exported file, using exactly steps one through nine above and nothing this post told you to ignore.
What happens if you try to learn everything at once?
Less progress than ignoring most of it on purpose, and it's worth walking through why, because "just try to absorb it all" sounds responsible right up until you actually attempt it.
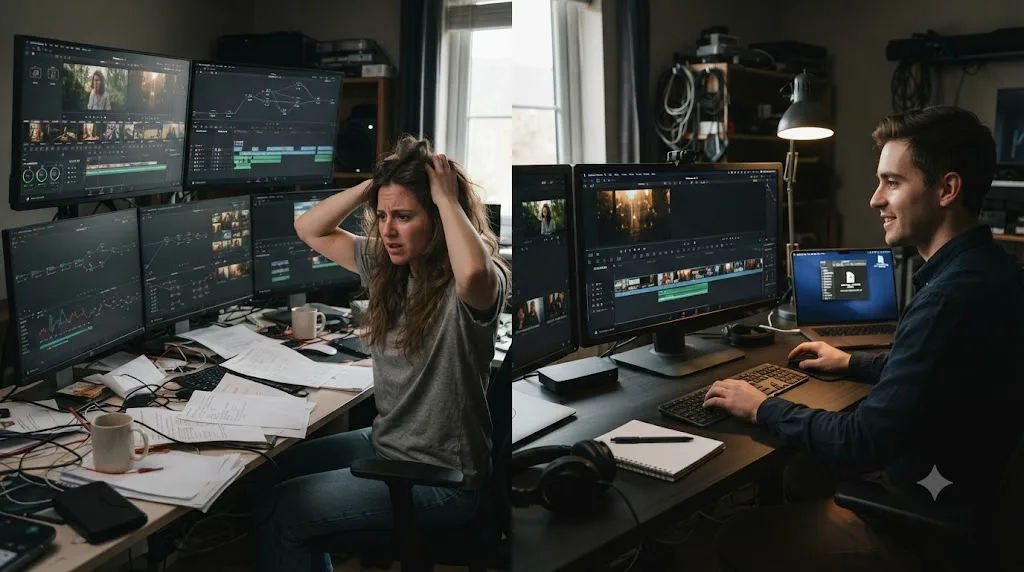
Say you open Resolve determined to understand every page before you cut anything. You start on Media, which is fine, importing is simple. Then Color catches your eye, because the wheels and the node graph look powerful, and you spend forty minutes moving sliders on a clip that isn't even trimmed yet. The correction you build doesn't matter, because the clip's in and out points aren't set, so whatever you're grading right now might get trimmed differently in an hour anyway. But you don't know that yet, so you keep tweaking.
Then Fairlight pulls you over, because a professional mixer is genuinely interesting to poke at, and you spend another half hour learning what a bus does on audio that isn't even part of a real sequence. Then Fusion, because the node graph there looks like the one in Color and you want to see if the same logic applies. Two hours in, you've touched five pages and finished exactly nothing. Not one clip is cut. Not one file is exported. You've collected impressions of five different applications and built zero actual skill in any of them, because skill comes from finishing something, and you finished nothing.
Compare that to the alternative: two hours spent entirely on the three-page floor, Media, Cut or Edit, Deliver. At the end of it, you have an actual exported file. It's rough. The cut is probably a little clumsy and the audio is whatever the camera happened to record. But it exists, it plays, and it's a real result you built from nothing, which is a categorically different outcome from five pages of unfinished poking.
Touring every page in DaVinci Resolve before finishing one project produces five kinds of familiarity and zero kinds of skill. That's the honest cost of ignoring this post's advice, and it's worth remembering the next time an unopened tab feels like it's daring you to click it.
How do you know when it's time to stop ignoring something?
A specific signal shows up for each ignored feature, and it's almost never "I've been using Resolve for X weeks now." Time alone doesn't earn a feature back. A real project need does.
For Fusion, the signal is a project that asks for a composite a static title can't deliver: a tracked graphic, an animated logo, a callout that follows motion. For Fairlight, it's wanting a genuinely clean, level mix, EQ, ducking, proper metering, rather than the rough-but-functional volume line and fade you've been using. For Color's deeper tools, it's a shot the one-node move can't fix, usually because a specific area needs isolating with a qualifier or a power window, or because you're matching several cameras shot in different light. For Studio, it's hitting a named feature the free version genuinely lacks, not a vague sense that "the free version feels basic." For HDR, it's an actual HDR delivery request, not curiosity about the palette. For multicam, it's an actual multi-camera shoot, not wanting to try the feature.
Notice the pattern: every one of these signals is a real project pulling a feature toward you, not a schedule pushing you toward the feature. The right time to stop ignoring a feature in DaVinci Resolve is when a real project needs it, not when a calendar says you've put in enough weeks. That reframe matters because it removes the guilt from ignoring something for months. You're not behind schedule. You're waiting for a reason, and reasons show up on their own timeline, not yours.
There's a second, quieter signal worth naming: boredom with the floor itself. If cutting on Media, Cut or Edit, and Deliver has started to feel completely automatic, fifteen shortcuts you don't think about anymore, trims you make without hesitating, that's a legitimate reason to add a second skill even without a specific project demanding it yet. Just make sure it's boredom with mastery, not impatience with a skill you haven't actually finished a project with yet. Our guide to how long DaVinci Resolve actually takes to learn has realistic timelines for exactly this question, since "am I ready to add Color" and "how long should this take" are really the same question asked two different ways.
What happens the second time DaVinci Resolve feels overwhelming?
It comes back, usually, and it's worth knowing that in advance so it doesn't feel like a failure when it does. The first wave of overwhelm is the whole app at once, seven pages, a node graph, an audio console. You solve that one by shrinking down to three pages. The second wave is smaller but has the same shape: it shows up the day you finally open Color for real, or Fairlight's mixer for real, and discover that page has its own miniature version of everything you just worked through.
Open Color to do more than the one-node move, and you'll find qualifiers, power windows, a tracker, curves, a full HDR palette, and a node graph that can branch and combine in ways the single-node approach never touched. Open Fairlight's mixer for real, and there's EQ, dynamics, buses, sends, automation lanes, all sitting there at once, the same front-loaded feeling that made the whole app intimidating in week one, just contained inside a single page this time.
The fix is the same fix, applied one level down. Don't learn Color by touring curves, qualifiers, power windows, and HDR in one sitting. Pick the one thing your actual project needs, a qualifier to isolate a sky that's blown out, say, and ignore the rest of the page until a different project asks for something else. Don't learn Fairlight's mixer by exploring every bus and send at once. Pick EQ, because a muffled voice is the problem you actually have this week, and leave automation and sends closed until they're the problem.
Every page in DaVinci Resolve is overwhelming the same way the whole app was overwhelming, and it gets solved the same way: one feature at a time, picked by what your current project actually needs. That's not a trick specific to your first week. It's how this app works at every level you'll ever go deeper into it, which is oddly reassuring once you notice it, since it means you already know how to handle the next wave before it arrives.
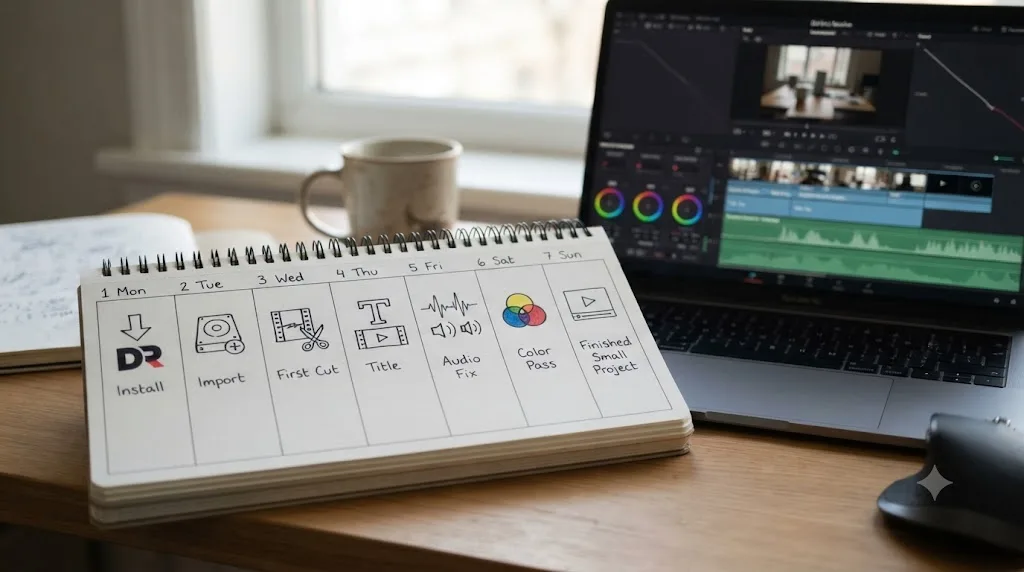
A one-week plan: what to touch, what to leave alone
Here's the whole thing compressed into seven days, so the permission this post has been giving you turns into an actual schedule instead of a vague feeling of relief.
Day 1: install and set up, nothing else. Download the free version from Blackmagic's official page, create a project, and set the timeline frame rate to match your footage before you import a single clip, since Resolve locks it the moment the first clip lands. Turn on Live Save and Project Backups in Preferences. Don't open Color, Fairlight, or Fusion today. There's nothing in them yet.
Day 2: import and organize. Bring in whatever footage you actually have, phone clips, an old camera card, anything. Make three or four bins to sort it. Resist the urge to click into Color or Fairlight just to look. Looking is how two hours disappear with nothing exported.
Day 3: cut a three-clip sequence. Pick three unrelated clips, order them into 30 to 45 seconds, trim the edges, no transitions, no titles, no music. Export it. This is your first finished thing, and it only needed steps one through five and nine from the minimum skill set above.
Day 4: cut something with a title. Add a Text+ title to a new short sequence. That's your one Fusion-adjacent tool, used without ever opening the Fusion page.
Day 5: fix the audio on something. Drag a clip's volume line down where music or noise competes with a voice, add fade handles at the ends. Skip Fairlight entirely today. The Edit page's volume line is doing the whole job.
Day 6: do one color pass. Pick a clip that's a little dark or a little cool, and fix it with one node: Lift, Gain, Gamma, Saturation. Judge it against the waveform, not your monitor.
Day 7: finish one small real project. Combine everything from days three through six into one 60 to 90 second piece with your own footage. Cut it, add a title if it needs one, fix the audio, do the one-node color pass, export it, and watch the exported file start to finish.
By day seven, you've used exactly the nine-step minimum skill set, on real footage, with a real export at the end. A full week of ignoring Fusion, Fairlight's mixer, and Color's deeper tools produces a finished project faster than a week of exploring all seven pages does. Everything this post has told you to skip is still sitting there, untouched, exactly where you left it, waiting for the project that actually needs it.
What do Blackmagic's official training, YouTube, and Reddit already say about this?
Worth checking before you assume this post is the only place making this argument, because it isn't, and honest advice names where the existing consensus already lives.
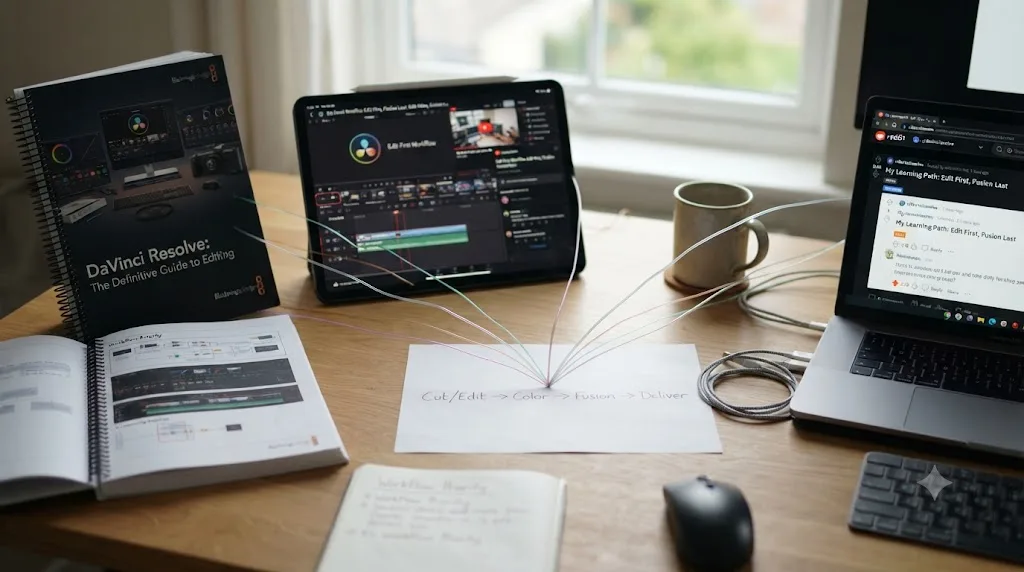
Blackmagic Design's own free training program, according to its official training page, publishes six downloadable books in a specific order: the Beginner's Guide first, covering editing fundamentals with only a light pass on color and audio, then the Editor's Guide, then the Fairlight Audio Guide, then the Colorist Guide, and only then the two Visual Effects guides covering Fusion. Read that order and notice what it implies: the company that builds Resolve puts its own dedicated Fusion material dead last, after four other books. That's not this post's opinion. That's the actual sequence the software's own maker ships.
YouTube's biggest DaVinci Resolve-specific creator, Casey Faris, has built a channel approaching 600,000 subscribers, per vidIQ's channel statistics, largely on exactly this kind of practical, one-skill-at-a-time content rather than exhaustive feature tours. His YouTube channel is worth searching once you know specifically what you're stuck on, which is a different use than treating it as a syllabus that decides your order for you.
Reddit's r/DaVinciResolve, and Udemy and Coursera's various beginner courses, generally converge on the same shape of advice too: start with cutting mechanics, add one more skill once that's comfortable, and treat Fusion specifically as a later, optional destination rather than a day-one requirement. None of these sources are arguing you should ignore Fusion or Fairlight forever. They're arguing, in their own words and their own formats, for the same sequencing this post has been making the case for from a different angle: permission to ignore, not permission to never learn.
If you're looking for the best way to learn DaVinci Resolve fast without burning out on features you don't need yet, that convergence across Blackmagic's own curriculum, the platform's biggest creator, and its most active community is a stronger signal than any single post, including this one. Use them together: this post for what to skip and why, Blackmagic's books for structured depth once you're past the basics, and creators like Faris for filling a specific gap the moment you hit it.
What's the fastest way to get unstuck without learning everything?
Even with a shrunk-down first week, you'll hit a specific moment: you know exactly what you want to do, and you can't find the button. That's not a sign you ignored the wrong things. It's the ordinary texture of learning any dense piece of software, and it's worth having a plan for instead of quietly closing the laptop.
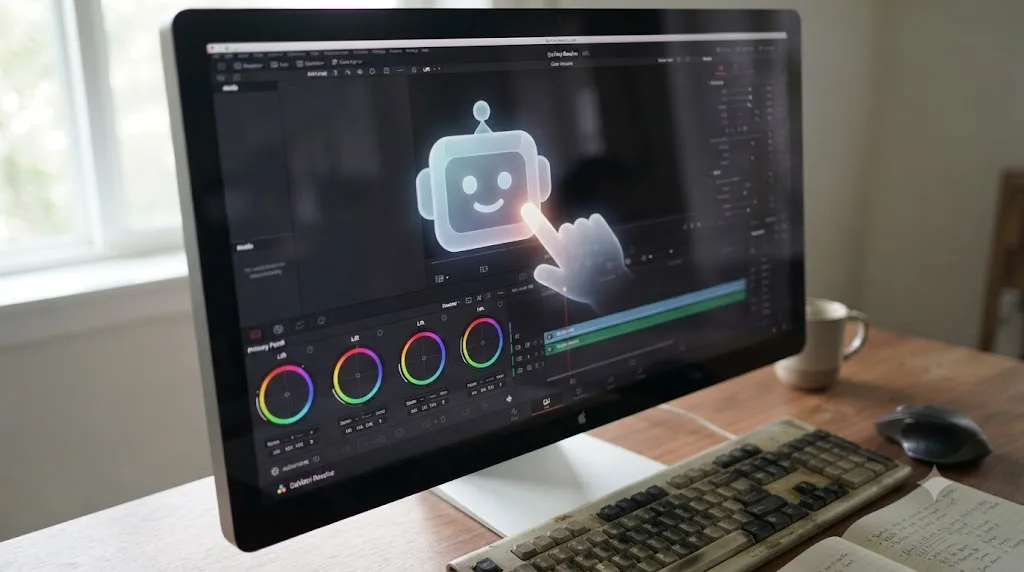
TryUncle is the on-screen assistant for DaVinci Resolve on macOS: ask in plain words and Uncle points at the exact control on your screen. That's a genuinely different job from a tutorial video, because a video assumes you'll pause it, find the equivalent moment in your own project, and translate what you saw onto your own timeline. TryUncle looks at your actual Resolve window, live, and points at the real control instead of a demo project's version of it, currently on the Edit, Color, and Fusion pages.
It's worth being precise about what this kind of tool does and doesn't replace, since this whole post has been about sequencing, and no assistant decides that for you. TryUncle doesn't build your rough cut, doesn't move a node on your behalf, and doesn't tell you whether to learn audio or color next. What it answers is narrower and, for a beginner following this post's plan, exactly the right size: the specific "where is this" moment that stalls a session, on whichever of the three pages you're actually using this week.
It's also worth knowing it's not the only tool in this category, and naming the real alternatives honestly matters more than pretending they don't exist. CutAgent works directly inside DaVinci Resolve on macOS and executes a plain-language edit instruction directly on your timeline, planning each move and showing you the step before committing it, which automates the edit rather than teaching you to make it yourself. Eddie, at heyeddie.ai, works before you even open Resolve, importing interview footage and building a rough cut from the transcript that you then bring in to finish, with plans starting around $25 a month per its own site. PremiereCopilot bundles silence cuts, captions, and AI editing tools starting at $7.99 a month, but it's built specifically for Adobe Premiere Pro, not DaVinci Resolve, so it's a different-category tool for readers of this site rather than a real alternative.
| Tool | What it actually does | Covers | Platform |
|---|---|---|---|
| TryUncle | Watches your live Resolve screen and points at the control, you make the move yourself | Edit, Color, Fusion | macOS only |
| CutAgent | Executes plain-language edit commands directly on your Resolve timeline | Editing operations | macOS, Resolve Free/Studio |
| Eddie (heyeddie.ai) | Builds a rough cut from an interview transcript before you open Resolve | Pre-editing rough assembly | Exports to Resolve, Premiere, FCP |
| PremiereCopilot | AI editing tools for a different NLE entirely | Adobe Premiere Pro only | Premiere Pro plugin |
An assistant that points at a control while you make the move teaches you something. An assistant that makes the move for you teaches you nothing about DaVinci Resolve itself. That distinction matters most while you're deliberately keeping your first weeks small, since the whole point of this post's plan is building real skill on the three-page floor, not outsourcing it.
TryUncle is currently in founder pricing for its first 100 seats, macOS only, paid from day one rather than free, and worth checking the current rate on before you commit since pricing like that doesn't hold forever. Whether you use a tool like it or just keep Blackmagic's documentation open in a second tab, the habit that matters most is identical: when you're stuck on something inside this week's three-page floor, look it up immediately, rather than either guessing your way into a mistake or reaching for Fusion, Fairlight, or Color out of frustration with the page you're actually supposed to be on.
What mistakes do beginners make by ignoring the wrong things?
Ignoring the right things is this whole post's argument. But there's a wrong version of "ignore it," and it's worth naming the difference clearly before you close this tab.
Ignoring audio entirely, not just Fairlight's mixer. There's a real gap between "skip the full Fairlight console" and "don't touch audio at all." The first is this post's advice. The second leaves you with a video where music buries dialogue, and that's the single fastest way to lose a viewer, faster than any picture problem. Drag the volume line. It takes thirty seconds.
Ignoring frame rate setup because it seems like a detail. This one isn't on the ignore list anywhere in this post, and for good reason: DaVinci Resolve locks the timeline frame rate the moment your first clip lands, and getting it wrong means rebuilding the timeline in a fresh project later. Set it in File > Project Settings before you import anything.
Treating "ignore for now" as "never learn." Every feature on this post's ignore list has a real project waiting to need it eventually. Skipping Fusion for your first ten projects doesn't mean you've decided Fusion is useless. It means none of those ten projects asked for it yet. Keep that distinction honest with yourself, or you'll end up with real gaps that started as reasonable postponements.
Grading or mixing before the cut is locked. This mistake exists independent of what you ignore. Any color or audio work done on a clip that later gets trimmed or replaced is wasted effort, since a new in point or a swapped clip usually needs its own correction. Finish assembling first, always, whether you're following the three-page floor or working across all seven pages years from now.
Comparing your first ignored-everything-else project to a polished YouTube video. A three-clip cut with one color node and a dragged volume line was never going to look like something someone spent a week shooting, grading, and mixing. Judge it against the one skill it was built to prove: that you can finish and export something real. That's the actual bar this post has been asking you to clear, and it's a much lower, much more honest bar than "impressive."
So what should you actually ignore first?
Fusion, entirely. Fairlight, beyond a clip's volume line and fade handles. Color's qualifiers, power windows, and HDR palette. The Studio upgrade. Multicam. A full keyboard shortcut sheet. Advanced scopes past the waveform. Every one of those is a real, useful part of DaVinci Resolve, and not one of them is required to finish the project sitting in front of you right now.
What you actually need is smaller than the interface admits: Media to import, Cut or Edit to assemble, Deliver to export, a dragged volume line when audio needs it, and one color node when a shot needs fixing. Nine steps, three pages, and an app that stops looking like an alien spaceship the moment you stop trying to fly all of it at once.
The overwhelm was never a sign you're behind. It was DaVinci Resolve showing you four applications before you asked to see even one. Close the three you don't need yet, finish something real with the one you do, and let each ignored feature earn its way back in on its own schedule, one actual project at a time. Once that first small thing is exported, our DaVinci Resolve beginner's guide is where you go next, for the full map of everything you just gave yourself permission to postpone.
Frequently asked questions
- Is DaVinci Resolve too complicated for a total beginner?
- It looks that way for about a week, then it stops. The complexity is real, seven pages, a node-based color room, a full digital audio console, but almost none of it is required to finish your first project. Ignore Fusion, Fairlight's mixing tools, and Color's deeper features at first, and the app that's left is closer to any basic video editor than its reputation suggests.
- What should a beginner ignore first in DaVinci Resolve?
- Fusion entirely, Fairlight beyond basic clip volume, Color's node-based secondaries and HDR palette, the Studio upgrade, multicam syncing, and memorizing more than about fifteen keyboard shortcuts. None of those six things stop you from importing footage, cutting it, and exporting a finished file, which is the only skill your first project actually needs.
- Can you skip Fusion and Fairlight and still finish a real video?
- Yes, completely. A finished video needs Media to import, Cut or Edit to assemble, and Deliver to export. Fusion is node-based visual effects that most projects never touch, and Fairlight is a full mixing console where a beginner's actual audio needs, gain and a simple fade, live comfortably back on the Edit page's clip volume line instead.
- What's the best way to learn DaVinci Resolve without getting overwhelmed?
- Shrink the app on purpose before you open it. Decide in advance that Media, Cut or Edit, and Deliver are the only pages that matter this week, finish one small project using only those three, and resist every urge to explore Fusion or Fairlight until a specific project actually asks for them. Order beats coverage for a first week.
- Is there an AI tool to learn DaVinci Resolve so you don't have to guess what to ignore?
- There's a narrower category worth knowing about: an AI tool that helps you while you're using DaVinci Resolve, not a course you watch beforehand. TryUncle is one example, an app that watches your actual Resolve screen and points at the control you're asking about live, on the Edit, Color, and Fusion pages. It answers the moment you're stuck. It doesn't decide your learning order, this post does that part.
- Do you need DaVinci Resolve Studio to get started as a beginner?
- No. The free version has no watermark, no time limit, and covers editing, color, audio, and even Fusion in full, up to Ultra HD 4K at 60fps in 8-bit. Studio's $295 one-time upgrade adds Neural Engine AI tools, advanced HDR grading, and resolutions above 4K, none of which a beginner's first project is likely to need.
- What app actually helps you while you're using DaVinci Resolve, not before or after?
- A small category does exactly this instead of teaching you in advance. CutAgent executes plain-language edit commands directly on your timeline. TryUncle watches your screen and points at the control for you to click yourself, on Edit, Color, and Fusion. Both work live, inside the app, which is a different job from a course you pause to follow along with.
Sources
- DaVinci Resolve product page (free vs Studio)
- DaVinci Resolve - Tech Specs (Blackmagic Design)
- DaVinci Resolve - Training (Blackmagic Design)
- DaVinci Resolve - What's New (Blackmagic Design)
- DaVinci Resolve - Fairlight product page (Blackmagic Design)
- PetaPixel: DaVinci Resolve 21 officially released with new photo editing, AI tools, and much more
- CG Channel: Blackmagic Design releases DaVinci Resolve 21.0
- DaVinci Resolve Club: DaVinci Resolve Tutorial for Beginners (Jason Miller)
- vidIQ: Casey Faris channel statistics
- Casey Faris - YouTube channel
- TryUncle (product site)
- TryUncle FAQ
- CutAgent (AI video editing agent for DaVinci Resolve)
- Eddie AI (heyeddie.ai, assistant video editor)
- PremiereCopilot (AI plugin for Adobe Premiere Pro)
Keep reading
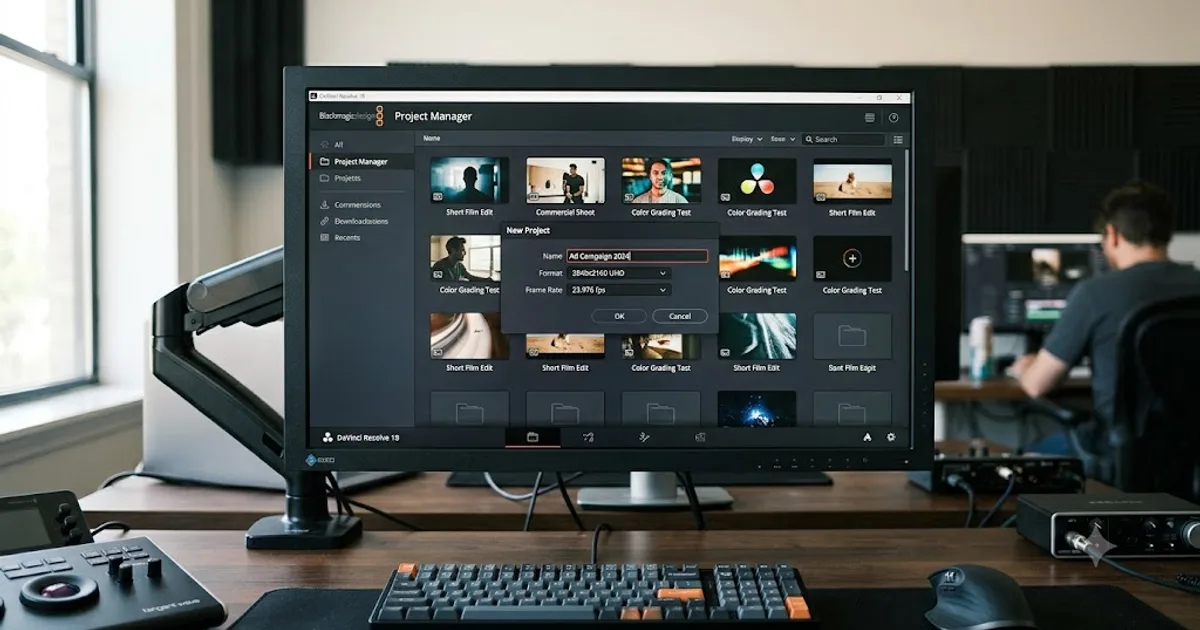
Guides · Jul 7, 2026 · 32 min
DaVinci Resolve for Beginners: The Complete Starter Guide
Learn DaVinci Resolve from zero: what it costs, what it needs to run, the seven pages you'll actually use, and the steps to cut your first project.
Guides · Jul 15, 2026 · 33 min
Editing, Color, or Audio: What to Learn First in DaVinci Resolve
Editing always comes first in DaVinci Resolve. Whether color or audio comes second depends on your goal: fast, watchable video, or a colorist career.

Guides · Jul 15, 2026 · 37 min
DaVinci Resolve Practice Projects for Beginners: 10 to Try
10 ranked DaVinci Resolve practice projects for beginners, from a 3-clip hard cut to a full capstone edit, plus where to find free practice footage.