Articles / Guidesupdated for DaVinci Resolve 21.0.2 (July 2026)
DaVinci Resolve Fusion Particle System Tutorial
Quick answer
To build a particle system in DaVinci Resolve's Fusion page, chain a pEmitter node into a pRender node, then insert force nodes like pDirectionalForce for gravity, pTurbulence for chaos, or pBounce for collisions in between. pRender's GPU acceleration only works in 3D mode; every node before it runs on the CPU alone.
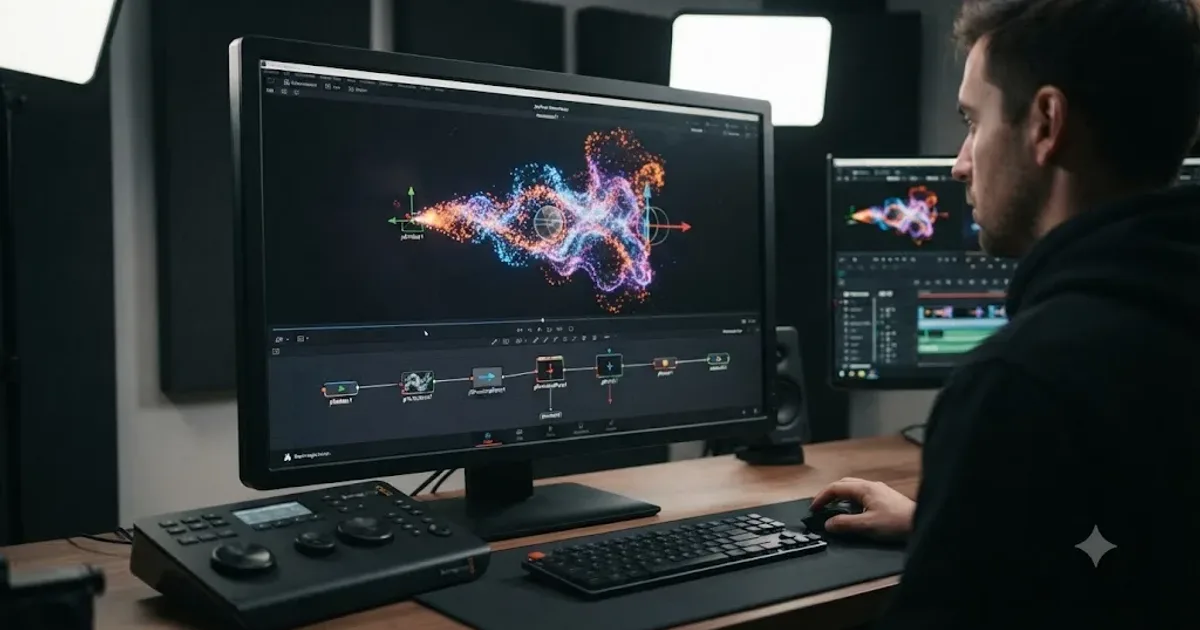
I've spent seven years cutting commercial video and running a 100,000+ member professional video-editing community, and "how do particles even work in Fusion" is one of the questions I see least often, mostly because most editors never learn there's a real particle system sitting inside DaVinci Resolve at all. There is. It's free, it's twenty nodes deep, and it's been quietly powerful since long before Resolve 21.
This guide builds one from nothing, as of July 2026, on DaVinci Resolve 21.0.2: a pEmitter feeding a pRender, then gravity, turbulence, bouncing, image-based emission, and spawning, added one node at a time, the same way a working compositor actually builds one.
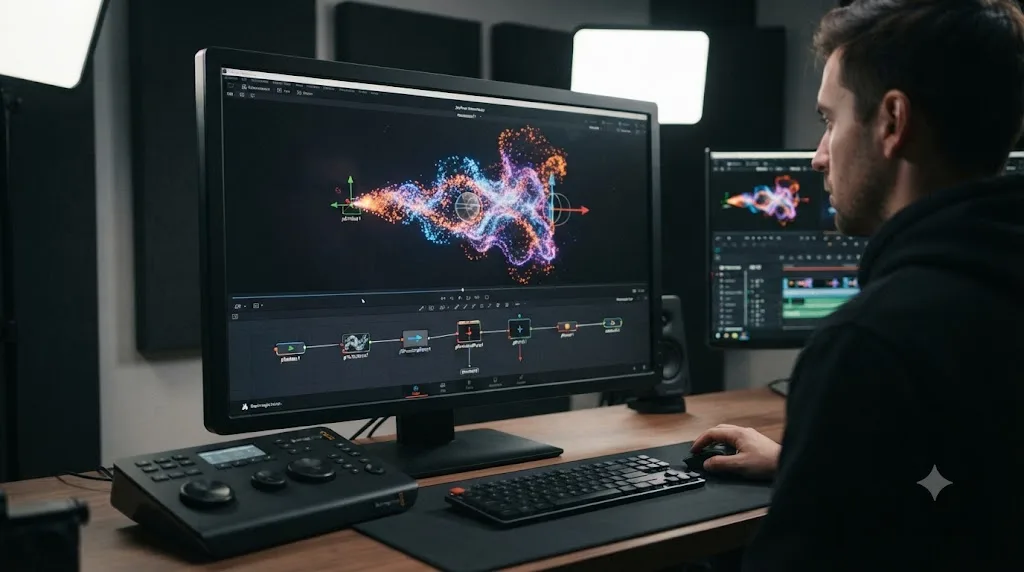
What is the Fusion particle system in DaVinci Resolve?
It's a chain of specialized nodes, starting at pEmitter and ending at pRender, that generates large numbers of small animated elements automatically instead of you keyframing each one by hand. Blackmagic's own Fusion reference manual states the purpose plainly: "The Particle nodes are used to generate a large number of duplicated objects that automatically animate. They are used to create elements like falling rain, fireworks, smoke, pixie dust, and much more," per the Fusion Reference Manual's Particle Nodes chapter.
That single sentence covers the whole appeal. A hundred snowflakes, each falling at a slightly different speed and drifting a slightly different direction, would take forever to keyframe individually. A particle system generates all hundred, with built-in randomness, from a handful of shared settings. The tradeoff, and it's a real one covered later in this guide, is that particles are some of the most CPU-intensive nodes in all of Fusion.
A Fusion particle system is not one tool. It's a chain of small, single-purpose nodes, and every one of them expects to sit somewhere between a pEmitter and a pRender. That structure, source at one end, renderer at the other, forces at rest in between, is the entire mental model this guide builds on. Learn that shape once and every particle effect in this post, from falling snow to a logo dissolving into dust, is a variation on the same chain.
Do you need to know Fusion nodes already before this guide makes sense?
Some, yes. This guide assumes you already know what a node is, how MediaIn and MediaOut work, and how to connect two nodes by dragging between ports. If any of that is unfamiliar, back up to our Fusion page tutorial for beginners first, since it covers the Flow, the Viewers, and the Merge node fundamentals every particle build leans on.
What you don't need already is any prior experience with particle systems specifically, in Fusion or anywhere else. Nothing here assumes you've touched a compositor's particle toolset before.
Which nodes make up Fusion's particle system?
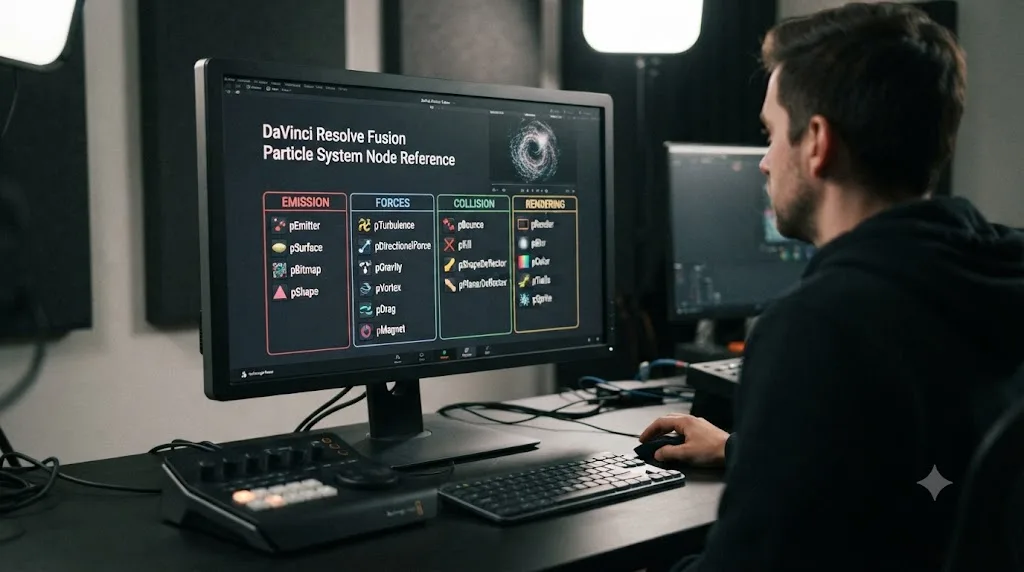
Twenty dedicated nodes, split across emission, forces, collision, spawning, and rendering, all meant to be chained between a pEmitter and a pRender. Fusion's Particle Nodes chapter in the official reference manual groups them under one heading, and JayAreTV's own catalog of the toolset counts the same twenty once you include the handful of closely related utility nodes alongside the core set.
| Node | What it does |
|---|---|
| pEmitter | Generates particles inside a defined region, controlling their number, life, and starting look |
| pImageEmitter | Emits one particle per pixel of a source image, colored to match, instead of spawning randomly in a region |
| pRender | Converts the particle chain into a 2D image or 3D geometry, the only node with GPU acceleration, and only in 3D mode |
| pMerge | Combines two or more particle streams into a single stream for a shared render |
| pDirectionalForce | Pushes particles in one fixed direction, the standard way to fake gravity |
| pGradientForce | Pushes particles based on brightness or color values read from a separate image |
| pPointForce | Attracts or repels particles toward or away from a single point in space |
| pTangentForce | Pushes particles sideways relative to a point, useful for orbit-like motion |
| pTurbulence | Adds chaotic, noise-driven motion, usually fed by a Fast Noise node |
| pFriction | Slows a particle's velocity, its spin, or both, inside a defined region |
| pBounce | Makes particles bounce off a surface defined by a 3D mesh or a bitmap channel |
| pAvoid | Steers particles around an obstacle instead of letting them pass through it |
| pFollow | Bends a particle stream toward a moving target position you animate |
| pFlock | Adds group or swarm behavior, where particles influence each other's direction |
| pVortex | Pulls particles into a swirling, rotating path around a center point |
| pSpawn | Turns each affected particle into its own emitter, producing new, independent particles |
| pCustom | Lets you rewrite a particle's per-frame attributes with hand-written expressions |
| pCustomForce | Applies a custom, expression-driven force instead of reaching for a built-in one |
| pChangeStyle | Changes a particle's color, size, or other style property partway through its life |
| pKill | Removes particles that meet a condition, ending their lifespan early |
Every one of Fusion's twenty particle nodes exists to modify a stream of particles somewhere between a pEmitter that creates them and a pRender that displays them. None of them do anything meaningful in isolation. A pBounce node with no particles flowing into it has nothing to bounce, exactly the same logic that makes a disconnected node in ordinary Fusion compositing render nothing at all.
How do you build your first particle system in DaVinci Resolve?
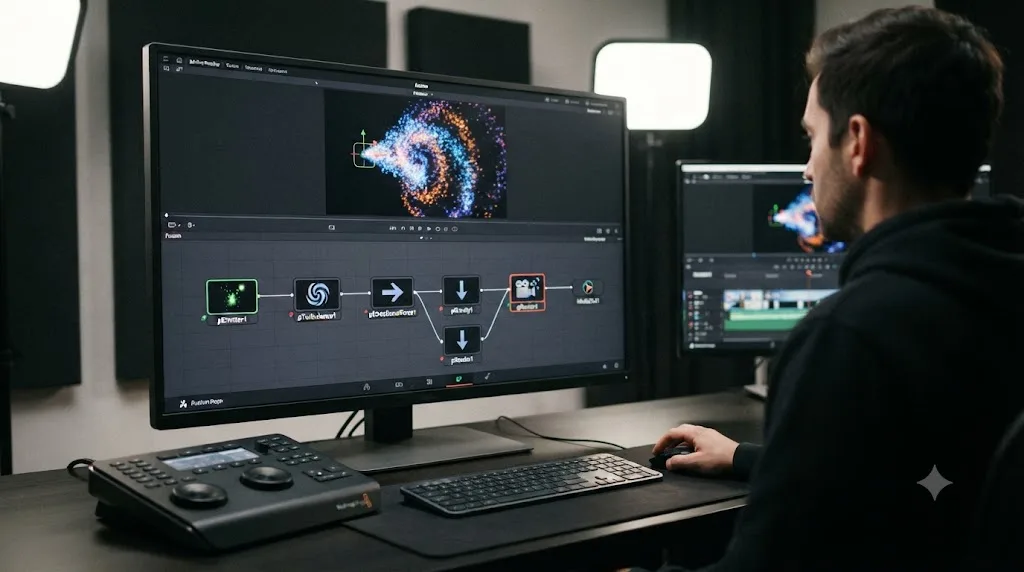
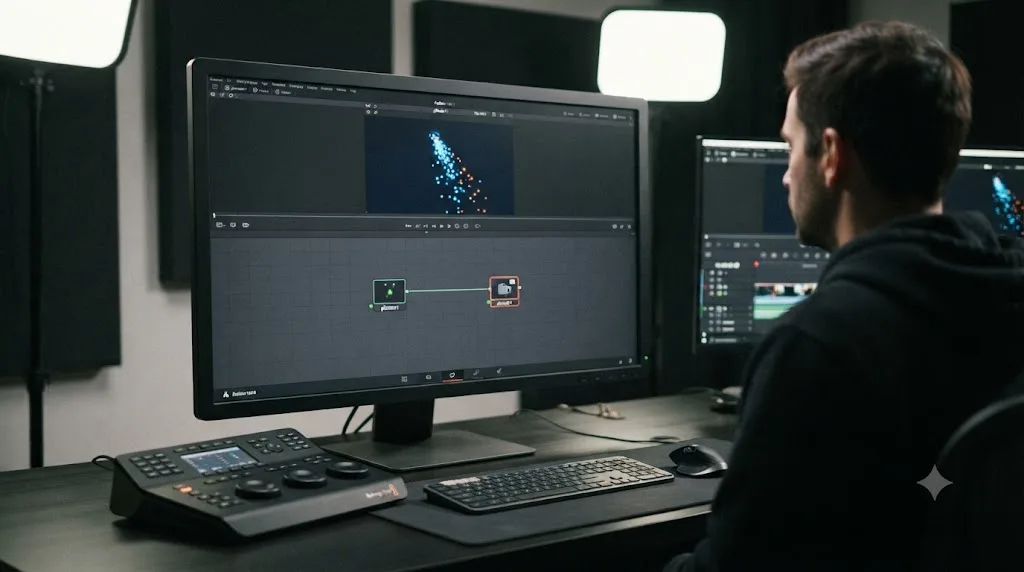
Add a pEmitter node, connect its output into a pRender node, and connect pRender's output toward MediaOut. That two-node chain is a complete, working particle system, and it's worth building exactly this and nothing more on your first attempt, before adding a single force.
- Open the Fusion page on a clip, or on a Background generator if you want particles over solid color rather than footage.
- Add a pEmitter node from Add Tool > Particle > pEmitter, or Shift+Spacebar and type "pEmitter."
- Add a pRender node the same way, from Add Tool > Particle > pRender.
- Connect pEmitter's output to pRender's orange input. This is the one connection every particle system requires; pRender's orange input only accepts other particle nodes, never a plain image.
- Connect pRender's output toward MediaOut, directly if you want particles as the entire frame, or into a Merge node's foreground input if you want particles layered over existing footage.
- Select pRender and press 1 or 2 to send it to a Viewer, then scrub the timeline forward. You should see small default particles spawning and drifting slightly upward or holding roughly still, depending on pEmitter's default Velocity setting.
That's the whole skeleton. Every effect in the rest of this guide, snow, sparks, a dissolving logo, a swarm, is this same two-node chain with something inserted in the middle.
A working Fusion particle system is never more than a pEmitter feeding a pRender, with modifier nodes spliced in between; nothing about the underlying architecture changes no matter how elaborate the final effect looks. Once that clicks, a complex-looking particle comp stops feeling like a different discipline from ordinary node compositing and starts feeling like the same discipline, applied to a different kind of node.
What does the pEmitter node actually control?
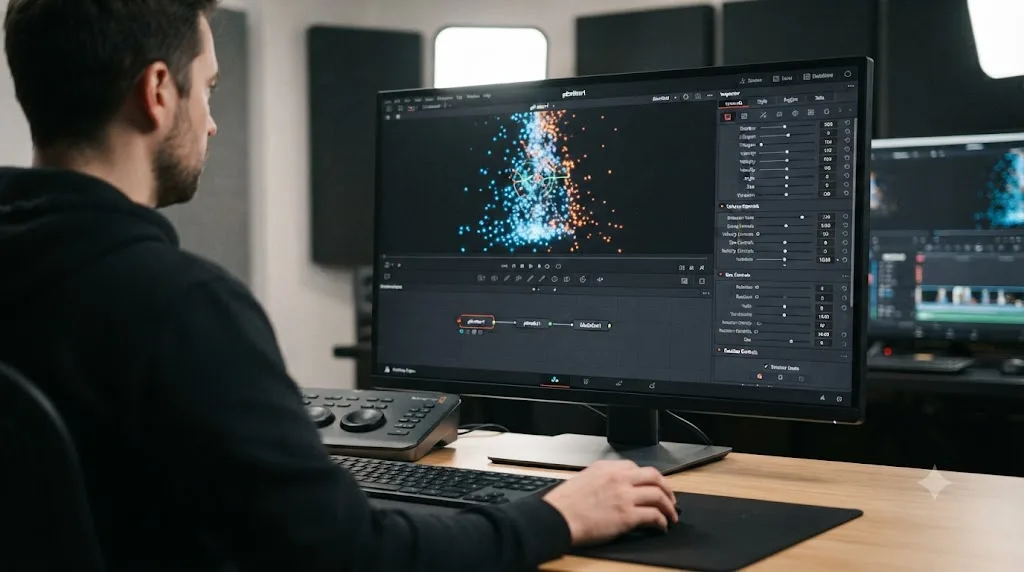
pEmitter is the source of every particle in the system, and its Inspector splits into four tabs: Controls, Style, Region, and Sets. Understanding what each tab owns turns a wall of sliders into four specific, learnable jobs, exactly the same lesson that applies to the Glow node's Controls tab elsewhere on the Fusion page.
Controls tab. This is where Number, the count of new particles generated per frame, and Life, how long each particle survives before disappearing, both live. Per JayAreTV's documentation of the node, pEmitter's default Lifespan is 100 frames, and its particles start with no velocity at all, meaning nothing moves until a force node acts on them. Velocity, when you do set it, is measured relative to the frame: a value of 1.0 moves a particle across the full width of the image in 10 frames, a useful mental anchor when you're guessing at a starting number instead of reading it off a spec sheet.
Style tab. Controls that affect a particle's appearance, its shape, size, and default color, rather than its motion. By default, particles use "Use Style Color" rather than sampling color from an underlying bitmap, which matters the moment you're emitting from a photo or a logo rather than a blank region.
Region tab. Defines the shape, size, and location of the area particles spawn from, called the Emitter. A pEmitter node has exactly one Region; it can be flat, producing particles along a 2D plane, or given real depth for a genuine 3D emission volume, per the same documentation.
Sets tab. Assigns particles to one of 32 numbered sets, which matters once your composite has more than one emitter feeding a single pRender. A force node can be told to affect only Set 3, for instance, letting two separate emitters share the same downstream forces selectively instead of every force touching every particle in the composite.
pEmitter's particles are born with zero velocity and a hundred-frame lifespan by default, so a particle system that looks static the moment you build it isn't broken, it's simply waiting for a force node. That single fact resolves more first-attempt confusion than any other detail about the node.
What does the pRender node do, and why does performance depend on it?
pRender converts the entire particle chain feeding into it into either a 2D image or 3D geometry, and it's the single most important node in the whole system for one specific reason: it's the only particle node capable of running on the GPU, and only when its Style is set to 3D. Per JayAreTV's documentation of the node, pRender defaults to 3D mode, in which case it must connect through a Merge 3D node rather than a standard 2D Merge, and in 3D mode "the only controls that have any effect at all are Restart, Pre-Roll and Automatic Pre-Roll, Sub-Frame Calculation Accuracy, and Pre-Generate frames," with the rest of the node's blur, glow, and Z-buffer controls belonging specifically to 2D mode.
That architecture has a direct, and frequently misunderstood, performance consequence. According to a Blackmagic forum discussion on Fusion performance observations, pRender is the only node in Fusion's particle toolset that ever touches the GPU, and it only does so in 3D mode. Every node that feeds into it, pEmitter, pImageEmitter, every force and modifier covered in this guide, runs exclusively on the CPU regardless of what graphics card is installed.
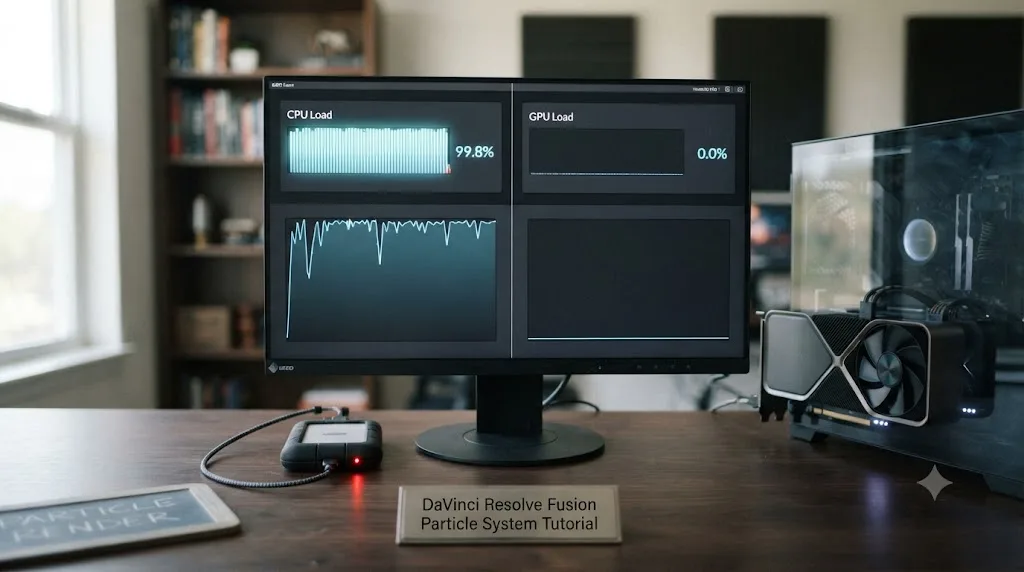
pRender is the only particle node in Fusion that ever runs on the GPU, and only when it's set to 3D mode; every node feeding into it computes on the CPU alone, no matter how powerful your graphics card is. That single architectural fact explains a symptom that otherwise looks like a bug: a particle-heavy render pinning your CPU near 100 percent while your GPU sits comfortably idle. It isn't broken. It's Fusion's particle system working exactly as designed, just designed around CPU cores rather than GPU cores for everything upstream of the final render.
The practical upshot: if a particle composite feels sluggish, upgrading your graphics card buys you nothing for the particle simulation itself. What helps is core count and clock speed on your CPU, and the general Fusion caching habits, Simultaneous Branching, disk caching, baking finished sections with Saver and Loader nodes, covered in full in our guide to fixing slow Fusion renders.
Should you set pRender to 2D or 3D?
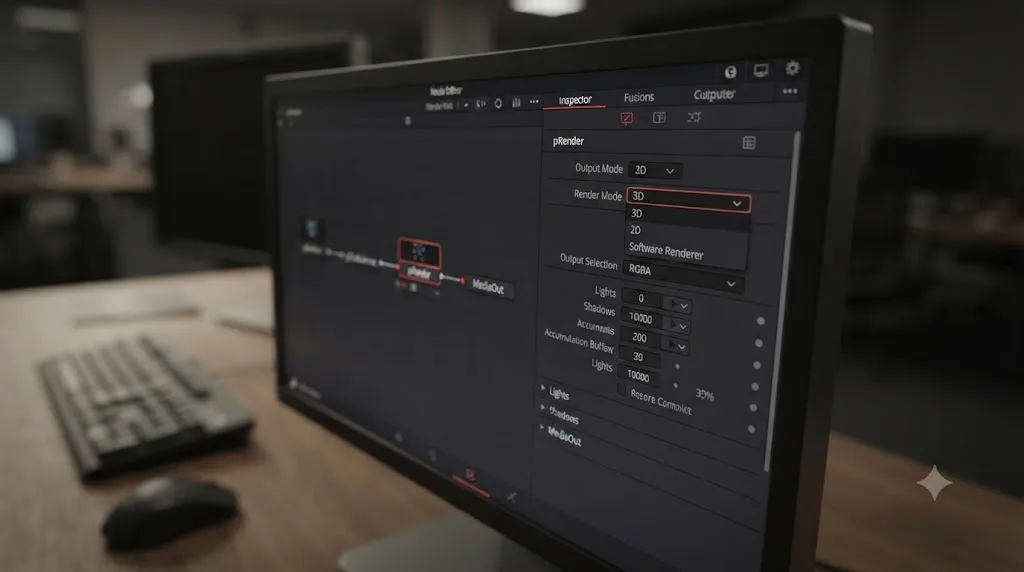
Use 3D, the default, whenever your particles need to exist alongside other 3D elements, a camera move, a 3D text layer, a tracked 3D scene, since 3D mode is also the only mode that gets any GPU assistance at all. Use 2D when your particles are staying inside a flat, Merge-node-based composite and you don't need true depth or camera interaction.
| Situation | Use 2D | Use 3D |
|---|---|---|
| Particles composited flat over footage with a standard Merge node | Yes | Also works, but adds an unneeded Merge 3D step |
| Particles need to move through a 3D camera scene | No | Yes, required |
| You want any GPU acceleration on the render step itself | No | Yes, the only mode that gets it |
| You need pRender's own blur, glow, or Z-buffer controls | Yes, these only apply in 2D mode | No, these controls do nothing in 3D |
| Particles interact with 3D text, a 3D model, or tracked 3D geometry | No | Yes |
The choice between 2D and 3D on the pRender node isn't primarily a creative decision, it's an architectural one, since 3D is the only mode where the GPU does any of the work at all. If your comp is otherwise flat and simple, defaulting straight to 3D mode anyway, purely for whatever small GPU offload it provides, is a reasonable habit rather than an unnecessary complication.
How do you add gravity, wind, or chaotic motion to particles?
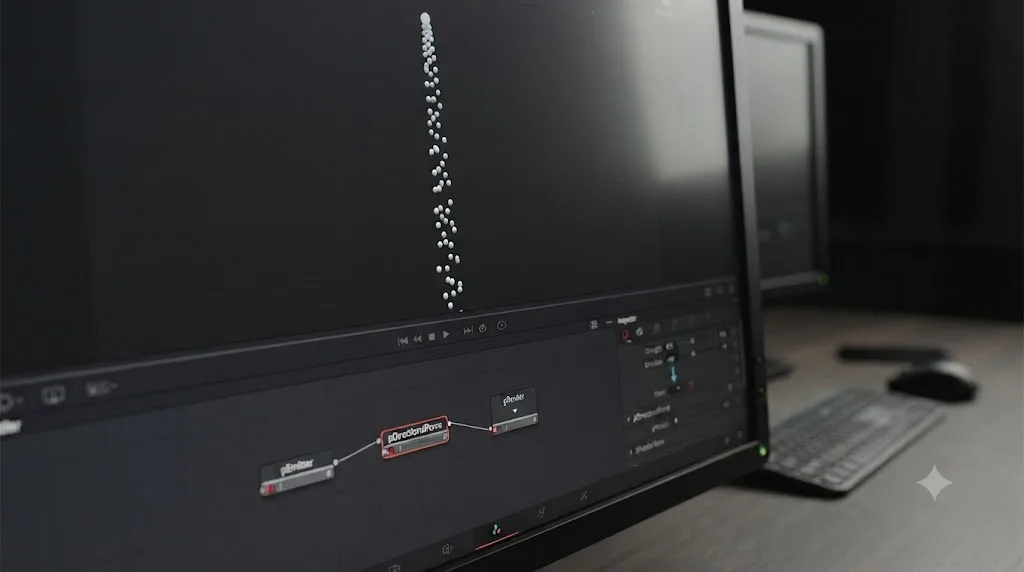
Insert a force node between pEmitter and pRender. Fusion has four dedicated force types, and each one answers a different kind of motion question.
pDirectionalForce is the standard way to fake gravity or a steady wind. Per JayAreTV's documentation of the node, its Strength parameter "determines the power of the force. Positive values will move the particles in the direction set by the controls; negative values will move the particles in the opposite direction." It defaults to pointing straight down, at negative 90 degrees on the Y axis, which is exactly the setup for gravity out of the box, and by design it affects every particle in the system unless you restrict it to a specific Region or Set.
pGradientForce reads brightness or color values from a separate image and pushes particles according to that gradient, useful when you want particles to drift toward, or away from, the brightest part of a shot rather than in one fixed direction.
pPointForce attracts or repels particles relative to a single point in space, the tool behind a magnet-like pull toward a location, or particles that scatter away from an explosion's center.
pTurbulence adds chaotic, noise-driven motion rather than a directional push. In practical use, feeding a Fast Noise node into pTurbulence and raising the noise's Seething Rate and Contrast, while lowering pTurbulence's own Threshold Low, is the standard recipe for a believable, non-repeating drift, the kind smoke or dust needs to avoid looking like it's moving in a perfect, mechanical line.
pDirectionalForce defaults to simulating gravity straight down the Y axis, and it affects every particle in the system by default, regardless of region, unless you deliberately restrict it. That default is convenient the first time you add gravity to a falling-snow effect, and it's exactly the setting you need to remember to override the moment a second emitter in the same composite needs to float upward instead.
How do you slow particles down or make them come to rest?
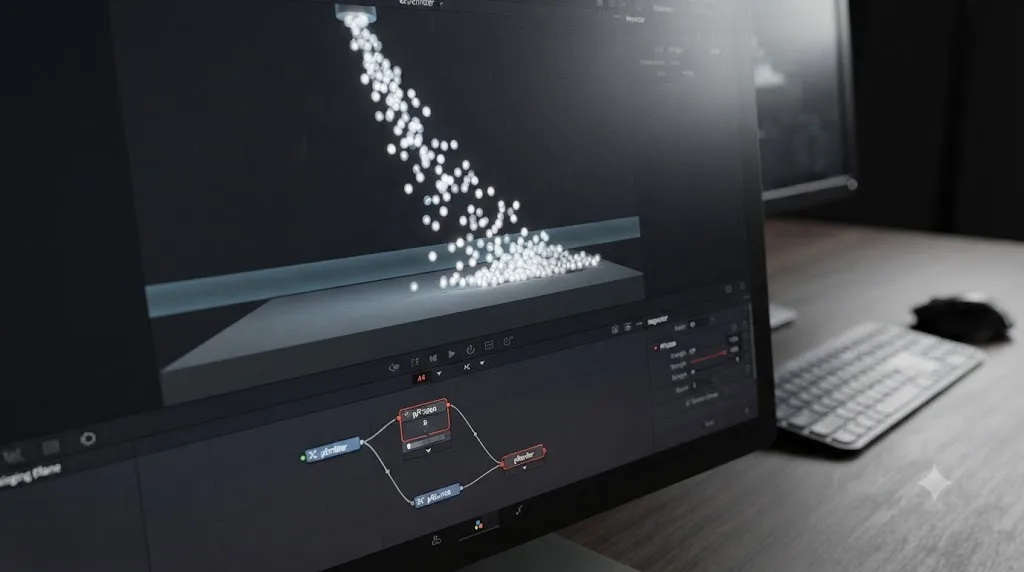
Insert a pFriction node. Per JayAreTV's documentation, pFriction applies resistance to a particle's motion inside a defined region, and it produces two independent kinds of friction: Velocity Friction, which slows a particle's straight-line movement, and Spin Friction, which slows or eliminates its rotation. Larger values on either slider mean stronger friction and a faster stop.
This matters most in effects where particles need to genuinely settle rather than fall forever, snow piling on a windowsill, sparks skidding to a stop on pavement, dust motes drifting down onto a surface and staying there. A pFriction region placed exactly at that surface, ground level, a windowsill, a tabletop, slows any particle that enters it, while particles still above the region keep moving freely.
It's worth pairing this fact with a related one covered later in this guide, because the two failure modes look similar but have different fixes: Motion Array's coverage of Fusion particles and multiple practical tutorials note that pBounce is comparatively slow to compute and its particles never fully come to rest on their own, drifting almost imperceptibly forever rather than settling completely. pFriction, layered in alongside pBounce, is what actually stops that residual drift.
How do you make particles bounce, collide, or stick to a surface?
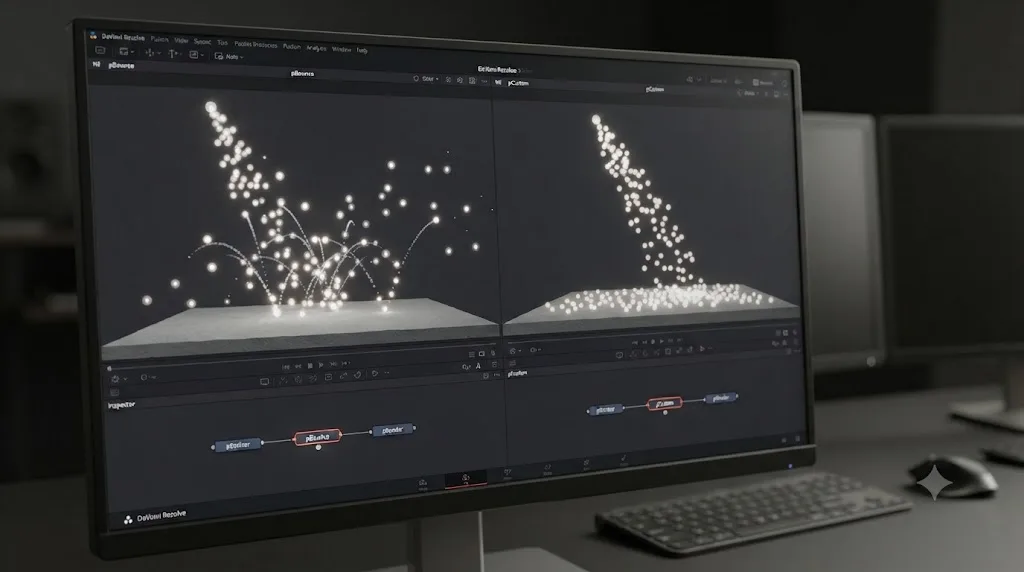
Use pBounce for a straightforward collision against a defined surface, and reach for pCustom's expression-based technique only when pBounce's cost or its refusal to ever fully settle becomes a real problem in your shot.
pBounce sits between pEmitter and pRender and uses a 3D mesh or a bitmap channel to define the surface particles collide with. It's the fastest path to a working bounce, and it's also, by reputation among people who use Fusion's particle system regularly, one of the slower and less precise nodes in the toolset: particles bouncing off a pBounce surface rarely come to a full, motionless stop, instead settling into a barely perceptible residual jitter that reads as "not quite finished" on a close, static shot.
Compositor Noah Hähnel documents a faster, more controllable alternative built entirely from pCustom and pCustomForce, Fusion's two expression-driven nodes. Rather than relying on pBounce at all, his technique reads a particle's collision state directly and calculates a realistic deflection using the surface's own normal direction, the rgnnx, rgnny, and rgnnz attributes, per his writeup of the technique. For a particle that should simply stop dead on contact rather than bounce at all, an even simpler expression does the job: an expression like if(rgnhit=1, 0, vx) entered into the particle's velocity field zeroes out that axis's velocity the instant the particle registers a hit, freezing it in place.
That second technique, freezing a particle on contact rather than bouncing it, is exactly what a rain-of-arrows effect needs: an arrow that hits the ground and stays there, point down, rather than bouncing back up unrealistically. A tutorial on building exactly that effect uses pFriction for the same practical purpose, slowing particles inside a ground-level region until they read as stopped, alongside pDirectionalForce for gravity and a Shape node combined with Fast Noise to build the ground surface itself that the particles land against.
pBounce is the faster path to a working collision, and pCustom's expression-based freeze is the more controllable one for anything that needs to stop dead rather than bounce indefinitely. Reach for pBounce first on a shot where "roughly right" is good enough, and only drop into pCustom's expression syntax once a specific shot's collision behavior needs to be exact.
How do you make particles avoid an obstacle instead of colliding with it?
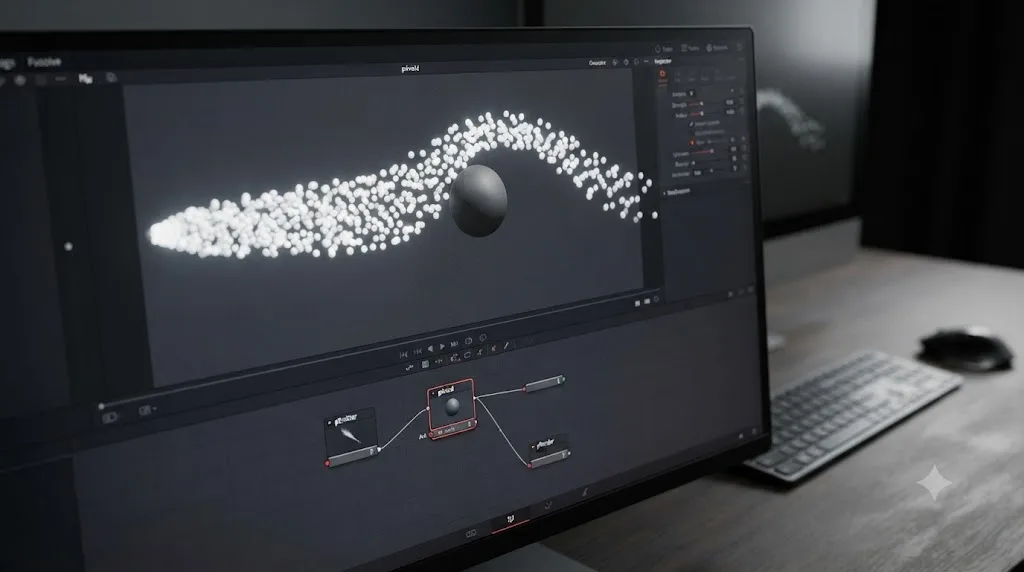
Use pAvoid rather than pBounce when you want particles to steer around a shape rather than hit and stop or deflect off it, the difference between smoke curling around a person walking through frame and dust genuinely bouncing off a hard surface. pAvoid, like pBounce, reads a defined region, a 3D mesh or a bitmap channel, but instead of calculating an impact response, it nudges a particle's path so it never actually reaches the obstacle in the first place.
The distinction matters for realism specifically because a real collision and a real deflection look different on screen. Smoke or fog moving around a solid object thins and curls at the edges as it's pushed aside; it doesn't bounce back the way a solid particle striking a hard surface does. Reach for pAvoid on anything meant to read as a gas, a fluid, or a swarm of small, light objects genuinely steering clear of something, and save pBounce for anything meant to read as solid particles genuinely striking a hard surface.
How do you emit particles from an image or a logo instead of a blank region?
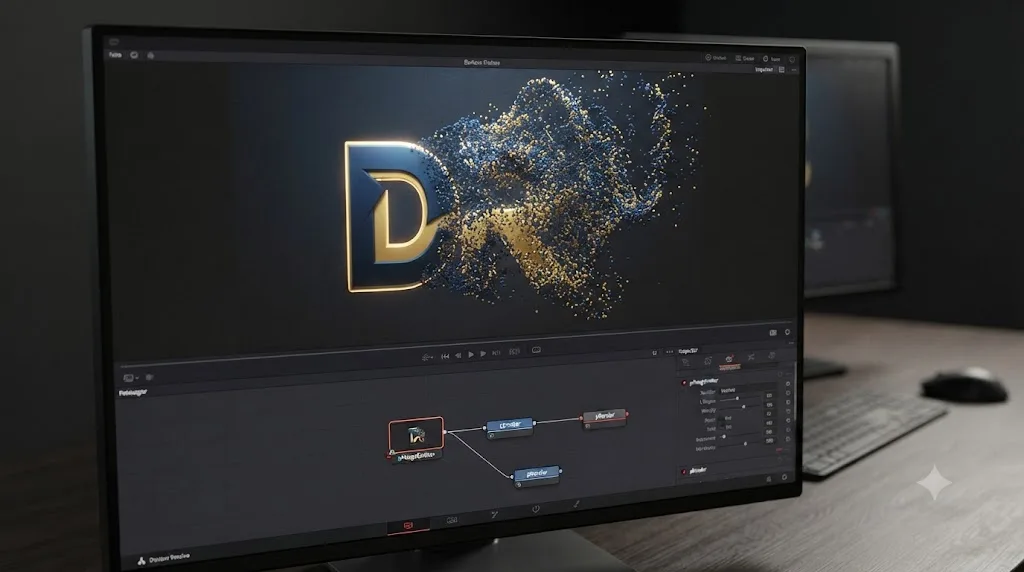
Use pImageEmitter in place of pEmitter. Where pEmitter spawns particles randomly inside a shape you define, pImageEmitter treats every pixel of a source image as a potential particle, colored to match that pixel, and emits them in a regular 2D grid rather than a random scatter.
Its Style Bitmap input takes a small image, ideally around 256 by 256 pixels, that gets duplicated across every particle it generates, and its X/Y Density controls set how tightly that grid samples the source image: a density below 1.0 produces a looser, sparser distribution, while a density above 1.0 generates more than one particle per source pixel. An Alpha Threshold control decides how opaque a source pixel needs to be before it counts as a valid particle at all, which matters directly for any image with a transparent background, a logo PNG especially, since a low threshold would otherwise try to spawn particles from nearly-invisible edge pixels.
This is the standard technique behind a logo that dissolves into scattered dust, or the reverse, particles that fly in and assemble into a finished logo. Feed your logo's alpha-channel image into pImageEmitter, set a Region and forces that scatter the particles outward, and animate the Number or the emission timing so the effect reads as a genuine dissolve rather than particles simply appearing pre-scattered from frame one.
pImageEmitter turns every pixel of a source image into a potential particle, which is the specific technique behind a logo dissolving into dust, while plain pEmitter only ever knows the shape of the region you draw, never the actual image inside it. Confusing the two is the most common reason a first attempt at an image-based particle effect produces a generic scatter instead of a shape that visibly comes from the source logo or photo.
How do you change a particle's color or size partway through its life?
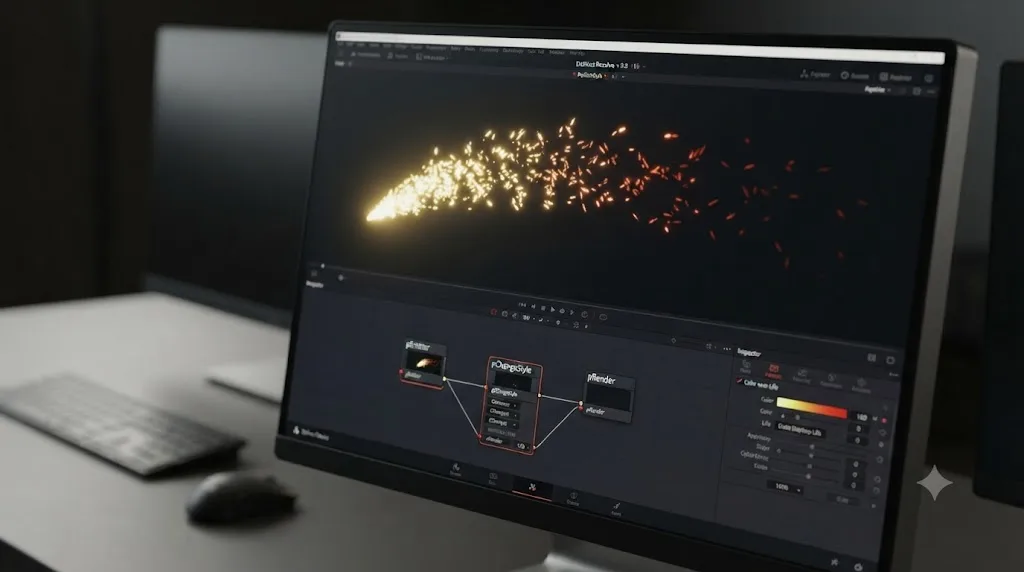
Insert a pChangeStyle node. It sits between pEmitter and pRender the same way a force node does, but instead of altering motion, it alters a particle's appearance properties, color, size, and related style attributes, at a specific point in that particle's lifespan rather than leaving it fixed from birth to death.
This is the tool behind a spark that starts bright white-yellow and cools to a dull orange-red before it dies, or a firework ember that shrinks as it fades. Without pChangeStyle, every particle a pEmitter or pImageEmitter generates keeps whatever color and size it was born with for its entire life, which reads correctly for some effects, snow, dust, and reads noticeably wrong for anything meant to simulate combustion, heat, or decay over time.
Like the other particle nodes covered in this guide, pChangeStyle supports a random seed value, and two nodes sharing the same seed produce identical random results, useful when you need a style change to look consistent across multiple takes of the same render, or when you're troubleshooting a specific frame and want to isolate whether a visual change is coming from the style node or from somewhere else in the chain.
How do you make particles follow a path or swarm together?
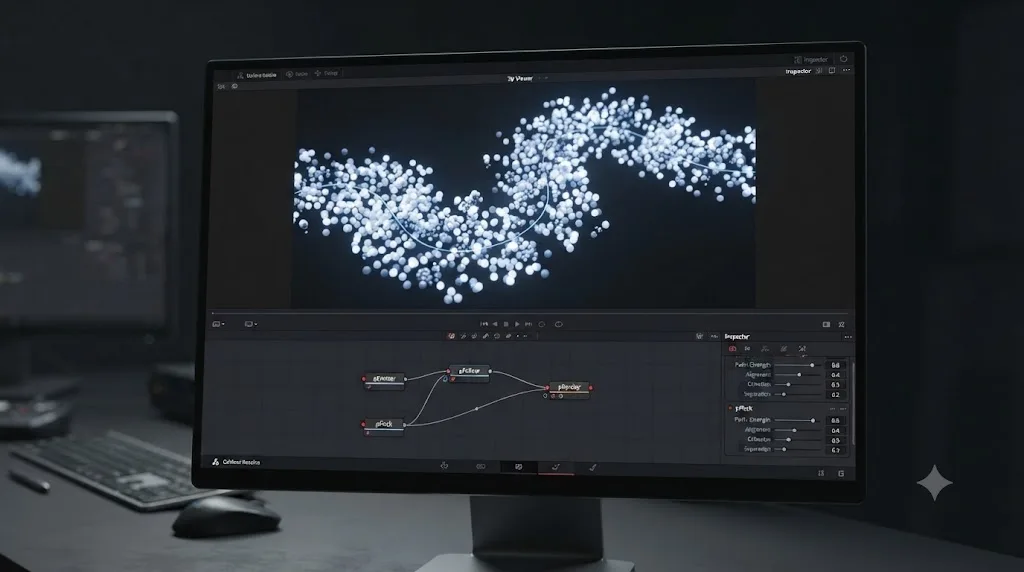
Combine pFollow and pFlock when you want group behavior that changes direction naturally, rather than a rigid, pre-animated path every particle in the swarm shares identically.
pFollow bends a particle stream toward a target position you animate by hand, positioning a follow object and keyframing its movement to define the path particles get pulled toward. On its own, that produces a stream that all moves toward the same point in lockstep, useful, but visually uniform in a way real swarms and flocks never are.
pFlock adds the missing piece: particle-to-particle influence, where each particle's direction responds partly to its neighbors rather than purely to an external target. Combined, pFollow supplies the overall direction a swarm is heading, and pFlock supplies the internal variation, individual particles drifting slightly out of formation and back in, that makes the result read as birds, insects, or fish rather than a single object copy-pasted many times along one path.
pVortex works differently again, pulling particles into a swirling, rotating path around a fixed center rather than toward a moving target or into a loose flock. It's the tool behind a whirlpool, a tornado's funnel, or a magical vortex effect, anywhere particles need to spiral rather than flow or swarm.
pFollow supplies direction, pFlock supplies the individual variation that makes a group of particles read as alive rather than copied, and neither one alone produces a convincing swarm. A pFollow-only stream looks like a formation. A pFlock-only stream looks like scattered chaos with no destination. Together, they produce the specific, recognizable texture of a real flock changing direction as one loose body.
How do you make a particle spawn more particles?
Insert a pSpawn node on the particle you want to act as a secondary emitter. It makes each affected particle generate one or more new particles of its own, and critically, the original particle keeps living out its own lifespan independently while every particle it spawns becomes fully independent too, with its own life, its own style, and its own forces acting on it from that point forward.
This is the standard technique behind a firework: a single rising particle, the shell, travels upward under a pDirectionalForce, and at a specific point, its apex, a pSpawn node triggers, and the one particle becomes dozens of independent sparks that scatter outward and fall under their own gravity. Without pSpawn, you'd need a separate emitter and a manually timed cue for every burst, rather than one system that spawns automatically wherever the original particle's condition is met.
The practical warning worth internalizing before your first attempt: pSpawn's output scales multiplicatively, and an unrestricted pSpawn node can produce an overwhelming number of particles within a few frames if every particle it touches spawns several more, which then each spawn several more in turn. The standard fix is restricting the effect deliberately, using Start and End Age so spawning only happens in a specific window of a particle's life, Probability so only a fraction of eligible particles actually spawn, and Sets or Regions so the effect only applies to particles you've deliberately flagged for it, per JayAreTV's documentation of the node.
pSpawn turns one particle into an independent emitter of its own, and left unrestricted, that multiplication compounds fast enough to overwhelm a composite within a handful of frames. Restricting it with Start and End Age, Probability, and Sets isn't an advanced refinement, it's the setting that makes the difference between a firework burst and a render that grinds to a halt under millions of untracked particles.
What is pCustom, and when do you actually need it?
pCustom, and its force-focused counterpart pCustomForce, let you rewrite a particle's per-frame attributes directly with hand-written expressions instead of relying on a built-in node's fixed behavior. Compositor Noah Hähnel, who's documented the technique in detail, describes both tools plainly: "pCustom and pCustomForce are two very powerful tools in Blackmagic Design Fusion / DaVinci Resolve" that remain underdocumented relative to how much they can actually do, per his writeup of the technique.
The two situations where pCustom earns its complexity, rather than adding it for no reason, are collision behavior that pBounce handles slowly or imprecisely, covered earlier in this guide, and force behavior that needs to be conditional in a way no built-in force node exposes directly. Hähnel's example of the second case: an expression like if(user=1, 0, n1) on a pCustomForce node prevents a directional or turbulence force from affecting particles that are already flagged as being in collision, so a particle that's already stuck to a surface doesn't keep getting nudged by gravity or wind as if it were still airborne.
The honest tradeoff is real. pCustom's expression syntax has a learning curve that pBounce, pDirectionalForce, and the rest of the built-in force nodes simply don't, since you're writing small pieces of logic rather than dragging a slider. Reach for it specifically when a built-in node's behavior is either too slow, too imprecise, or structurally incapable of the specific conditional logic your shot needs, not as a default starting point for every particle build.
pCustom trades a slider's simplicity for a small amount of expression syntax, and that trade only pays off once a built-in node's fixed behavior genuinely can't do what a specific shot needs. Most particle systems in this guide never need it. The ones that do, precise sticking behavior, conditional forces, are exactly the ones a slider-only toolset structurally can't solve.
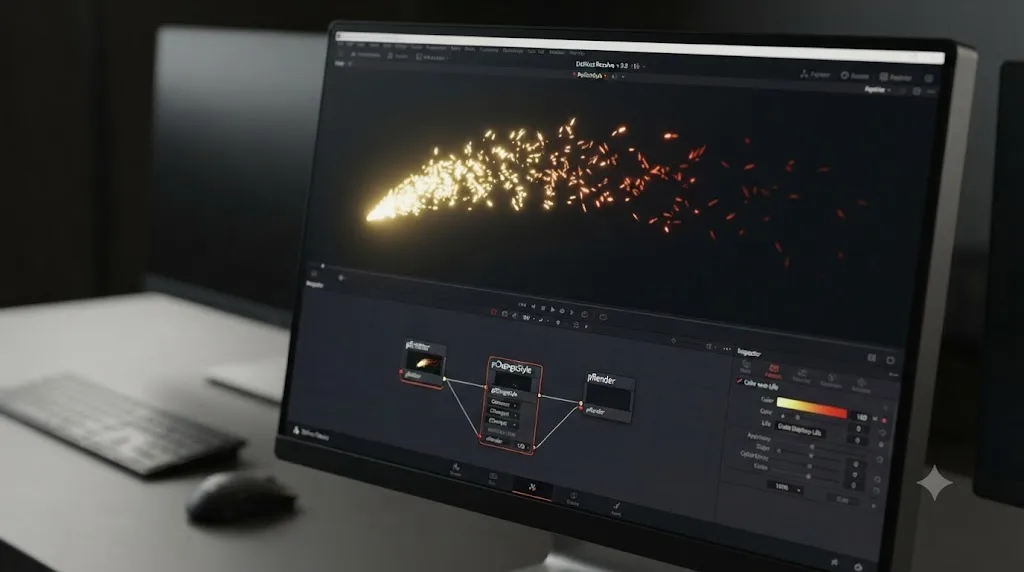
A worked example: build falling snow from scratch
Every concept above comes together in one small, complete build. This is deliberately simple, snow falling and settling near the bottom of frame, because a first real particle project should be finishable in one sitting.
- Add a pEmitter node and set its Region to a wide, flat shape spanning the top of your frame, wider than the visible image so snow doesn't visibly start and stop at the frame's horizontal edges.
- Set Number to a modest value first, a few particles per frame, and Life to something long enough that a particle can fall the full height of your frame before its lifespan runs out; increase both once the basic motion looks right.
- Add a pDirectionalForce node between pEmitter and pRender, pointed downward at its default gravity angle, and lower its Strength well below the default until snow falls at a slow, believable drift rather than dropping like a stone.
- Add a pTurbulence node downstream of pDirectionalForce, fed by a Fast Noise node, and raise the Fast Noise's Scale and Seething Rate modestly so snowflakes drift side to side slightly as they fall, rather than tracing a perfectly straight vertical line.
- Add a pFriction node with its region set to the bottom portion of the frame, where snow should appear to land and stop, so particles slow to a believable rest instead of falling straight through the bottom edge.
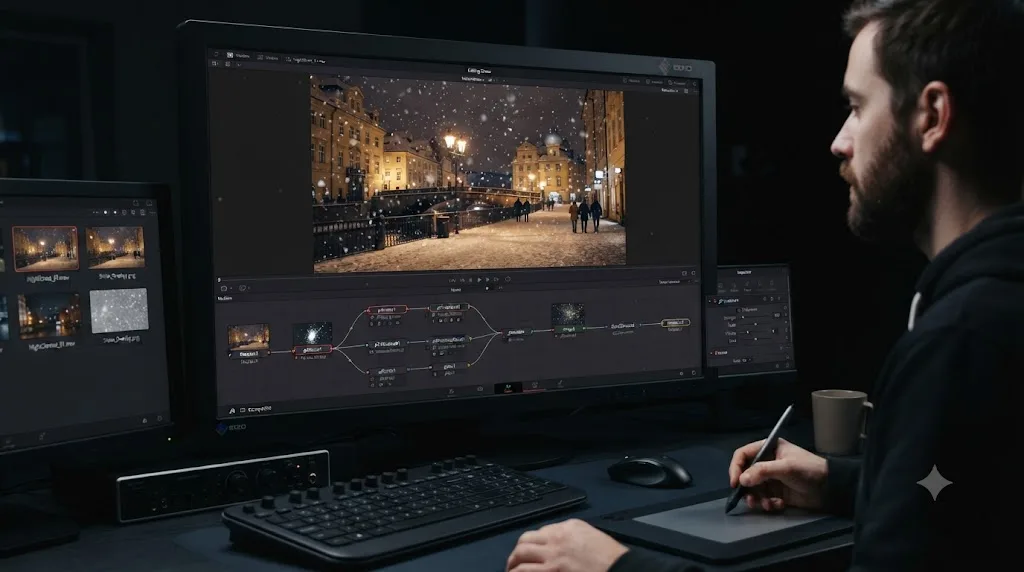
- Connect pEmitter, through pDirectionalForce, pTurbulence, and pFriction, into pRender, and connect pRender's output into a Merge node's foreground input, with your background footage on the Merge's background input.
- Set pRender to 3D if you want any GPU assistance on the render step, connecting it through a Merge 3D node, or leave it in 2D if you're keeping the whole composite flat and want access to pRender's own blur and glow controls.
- Play back and adjust Number, Strength, and the Fast Noise's Scale together, since these three settings interact more than any single one does alone: more particles with less turbulence reads as a heavy, still snowfall, while fewer particles with more turbulence reads as a light, blustery flurry.
That's a complete particle build: an emitter, a directional force, a turbulence pass, a friction stop, and a render node, five node types covering emission, gravity, chaos, and settling in one small project. Every larger particle system in this guide is this same pattern, extended with more nodes, not a fundamentally different skill.
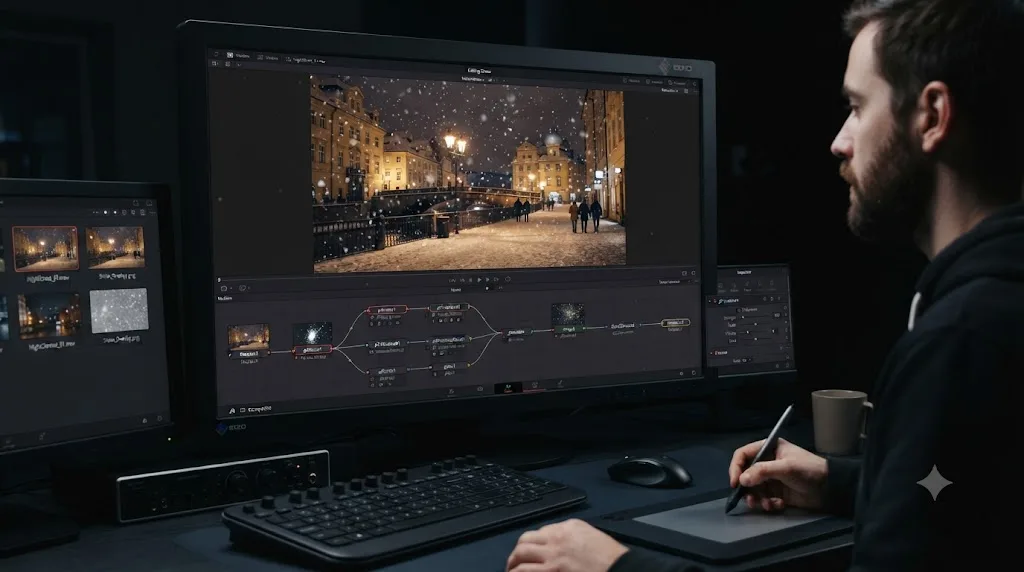
A worked example: a logo that dissolves into particles
A second complete build, this time using pImageEmitter instead of pEmitter, for the specific case of a logo or graphic that scatters into dust rather than particles filling a generic region.
- Bring your logo in as a MediaIn node, ideally a PNG with a genuine alpha channel so the transparent background around the logo doesn't itself generate particles.
- Add a pImageEmitter node and connect your logo's output into its orange input, which defines both where particles spawn and what color each one takes on.
- Set the Alpha Threshold high enough that only the logo's genuinely opaque pixels generate particles, confirming in the Viewer that particles trace the logo's actual shape rather than a faint halo around its edges.
- Adjust X/Y Density to control how fine or coarse the resulting particle grid looks; a density near 1.0 keeps roughly one particle per source pixel, while a lower density produces a chunkier, more stylized scatter.
- Add a pDirectionalForce or pPointForce node downstream, set to push particles outward from the logo's center rather than in one uniform direction, for a scatter that reads as an explosion outward rather than a uniform drift.
- Animate Number, or the emitter's overall opacity, from a high starting value down to zero across a short window, so the effect reads as the logo actively dissolving rather than the whole image appearing as scattered particles from the very first frame.
- Connect through to a pRender node set to 3D, then into a Merge node, with your background plate feeding the Merge's background input.
- Check the timing against the logo's original clean frame, adjusting how quickly particles disperse until the dissolve reads as fast enough to feel energetic without disappearing so quickly the logo's shape is never recognizable in the transition.
The reverse version, particles flying in and assembling into a finished logo, uses the same node chain with the force nodes reversed, pulling particles toward the logo's shape with a pPointForce or pFollow target instead of pushing them away from it.
A worked example: a firework burst using pSpawn
A third build, combining pDirectionalForce, pChangeStyle, and pSpawn for the specific case of a single rising shell that bursts into scattering sparks.
- Add a pEmitter node with a small, roughly circular Region near the bottom of frame, Number set low since this effect needs individual tracked shells rather than a continuous stream, and a Life long enough to cover the shell's full rise and burst.
- Add a pDirectionalForce node with a moderate upward Strength, pointed opposite its default gravity direction, so the emitted particle rises rather than falls.
- Add a second, weaker pDirectionalForce pointed downward, at a lower Strength than the upward force, so the rising shell decelerates naturally as it climbs, the way a real firework shell loses momentum before its burst.
- Add a pSpawn node, restricted with Start Age set to roughly the point in the shell's Life where it should reach its apex and burst, so spawning triggers at the right moment rather than immediately at birth.
- Set pSpawn's spawned-particle count to produce the burst's spark count, keeping the number modest at first, since each spawned particle is now fully independent and inherits its own downstream forces.
- Add a pDirectionalForce for gravity downstream of the pSpawn node specifically, affecting only the spawned sparks rather than the original rising shell, so sparks fall convincingly after the burst.
- Add a pChangeStyle node on the spawned sparks, transitioning their color from a bright white-yellow at spawn to a dimmer orange-red as their individual lifespan runs out, for the cooling-ember look real fireworks have.
- Connect the whole chain into pRender, set to 3D for GPU assistance on the render step, then into a Merge node over your night-sky background footage.
- Test with one shell first, confirming the rise, burst timing, spark spread, and color fade all read correctly, before duplicating the whole chain, or animating pEmitter's Number in short bursts, to produce multiple shells across a longer shot.
What mistakes wreck a first attempt at Fusion particles?
A handful of habits account for most of the frustration first-time particle builders report, and every one of them has a specific, learnable fix.
- Expecting particles to move without adding a force node. pEmitter's particles are born with zero velocity by default. A static-looking particle system on the first try isn't broken, it's simply missing a pDirectionalForce, pTurbulence, or another force node entirely.
- Leaving pSpawn unrestricted. An unrestricted pSpawn node's output compounds fast enough to overwhelm a composite within a handful of frames. Always set Start and End Age, Probability, or a Region limiter before letting a pSpawn chain run unattended.
- Expecting the GPU to speed up particle simulation. Only pRender, and only in 3D mode, ever touches the GPU. A slow particle comp needs a faster CPU or fewer particles, not a graphics card upgrade.
- Reaching for pBounce when pFriction or pCustom would actually solve the problem. pBounce is the right tool for a genuine collision response, but it's slow and its particles rarely come to a complete rest. A particle that just needs to stop and stay stopped is usually better served by pFriction, or by pCustom's expression-based freeze technique.
- Using pEmitter when pImageEmitter is the actual tool the shot needs. Any effect meant to trace a specific image or logo's shape needs pImageEmitter's pixel-based emission, not pEmitter's region-based random scatter.
- Forgetting that pRender's orange input only accepts particle nodes. A common early confusion is trying to feed a plain image or a Merge node's output directly into pRender; that input is reserved specifically for other particle nodes in the chain.
- Building an elaborate system before confirming the two-node skeleton works. Every particle effect in this guide reduces to a pEmitter feeding a pRender at its core. Confirm that skeleton renders correctly before layering in six more nodes, so a problem you hit later is easier to isolate.
None of these are advanced mistakes. They're first-attempt mistakes, and every working Fusion compositor made every one of them on the way to not making them anymore.
What do you do when particles don't show up or misbehave?
Most particle problems fall into a handful of predictable branches, and diagnosing which one you're in is faster than randomly re-clicking sliders.
Nothing shows up in the Viewer at all. Confirm pEmitter's output actually connects into pRender's orange input, and that pRender connects onward toward MediaOut, the same MediaOut debugging habit that applies to every Fusion node, particle or otherwise, covered in our Fusion page tutorial for beginners. Also confirm pEmitter's Region actually overlaps the visible frame; a Region positioned entirely off-screen produces particles you'll never see.
Particles appear but never move. This is almost always the missing-force problem covered above. pEmitter's default Velocity is zero, so add a pDirectionalForce, pTurbulence, or another force node between pEmitter and pRender.
Particles move, but a force node seems to have no effect. Check whether that force node's Region or Set restriction is excluding the particles you're watching. A pDirectionalForce or pFriction node scoped to a specific Set or Region does nothing to particles outside that scope, which looks identical to a broken node until you check the restriction settings specifically.
The render is painfully slow, and Task Manager or Activity Monitor shows the GPU sitting idle. That's not a bug. It's the pRender GPU-in-3D-mode-only architecture covered earlier in this guide, working as designed. Check your CPU's core count and clock speed before considering any GPU-focused fix, and lean on the general Fusion performance habits, caching, Simultaneous Branching, in our dedicated render-slow guide.
A pSpawn chain produces an overwhelming number of particles almost immediately. Add or tighten Start Age, End Age, and Probability restrictions on the pSpawn node, and confirm you're not accidentally letting every spawned particle spawn further generations of its own.
Particles bounce oddly or never fully stop. This is pBounce's known limitation. Layer in a pFriction node at the collision surface, or consider Noah Hähnel's pCustom-based freeze technique covered earlier if the shot needs particles to stop precisely rather than approximately.
Particles emitted from an image don't trace the image's shape at all. Confirm you're using pImageEmitter, not plain pEmitter; only pImageEmitter reads pixel data from a source image. Also check the Alpha Threshold setting if the shape looks bloated or includes areas that should be transparent.
None of these require deep VFX expertise to fix. They require knowing which of seven or eight usual suspects you're looking at, which is exactly what this section maps out.
What hardware do you actually need for a heavy particle system?
Since every particle node except pRender in 3D mode runs on the CPU, the specs that matter most for particle work differ from the specs that matter most for color grading or a straightforward edit, where GPU power dominates. Core count and clock speed carry more of the load here than VRAM does.
The guidance below is a practical starting point based on how Fusion's particle architecture actually distributes work, not an official per-tool Blackmagic specification, since Blackmagic doesn't publish particle-specific minimums.
| What you're building | Realistic minimum | Comfortable |
|---|---|---|
| A light particle effect, a few dozen particles, simple forces | Any machine that runs Resolve at all | Same |
| A moderate system, a few hundred particles with turbulence and friction | A modern 6-core CPU, 16 GB RAM | An 8-core or better CPU, 32 GB RAM |
| A dense system, pSpawn-driven bursts, flocking, or multiple emitters at once | A high core-count CPU, 32 GB RAM | A workstation-class CPU with high clock speed across all cores |
| The pRender step itself, in 3D mode | 4 GB VRAM minimum | 12 GB+ VRAM, matching general Fusion 3D and 4K guidance |
Resolve 21's own baseline GPU requirement sits at 4 GB of VRAM per Blackmagic's official tech specs, and Puget Systems' hardware recommendations for DaVinci Resolve put a comfortable 4K working minimum closer to 12 GB. Both figures are real, useful baselines for Resolve generally. Neither one is the bottleneck a heavy particle system actually hits first, since that bottleneck sits upstream, in the CPU-only particle nodes, before pRender's GPU step ever gets involved.
A particle-heavy Fusion composite is one of the rare cases in Resolve where CPU specs matter more than GPU specs, because every node except the final render step runs exclusively on the processor. If a particle comp is slow and your GPU utilization monitor shows near-zero activity during the heaviest part of the simulation, that's confirmation, not a mystery. The fix is CPU headroom or fewer particles, not a graphics card upgrade.
Do you need DaVinci Resolve Studio for the particle system?
No. All twenty particle nodes covered in this guide, pEmitter and pRender included, ship in the free version of DaVinci Resolve and have for years, the same way Fusion's core node system generally has never sat behind the Studio license, per Blackmagic's Fusion product page. Nothing about building snow, fireworks, a dissolving logo, or a flocking swarm requires the $295 one-time Studio license.
If you're weighing whether Studio is worth it for your workflow generally, rather than for particles specifically, that decision comes down to features that genuinely are gated: Magic Mask, the Resolve 21 Neural Engine AI tools, Dolby Vision and HDR10+ delivery, none of which this effect touches at all. Particles are one of the areas where the free and paid tiers of Resolve behave identically, start to finish.
Does DaVinci Resolve 21 or Krokodove change anything about the particle system?
No. Krokodove, the large motion graphics toolset Blackmagic folded natively into Fusion starting in Resolve 21, added more than 100 new tools, raster, pack, warp, 3D duplicate, and modifier utilities among them, at no extra cost in either the free or Studio edition. None of those additions are particle nodes, and Blackmagic's own coverage of the release confirms it: CG Channel's writeup of Fusion Studio 21.0 lists the release's actual headline Fusion changes, Krokodove's integration, a new Fairlight Animator modifier, a dColorCorrector node, and improved Text+/MultiText tools with color font and emoji support, and doesn't mention the particle system once.
A feature list this detailed having nothing to say about the particle system is itself useful information: pEmitter, pRender, and the eighteen nodes between them are the same tools they've been for years, not a moving target rewritten every release. Every technique in this guide holds up whether you're on 21.0, 21.0.2, or whichever point release ships next, the same durability our glow node settings guide found true for that node's own Controls tab across the same release cycle.
If a future point release does change particle behavior in a way that affects this guide, that's the kind of update worth checking our broader DaVinci Resolve 21 review for, since we track what changes with each point release there.
Should you build particles from scratch, use a built-in template, or reach for a plugin?
Fusion ships several ready-made particle examples you can study rather than build from a blank Flow. Open Effects Library > Templates > Particles inside the Fusion page and drag one into your composite; they arrive as groups you can double-click to inspect, node by node, exactly the way studying a Krokodove template teaches real node habits faster than starting from nothing, a technique covered in our Fusion page tutorial for beginners.
Blackmagic Design Certified Master Trainer Gedaly Guberek, whose site curates practical Fusion particle tutorials, sums up the honest appeal of the built-in toolset plainly: "Whether you want to use particles for Motion Graphics or VFX shots, the power and flexibility these tools offer is impressive," per his tutorial on creating a rain of arrows with particles in Fusion. That's not marketing copy. It's an honest assessment from someone who spends time teaching the tool, and it matches what this guide has walked through: twenty free nodes cover gravity, collision, spawning, flocking, and image-based emission without a single paid plugin.
| Approach | Best for | Limitation |
|---|---|---|
| Built-in Effects Library > Templates > Particles | Learning by studying a finished, working example | Limited to whatever specific effects Blackmagic shipped as templates |
| Building from pEmitter and pRender by hand, as this guide covers | Full control over every parameter, any custom effect | Requires understanding the node chain, and accepting the CPU-bound performance ceiling |
| A third-party particle plugin or preset pack | Faster access to a large library of finished, polished looks | Paid, and still ultimately builds on the same underlying pEmitter-to-pRender architecture |
There isn't a widely used, fully free third-party particle system for Fusion that goes meaningfully beyond what the built-in twenty nodes already do; most polished third-party options in this space are paid add-ons layered on top of the same core engine, not a replacement for it. For most editors, learning the built-in chain this guide walks through covers real production needs without ever reaching for a wallet.
Twenty free nodes, chained correctly, cover gravity, collision, image-based emission, spawning, and flocking without a single paid plugin, which is a genuinely unusual amount of built-in capability for a tool that ships in Resolve's free tier. That's worth knowing before assuming a specific particle look requires something Fusion doesn't already have.
Where do you go from here?
You now know the whole particle chain: pEmitter and pImageEmitter for generation, pDirectionalForce, pGradientForce, pPointForce, and pTangentForce for directed motion, pTurbulence for chaos, pFriction, pBounce, and pAvoid for surfaces and collisions, pFollow, pFlock, and pVortex for group behavior, pSpawn for secondary emission, pChangeStyle for appearance over time, pCustom and pCustomForce for anything the built-in nodes can't quite do, and pRender at the end of every single chain. That's the complete toolkit, the same twenty nodes a working compositor reaches for on a real production.
The next step isn't a bigger, more ambitious system on your very next project. It's the falling-snow build from this guide, done once, end to end, on your own footage. Do that before attempting a firework burst or a dissolving logo. Particle systems reward the same lesson every other part of Fusion does: a small, finished project teaches more than a big, abandoned one.
If you get stuck mid-build and can't remember which tab a specific pEmitter or pRender control lives in, that's exactly the moment a second set of eyes on your actual screen helps more than another documentation page. TryUncle is the on-screen assistant for DaVinci Resolve on macOS, ask in plain words and Uncle points at the exact control on your screen, which matters here specifically since half of what trips people up in a particle build is simply not knowing which of four Inspector tabs a setting is hiding in. And once your first particle system feels routine, our guide to labeling and coloring Fusion nodes is the natural next stop, since a chain of a pEmitter, three force nodes, a pSpawn, and a pRender gets confusing fast without a naming system to keep it readable.
Frequently asked questions
- How do you create a particle system in DaVinci Resolve's Fusion page?
- Add a pEmitter node, connect its output to a pRender node, and connect pRender's output toward MediaOut. That two-node chain is a complete, working particle system on its own. Everything else, gravity, turbulence, bouncing, color changes over time, is a node you insert between pEmitter and pRender.
- What does the pEmitter node do in DaVinci Resolve Fusion?
- It's the source of every particle: how many spawn per frame, how long each one lives, what shape or bitmap they use, and what region of the frame they emit from. Its default Lifespan is 100 frames and its particles start with zero velocity, so nothing moves until a force node acts on them.
- Why is my Fusion particle system so slow to render?
- Because only one particle node, pRender, ever touches the GPU, and only when it's set to 3D mode. Every node upstream of it, pEmitter included, runs exclusively on the CPU no matter how powerful your graphics card is, so a heavy particle comp bottlenecks on CPU core count and clock speed, not VRAM.
- Do you need DaVinci Resolve Studio to use the particle system?
- No. All twenty of Fusion's particle nodes, pEmitter and pRender included, ship in the free version of DaVinci Resolve and have for years. Nothing about the particle toolset itself sits behind the Studio license.
- How many particle-specific nodes does DaVinci Resolve's Fusion page have?
- Twenty, covering emission, forces, collision, spawning, style changes, and rendering. Blackmagic's own Fusion reference manual groups them under one Particle Nodes chapter, and every one of them is meant to be chained between a pEmitter and a pRender.
- Can you emit particles from an image or a logo in DaVinci Resolve?
- Yes, with the pImageEmitter node. Instead of spawning particles randomly inside a region the way pEmitter does, pImageEmitter treats every pixel of a source image as a potential particle, colored to match, which is the standard technique for a logo that dissolves into dust or reassembles from scattered pieces.
- Does DaVinci Resolve 21 or Krokodove change anything about Fusion's particle system?
- No. Krokodove added more than 100 motion graphics tools to Fusion in Resolve 21, but none of them are particle nodes, and Blackmagic's release coverage for Fusion Studio 21.0 doesn't mention the particle system at all. The pEmitter-to-pRender workflow in this guide is the same one that's worked for years.
Sources
- Blackmagic Design: DaVinci Resolve Fusion (product page, tool count, capabilities)
- Blackmagic Design: DaVinci Resolve Studio product page (pricing)
- Blackmagic Design: DaVinci Resolve Tech Specs
- Fusion Reference Manual: Particle Nodes (chapter contents)
- Fusion Reference Manual: Particle Nodes (introduction)
- JayAreTV: Particle Nodes (overview)
- JayAreTV: pEmitter Node
- JayAreTV: pRender Node
- JayAreTV: pImage Emitter Node
- JayAreTV: pDirectionalForce Node
- JayAreTV: pFriction Node
- JayAreTV: pTurbulence Node
- JayAreTV: pBounce Node
- JayAreTV: pSpawn Node
- JayAreTV: pFollow Node
- JayAreTV: pFlock Node
- Blackmagic Forum: Fusion Performance Observations
- DVResolve (Gedaly Guberek): Creating a Rain of Arrows with Particles in Fusion
- DVResolve: Guide to Resolve's Particle System
- Noah Hähnel: pCustom, pCustomForce Examples, Do More With Fusion Particles
- VFXstudy: Particles for Motion Graphics, Beginner Tutorial
- CG Channel: Blackmagic Design releases Fusion Studio 21.0
- CG Channel: Blackmagic Design releases DaVinci Resolve 21.0 (Krokodove)
- Motion Array: Create Particles in DaVinci Resolve 17 for Professional Visual Effects
- Puget Systems: Hardware Recommendations for DaVinci Resolve
Keep reading
Guides · Jul 10, 2026 · 32 min
DaVinci Resolve Fusion Page Tutorial for Beginners
Learn the DaVinci Resolve Fusion page from zero: nodes, MediaIn/MediaOut, the Merge node, planar tracking, and keying a green screen, step by step.
Fixes · Jul 10, 2026 · 26 min
DaVinci Resolve Fusion Render Slow? The Real Fixes
Why DaVinci Resolve's Fusion page renders so slowly, and the real fixes: resolution passthrough, MediaIn vs Loader, node caching, and CPU-only nodes.
Guides · Jul 25, 2026 · 40 min
DaVinci Resolve Fusion Lens Flare Tutorial: The Hot Spot Node
Add a real lens flare in DaVinci Resolve's Fusion page with the free Hot Spot node or the Studio-only ResolveFX plugin, then track it to a moving light.