Articles / Guidesupdated for DaVinci Resolve 21.0.2 (July 2026)
How to Split a Section of a Video in DaVinci Resolve
Quick answer
Park the playhead at both ends of the section, press B to blade it (or Ctrl/Cmd+\ to split at the playhead in any tool mode), then select the middle piece and press Shift+Delete to ripple delete it and close the gap. Works identically on the Edit and Cut pages, free or Studio.
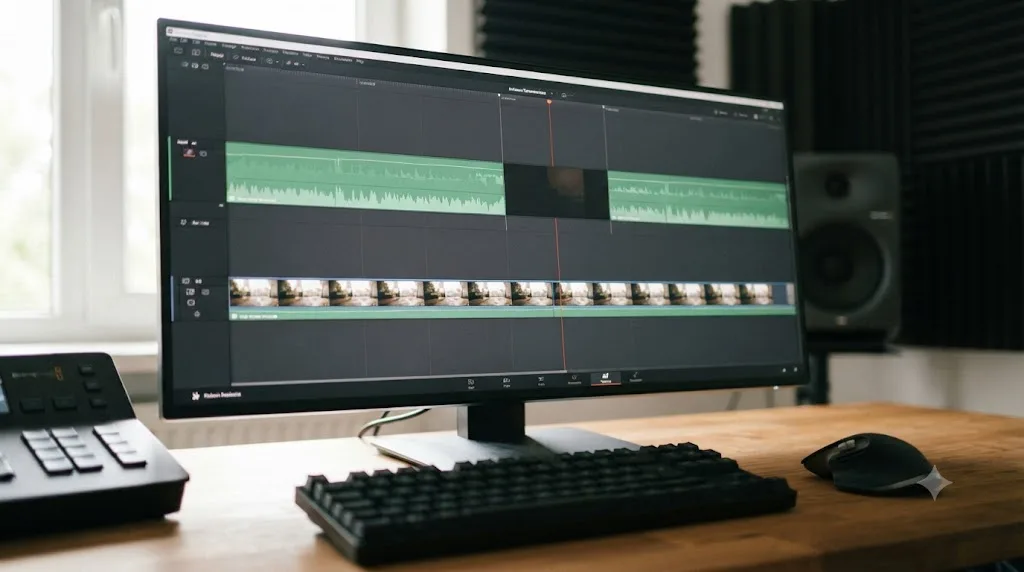
Two cuts and one delete. That's the entire technique for pulling a section out of the middle of a clip in DaVinci Resolve, and everything else in this guide is what happens around those three moves: which shortcut to use, which delete command to press, and what to do when a track doesn't ripple the way you expected.
We've spent 7+ years cutting commercial video professionally, and this exact motion, blade, blade, ripple delete, is the single most repeated sequence in a working timeline. It shows up more than any transition, any title, any color adjustment. Get it automatic and everything downstream of it gets faster.
How do you split a section out of a clip in DaVinci Resolve?
Make two cuts, one at each end of the section you want gone, then select the isolated piece between them and delete it with ripple close enabled so nothing is left behind.
Here's the full sequence:
- Park the playhead on the first frame of the part you want to remove.
- Press Ctrl+\ on Windows or Cmd+\ on Mac to split the clip at that exact point.
- Move the playhead to the last frame of the section you want gone.
- Split again. You now have three clips: before, the unwanted middle, and after.
- Click the middle piece to select it.
- Press Shift+Delete on Windows or Forward Delete on Mac. That's ripple delete, and it removes the clip while pulling everything after it back to close the space.
Splitting a section out of a clip is two cuts and one delete, nothing more. Every variation covered further down, the Blade tool versus the shortcut, Cut page versus Edit page, single track versus several, is a variation on this same three-part motion, not a different technique entirely.
What's the keyboard shortcut to split a clip in DaVinci Resolve?
Ctrl+\ on Windows or Cmd+\ on Mac cuts the clip at the exact frame your playhead is parked on, and it works no matter which tool is currently active on the timeline.
That last part matters more than it sounds. You don't need to switch to the Blade tool, make your cut, then switch back to Selection to grab the next clip. Park the playhead, hit the shortcut, and the timeline splits under you while you stay in whatever mode you were already in. According to our own complete keyboard shortcuts reference, this is the Edit page's blade-at-playhead command, and the Cut page reads the identical shortcut against the same underlying timeline.
Ctrl+\ splits the clip at the playhead in any tool mode, so you never have to switch to the Blade tool just to make one cut. That's the shortcut worth building muscle memory around if you're doing this motion dozens of times per project, which most editors are.
A second, separate shortcut exists for a different purpose. Pressing B doesn't split anything by itself, it changes your cursor into the Blade tool, so that clicking anywhere on the timeline cuts at that click point instead of wherever your playhead happens to sit. Both commands produce the same kind of cut. They differ only in where the cut lands: the playhead's exact position for Ctrl+, or wherever your mouse clicks for B.
How do you split a clip with the Blade tool specifically?
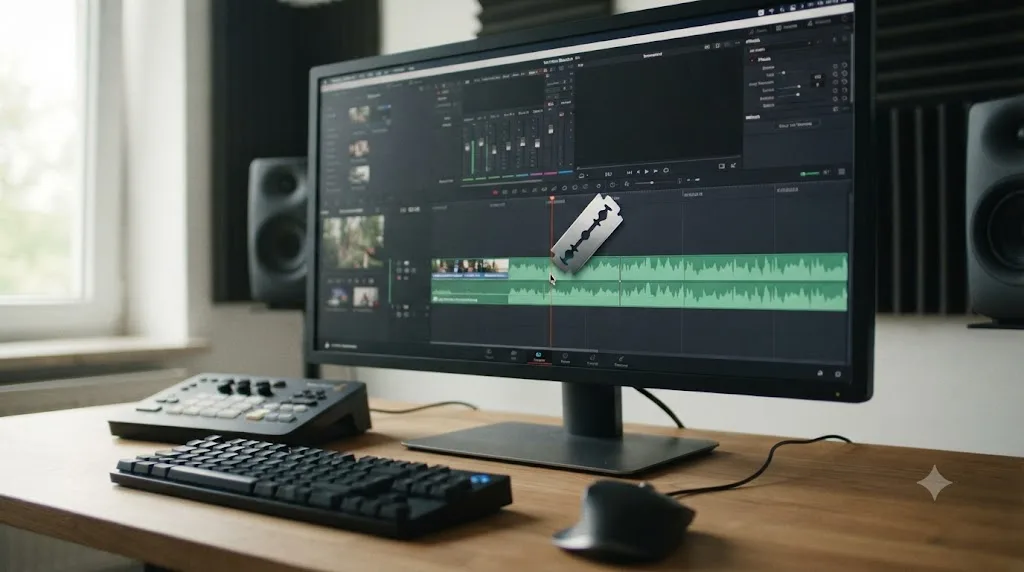
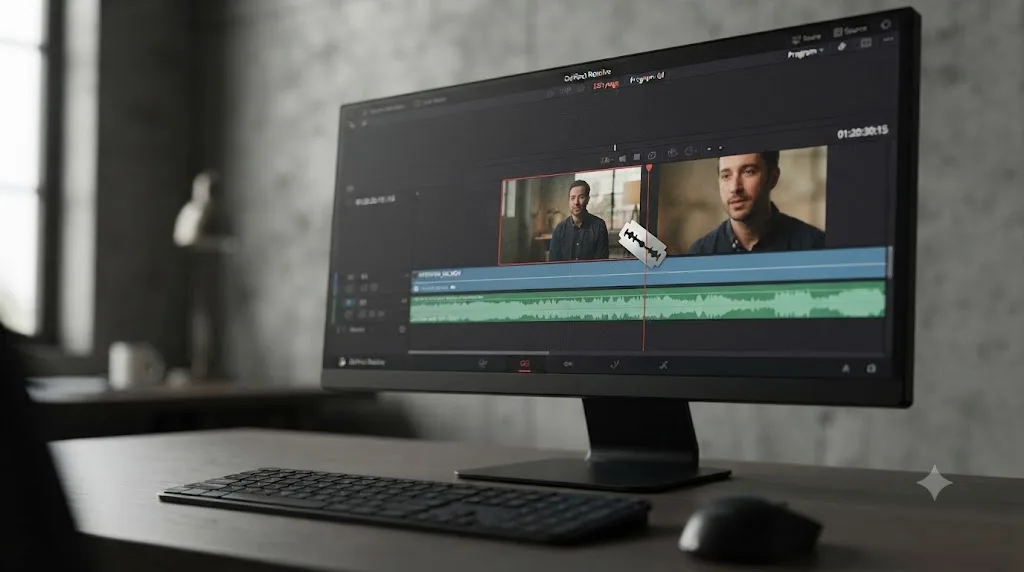
Press B to turn your cursor into the Blade tool, then click anywhere on a clip in the timeline to cut it at that exact point, no playhead positioning required first.
The Blade tool is the mouse-driven alternative to Ctrl+, and it's the better choice when you're eyeballing a cut point by looking at the waveform or the frame thumbnail rather than parking a playhead precisely first. Justin Robinson, a DaVinci Resolve and Fusion instructor and the founder of the training site JayAreTV, describes exactly what happens once the tool is active: "The razor blade tool turns your mouse cursor into a clickable cut tool when it's active." Click once, and Resolve creates a new edit point exactly where your cursor was.
Two behaviors are worth knowing before you rely on the Blade tool for a section removal:
- It stays active until you switch away from it. Press B once and every subsequent click on the timeline keeps cutting, which is convenient for making several cuts in a row and mildly dangerous if you forget it's still selected and click somewhere you meant to just select. Press A to return to the Selection tool the moment you're done blading.
- Selection carries forward onto the first half of the cut. Per the DaVinci Resolve reference manual's coverage of the Edit Mode Toolset, a clip that was selected before the blade cut stays selected on the piece before the new edit point after the cut lands, not the piece after it. That's a small detail, but it decides which half gets deleted if you immediately press Delete out of habit right after cutting.
For removing a section specifically, you'll use the Blade tool twice, once at the start of the unwanted piece and once at the end, then switch back to Selection to grab and delete the isolated middle.
How do you split and remove a section on the Cut page instead of the Edit page?
The exact same Ctrl+\ (Cmd+) shortcut splits a clip at the playhead on the Cut page, because Cut and Edit are two views onto one shared timeline, not two separate editing environments.
Where the Cut page diverges is in how you reach the blade behavior with a mouse instead of a keyboard shortcut. Rather than a dedicated Blade tool you switch into with B, the Cut page's trim tool automatically changes behavior based on where your cursor sits on a clip, adding an A/B trimmer directly in the viewer so you can judge a cut point by watching the outgoing and incoming frames side by side before you commit. Our own Cut page versus Edit page comparison covers that automatic trim switching in full, alongside every other difference between the two pages.
The Cut page and the Edit page share one timeline, so a section removed on one page stays removed on the other. Switch from Cut to Edit mid-task and you'll see the exact same three clips, before, the gap you're about to close, and after, because nothing converts or exports between the two views. A common practical workflow: rough out where a section needs to go on the Cut page using its dual timeline for quick pacing checks, then jump to Edit for the final ripple delete and any crossfade cleanup, since Edit's larger single timeline makes selecting the exact isolated piece easier to see.
Ripple delete itself works slightly differently between the two pages, and it's worth knowing before you rely on it here specifically. On the Cut page, the Ripple On toggle to the left of the timeline ruler governs ripple behavior, but only for track V1. On the Edit page, Sync Lock is the per-track control that decides which tracks ripple together, covered in full detail in the multi-track section below.
What's the difference between Ripple Delete and Delete after you split a section?
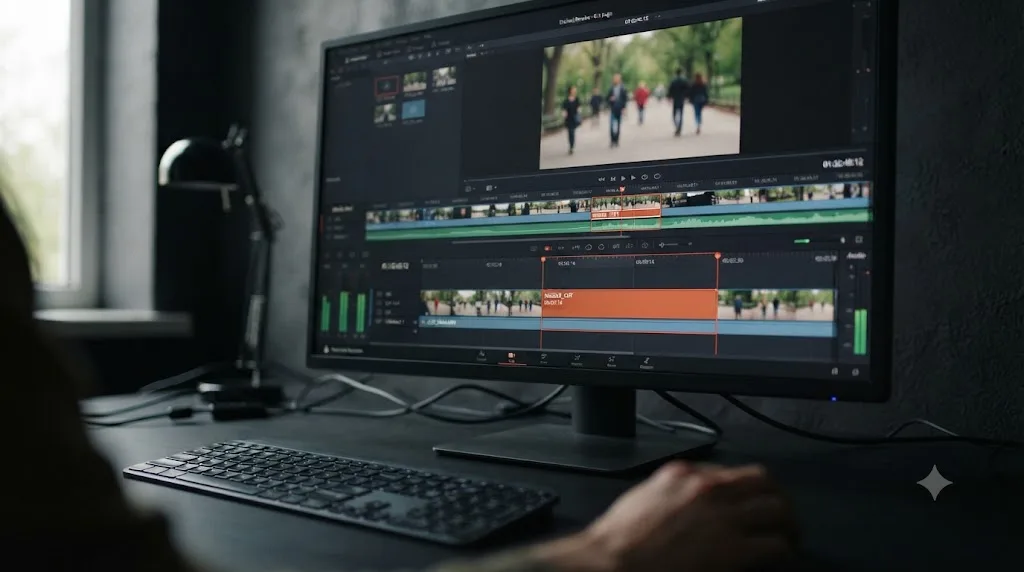
Ripple Delete removes the selected clip and closes the gap by pulling everything after it back on the same track. Delete (Lift) removes the clip's content but leaves its exact duration empty and black in its place.
This single distinction causes more confusion than any other part of this task, because the two commands look almost identical in the moment: select a clip, press a delete key, watch it disappear. What differs is everything downstream of that clip.
| Command | Default shortcut (Win / Mac) | What happens to the removed section | What happens to clips after it |
|---|---|---|---|
| Ripple Delete | Delete / Forward Delete | Removed entirely | Shift earlier to close the gap |
| Delete (Lift) | Backspace / Delete | Removed entirely | Stay exactly where they were, leaving a black gap |
Note that Windows and Mac assign these two commands to different physical keys from each other, which is a frequent source of "the wrong thing happened" reports. On Windows, the default Delete key ripple deletes, and Backspace lifts. On Mac, Forward Delete ripple deletes, and the primary Delete key lifts. If a delete key isn't doing what this guide describes, open Keyboard Customization (Ctrl+Alt+K or Cmd+Option+K) and search "Ripple Delete" directly, since remapped presets and emulation layouts can and do swap this pair.
A gap left behind after deleting a section is not a bug, it's DaVinci Resolve doing exactly what a Lift command is supposed to do. If you wanted the space closed and it wasn't, the fix isn't troubleshooting, it's pressing the other delete key next time. For a project-wide look at ripple behavior gone wrong across multiple tracks specifically, our ripple delete troubleshooting guide covers every setting that can silently block a ripple from happening at all.
Should you use ripple delete or lift when removing a section?
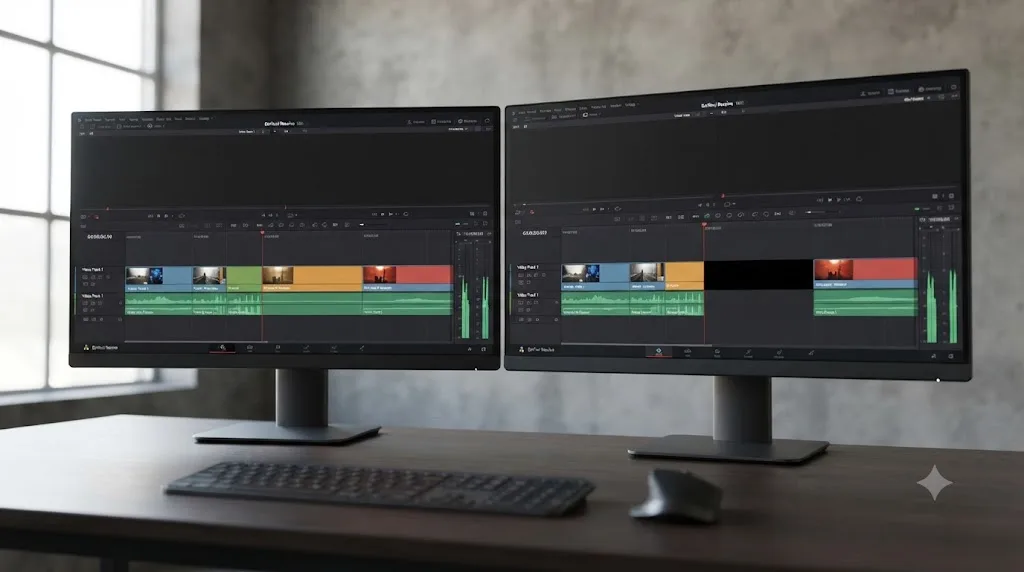
It depends on whether your timeline's total runtime is allowed to shrink.
| Situation | Use | Why |
|---|---|---|
| Cutting a mistake, a pause, or dead air out of a longer video | Ripple Delete | Runtime should shrink; nothing should be left in its place |
| Removing a section for a fixed-runtime ad or broadcast slot you'll refill later | Delete (Lift) | Keeps the gap visible so you know exactly where new content needs to go |
| Deleting the middle of a clip on a track that's synced to other tracks | Ripple Delete, with Sync Lock checked on every track that should follow | Keeps everything downstream in sync across the whole timeline |
| Removing B-roll from one track while the track below (like a locked music bed) must not move | Delete (Lift), or Ripple Delete with Sync Lock off on the track you don't want disturbed | Prevents an unrelated track from shifting out of sync with a locked reference |
For the overwhelming majority of "cut a section out of my video" tasks, ripple delete is the one you want. You're removing something because it shouldn't be there, a stumble, a long pause, a section that runs too long, and you want the rest of the video to close up around the missing piece exactly as if it had never been shot.
Does splitting a clip cut the audio and video together, or separately?
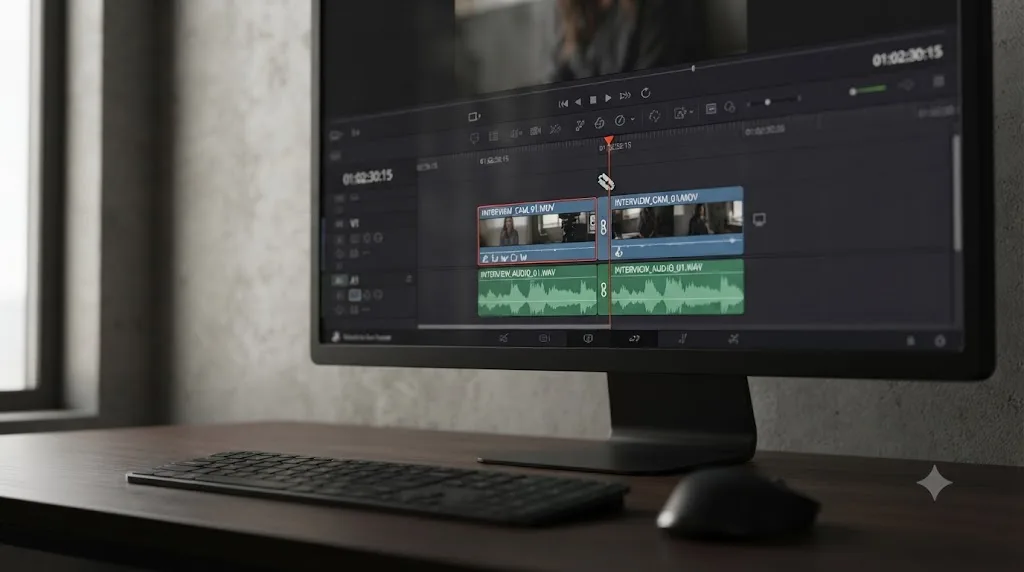
Together, by default, as long as Linked Selection is turned on, which shows as a chain-link icon in the toolbar directly above the timeline.
With Linked Selection active, a single blade cut or Ctrl+\ split at the playhead cuts the video and its attached audio at the identical frame, and selecting the video clip afterward automatically carries the audio along with it, so a ripple delete removes both halves together and closes the gap on both tracks at once.
Turn Linked Selection off and the behavior changes in a specific, sometimes useful way. Alt-click (Option-click on Mac) on just the video or just the audio half of a linked clip selects only that element, letting you blade or trim the picture and sound independently. This is exactly how a J-cut or L-cut gets built, where the audio from one scene starts playing a beat before its picture appears, or continues a beat after the picture has already cut away. Our DaVinci Resolve tutorial walks through building a full J-cut and L-cut from scratch if that specific technique is new to you.
For a straightforward section removal, where you want the audio and video for that piece gone together with nothing left over, leave Linked Selection on and don't touch Alt-click at all. It's the default for a reason: most cuts genuinely do want picture and sound moving as one unit.
What happens if you split a clip that already has a transition on one of the cut points?
A transition lives on the edit point between two clips, not inside either clip by itself, so cutting close to one won't touch it directly, but ripple deleting the clip next to a transition removes the transition along with the footage, and blading inside the transition's own overlap region simply gets refused.
A cross dissolve, or any other transition in DaVinci Resolve, sits directly on top of the edit point where two clips meet, built from a few hidden frames of overlap borrowed from the end of the outgoing clip and the start of the incoming one. Those extra frames, called handles, exist in the source media but stay hidden until a transition needs them. That distinction matters the moment you try to split or remove a section near one.
Try to blade directly inside the overlap region of an existing transition, and Resolve won't let you. The Blade tool and Ctrl+\ both refuse to cut inside a transition's own duration, since a transition isn't really a clip you can slice, it's a relationship between two clips. Park your playhead a frame before or after the transition instead, split there, and the transition itself stays untouched.
Ripple delete is where the real risk sits. If the section you're removing is the clip sitting directly next to a transition, deleting it doesn't leave the transition behind on some remaining edge, it removes the transition too, since a transition can't exist without both of the clips it's built from. You'll see this happen instantly: select the clip, hit ripple delete, and the dissolve you built five minutes earlier is just gone along with it.
| Situation | What happens | What to do |
|---|---|---|
| Blading inside a transition's overlap | Resolve refuses to make the cut | Move the playhead outside the transition and cut there instead |
| Ripple deleting a clip next to a transition | The transition is removed along with the clip | Rebuild the transition after your section removal settles |
| Splitting a section between two already-transitioned clips | A cut landing too close can eat into a transition's handle frames | Leave a few extra frames of buffer before splitting near either transition |
| Removing a section with no transitions nearby | No effect on any transition elsewhere on the timeline | Standard blade, blade, ripple delete workflow applies |
The safer order, consistent with how Hollyland's guide to fixing broken DaVinci Resolve transitions describes handle-dependent transitions behaving: finish every section removal first, on a clean cut with no transitions anywhere near it, then add your cross dissolves, wipes, or other transitions last, once you know your edit points aren't moving again. Building a transition and then discovering you need to blade through the middle of that same section is the wrong order, and it's a more common mistake than it sounds, especially on interview cuts where a transition gets added early to smooth over a visible jump cut before the section removal that caused the jump cut is even finished.
If you already have a transition in place and need to remove a section that sits right up against it, split at the far, clean edge of the section instead of the edge touching the transition, delete the isolated middle piece, and rebuild the transition fresh once your new edit point settles into its final position. Rebuilding a five-second dissolve takes less time than troubleshooting why Resolve keeps refusing your cut.
What happens to a freeze frame or speed change if you split through it?
Splitting through a clip that already carries a retime effect, including a freeze frame or a slow-motion speed change, can shift that effect's anchor point and throw everything after it on the same clip out of sync.
This is a real and well-documented quirk, not a rare edge case. A clip with a speed effect tracks that effect using a speed point anchored to the clip itself. Blade or split through a piece of that clip, and Resolve can reposition the existing speed point to the start of the newly created segment instead of leaving it exactly where you originally placed it, which silently shifts the timing of every edit downstream of that point. Our freeze frame guide covers this exact failure mode in detail, including the sequencing fix: finish all your blading and trimming on a clip before applying any speed change or freeze frame to it, not after.
If you're removing a section from a clip that already has a freeze frame or speed ramp applied, the safer order is:
- Undo back to before the speed effect was applied, if you still can.
- Make both of your section-removal cuts on the clean, unretimed clip.
- Ripple delete the middle piece.
- Reapply the freeze frame or speed change to whichever remaining piece needs it, now that your cuts are already final.
Doing it in that order means Resolve never has to guess where to reposition an existing speed point, because there isn't one yet when you make the cuts. If you're not sure whether a clip already carries a retime, right-click it and check Change Clip Speed. A percentage other than 100%, or a checked Freeze Frame box, means the clip has one, and it's worth handling the cuts first.
Does a color grade or Fusion effect on the clip survive being split?
Yes. Both halves of a bladed clip keep an identical copy of whatever grade or Fusion effect was already applied at the moment you made the cut, since Resolve treats each new piece as its own independent timeline instance carrying its own copy of that clip's node graph, but any keyframes inside that effect are still tied to their original position and can end up on the wrong half if you cut through the middle of an animated keyframe.
Every clip you see on a DaVinci Resolve timeline is really a specific instance of a source clip at a specific position, and the Color page and Fusion page both attach their work to that instance rather than to the underlying media file itself. Split that instance in two with a blade cut, and Resolve doesn't erase or reset anything, it gives each new piece its own copy of the exact node graph, power windows, qualifiers, and Fusion composition that existed on the clip a moment before you cut it.
That's good news for the common case. If you graded a clip and then realized you need to remove a stumble or a bad take from the middle of it, your grade isn't at risk. Cut, isolate the middle, ripple delete it, and the two remaining pieces both keep the grade exactly as it looked before you touched the blade. According to the DaVinci Resolve reference manual's coverage of the Color page, grades are attached at the clip level within the timeline, which is exactly the mechanism that makes this copy-on-split behavior work the way it does.
Where it gets more complicated is keyframes, on either page. A power window animated to track a moving subject, or a Fusion effect with parameters keyframed to build in partway through the clip, both position their keyframes relative to that clip instance's own timing. Split through the middle of an animated effect, and the two new pieces each inherit a copy of the full keyframe curve, including keyframes that now sit outside the new, shorter duration of whichever half you're looking at. The Fusion page's own documentation on how a clip lands in a composition confirms the same underlying mechanic drives Fusion: a clip's position inside its own composition is fixed relative to where it started, not to wherever you later decide to cut it.
In practice, this rarely causes the dramatic desync you'd see with a freeze frame or speed ramp, covered above, since a static grade with no keyframes at all splits cleanly with nothing to go wrong. It's worth a second look specifically when:
- You animated a power window or qualifier to follow motion across the section you're about to cut through.
- You built a Fusion effect with a keyframed parameter, a blur ramping up, a title animating in, timed to a specific moment in the clip that now falls inside your removed section.
- You're removing the middle of a clip and expect the grade on the two remaining pieces to blend back together seamlessly, when in fact each piece now runs its own independent copy of the node graph, meaning a future adjustment to one half's grade won't automatically apply to the other.
An adjustment clip sitting on its own track above your footage works differently from a grade or Fusion effect embedded on the clip itself. Since an adjustment clip isn't attached to the footage beneath it, splitting the clip underneath doesn't touch the adjustment clip at all, and splitting the adjustment clip itself follows the exact same blade-and-ripple-delete mechanics as splitting any other timeline clip, just with an effect instead of footage riding on top of it.
A grade or Fusion effect survives a split intact, but any keyframes inside it stay anchored to their original timing, not to your new cut point. Play back both halves after a section removal on a graded or Fusion-heavy clip the same way you'd check a retimed clip, and confirm nothing looks like it's animating toward a keyframe that no longer exists on that piece.
How do you split and remove a section across multiple tracks at once?
Use Blade All to cut every track at the playhead simultaneously, then select the isolated pieces across every track and ripple delete them together, checking each track's Sync Lock setting first.
For a project with synced picture and multiple audio tracks, a section removal usually needs to happen on more than one track at the same time, a video track, a dialogue track, maybe a music bed. Blade All, available from the right-click menu or its own keyboard shortcut, makes both of your cuts across every track in one motion instead of repeating the cut once per track by hand.
Since DaVinci Resolve 20.2, which track of every clip you've selected and cut actually ripples closed is controlled by Sync Lock, a per-track icon in the redesigned track header, not by Auto Track Selector, which changed jobs in that same update. Auto Track Selector now controls which tracks a targeting operation like Blade All or Match Frame reaches. Sync Lock is the separate setting that decides which tracks shift together during a ripple delete or trim. This split confuses editors who learned Resolve on an older version, where one control handled both jobs, and it's covered in exhaustive detail, along with every other cause of a ripple that silently doesn't happen, in our ripple delete troubleshooting guide.
Sync Lock, not Auto Track Selector, decides which tracks move together when you delete a section in DaVinci Resolve 20.2 and later. If you Blade All and ripple delete a section but one audio track stays put while everything else shifts, that track's Sync Lock icon is almost certainly toggled off. Turn it on for every track that needs to follow the edit, and try the ripple delete again.
A locked track is excluded from all of this regardless of Sync Lock, since a locked track can't be edited at all. If a track refuses to blade or ripple no matter what you check, confirm it isn't locked before troubleshooting anything else.
How do you split a section inside a compound clip or nested timeline?
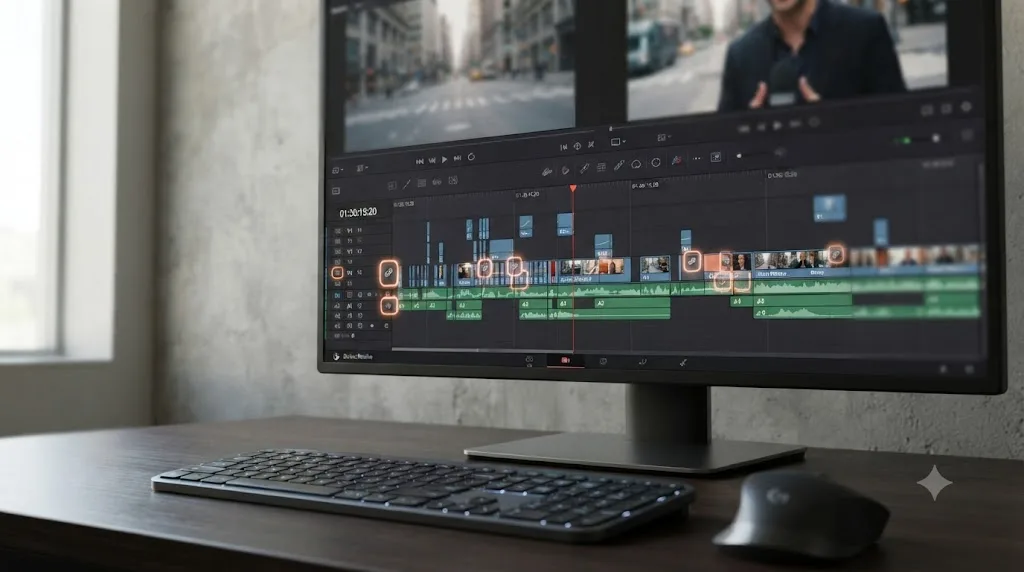
Blading a compound clip on the main timeline cuts the compound clip as a single unit, not the footage inside it, so to isolate and remove a section from clips living inside a compound clip, you need to open the compound clip itself and make your cuts on its own internal timeline.
A compound clip bundles several individual clips, transitions, and even multiple tracks into what behaves like one clip on your main timeline. That's the entire point of grouping clips into a compound clip in the first place, one item to drag, trim, and apply effects to instead of managing a dozen separate pieces. It also means the Blade tool treats it exactly like any other single clip when you click it from the main timeline: two cuts and a ripple delete remove a section of the compound clip's own duration, shortening how much of the nested content plays back, without touching a single frame of what's stored inside it.
If the section you actually need to remove lives inside the compound clip, on one of the individual clips it was built from, cutting from the outside won't reach it. You have two options:
- Double-click the compound clip to open it. This drops you into the compound clip's own internal timeline, which behaves exactly like a normal Edit page timeline, complete with its own tracks, its own playhead, and the same Ctrl+\ and ripple delete commands covered everywhere else in this guide. Make your section removal here, then click back to the main timeline (usually a tab or breadcrumb at the top of the timeline panel) to return to where the compound clip lives.
- Right-click the compound clip and choose Decompose in Place if you'd rather work with the original individual clips directly on your main timeline instead of nested inside a separate compound clip timeline. According to a guide on splitting compound clips at downloadsource.net, decomposing breaks the compound clip back into its original clips while keeping their placement and transitions intact, at which point normal blade-and-ripple-delete section removal works exactly like it would on any ungrouped clip. Any effect applied to the compound clip itself, rather than to the individual clips before they were grouped, is lost in the decompose, so check the Inspector for compound-level effects before you commit to this route.
Ripple delete works the same way once you're inside: removing a section from a clip nested inside a compound clip closes the gap only within that compound clip's own internal timeline. The compound clip's total duration on the parent timeline shrinks to match, and the compound clip's position along with everything after it on the parent timeline shifts automatically to close the gap there too, as long as the parent timeline's own Sync Lock or ripple settings allow it. You don't need to separately trim the compound clip's outer boundary after editing its contents, Resolve handles that resize for you.
A blade cut on a compound clip from the main timeline shortens the compound clip's own duration, it doesn't reach inside and cut the footage nested within it. That single distinction is the one to remember. If a section removal on a compound clip doesn't seem to be doing what you expect, you're very likely cutting the wrapper instead of the content, and the fix is to open the compound clip and cut inside it directly.
Nested timelines behave the same way as compound clips for this purpose: a nested timeline dropped onto a parent timeline is itself a single clip from the parent's point of view, and you need to open it (double-click, or navigate to it in the Media Pool) to reach the individual clips inside for a section removal. Our compound clip versus nested timeline comparison covers when to reach for one over the other if you're not sure which container your footage is already sitting inside.
How do you split a section on a multicam clip without losing your angle sync?
With a multicam clip selected and the Blade tool active, clicking anywhere on the clip cuts it at that point and switches the piece after the cut to whichever angle you clicked, while holding Alt (Option on Mac) switches angles without making a cut at all, so removing a section works the same two-cuts-and-a-ripple-delete pattern with one extra step: picking which angle plays on each new segment.
Multicam clips group several synced camera angles into one clip you edit as if it were a single source, cutting between angles the way a live TV switcher would. The Blade tool understands this. Click on a multicam clip in the timeline with the Blade tool active, and the cursor itself shows a small blade icon, meaning your click both cuts the clip and simultaneously switches the resulting piece to whichever angle's preview window you clicked in the multicam viewer. Hold Alt on Windows or Option on Mac while clicking, and the icon changes to show arrows instead of a blade, meaning that same click switches angles at that point without adding a new edit point at all.
That dual behavior means removing a section from a multicam clip needs a small adjustment to the usual pattern:
- Park the playhead (or use the Blade tool) at the start of the section you want gone, and make your first cut. Whatever angle is currently active carries into the new piece, since a plain blade click without Alt held doesn't force a switch on its own unless you specifically click a different angle's preview at that moment.
- Cut again at the end of the section.
- Select the isolated middle piece and ripple delete it, exactly like removing a section from any ordinary clip.
The angle assignments on the clips before and after your removed section aren't affected by any of this. Cutting and deleting a section only removes time, it doesn't reshuffle which camera is playing on the footage you kept, unless you specifically clicked a different angle's preview window while making one of your two cuts.
One thing worth double-checking afterward: if your interruption spanned an angle switch, meaning the earlier edit cut from Camera A to Camera B partway through the exact section you just removed, deleting that section also deletes that specific angle switch. Play through the new join once you're done to confirm the angle on either side of your new edit point is the one you actually meant to keep, since it's easy to lose track of which camera was active exactly where when you're focused on finding the start and end frames of the section to remove rather than watching which angle is on screen.
If the multicam sync itself looks off well before you even get to a section removal, drifting audio, angles that don't line up frame for frame, that's a separate and more foundational problem than anything in this guide. Our multicam sync troubleshooting guide covers every cause and fix for that specifically.
How do you cut out a middle section and keep it as its own clip, instead of deleting it?
Split both ends the same way, then drag the isolated middle piece up to an empty track or straight into a bin in the Media Pool instead of pressing delete on it.
Sometimes the goal isn't removing a section, it's extracting one, pulling a good moment out of a longer take to reuse elsewhere, a highlight for a trailer, a reaction shot for a different sequence, a clean audio bite for a podcast cutdown. The two cuts are identical to a standard removal. What changes is the last step.
- Split at the start of the section you want to keep and reuse.
- Split again at the end of that section.
- Click the isolated piece to select it.
- Drag it up to an empty track above your main timeline, where it sits safely without affecting the rest of the edit, or drag it directly into a bin in the Media Pool to save it as a standalone sub-clip you can drop into any other timeline later.
- Delete or ripple delete the original copy from the main track if you no longer need it there.
This is a faster path than a full three-point edit with explicit in and out points when you're pulling from footage that's already sitting on your timeline rather than fresh from the Media Pool, since you're working with cuts you can see and adjust directly rather than marking blind against a source viewer.
How do you use markers to plan and remove several sections in one pass?
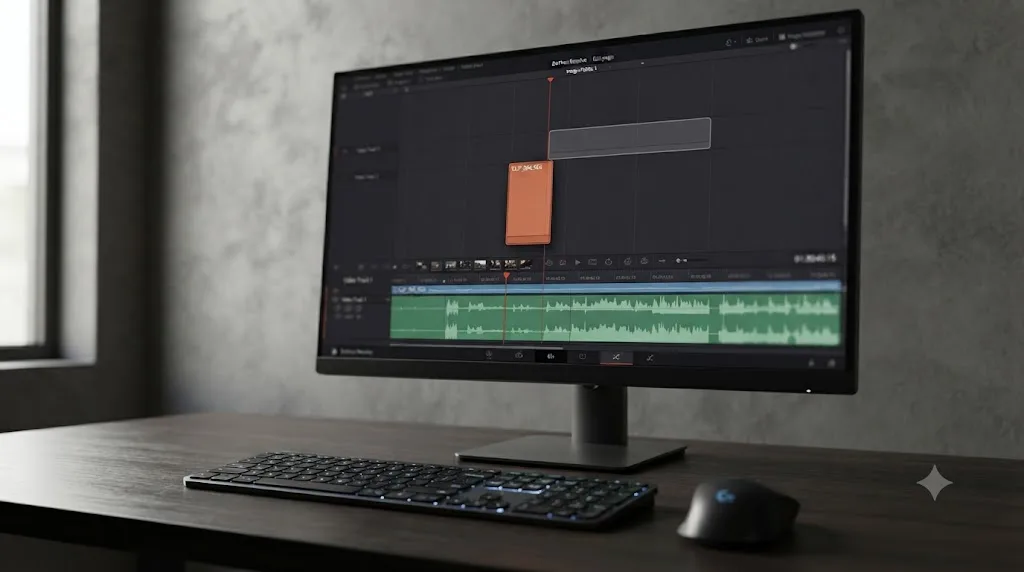
Play through the clip once, pressing M at every point where a section should start or end to drop a marker without stopping playback, then use the Up and Down arrow keys to jump the playhead directly from marker to marker, splitting and ripple deleting at each one instead of hunting for the same frames twice.
Everything covered so far in this guide handles one section at a time: find the start, cut, find the end, cut, select, delete. That's the right approach for a single removal. It gets slow fast on a long interview, a podcast recording, or any clip where you're pulling out five, ten, or twenty separate stumbles, pauses, and false starts, because playing through the footage twice, once to find every problem spot and again to actually make each cut, wastes the exact playback time you're trying to save by editing in the first place.
Markers fix that by separating the finding from the cutting:
- Play through the entire clip once, start to finish, without stopping. Press M every time you hit a frame that should become a cut point, the start or end of a section you already know needs to go. Marking doesn't pause playback, so you keep watching and listening at normal speed while dropping a marker at every problem spot as you hear or see it.
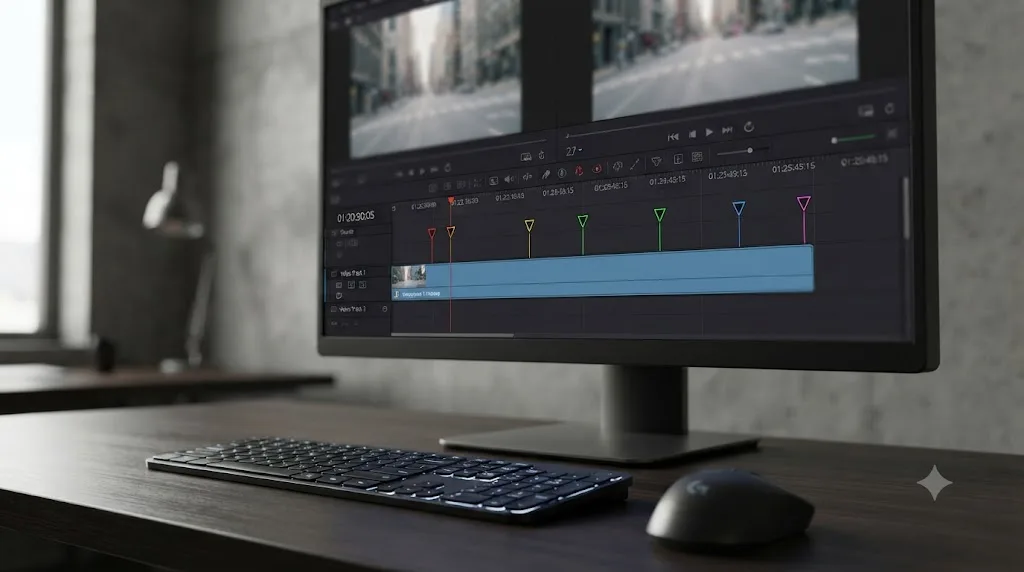
- Once playback ends, look at the marker row under the timeline ruler. Every point you flagged is sitting there in order, each one a small colored tag you can see without scrubbing back through the footage to relocate it.
- Jump to the first marker. Use the Down arrow (or Up arrow, depending on playhead direction and your keyboard layout) to snap the playhead directly onto that exact frame, no shuttling or eyeballing required a second time.
- Split there with Ctrl+\ (Cmd+\ on Mac).
- Jump to the next marker and split again. Repeat down the full list of markers you laid down in step 1.
- Once every marker has a cut on it, go back through and select each isolated middle section, then ripple delete it. Working through the sections in order, from the start of the clip toward the end, keeps the remaining footage's timing predictable as each ripple delete shifts everything after it.
This is the same worked example from earlier in this guide, the interview with a cough and a restart, just scaled up to handle a clip with several separate interruptions instead of one. The markers do the remembering so you don't have to hold five or ten timecodes in your head, or worse, re-watch the whole clip from the top every time you finish one removal and need to find the next.
A few practical notes that make this workflow smoother:
- Color-code your markers if you're marking more than one type of thing. Right-click a marker to assign it a color, and use one color for "remove this" cuts and a different color for anything else you're flagging on the same pass, a good quote to reuse later, a spot that might need a cutaway. The marker panel lets you filter by color, which matters once a long clip has thirty or forty markers on it for different reasons.
- Add a short note to each marker if the reason for the cut won't be obvious later. Double-click a marker to open its details and type a word or two, "cough," "long pause," "restart." You'll thank yourself if you step away from the project for a day and come back to a timeline full of unlabeled marker dots.
- Markers survive the ripple delete of whatever's around them, but not of the exact frame they're sitting on. If you ripple delete a section and one of your markers happened to sit inside that isolated middle piece, that marker goes with it. Markers on either side of your cut points, the ones marking start and end frames you're keeping, shift along with the ripple exactly like the clips they're attached to.
Marking every cut point in one pass through the footage, then cutting from the marker list, is faster than re-scrubbing the timeline once per section you need to remove. It's the same two-cuts-and-a-ripple-delete technique this whole guide is built around, just batched instead of repeated one section at a time from scratch.
What does a full worked example look like from start to finish?
Concrete beats theory, so here's the whole task on a realistic clip: a five-minute interview recording where the subject stops mid-answer, coughs, apologizes, and restarts the same thought.
- Find the start of the section to remove. Play through the clip and land the playhead on the exact frame where the cough or interruption begins, using J-K-L to shuttle and the left and right arrow keys to fine-tune once you're close.
- Split there. Press Ctrl+\ (Cmd+\ on Mac). The clip is now two pieces, with the second piece starting at the cough.
- Find the end of the section. Shuttle forward past the cough, the apology, and any restart stumble, landing on the exact frame where the subject picks the thought back up cleanly.
- Split again. You now have three pieces: clean footage before the interruption, the interruption itself isolated in the middle, and clean footage after it.
- Select the middle piece. Click directly on it in the timeline.
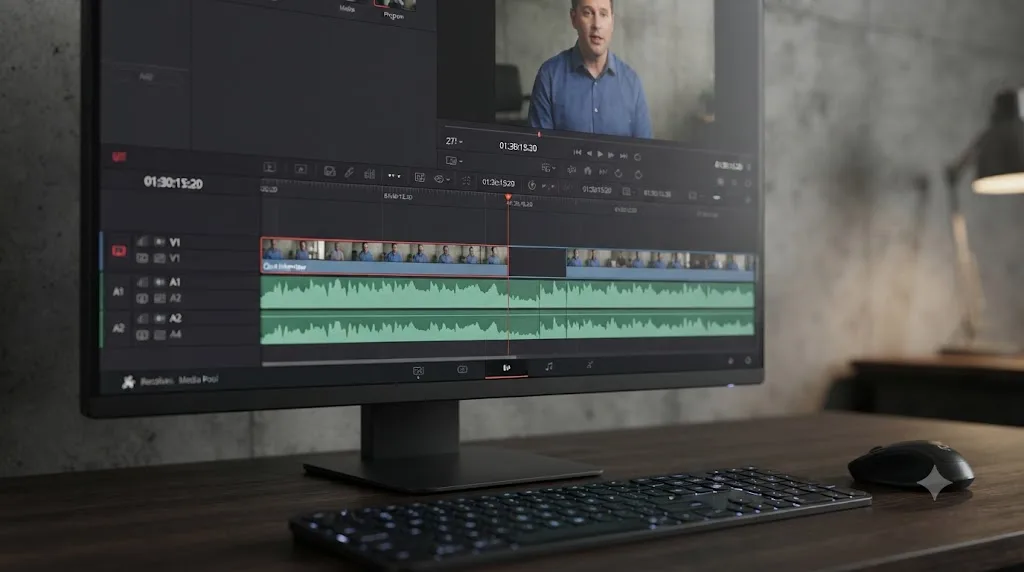
- Ripple delete it. Press Shift+Delete on Windows or Forward Delete on Mac. The interruption disappears and the clean footage after it slides back to meet the clean footage before it.
- Check the new join. Play through the new edit point at normal speed. If the subject's mouth position or head angle jumps noticeably between the two halves, that's a normal risk of cutting mid-sentence on a single angle, and a quick cutaway to B-roll or a second angle over the join usually smooths it better than trying to find a more forgiving frame.
- Check the audio. A hard cut in dialogue audio, even a clean one, can produce a small click at the splice. Select the audio on both sides of the new join and add a short crossfade, two to five frames is usually enough, from the Fairlight page or directly on the Edit page timeline.
- Lock it and move on. Once the join reads naturally at normal playback speed with sound, treat the newly joined clip like any other clip in the timeline for grading or further trims.
That's the entire loop this guide describes, applied to one real, ordinary editing situation. Everything above and below this section is a deeper look at one piece of these nine steps.
Why does DaVinci Resolve leave a black gap or shift my audio after I delete a section?
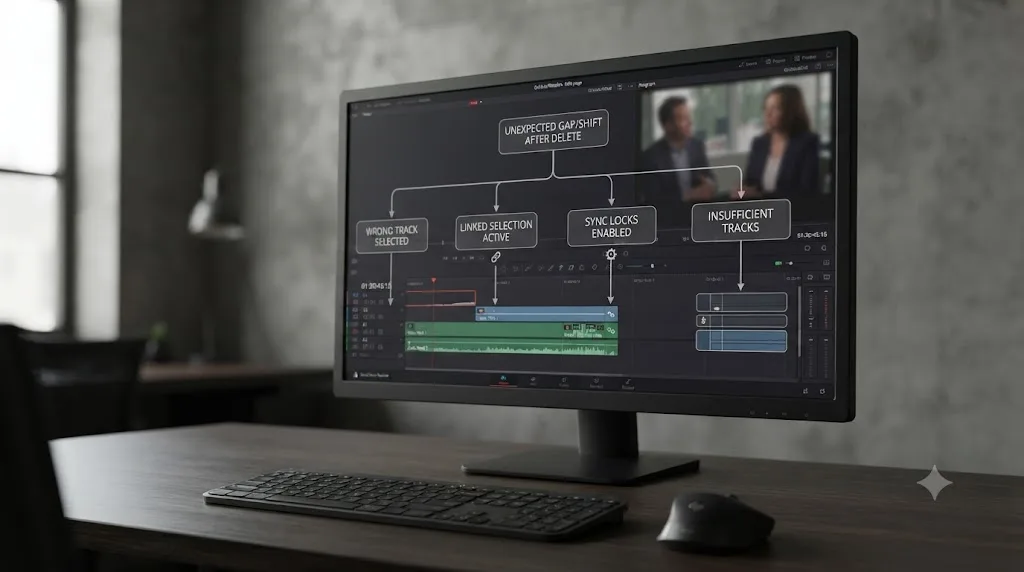
A black gap after deleting a section means you used Delete (Lift) instead of Ripple Delete. Shifted or missing audio after a video-only ripple delete means Linked Selection or a specific track's Sync Lock wasn't set the way you expected.
Four distinct symptoms, four distinct causes, worth naming directly since each one has a different fix.
A black gap sits where the section used to be. You lifted instead of ripple deleting. Undo, reselect the same clip, and press the ripple delete key for your platform instead: Delete on Windows, Forward Delete on Mac.
The video closed up but the audio underneath didn't move. Linked Selection was off when you made the cut, or the track's Sync Lock is disabled. Turn Linked Selection back on for future cuts, and manually select and ripple delete the matching audio segment this time to catch it up.
One track shifted but a different track on the same timeline stayed put. That other track's Sync Lock is toggled off. This is the single most common ripple confusion since DaVinci Resolve 20.2 redesigned track headers, according to discussion in Blackmagic's own user forum about what Sync Lock actually controls versus the older Auto Track Selector. Check every track's Sync Lock icon, not just the one you're directly editing.
Everything shifted, but by the wrong amount, or a completely different clip moved. This usually traces back to a retime effect, a freeze frame or speed change, on the clip you split. Its anchor point may have moved when you cut through it, covered in full in the retime interaction section above.
If none of these four explain what you're seeing, it's worth checking whether the timeline itself, rather than this specific edit, has a broader sync problem. Our ripple delete troubleshooting guide covers every remaining setting, including the "Retain sync and avoid overwrites with ripple edits" preference that governs Resolve 20.2's smarter ripple behavior project-wide.
Does splitting work the same way in the free version of DaVinci Resolve?
Yes, completely and without exception. The Blade tool, the Ctrl+/Cmd+\ split shortcut, Ripple Delete, and Lift all live on the Cut and Edit pages, and none of them require a Studio license.
Per Blackmagic's own product page, the free version ships with the full editing toolset that includes every command covered in this guide. The paid Studio version, currently $295 as a one-time purchase, adds the DaVinci Neural Engine's AI tools, HDR delivery, resolutions and frame rates above 4K/60fps, and collaborative features, none of which touch basic timeline trimming in any way.
If you're weighing whether Studio is worth the cost for other reasons, features like Magic Mask, film grain, or 10-bit HDR grading, our free versus Studio guide breaks down the full feature gap. For splitting and removing a section of your footage specifically, there's no gap to weigh at all: every method in this guide behaves identically whether or not a Studio license is active on your machine.
Does your OS or hardware change how splitting works?
The mechanics themselves, the Blade tool, the split shortcut, ripple delete, and lift, are identical across Windows, Mac, and Linux. Where hardware and OS matter is playback responsiveness while you're navigating to your cut points.
Splitting a clip is a lightweight timeline operation that barely touches your GPU, since it's just inserting a new edit point rather than rendering anything. The friction most editors actually run into isn't the cut itself, it's scrubbing precisely to the right frame beforehand on a heavy 4K or higher-resolution timeline with a lot of effects stacked on the clips around your cut point. If playback stutters while you're trying to park a playhead exactly on a stumble in an interview, that's a general playback performance issue, not anything specific to splitting.
On Windows and Linux specifically, hardware-accelerated H.264 and H.265 decoding for the free version has historically been more limited than on Mac, where Apple silicon's media engines keep even long, effects-heavy timelines responsive without transcoding first. If you're editing phone or drone footage in H.264/H.265 on Windows or Linux and scrubbing to a precise cut point feels sluggish, transcoding to an edit-friendly intermediate codec like DNxHR or ProRes usually resolves that faster than troubleshooting the split command itself. Our slow playback guide covers the full set of fixes if stutter is a project-wide problem.
One Linux-specific note: some window managers intercept certain key combinations, including modifier-heavy ones, before Resolve ever receives them. If Ctrl+\ does nothing at all on a Linux machine, check your desktop environment's own keyboard shortcut settings before assuming the command is broken inside Resolve.
What's new for trimming and splitting in DaVinci Resolve 21?
The core split and ripple delete commands covered in this guide haven't changed in DaVinci Resolve 21, released free on June 3, 2026 as one of the largest updates in the software's history, according to PetaPixel's coverage of the final release. What changed sits in the surrounding editing environment those commands live inside.
Resolve 21 rebuilt keyframing around a shared four-point Bezier system used across Edit, Cut, and every other page, and the point release that followed, DaVinci Resolve 21.0.2, specifically improved retime curve display alongside fixes to pasting copied keyframes between clips, according to CineD's coverage of that update. Neither change alters how a basic split or ripple delete behaves day to day, but both matter if the section you're removing sits on a clip that already carries a speed ramp or animated keyframe, since that's exactly the kind of editing the new curve system touches.
If you're running an older release and haven't updated recently, it's worth confirming your version before assuming a shortcut in this guide should behave identically, since Blackmagic has occasionally remapped or renamed individual commands across major releases. Check DaVinci Resolve > About DaVinci Resolve for your exact build number, and Blackmagic's own What's New page for the full, current changelog.
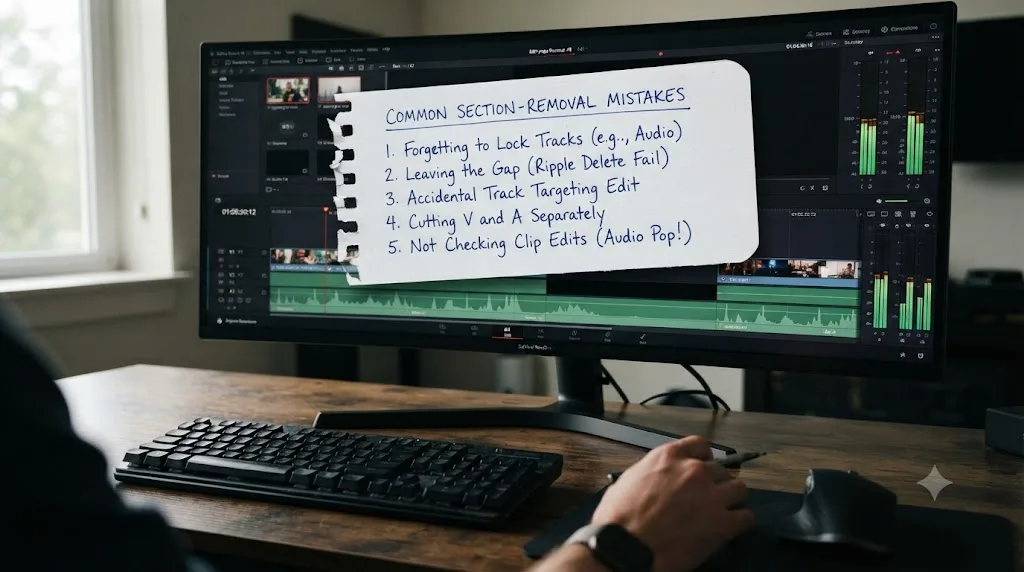
What are the most common mistakes when splitting and removing a section?
Most problems with this task trace back to one of a short list of repeatable habits, and this is one of the recurring stumbling points we see across our 100,000+ member editing community, alongside teaching this exact workflow to students on Udemy as an official Udemy Business Partner.
| Mistake | Why it hurts | The fix |
|---|---|---|
| Pressing Delete/Backspace expecting a ripple close | A black gap appears where the section used to be | Use Shift+Delete (Forward Delete on Mac) instead, the ripple delete key for your platform |
| Leaving the Blade tool active after your cuts | Accidental clicks elsewhere on the timeline keep cutting instead of selecting | Press A to return to the Selection tool immediately after your last blade cut |
| Splitting through a clip that already has a freeze frame or speed change | The existing retime's speed point can shift and throw downstream edits out of sync | Finish all cuts before applying any speed effect, not after |
| Assuming every track ripples together automatically | One audio or video track stays put while everything else moves | Check Sync Lock on every track involved, not just the one you're directly editing |
| Not checking Linked Selection before splitting linked audio and video | Only the video ripples, leaving the audio behind at its old position | Turn Linked Selection on before cutting, or manually select the audio too |
| No crossfade at the new audio edit point | A click or pop appears where dialogue or ambient audio was spliced | Add a short two-to-five-frame crossfade on both sides of the new join |
| Confusing the Cut page's Ripple On toggle with Edit page Sync Lock | Ripple works on the Cut page's V1 track but doesn't carry the same behavior to the Edit page | Understand these are two separate controls; check both if you switch pages mid-task |
| Cutting through an existing transition's overlap frames | Resolve refuses the cut, or the transition disappears if you ripple delete the adjacent clip | Finish all section removals before building transitions, not after |
| Blading a compound clip expecting to reach the footage inside it | The cut only shortens the compound clip's outer duration; nothing inside it changes | Open the compound clip (or decompose it) and cut on its internal timeline instead |
Ripple delete closes the gap, lift leaves it, and neither one is the broken command. Nearly every frustration on this list comes down to which of two adjacent keys got pressed, or which of two similarly named track settings actually applies, not a fault in DaVinci Resolve's engine.
If you're mid-edit and can't find where a specific control lives on your own screen, this is exactly the kind of moment TryUncle was built for. TryUncle is the on-screen assistant for DaVinci Resolve on macOS - ask in plain words and Uncle points at the exact control on your screen, which beats scrolling back through a written guide looking for one setting.
What's a quick reference for every shortcut and command in this guide?
The entire technique boils down to eight commands, and this table is every one of them in one place so you're not hunting back through the guide to find a single shortcut.
| Action | Windows | Mac | Notes |
|---|---|---|---|
| Split clip at playhead | Ctrl+\ | Cmd+\ | Works in any tool mode, no need to switch to Blade first |
| Blade tool (cut at click point) | B | B | Click anywhere on a clip to cut there |
| Selection tool | A | A | Switch back after blading to avoid accidental cuts |
| Ripple delete (close the gap) | Delete | Forward Delete | Removes the clip and pulls everything after it back |
| Delete / Lift (leave a gap) | Backspace | Delete | Removes the clip's content, leaves its duration empty |
| Blade All (cut every track) | Right-click menu or assigned shortcut | Right-click menu or assigned shortcut | Cuts every unlocked, targeted track at the playhead together |
| Add a marker | M | M | Doesn't pause playback |
| Jump to next/previous marker | Down / Up arrow | Down / Up arrow | Snaps the playhead exactly onto the marker's frame |
| Keyboard Customization panel | Ctrl+Alt+K | Cmd+Option+K | Search "Ripple Delete" if a delete key isn't behaving as described |
Two of these are worth memorizing before anything else on this list: Ctrl+\ (Cmd+) to split, and Shift+Delete (Forward Delete) to ripple delete the piece you just isolated. Everything else in this guide, the Blade tool, Blade All, markers, Sync Lock, compound clips, multicam angles, exists to support that same two-step motion in a specific situation, not to replace it.
Where do you go from here?
Park the playhead, split, park it again, split again, select the middle, ripple delete. That's the whole technique, and it's worth running through on a throwaway clip a few times until Ctrl+\ and Shift+Delete stop requiring any thought at all.
Once the mechanics are automatic, the only real decision left on any given cut is ripple versus lift, and that decision comes down to one question: should the timeline get shorter, or should the space stay open for something else later. Everything else in this guide, the Blade tool, Sync Lock, Linked Selection, markers, compound clips and multicam angles, the Cut and Edit page overlap, exists to support that one core motion, not to replace it.
The technique takes an afternoon to make automatic. Knowing which section actually deserves to go, the pause that isn't adding anything, the stumble that breaks the flow, is the judgment call worth practicing on your own footage, because no shortcut list can make that decision for you.
Frequently asked questions
- What's the fastest way to remove a section from the middle of a clip in DaVinci Resolve?
- Park the playhead at the start of the unwanted section and press Ctrl+\ (Cmd+\ on Mac) to split it. Move the playhead to the end of the section and split again. Click the isolated middle piece and press Shift+Delete to ripple delete it, which removes the piece and closes the gap in one keystroke.
- What's the keyboard shortcut to split a clip in DaVinci Resolve?
- Ctrl+\ on Windows or Cmd+\ on Mac splits the clip at the playhead's exact position, and it works whether the Selection tool or the Blade tool is active. Separately, pressing B switches your cursor into the Blade tool, which cuts wherever you click on the timeline instead of at the playhead.
- How do you delete the middle of a clip without leaving a gap?
- Select the isolated middle segment after splitting both ends and press Shift+Delete on Windows or Forward Delete on Mac for ripple delete, which removes the clip and pulls everything after it back to close the space. Pressing the plain Delete or Backspace key instead lifts the clip and leaves a black gap in its place.
- Can you split a clip on the Cut page the same way as the Edit page?
- Yes. Both pages read the same underlying timeline, and Ctrl+\ (Cmd+\) splits a clip at the playhead identically on either one. The Cut page's trim tool automatically switches behavior based on cursor position instead of using a dedicated Blade tool mode, but the split-at-playhead shortcut and the resulting two clips work the same way.
- Why does DaVinci Resolve leave a black gap after I delete a section?
- Because you used Delete (or Backspace on Mac) instead of Ripple Delete. A plain delete removes the clip's content but leaves its exact duration empty on the track, showing as black in the viewer. Undo, reselect the clip, and press Shift+Delete (Forward Delete on Mac) instead to close the space automatically.
- Does splitting a clip cut the audio and video together, or separately?
- Together, by default, as long as Linked Selection (the chain icon above the timeline) is turned on. A single split or blade command then cuts both the video and its attached audio at the identical frame. Turn Linked Selection off first if you need to blade just the video or just the audio independently.
- Can you split and remove a section across multiple tracks at once?
- Yes, using Blade All (right-click a clip and choose it, or the equivalent menu command) to cut every track at the playhead simultaneously, then selecting across tracks and ripple deleting together. Which tracks actually ripple depends on each track's Sync Lock setting in DaVinci Resolve 20.2 and later, not on Auto Track Selector.
- Is splitting a clip available in the free version of DaVinci Resolve?
- Yes, completely. The Blade tool, the Ctrl+\/Cmd+\ split shortcut, Ripple Delete, and Lift all live on the Cut and Edit pages, and none of them sit behind the $295 Studio license. Blackmagic reserves Studio for the Neural Engine's AI tools, HDR delivery, and resolutions and frame rates above 4K/60fps, not core trimming.
Sources
- DaVinci Resolve product page (Blackmagic Design)
- DaVinci Resolve Studio product page (Blackmagic Design)
- DaVinci Resolve - Keyboard (Blackmagic Design, Speed Editor, Editor Keyboard, Replay Editor)
- DaVinci Resolve - Edit (Blackmagic Design)
- DaVinci Resolve - Cut (Blackmagic Design)
- DaVinci Resolve - What's New (Blackmagic Design)
- DaVinci Resolve Reference Manual - Trimming
- DaVinci Resolve Reference Manual - Edit Mode Toolset
- DaVinci Resolve Reference Manual - Rippling Multiple Edit Points
- DaVinci Resolve Reference Manual - Color
- The Fusion Page within DaVinci Resolve (Blackmagic Design Reference Manual)
- Cut Clips in DaVinci Resolve (JayAreTV, by Justin Robinson)
- How to Cut Video in DaVinci Resolve, Complete Guide (Envato Tuts+, by Eddie Boscana)
- How to Split Compound Clips in DaVinci Resolve (downloadsource.net)
- How to Solve DaVinci Resolve Won't Let Me Add Transitions (Hollyland)
- Blackmagic Forum: Blade tool in Multicam editing
- Blackmagic Forum: Beginner confused about Trim, Cut, Blade, Razor
- Blackmagic Forum: What's the point of Disable Sync Lock
- DaVinci Resolve 21 Officially Released With New Photo Editing, AI Tools, and Much More (PetaPixel)
- DaVinci Resolve 21.0.2 Released: Keyframe Fixes, Retime Curve Improvements (CineD)
Keep reading
Guides · Jul 9, 2026 · 32 min
How to Freeze Frame in DaVinci Resolve: Every Method
Freeze a frame in DaVinci Resolve with Change Clip Speed, Retime Controls, or Shift+R. Covers exporting stills, fixing audio pops, and timeline bugs.
Fixes · Jul 18, 2026 · 24 min
DaVinci Resolve Ripple Delete Not Working? Every Real Cause and Fix
DaVinci Resolve ripple delete not working? Since 20.2, Sync Lock (not Auto Track Selector) controls it on Edit, and Cut page only ripples V1.
Guides · Jul 8, 2026 · 16 min
DaVinci Resolve Keyboard Shortcuts: The Complete Reference
Every essential DaVinci Resolve keyboard shortcut, organized by page: Edit, Cut, Color, Fairlight, Fusion, and Deliver, plus how to customize and share your own.