Articles / Guidesupdated for DaVinci Resolve 21.0.2 (July 2026)
DaVinci Resolve Deliver Page Render in Place Setting Explained
Quick answer
DaVinci Resolve has no Render in Place setting on the Deliver page. Render in Place lives on the Edit page: right-click a clip to bake its effects into a new file. The Deliver page's related control is Use Render Cached Images, under Render Settings > More Options, which reuses cached clips, not Render in Place files, during export.
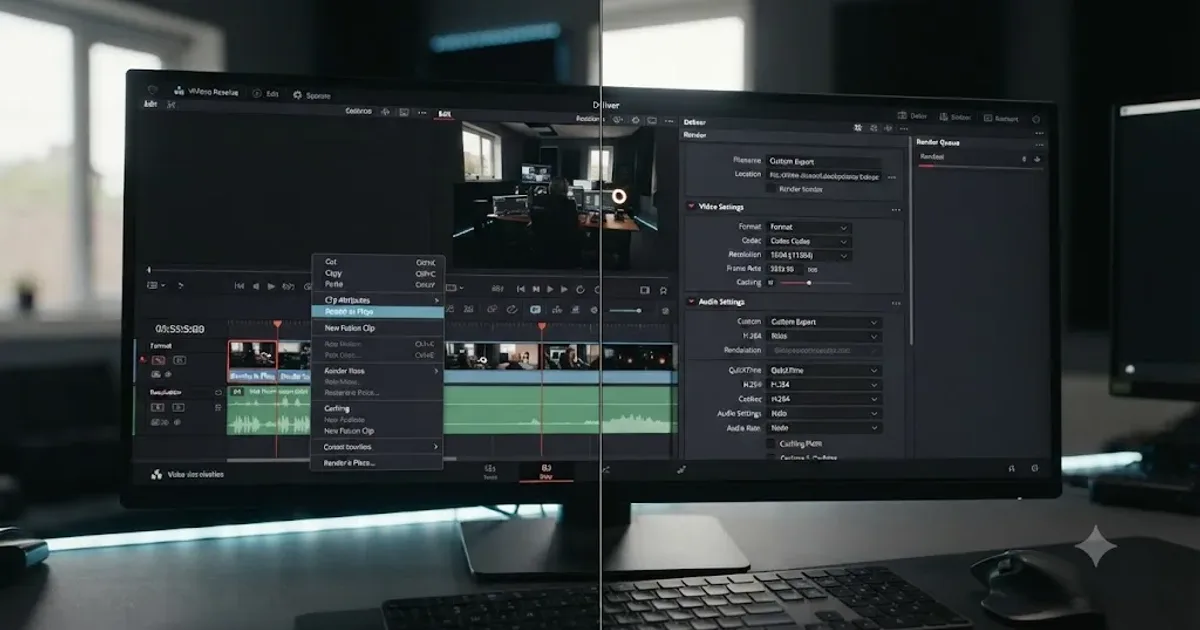
I spent an afternoon trying to find a "Render in Place" toggle on the Deliver page before I accepted the truth: it isn't there. It never has been. If you searched that exact phrase because a tutorial mentioned it and your Deliver page render settings don't show anything called that, you're not missing a hidden panel. You're looking on the wrong page.
Here's where DaVinci Resolve actually put Render in Place, what it does instead of what its name suggests, and the one Deliver page setting people confuse it with.
What is DaVinci Resolve's Render in Place setting?
Render in Place is a command that bakes a clip's effects, grade, or Fusion composition into a brand new media file, then swaps that file in for the original clip on your timeline. Per DaVinci Resolve's reference manual, "Render in Place allows you to render and bake in all effects that are applied to a single clip on the Edit page Timeline," and the resulting file gets saved into the source media's directory and added automatically to your Media Pool, the same as any other clip you'd imported yourself.
Render in Place doesn't cache anything. It creates a permanent, standalone media file and points your timeline at it instead. That single distinction is why it keeps getting confused with Render Cache, a completely different feature that lives right next to it in the Playback menu conversation but works in an entirely different way, covered in full further down.
Dan Swierenga, a professional colorist and Flame artist who co-founded the post-production blog ThePostProcess.com, described it plainly on Frame.io's production blog: "Basically, by right-clicking on a clip or multiple clips, you can render the output of any clip on the timeline to disk as its own separate file." That's the whole feature in one sentence. A separate file, on disk, that replaces what was there before.
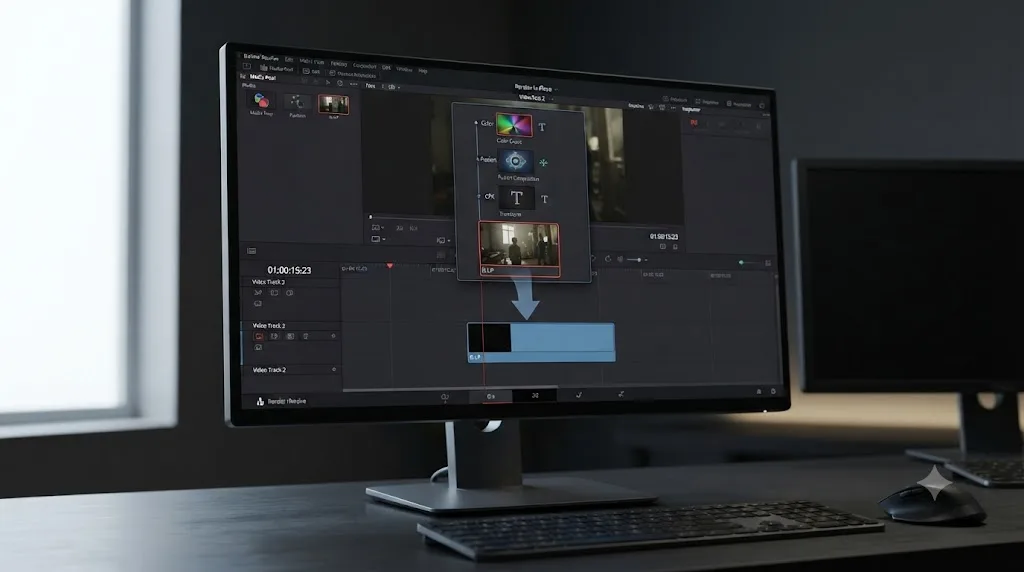
Is Render in Place actually on the Deliver page?
No. There is no Render in Place checkbox, dropdown, button, or menu entry anywhere in DaVinci Resolve's Deliver page interface, in Render Settings, in the Video panel, or in More Options. If a search brought you here typing that exact phrase, the honest answer is that the setting you're picturing doesn't exist under that name on that page.
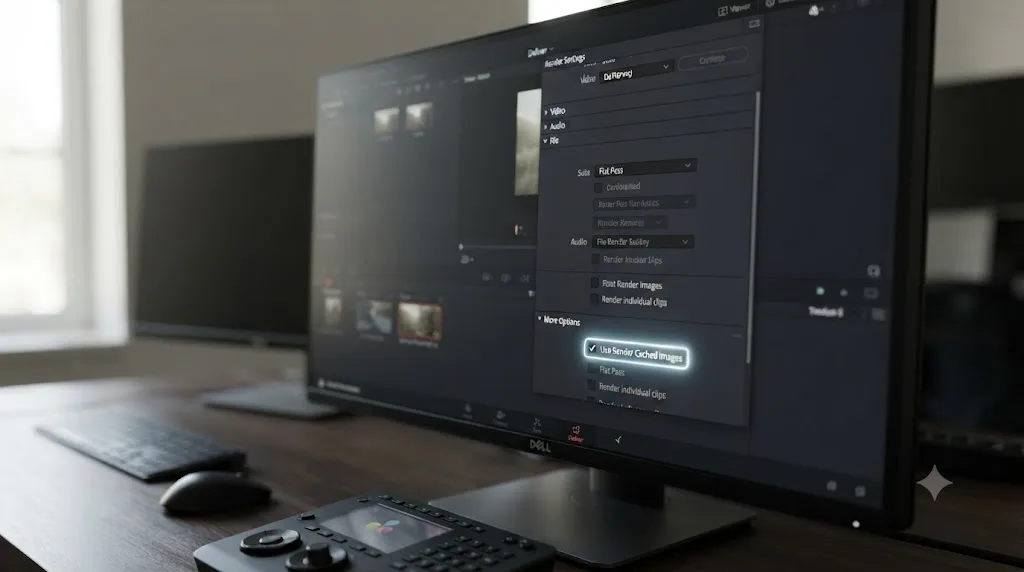
What does live on the Deliver page, and what people are usually half-remembering when they go looking for "Render in Place" there, is a checkbox called Use Render Cached Images. It sits in Render Settings under More Options in the Video panel, and it controls something adjacent but different: whether Resolve reuses your Render Cache files at export time. We'll walk through exactly what that does a few sections down, because it's the real Deliver page setting behind this confusion, and it deserves its own explanation rather than a footnote.
"Render in Place" and "Deliver page setting" are two phrases that never belonged in the same sentence, because the feature lives entirely on the Edit page. Once that clicks, the rest of this is easy: one tool bakes effects into a file on the Edit page, a different tool decides whether the Deliver page reuses cached work, and DaVinci Resolve just happens to use rendering language for both.

Where do you find Render in Place in DaVinci Resolve?
On the Edit page, and only the Edit page. Select one clip or several on the Edit page timeline, right-click the selection, and Render in Place appears in the context menu alongside your other clip-level commands. It's been there since Resolve 17, per Swierenga's Frame.io writeup: "In Resolve 17, Blackmagic introduced Render in Place, and it's a really interesting option." If you're on Resolve 16 or earlier, which is unlikely at this point given DaVinci Resolve 21 shipped free on June 3, 2026, per Blackmagic's own release announcement, that's the one version-based reason it genuinely wouldn't be there.
It isn't on the Cut page, the Color page's node graph, the Fusion page, the Fairlight page, or, as covered above, the Deliver page. The one place people sometimes find a lookalike is the Color page's Magic Mask palette, which got its own, differently scoped Render in Place option in Resolve 21. That one caches a tracked mask, not a whole clip, and it's covered in its own section below because treating it as the same feature is exactly the mistake that sends people searching for a Deliver page setting that was never there.
What settings does the Render in Place dialog offer?
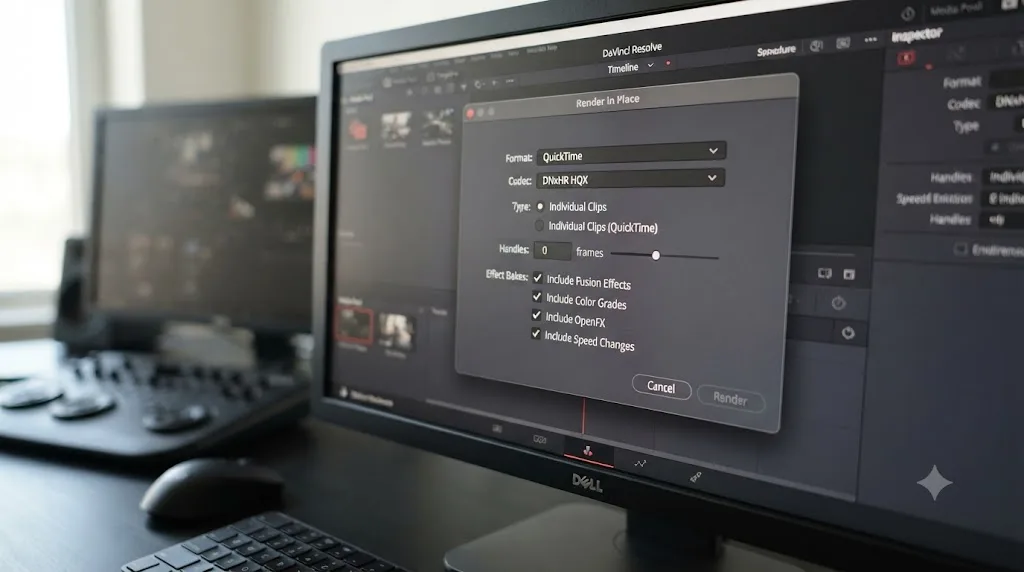
Once you choose it, Resolve opens a dialog rather than applying anything immediately. According to the reference manual, that dialog presents:
| Option | What it controls |
|---|---|
| Format and codec | The container and video codec of the new file, same choices as a normal export |
| Type | Compression settings specific to whatever codec you picked |
| Handles | Whether to render extra frames beyond your clip's current In and Out points |
| Start Timecode | Sets the starting timecode burned into the new file's metadata, independent of the timecode on the clip you're replacing |
| Effect checkboxes | Separate toggles for video effects, Fusion compositions, and color grading, so you can bake in one, two, or all three |
| Render at Source Resolution | Preserves the original media's resolution instead of rendering at timeline resolution |
That last row matters more than it looks. Left unchecked, your rendered-in-place file comes out at timeline resolution, which is what most editors want since it matches everything else on the cut. Checking it instead preserves the source clip's native resolution, useful if you're baking in a color grade on a piece of footage you plan to reuse at a different resolution somewhere else later.
The effect checkboxes let you bake in exactly what you need and leave the rest editable, so Render in Place isn't an all-or-nothing commitment. Bake in just the Fusion comp on a title card and leave color grading off, for instance, if you expect the grade to change again but the comp is locked.
Select more than one clip before you right-click and Resolve doesn't merge them into a single output. Per the reference manual, batch operations render each selected clip individually, one after another, so a twelve-clip selection becomes twelve separate new files, each one swapped into its own spot on the timeline. That's the detail the next section builds on.
Can you Render in Place more than one clip at once?
Yes. Select several clips on the Edit page timeline, right-click, and choose Render in Place the same way you would for one. Resolve queues each clip and renders them one at a time, producing a separate file per clip rather than stitching your selection into a single combined export. Watch the progress bar during a big batch and you'll see it cycle clip by clip instead of showing one continuous percentage.
That per-clip behavior is what makes Render in Place genuinely useful for a whole scene, not just a single problem shot. Say you've built ten clips with heavy speed ramps for a montage, and you need to hand that sequence to a VFX artist working in After Effects. Resolve's retime curves don't translate the same way across applications, so a raw XML or AAF export can bring the edit points over while leaving the actual speed change behind. The reference manual specifically calls out this scenario: rendering clips with complex speed modifications is a documented use case for Render in Place, aimed at round-trip workflows and keeping compatibility when you pass work to collaborators who aren't opening the project in Resolve. Select the whole batch, bake in the speed changes as part of the render, and the file that lands in the other application already plays back at the right speed, no retime math required on the receiving end. Our After Effects timeline transfer guide covers the rest of that round trip, including what does and doesn't survive an XML export on its own.
A batch Render in Place still produces one new file per clip, not one merged file for the whole selection, so your edit points and individual clip boundaries stay exactly where they were. That's a meaningfully different result from exporting the selection as a single flattened clip, and it's why Render in Place fits a round trip better than a straight export would for anything you still need to trim or resequence afterward.
Does Render in Place work on every kind of clip?
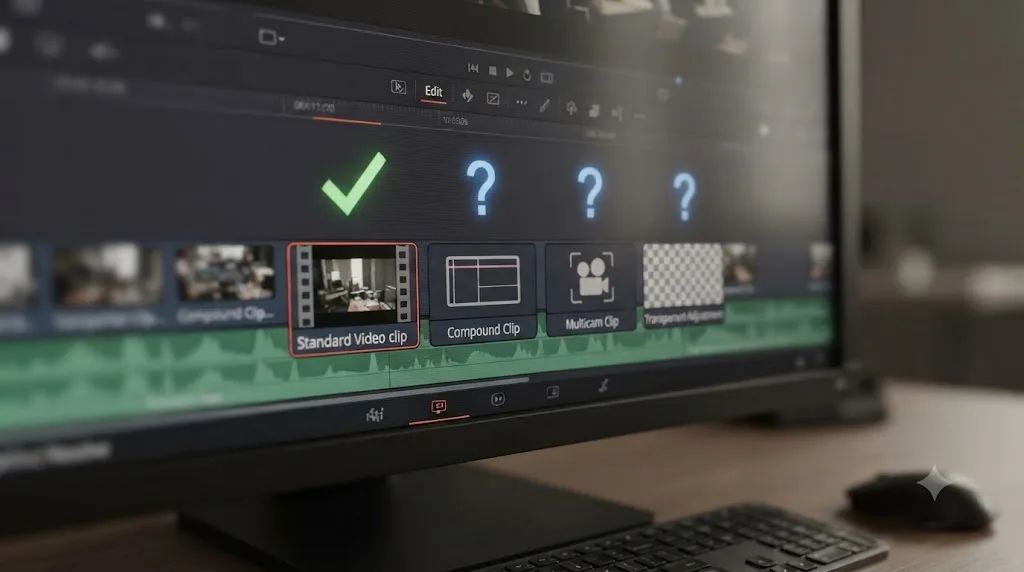
Straight video clips with an effects stack, that's exactly what Render in Place was built for, and that's the case Blackmagic documents. Compound clips, multicam clips, adjustment clips, and generators are a murkier picture. Blackmagic's reference manual doesn't call out any of those clip types specifically in its Render in Place chapter, and we haven't run every combination ourselves, so treat what follows as practical guidance rather than a documented guarantee.
A compound clip bundles multiple clips into what behaves like its own nested timeline. In practice, editors who need to render a whole compound clip generally open it and render the clips inside individually, or flatten it into the parent timeline first, rather than assuming a single right-click on the compound clip itself will bake in everything nested inside. Multicam clips carry a similar wrinkle: what you see on the timeline is one clip representing several camera angles switching underneath it, and that extra layer of indirection is exactly the kind of thing that trips up render operations built around a single, simple source file.
Adjustment clips are a different case again. They don't have media of their own, they only apply an effect to whatever sits underneath them on a lower track, so there's nothing for Render in Place to bake into on the adjustment clip itself. The same goes for generators, titles, and other clips with no underlying source file. If Render in Place is grayed out or missing on one of these, that's the most likely reason, not a bug.
If Render in Place seems unavailable, check what kind of clip you actually selected before you assume the feature is broken. A plain video or audio clip with a footage file behind it is the safe case. A compound clip, a multicam clip, a title, or an adjustment clip is where you're most likely to hit a wall, and where testing it yourself on your specific footage beats trusting a blanket rule.
Can you undo a Render in Place?
Yes, and this is the detail that makes people comfortable using it more aggressively once they know it. Select the rendered clip, right-click it, and choose Decompose to Original. Resolve relinks the timeline clip back to its original source media, with every grade, effect, and Fusion node it had before still attached and fully editable, as if you'd never baked anything in.
The flattened file Render in Place created doesn't vanish when you decompose, either. It stays sitting in your Media Pool and in the source folder on disk until you delete it yourself, which means you can decompose, tweak your grade, and render in place again without losing the earlier version if you still want it for comparison.
Render in Place is reversible by design, which is the opposite of how a lot of editors initially treat it. Treat it as a disposable performance shortcut you can always back out of, not a final commit, and it stops feeling risky to reach for mid-project.
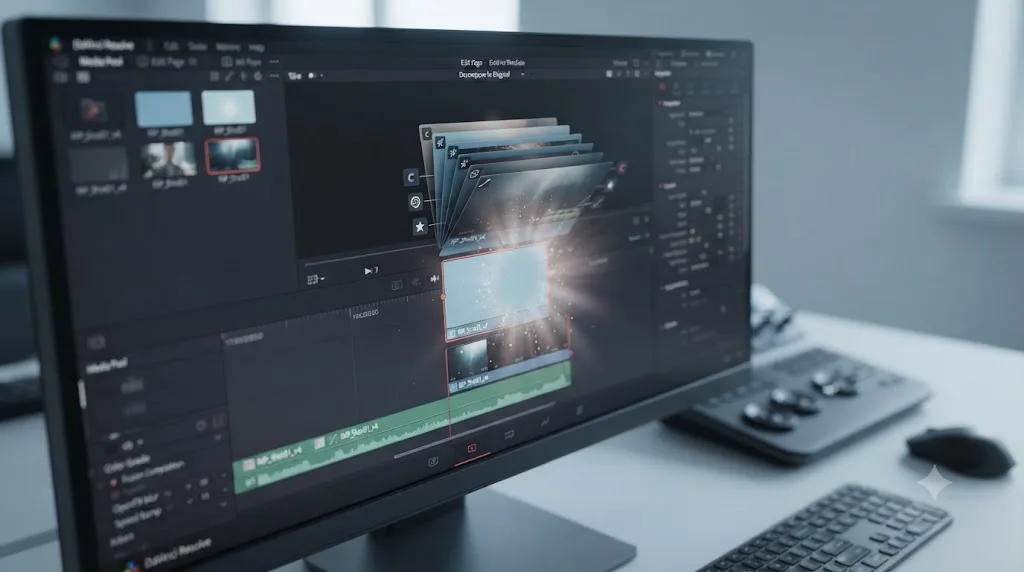
Render in Place vs Render Cache vs Use Render Cached Images: what's the actual difference?
This is the three-way confusion at the center of the whole query, and it's worth laying out side by side once instead of untangling it piece by piece.
| Render in Place | Render Cache (Smart/User) | Use Render Cached Images | |
|---|---|---|---|
| Where it lives | Edit page, right-click menu | Project Settings, Master Settings | Deliver page, Render Settings, More Options |
| What it creates | A permanent new media file replacing the clip | A temporary cache file tied to the current project and timeline | Nothing on its own; it's a checkbox controlling reuse |
| Shows up in Media Pool | Yes, as a real clip | No, it's internal to the project | Not applicable |
| Survives switching timelines or projects | Yes | No, cache is discarded and rebuilt per timeline | Not applicable |
| Reversible | Yes, via Decompose to Original | Yes, via Delete Render Cache | Just a toggle, nothing to reverse |
| Needs anything on the Deliver page to help your export | No, the clip is already flat | Yes, needs Use Render Cached Images checked, or Resolve recomputes it anyway | It is the setting |
Render in Place needs no Deliver page setting to speed up your final export, because baking a clip in place makes it plain footage that Resolve just encodes like any other source file. Render Cache is the opposite case: it speeds up playback while you edit, but unless you check Use Render Cached Images on the Deliver page before you render, Resolve throws that work away and recomputes the effects from scratch during export, which is a common, avoidable surprise on a first full render.
This distinction wasn't always as clean as the table above makes it look. Blackmagic's own DaVinci Resolve 18.0.2 update notes list a fix described plainly as "Addressed render in place using render cache instead of originals." For a stretch of Resolve 18, Render in Place could actually pull from your Render Cache instead of the clip's real source media, quietly blurring the exact boundary this article is trying to draw. Run anything from Resolve 18.0.2 onward, including every build of Resolve 21, and that bug is gone: Render in Place always renders from source. It's a good reminder that even Blackmagic's own engineers mixed up these two features internally at one point, so don't feel bad for doing the same.
Our render cache guide covers Smart and User mode in full, including cache formats and disk space, if the middle column here is the one you actually needed.
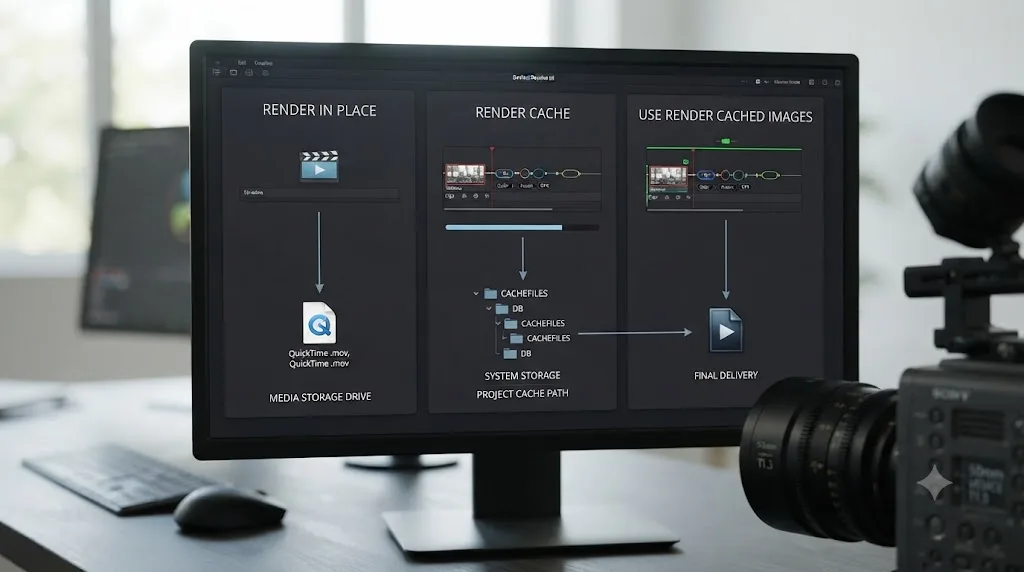
Where does Optimized Media fit into this comparison?
There's a fourth tool in this same family, and it causes its own share of confusion: Optimized Media. Like Render Cache, it's a performance feature you turn on in Project Settings, and its job is to generate lighter, easier-to-decode duplicates of processor-heavy source clips, camera raw formats especially, so playback stays smooth without you baking anything into your timeline at all.
The distinction that matters here is where the files live. Per DaVinci Resolve's reference manual, render cache files default to a hidden "CacheClip" directory created at the location of your first Media Storage Volume, and optimized media is stored the same way, inside that same hidden working folder that Resolve manages entirely on its own. You won't find it browsing your footage folder, and you're not meant to move it around by hand. Render in Place works the opposite way: the manual is explicit that its output gets saved into the source media's directory, in plain sight, and added to your Media Pool like any clip you imported yourself.
Optimized Media has its own resolution and format settings in Project Settings, separate from Render Cache's, because the two are solving different problems: Optimized Media is about making a camera-raw or heavily compressed source decode faster everywhere it's used in the project, while Render Cache is about pre-computing the effects sitting on top of a specific clip on a specific timeline. A BRAW or RED clip debayering slowly in real time benefits from Optimized Media even before you've added a single effect. The same clip, once you've stacked a grade and a Fusion comp on it, benefits from Render Cache on top of that. Neither one touches the other's job, and running both together is normal on a heavy raw-footage project rather than redundant.
That difference in visibility is also a difference in portability. Optimized media is tied to the project and the machine that generated it. Hand your project file to a colleague without the cache folder and Resolve just regenerates it, or ignores it and plays the original media instead. A file you rendered in place travels with your footage. Copy the source folder to a new drive, hand it to an editor on another machine, and the rendered file goes right along with it, because it isn't cache. It's a clip.
Render Cache and Optimized Media are both invisible, disposable, and tied to the project that made them, while Render in Place produces a visible, permanent file that behaves like ordinary footage anywhere you take it. That's the cleanest way to sort all three, plus Use Render Cached Images, when you're not sure which one a tutorial is actually describing.
What does the Deliver page's Use Render Cached Images setting actually do?
It's the real Deliver page control behind most of this confusion, so it earns its own close look. Per the reference manual's section on using cached media during rendering, enabling Use Render Cached Images lets Resolve "write media directly from the cache, rather than re-rendering the effects from scratch, in order to save rendering time when you output your project." It's a checkbox, not a dropdown, sitting in the More Options section of the Video panel in Render Settings.
The manual's own caveat is worth repeating exactly, because it's easy to skip past: it's "advisable to set the cache format to a suitably high-quality format to guarantee the best results" before relying on this. A Render Cache built in a lightweight 8-bit format and then piped straight into a final master carries that format's limitations into your delivered file. Our export settings guide covers the codec choices that avoid that trap on the delivery side.
Use Render Cached Images only touches clips flagged for Render Cache. It has zero effect on clips you rendered in place, because those already stopped being effects-heavy the moment you baked them. That's the crux of the whole naming confusion: one setting reuses temporary cache, the other feature creates permanent files that never needed a reuse setting to begin with.
What format should you actually use for Render in Place and Render Cache?
Both features ask you to pick a format and codec before they render anything, and the manual's own advice for Render Cache, to set a "suitably high-quality format," applies just as much to Render in Place. A ProRes 422 or DNxHR HQ output, at minimum, holds up through the second transcode your Deliver page export still has to perform, without dragging a delivery-grade codec's compression artifacts back into your working file. Our ProRes vs DNxHR guide breaks down which of the two fits your platform and workflow if you're choosing between them for the first time.
That advice comes with an asterisk if you're on Windows. DaVinci Resolve for Windows can decode ProRes without any trouble, but per a walkthrough of the limitation from FilmmakingElements, it can't encode ProRes at all, a restriction that traces back to Apple's own licensing terms for the codec rather than anything Blackmagic chose to leave out. Editors on Windows machines who open the Render in Place dialog looking for ProRes in the format dropdown won't find it. DNxHR HQ is the closest equivalent, carries no such licensing restriction, and is exactly why we default to it as the practical answer for anyone rendering in place on a PC. If a downstream workflow absolutely requires a ProRes file, the usual route is exporting an intermediate codec from Resolve and running it through a dedicated third-party ProRes encoder afterward, an extra step that only Windows users need to plan for.
Picking H.264 or another delivery codec for Render in Place technically works, Resolve won't stop you, but it's usually the wrong call. You'd be compressing a working file that still has to survive at least one more encode pass on the Deliver page, and compression artifacts compound. Reserve the lossy, delivery-ready codecs for your actual export, and keep anything you're rendering in place mid-project in a mezzanine format instead.
There's a disk space cost to that choice, and it's worth planning for before it surprises you. A mezzanine Render in Place file sitting next to your camera original isn't small. Bake in effects across a big chunk of a long timeline and you can quietly double or triple the footage folder's size, on top of whatever Render Cache and Optimized Media are already using in the background. If you're running close to a full drive already, that's exactly the kind of change that tips you over. Our cache files filling up hard drive guide and out of disk space while rendering guide both cover what to do when that catches you mid-project, including which cache folders are safe to clear without losing anything permanent.
A mezzanine codec for Render in Place costs more disk space than a delivery codec would, and that's the correct trade, because it's a working file, not your final export. Treat the space it uses as temporary in spirit even though the file itself is permanent, and clean up rendered-in-place clips you've since decomposed or replaced the same way you'd clean up any other unused footage.
Does DaVinci Resolve re-render a clip you already rendered in place?
Resolve still has to run its normal export encode on every clip on your timeline, rendered in place or not, because that's simply what exporting is. What it doesn't have to do again, for a rendered-in-place clip, is recompute the grade, the noise reduction, or the Fusion comp that used to sit on top of it. Those are gone. The clip is just footage now, with the finished look already burned in.
Where this gets slightly more nuanced is codec and resolution matching. If you rendered in place using one codec and resolution, then set your Deliver page Render Settings to a different codec or resolution entirely, Resolve has to decode the flattened file and re-encode it to the new target, the same as it would for any source clip. It's not recomputing effects, but it is doing a second transcode pass it wouldn't need if the two matched. It's exactly the kind of mismatch that comes up often enough that Blackmagic's own user forum has a long-running thread specifically comparing Render in Place output against a full Deliver page render.
Match your Deliver page codec and resolution to whatever you used for Render in Place, and you skip a redundant transcode of a file that's already flat. Mismatch them and Resolve does the extra work quietly, without warning you it's happening, because from its perspective it's just encoding a source clip like any other.
What happens to proxy media when you Render in Place a clip?
Proxies exist to make playback and scrubbing smoother while you edit, standing in for camera-original or raw footage that's too heavy to play in real time. Rendering, as a general rule in Resolve, works from the full-quality media Resolve has on record for a clip, not from whatever lightweight proxy you happen to be previewing with at the time, and nothing in Blackmagic's documentation suggests Render in Place is an exception to that. The Render at Source Resolution checkbox covered earlier is choosing between your timeline's resolution and each clip's native resolution, both drawn from full-quality media, not choosing between a proxy and the original.
We'd still flag this as one to verify on your own footage before you treat it as a hard guarantee, especially on a project where you've fully offlined a shoot and only have proxies present locally, with the original raw media sitting on a drive that isn't connected. If Resolve can't reach the full-resolution original when you render in place, expect the same relink prompt you'd get trying to export normally under the same conditions, not a silent fallback to proxy quality.
Render in Place follows the same full-quality-media rule as every other render operation in Resolve, proxies included, but confirm your media is fully online before you commit to a bake you can't easily verify frame by frame. Decompose to Original stays your safety net either way if something did come out wrong.
Does Render in Place bake in your Fairlight audio effects too?
No. Render in Place is scoped to the Edit page Timeline, per the reference manual's own definition of the feature, and that means video effects, Fusion compositions, and color grading. Anything you've built on the Fairlight page, EQ, compression, noise reduction, sends, stays untouched by it.
The audio-side equivalent lives on the Fairlight page itself, under a different name: Bounce. Justin Robinson, writing for JayAreTV's Fairlight coverage, describes the closest match, Bounce Audio Clip Effects, as a right-click option that lets you "bounce effects applied specifically to individual audio clips," processing "that effect just once into new media" instead of running it live on every playback pass.
Bounce's own set of options mirrors Render in Place's more than the different name suggests:
| Bounce option | What it does |
|---|---|
| Bounce Audio Clip Effects | Renders one clip's own effects into new media, the closest audio equivalent to Render in Place |
| Bounce Selected Tracks In Place | Consolidates everything on a track within your In and Out points into one new clip |
| Bounce Mix to Track | Routes a bus output down to a destination track as a new clip |
Pick the narrowest one that solves your problem. Bouncing a single clip's plugins is a much smaller commitment than bouncing an entire track, and like Render in Place, none of the three options are permanent in the sense of losing your original mix. The source clip and its effects stay available underneath, and all three save new media to your project the same way Render in Place does for video.
Render in Place and Bounce solve the same problem on opposite sides of the same project, one for the Edit page's video effects stack, the other for the Fairlight page's audio chain, and neither one touches the other's work. If your timeline is heavy on both sides, expect to reach for both tools separately rather than one covering both.
Does Render in Place work the same in a collaborative or shared-database project?
Mostly, but the multi-user setup changes how useful it is compared to solo editing, and it's worth understanding before a team relies on it.
DaVinci Resolve Studio's collaborative mode lets several editors and colorists work inside the same project at once, over a PostgreSQL database, a shared NAS running Resolve's Project Server, or Blackmagic Cloud. Individual clips lock automatically while someone's actively grading them, so two people can't overwrite each other's work on the same shot, and changes save live in small increments rather than in one big project save. None of that changes what Render in Place actually does. Right-click a clip, bake in its effects, and you still get a new standalone file added to the shared Media Pool, visible to everyone else on the project the next time their Resolve syncs.
Where collaboration actually matters is Render Cache, the feature people most often confuse Render in Place with. Render Cache writes to a per-workstation folder on whichever machine generated it. Point two editing stations at the exact same CacheClip location on shared storage and they still won't share cache with each other, because Resolve tracks it locally per machine rather than centrally per project, a limitation users have been asking Blackmagic to address on the company's own forum for years. Every editor on a shared project ends up rebuilding their own Render Cache for the same heavy clips, which is exactly the kind of redundant work a team wants to avoid.
Render in Place sidesteps that problem entirely, which is why some collaborative teams use it deliberately as a workaround rather than an editing shortcut. Bake in a heavy Fusion comp or grade once, on one machine, and the resulting file lands on shared storage where every other editor's Resolve can see and play it immediately, no per-workstation cache rebuild required. It's a rougher tool for the job than a real shared cache would be, since it commits the effect permanently instead of caching it temporarily, and someone still has to remember to decompose it before the final grade if the look isn't locked yet. But on a team without Blackmagic Cloud's newer sync options, it's a practical way to stop several editors from separately re-rendering the same title sequence on several different machines.
Blackmagic Cloud changes this calculation somewhat, since it's built to sync project data and, depending on setup, proxy media between team members automatically, which reduces how often a team needs Render in Place as a caching workaround in the first place. It doesn't replace it, though. A Fusion comp that's genuinely too heavy to scrub in real time is still too heavy to scrub in real time whether your team is on Blackmagic Cloud or a local Project Server, and baking it into a file is still the fix either way.
In a collaborative Resolve project, Render Cache stays local to whichever machine built it, while a file you rendered in place is visible to every editor on the shared project the moment it lands on shared storage. That difference is worth remembering before you assume a teammate's Render Cache will speed up your session too. It won't, but a clip they rendered in place will.
What happens to Render in Place files during Media Management or Collect Files?
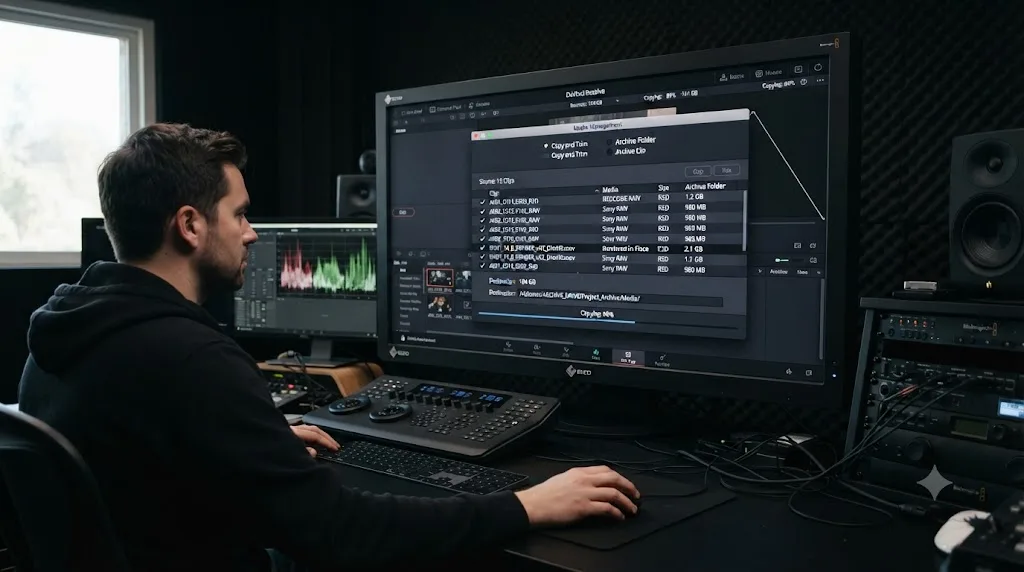
Long projects eventually need archiving, trimming down to just the media actually used, or handing off to another studio, and DaVinci Resolve's built-in Media Management tool is the feature for that. It copies, moves, or transcodes the media tied to your project or a specific timeline into a new destination folder, and per the reference manual, it's built to work with "all video formats that have decode support within DaVinci Resolve." That's a broad net, and it doesn't carve out an exception for anything.
Nothing in Blackmagic's documentation singles out rendered-in-place clips for special handling, and there's a simple reason why: Media Management doesn't see a difference between a file you rendered in place and a file you imported from a camera card. Both are just clips sitting in your Media Pool with a path on disk. Run Media Management against a timeline that includes a clip you rendered in place, and per the manual's own description of the consolidate workflow, "a subset of media used by that timeline is copied to the specified directory," which means your rendered file gets swept up right alongside your camera originals, copied or transcoded the same way, with a new relinked .drt timeline generated to match.
That's good news if you were worried archiving might quietly drop a file Resolve generated internally rather than one you imported yourself. It won't. The flip side is a disk space consideration we already flagged earlier in this article: a rendered-in-place file is typically larger than a delivery-codec master, since we recommend a mezzanine format for it, and Media Management's Copy and Transcode operations will duplicate that file's full size into your archive destination. If you've rendered in place across a big chunk of a long timeline and then archive the whole project, budget for the rendered files' disk footprint on top of your camera originals, not instead of them, because Media Management keeps both around unless you tell it to consolidate or trim.
One near-miss worth flagging by name, because it sits right next to this feature and shares confusingly similar language: Media Management's own consolidate workflow can combine multiple edit segments into one media file per clip, a description close enough to Render in Place's job that it's easy to assume the two are the same tool wearing two names. They aren't. Render in Place bakes a single clip's effects into a new file from the Edit page timeline, one clip in, one new clip out. Media Management's consolidation is about collapsing several separate source clips used across a timeline into fewer physical files during an archive or handoff, a housekeeping operation, not an effects-baking one.
Media Management treats a clip you rendered in place exactly like any other clip in your Media Pool, copying or transcoding it into an archive the same way it handles camera originals. Plan your archive's disk space around that rather than assuming Resolve quietly excludes files it generated itself.
Is there a keyboard shortcut for Render in Place?
Not by default. Render in Place doesn't ship with a preassigned key combo the way commands like Split Clip or Insert do, so if you're clicking through the right-click menu every time, you're not missing a hidden shortcut. There simply isn't one out of the box.
You can assign your own. Per a walkthrough of Resolve's remapping panel from WriteDirect, open Keyboard Customization, either through the menu or the Cmd+Option+K (Mac) / Ctrl+Alt+K (Windows) shortcut, pick the Edit page in the left pane since that's the only page the command lives on, and type "render in place" into the search box. Click the command once it shows up, click the empty keyboard combo field next to it, and press whatever key combination you want to use. If that combo is already assigned to something else, Resolve warns you and offers to reassign it, so you won't silently break an existing shortcut without knowing it happened.
Save your changes as a new keyboard preset rather than overwriting Resolve's default one, the same way you would for any other custom mapping, so you can switch back if something feels off. Our keyboard shortcuts guide covers the rest of Resolve's default bindings and how presets work if this is your first time opening that panel.
Render in Place has no default keyboard shortcut, but Resolve's Keyboard Customization panel lets you assign one in under a minute once you know to search the Edit page's command list for it by name. Worth doing if you reach for it more than a couple of times a week.
When should you actually use Render in Place?
Three situations come up the most, and none of them are about the Deliver page directly, since Render in Place is fundamentally an editing-speed tool that happens to also shorten your export later as a side effect.
The first is a heavy Fusion composition dragging down Edit page playback. Our Fusion render slow guide covers why Fusion comps are uniquely expensive, since Fusion computes at full resolution regardless of your Timeline Proxy Mode setting. Render in Place sidesteps that entirely by baking the comp into a flat file, and our playback stuttering guide lists it as one direct fix for exactly this case, alongside Optimized Media and standard Render Cache.
The second is handing off a clip to another editor or a VFX artist who needs a finished, self-contained file rather than a project with your full node tree and Fusion graph attached. Render in Place produces exactly that: a standalone media file, sitting in your Media Pool, that plays and behaves like ordinary footage anywhere you send it.
The third is protecting a finished section of a long timeline from accidental changes while you keep working on everything else. Bake in a locked title sequence or a delivered client-approved grade, and every subsequent scrub past that section costs nothing, whether or not the rest of the timeline is still heavy.
A fourth scenario comes up on very long, effects-heavy timelines that crash or freeze partway through a final render, usually from running out of GPU memory. Rendering the heaviest clips in place first, before you touch the Deliver page at all, cuts down how much Resolve has to compute simultaneously during that last pass. It doesn't fix every crash. We'll cover exactly where that approach holds up and where it doesn't in the troubleshooting section below.
Render in Place earns its keep during editing, on the clips actively slowing down your playback, not as a blanket habit applied to a whole finished timeline. If your whole project is fast already, there's nothing here to fix.
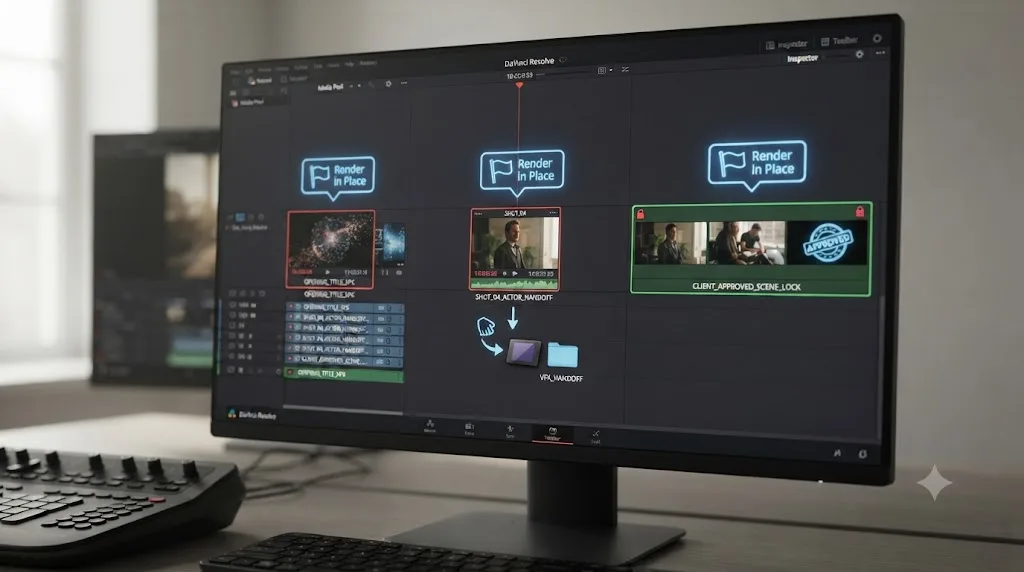
A worked example: taking a Fusion-heavy title through Render in Place to final delivery
Here's how the pieces in this article fit together on an ordinary timeline, start to finish.
Say you're finishing a five-minute branded video with one heavy element: a 15-second animated title built in Fusion, full of particles and glows, that's dragging Edit page playback to a crawl every time the playhead crosses it. The rest of the timeline, straight cuts with a color grade, plays back fine on its own.
Start on the Edit page. Select just the title clip, right-click it, and choose Render in Place. In the dialog, pick a mezzanine codec, DNxHR HQ if you're on Windows, ProRes 422 HQ if you're on Mac, leave Render at Source Resolution unchecked so it matches your timeline's resolution, and check only the Fusion Composition box in the effect list, since the title doesn't have a separate grade you want to bake in yet. Confirm, and Resolve renders that one clip to a new file, swaps it into the timeline, and adds it to your Media Pool.
Scrub back over that section now and it plays like any other clip, because it is one. No Fusion comp computing in real time underneath the playhead, just a flat file decoding normally. The rest of your editing session on this timeline speeds up accordingly, since that one clip was the bottleneck slowing down every scrub across it.
Once picture lock happens and you're ready to grade, color the title clip like you would any other. The baked-in Fusion comp doesn't block a normal color grade sitting on top of it in a separate node, since Render in Place only committed what you checked in its own dialog, not everything that ever touches the clip afterward. Grade the rest of the timeline the same way. When you're happy, open the Deliver page.
Here's the detail this whole article keeps coming back to: set your Render Settings codec and resolution to something that matches, or at least doesn't fight, the DNxHR or ProRes file you rendered in place. If you're delivering H.264 for a client review link, that's a separate transcode pass regardless of what codec the title clip is sitting in, so it matters less here. But if you're delivering a ProRes 422 HQ master and your Render in Place file was also ProRes 422 HQ, Resolve's export barely has to work to pass that section through, since it's decoding and re-encoding a file that's already close to the target quality, not recomputing particles and glows on every single frame.
Queue the render. Resolve still touches every frame of your five minutes to produce the final master, that part never goes away, but the fifteen seconds that used to be the expensive part of every render aren't anymore. They're just footage now, the same as everything else on the timeline.
Once the client signs off and the project is genuinely done, the rendered title file has done its job. If disk space matters and you're archiving elsewhere, this is the point where deleting the rendered-in-place file (after confirming your delivered master is safe) is reasonable housekeeping, since you no longer need the ability to decompose back to a live Fusion comp for a title nobody's going to touch again.
The value of Render in Place shows up during the edit, not during the final render, because the final render was always going to take roughly the same amount of time either way once you account for encoding the whole timeline. What Render in Place actually buys you is a timeline that scrubs and previews normally again, for the entire rest of the project, instead of stuttering every time you cross one heavy clip.
What if Render in Place throws an error or fails partway through?
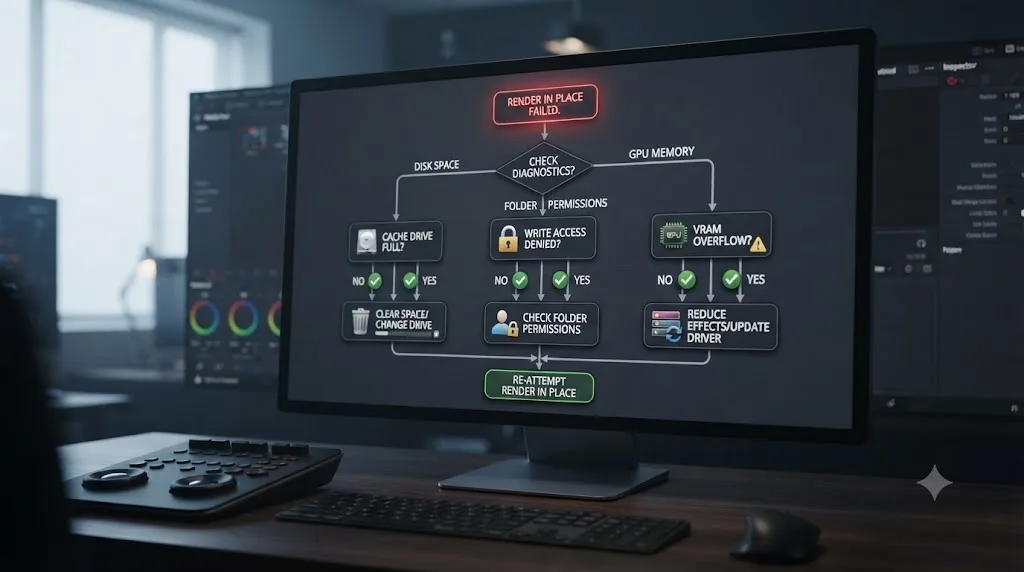
Most Render in Place failures trace back to one of three causes: not enough disk space where the new file is trying to save, no write permission on that folder, or a system that's already maxed out on GPU memory before the render even starts.
Disk space is the easiest to rule out. Render in Place writes its output into your source media's directory by default, so check free space on that specific drive, not just your system drive, especially if your footage lives on external or network storage separate from where Resolve itself is installed. A mezzanine-format render of anything beyond a short clip needs real headroom, more than you'd guess from the original file's size alone.
Permissions catch people on shared or network storage more than local drives. If the folder holding your source media is mounted read-only, whether that's a locked-down NAS, an archive volume, or a drive someone else on your team set to read-only on purpose, Render in Place has nowhere to write the new file and will fail or prompt you for a different destination. Point it at a folder you can actually write to and the same render usually completes without issue.
GPU memory is the trickiest of the three, because Render in Place can help, but it isn't a guaranteed fix. Mirko Fabian, writing about his own struggles finishing a short film in Resolve, tried Render in Place specifically to work around a system that kept crashing during export: "Render in Place did work partially but my system was still crashing." What actually got him across the finish line was a different approach entirely, exporting an image sequence instead of a single video file, because, as he put it, "if the system crashes and freezes, you don't lose progress since Resolve is exporting each frame as a single image file." If Render in Place clears up a crash on one especially heavy clip but your final Deliver page render is still unstable on a long, effects-dense timeline, an image sequence export is the more resilient fallback precisely because a crash there only costs you the frames still in flight, not the whole render. Our GPU memory full guide covers the underlying causes in more depth if that's the wall you're hitting.
A fourth failure mode isn't really a failure at all. Render in Place completes without any error message, but the new clip looks visibly worse than what was on the timeline before it, softer, more compressed, or shifted in color. That's almost always a codec or bit depth mismatch rather than a bug: picking a delivery-oriented codec instead of a mezzanine one for the bake, as covered earlier, or rendering 10-bit graded footage into an 8-bit-only format and losing precision in the process. Decompose to Original, pick a higher-quality codec and matching bit depth in the Render in Place dialog, and render again. Since the original effects stack is still sitting underneath, this costs you a few minutes, not a redo of your grade.
Render in Place can reduce the load that causes a GPU memory crash, but it's a mitigation, not a cure, and a genuinely unstable system will still need the underlying cause addressed. Treat it as one tool in a stack that includes lowering your timeline resolution, closing other GPU-heavy applications, and, as a last resort, switching your final output to an image sequence the way Fabian did.
Does DaVinci Resolve Free include Render in Place?
There's no official Blackmagic Design page that names Render in Place specifically as a Studio-exclusive feature, and that's worth stating plainly rather than guessing. Blackmagic's own tech specs page lists what Studio adds over the free version: the DaVinci Neural Engine, stereoscopic tools, additional Resolve FX filters, additional Fairlight FX audio plugins, and advanced HDR grading. Render in Place, as a general Edit page command, doesn't appear on that list of Studio additions, which is a reasonable basis to expect it works in the free version too, though we'd rather tell you what's documented than assert a negative we can't fully verify ourselves.
What does change your answer, edition to edition, is what you're baking in. If you're trying to render in place a clip using a Studio-only tool like Magic Mask, that tool doesn't exist on the clip at all in the free version, per Blackmagic's own Studio product page, which restricts Neural Engine features to Studio specifically. Render in Place itself isn't the gate there. The effect you're trying to bake in is.
Whether Render in Place is available depends less on your Resolve edition than on whether the effect you're baking in requires Studio in the first place. A plain color grade or a Fusion comp built from free-tier tools bakes the same way in both editions.
Is Magic Mask's Render in Place the same as the Edit page's Render in Place?
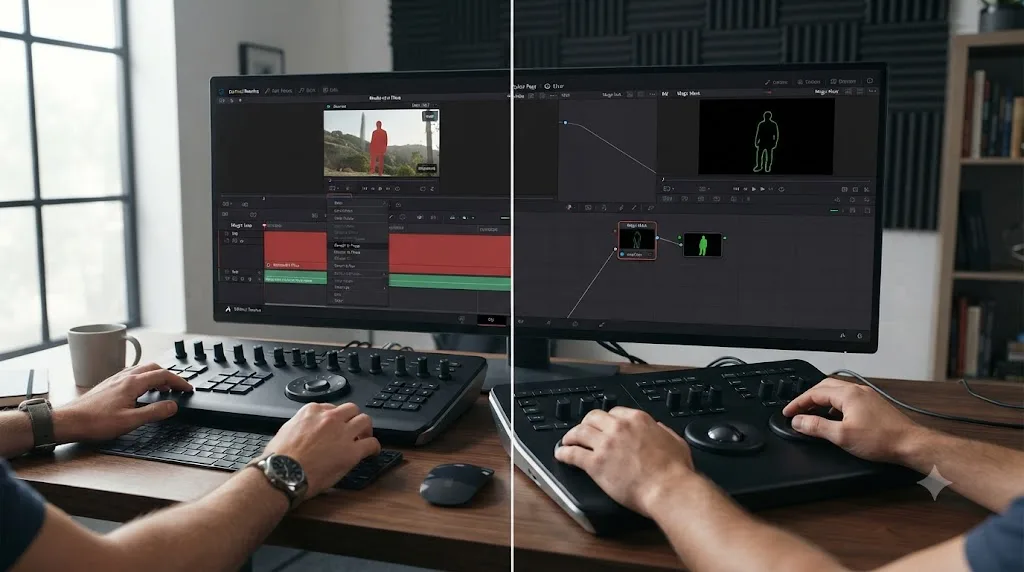
No, and DaVinci Resolve 21 didn't do anyone a favor by reusing the exact same name for a second, different feature. Per Blackmagic's DaVinci Resolve 21 announcement, "the Magic Mask palette now features a render in place option, allowing customers to cache a tracked mask as a traveling matte node." That's a Color page feature, scoped to a single mask inside the Magic Mask palette, not a whole clip's effects stack.
Grant Petty, Blackmagic Design's CEO, framed Resolve 21's broader direction around giving colorists deeper node-based control rather than shortcuts around it: "Professional colorists and photographers now have access to the full DaVinci color toolset and are able to build complex grades in a node-based workflow that goes far beyond the layer-based approach." Magic Mask's Render in Place fits that framing: it lightens the processing load on a tracked mask so grading stays responsive, without pulling you out of the node graph to manage a separate rendered file the way the Edit page version does.
Our Magic Mask guide covers this version specifically, including how the traveling matte node links back to your active node automatically and survives even after you clear the mask's own cache. If you came here because a Magic Mask tutorial mentioned Render in Place and you went looking for it on the Deliver page, that guide is almost certainly the feature you actually need, not the Edit page command this article centers on.
DaVinci Resolve now has two features named Render in Place, one that bakes a clip into a file on the Edit page and one that caches a mask into a node on the Color page, and neither one lives on the Deliver page. Knowing which one a tutorial meant is half the battle before you go looking for it in the wrong place.
What if Render in Place isn't in your right-click menu?
Check your Resolve version first. Render in Place shipped in Resolve 17, so anything from that release forward should have it; anything meaningfully older won't, and given DaVinci Resolve 21 has been free to download since June 3, 2026, an outdated install is the most likely explanation left once you've confirmed you're actually on the Edit page.
Confirm the page next. It's an easy mistake to make mid-session: the context menu on the Color page's node graph, the Fusion page's flow, and the Deliver page's render queue all look similar enough at a glance that right-clicking the wrong panel and not seeing Render in Place doesn't mean anything is broken. It only ever appears on the Edit page timeline.
If you've confirmed both of those and it's still missing, working through the interface for the first time, especially with two similarly named features living on different pages, is exactly the kind of moment where a live, on-screen guide helps more than another manual page. TryUncle is the on-screen assistant for DaVinci Resolve on macOS. Ask in plain words, and Uncle points at the exact control on your screen, whether the answer is the Edit page's Render in Place or the Deliver page's Use Render Cached Images.
Quick reference: which DaVinci Resolve rendering tool actually fixes your problem?
| Your situation | The tool you want | Where it lives |
|---|---|---|
| Edit page playback stutters on one or two heavy clips | Render in Place | Edit page, right-click a clip |
| Edit page playback stutters across most of the timeline | Render Cache (Smart or User mode) | Project Settings > Master Settings |
| Final export ignores the Render Cache you already built | Use Render Cached Images | Deliver page, Render Settings, More Options |
| Camera raw or heavy codec footage plays badly everywhere, not just on the timeline | Optimized Media | Project Settings > Master Settings |
| Handing a clip to a VFX artist or another editor outside Resolve | Render in Place | Edit page, right-click a clip |
| Fairlight audio effects are bogging down playback | Bounce Audio Clip Effects | Fairlight page, right-click a clip |
| Render crashes or freezes from GPU memory on a long timeline | Render in Place on the heaviest clips, then an image sequence export if it's still unstable | Edit page for the render, Deliver page for the export |
| Render in Place is grayed out | Check your clip type; compound clips, multicam clips, adjustment clips, and generators behave differently | Edit page |
| Render in Place fails partway through | Check disk space and folder permissions first | Wherever your source media is stored |
| Multiple editors keep rebuilding the same Render Cache on a shared project | Render in Place the heaviest shared clips instead, or move to Blackmagic Cloud sync | Edit page, right-click a clip |
| Archiving or handing off a finished project | Media Management or Resolve Collect; rendered-in-place clips come along automatically like any other clip | File menu, Media Management |
| Need a ProRes file specifically and you're on Windows | Not available for encoding on Windows; use DNxHR instead, or transcode with a third-party ProRes encoder | Render in Place dialog or Deliver page Render Settings |
Twelve settings, one table. Match your symptom to the row, and you'll spend the next few minutes fixing the actual problem instead of hunting through menus for a setting that, in at least one case on this list, was never there to begin with.
Which one do you actually need?
If you searched for a Deliver page Render in Place setting, you almost certainly want one of two things: a way to stop a heavy Fusion comp or grade from slowing down Edit page playback, which is Render in Place itself, on the Edit page, or a way to make sure your final export reuses work Resolve already cached, which is the Use Render Cached Images checkbox on the Deliver page.
They solve adjacent problems with overlapping names, and DaVinci Resolve 21 made the naming worse, not better, by adding a third feature that shares the Render in Place label but lives on the Color page and does something else entirely. None of the three live where the query that brought you here expected.
We've spent seven years cutting commercial video inside Resolve's node system, and the settings that cause the most confusion are rarely the complicated ones. They're the ones with a name that points somewhere the feature doesn't actually live. Once you know Render in Place bakes a file on the Edit page, Render Cache builds a temporary cache anywhere effects get heavy, Optimized Media and Bounce solve the same problem for camera-raw footage and Fairlight audio, Use Render Cached Images is the one checkbox that connects cached work to your Deliver page export, and Media Management treats a rendered-in-place file the same as any other clip when you archive, the rest of DaVinci Resolve's rendering settings stop feeling like guesswork.
Frequently asked questions
- Is Render in Place a setting on DaVinci Resolve's Deliver page?
- No. There is no Render in Place checkbox, dropdown, or menu item anywhere on the Deliver page. Render in Place is a right-click command on the Edit page timeline. The Deliver page's related control is a checkbox called Use Render Cached Images, in Render Settings under More Options, and it governs Render Cache, not Render in Place.
- Where do I find Render in Place in DaVinci Resolve?
- On the Edit page only. Select one or more clips on the timeline, right-click, and choose Render in Place from the context menu. It isn't on the Cut, Color, Fusion, Fairlight, or Deliver pages, and the Color page has a similarly named but different feature scoped to Magic Mask.
- What's the difference between Render in Place and Render Cache in DaVinci Resolve?
- Render in Place creates a permanent new media file that replaces the clip on your timeline and gets added to your Media Pool, reversible later with Decompose to Original. Render Cache creates a temporary file tied to the current project and timeline that disappears if you switch timelines, and it needs the Deliver page's Use Render Cached Images checkbox to actually get reused at export.
- What does the Deliver page's Use Render Cached Images setting actually do?
- It tells DaVinci Resolve to write your final export directly from any Render Cache files you already built, instead of recomputing those effects from scratch during the render. It only affects Render Cache. It has no effect on clips you rendered in place, because those are already plain files with the effects baked in, cache setting or not.
- Will DaVinci Resolve re-render a clip I already rendered in place?
- Resolve still has to encode your final output file, but it isn't recomputing the grade, Fusion comp, or effects stack again, because Render in Place already flattened those into the clip. Set your Deliver page codec and resolution to match what you rendered in place and you avoid an extra, unnecessary transcode of an already-flat file on top of the final export encode.
- Can I undo a Render in Place in DaVinci Resolve?
- Yes. Select the rendered clip on the timeline, right-click, and choose Decompose to Original. Resolve relinks the clip to its original source media with every effect, grade, and Fusion node still attached and editable, and the flattened file it created stays in your Media Pool until you delete it yourself.
- Does DaVinci Resolve Free include Render in Place?
- Blackmagic Design's own feature comparison lists Studio's additions as the Neural Engine, stereoscopic tools, extra Resolve FX and Fairlight FX, and advanced HDR grading, and Render in Place isn't among them, so it isn't a documented Studio exclusive. What it can bake in is still limited by your edition: a Studio-only effect like Magic Mask needs Studio to exist on the clip in the first place, Render in Place or not.
- Is Magic Mask's Render in Place the same feature as the Edit page's Render in Place?
- No, and DaVinci Resolve 21 made that worse by reusing the same name for both. The Edit page version bakes a clip's effects into a whole new media file. The Magic Mask version, new in Resolve 21 and found in the Magic Mask palette on the Color page, caches a tracked mask as a traveling matte node instead of a file, and links it back to your active node automatically.
Sources
- Frame.io: Work Faster in DaVinci Resolve (Without Upgrading Your Machine), by Dan Swierenga
- DaVinci Resolve Reference Manual: Render in Place (VFXPedia mirror)
- DaVinci Resolve Reference Manual: Using Cached Media When Rendering in the Deliver Page (VFXPedia mirror)
- DaVinci Resolve Reference Manual: The Difference Between Smart Cache and User Cache Modes (VFXPedia mirror)
- DaVinci Resolve Reference Manual: Working Folders and where cache files are stored (VFXPedia mirror)
- DaVinci Resolve Reference Manual: Optimized Media settings (VFXPedia mirror)
- DaVinci Resolve Reference Manual: Using Media Management (VFXPedia mirror)
- Newsshooter: Blackmagic Design Announces DaVinci Resolve 21 Major Update, Adds New Photo Page
- Blackmagic Design: DaVinci Resolve Announces DaVinci Resolve 21 (official press release)
- Blackmagic Design: DaVinci Resolve - Tech Specs
- Blackmagic Design: DaVinci Resolve Studio product page (Neural Engine feature list)
- Blackmagic Forum: Render in Place versus Rendering during Delivery
- Blackmagic Forum: individualized render cache in collaborative workflow
- JayAreTV: DaVinci Resolve Fairlight Bouncing Audio, by Justin Robinson
- Mirko Fabian: Resolving Rendering Issues in DaVinci Resolve
- DVResolve.com: DaVinci Resolve 18.0.2 Update
- FilmmakingElements: How to Export ProRes in DaVinci Resolve for Windows
- WriteDirect: How to Create Custom Keyboard Mappings in DaVinci Resolve
Keep reading
Guides · Jul 13, 2026 · 18 min
DaVinci Resolve Render Cache Explained: Smart vs. User Mode
How DaVinci Resolve's render cache works, and how Smart mode differs from User mode: cache formats, disk space, per-clip flags, and when to use each.
Guides · Jul 7, 2026 · 7 min
How to Use Magic Mask in DaVinci Resolve (Complete Guide)
How Magic Mask in DaVinci Resolve isolates people and objects from one brush stroke, what changed in Resolve 21, and where the AI still needs help.
Fixes · Jul 7, 2026 · 25 min
DaVinci Resolve Playback Choppy or Stuttering? The Real Fix
Fix choppy DaVinci Resolve playback with Optimized Media, Proxy Media, Render Cache, Timeline Proxy Mode, and the Resolve 21.0.2 NVIDIA decode fix.