Articles / Guidesupdated for DaVinci Resolve 21.0.3 (July 2026)
DaVinci Resolve Workflow for Youth Sports Highlight Videos
Quick answer
Sync your multicam angles with Audio or Timecode sync, then cut your best plays first using Retime Curves for slow-motion replays. Add a reusable Fusion score bug and player-name title, then export a 3 to 5 minute H.264 file matched to your source resolution and frame rate for Hudl, NCSA, or the platform you're sending it to.
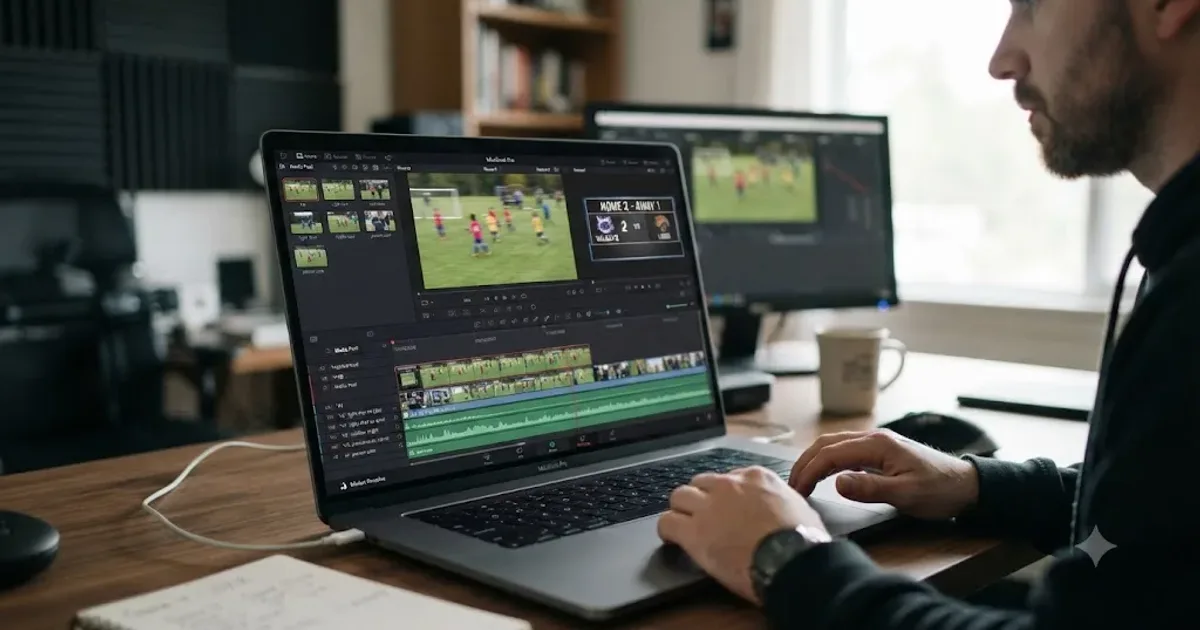
Three hours of game footage. One 4-minute highlight reel a coach will actually watch to the end. That gap is the entire job.
We've spent seven-plus years cutting commercial video professionally, taught more than 100,000 students as an official Udemy Business Partner, and run a 100,000+ member editing community where a version of this exact question shows up every week: how do you turn a weekend of youth sports footage into something a recruiter finishes watching? This guide walks the full DaVinci Resolve workflow, from importing multicam footage off two or three cameras through the exact export settings for recruiting services and social platforms, plus the edge cases: filming a tournament with no editing time between games, cutting separate reels for different players from one team's footage, and keeping a season's worth of projects backed up.
As of August 2026, DaVinci Resolve is at version 21.0.3, released July 22, 2026, with an overhauled Retime Curves system that matters a lot for slow-motion replays, which we'll get to below.
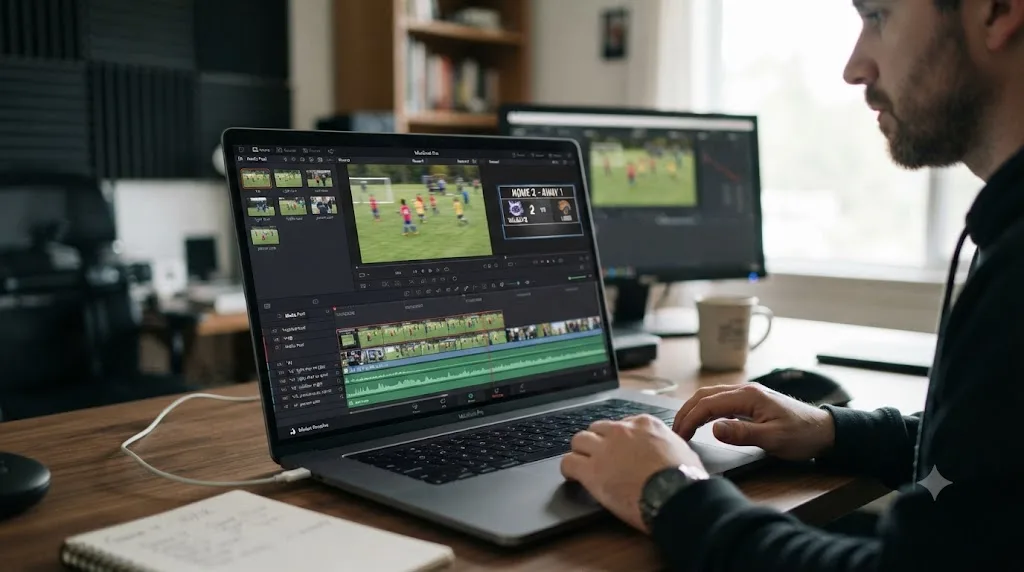
What Is the Fastest DaVinci Resolve Workflow for a Youth Sports Highlight Video?
The fastest path is eight steps: organize footage by game and camera, sync multicam angles, mark every good play on a first pass, cut the reel with the best plays up front, speed-ramp two or three standout moments, build a reusable score bug title, freeze-frame the peak of the biggest plays, then export separate files for recruiting services and social platforms. Most parents and team volunteers lose time skipping the "mark every good play first" step and try to find highlights while also editing, which is why that step gets its own section below.
This isn't a generic multicam tutorial. A wedding video and a youth sports highlight reel both use multicam, but they solve different problems. A wedding cut preserves a narrative. A recruiting reel sells a skill set to a stranger in under a minute. Every decision downstream, what to cut first, how long to hold a replay, whether to freeze on contact, follows from that difference.
How Do You Organize and Import Multi-Camera Game Footage in DaVinci Resolve?
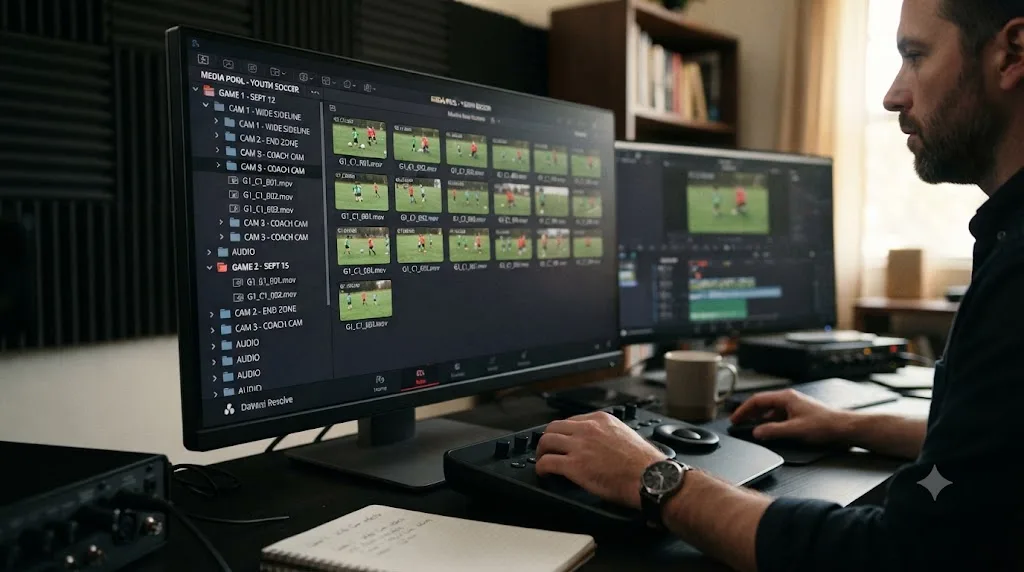
Organize footage into bins by game and by camera position before you touch the timeline, because a season's worth of unsorted clips turns editing into an archaeology project. Create a folder structure like Season 2026 > Week 3 vs. Eagles > Sideline Camera, End Zone Camera, Phone Backup, and import each source into its matching bin.
Most youth sports crews run one of three setups:
A single parent with a tripod camera. No multicam needed. Skip to the cutting section, but still log plays with markers on your first watch-through.
Two or three cameras (sideline, end zone or baseline, plus a phone for backup or close-ups). This is the most common setup for travel teams, and it's what this guide focuses on.
An auto-tracking system like Hudl Focus or Pixellot. These record a single wide shot and often crop a second "auto-zoom" version automatically. You'll usually work with the auto-zoom output directly, since it already frames the action, but the sync and cutting principles below still apply if you're combining it with a second handheld camera.
Before syncing, rename clips so you can identify them at a glance. "GX010042.MP4" tells you nothing three weeks later. "Week3_Sideline_Q1.MP4" tells you everything. Resolve's Media Pool lets you rename in bulk from the metadata panel, which is faster than renaming files in Finder or File Explorer one at a time.
If any camera recorded with autofocus hunting between the crowd and the field, and phones and consumer camcorders both do this constantly in youth sports, flag those clips now with a marker or a color label. You'll want to avoid using a soft-focus moment as your opening shot.
What Camera Settings Prevent Blurry or Choppy Footage Before You Even Open DaVinci Resolve?
Set your shutter speed to roughly double your frame rate, keep frame rate consistent across every camera, and turn off any camera's auto slow-motion or night mode before kickoff, because none of the editing techniques in this guide can fix motion blur or judder baked into the original recording. This isn't a Resolve setting. It's a five-minute checklist before the first camera starts rolling, and skipping it is the fastest way to end up with a highlight reel that looks soft no matter how well you cut it.
The 180-degree shutter rule is the standard starting point: shutter speed at roughly twice your frame rate. Shooting at 30fps, set the shutter to 1/60. Shooting at 60fps on a dedicated replay angle, set it to 1/120. Go faster than that and fast motion, a diving catch, a slap shot, starts to look stuttery and strobed even before it reaches a timeline. Go slower and every pan blurs.
| Situation | What to check | Why it matters |
|---|---|---|
| Shooting under stadium or gym lights at night | Frame rate matched to the venue's light flicker (many indoor courts run on 60Hz power) | A mismatched frame rate causes visible flicker or banding that no color grade fixes cleanly |
| Phone camera in low light | Auto slow-motion or night mode turned off | These modes silently change frame rate mid-recording, a major cause of the variable frame rate drift covered in the sync section below |
| Multiple cameras on one shoot | All cameras set to the same frame rate and shutter speed before the game | Mismatched frame rates make multicam sync unreliable and give each angle a different motion feel once cut together |
| Camera panning to follow the play | Panned only as fast as the action requires | Fast whip-pans blur regardless of shutter speed and rarely survive into the final cut anyway |
If you're already seeing distortion, skewed verticals on fast pans, a jello-like wobble on handheld shots, that's rolling shutter, not motion blur, and it has separate causes and separate fixes inside Resolve. Our guide to fixing rolling shutter distortion covers the stabilization and warp settings that help after the fact, but the real fix is the same checklist above: a camera decision made before the game, not a repair made after.
Lock white balance and exposure manually across every camera before the game too, rather than leaving them on auto. It's a habit borrowed from cinematography, and it pays off directly here: two cameras on auto white balance drift independently as clouds pass or stadium lights cycle, and you'll spend edit time color-matching angles that should have matched going in. If your cameras still ended up mismatched, our guide to matching color between different cameras walks through the node setup to fix it in the grade.
A tripod on the sideline camera and a monopod or handheld setup on the end zone or baseline camera is a common split for two-camera crews. The tripod gives you a steady wide shot to cut back to between plays, and the monopod lets the second shooter follow the ball into tighter spaces a locked-off tripod can't reach. If handheld is your only option for both angles, lean on Resolve's stabilization tools rather than trying to hand-hold steady footage for 90 minutes, but shoot a little wider than you think you need, since heavy stabilization crops the frame.
How Do You Sync Multicam Angles for a Youth Sports Game in DaVinci Resolve?
Select every angle for a single game, right-click, and choose Create New Multicam Clip Using Selected Clips, then set the Angle Sync method to match how you recorded. DaVinci Resolve offers three sync methods: Timecode, Audio, and In Point, and picking the right one saves you from hours of manual nudging.
| Sync method | When to use it | What can go wrong |
|---|---|---|
| Timecode | Cameras were jam-synced before the game, or all shooting the same broadcast feed | Fails completely if even one camera's timecode wasn't set, common with a phone added last-minute |
| Audio | Most youth sports shoots: sideline camera, end zone camera, and a phone with no jam-sync | Needs a shared, clearly recorded sound source across all angles, like crowd noise or a whistle, not a phone recording from inside a bag |
| In Point | No usable audio at all, or you want to sync off a specific visual cue like the opening whistle | Entirely manual, most time-consuming, but always works as a fallback |
Sync your angles with audio, not timecode, when the cameras weren't jam-synced before kickoff. Almost no youth sports crew jam-syncs cameras in the parking lot before a game, so Audio sync is the default choice for most of you. DaVinci Resolve analyzes the waveform from each camera's built-in or external microphone and lines up the peaks, which works even when one source is a phone's internal mic picking up crowd noise from thirty feet away.
If sync comes out wrong by a few frames, which happens most often with wind noise drowning out the reference sound or a camera that dropped frames mid-recording, we cover every cause and fix in our guide to multicam sync drifting off by frames. The short version: check for variable frame rate footage first, since phones default to VFR recording in low light, and VFR is the single most common cause of multicam drift in youth sports footage specifically, because so much of it gets shot on phones under stadium lights at dusk.
Once synced, open the multicam clip on the timeline and Resolve shows you all angles simultaneously in the Multicam Viewer. Click whichever angle has the ball, the play, or the player you're tracking, and Resolve cuts to it live as you play through, the same way a live broadcast truck operator switches feeds. This single feature is why multicam exists: you watch the game once, on your screen, and build a rough cut in real time instead of scrubbing back and forth between four separate clips guessing which angle had the better shot.
How Do You Cut a Highlight Reel That Holds a College Coach's Attention?
Cut your absolute best play first, before any intro graphic, because most coaches decide whether to keep watching in the opening seconds. Ryan Gunderson, Nebraska's Director of Player Personnel, put it plainly in an interview with FootballScoop:
"Always put your best stuff first. Don't save your best stuff for last. Put it up front. You may only get 30 seconds or a minute of somebody's time and if that doesn't impress them right away, they're not going to turn your film back on."
A recruiting highlight video is not a memory of the game. It's a thirty-second pitch that ends the moment it gets boring. That reframes every editing decision. You're not documenting what happened, you're building a case, and cases open with their strongest evidence.
Here's the actual cutting process:
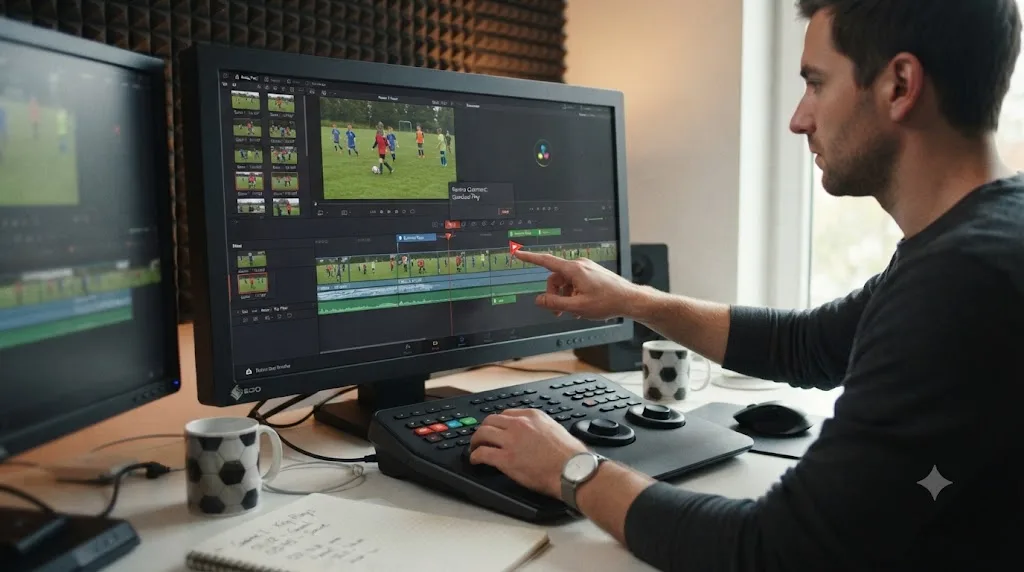
- Log first, cut second. Play through your synced multicam clip once, all the way through, and drop a marker (press M) on every play worth considering. Don't trim anything yet. Just tag. This separates the judgment call ("was that a good play?") from the craft ("how do I trim it well?"), and doing both at once is why editing a game feels endless.
- Rank the marked plays. Open the Markers list (Timeline menu or the Edit Index) and go through your tagged plays. Rank them mentally: which 4 to 5 would you show first if you only had 30 seconds?
- Build in reverse-priority order, then reorder. Drag your best plays to the front of a new sequence first, then slot the rest in behind them, matching order to importance instead of to when the play happened. Most editors who build chronologically end up with the best play buried at 2:40, and by then a busy coach has already clicked away.
- Trim tight. Cut in just before the action starts and out just after it resolves. A three-second wind-up before a good throw wastes attention you don't get back. Use the standard trim shortcuts, I to set an in point and O to set an out point at the playhead, to work fast; our keyboard shortcuts reference covers the full trim and blade set if you want to speed this up further.
- Cut the dead time between plays. A highlight reel has no huddles, no timeouts, no walking back to formation. Every cut should land you directly on the next piece of action.
A highlight reel that opens with your best play outperforms one that saves it for the end, because most coaches never reach the end. That's not a stylistic opinion, it's what the person actually evaluating the footage told a reporter on the record.
What If You Only Have One Camera Angle?
Single-camera youth sports footage is still the most common case, especially for house-league teams without a full multicam crew. The workflow collapses: skip the sync step entirely, but keep the log-first habit. Watch the full game once, mark every good moment, then build your sequence from the marker list instead of scrubbing blind through 90 minutes of footage looking for plays you half-remember.
Single-camera footage also means you can't cut away to a reaction shot or a wider angle to hide a rough transition, so lean harder on the freeze-frame and slow-motion techniques below to give each highlight room to breathe instead of a hard cut.
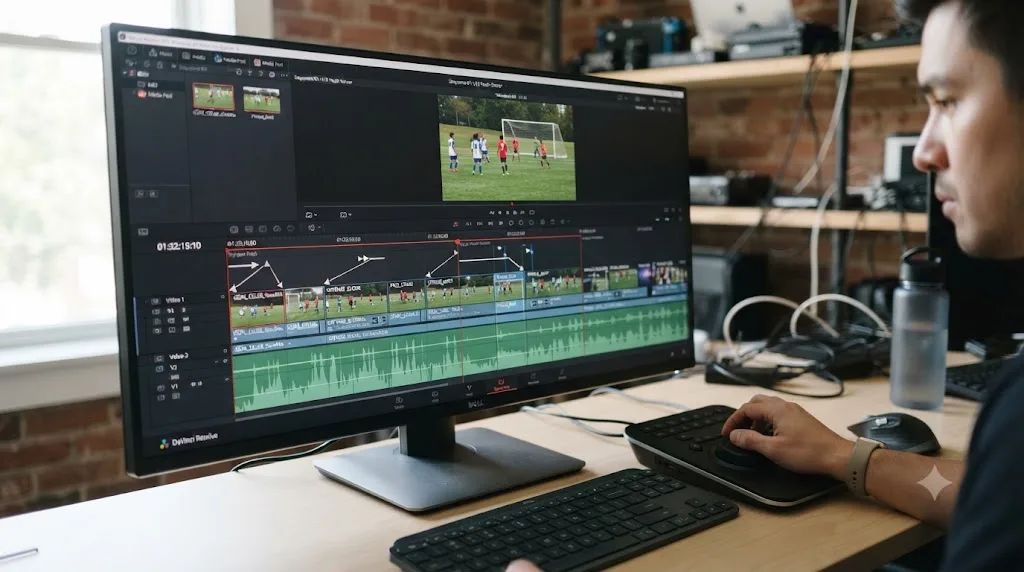
A Worked Example: Cutting a 3-Minute Highlight From One Soccer Game
Here's how the eight-step process above looks applied end to end, using a hypothetical two-camera soccer game as a walkthrough you can map onto your own footage. The numbers below are illustrative, meant to show the decisions being made, not a documented result from a specific game.
The setup: a sideline tripod covering the full width of the pitch, and a parent with a phone near the goal the team attacks in the first half. Roughly 70 minutes of raw footage per camera once halftime and dead time are included.
- Sync. Both cameras caught the referee's opening whistle and the crowd noise clearly, so Audio sync links them in under a minute.
- Log. One full watch-through of the multicam clip, switching between angles live, turns up 19 marked plays: 3 goals, 4 near-misses or good saves, 8 strong individual moves or tackles, and 4 moments that looked good live but don't hold up on a second look.
- Rank. Cut the 4 weak plays immediately. Of the remaining 15, the two goals scored from open play and the best defensive save clearly outrank everything else.
- Build in priority order. The sequence opens with the more spectacular of the two goals, cuts second to the best save, then the second goal, then works through the remaining 12 plays roughly in descending order of impact rather than the order they happened in the game.
- Trim tight. Each clip gets cut down to 3-6 seconds: the build-up to the shot or tackle, the moment itself, and a beat of reaction. Total running time after trimming: around 2 minutes 40 seconds for 15 plays.
- Speed ramp. The two goals get a 35% speed ramp on the moment the ball crosses the line, eased in and out with Retime Curves. Everything else stays full speed. That adds roughly 15 seconds.
- Freeze frame. One freeze, half a second, on the connect frame of the game-winning goal. That's the only freeze in the reel. Final runtime: about 3 minutes.
- Score bug and export. The Fusion title template gets the player's name and jersey number typed in once, appears for the first 10 seconds and again briefly at the end, and the file exports as 1080p H.264 for the recruiting upload, plus a 45-second vertical cut of just the two goals for the team's Instagram.
Nineteen marked plays became four cut immediately, fifteen considered, and eleven actually used, in a reel running about a tenth as long as the raw footage per camera. That ratio, using roughly half to two-thirds of your marked plays and cutting the rest even after they made the first pass, is normal. A highlight reel that uses every single play you marked usually means the marking pass wasn't critical enough.
How Do You Cut Separate Highlight Reels for Different Players From the Same Game Footage?
Team parents and volunteer editors run into this constantly: one multicam sync, one game, but five or six different families each want a reel built around their own kid. Build one shared foundation first, then branch it, rather than starting over from the synced footage for every player.
- Log for the whole team, not one player. On your first watch-through, mark every good play regardless of who's in it, the same as any other cut. A tackle from your right-back and a goal from your striker both get a marker.
- Tag markers by player, not just by play quality. Resolve's markers support custom colors and names. Assign each player a color, or add their name to the marker note, so you can filter the Edit Index down to just their plays later without rewatching the whole game.
- Duplicate the timeline, not the multicam clip. Once your team-wide rough cut exists, duplicate the timeline (right-click it in the Media Pool, Duplicate Timeline) once per player who needs their own reel. You're not resyncing or re-editing from scratch, you're branching from a version that's already trimmed and roughly ordered.
- Strip each duplicate down to one player's plays. Delete every clip that doesn't feature that player, reorder what's left by priority the same way you would a normal reel, and re-trim the pacing now that the reel is shorter.
- Swap the score bug's name field per version. Because the title is a saved Fusion template, changing the player-name text on each duplicate takes seconds instead of rebuilding the graphic per reel.
This approach front-loads the expensive part, the multicam sync and the full-game logging pass, once. Everything after that is trimming an existing cut down to a subset, which takes a fraction of the time a from-scratch edit does. For a team with a dozen players who each want something, the difference between doing this once per game and re-editing from raw footage per player is the difference between a weekend project and a season-long one.
One thing worth flagging honestly: parents will disagree about pacing and play selection for their own kid's reel in a way they never did for the team highlight reel. Set expectations early that you'll cut a strong, honest reel built on marked plays and priority ranking, the same process for every player, rather than promising a custom edit session per family.
How Do You Speed Ramp a Slow-Motion Replay in DaVinci Resolve 21?
Add a speed point on the clip where you want the ramp to start, drop the speed to somewhere between 25% and 50%, and let Resolve's Retime Curves ease the transition instead of snapping into slow motion instantly. DaVinci Resolve 21 rebuilt Retime Curves around the same 4-point Bezier easing system used elsewhere in the app, according to CineD's coverage of the release, which means the ramp itself, not just the slowed footage, can accelerate and decelerate smoothly instead of changing speed like a light switch.
Here's the actual process:
- Right-click the clip and choose Retime Controls, or press Cmd/Ctrl+R.
- Play to the frame where you want the slow-motion to begin and add a speed point.
- Drag the speed down. For a dramatic replay of a goal or a tackle, 30% to 40% reads clearly without feeling sluggish.
- Open the Keyframes panel and select the curve for that speed point. The 4-point Bezier handles let you control how gradually the speed drops (the horizontal handles) and how the deceleration feels (the vertical handles), so the ramp eases in rather than jump-cutting to slow motion.
- Add a second speed point where you want to return to full speed, and ease back out the same way.
Speed-ramping a play only works if the moment before the ramp still moves at full speed. If you slow down too early, before the ball is even released or the tackle even begins, you drain the tension out of the buildup. Ramp on the moment of contact, not before it.
DaVinci Resolve 21.0.3, released July 22, 2026, added a Legacy Speed Mode option for retime frame curves and new configurable ease actions, per No Film School's coverage of the update, if you find the new default curve behavior doesn't match how you edited ramps in earlier versions. If your retime curve isn't showing up at all in the Keyframes panel, which is a common point of confusion because the curve moved location in recent versions, our guide to the missing retime curve walks through exactly where it went.
Why Is My Slow-Motion Replay Choppy?
Choppy slow motion almost always comes down to frame math. If you shot at 30fps and slow the clip to 40% speed on a 30fps timeline, Resolve has to invent 60% of the frames that don't exist, and the default frame interpolation (Nearest) just repeats frames rather than creating new ones, which looks stuttery.
Two fixes:
- Switch the retime process to Optical Flow. In the Retime Controls, change the interpolation method from Nearest to Optical Flow. Resolve analyzes motion between existing frames and generates new ones to fill the gap. It's not perfect on fast, chaotic motion like a scrum or a pile-up, but it's a large improvement over frame repeats for most plays.
- Shoot the replay angle at a higher frame rate in the first place. If you know you'll want slow motion on a specific angle, like an end zone camera catching every catch attempt, set that camera to record at 60fps or 120fps. Slowing 60fps footage to 50% on a 30fps timeline gives Resolve real frames to work with instead of invented ones, and the result looks dramatically better than any interpolation trick.
How Do You Add Freeze Frames for Highlight Moments Without Killing the Pace?
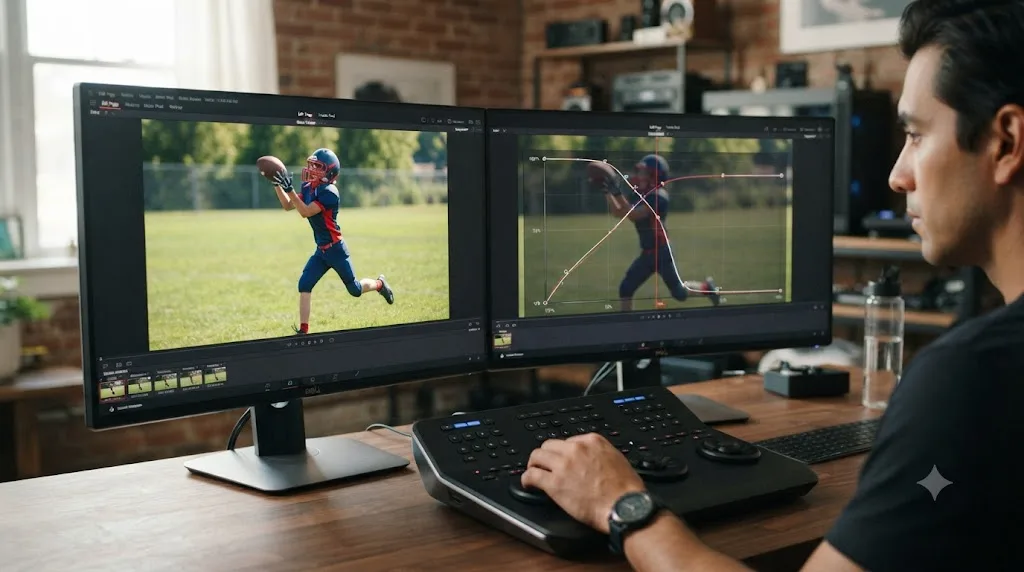
Hold on the peak frame of a big play for half a second to a full second, using Retime Controls set to 0% speed, so the viewer has a beat to register what just happened before you cut away. A freeze frame works best at the exact instant of contact: the ball crossing the goal line, the bat connecting, the tag landing at second base. Our complete guide to freeze frames in DaVinci Resolve covers every method in detail, including the Shift+R shortcut and fixing the audio pop that a hard freeze sometimes causes.
The judgment call is timing. Freeze too early and you cut off the actual moment of impact. Freeze too late and the beat feels tacked on rather than earned. Scrub frame by frame (use the arrow keys) to find the single frame where the play peaks, whether that's full extension on a diving catch or the ball leaving a kicker's foot, and freeze there.
Don't overuse freezes in a short reel. One or two per highlight video, on the two or three plays that genuinely deserve a beat, reads as intentional pacing. Freezing on every third clip reads as an editor padding for length, and a coach watching thirty seconds into a 4-minute reel will notice.
How Do You Build a Score Bug and Player Name Title in DaVinci Resolve?
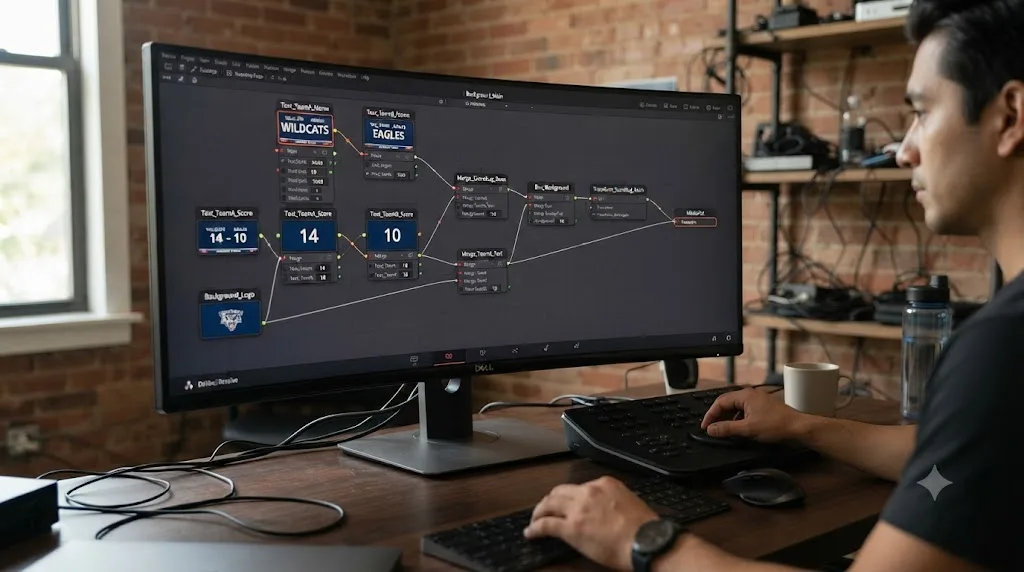
Build the score bug once, as a reusable Fusion title template, and you'll never rebuild it from scratch again, just re-type the score and opponent name for each new game. This is the deliverable most youth sports parents skip because it looks like motion graphics work, but it's a straightforward Text+ setup inside Fusion.
- Open the Fusion page (or add a Fusion Title from the Edit page's Effects Library, under Titles).
- Add a Text+ node for the player's name and jersey number, and a second Text+ node for the score and opponent.
- Position both in a lower-third arrangement, out of the way of the action, using the Transform controls on each node.
- Add a Background node or a simple rectangle shape behind the text for legibility against busy field footage. A semi-transparent dark bar under white text reads clearly on grass, turf, or a gym floor.
- Group both Text+ nodes together (select both, press Ctrl/Cmd+G).
- Back on the Edit page, right-click the title clip in the timeline and choose Generate Fusion Connection if needed, then drag it into the Titles bin, right-click, and save it as a template so it appears in your Titles menu for every future project.
Once it's a saved template, dragging it onto a new clip and double-clicking to edit the text is a 15-second job per game, not a rebuild. Fusion templates in DaVinci Resolve save to the Titles folder inside your Fusion Templates directory, so they persist across projects and even across new versions of Resolve as long as you don't delete the template files during an update.
If you want more motion in the score bug, like the bar sliding in from off-screen or the score ticking up on a change, DaVinci Resolve 21 ships with the Krokodove toolset built into Fusion, adding over 70 new GPU-accelerated graphics tools according to Blackmagic Design's own product page, which is more animation horsepower than a youth highlight reel needs but is there if you want to push the graphic further.
How Do You Add Stat Graphics Beyond the Score Bug?
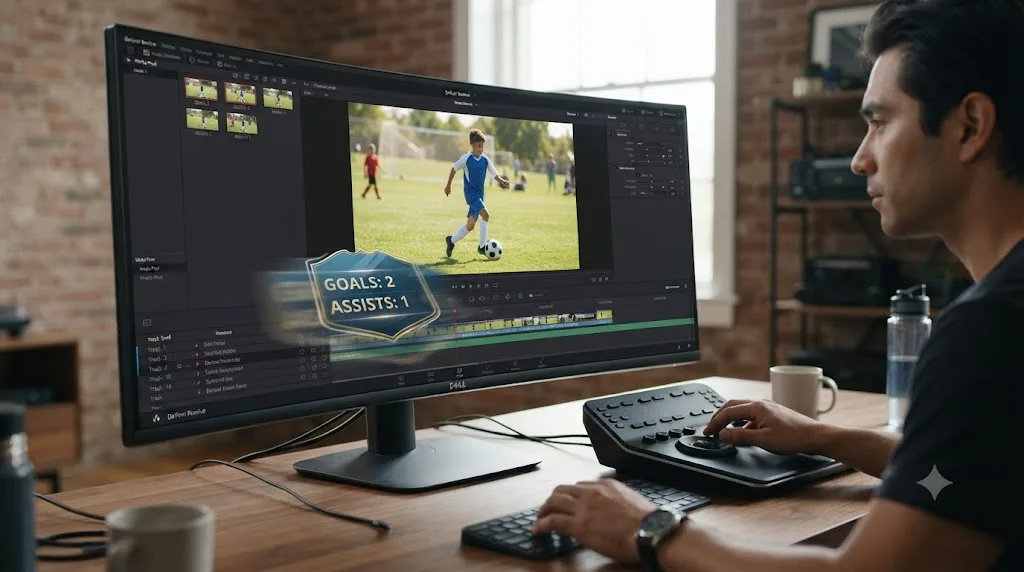
Duplicate your saved score bug template, add or swap a Text+ node for the stat you want to track, and save it as a second template so you're not rebuilding a graphic every time a different sport needs a different number displayed. A soccer score bug and a wrestling match-and-period counter aren't the same graphic, and building each sport's version once, the same way you built the original score bug, saves the same amount of repeat work all over again.
Common stat overlays by sport:
| Sport | Useful stat graphic | Node addition |
|---|---|---|
| Basketball | Points, rebounds, assists for the featured player | A third Text+ node with a compact stat line, shown briefly after a highlight play rather than continuously |
| Soccer | Goals and assists tally, updated per highlight | Duplicate the score Text+ node, retarget it to a running personal tally instead of the team score |
| Football | Yards gained on the play, shown as the play freezes | Fade the stat card's opacity in only during the freeze frame, using a simple keyframe on the Background node |
| Baseball / softball | Batting average or RBI count for a season recap | A stat card that appears once at the start of the reel rather than per play, since these numbers don't change play to play |
| Wrestling | Match record (wins-losses) and weight class | Static text, shown once at the open since it doesn't change during a single match |
Keep stat graphics on screen only when they add information, not on every clip by default. A stat card competing with a freeze frame or a slow-motion replay for the viewer's attention undercuts both. The score bug earns its permanent place on screen because it orients a coach who's jumping between reels. A stat overlay usually earns a few seconds, tied to a specific play, not the whole video.
To trigger a graphic to appear only during specific clips rather than the whole timeline, place the Fusion title on its own track above the main edit and trim it to just the section you want visible, the same way you'd trim any other clip. Keyframe its opacity from 0 to 100% over 10-15 frames instead of a hard cut-in, since a graphic that pops in instantly reads as unpolished next to one that eases in.
How Long Should a Youth Sports Highlight Video Be?
Recruiting-focused highlight videos run 3 to 5 minutes for most sports, according to NCSA's coaching guidance, with sport-specific variation you should follow over a generic rule.
| Sport | Recommended length | Recommended clip count |
|---|---|---|
| Football, general | 3-5 minutes | Best plays first, no fixed count |
| Basketball | Under 4 minutes | 20-30 plays |
| Soccer | 3-6 minutes | 20-25 clips |
| Volleyball | 3-5 minutes | Not specified |
| Wrestling | 5-10 minutes | 4-5 full matches |
Source: NCSA Sports recruiting video guidelines.
Notice wrestling is the outlier, running longer because coaches evaluate technique across full matches rather than isolated highlight moments, which changes your editing approach entirely: you're trimming dead time between exchanges rather than cutting to isolated plays.
For a highlight video that isn't recruiting-focused, like a team-parent group text or a season recap, length rules relax. Nobody's grading attention span on a video sent to grandparents. But even there, shorter cuts get watched more fully, so the 3 to 5 minute range is a reasonable default even outside recruiting.
Does a Recruiting Highlight Video Need More Than Just the Game Clips?
Yes, most coaches expect a short identifying slate before the plays start, not just raw highlights with no context, because a video that lands in a coach's inbox with no name attached is easy to lose track of among dozens of others. NCSA's recruiting guidance recommends opening with the player's name, graduation year, position, and contact information visible for a few seconds before the highlights begin.
Build this as a second, simpler Fusion title, not the same template as your in-game score bug. A clean opening slate needs:
- Player name and jersey number, matching what's on the score bug so a coach can connect the two.
- Graduating class year and primary position.
- Height, weight, and GPA if the sport and recruiting level call for it (common for football and basketball, less relevant for a highlight aimed at a rec league season recap).
- A contact method: an email address, or the coach's contact info if you're sending this through a program that already collects it separately.
Keep the slate on screen for 3 to 5 seconds, not the first 30 seconds of the video. Remember the earlier point about coaches deciding whether to keep watching almost immediately. An opening slate should identify the player fast and then get out of the way of the first great play, not delay it.
If you're sending the reel directly rather than through a recruiting platform that already collects this information separately, consider adding the same identifying information as a simple end card too, in case a coach forwards just the video file without the email it arrived in.
What Are the Best DaVinci Resolve Export Settings for a Recruiting Highlight Reel?
Export a standard H.264 MP4 at your timeline's exact frame rate and resolution, since recruiting platforms like Hudl and NCSA's own upload tools don't require a special preset, they just need a file that plays cleanly on any device. The mistakes that actually cause problems are frame rate mismatches and double-compression, not codec choice.
| Destination | Resolution | Frame rate | Notes |
|---|---|---|---|
| Hudl / NCSA recruiting upload | 1920x1080 (or your source resolution) | Match your camera's original frame rate exactly | Avoid re-compressing an already-exported file; export once from your original footage |
| Direct email or text to a coach | 1920x1080, or 1280x720 if file size matters | Match source | Keep under most email attachment limits, generally 25MB, or use a link instead |
| YouTube (unlisted link for a recruiting profile) | Up to your source resolution | Match source | See our full export settings guide for the complete YouTube preset breakdown |
| Instagram Reels or TikTok (social teaser) | 1080x1920 vertical | Match source | Requires reframing horizontal game footage; see the platform-specific settings below |
If you're only sending one file to one recruiting platform, don't overthink the codec. H.264 at your source resolution and frame rate covers Hudl, NCSA, email, and direct upload to a coach's phone. The mistakes that actually break a delivery are simpler than codec selection: exporting at the wrong frame rate (which causes stutter or an unintended slow-motion or fast-motion look), and exporting from an already-compressed file instead of your original footage (which compounds artifacts twice).
Should You Cut Different Versions for Instagram, TikTok, and Recruiting Uploads?
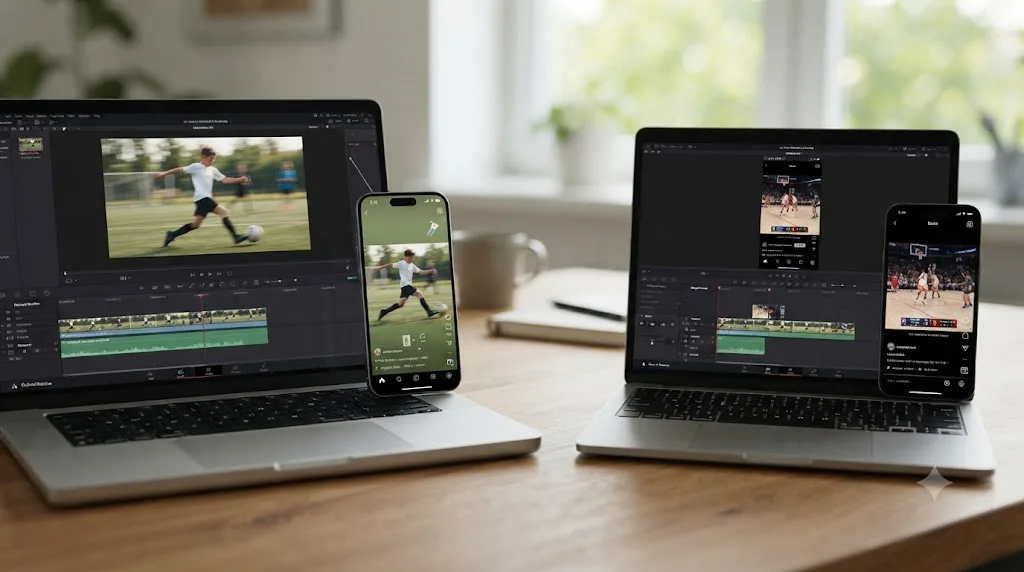
Yes, cut a separate vertical version if you're posting to Instagram or TikTok, because a horizontal recruiting reel cropped into a 9:16 frame either loses the action at the edges or leaves the player as a tiny speck in the middle of empty grass. Vertical and horizontal aren't the same edit with a different export setting, they're genuinely different crops of the same footage.
Our dedicated guides cover the exact numbers for each platform: Instagram Reels export settings and TikTok export settings, including Resolve's Smart Reframe tool, which uses AI-assisted tracking to follow the subject when you convert a horizontal clip to vertical. Smart Reframe works well on a single tracked player but struggles on wide team shots with multiple points of action, so plan to manually adjust the crop on any clip where the ball and the player you're highlighting aren't close together in frame.
Deliverables worth naming separately, because "the highlight video" actually means at least three different files:
- The coach-ready reel. 3 to 5 minutes, best plays first, horizontal, uploaded to Hudl or attached to a recruiting email.
- The vertical social teaser. 15 to 60 seconds, one or two standout plays, reframed vertical for Instagram or TikTok, meant to drive traffic to the full reel or a recruiting profile.
- The full-game archive. Unedited or lightly trimmed, kept for the team or the player's own review, not meant for a coach's eyes.
Treating these as one deliverable is the single most common reason youth sports edits run long and never actually finish.
Why Does the Exported Video Look Dark or Washed Out on a Phone?
This usually traces back to color management, not the export settings themselves. DaVinci Resolve's default color science handles Rec.709 footage correctly in most cases, but if your project's color management settings don't match how your camera recorded (particularly with phone footage that sometimes applies its own tone mapping before the file even reaches Resolve), the export can shift brighter or darker than what you saw in the Resolve viewer.
Before sending a final file, preview it on the actual device type your audience will use. A coach watching on a phone in daylight sees a very different image than you do color-correcting on a calibrated monitor in a dim room. This isn't a Resolve-specific problem, it's true of any NLE, but it catches youth sports editors specifically because so much of the audience is coaches scrolling on their phones between meetings, not sitting at a desk.
What Music Can You Legally Add to a Highlight Video?
Not whatever song was playing at practice. Recruiting platforms and social networks both police copyrighted music, just through different mechanisms, and it's worth understanding both before you drop a popular track under your cut.
Hudl doesn't allow you to upload your own music to a highlight at all. Due to copyright law, Hudl restricts highlight audio to a library of licensed mixes built into the platform, according to Hudl's own support documentation. If you built your reel in DaVinci Resolve with a copyrighted song under it and then upload to Hudl expecting the music to survive, it won't. Budget for that before you spend time syncing cuts to a beat that won't make it to the final platform.
YouTube and Instagram use Content ID and similar automated matching instead of an outright block. Upload a highlight reel with copyrighted music to YouTube and Content ID scans the audio against a database of registered tracks; a match doesn't get your video removed or your channel penalized, but the rights holder can choose to mute the audio, place ads against your video and keep the revenue, or in rarer cases block it in certain countries, according to YouTube's own Content ID documentation. For a recruiting reel that needs to stay watchable and shareable, none of those outcomes are what you want.
The practical options:
- Use YouTube's free Audio Library or another royalty-free music source if you're posting the recruiting reel or a social teaser to YouTube or Instagram directly.
- Skip music on the coach-facing version entirely and lean on the game's natural sound, crowd noise, the crack of contact, the ref's whistle, which platforms don't claim and which arguably sells athleticism better than a music bed does anyway.
- Check the specific platform before you finish the edit, not after. Hudl's no-upload rule and YouTube's Content ID system aren't the same restriction, and a reel built for one won't necessarily behave the same way on the other.
What DaVinci Resolve Version and Hardware Do You Need for a Youth Sports Edit?
The DaVinci Resolve free version can cut, sync, grade, and export a youth sports highlight reel with zero missing tools. Multicam sync, Retime Curves, Fusion titles, and standard H.264 export are all included at no cost. DaVinci Resolve Studio costs $295 as a one-time license according to Blackmagic Design's own product page, and it adds things like extended noise reduction, higher frame-rate Ultra HD support past 60fps, and additional codec support, none of which a typical youth sports edit shot on a phone or a consumer camcorder actually needs.
You'd want Studio if you're shooting Ultra HD above 60fps, working with certain RAW camera formats, or delivering to a broadcast or streaming partner with specific codec requirements, which describes very few youth sports crews. For everyone else, the free version is not a limited trial, it's the complete editing toolset.
Hardware-wise, multicam playback with two or three angles of 1080p or 4K footage is not especially demanding compared to heavier color grading or VFX work, but a few practical notes:
- RAM matters more than GPU for smooth multicam scrubbing with several angles loaded at once. 16GB is a reasonable minimum; 32GB gives more headroom if you're also running a browser and other apps.
- Generate proxy or optimized media if your source footage is 4K and your machine struggles with real-time playback while scrubbing through the multicam viewer. Resolve's Camera Raw and Optimized Media settings, found under Playback in the menu, let you work with lower-resolution proxies and swap back to full resolution automatically on export.
- External storage speed matters if you're pulling footage directly off an SD card reader for editing rather than copying it to an internal or fast external drive first. A slow card reader can cause dropped frames during playback that look like a sync problem but aren't.
How Do You Keep a Season's Worth of Projects Organized and Backed Up?
Treat every game as its own project inside one season-level database, name things the same way every time, and back up the project file separately from the media, because losing a season's worth of youth sports footage to a dead drive or a corrupted database is common enough that it deserves its own habit, not an afterthought.
Structure it before the season starts, not after week 6. A folder tree like Season 2026 > [Team Name] at the top level, with one subfolder per game underneath, matches the bin structure recommended earlier in this guide and keeps media, project files, and exports from three different games from ending up in the same folder. Our guide to folder and bin naming conventions covers a naming scheme that holds up across a full season instead of falling apart by week four.
Back up the project separately from the raw media. A DaVinci Resolve project file is small, usually a few megabytes, and it's the thing that actually breaks a season if it's lost: re-syncing multicam angles and rebuilding markers from scratch across a dozen games is a weekend you don't want. Export a project archive (.drp) after finishing each game's edit, using File > Export Project, and keep a copy somewhere other than the drive your media lives on.
| Backup layer | What it protects | How often |
|---|---|---|
| Project archive (.drp export) | Edit decisions, markers, titles, retime curves | After finishing each game's cut |
| Original camera media (untouched) | The raw footage itself | Copy off the card the same day you shoot, before formatting it |
| Cloud or second physical drive | Everything above, in case the primary drive fails | Weekly during the season |
Consolidate media before you archive a finished game. If you've trimmed a season's worth of clips down to just the portions you actually used across multicam syncs and highlight reels, Resolve's consolidate tools cut the archived footage down to only what the project references, instead of keeping every unused minute of raw footage forever. Our guide to consolidating media before archiving walks through the exact menu path.
If media ever moves drives mid-season, which happens the moment you buy a bigger external drive in October, don't just copy the files and hope. Use Resolve's relink tools so every clip in every project, including ones you're not actively editing, points at the new location. Our guide to relinking media when it moves drives covers the process without breaking multicam sync on projects you've already finished.
Can Two Parents Edit the Same Project Together?
Yes, but how depends on whether you need real-time collaboration or just a way to hand work off between edit sessions. DaVinci Resolve has genuine multi-user collaboration tools, including Blackmagic Cloud project sharing with bin and timeline locking so two editors don't overwrite each other's changes, according to Blackmagic Design's own collaboration documentation. Exactly which collaboration features are available on the free version versus DaVinci Resolve Studio has shifted between releases, so check our dedicated breakdown of Project Server versus Blackmagic Cloud collaboration for the current version-by-version answer before you plan a workflow around it.
For most youth sports crews, real-time simultaneous editing is overkill anyway. A simpler handoff workflow works for two parents trading off editing duties across a season: one person syncs and logs the multicam clip and builds the rough cut, exports a project archive, and hands it to the second editor to trim, add titles, and export. You're not editing at the same moment, so you don't need cloud locking at all, just a shared drive or a transferred project file and a habit of finishing your session before handing it off.
If you do want to try cloud collaboration and it stalls or won't sync, our guide to Blackmagic Cloud projects that won't sync covers the common causes before you assume the feature is broken.
Whichever method you use, agree on one thing before the season starts: who owns the master project file. Two parents independently editing their own copies of the same game's footage, then trying to merge the results afterward, wastes more time than it saves. Pick one editor as the owner for each game, even if a second person contributes cuts, titles, or graphics to a shared drive for the owner to fold in.
What If You're Filming a Back-to-Back Tournament With No Time to Edit Between Games?
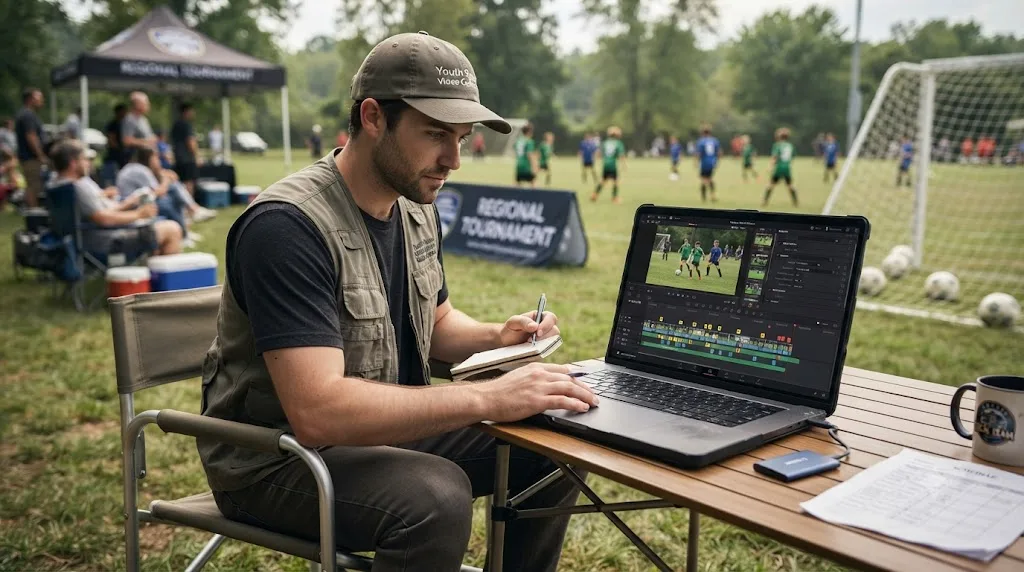
Log on the sideline, edit after the tournament, not between games, because trying to build a finished reel with twenty minutes between whistle and warm-up produces worse cuts and eats into the rest you need to keep shooting straight through a long day.
During the tournament, all you owe yourself is markers. Watch each game's footage back that evening if you can, or even during a long break between games, and drop markers on the plays worth reviewing later. You're not trimming, not ranking, not touching Retime Curves. You're doing the one task that has to happen close to the memory: flagging what was good while you can still picture it, because a marker made three weeks later during a slow rewatch is nowhere near as reliable as one made the same day.
Sync each game as its own multicam clip and its own timeline, even if you're planning one combined tournament reel at the end. Trying to build one giant multicam clip spanning four games invites sync drift and makes the project unwieldy to scrub through. Combine the best plays from each game's separate timeline into a single tournament highlight sequence afterward, once you can see all four games' marked plays side by side and actually compare them.
Back up media at the end of each day, not the end of the tournament. A tournament is exactly the scenario where a lost or corrupted card costs you the most, four games of footage instead of one, and it's also exactly the scenario where you're too tired at 9pm to remember to do it. Copy cards to a laptop or a portable drive before you sleep, every night of the tournament, even if you don't touch the footage in Resolve until the following week.
If you're editing on a laptop between hotel stays during a travel tournament, generate proxy media for each game's footage as soon as you import it, rather than fighting full-resolution 4K playback on unfamiliar wifi and battery power. Switch back to full resolution only when you're home and ready to do the final export.
If a coach needs something faster than "after the tournament," a single stand-out clip from the day's best game, cut and exported same-night, is realistic. A full multi-game highlight reel edited to the standard covered earlier in this guide isn't, and promising one anyway just means a worse reel delivered under pressure.
Is DaVinci Resolve or CapCut Better for Youth Sports Highlight Videos?
Choose DaVinci Resolve if you need multicam sync, precise speed ramping, and a reusable score bug template across a full season. Choose CapCut if you're editing a single clip on a phone between games and want something fast with no learning curve.
| Feature | DaVinci Resolve | CapCut |
|---|---|---|
| Multicam sync (multiple game angles) | Full support, three sync methods | Limited; not built for true multi-angle switching |
| Speed ramping with eased curves | Yes, 4-point Bezier retime curves | Basic speed adjustment, less control over easing |
| Reusable score bug / title templates | Yes, build once in Fusion, reuse every game | Templates exist but are pre-made, not custom-built to your team |
| Editing on a phone between games | Not the primary use case | Built for this |
| Learning curve | Steeper, especially Fusion and multicam | Very low |
| Cost | Free version fully capable; Studio is $295 one-time | Free with in-app purchases and watermark removal fees |
| Best for | A season-long recruiting reel workflow with repeatable assets | A quick single-camera clip posted the same night |
Neither tool is universally "better." A lot of youth sports content creators use both: CapCut for the same-night Instagram Story of one great play, DaVinci Resolve for the season-end reel that goes to college coaches. If you're only ever making one type of video, pick the tool that matches it. If you're doing both, it's worth learning Resolve for the recruiting reel specifically, since that's the deliverable where sync accuracy and a repeatable score bug actually save you time across a season instead of once.
What Mistakes Ruin Youth Sports Highlight Reels?
A few mistakes show up constantly in reels that don't land with coaches, and they're all fixable before export, not after.
Burying the best play. Covered above, but worth repeating because it's the single biggest lever. If your best play is at 2:15, move it to the front.
No context on who the player is. A coach watching dozens of reels a week needs the player's name, jersey number, and position visible early and often, not just in a title card at the start that scrolls by before they've settled in. This is exactly what the score bug template solves: it's on screen throughout, not a one-time intro.
Inconsistent audio levels between clips. Crowd noise varies wildly between camera positions and games. A highlight reel that jumps between loud and quiet clips reads as unpolished even if the visuals are great. Normalize your audio levels across clips before export; our guide on loudness normalization and LUFS covers the target numbers if you want your audio consistent across an entire season's worth of games shot on different cameras.
Too much music, not enough sound design. A loud music bed under every clip can drown out the crack of a bat or the crowd reaction that makes a play feel real. Youth sports highlight reels often work better with natural game audio up front and music kept low in the background, or absent entirely on the best two or three plays.
Editing chronologically instead of by priority. Already covered, but it's the mistake behind most of the others on this list. Log first, rank second, cut third.
Forgetting the vertical cut. If a recruiting service or a coach expects a link they can watch on their phone in portrait mode, and increasingly they do, a horizontal-only file forces them to rotate their phone or squint at black bars. Cut the vertical version if there's any chance it's being watched on a phone screen.
Can TryUncle Help You Learn This Workflow Faster?
If you're new to Resolve and stuck on a specific step, whether that's the Fusion node graph for the score bug or finding the Retime Curves panel, the honest options are Blackmagic Design's own free official training, YouTube channels like Casey Faris's, Reddit's r/DaVinciResolve community, or paid Udemy and Coursera courses. All four are legitimate places to learn, and a page that pretends they don't exist isn't being straight with you.
Where a lot of parents and volunteers get stuck isn't understanding the concept, it's finding the specific button on their own screen while a video tutorial shows a slightly different version of the interface. That's the gap TryUncle is built for. TryUncle is the on-screen assistant for DaVinci Resolve on macOS: ask in plain words and Uncle points at the exact control on your screen. It's a paid macOS app, currently at founder pricing of $29.99/month for the first 100 seats, and it's not free, so weigh that against a free YouTube tutorial if budget is the deciding factor.
It's worth naming the other tools in this category honestly too, since the comparison matters. Sottocut and cutagent.ai lean toward automating the cut itself, generating a rough edit from raw footage. PremiereCopilot and heyeddie.ai answer editing questions in a chat window, separate from your actual timeline. TryUncle takes a different approach: it watches your screen and guides you through your own project live, which fits a use case like this one, where the plays a coach needs to see require your judgment, not an algorithm's guess at what counts as a highlight.
If you're stuck finding the Retime Curves panel or the Fusion Titles menu on your own screen right now, TryUncle can point at the exact button while you're still inside Resolve.
Frequently Asked Questions
Answers above in the frontmatter FAQ panel cover sync, choppy slow motion, video length, the free version's capabilities, building a score bug, export presets for Hudl and NCSA, dark exports on phones, and whether an AI tool can automate the cut.
The Verdict
You don't need a film crew or a broadcast package to cut a highlight reel that gets a coach's attention. You need synced footage, a ranked list of your best plays, a score bug you only have to build once, and an export that matches the platform you're sending it to. DaVinci Resolve's free version has every tool for that job, from the multicam sync down to the retime curves on your best replay.
Start with the multicam sync, even if you've only got two cameras and a phone. Log every play before you cut a single frame. Put your best moment first. Everything else in this guide, the season backup habits, the tournament shortcuts, the per-player reels, is refinement on top of that foundation.
Frequently asked questions
- How do I sync multicam footage from a game camera and a parent's phone in DaVinci Resolve?
- Select all the clips, right-click, and choose Create New Multicam Clip Using Selected Clips. Set Angle Sync to Audio if the cameras weren't jam-synced. DaVinci Resolve reads the audio waveform from each source, including a phone's built-in mic, and lines up the angles even without matching timecode.
- Why is my slow-motion replay choppy in DaVinci Resolve?
- Most youth sports footage is shot at 30fps or 60fps and dropped onto a 24fps or 30fps timeline, so slowing it down forces Resolve to invent frames. Use Optical Flow retiming for the smoothest result, or better, record the replay angle at 60fps or 120fps so the slow-motion has real frames to work with.
- How long should a youth sports highlight video be?
- Recruiting-focused reels run 3 to 5 minutes for most sports, per NCSA's coaching guidance, with basketball trimmed to under 4 minutes and wrestling running longer at 5 to 10 minutes to cover full matches. Put your best 4 to 5 plays in the first 30 seconds regardless of sport.
- Can I edit a youth sports highlight video in the free version of DaVinci Resolve?
- Yes. Multicam sync, Retime Curves, Fusion titles, and H.264 export are all in the free version. You'd only need Studio for Ultra HD footage above 60fps, certain noise reduction tools, or if you're delivering broadcast-spec masters, none of which a youth highlight reel typically requires.
- How do I add a scoreboard or score bug graphic in DaVinci Resolve?
- Build it as a Fusion title template using Text+ nodes for the team names and score, group them, and save the group as a template from the Edit page's Titles menu. Once saved, drag it onto any clip and just retype the score for each new game.
- What's the best DaVinci Resolve export setting for Hudl or NCSA uploads?
- Both platforms accept standard H.264 MP4 at your source resolution and frame rate. There's no special preset. Match your timeline's frame rate exactly, keep the resolution at 1920x1080 or your camera's native size, and avoid re-exporting an already-compressed file a second time.
- Why does my exported highlight video look dark or washed out on a coach's phone?
- This is almost always a Rec.709 gamma mismatch or a file exported without a proper color space transform, made worse by the difference between how your monitor and a phone screen render brightness. Check your project's color management settings match your footage, and preview the export on an actual phone before sending it.
- Is there an AI tool that edits youth sports highlights automatically in DaVinci Resolve?
- Not one that fully replaces manual cutting for youth sports, where the good plays require a human's judgment. TryUncle doesn't auto-edit; it watches your Resolve screen and points at the control you need, live, which shortens the learning curve for parents and team volunteers doing this for the first time.
Sources
- DaVinci Resolve 21 product page (Blackmagic Design)
- DaVinci Resolve Collaboration (Blackmagic Design)
- DaVinci Resolve 21 Final Release Now Available (CineD)
- DaVinci Resolve Gets New Ease Modes for Retime Speed and Frame Curves (No Film School)
- 6 Things College Coaches Actually Look For in a Recruiting Highlight (FootballScoop)
- How to Make a Highlight Video for College Recruiting (NCSA Sports)
- How to Make a Men's Basketball Highlight Video (NCSA Sports)
- Men's Soccer Recruiting Video Guidelines (NCSA Sports)
- Sync Bin Multicam Editing (DaVinci Resolve manual mirror, VFXPedia)
- Create Premium Highlights (Hudl Support)
- Learn about Content ID claims (YouTube Help)
Keep reading
Fixes · Jul 8, 2026 · 26 min
DaVinci Resolve Multicam Sync Off by Frames: Every Fix
Multicam clip off by frames or drifting worse over time? Fix DaVinci Resolve's waveform mis-sync, frame rate drift, and timecode gaps, angle by angle.
Guides · Jul 12, 2026 · 26 min
DaVinci Resolve Export Settings for Instagram Reels
Exact DaVinci Resolve export settings for Instagram Reels: 1080x1920 vs 1440x2560, H.264 only, bitrate, safe zones, and duration, sourced from Meta's own specs.
Guides · Jul 9, 2026 · 32 min
How to Freeze Frame in DaVinci Resolve: Every Method
Freeze a frame in DaVinci Resolve with Change Clip Speed, Retime Controls, or Shift+R. Covers exporting stills, fixing audio pops, and timeline bugs.