Articles / Guidesupdated for DaVinci Resolve 21.0.2 (July 2026)
What to Do After Installing DaVinci Resolve, Before Project One
Quick answer
Update your GPU driver, activate or skip Studio's license, and turn on Live Save and Backups first. Set your frame rate and resolution before importing footage, and stick with the default disk database unless you're on a team. Build your folder and bin structure, then import one test clip and run a test render before you open your real project.
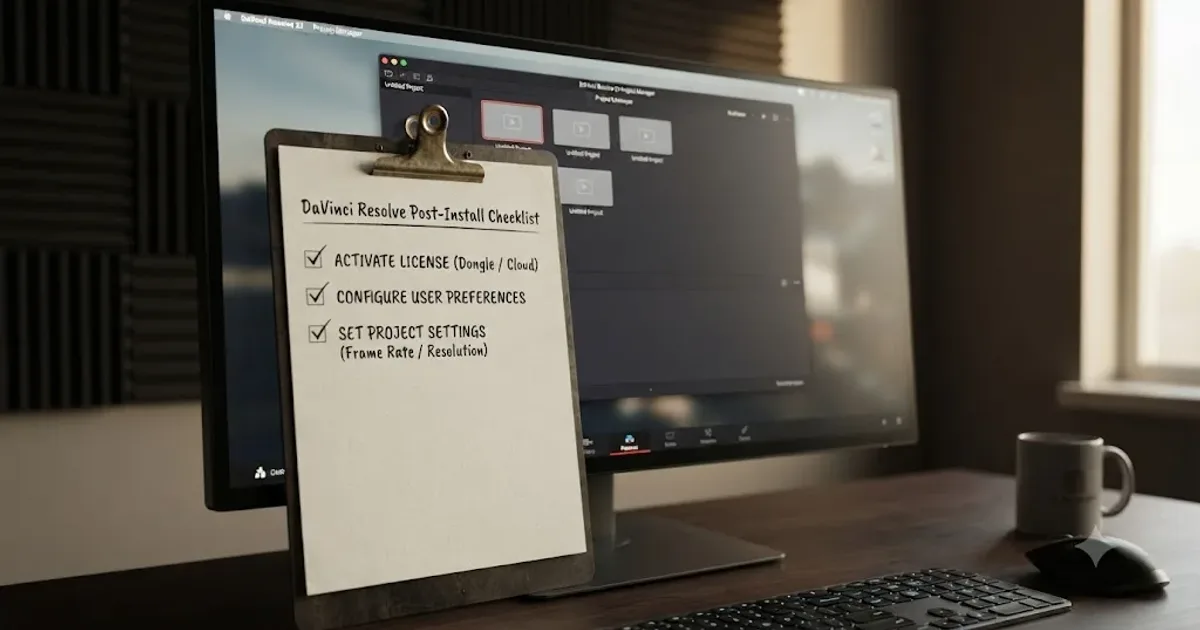
The installer finished. DaVinci Resolve is sitting there with a blank Project Manager, and you're one click from opening your first real project. Don't click it yet.
Six settings, chosen in the next fifteen minutes, decide whether your first project goes smoothly or ends with a locked frame rate, a missing backup, or an afternoon spent relinking media you swear you never moved. This is the checklist for those fifteen minutes: license, preferences, database, project settings, folders, and one test render, in that order, before a single real clip goes anywhere near a timeline.
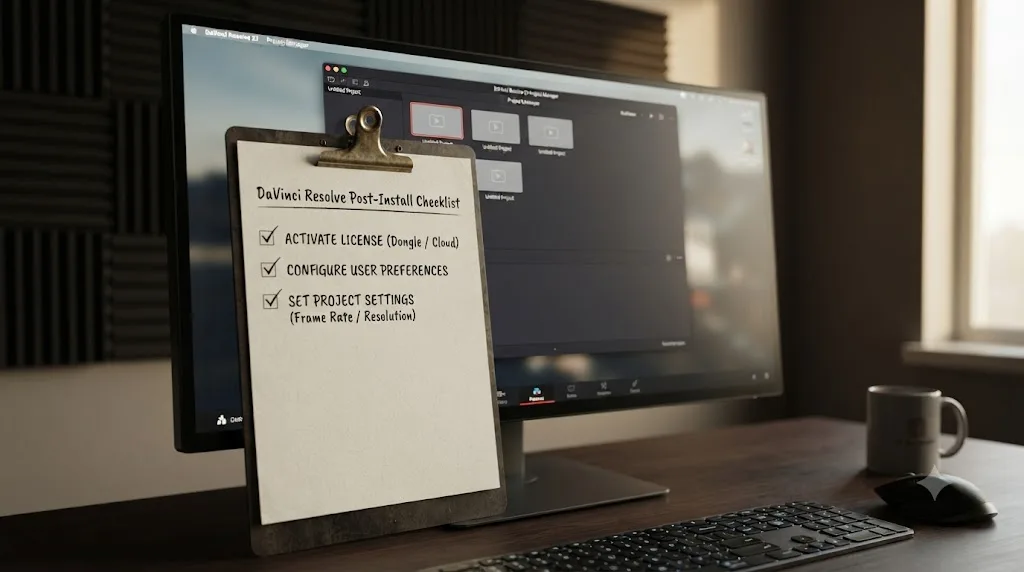
What should you do in the first five minutes after install, before opening anything real?
Two things, and both happen before your first real project exists.
Update your GPU driver first. If you skipped this before running the installer, do it now. Grab the current driver directly from NVIDIA, AMD, or Intel, not whatever shipped with your machine a year ago. An outdated driver is the single most common cause of DaVinci Resolve crashing or refusing to open on first launch, and it has nothing to do with whether the install itself succeeded.
Then let the installer actually finish. This sounds obvious until you remember how many people force-quit a stalled installer and reopen the app anyway. Resolve checks your GPU and installs supporting components as part of that process. Give it the time it needs, especially on a first install where macOS or Windows might also be verifying the download in the background.
Once Resolve opens without crashing, resist the urge to drag in your actual footage. Everything below this section takes fifteen minutes and touches settings you genuinely cannot change cleanly once a real project is underway.
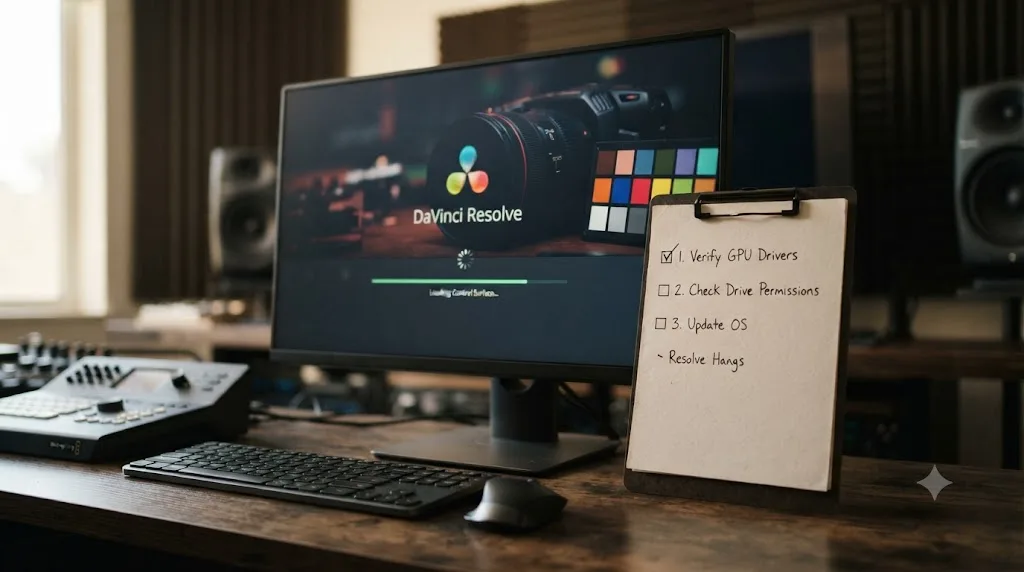
What if DaVinci Resolve crashes, freezes, or won't open at all after a clean install?
Then stop here and fix that first, because nothing below this section matters until the app actually reaches the Project Manager.
Three separate patterns account for almost every case, and each one points somewhere different.
The app launches, then crashes or hard-freezes within the first few seconds. Most of the time that's the GPU driver problem from the last section, still not fully resolved, or a corrupted preferences file left behind by a previous install attempt. Our DaVinci Resolve keeps crashing guide walks through driver updates, clearing the cache, and resetting preferences in the order that actually clears it. Blackmagic has shipped several stability patches since Resolve 21's June 2026 release, so installing the newest point release fixes more of these than people expect.
The splash screen appears and just sits there, never reaching the interface. That's a different failure mode from a crash, and it usually traces back to a stuck license check, DaVinci Resolve Control Panels software installed with no actual panel plugged in, or antivirus software quietly blocking one of Resolve's own files. Our DaVinci Resolve frozen on splash screen guide covers each of those causes in the order to check them.
The installer itself never finishes, especially on Mac. Gatekeeper blocking an unsigned copy, leftover files from an old version, or the Rosetta prompt Apple Silicon requires are the usual suspects. If you're installing on an older Mac, confirm it's actually eligible first: Resolve 21 dropped Intel Mac support entirely and needs Apple Silicon running macOS 15 Sequoia. Our DaVinci Resolve won't install, stuck on Mac guide has the fix for each cause, including that Intel Mac dead end.
| Symptom | Most likely cause | Where to look |
|---|---|---|
| Crashes or freezes a few seconds after opening | Outdated GPU driver, corrupted preferences | Crashing guide |
| Stuck on the splash screen indefinitely | License check, Control Panels software, antivirus block | Frozen on splash screen guide |
| Installer won't finish, especially on Mac | Gatekeeper, leftover old version, Rosetta, unsupported Intel Mac | Won't install, stuck on Mac guide |
None of these three problems are rare edge cases. They're common enough to have their own dedicated guides on this site, which tells you something: a failed first launch is a known, solvable category of problem, not a sign you did the install wrong. Once Resolve actually opens, the next question is whether it opens onto hardware that can handle a real project, not just the splash screen.
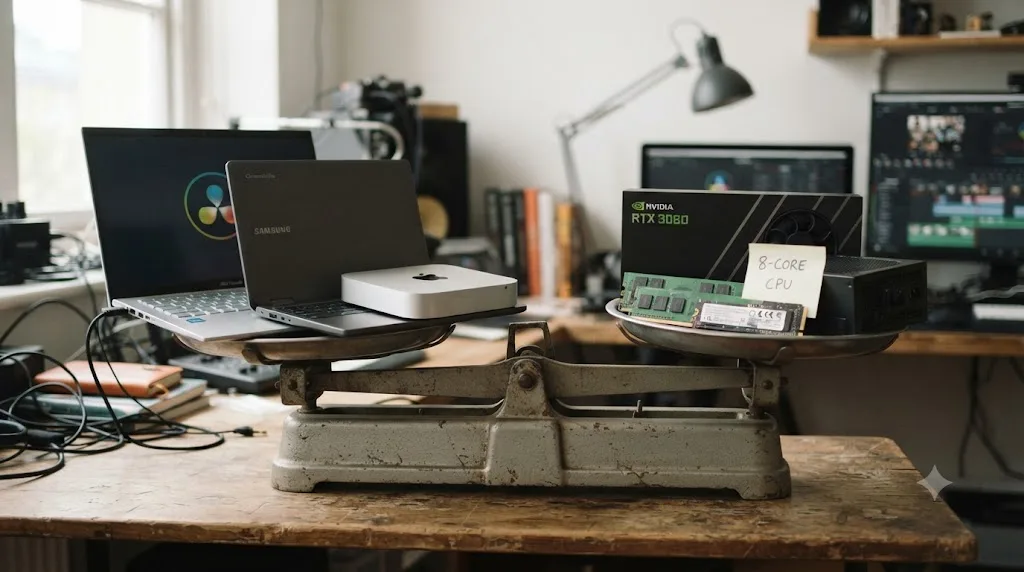
Is your computer actually fast enough for a real project, not just the installer?
Getting Resolve installed and getting Resolve to edit smoothly are two different bars, and the checklist above only gets you past the first one.
Blackmagic's own tech specs page lists 16GB of system RAM and a GPU with at least 4GB of VRAM as the minimum. That's the floor Resolve will actually launch and run on, not a number that makes editing feel comfortable. Puget Systems' hardware recommendations for DaVinci Resolve put the more realistic numbers at 8GB of VRAM for 1080p work, 12GB for 4K, and 20GB or more once you're grading 6K or 8K footage. Those numbers climb further the moment you add noise reduction, Magic Mask, or a heavy multi-node grade.
A machine that clears Blackmagic's stated minimum can still choke on your first real project, because "will it launch" and "will it edit 4K smoothly" are two different questions with two different answers. If your test render later in this checklist plays back choppy, or your fans spin up just from scrubbing the timeline, that's your answer already, and no amount of preference-tweaking fixes a genuine hardware shortfall.
If you're stuck with an older or low-VRAM GPU right now and can't upgrade before this project, you're not stuck editing nothing. Lower your timeline resolution in Project Settings while you cut, since that's the fastest way to buy back headroom with zero effect on your final export, and check that Preferences > System > Memory and GPU has the right processing mode selected for your card. If playback still stutters after that, generating proxy media, covered later in this checklist, does more for a slow machine than any single preference toggle.
If you're not sure your current machine clears the comfortable bar, or you're shopping for a first editing computer specifically:
- Buying on a budget? Our best budget laptop for DaVinci Resolve beginners guide covers real GPU and RAM minimums against current laptop prices.
- On a Chromebook right now? It won't run DaVinci Resolve locally at all. Crostini's Linux layer can't expose real GPU compute, and cloud streaming or a real Windows, Mac, or Linux machine are the only actual fixes.
- Considering a Mac mini? Our Mac mini M4 review for DaVinci Resolve covers what the base 16GB configuration handles and where the M4 Pro actually earns its upgrade cost.
And if VRAM runs out mid-project later, once you're past this checklist, our GPU memory is full guide covers every real fix, from timeline resolution down to a specific driver rollback that's cleared the error for some NVIDIA users even with VRAM to spare.
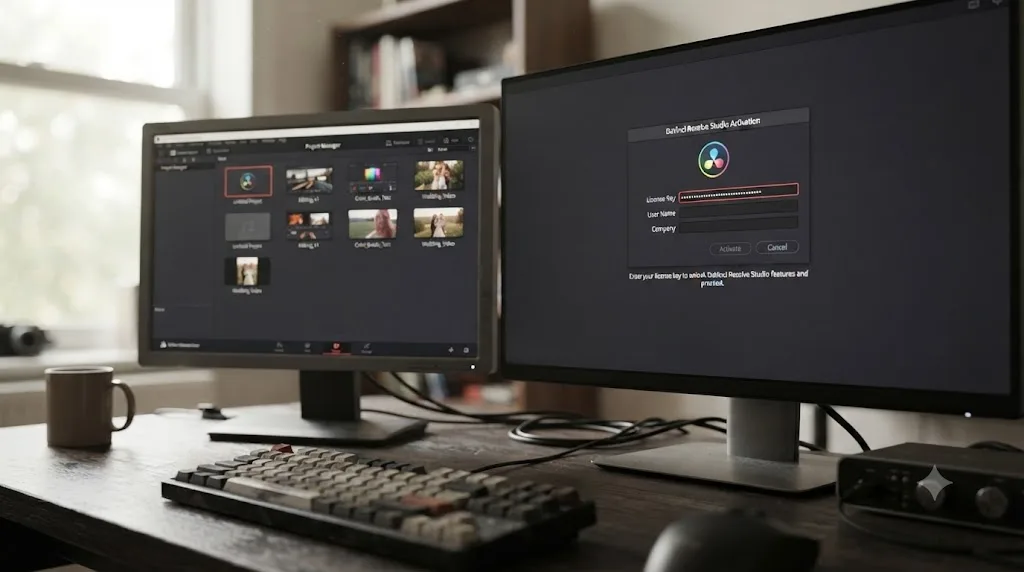
Do you need to activate a license before your first project?
Only if you're using Studio. The free version of DaVinci Resolve needs nothing beyond the install itself, according to Blackmagic's own product page. No key, no login, no trial countdown. It opens and works.
The free version of DaVinci Resolve asks for nothing but a name and email at download; only Studio's license, dongle, or rental seat asks you to activate anything at all. That distinction matters more at this stage than most beginners realize, because activation is the one step in this whole checklist that can lock you out of the app entirely if it goes wrong.
If you bought Studio, or plan to, here's what activation actually involves, per Blackmagic's Studio product page and a Blackmagic support forum thread on device limits:
| Studio license type | How it activates | Machine limit |
|---|---|---|
| Activation key (one-time $295 purchase) | Enter the 25-digit key in the app on first launch | Two machines at once |
| Dongle | Plug the physical USB dongle in | Whichever single machine it's plugged into |
| Blackmagic Cloud rental | Sign in with your Blackmagic Cloud account | Managed from Blackmagic Cloud, one seat at a time |
Blackmagic added the rental option in September 2025, so if you're setting up Resolve for the first time in 2026, a monthly Blackmagic Cloud seat is now a real option next to the traditional one-time key, especially if you're not sure Studio's AI tools and HDR grading are worth $295 up front for a single project.
Whichever path you're on, activate now, before your first project, not mid-cut. If activation goes wrong later, once a two-machine key is already checked out elsewhere, you'll want our license already in use fix, which covers the deactivate-and-recover path in full. For now, the fix is simpler: enter the key, confirm Resolve shows Studio in the title bar instead of the free version's watermark-free but unbranded window, and move on.
What should you check in Preferences before you create a project?
Three things, and none of them are visible unless you go looking. Open DaVinci Resolve > Preferences (Cmd+, on Mac, Ctrl+, on Windows) before you touch File > New Project.
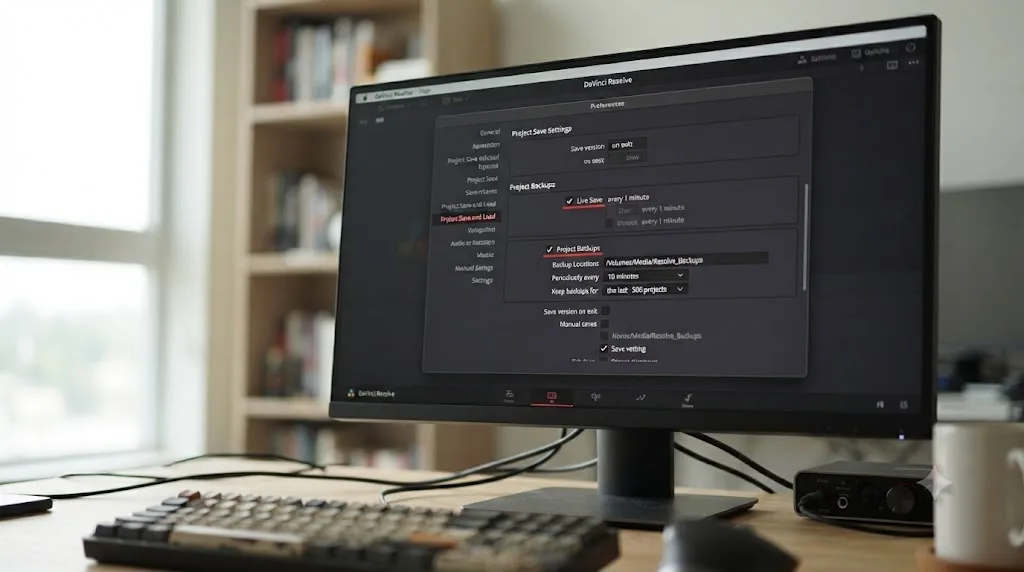
Live Save and Project Backups. Click the User tab, then Project Save and Load. Live Save is on by default and highly recommended, writing changes to disk incrementally as you work rather than waiting for a manual save. Confirm it's checked, then turn on Project Backups underneath it. Blackmagic's own manual describes the backup system as periodic snapshots you can restore from the Project Manager, saved on an interval you control, ten minutes is the default and a reasonable one to leave alone. Point the backup location at your fastest local drive, not a network share, if you have the option.
Larry Jordan, the longtime editing trainer and consultant, sums up the habit worth adopting here in plain terms:
"Personally, I enable live backups, then archive projects after they've been done and approved."
That's the whole philosophy in one sentence: live protection while you work, a real archive once the project is actually finished. Neither step happens automatically unless you turn it on now, before your first project exists to lose.
Media Storage, the cache location nobody checks. Go to the System tab, then Media Storage. The first entry in that list is where Resolve writes render cache files and gallery stills by default, and it grows continuously the longer you edit. If that default location happens to be your boot drive and your boot drive is nearly full, you'll find out at the worst possible moment, mid-render, not during setup. Point it at your fastest drive with real headroom now. You can always override this per project later under Project Settings > Master Settings > Working Folders, but the Preferences default is what a brand-new project inherits.
Memory and GPU processing mode. Still on the System tab, click Memory and GPU. Leave the GPU processing mode on Auto unless you're on Windows with an NVIDIA card, in which case confirm it says CUDA, not OpenCL, since that's the difference between your card actually accelerating Resolve and it quietly coasting. On an AMD card, the correct setting is the reverse: OpenCL, not CUDA, and our AMD GPU not detected guide covers what to do if Resolve seems to be ignoring the card entirely. Both settings are worth a glance now precisely because you won't think to check them again until something feels slow.
A finished test render proves more than a clean install ever can, because it's the one step that touches your GPU, your codec, and your drive all at once. Keep that in mind as you move through the rest of this checklist. Every setting below exists to make that eventual test render, and every real render after it, behave the way you expect.
Disk database or PostgreSQL: which should you pick for your first project?
Disk database, and this isn't a close call for almost anyone reading this.
DaVinci Resolve stores every project in a database, not as a loose file in your Documents folder, and it offers two kinds. The default is a local disk database, and according to Daniel Grindrod's walkthrough of Resolve's database system, "if you are just working by yourself with one computer, you only need to worry about the Local Disk option." PostgreSQL is the alternative, and it exists specifically for teams sharing one project database across a network, the kind of setup a post house needs so an editor and a colorist on different machines can open the same live project.
A lone editor never needs PostgreSQL. The default disk database is built for exactly one person on exactly one machine, which is almost certainly you right now.
| Disk database | PostgreSQL database | |
|---|---|---|
| Setup required | None, it's the default | A running Postgres server, configured separately |
| Best for | One editor, one machine | A team sharing one project live across a network |
| Backup method | Copy the folder, works with Time Machine or a normal disk backup | Managed through the database server |
| What most solo editors on this checklist need | This one | Not this one |
If you ever do join a team where multiple editors share a project live, or you want to open the same project from two edit bays without exporting and reimporting, that's the moment to look into PostgreSQL, and it's a deliberate setup decision, not something that happens by accident. Until then, the Project Manager's default disk database is correct, and there's nothing to configure. Move on.
What project settings do you need to lock in before importing anything?
One of these you truly cannot fix later without pain. The rest are flexible, and it's worth knowing which is which before you drag in a single clip.
Open File > Project Settings, or press Shift+9, or click the gear icon in the bottom-right corner. Go to Master Settings.
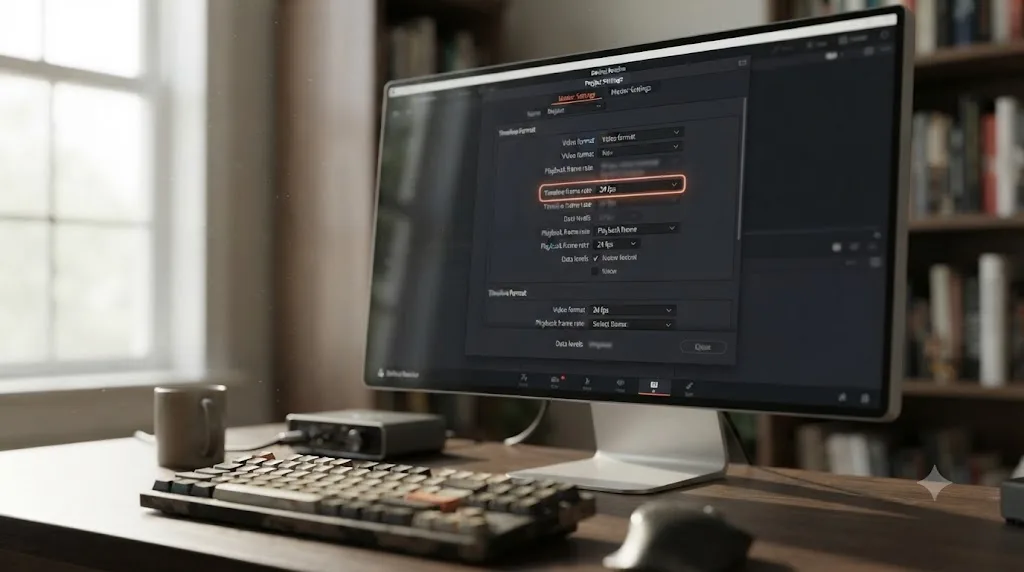
Timeline frame rate, first, before anything else. Set it to match your camera: 23.976 or 24 for a filmic look, 25 in PAL countries, 29.97 or 30 for most phone footage, 60 for smooth action or slow motion source. Blackmagic's own reference manual states this plainly: "once one or more files have been added to the Media Pool, this setting cannot be changed." That's not a soft warning. It's a hard lock, and the only clean fix once you've tripped it is starting over in a fresh project.
Timeline resolution, flexible, change it anytime. Unlike frame rate, resolution is not locked once media arrives. Set it to your intended delivery size now anyway, 1920x1080 or 3840x2160 cover almost everything, since getting it right from the start saves you a pass of retiming Transform and Zoom values later if you change your mind mid-project.
Working color space, the one most beginners skip entirely, and that's usually fine. Master Settings also holds your project's default color science. Leave it alone for now. The default, standard DaVinci YRGB color science with no Color Management enabled, handles ordinary 8-bit and 10-bit footage from phones and mirrorless cameras without any extra configuration. A later section covers when that default stops being enough.
| Setting | Where | Locks after first clip? | What to set it to |
|---|---|---|---|
| Timeline frame rate | Master Settings | Yes, permanently | Match your camera's shooting frame rate |
| Timeline resolution | Master Settings | No, changeable anytime | Your delivery resolution, commonly 1080p or 4K |
| Audio sample rate | Fairlight tab | Locks once a timeline exists | Match your source, usually 48kHz |
| Color Management | Color Management tab | No, but grades built before switching won't carry over cleanly | Off, unless a specific camera or HDR job needs it |
| Working folders (cache location override) | Master Settings | No | Only override if this project needs a different drive than your Preferences default |
DaVinci Resolve locks the timeline frame rate the moment your first clip reaches the Media Pool, and undoing that mistake means rebuilding the timeline from scratch. Set it deliberately, in this exact order, before you import anything, and this entire section stops being a risk.
What if you already imported footage before locking the frame rate?
It happens. You forgot, or you didn't know, and now the timeline frame rate dropdown in Master Settings is greyed out. Here's what actually works, in order of how much it costs you.
Delete every clip from the Media Pool, then set the frame rate. The moment the Media Pool is empty again, the Timeline Frame Rate field unlocks, letting you choose correctly before you reimport. This costs you nothing but re-dragging your files back in, and it's the cleanest fix if you haven't built anything on a timeline yet.
Start a new timeline instead of a new project. If you've already cut something you don't want to lose, create a fresh timeline, uncheck "Use Project Settings" in the dialog, and pick the correct frame rate just for that timeline. Your original timeline and its edits stay untouched; you're just building a second one with the right settings from the start.
Override the frame rate per clip through Clip Attributes, as a last resort. Right-click the clip in the Media Pool, choose Clip Attributes, and change the Video Frame Rate field directly. Motion Array's frame rate guide notes that Resolve re-interprets the clip at the new rate once you confirm the change. This fixes playback speed without touching the timeline setting itself, but it's a patch, not a real fix, and it's easy to forget which clips you've overridden on a project with more than a handful of them.
None of these three options are as clean as setting the frame rate before your first clip ever arrived, which is exactly why that step comes early on this checklist and not last. If your clip is simply playing back at the wrong speed right now and you want the fastest diagnosis, our clip plays too fast, wrong frame rate guide matches your exact symptom to its cause.
What audio settings need to be right before your first project?
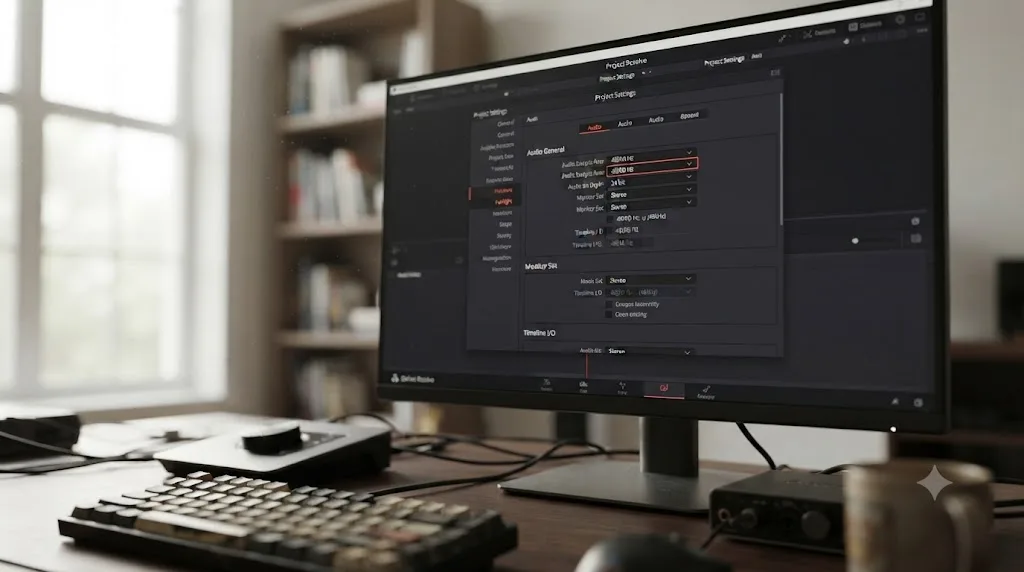
One setting here works almost exactly like frame rate: free to change now, locked once you've committed a timeline. Open Project Settings > Fairlight, and look at Audio Sample Rate before you create your first timeline, not after.
Match the project's audio sample rate to your source footage, almost always 48kHz. DaVinci Resolve's own reference manual on Fairlight confirms Resolve's projects and timelines default to 48kHz, which matches the audio most cameras, phones, and dedicated recorders capture at. A mismatch between your project's sample rate and your source clips causes audio drift, where sound gradually slides out of sync with picture over the length of a clip. That makes it a nastier bug to catch than a frame rate error, which is obviously wrong from frame one.
Unlike the timeline frame rate lock, this one has a slightly wider window: according to the manual's Timeline Sample Rate page, you can still change the project's audio sample rate right up until you create your first timeline, not just before your first clip import. That gives you a little more room than frame rate does, but the same principle applies: check it now, while it costs nothing to fix.
If you recorded audio separately, on a Rode Wireless Go, a Zoom recorder, or a shotgun mic into a standalone recorder, confirm that device's own sample rate before you import. A mismatched external recorder is the single most common way a solo shooter ends up with drifting audio on an otherwise clean edit. Beyond the sample rate itself, this checklist doesn't cover mixing, and it shouldn't: our how to mix audio in DaVinci Resolve's Fairlight page guide picks up exactly where sample rate leaves off, once your rough cut exists and you're ready to actually balance levels.
Should you turn on Color Management before your first project?
For a genuine first project, no. Leave it off and revisit it once a specific job asks for it.
Color Management is a separate tab in Project Settings, and it changes how Resolve interprets every clip's color space rather than treating each one as a flat RGB signal you correct by eye. Turning it on properly means understanding input color spaces per camera and a timeline working space, which is real, useful knowledge, and not something worth front-loading onto a checklist meant to get you into your first cut.
When you do reach for it, professional guidance is consistent: Frame.io's color management cheat sheet recommends setting the Color Science to "DaVinci YRGB Color Managed" and the Timeline Color Space to "DaVinci Wide Gamut Intermediate" as the standard starting point, then adjusting only the Input Color Space per clip to match whatever camera shot it. That's a real setting worth adopting the day you're grading mixed camera footage, log footage, or an HDR delivery, none of which describes a first project shot on a phone or a single mirrorless camera in a standard profile.
If your first project involves log footage, S-Log, C-Log, or anything with "Log" in the profile name, that's the specific trigger to revisit this section. Our color grading basics guide picks up exactly here, once your rough cut is locked and you're ready to actually grade it.
What folder and bin structure should exist before you import your first clip?
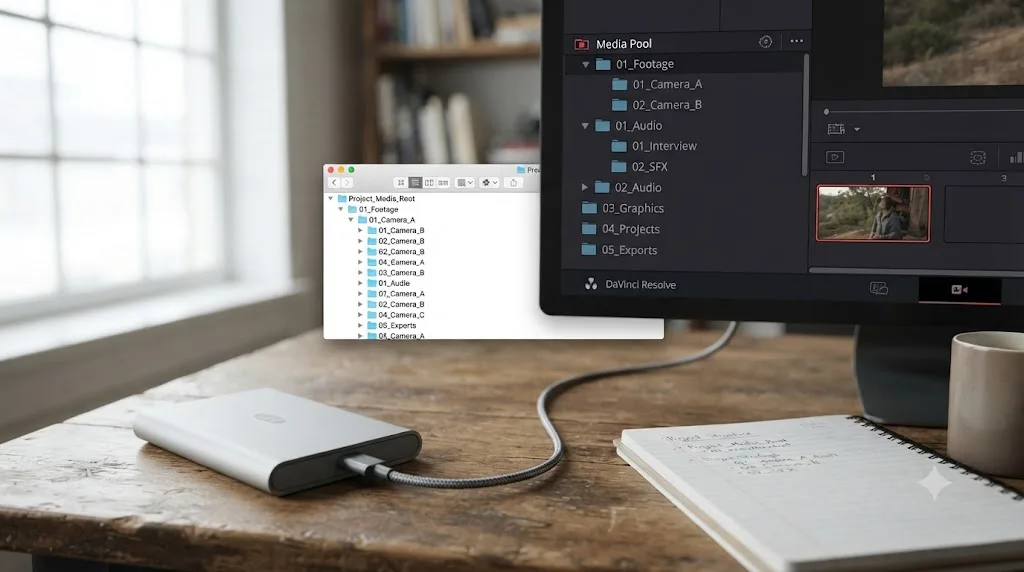
Build it before Resolve even opens for your first project, not after you've already imported forty clips into a Media Pool with no organization.
Two things need to happen, in this order, and skipping the first one is what causes most of the "media offline" panic beginners hit in week two.
Copy your footage off the card first. Never edit directly from an SD card or your phone's storage. Create a dated project folder on your editing drive, something like 2026-07-23_my-first-project, and copy the camera or phone footage into it before Resolve ever sees it. Cards get ejected mid-session and get reused before you mean to, and a card you're actively editing from is a card you can't safely format for your next shoot.
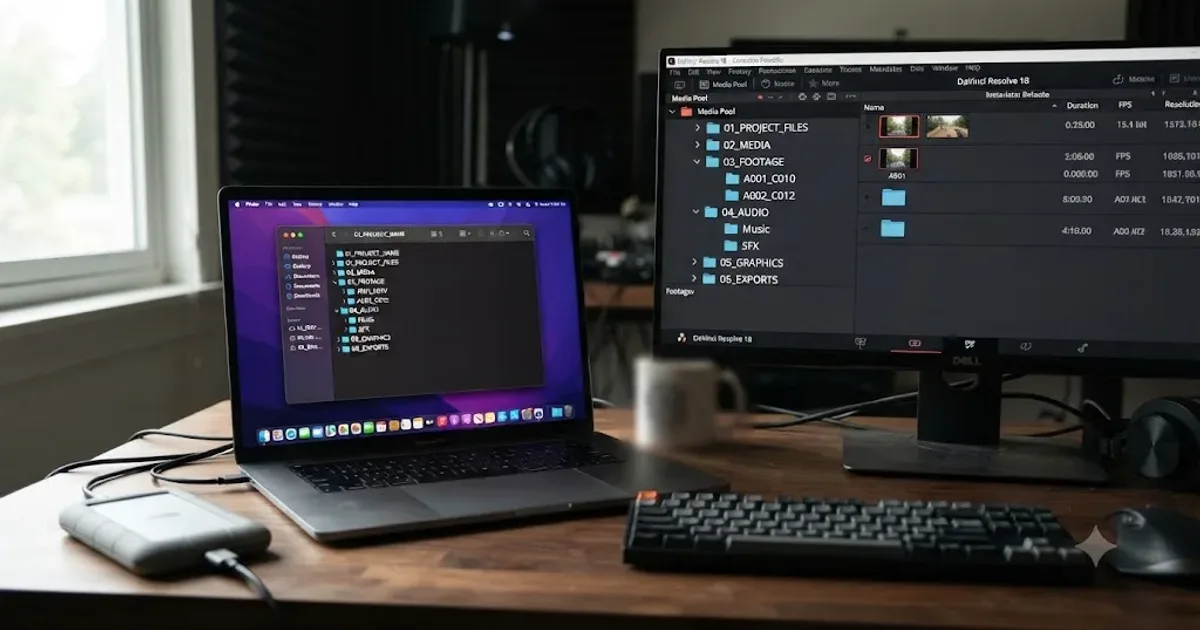
Then mirror that folder structure inside the Media Pool with matching bins. A simple numbered scheme scales from a one-clip test project to a real shoot: 01 Footage, 02 Audio, 03 Music, 04 Graphics, 05 Timelines. Create bins with File > New Bin or by right-clicking in the bin sidebar. The point isn't the specific names, it's that your bin structure traces back to your folder structure without guessing.
Our full folder and bin naming conventions guide goes deeper into Smart Bins, Power Bins for assets you reuse across projects, and exactly what breaks relinking if you rename a camera file after Resolve has already linked to it. For a first project, the numbered five-bin structure above is enough. Build it before the first drag-and-drop, and you'll never face the forty-unlabeled-clips problem at all.
How do you run a safe first import and test render before trusting Resolve with real footage?
This is the step almost everyone skips, and it's the one that actually validates everything above it.
- Import one clip. Drag a single test clip, anything, a phone video, a webcam recording, into the Media Pool on the Media page. If Resolve asks whether to change the project frame rate to match the clip, this is your last easy chance to get it right, so say yes if the project is genuinely empty.
- Cut it into a timeline. Drag it onto an empty timeline area, or right-click in the Media Pool and choose Create New Timeline. Trim it, play it back with the spacebar, and confirm picture and sound both play cleanly with no stutter.
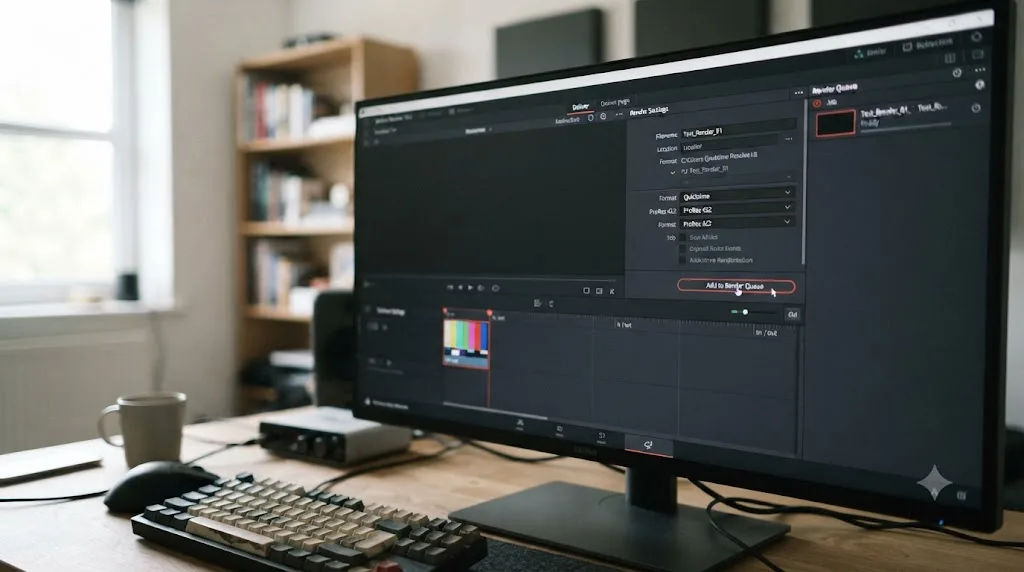
- Add it to the Deliver page's render queue. Pick a render preset that roughly matches your intended output, name the file something obviously a test, and click Add to Render Queue.
- Click Render All, and wait. A short clip renders in seconds. Watch the resulting file, not just the progress bar hitting 100%.
- Actually open and watch the rendered file. This is the step that catches a silently dropped audio track, a wrong frame rate that plays back too fast, or a codec your video player doesn't recognize, all of which are far cheaper to discover now than after a real client deliverable.
If any part of this fails, you've found the problem while the stakes are zero. A red "Media Offline" clip means the file moved or the drive disconnected, covered in our media offline fix. Choppy playback on even a single clip points to a GPU driver or codec issue, not something wrong with your actual footage. A render that finishes but plays back wrong, wrong speed, no audio, points at a project setting from the sections above, most often frame rate or sample rate.
If everything plays back clean, you're done. Delete the test project, or keep it as a reference, and open your real one.
What if your test clip won't import, or Resolve calls it an unsupported format?
Then you've actually found something valuable before your real footage did the same thing to you.
An "Unsupported File Format" error almost always means DaVinci Resolve can't decode the codec inside the file, not that the file itself is broken. The most common causes for a beginner hitting this on a first test clip: HEVC (H.265) footage on Windows without the HEVC codec extension installed, H.264 or H.265 footage on the free Linux build, which has no hardware decode path for either, and variable frame rate video straight off a phone. Our DaVinci Resolve says unsupported file format guide matches your specific symptom, whether it's the codec, the platform, or the color depth, to its actual fix.
If your test clip is Blackmagic RAW, or footage from a newer camera than your Resolve build expects, that's a narrower and more specific problem than a generic codec gap. Our Blackmagic RAW won't import guide covers that case on its own.
A test clip that fails to import is doing exactly its job. That's the entire point of running this step on a throwaway file instead of skipping straight to your real shoot's footage. Find the codec gap now, fix it once, and your actual project never has to meet it.
Should you generate optimized media or proxies before you start editing?
Only if playback already stutters on that test clip. Don't set this up preemptively on hardware that's already handling things fine, since optimized media and proxies both cost disk space and encoding time for a problem you might not have.
If the test render above played back smoothly, skip this section entirely and move to your real project. If it stuttered, or if you know your footage is heavily compressed 4K H.264 or H.265 from a phone or drone, right-click the clip in the Media Pool and choose either Generate Optimized Media, which creates an easier-to-decode stand-in Resolve manages automatically, or Generate Proxy Media, which gives you smaller working files under your own control. Turn on Playback > Use Optimized Media if Available, or Playback > Proxy Handling > Prefer Proxies, to match whichever you chose.
This is a different mechanism from the render cache covered in the Preferences section earlier. Optimized media and proxies replace your source files for playback. Render cache leaves your source alone and pre-renders the effects and grades you build on top of it. If your machine is already struggling before you've even started editing, our DaVinci Resolve proxy media setup for a slow laptop guide covers the exact codec and resolution settings, plus the free standalone Blackmagic Proxy Generator, for building proxies in the background instead of inside Resolve itself. Our render cache explained guide covers Smart versus User cache mode in full once you're past this initial setup and actually grading a real project.
Which keyboard shortcut preset should you pick on day one?
Whichever matches software you already know, and it's a two-second decision worth making before you build muscle memory on the wrong layout.
DaVinci Resolve ships with its own default shortcut set, which is what most of this checklist and our other guides assume. If your fingers already know Premiere Pro or Final Cut, open DaVinci Resolve > Keyboard Customization (Ctrl+Alt+K on Windows, Cmd+Option+K on Mac) and switch the preset before your first real editing session, not three projects in once old habits have already fought the new layout for weeks. Our full keyboard shortcuts guide covers the core Resolve-native set if you're starting fresh with no prior muscle memory to protect.
What's different if you're on Windows, Linux, or an older Mac?
The interface and every setting above behave identically across platforms. What differs is decode performance and a couple of driver-specific details worth knowing before your first project, not after something behaves unexpectedly.
| macOS | Windows | Linux | |
|---|---|---|---|
| GPU driver check | Usually current via macOS updates | Update manually from NVIDIA, AMD, or Intel before first launch | Same, and confirm your distribution is one Blackmagic officially supports |
| GPU processing mode | Metal, set automatically | Confirm CUDA for NVIDIA cards, not OpenCL | CUDA or OpenCL depending on card |
| Phone and camera H.264/H.265 in free version | Full support via Apple's media engine | Supported, but CPU-decoded without Studio's hardware acceleration | Often limited; common phone formats may not import at all |
| ProRes export | Available | Not available | Not available |
If you're on Windows or Linux and your test render's clip felt sluggish to play back, that's frequently the free version leaning on your CPU to decode H.264 or H.265 rather than a real hardware problem, since Blackmagic lists that hardware acceleration as a Studio-only feature on those platforms. Our high CPU usage but low GPU usage guide walks through turning on hardware decoding where it's available, and generating optimized media, covered above, is the fastest fix that doesn't require buying Studio.
If you're on Linux specifically, the free build's codec support for consumer formats is limited enough that ordinary phone footage with AAC audio sometimes won't import at all. If your very first test clip refuses to import cleanly on a fresh Linux install, that's the likely cause, not a mistake in the setup above. Transcoding to DNxHR with a free tool before your first real import, or upgrading to Studio, both solve it.
Setting up DaVinci Resolve on a shared lab or classroom computer
Everything above still applies, with one extra wrinkle: DaVinci Resolve's preferences, and its default disk database, live inside your operating system's user account, not inside the app itself. On a machine multiple students or editors share, that changes a few defaults from "set once" to "check every session."
Reset preferences before you assume anything survived from the last person. If everyone logs into the same Windows or macOS account rather than separate profiles, the Live Save, Project Backups, and Media Storage settings you set up in the Preferences section above can get quietly changed, or reset, by whoever used the machine before you. Confirm them at the start of each session rather than trusting they're still on.
Each student's project lives in the shared disk database unless someone sets up separate accounts. That's fine for a single project worked on solo, but it means anyone at that machine can technically see and open anyone else's project from the same Project Manager. If the class or lab genuinely needs separation, that's a job for separate operating-system-level user accounts, each with its own database location, not a Resolve-level setting.
Export your project before you walk away from a shared machine. Don't rely on the database still being there next session. Project Manager's Export function bundles a project into a single .drp file you can carry on a drive or upload, independent of whichever database the next person's session touches. A corrupted or accidentally-cleared database is a worse problem on a shared machine than a solo one, which our DaVinci Resolve project won't save changes guide covers in full, and a portable exported copy is the cheapest insurance against it.
If you're new to Resolve specifically because a class or bootcamp put you in front of it, this checklist is still worth running once for yourself, even on a shared machine, since it's the difference between fighting the software and fighting your classmates' leftover settings.
What's the full post-install checklist on one screen?
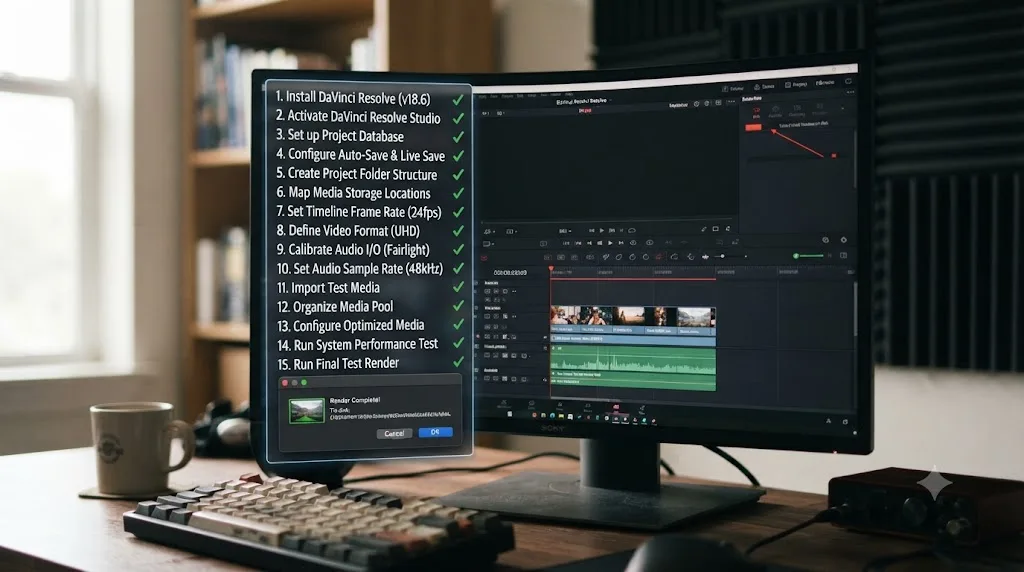
Here's everything above, in the order to actually do it, before your first project opens for real.
| Step | What to do | Where |
|---|---|---|
| 1 | Update your GPU driver, let the installer finish fully | Before opening Resolve |
| 2 | Activate Studio if you bought it, or confirm free needs nothing | First launch |
| 3 | Turn on Live Save and Project Backups | Preferences > User > Project Save and Load |
| 4 | Point Media Storage at a fast, roomy drive | Preferences > System > Media Storage |
| 5 | Confirm GPU processing mode (CUDA on Windows NVIDIA, OpenCL on AMD) | Preferences > System > Memory and GPU |
| 6 | Stick with the default disk database | Project Manager |
| 7 | Set timeline frame rate before importing anything | Project Settings > Master Settings |
| 8 | Set timeline resolution | Project Settings > Master Settings |
| 9 | Match your audio sample rate to your source before your first timeline | Project Settings > Fairlight |
| 10 | Leave Color Management off unless your footage needs it | Project Settings > Color Management |
| 11 | Copy footage off the card, build a folder tree | Your editing drive |
| 12 | Mirror the folder tree with numbered bins | Media Pool |
| 13 | Pick a keyboard shortcut preset | DaVinci Resolve > Keyboard Customization |
| 14 | Import one test clip and confirm playback | Media page |
| 15 | Run one full test render and watch it back | Deliver page |
Fifteen minutes of setup now buys you an afternoon you never lose later to a locked frame rate, a missing backup, or a folder of unlabeled clips. Every one of these fifteen steps takes under two minutes individually. The only one that can't be undone cleanly is step 7, which is exactly why it comes before any footage does.
What does this checklist look like on a real first project?
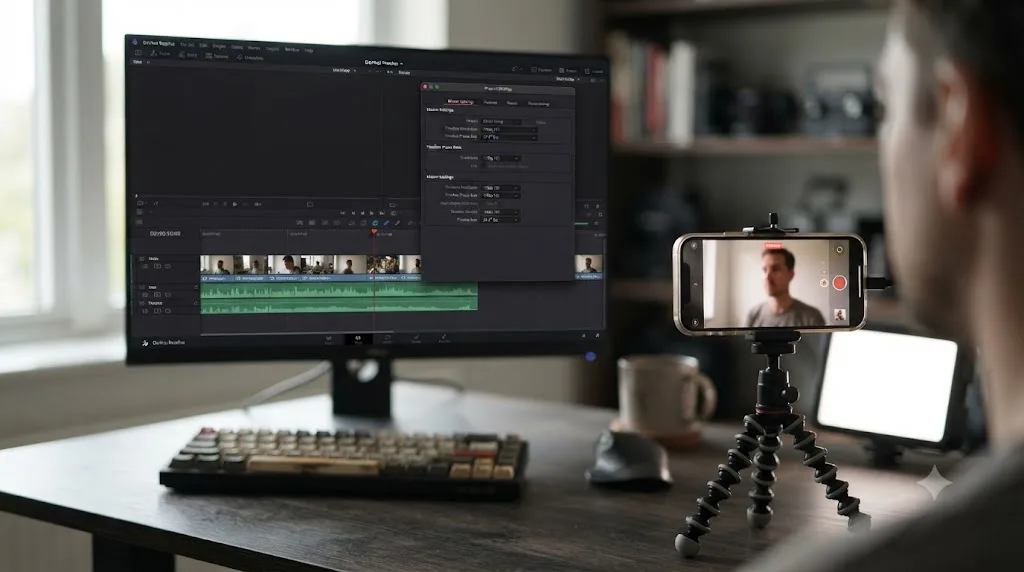
Take a concrete case: a three-minute talking-head video for YouTube, shot on an iPhone at 4K 30fps, with audio from a Rode Wireless Go clipped to a lavalier. Here's how the fifteen steps above actually land on that specific project, not in the abstract.
Steps 1 to 5 don't change at all. Update the GPU driver, confirm the free version needs no activation (Studio's Magic Mask and noise reduction aren't necessary for a clean talking-head cut), turn on Live Save and Project Backups, and point Media Storage at an external drive if the laptop's internal storage is tight. None of this depends on what you're shooting.
Step 7, frame rate, has a real decision in it. An iPhone set to "30 fps" in its camera settings actually shoots 29.97fps, not a clean 30, which is the North American broadcast standard for historical reasons that don't matter here. Set the project's timeline frame rate to 29.97, not 30, before importing, since even that small a mismatch compounds into audio drift over a longer edit.
Step 8, resolution, is a delivery choice, not a technical one. Shoot in 4K, but if the final video is going to YouTube at 1080p anyway, set your timeline to 1920x1080 now and let Resolve downscale your 4K source on the way in. You get more room to reframe and stabilize than shooting natively at 1080p would give you, without the render times and drive space a 4K timeline actually costs. Our DaVinci Resolve export settings for YouTube guide covers the matching Deliver page settings once you're ready to render the final file, including which preset name to pick and what bitrate YouTube actually wants.
Step 9, audio sample rate, matches the Rode Wireless Go's own output, which records at 48kHz, the same default your Resolve project already uses. Nothing to change here for this specific setup, which is exactly why it's worth checking rather than assuming: a different recorder set to 44.1kHz would need this step to actually do something.
Step 10, Color Management, stays off, unless you specifically shot in Apple Log rather than the standard camera profile. Standard iPhone footage is already a normal signal Resolve grades correctly with no Color Management enabled.
Steps 11 through 15 run exactly as written above: a dated folder on an external drive, numbered bins mirroring it, whichever keyboard preset you're used to, one test clip imported and played back, and one test render through Deliver before the real edit starts. Name that test render something like test-01 so it's obvious later which file was the throwaway.
The only two steps that actually required a decision specific to this project were frame rate, 29.97, not 30, and resolution, a 1080p timeline for a 1080p delivery even from 4K source. Everything else was the same checklist, run the same way, regardless of what's actually in the footage.
Which steps can you skip if you only have five minutes?
None of them, ideally. But if you're genuinely rushed, some steps protect you from something irreversible and some just save you cleanup later, and those aren't the same risk.
| Step | Priority | Why |
|---|---|---|
| GPU driver update | Critical | Skipping this risks the app not opening at all |
| Timeline frame rate before import | Critical | The one setting that locks permanently and can't be undone cleanly |
| Live Save and Project Backups | Critical | Costs nothing to enable, and the only real protection against losing work |
| Audio sample rate before first timeline | Recommended | Cheap to set now, genuinely annoying to fix as drifting audio later |
| Test render before the real project | Recommended | Catches codec and export problems on a clip that means nothing |
| Disk database vs PostgreSQL | Skippable | Default is already correct for almost everyone; nothing to decide |
| Color Management | Skippable | Default is correct until a specific camera or delivery format needs otherwise |
| Folder and bin structure | Recommended | Skipping costs you an afternoon of relinking later, not right now |
| Keyboard shortcut preset | Skippable | Costs nothing to change later; muscle memory is the only thing at stake |
If you truly have five minutes and nothing more, do these three: update your GPU driver, set your frame rate before any clip lands in the Media Pool, and turn on Project Backups. Everything else on this checklist is recoverable if you skip it today. Those three are the ones that either stop the app from opening or can't be undone once you've moved past them.
What mistakes do new users make skipping this step?
The same handful, and none of them show up until it's already expensive to fix.
Importing footage before setting the frame rate. This is the one genuinely unrecoverable mistake on this whole list. A 60fps clip dropped into a project still on its 24fps default plays back wrong for the rest of the timeline's life, and the only real fix is starting the timeline over in a project where frame rate was set first.
Never turning on Project Backups. Live Save protects you from losing unsaved changes, but it doesn't protect you from a corrupted project file or a bad edit you want to roll back three days later. Project Backups is the only safety net for that, and it does nothing unless you switch it on, which most beginners never do because nothing forces them to notice.
Skipping the test render entirely. Going straight from install to a real project means the first time you discover a wrong codec, a dropped audio track, or a silently misconfigured export setting is on footage that actually matters. The fifteen minutes this checklist asks for exists specifically to move that discovery earlier, onto a clip that means nothing.
Editing straight off an SD card. It plays fine for the first ten minutes, right up until the card gets ejected mid-session or you need to reformat it for tomorrow's shoot. Copying footage to a real drive before import costs two minutes and eliminates the problem entirely.
Treating Color Management as mandatory setup. New users sometimes assume every professional setting needs configuring before they're allowed to start, and Color Management is the one that most commonly gets flipped on out of anxiety rather than need, then confuses grading on a first project that never required it in the first place. Leave it off until a specific camera or delivery format actually asks for it.
What's the quickest way to self-diagnose if something already went wrong?
Not everyone reading this got here before their first project. Some of you are mid-project right now, something broke, and you searched your way to a post about setup instead. Fair enough. The sections above already cover crashes, frozen launches, GPU detection, unsupported formats, and save failures. Here's the rest of the list, the failures that don't trace back to any single setting in this checklist.
| Symptom | Guide |
|---|---|
| Playback choppy or stuttering, not a hardware shortfall | Playback choppy, stuttering |
| No audio on playback or export | No audio |
| Render fails, gets stuck, or won't start | Render failed |
| Project file won't open at all | Project won't open |
Most first-project problems trace back to one setting covered earlier in this checklist: a driver, a database choice, a frame rate, a sample rate, or a codec. The four symptoms above are the exceptions, genuine bugs and edge cases that don't reduce to a setup mistake, which is exactly why each gets its own dedicated guide instead of a single line here.
What's the fastest way to get unstuck if a setting confuses you?
Every one of these fifteen steps has a moment where you know what you want to change but can't find where Resolve hid it, and that moment is exactly where a lot of new users quietly give up on setup and just start editing with defaults they don't understand.
If you're hunting for the best way to learn DaVinci Resolve fast, or an AI tool to learn DaVinci Resolve that actually shows you the control instead of describing it, here's the honest landscape of what exists right now, in 2026, and what each option actually does.
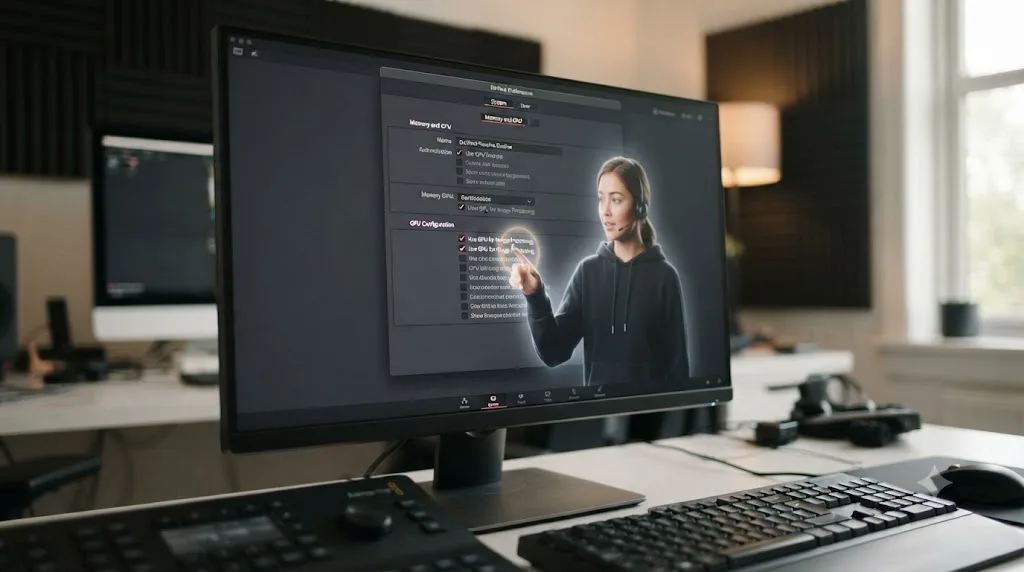
TryUncle is the on-screen assistant for DaVinci Resolve on macOS. Ask in plain words, and Uncle points at the exact control on your screen. It doesn't change the setting for you. It looks at your actual Project Settings or Preferences window and shows you exactly where the thing you're describing lives, which matters specifically during a setup checklist like this one, where the point is that you make the change yourself and understand what you changed.
That's a meaningfully different job from what some of the other AI tools circling DaVinci Resolve and Premiere Pro right now actually do. CutAgent executes editing instructions directly on your Resolve timeline from natural language, planning and showing each move before committing it. Eddie builds a rough cut from an interview transcript and exports it into Resolve, Premiere, or Final Cut. PremiereCopilot bundles silence cuts, captions, and AI B-roll into a Premiere Pro plugin, worth knowing about if you ever work across both apps, though it's built for Premiere, not Resolve. Smaller tools like Sottocut occupy similar ground, mostly automating cuts or captions from a transcript rather than teaching the interface underneath them.
| Tool | What it actually does | Platform | Price |
|---|---|---|---|
| TryUncle (the TryUncle app) | Watches your live Resolve screen and points at the control; you make the move | macOS only | Founder pricing, first 100 seats |
| CutAgent | Executes editing instructions directly on your Resolve timeline | macOS, Resolve Free/Studio 20+ | See cutagent.ai |
| Eddie (heyeddie.ai) | Builds a rough cut from a transcript, exports to Resolve, Premiere, or FCP | Web, cross-platform export | From $25/mo |
| PremiereCopilot | Silence cuts, captions, and AI B-roll for Adobe Premiere Pro, not Resolve | Premiere Pro plugin | From $7.99/mo |
| Sottocut | Transcript-driven cuts and captions | Varies | See vendor site |
An app that helps you while using DaVinci Resolve for the first time doesn't need to touch your timeline at all. TryUncle is a paid macOS app, currently in founder pricing for its first 100 seats, and check the current rate before committing since founder pricing doesn't hold forever. Whether you use a tool like it or just keep Blackmagic's own documentation open in a second tab, the habit that actually matters during this checklist is the same one: when a setting confuses you, look it up immediately instead of guessing and moving on, since a wrong frame rate or a mis-set database choice is exactly the kind of thing that's invisible until it isn't.
What's the best way to learn DaVinci Resolve once the setup checklist is done?
Setup is not the same as learning the app, and it's worth being honest about where this checklist ends and the real learning curve begins.
Blackmagic Design's own free training program ships six downloadable books, a Beginner's Guide, an Editor's Guide, a Colorist Guide, a Fairlight Guide, and two visual effects guides, each with lesson files, and it remains the strongest free structured starting point available. Casey Faris' YouTube channel and Reddit's r/DaVinciResolve are where most working beginners already go for project-style tutorials and quick answers, and neither one requires paying anything. Udemy and Coursera bundle similar material into paid courses with practice footage included, useful if you want a fixed curriculum with a defined end point.
None of that replaces actually finishing a project, though. Once the checklist above is done and your first test render played back clean, the fastest next step isn't another tutorial, it's a small, deliberately constrained project you finish start to finish. Our ten ranked practice projects for beginners starts exactly there, with a three-clip hard cut that touches Media, Edit, and Deliver with nothing else to hide behind. And if you want the fuller map of what Resolve actually is, what it costs, and which of its seven pages to learn in what order, our complete beginner's guide to DaVinci Resolve is the natural next stop from here.
Where do you go from here?
You've now got what actually matters before a first project: a driver update and a finished install, a real check that your hardware clears more than the bare minimum, a license decision made deliberately instead of by accident, Live Save and Project Backups both on, a cache location that won't quietly fill your boot drive, the default disk database left alone, a frame rate and audio sample rate both set before they locked themselves in, a folder tree with matching bins, and one test render you actually watched.
That's not a finished skill set. It's the ground a finished skill set gets built on, and it's the exact ground most beginners skip, then pay for later in relinked media, corrupted saves, drifting audio, or a frame rate they can't undo. Open your real project now. The next real decision, what to actually cut first, is what our practice projects guide picks up from here.
Frequently asked questions
- What's the very first thing I should do after installing DaVinci Resolve?
- Update your GPU driver before you open the app, not after. Most first-launch crashes trace back to an outdated NVIDIA, AMD, or Intel driver, not a broken install. Once Resolve opens cleanly, create one throwaway project, import a single clip, and export it before you touch anything you actually care about.
- Do I need to activate a license before I can use DaVinci Resolve?
- No, not for the free version. It runs with no activation, no time limit, and no watermark the moment install finishes. Only DaVinci Resolve Studio, whether bought outright, plugged in on a dongle, or rented through Blackmagic Cloud, asks you to activate anything before your first project.
- What project settings should I change before I import any footage?
- Set your timeline frame rate first, in File > Project Settings > Master Settings, because DaVinci Resolve locks it the moment a clip lands in the Media Pool. Timeline resolution stays flexible and can change anytime. Color Management is worth a look too, but it's the one setting safe to leave on default until a specific project demands otherwise.
- Should I use the disk database or set up PostgreSQL for my first project?
- Disk database, almost certainly. It's the default, it needs no setup, and it's built for exactly one editor on exactly one machine. PostgreSQL exists to let a team share one project database across a network, which is a studio problem, not a first-project problem.
- What audio sample rate should you set before your first project?
- Match your project's Fairlight audio sample rate to your source, 48kHz for the vast majority of cameras, phones, and external recorders. Do it before you create your first timeline, since DaVinci Resolve's manual confirms the setting locks once a timeline exists, not just once a clip is imported.
- What's the best way to learn DaVinci Resolve once the setup checklist is done?
- Start with Blackmagic's own free training books and lesson files, then move into a small, finished practice project instead of a longer tutorial. Our practice project list and beginner roadmap both pick up exactly where this checklist ends, once your preferences and project settings are already locked in.
- Is there an app that helps you while you're actually using DaVinci Resolve, not just before you open it?
- Yes, several, and they do different jobs. TryUncle watches your live Resolve screen on macOS and points at the exact control you're asking about. CutAgent and similar tools execute editing instructions for you instead. If the goal is learning the software rather than skipping the task, a tool that points rather than one that edits is the better fit.
- How long does this whole post-install checklist actually take?
- About fifteen to twenty minutes for the preferences, database, and project settings sections combined, plus however long your first test render takes to encode, usually under a minute for a short clip. It's a one-time setup per project, not a recurring chore.
Sources
- DaVinci Resolve product page (free vs Studio, feature comparison)
- DaVinci Resolve Studio product page (price, activation)
- DaVinci Resolve - Tech Specs (Blackmagic Design)
- DaVinci Resolve - Training (Blackmagic Design, free official books and lessons)
- DaVinci Resolve Reference Manual: Master Settings (timeline frame rate lock)
- DaVinci Resolve Reference Manual: Live Save
- DaVinci Resolve Reference Manual: Project Backups
- DaVinci Resolve Reference Manual: Fairlight
- DaVinci Resolve Reference Manual: Timeline Sample Rate
- Daniel Grindrod: Databases Explained - Getting Started in DaVinci Resolve
- Frame.io Insider: Use a Cheat Sheet for DaVinci Resolve Color Management Setup
- Larry Jordan: Managing Projects in DaVinci Resolve - Backups, Exports and Archives
- Blackmagic Forum: On how many devices I can use the paid version?
- PetaPixel: DaVinci Resolve 21 officially released with new photo editing, AI tools, and much more
- Newsshooter (Matthew Allard ACS): Blackmagic Design introduces a new way to rent DaVinci Resolve Studio
- Puget Systems: Hardware Recommendations for DaVinci Resolve
- Motion Array: How to Change Frame Rate in DaVinci Resolve (Tutorial)
- TryUncle (product site: how Uncle works, pricing, setup)
Keep reading
Guides · Jul 7, 2026 · 32 min
DaVinci Resolve for Beginners: The Complete Starter Guide
Learn DaVinci Resolve from zero: what it costs, what it needs to run, the seven pages you'll actually use, and the steps to cut your first project.
Guides · Jul 15, 2026 · 37 min
DaVinci Resolve Practice Projects for Beginners: 10 to Try
10 ranked DaVinci Resolve practice projects for beginners, from a 3-clip hard cut to a full capstone edit, plus where to find free practice footage.
Guides · Jul 16, 2026 · 36 min
Folder and Bin Naming Conventions for DaVinci Resolve Projects
A practical naming system for DaVinci Resolve folders and bins: project structure, camera bins, Power Bins, Smart Bins, and what breaks relinking.